Paw Patrol Coloring Pages

Paw Patrol has become one of the most popular animated series among children, making Paw Patrol coloring pages a favorite activity for kids. Parents and teachers often look for engaging and educational activities, and coloring pages featuring the beloved Paw Patrol characters are a perfect solution. These pages not only provide hours of fun but also help children improve their fine motor skills and creativity.
Downloading and using these coloring pages is incredibly simple. You can find free printable Paw Patrol coloring pages online, ready to be downloaded and printed in just a few clicks. Whether you’re planning a fun activity at home or a classroom project, these coloring pages offer an easy and cost-free way to keep children entertained and engaged.
Free Printable Paw Patrol Coloring Pages
When it comes to free printable Paw Patrol coloring pages, the options are endless. You can choose from a variety of designs featuring all your favorite Paw Patrol characters, including Chase, Marshall, Skye, and Rubble. These coloring pages are designed to be kid-friendly and simple to print at home or in the classroom.
Here are a few examples of what you can find:
- Simple outlines for younger children who are just learning to color.
- More detailed designs for older kids who want a challenge.
- Themed pages for holidays, birthdays, or specific episodes of the Paw Patrol series.
Paw Patrol Chase Coloring Page
Color Chase in his police uniform, ready for action!
Paw Patrol Marshall Coloring Page
Marshall, the adorable fire pup, is ready for your colors!
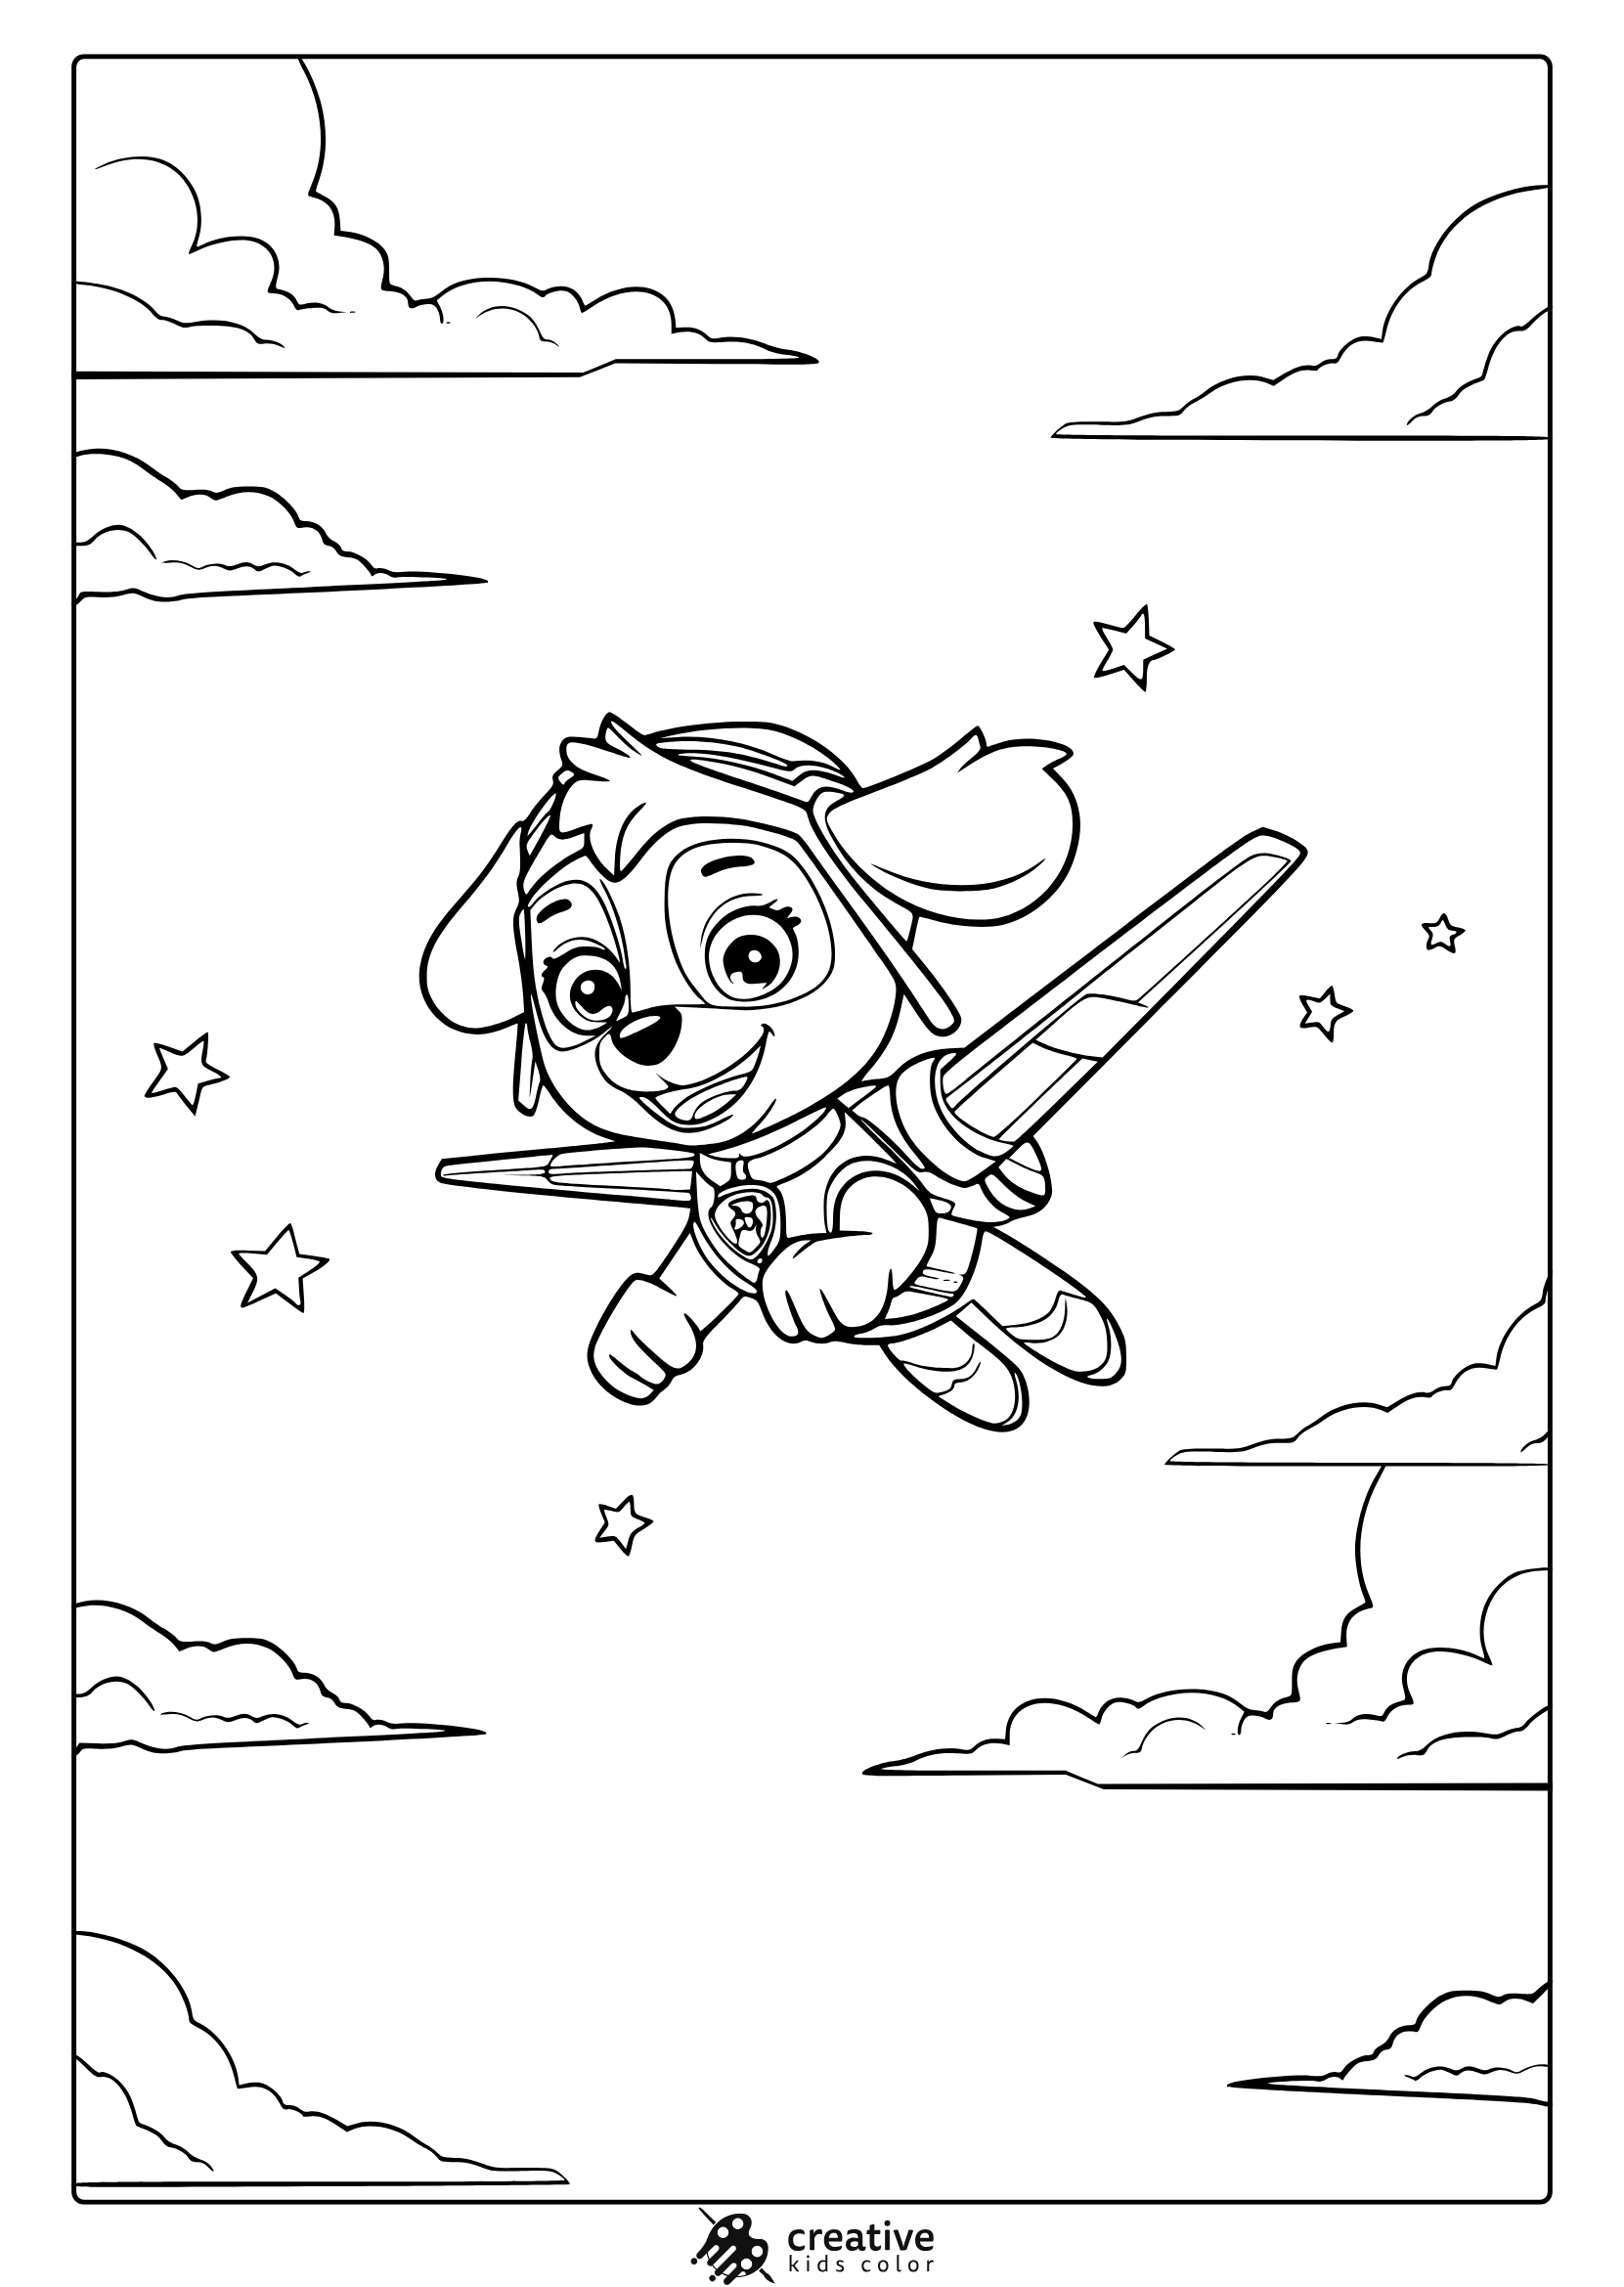
Paw Patrol Skye Coloring Page
Skye soars happily through a sky filled with stars and clouds.
Paw Patrol Logo and Badges Coloring Page
Color the Paw Patrol logo and badges featuring fun symbols!
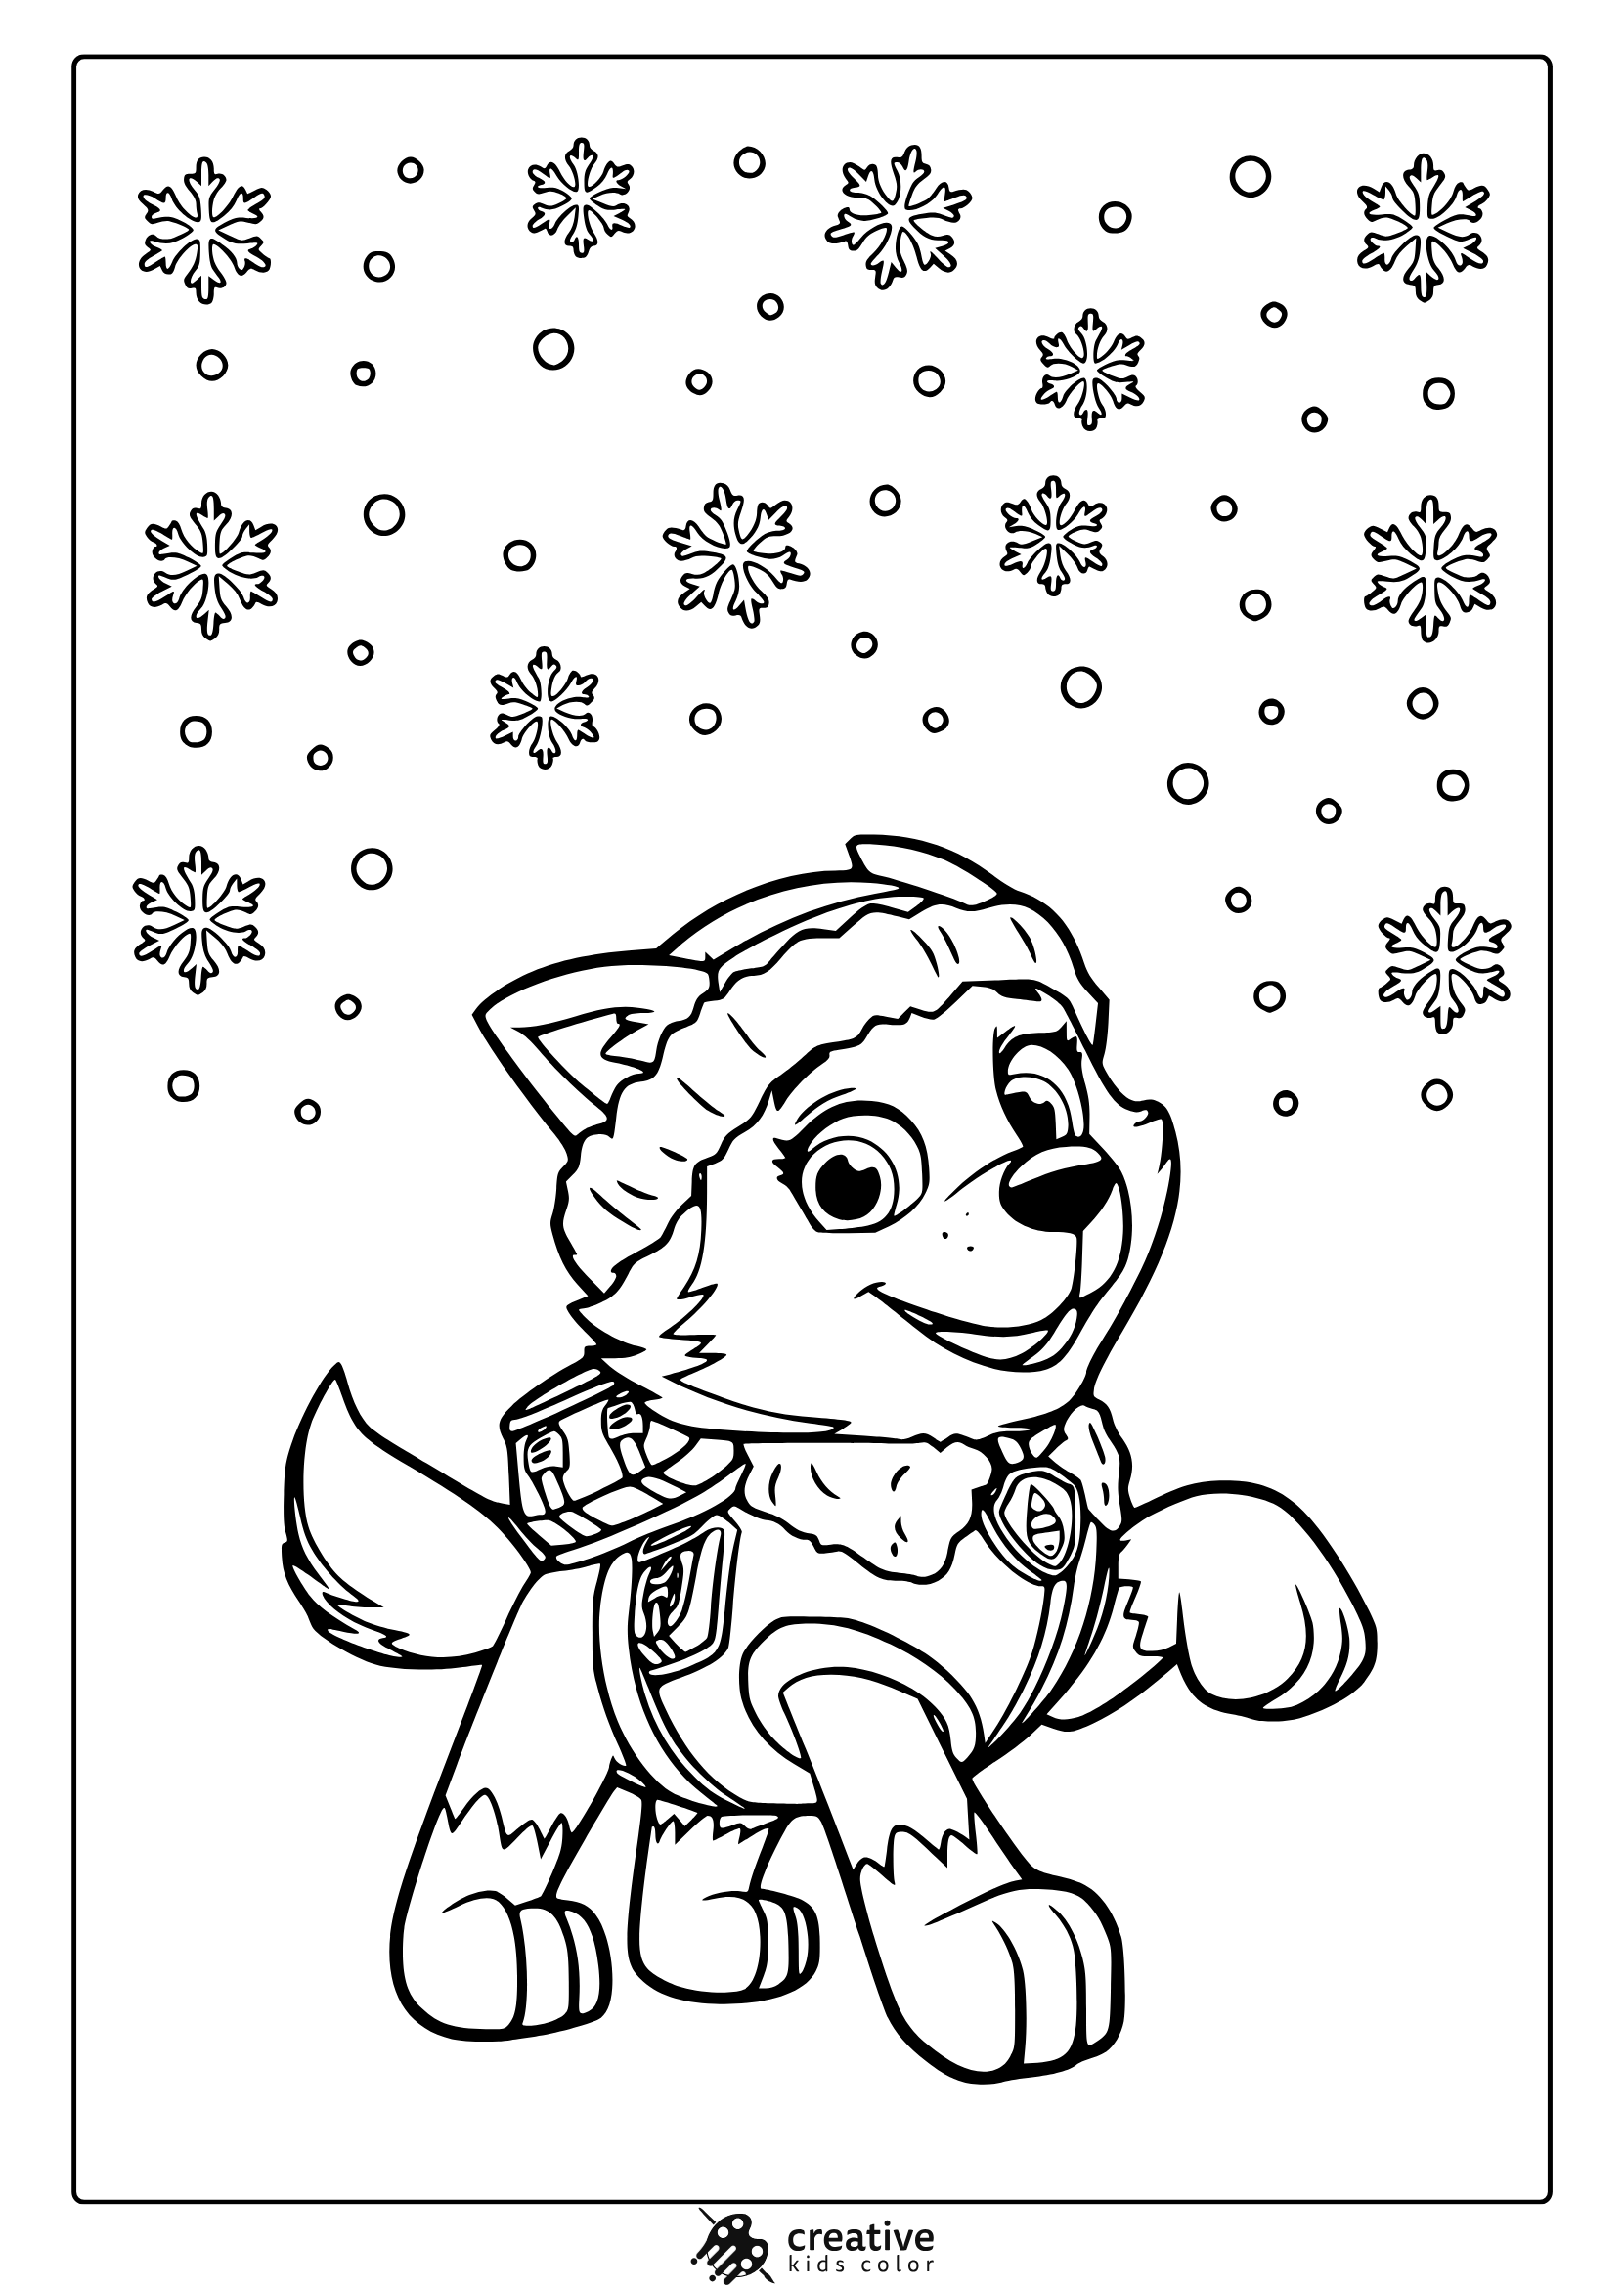
Everest From Paw Patrol Coloring Page
Everest stands happily in a snowy scene with detailed snowflakes falling gently from above.
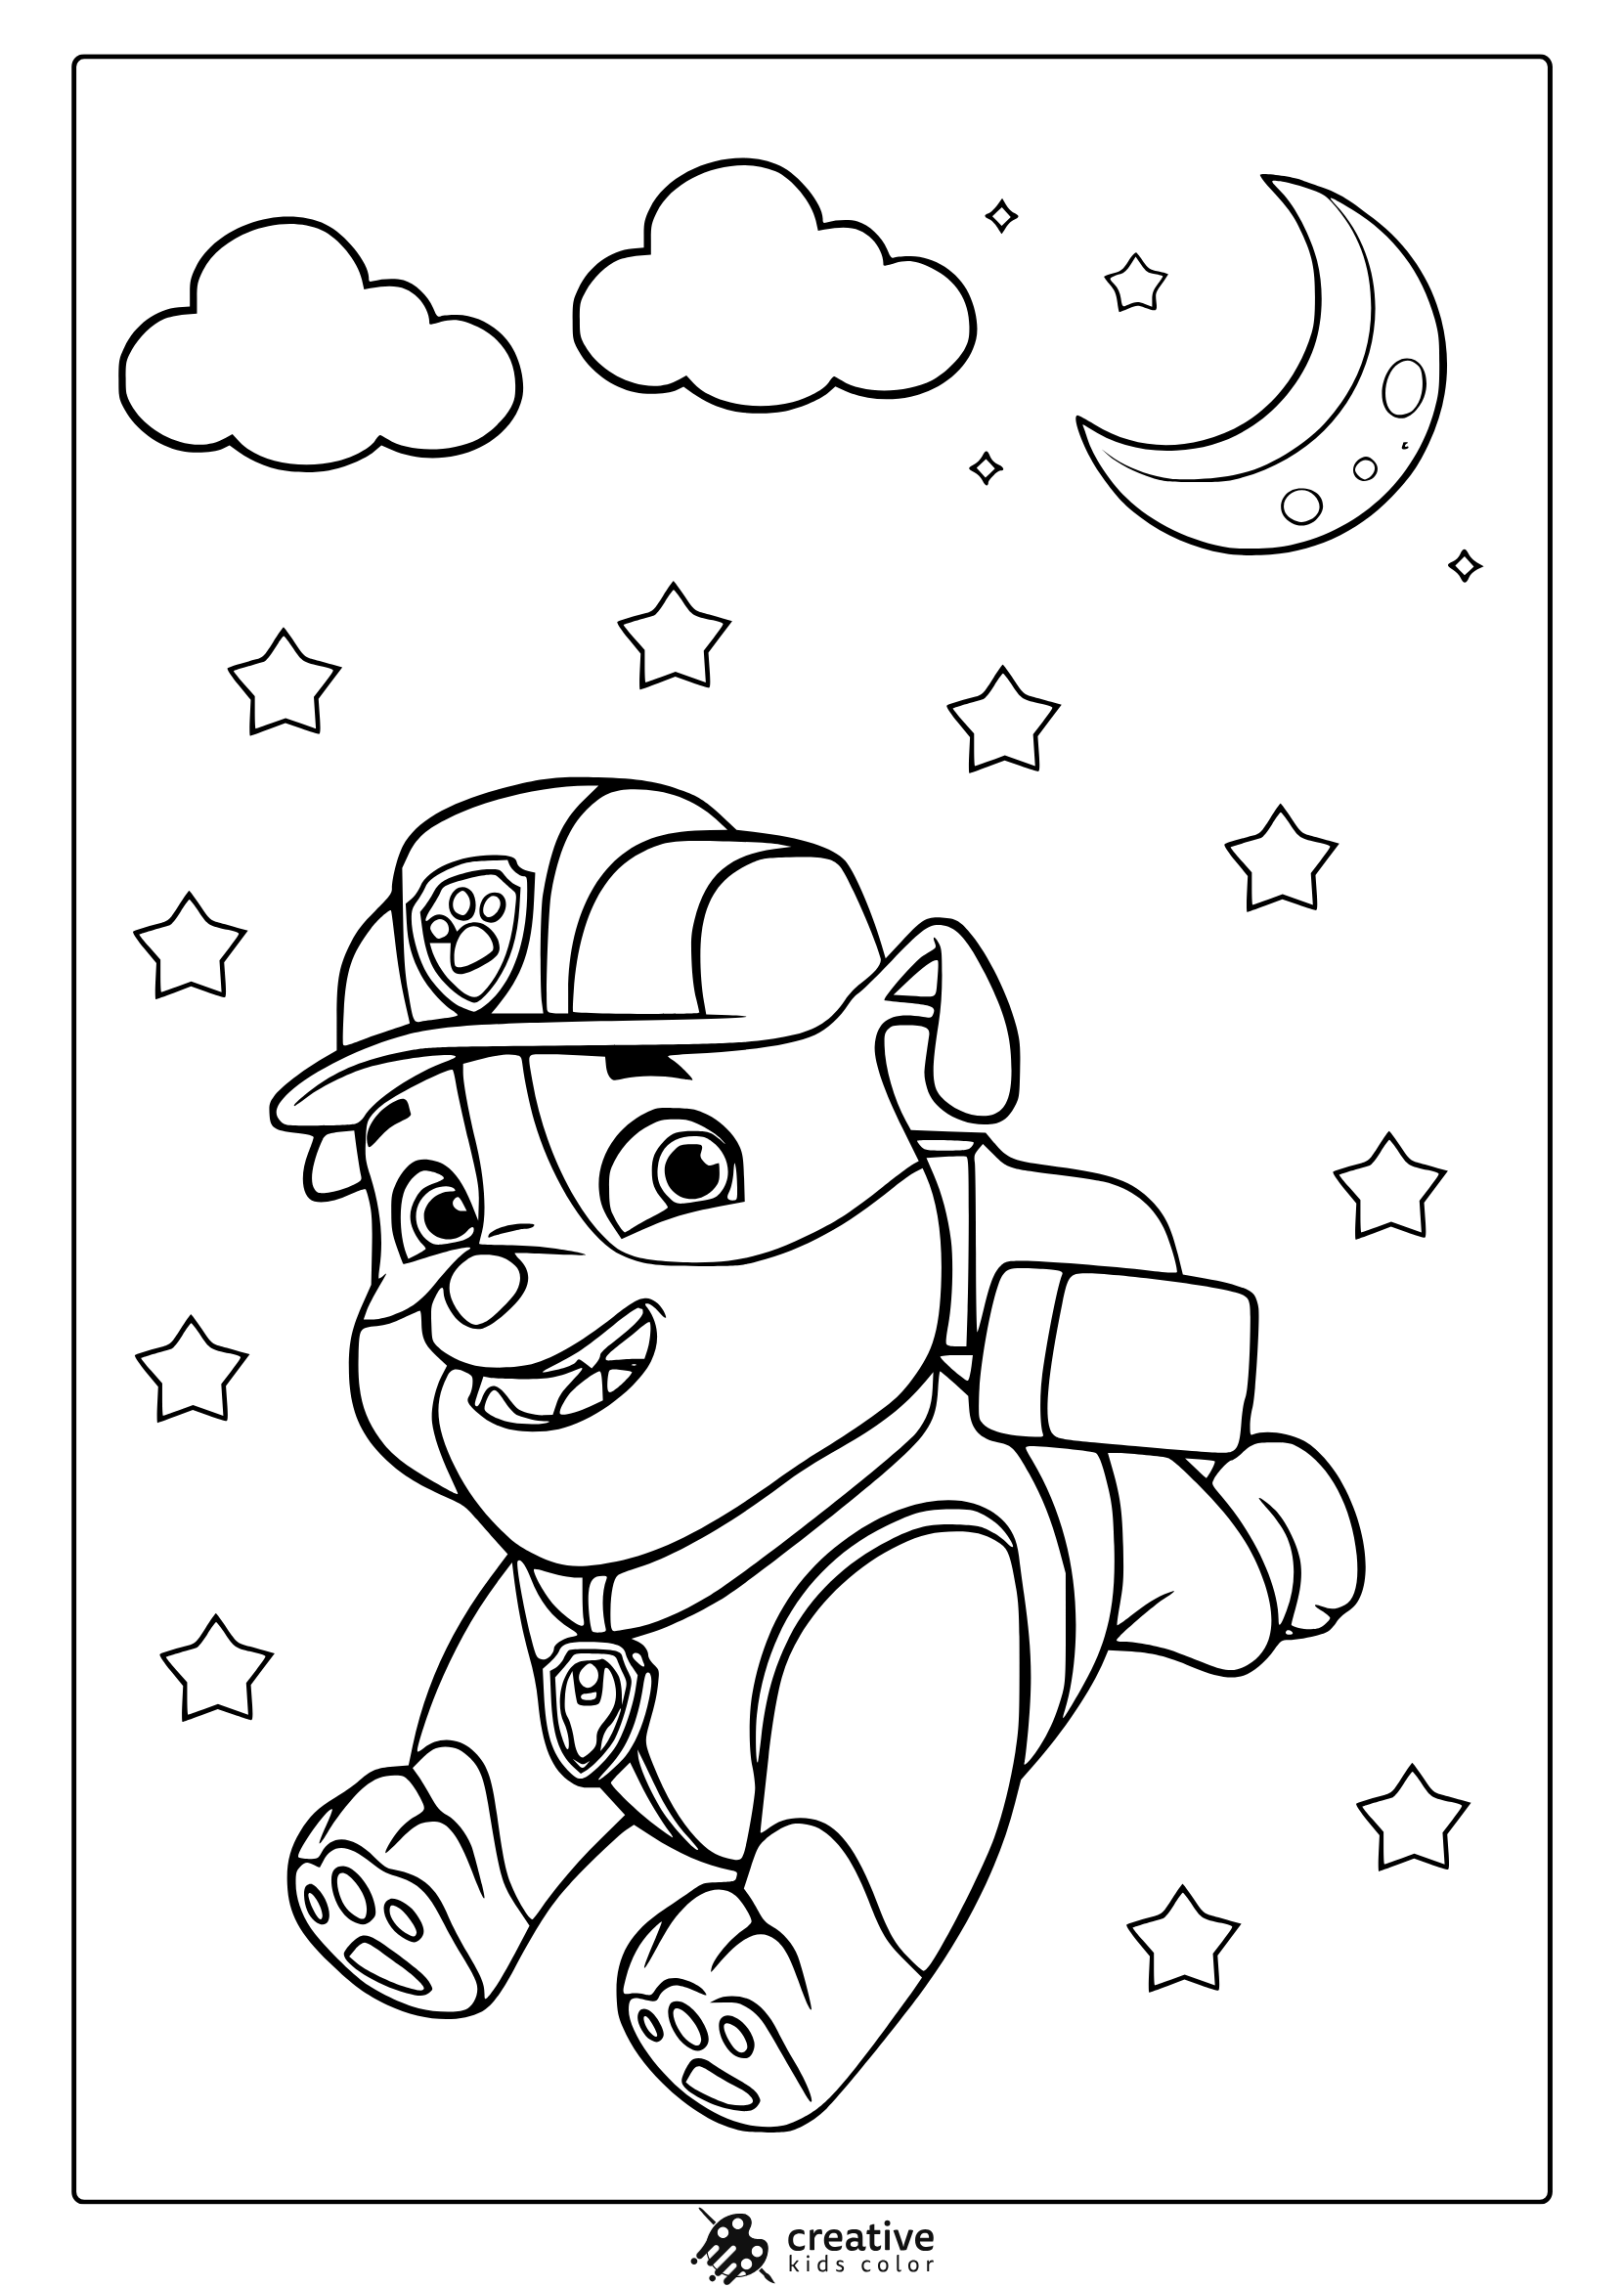
Rubble From Paw Patrol Coloring Page
Rubble smiles under a starry night sky with clouds and a crescent moon behind him.
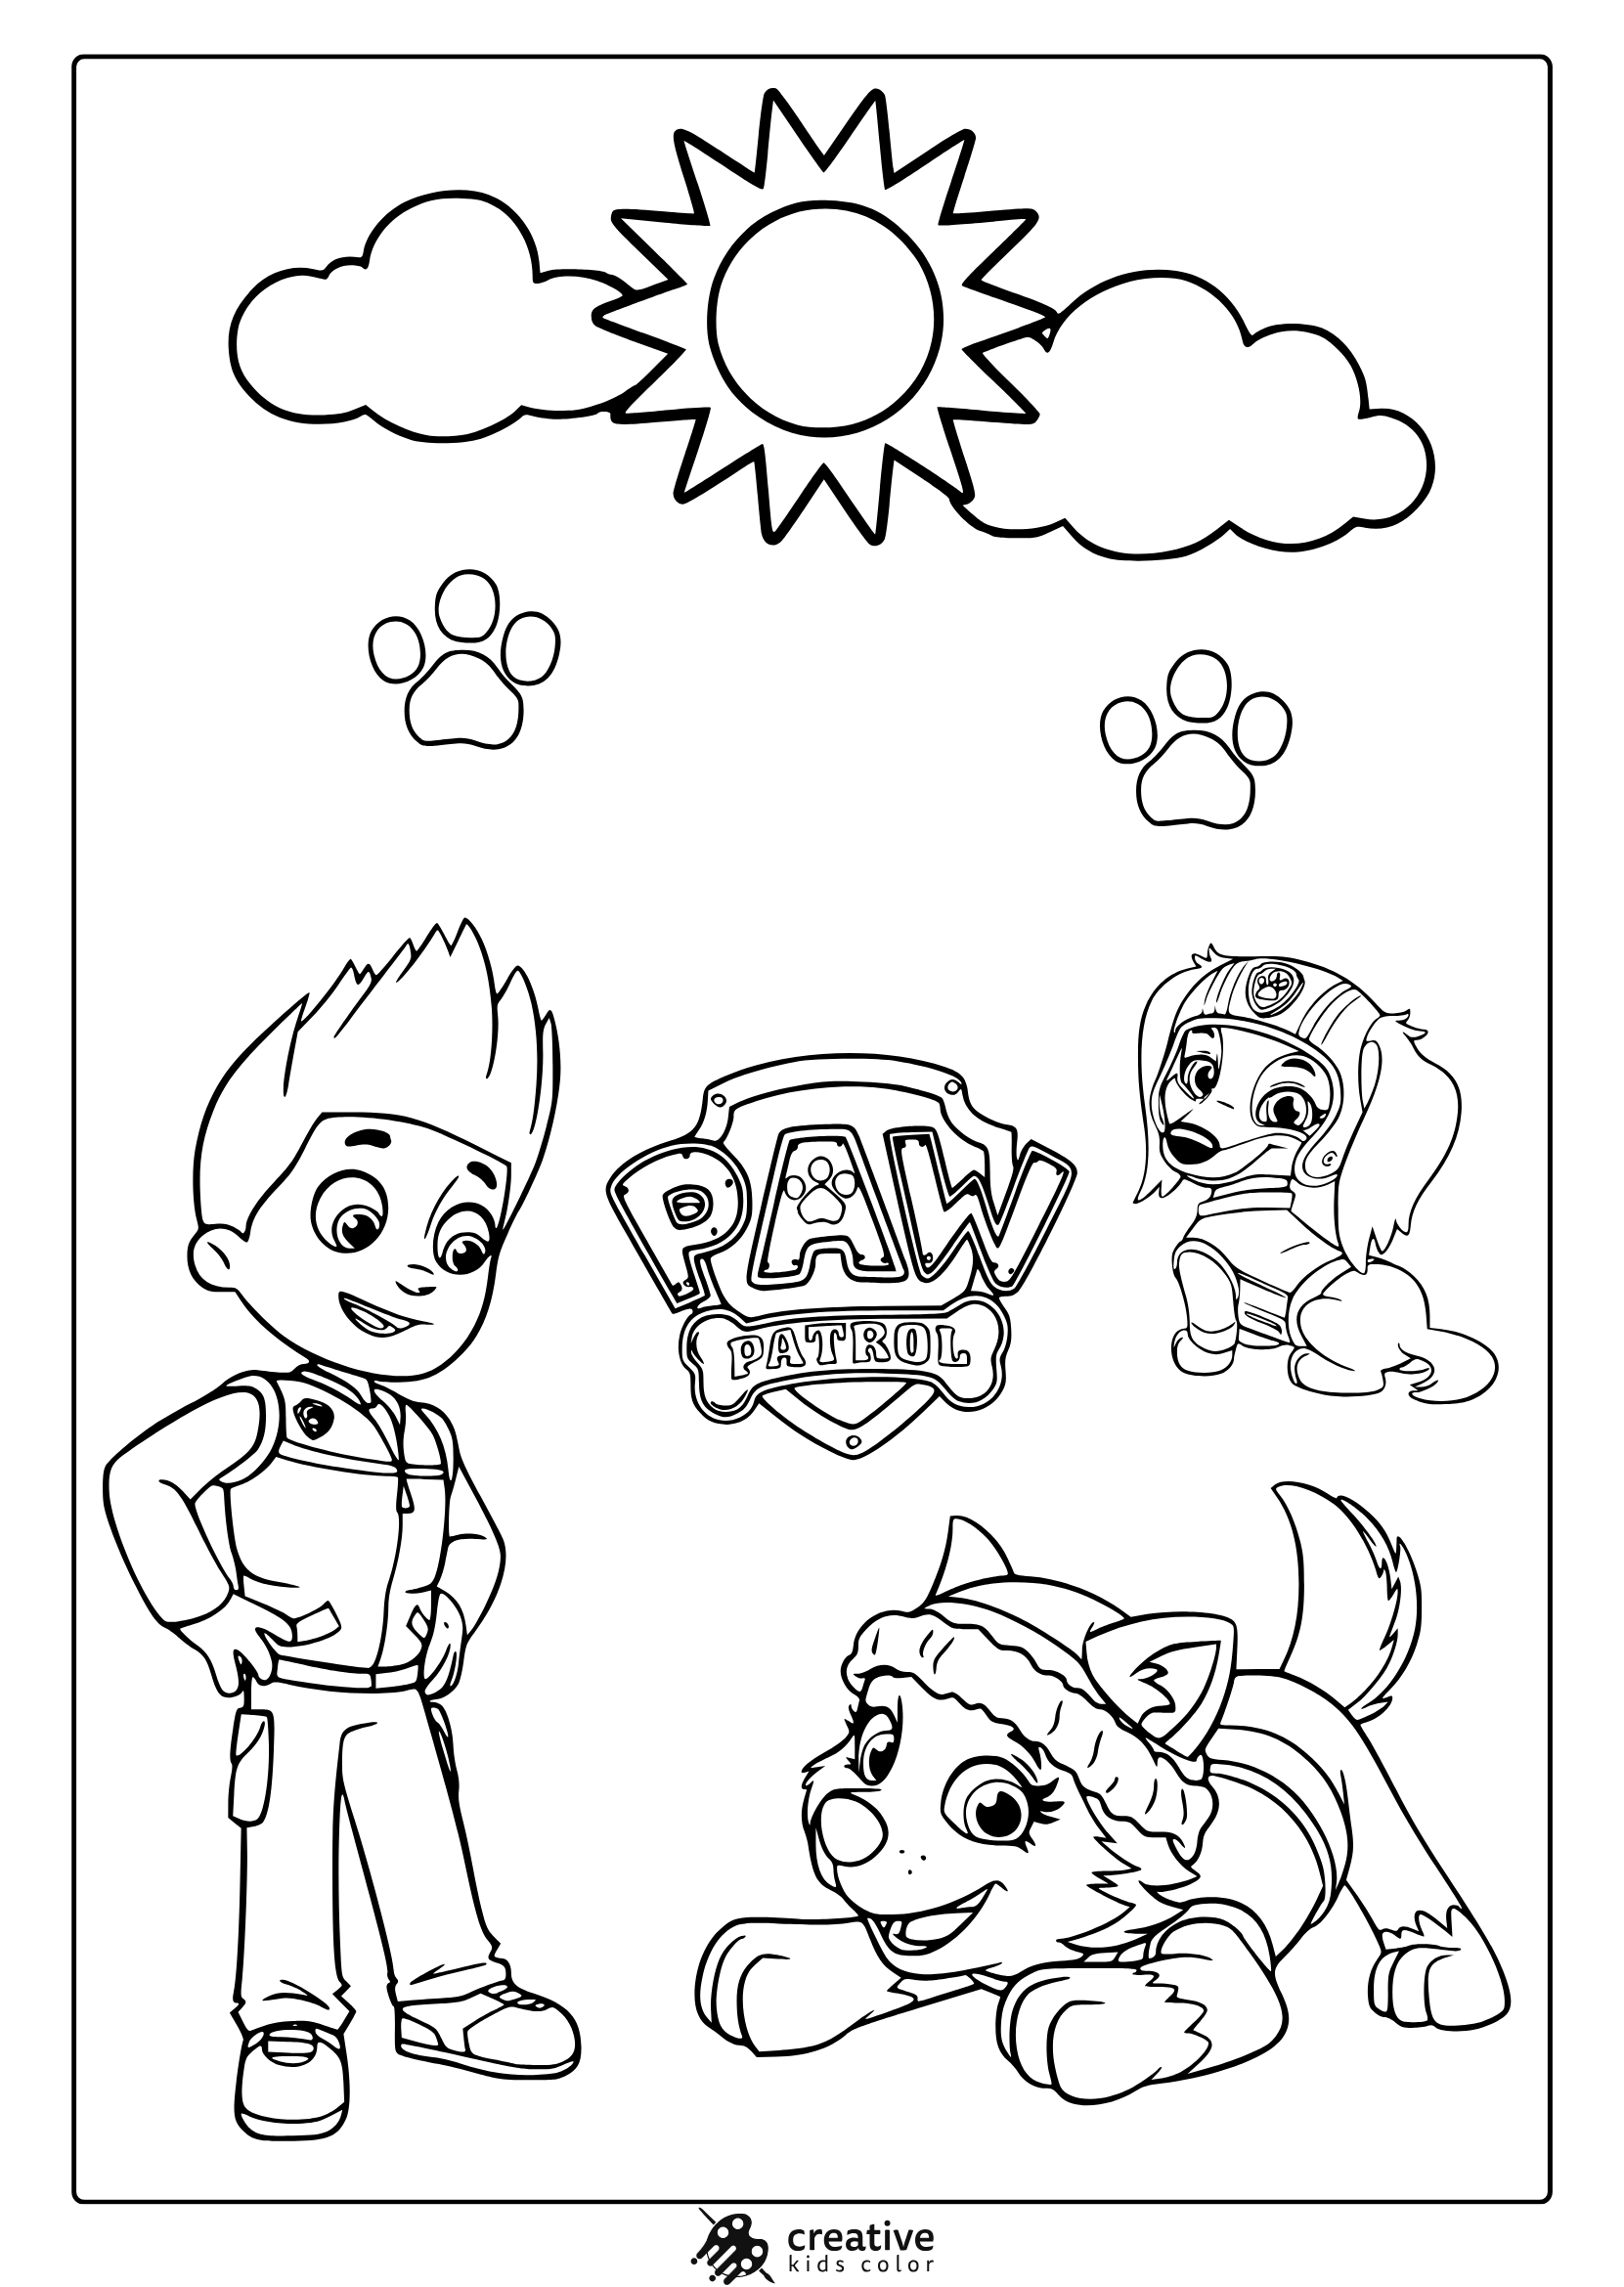
Ryder with Everest and Liberty Coloring Page
Ryder poses confidently beside Everest and Liberty under a sunny sky with paw prints.
Tracker From Paw Patrol Coloring Page
Tracker stands cheerfully near a big tree with fluffy clouds floating in the background.
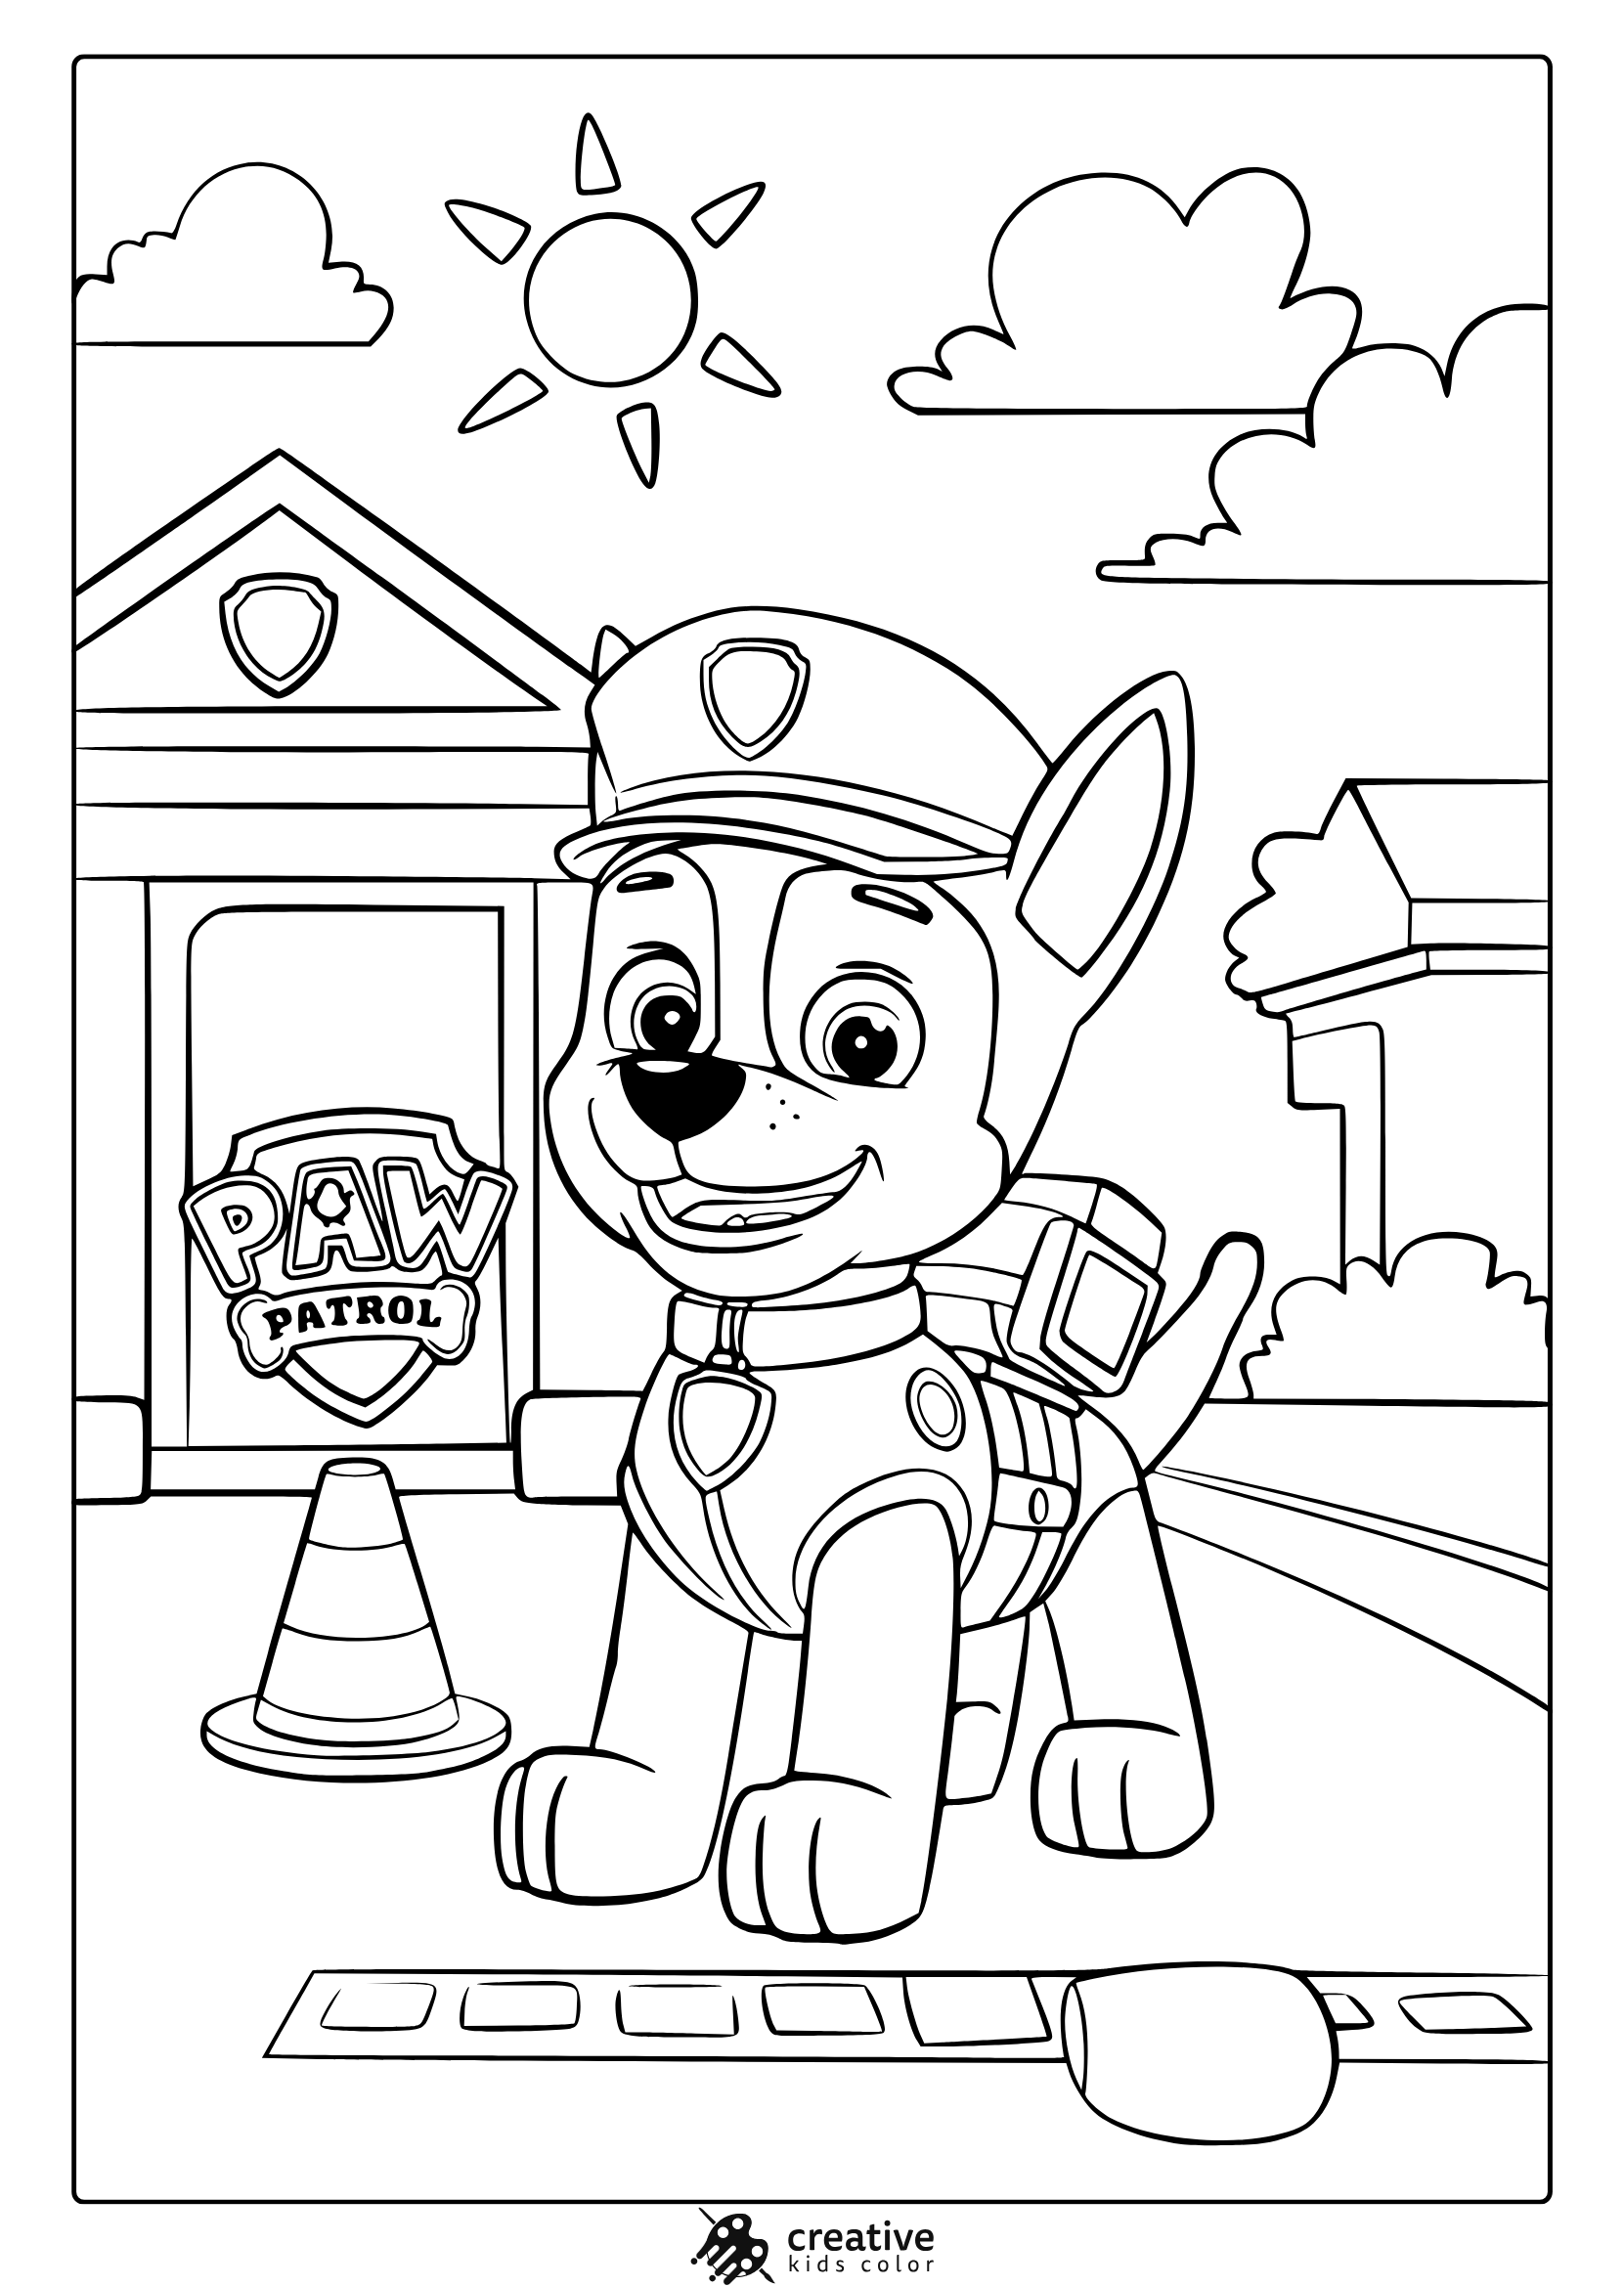
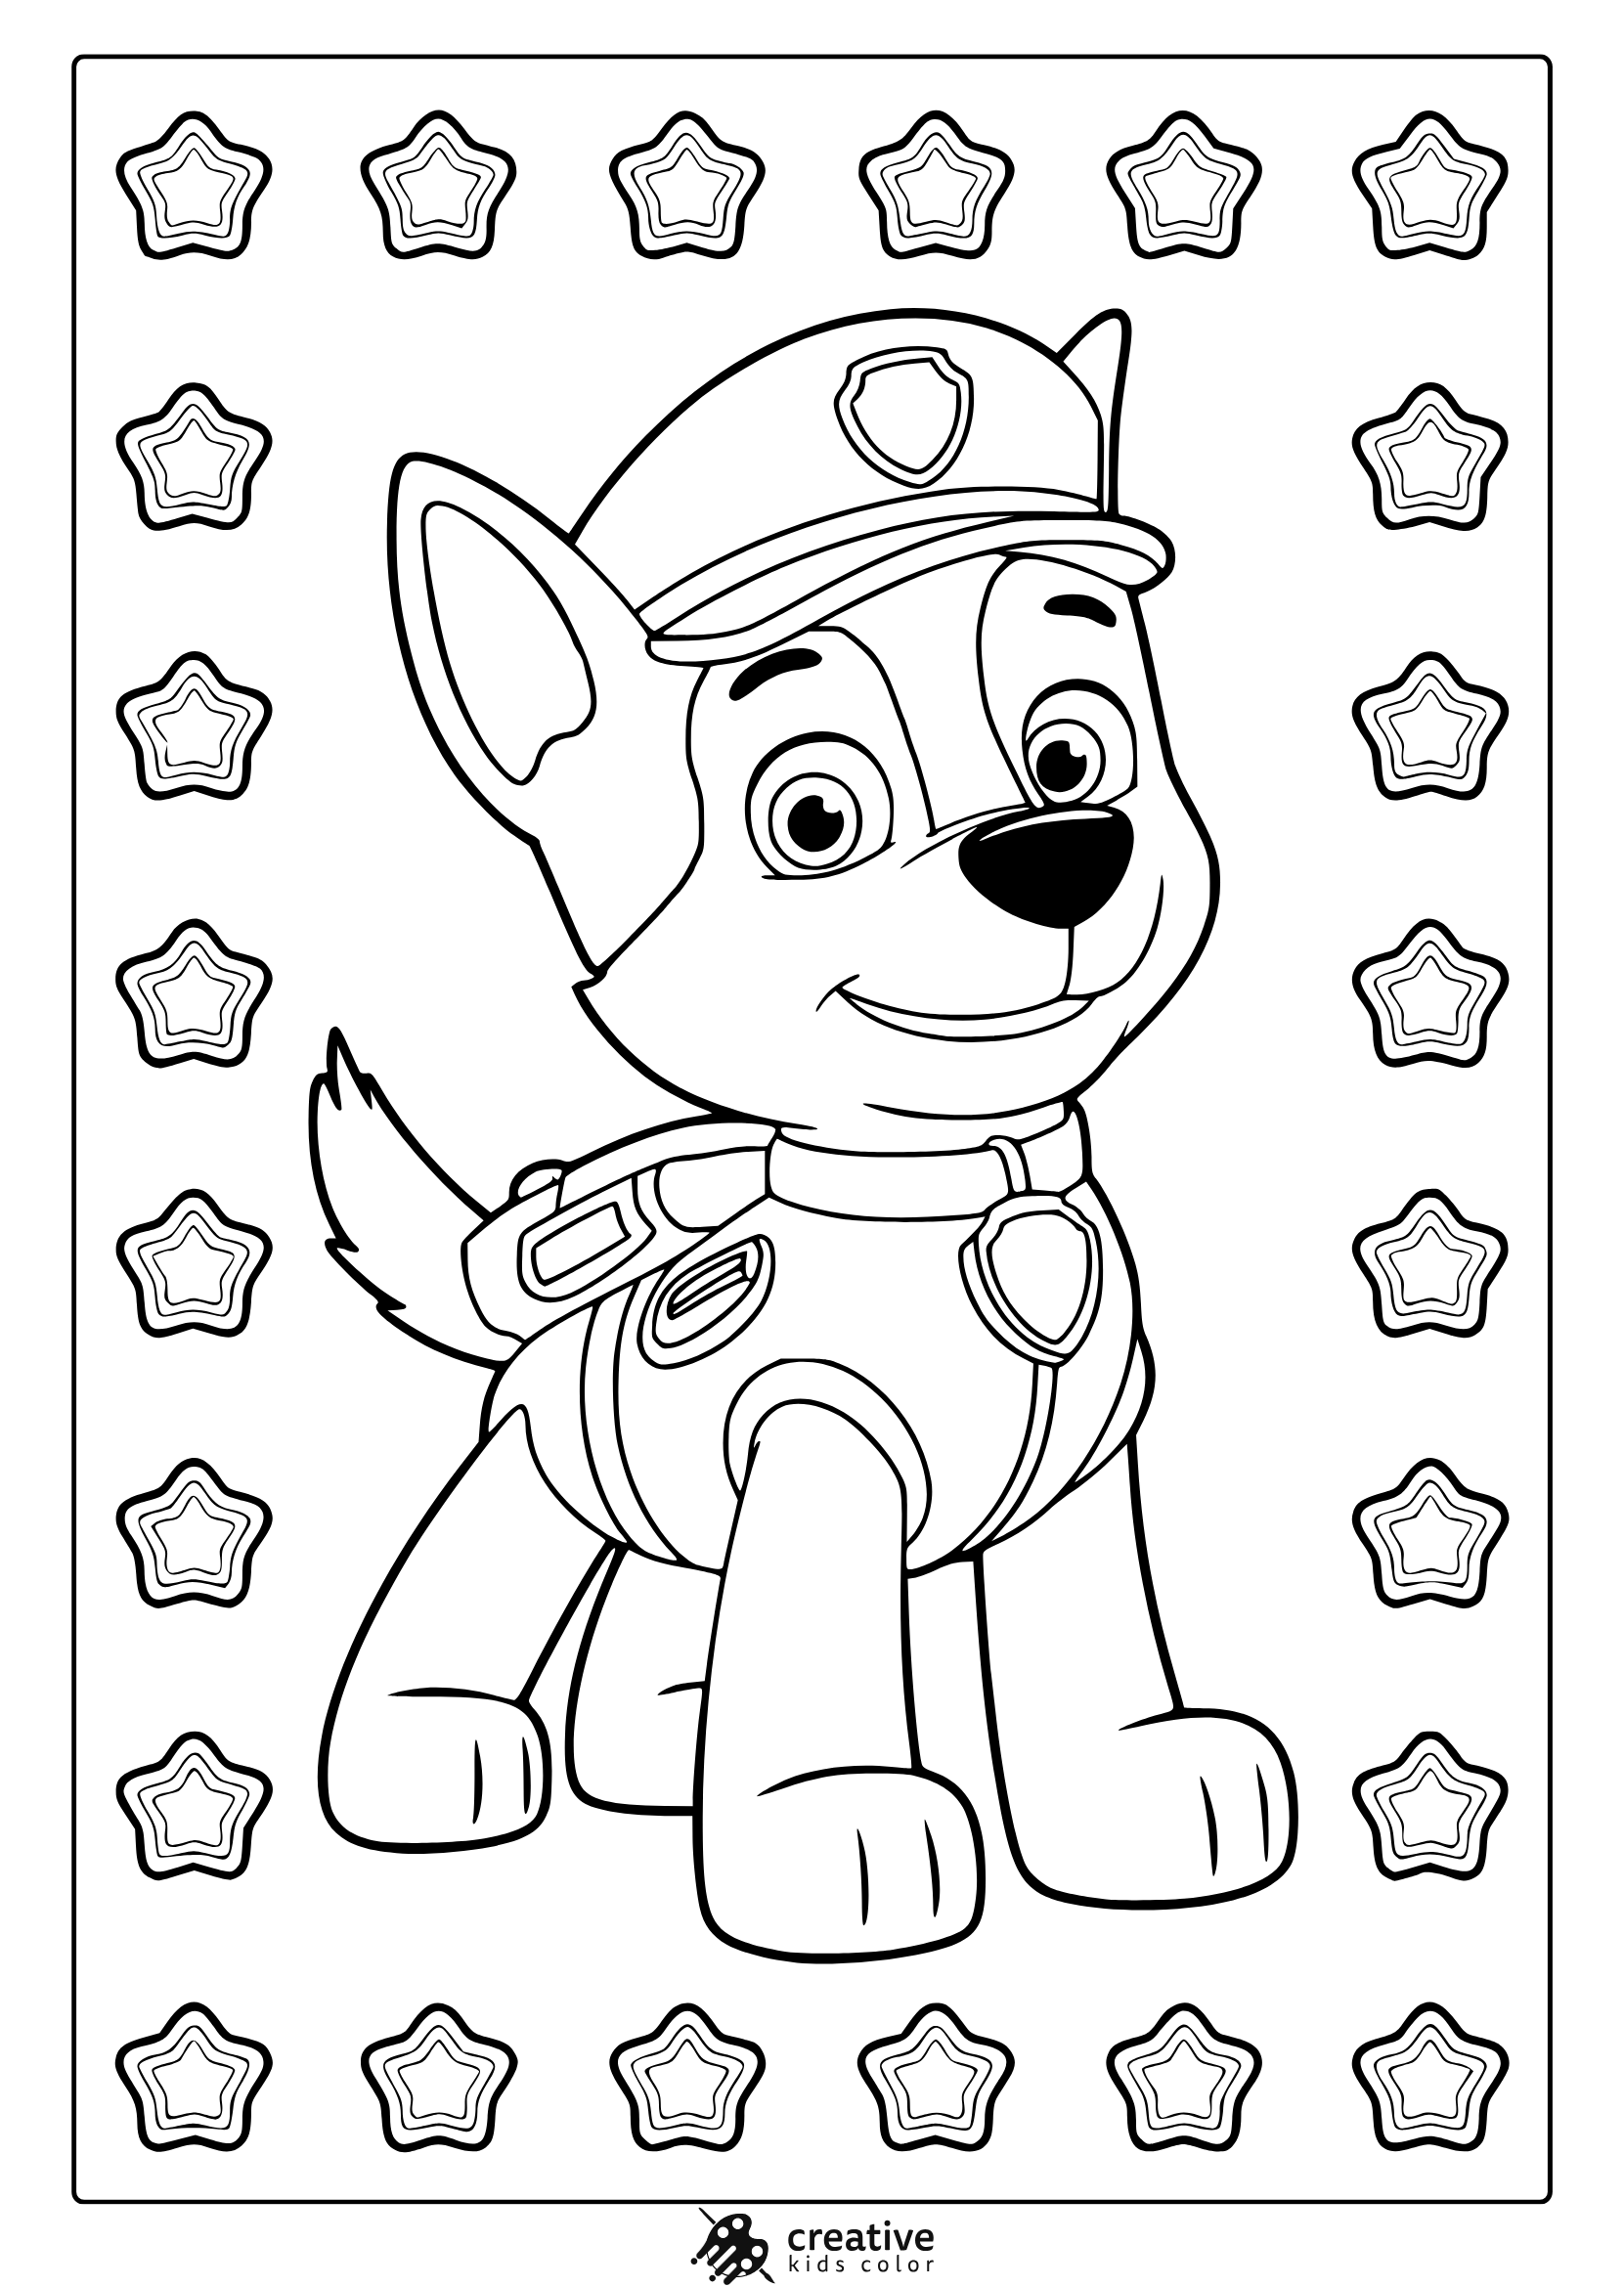
Chase From Paw Patrol Coloring Page
Chase stands proudly in front of the Paw Patrol police station.
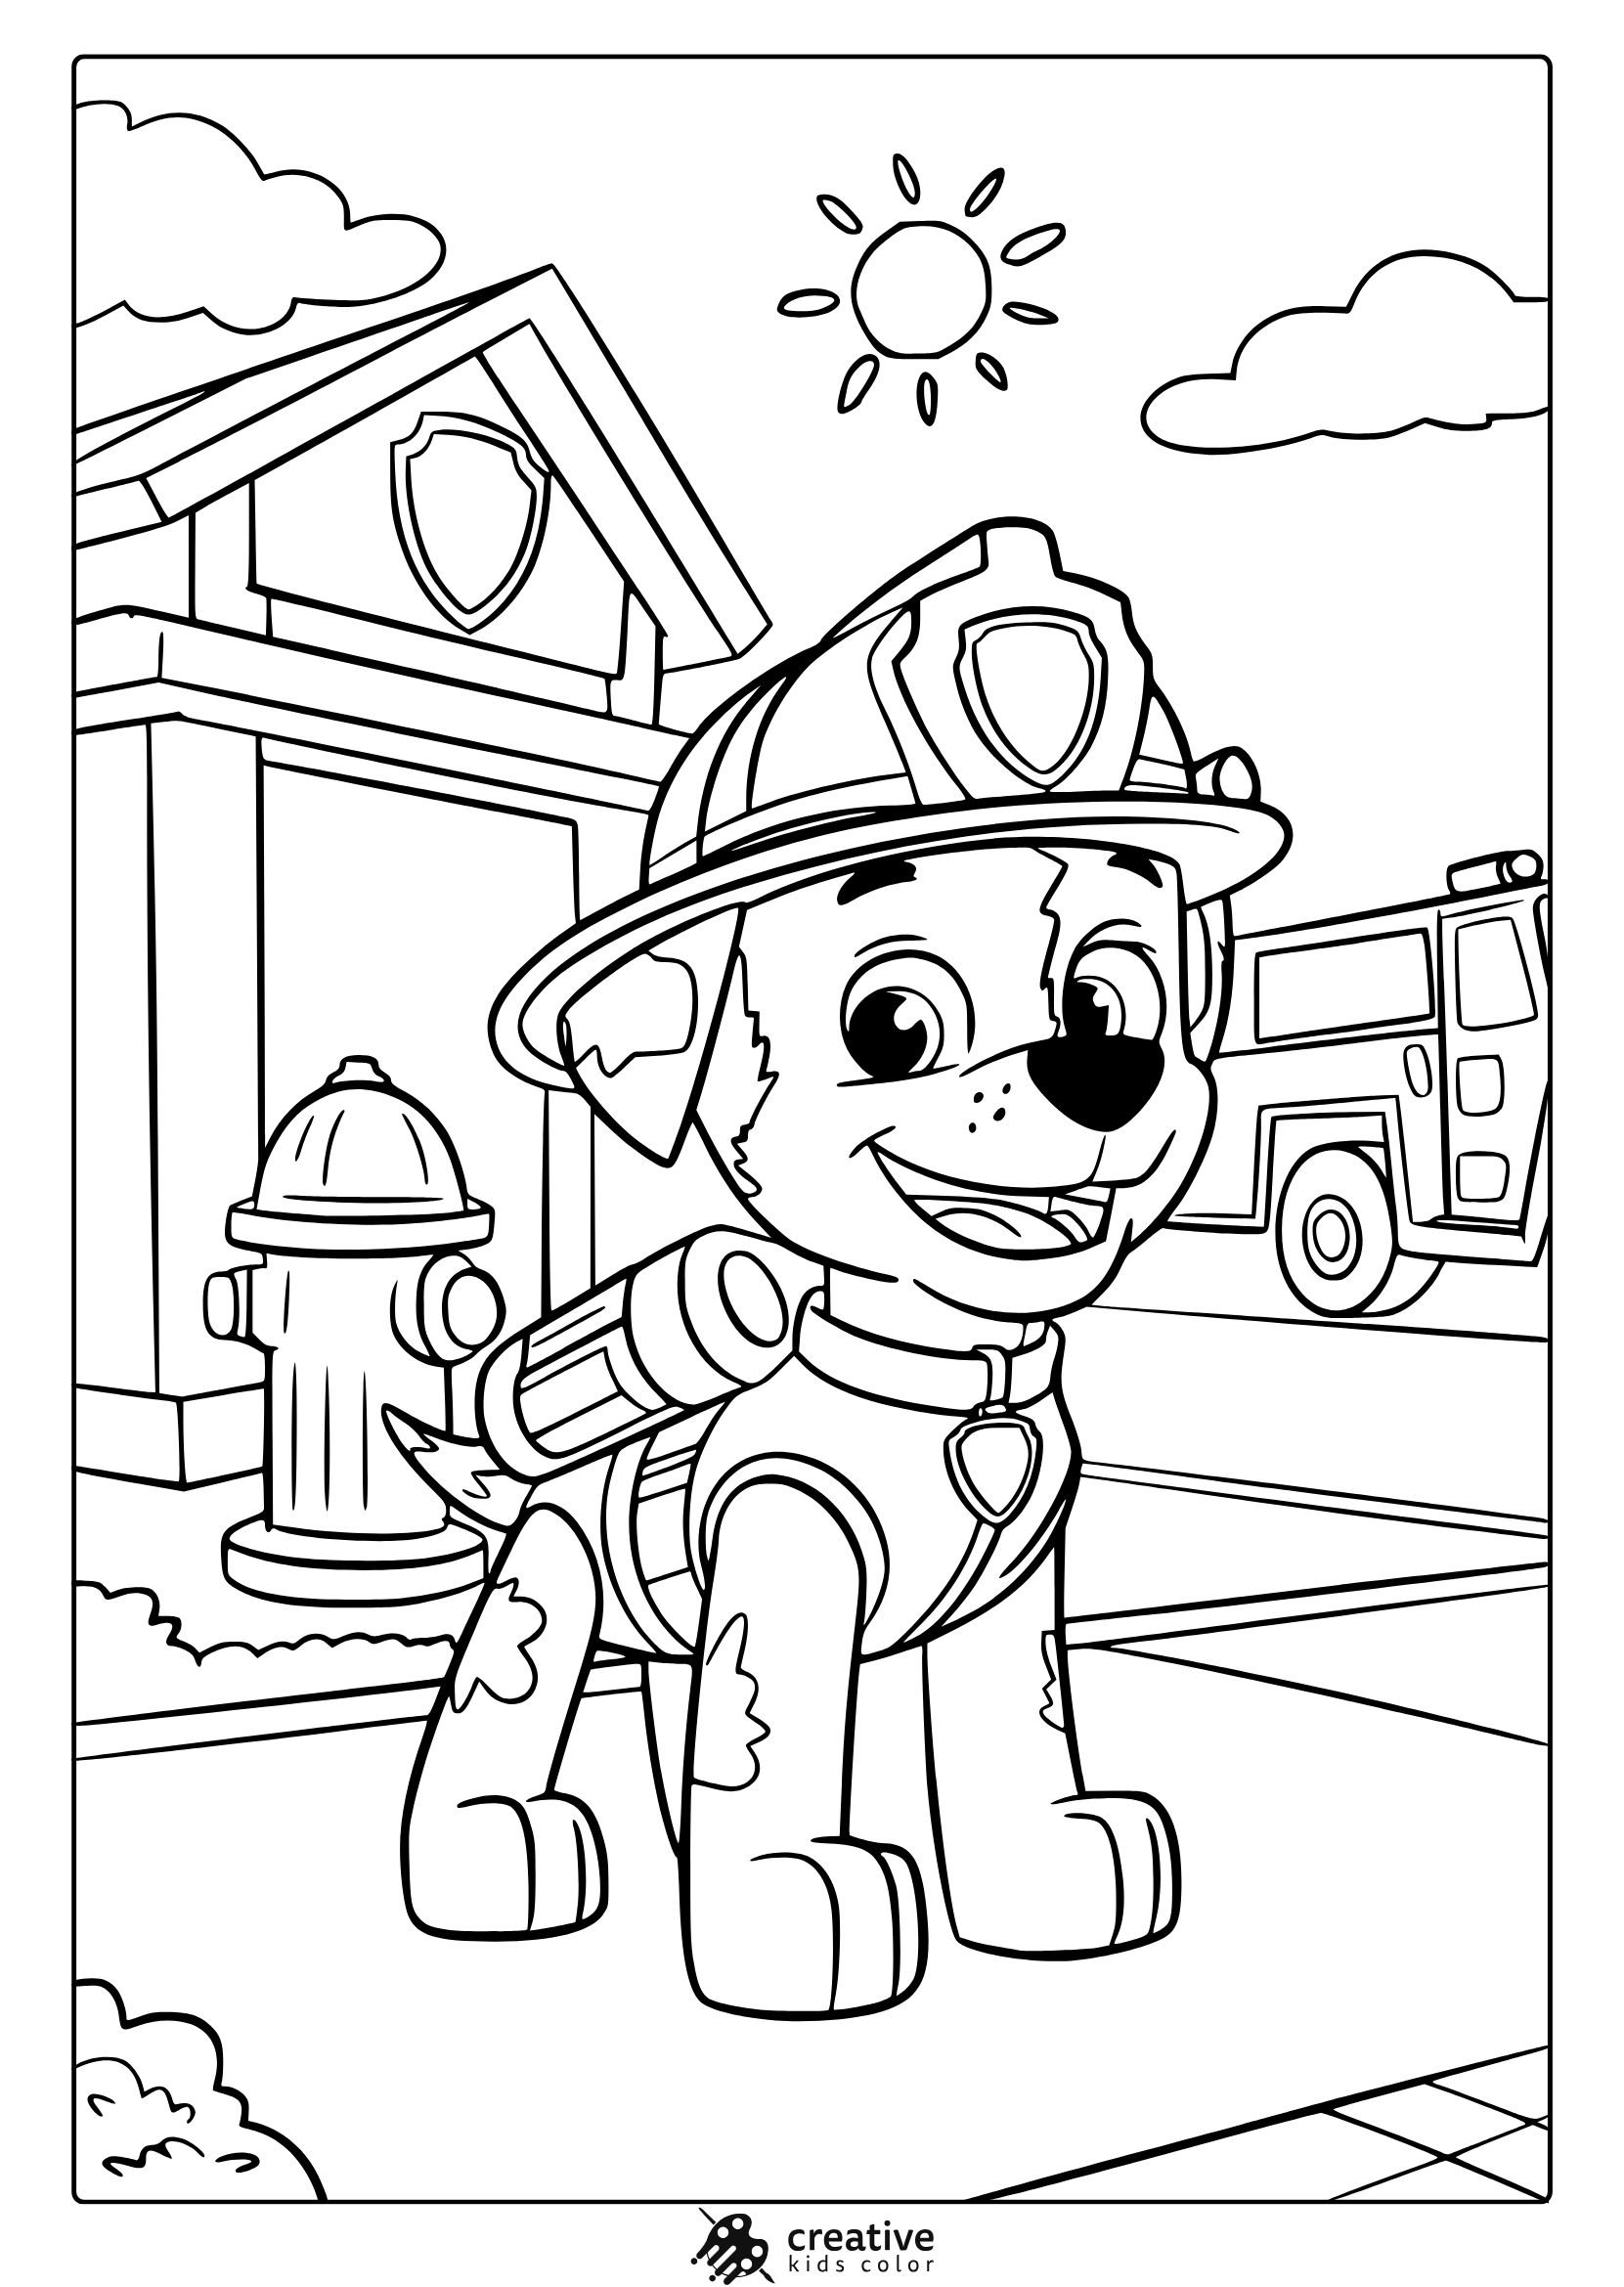
Marshall From Paw Patrol Coloring Page
Join Marshall at the fire station, ready for rescue!
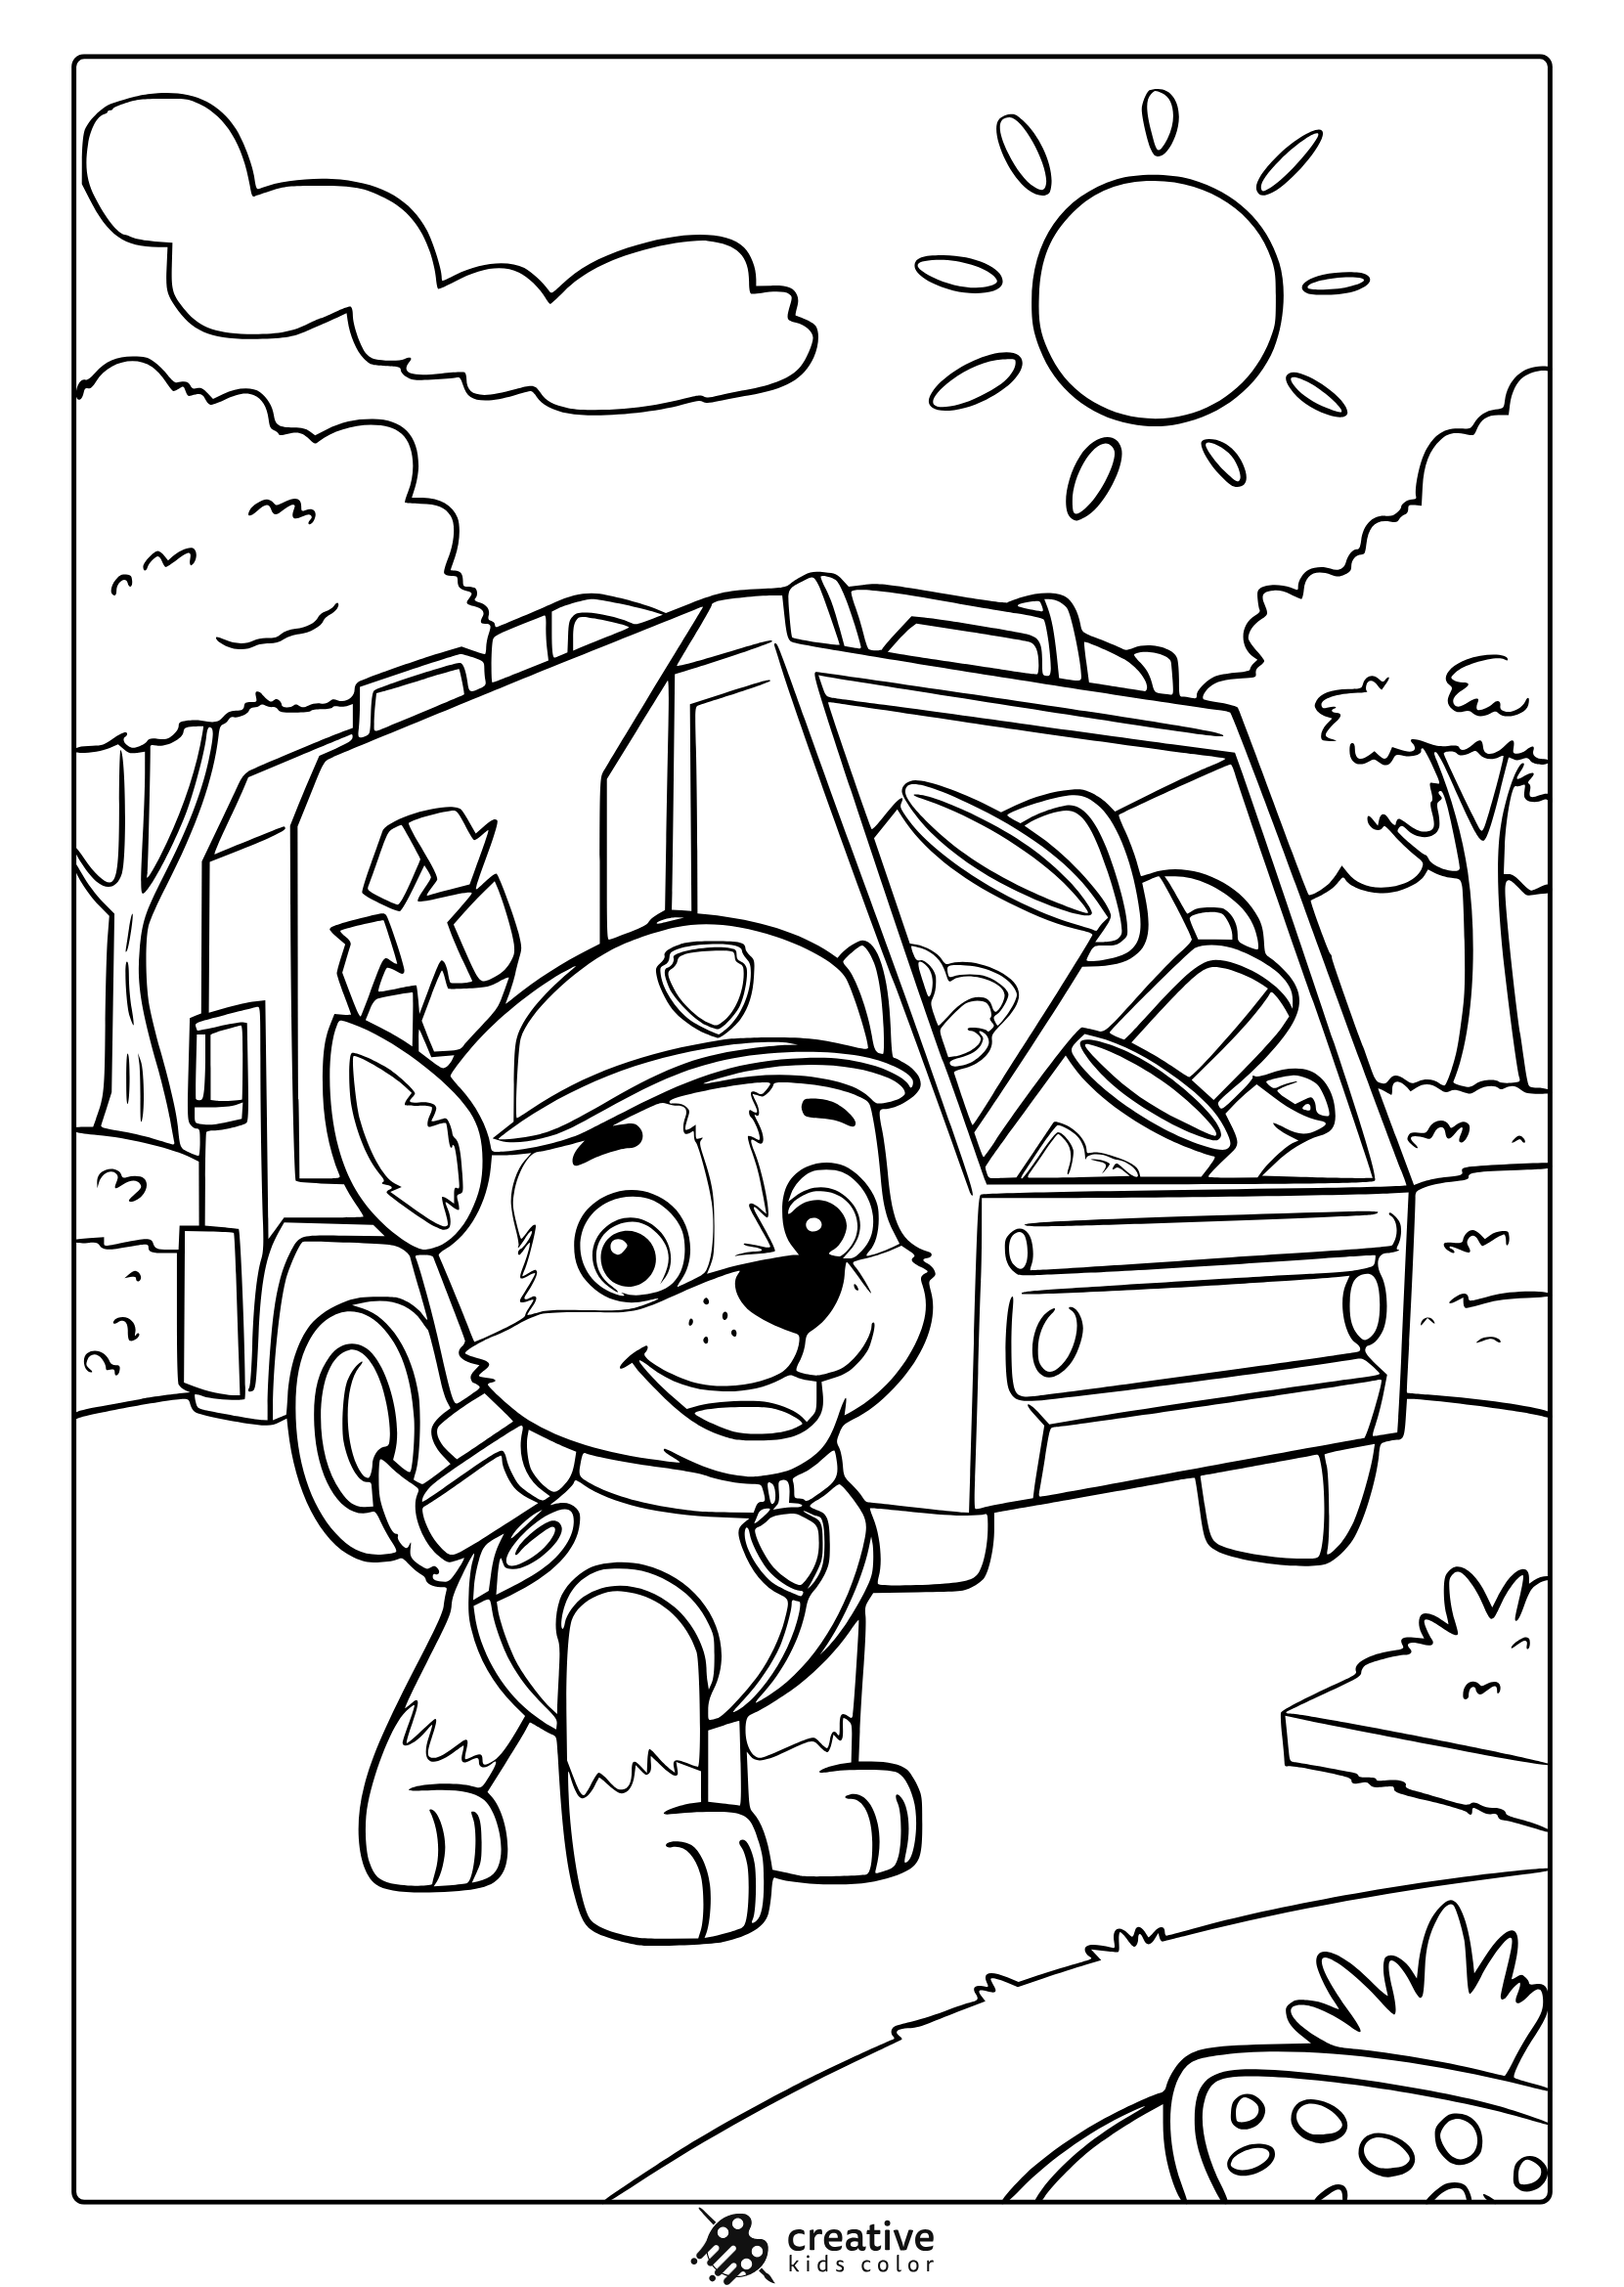
Paw Patrol Rocky Coloring Page
Rocky is set for recycling adventures in this coloring scene.
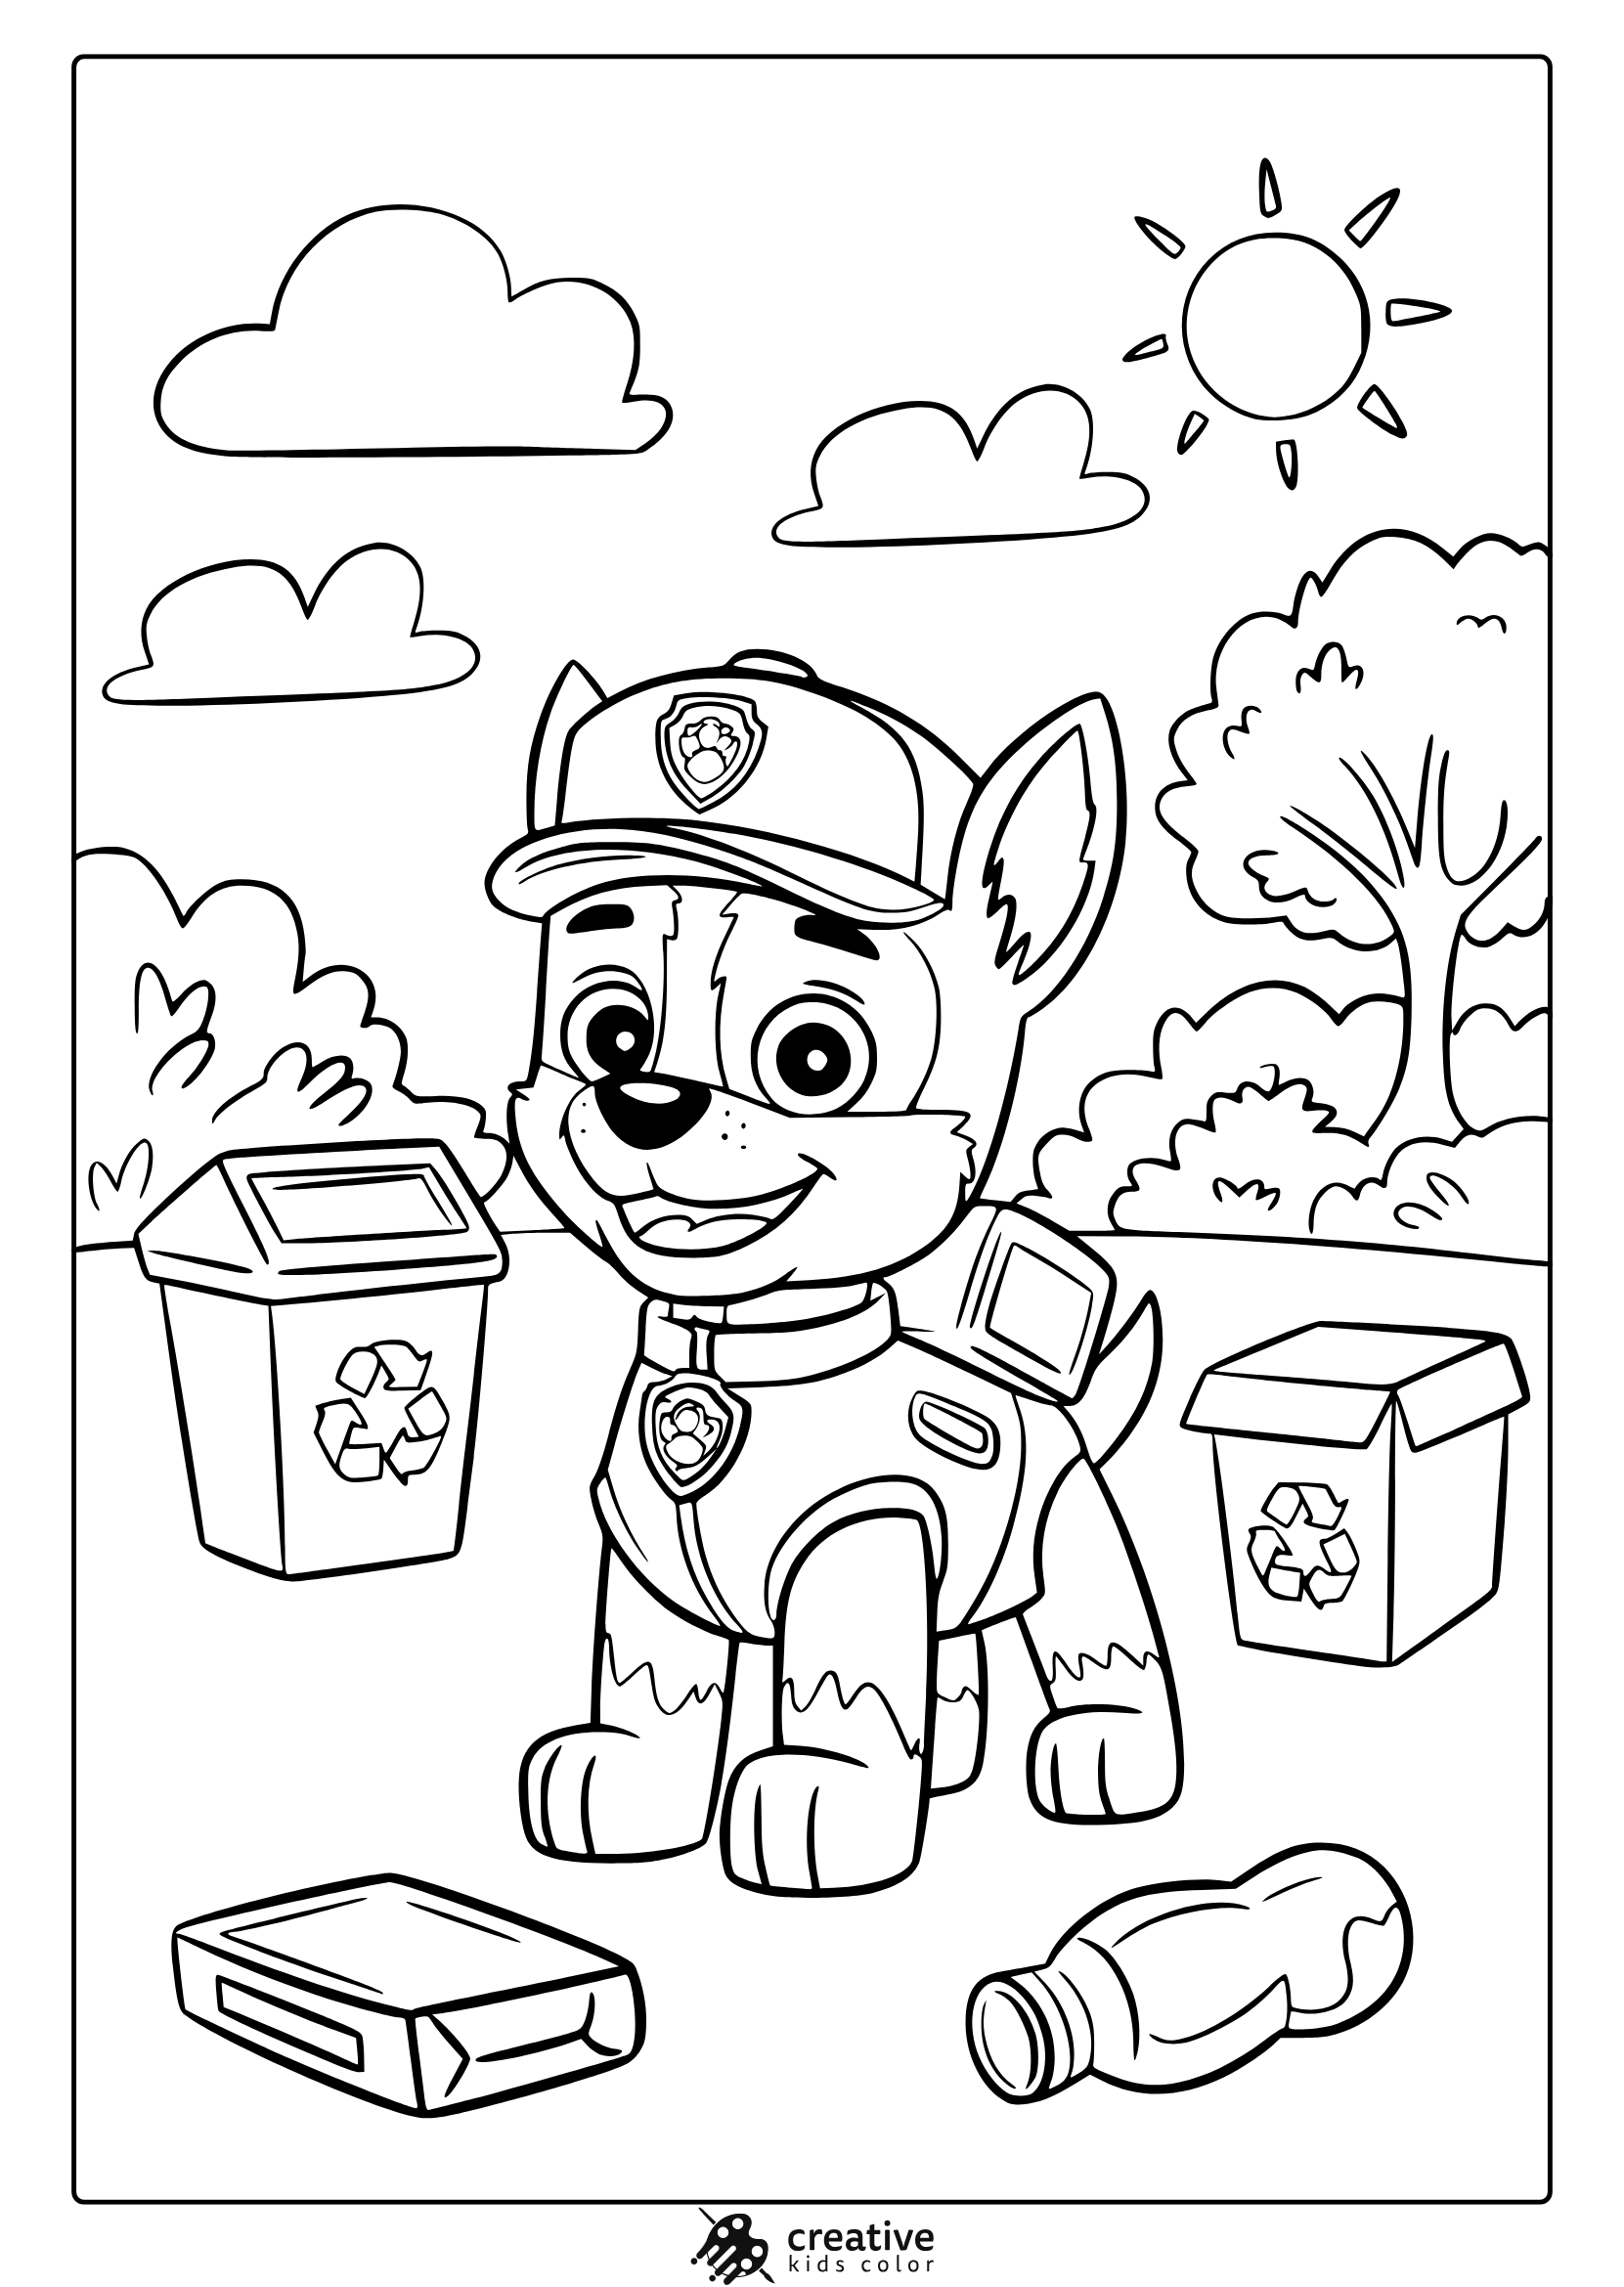
Rocky From Paw Patrol Coloring Page
Help Rocky keep things clean next to his recycling truck!
Cute Paw Patrol Character Coloring Page
Enjoy coloring the cheerful firefighter cub character!
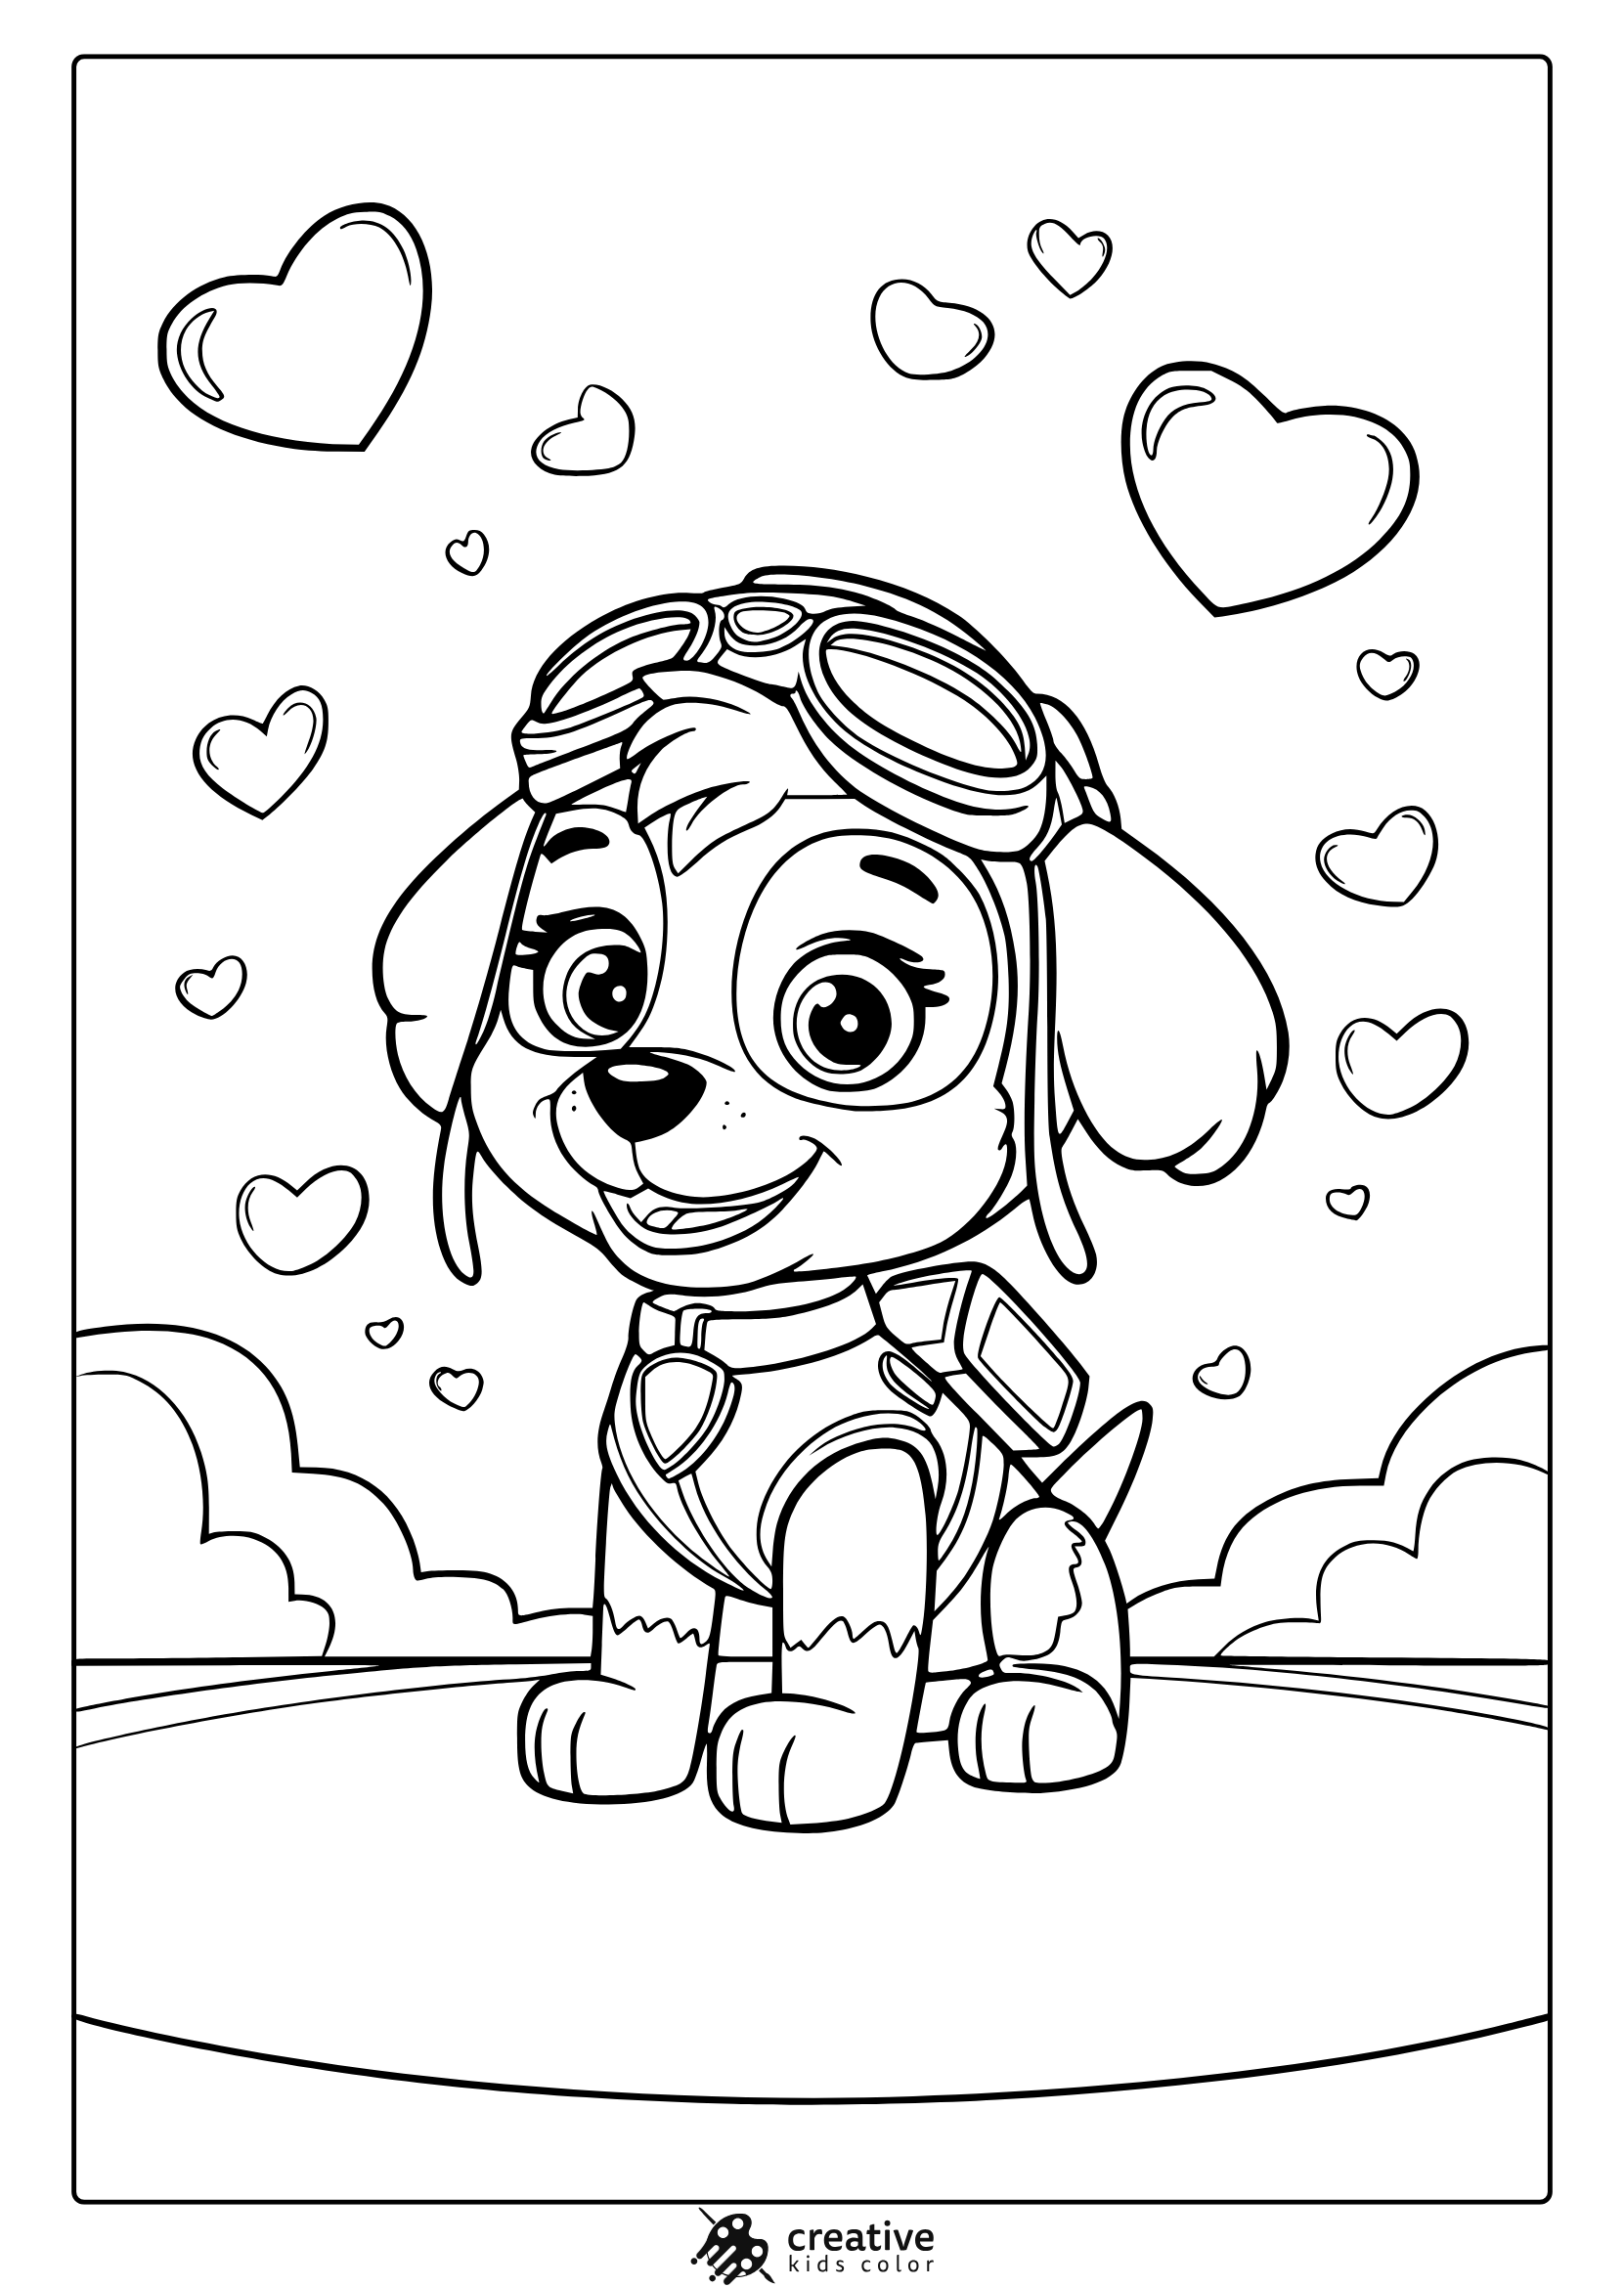
Skye From Paw Patrol Coloring Page
Skye sits sweetly among hearts and clouds, ready to color!
Tracker From Paw Patrol Coloring Page
Tracker explores a tropical scene filled with palms.
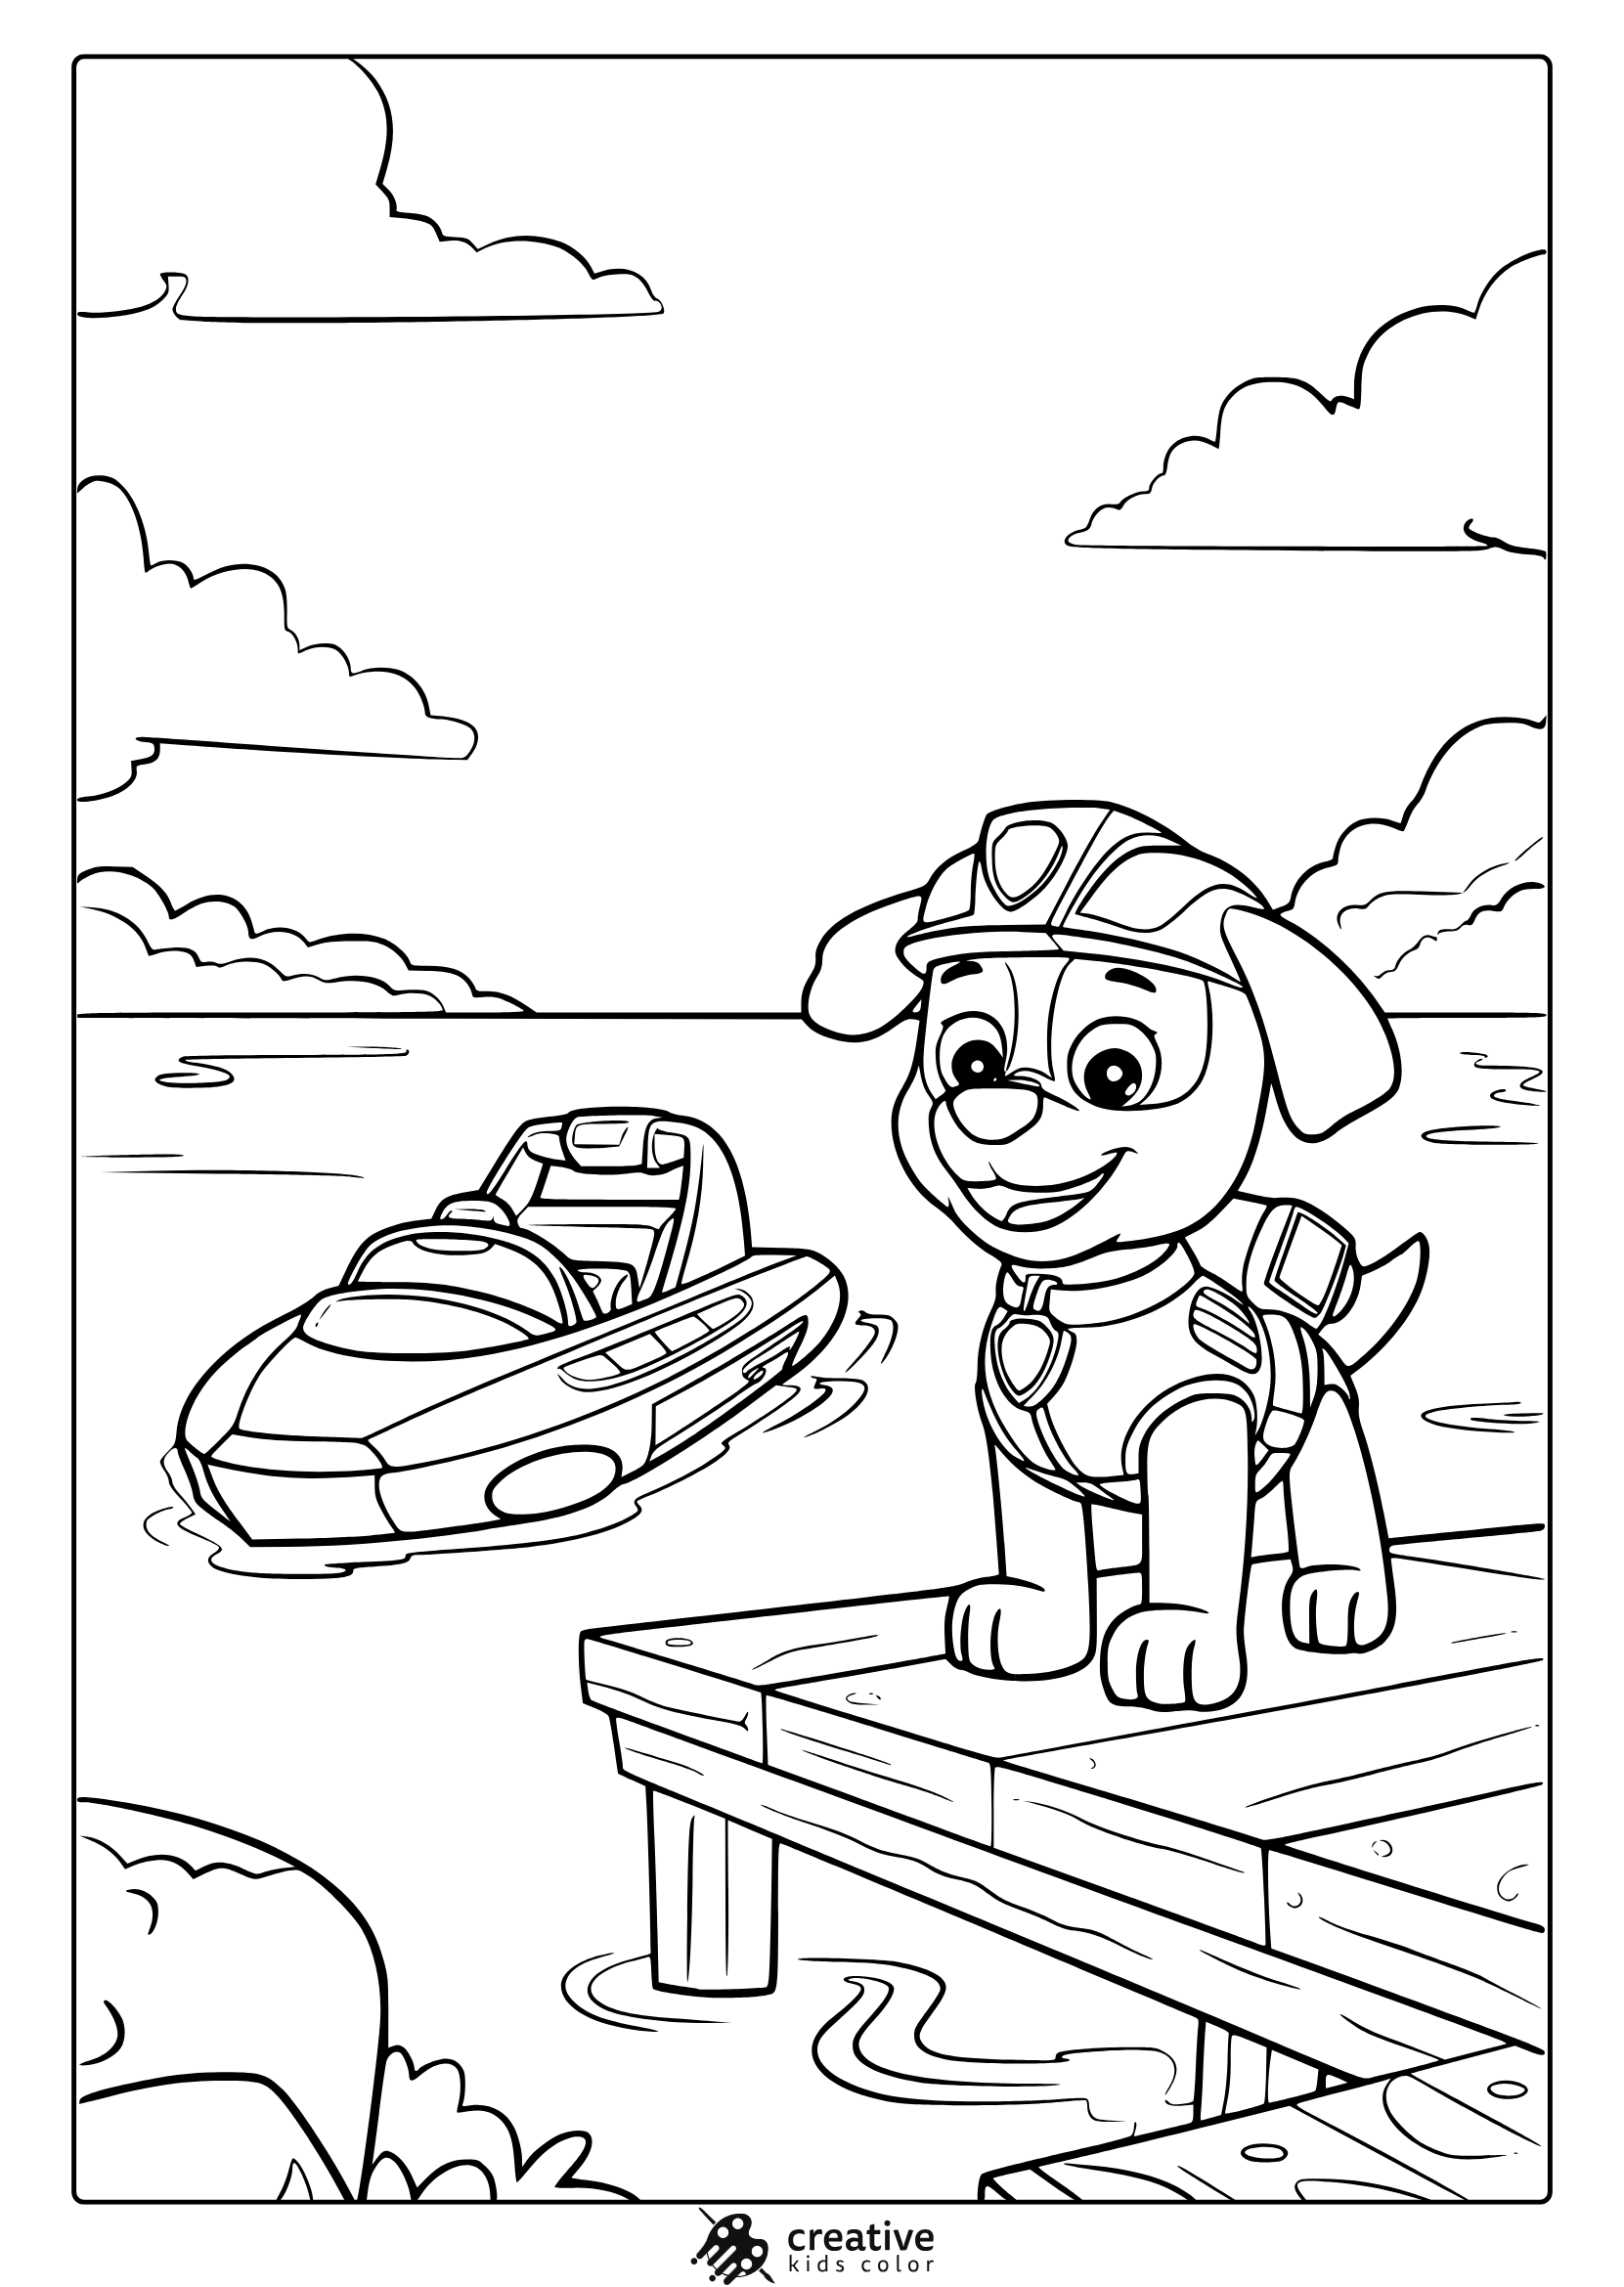
Paw Patrol Zuma Coloring Page
Zuma waits excitedly at the dock next to his rescue boat.
Rocky Builds a New Playground
Rocky is helping build a new playground with his tools.
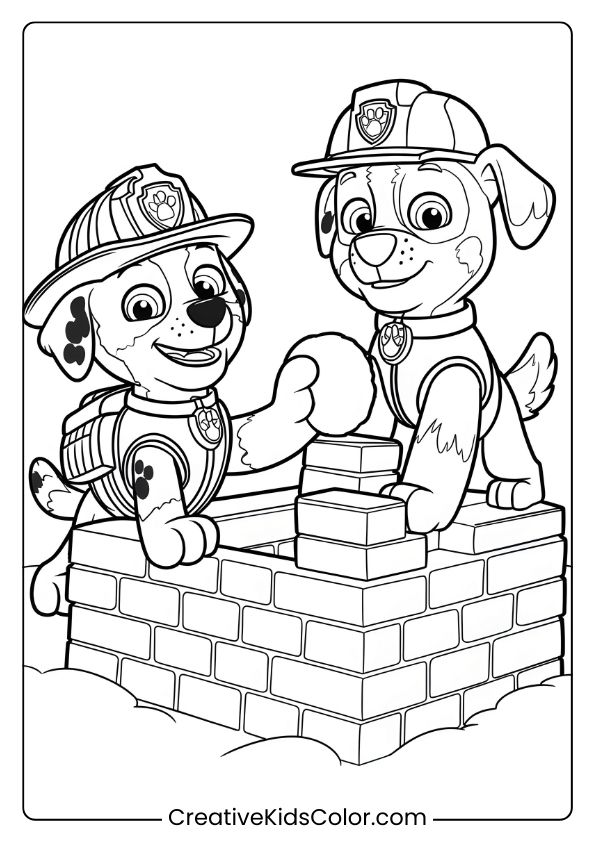
Marshall and Rocky Build a Snow Fort
Marshall and Rocky are building a snow fort together.
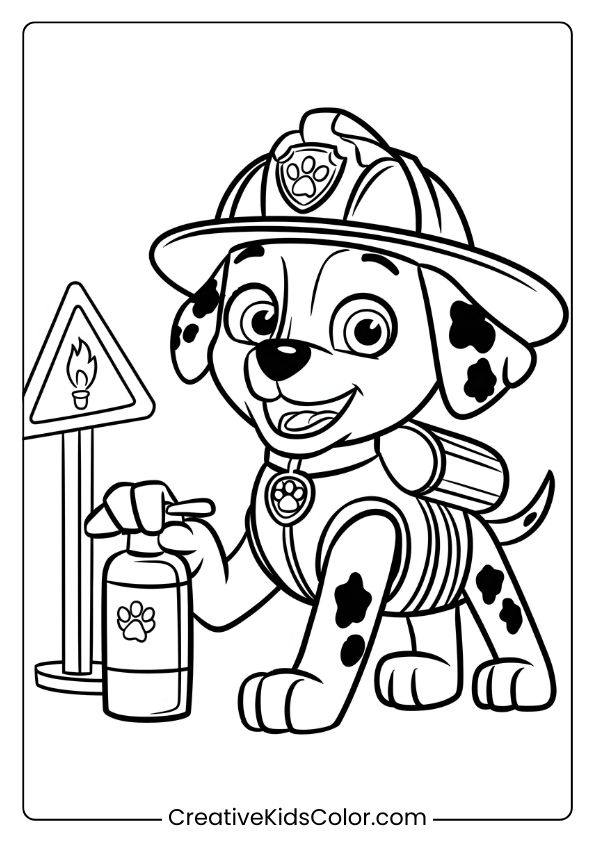
Marshall’s Fire Safety Lessons
Marshall is all geared up to teach fire safety.
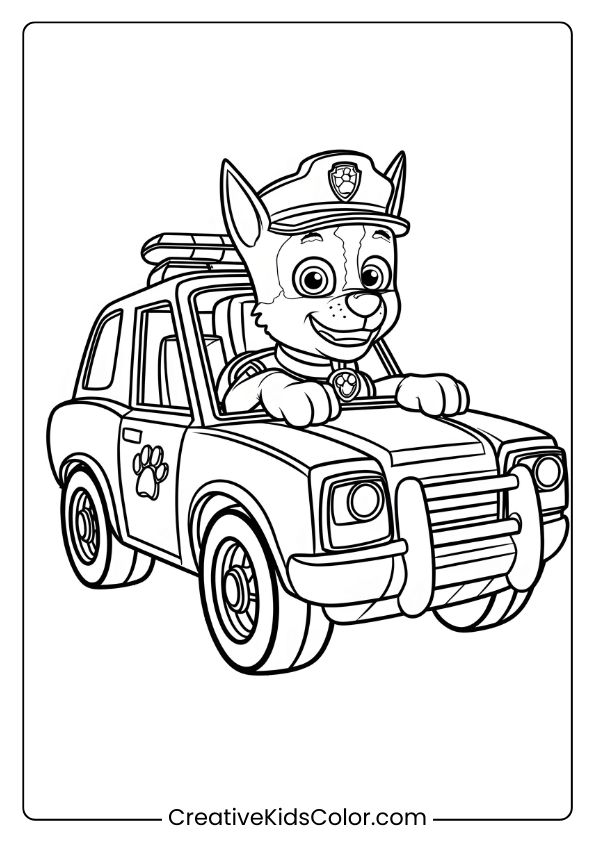
Chase’s High-Speed Police Chase
Chase is zooming by in his police car with a big smile.
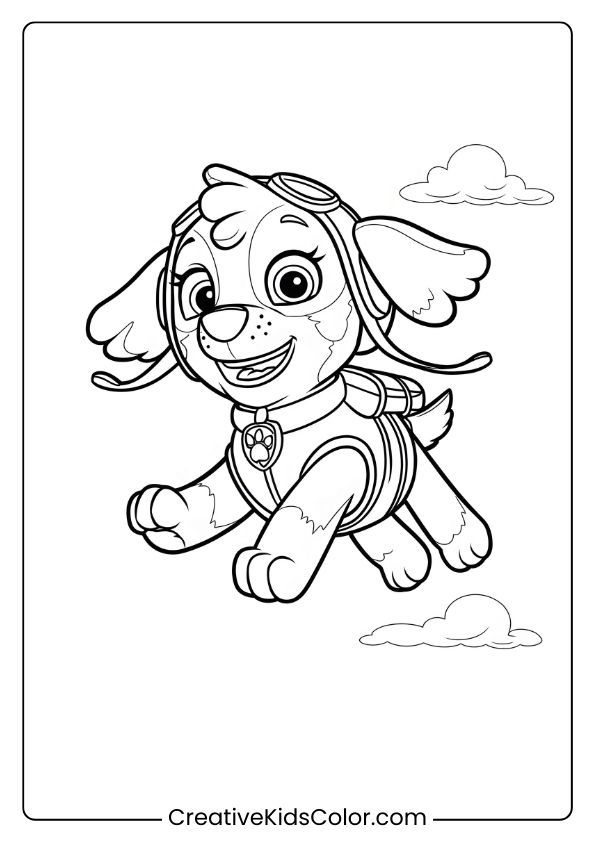
Skye’s Cloud Adventure Takes Flight
Skye is soaring through the sky with her aviator goggles on.
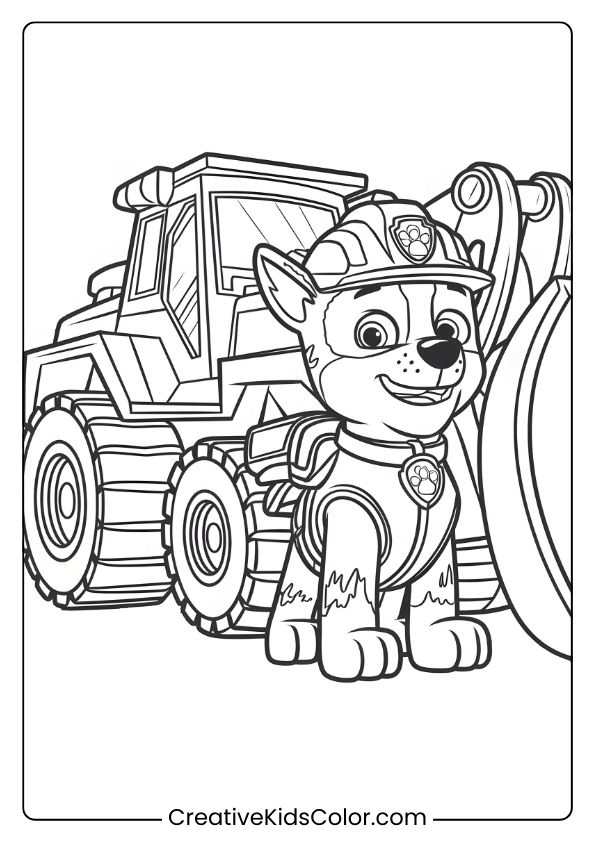
Rocky with bulldozer coloring page
Rocky stands proudly by his big bulldozer, ready to work.
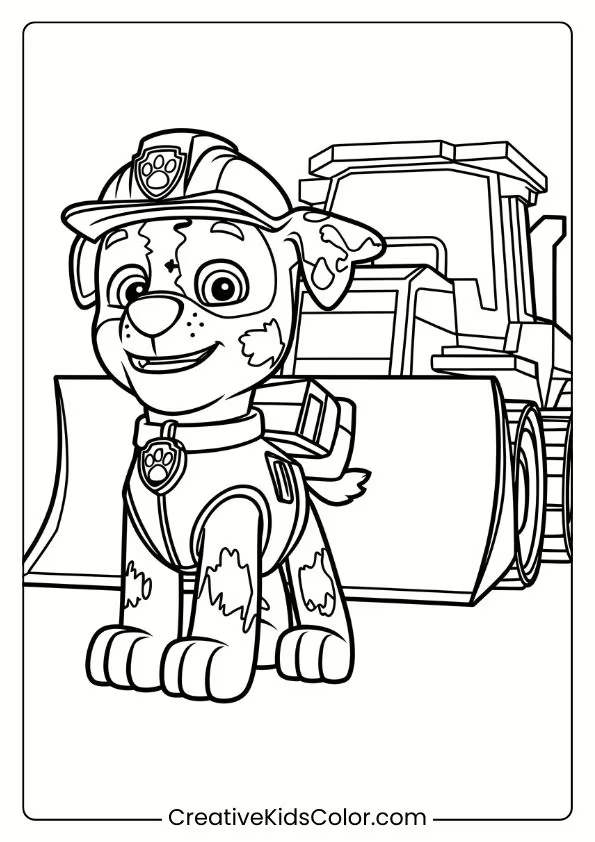
Rocky’s Construction Site Comes to Life
Rocky stands ready with his bulldozer on the construction site.
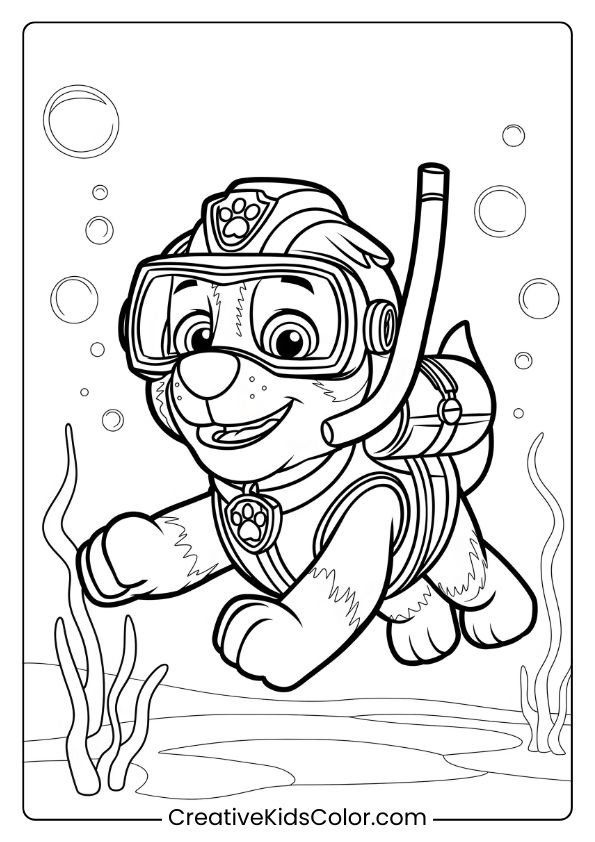
Dive into Fun with Zuma Underwater
Zuma is enjoying his underwater adventure!
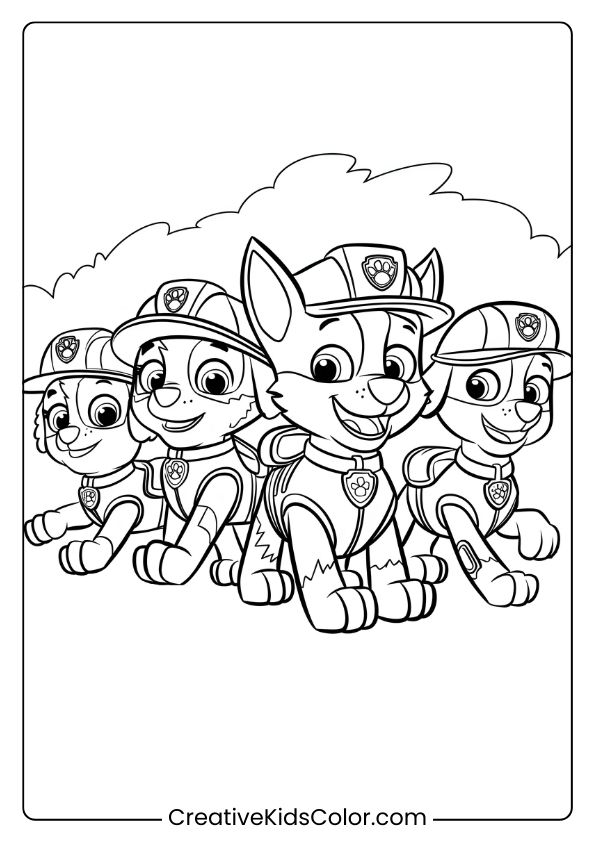
Adventure Awaits with the Paw Patrol Pups
The Paw Patrol pups are lined up and ready for an exciting mission!

Skye Soars High in Her Helicopter
Skye flies high, smiling from her helicopter cockpit.
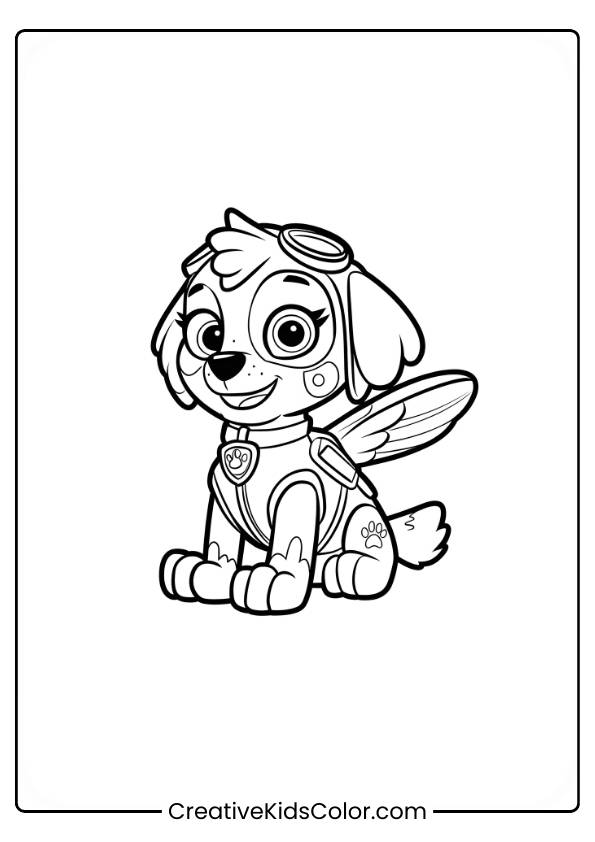
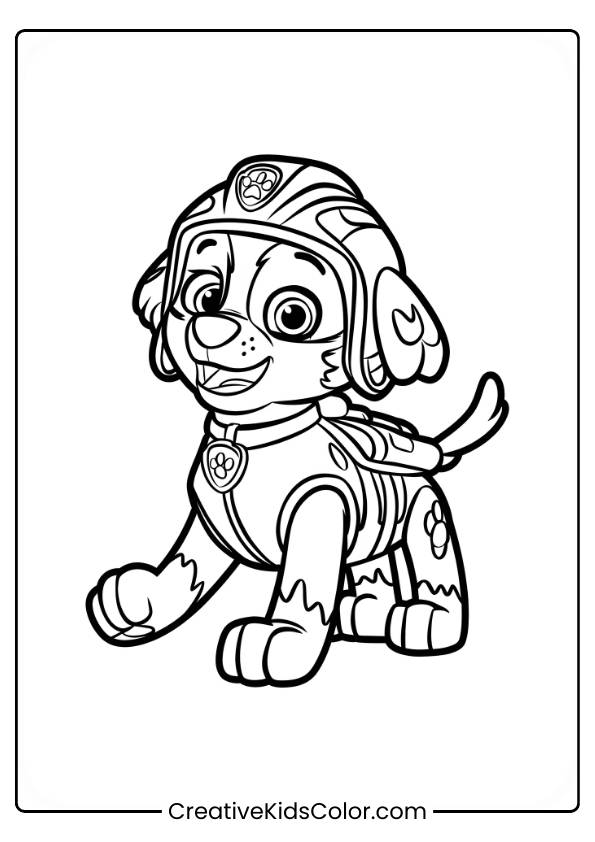
Skye Paw Patrol Coloring Page
Skye, a cheerful dog, sits in a relaxed pose with goggles on her head and wings on her back.
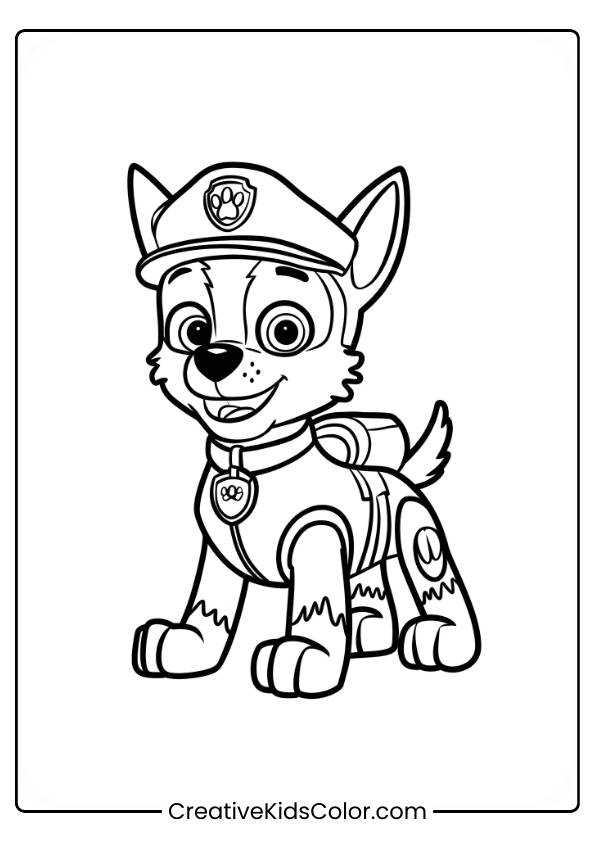
Chase Paw Patrol Coloring Page
Chase, a friendly dog, stands on all fours wearing a cap and uniform.
Marshall Paw Patrol Coloring Page
Marshall, a happy dog with a backpack, stands upright, ready for action.
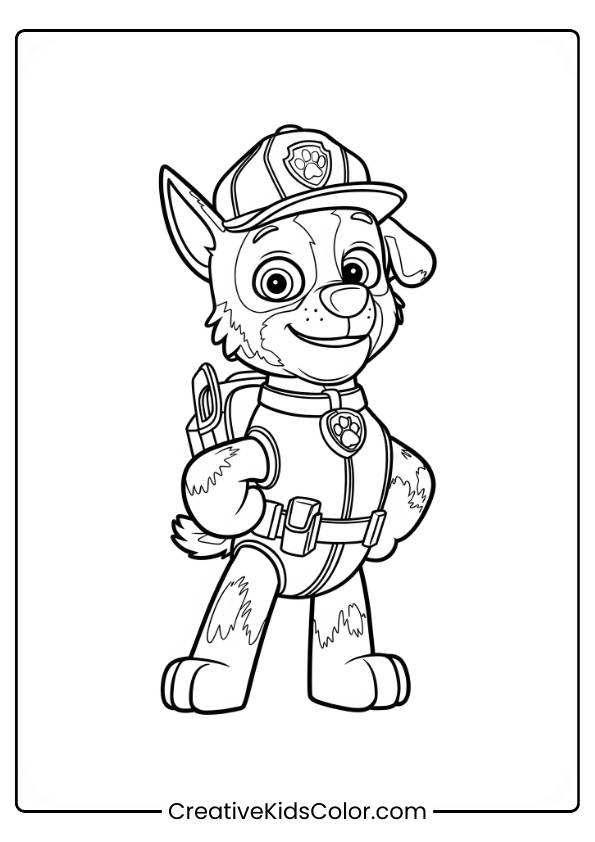
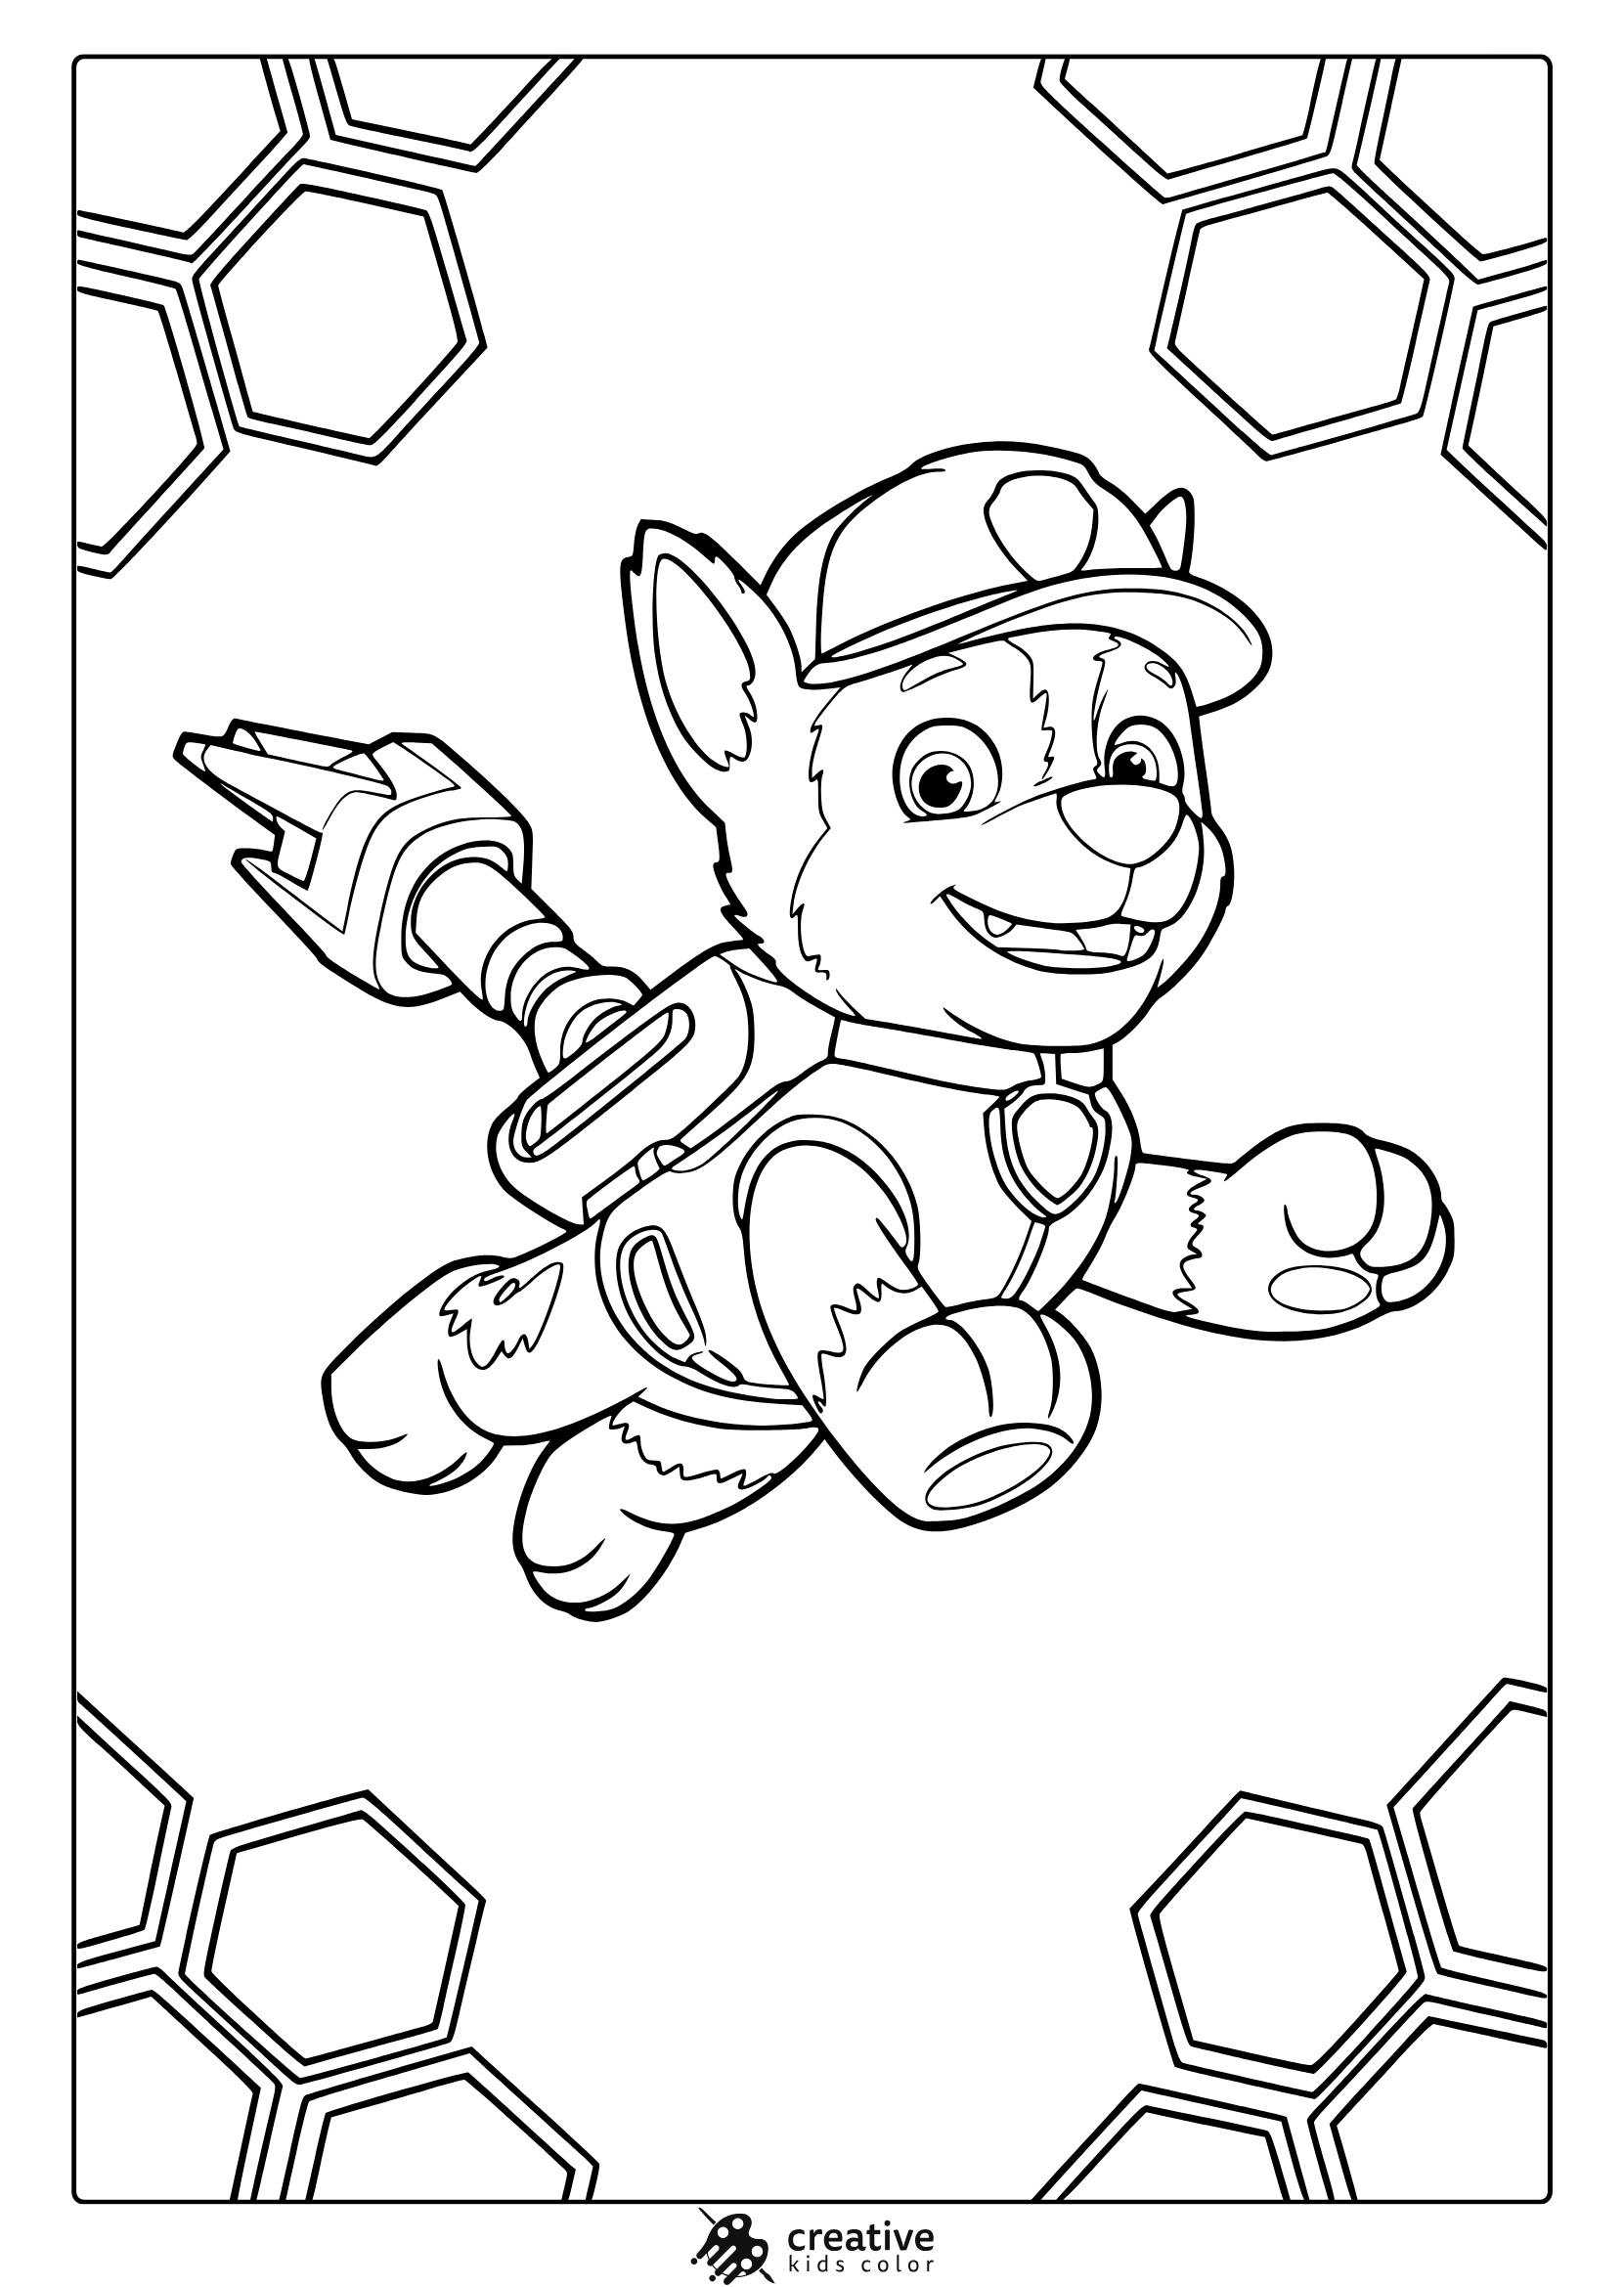
Rocky Paw Patrol Coloring Page
Rocky, a confident dog, stands with a tool in hand, wearing a cap and utility belt.
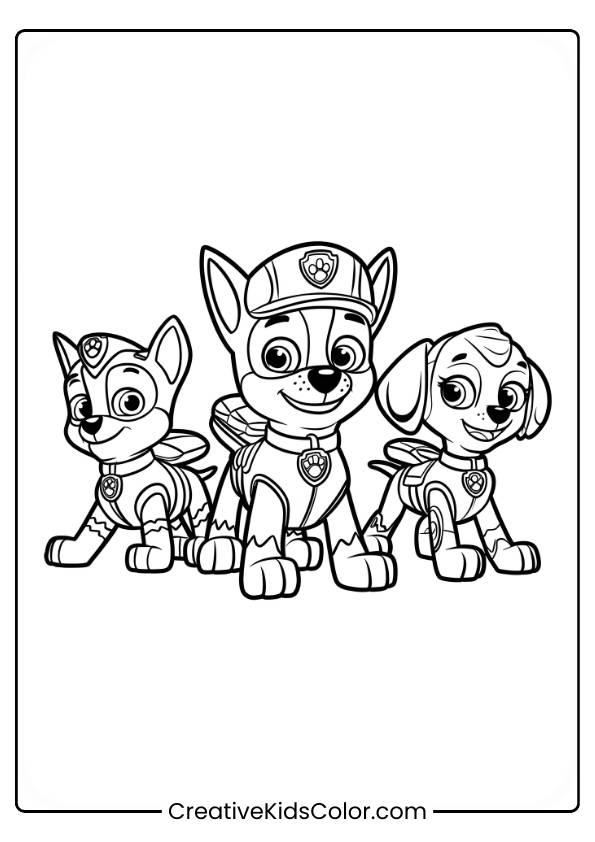
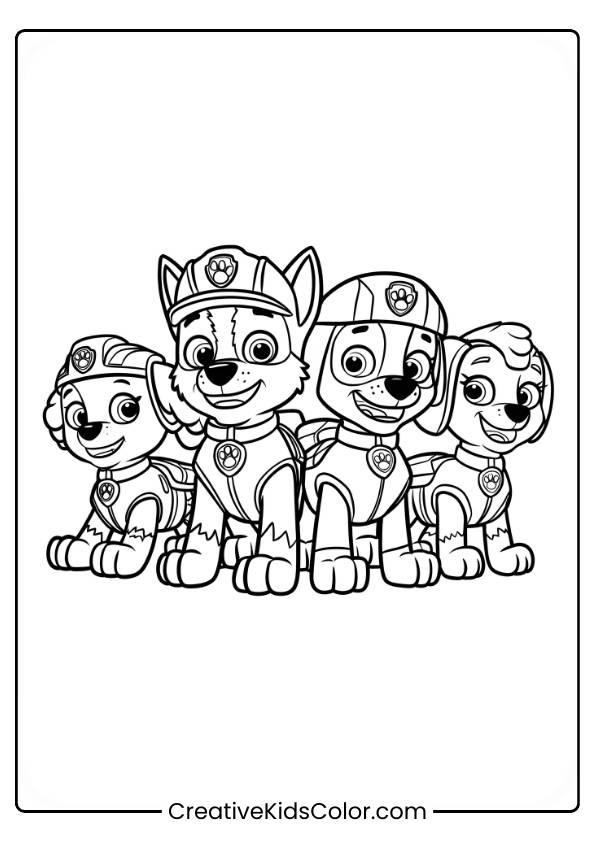
Paw Patrol Mighty Pups Coloring Page
Three dogs in uniform, each with a badge, stand side by side.
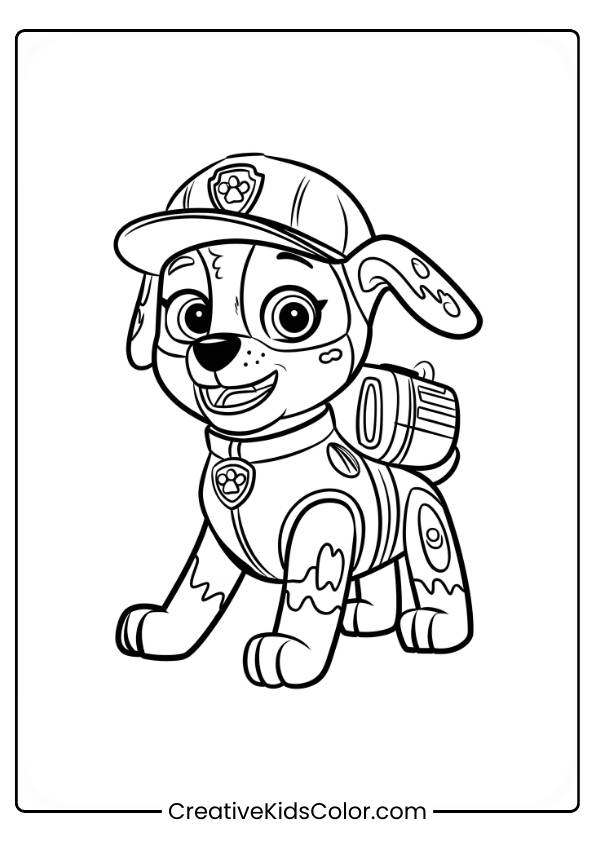
Rocky Paw Patrol Coloring Page
Rocky, in a construction helmet and vest, raises a paw, ready to move.
Zuma Paw Patrol Coloring Page
Zuma, with a helmet and badge, runs forward, tongue out playfully.

Paw Patrol Christmas Coloring Page
Three dogs in festive attire stand near a Christmas tree with “MERRY CHRISTMAS” above.
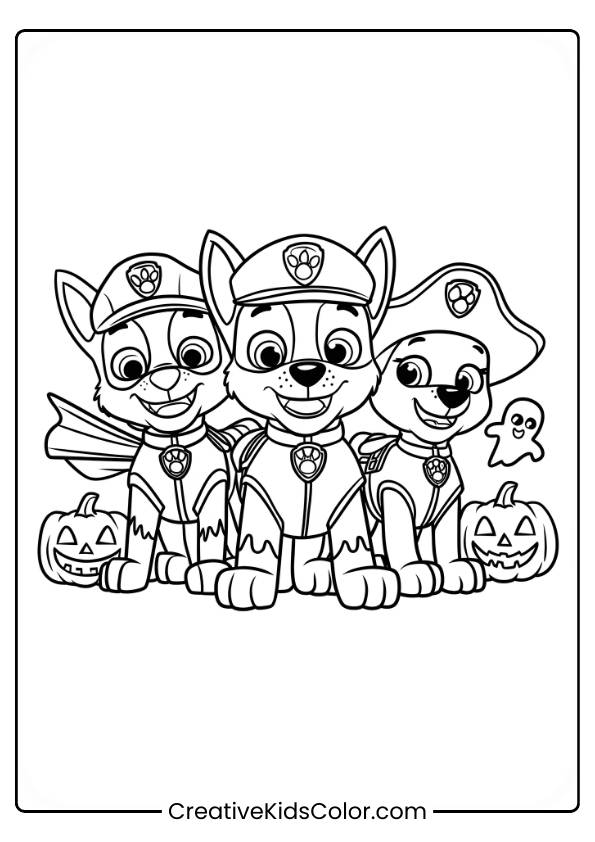
Paw Patrol Halloween Coloring Page
Three dogs in costumes, including a pirate and superhero, stand among pumpkins.

Marshall rides a skateboard coloring page
Marshall rides a skateboard with a helmet and backpack, looking cheerful.
Paw Patrol Movie Coloring Page
Four puppies in colorful uniforms, each with badges, stand side by side.
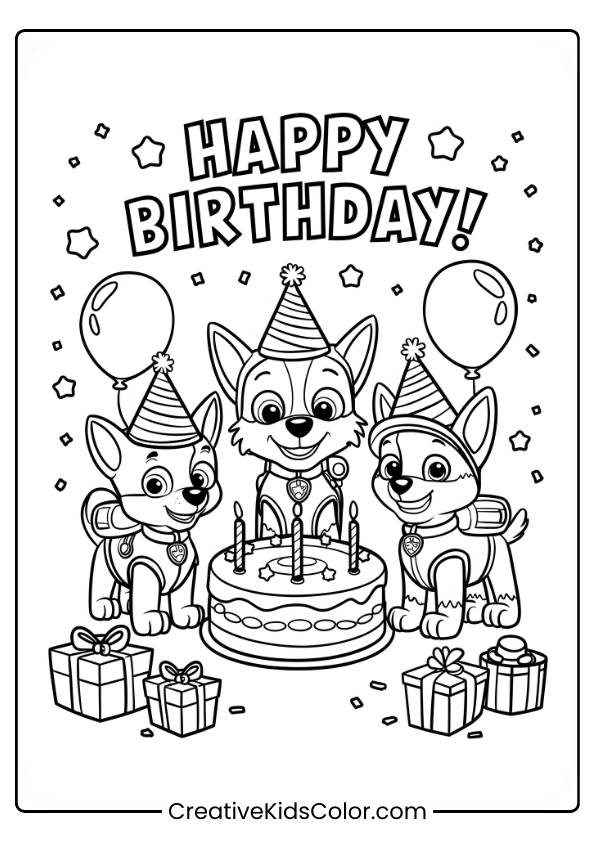
Paw Patrol Birthday Coloring Page
Three dogs in party hats celebrate next to a birthday cake and balloons.

Coral From Paw Patrol Coloring Page
Coral floats underwater with a jellyfish, bubbles, and sea flowers surrounding her.

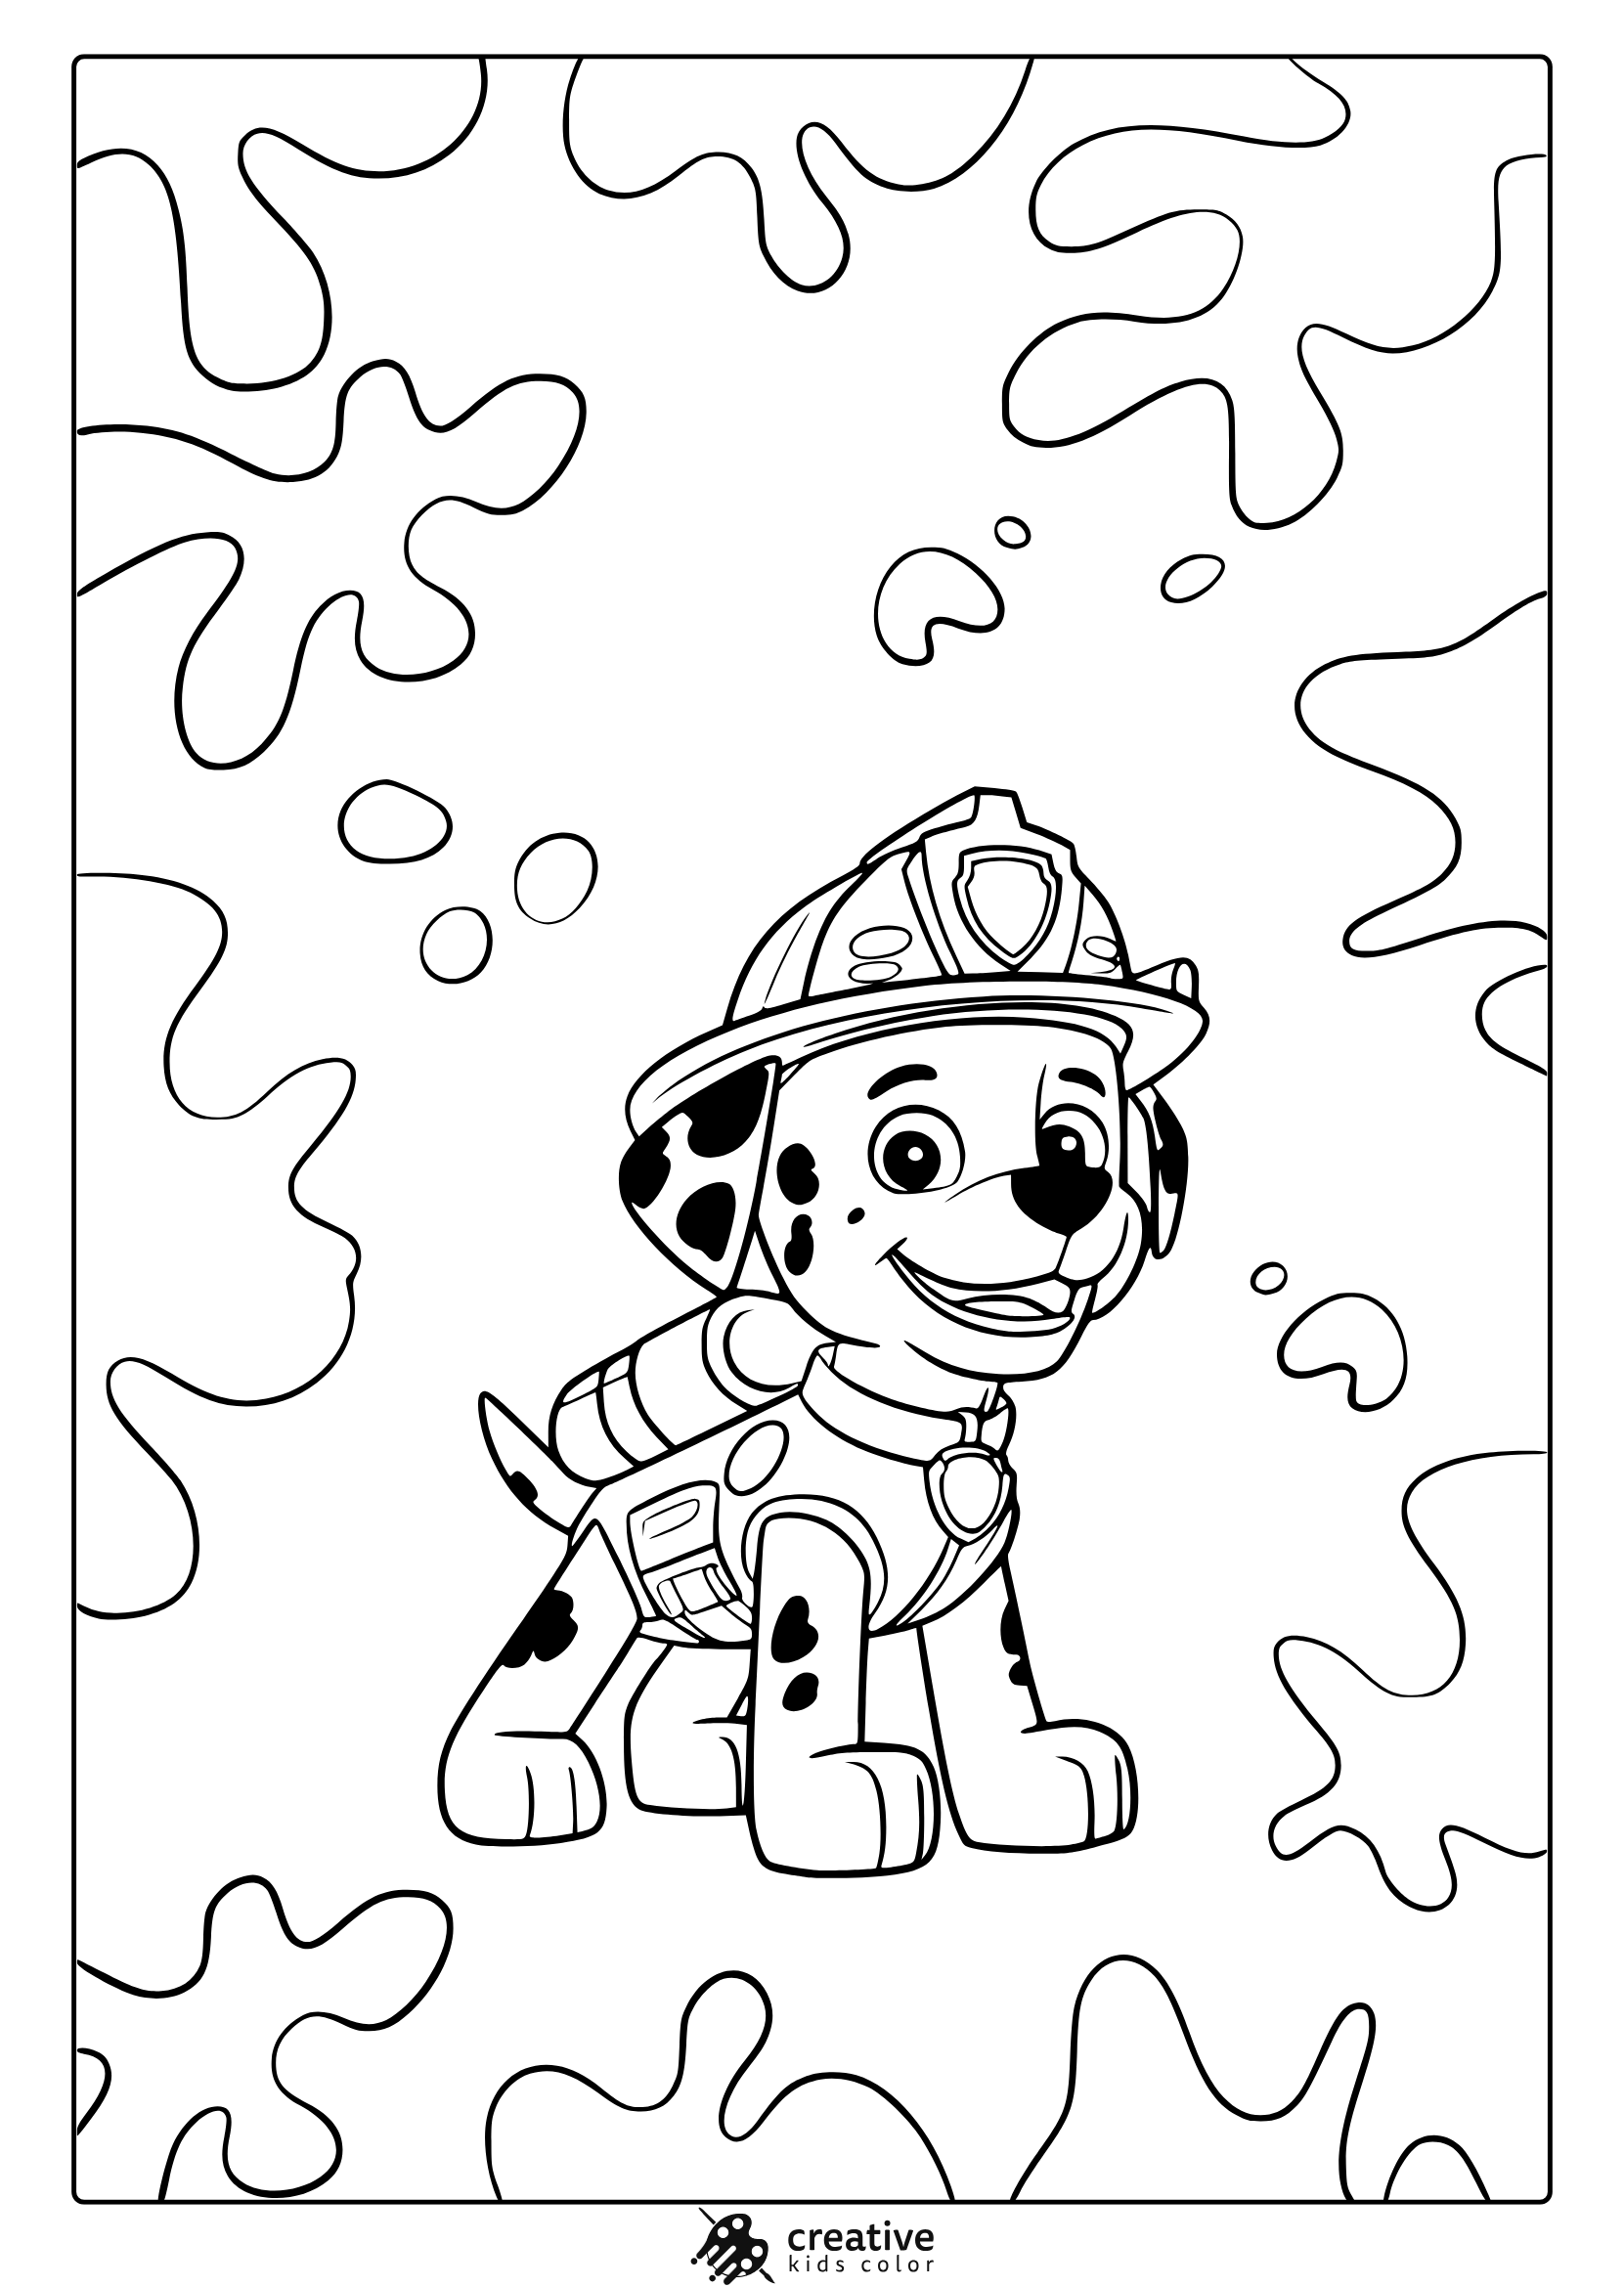
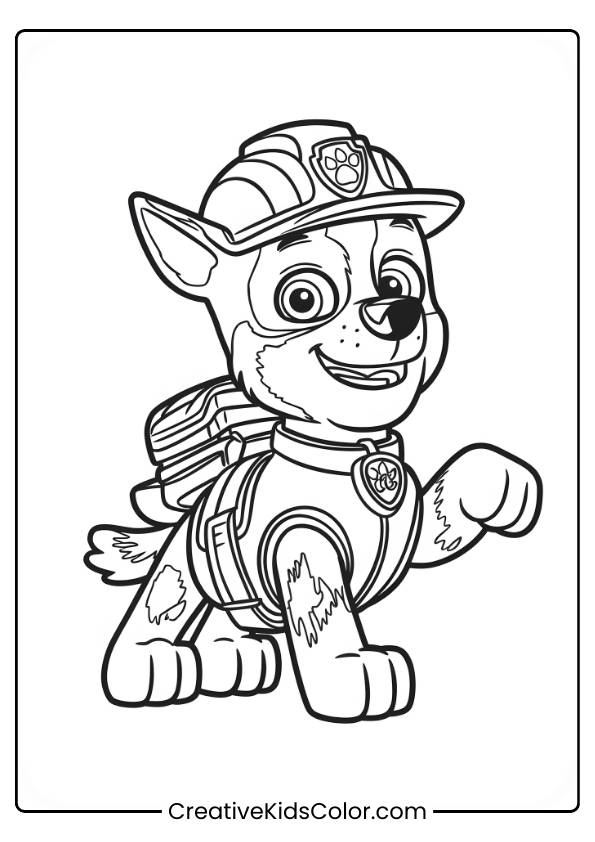
Marshall the Fire Pup Coloring Page
Brave Marshall ready for rescue in the sunny park.
The best part about these pages is that they are completely free, making them an excellent resource for parents, teachers, and caregivers. Simply download, print, and you’re ready to start coloring!
How to Color Paw Patrol Characters: Tips and Tricks
These Paw Patrol coloring pages look best when kids use a small, repeatable palette for each pup. A simple plan for home or the classroom is to choose one main uniform color, one bright accent, and one neutral for details like badges, wheels, and gear, then reuse those choices across multiple pages.
Colored pencils are great for clean edges on badges and small outfit lines. Crayons are quick for bigger uniform sections, and markers look neat when children color in one direction and leave tiny highlights uncolored.
Chase
For Chase, keep the uniform centered around one main color, then use a darker version of that color for the cap, backpack edges, and small shadows. Choose one accent color for the badge and station details so the scene feels connected without getting busy.
With colored pencils, add a slightly deeper tone only along the outer edges of the uniform and around the ears for quick depth. With markers, color the face area first, then the uniform, then finish with badge and background details so the lighter parts stay tidy.
Marshall
For Marshall, pick one main uniform color and keep the helmet and backpack details in a simple neutral so the face stays easy to read. If a page includes a fire truck or hydrant, repeat one accent color on those props to make the scene feel finished.
With crayons, fill the largest uniform areas first so kids see fast progress, then return for smaller gear details. With colored pencils, a gentle darker pass under the helmet edge and along the sides of the outfit adds shape without heavy shading.
Skye
For Skye, choose one main color for the flight outfit, then use one accent color for goggles, wings, or small cockpit details. If there are clouds and stars, keeping them lighter than the outfit helps Skye stand out.
With markers, outline the goggles and wing shapes first so the edges stay clean. With colored pencils, add a slightly deeper tone at the ends of the ears and along the outfit seams to give quick definition.
Rubble
For Rubble, keep the construction gear as the main color moment, then use a simple neutral for tools and hard hat details. If the background includes a moon, clouds, or building shapes, use only one or two calm colors so the pup stays the focus.
With crayons, color the big vest and helmet areas first, then do smaller badge and tool parts last. With colored pencils, a soft darker layer near the bottom edges of the vest and around the helmet rim adds depth while staying simple.
Rocky
For Rocky, choose one main outfit color and one accent for recycling symbols, bins, or the truck details. Repeating the same accent color in a small background item like a tree or sign helps the page feel coordinated.
With markers, color the recycling icons and small gear pieces first, then fill the larger outfit areas. With colored pencils, add a slightly darker pass along the utility belt and cap edges to make the shapes clearer without over shading.
Zuma
For Zuma, pick one main color for the water rescue outfit and one accent for the badge, helmet details, or boat elements. If the page shows water, keep the water tones lighter than the outfit so Zuma reads clearly.
With crayons, fill the big outfit blocks first and save the boat or dock details for the end. With colored pencils, a gentle darker layer under the chin and along the outer edges of the suit gives quick depth and keeps the style clean.
Tracker
For Tracker, keep the outfit centered around one main color, then use one accent for the badge and hat details so the character stands out in jungle scenes. If there are palm trees or clouds, repeat one green and one sky color to keep backgrounds simple.
With markers, outline the hat and badge first, then color the larger outfit areas so the small shapes stay neat. With colored pencils, deepen the tone only along the hat brim and boot edges to add structure without heavy shading.
Everest
For Everest, choose one main winter outfit color and keep snowy backgrounds very light so the character stays bright. Use one accent color for the badge or small gear details, then repeat it once in the background for a balanced look.
With crayons, light pressure on snow areas keeps the page clean and prevents waxy buildup. With colored pencils, add a slightly deeper tone along coat edges and the hat rim to suggest warmth and shape.
Ryder
For Ryder, pick one main jacket color and one supporting color for pants or shoes so the outfit feels simple and readable. If he appears with pups, keep Ryder’s colors a little calmer so the pups remain the main focus of the page.
With markers, color the face and hands first, then hair, then the jacket so lighter skin areas stay tidy. With colored pencils, a gentle darker pass along the jacket edges and under the chin adds depth without making the portrait look overworked.
Liberty
For Liberty, choose one main outfit color and one accent for the badge or small accessories, then keep the rest fairly light so her face stays clear. If the scene has paw prints or a sunny sky, reuse one accent color in a small background shape to tie it together.
With crayons, fill the biggest outfit areas first so kids feel progress quickly. With colored pencils, add a slightly deeper tone around the ears and along the outfit seams to keep the shapes crisp.
Coral
For Coral, keep the palette ocean friendly with one main body color, one accent for hair or accessories, and one light color for bubbles and sea details. If there are sea plants or a jellyfish, repeating one or two colors across those items keeps the underwater scene organized.
With markers, color the face and hair details first, then fill the larger shapes so the small lines stay clean. With colored pencils, a soft darker layer at the outer edges of fins or hair gives a gentle finished look without needing complex blending.
Paw Patrol Logo and Badges
For the logo and badge page, the cleanest look comes from choosing a small set of bold colors and repeating them across the shields. Keeping outlines crisp matters more than shading, so solid fills usually look best.
With crayons, fill each badge one at a time to avoid mixing colors accidentally. With colored pencils or markers, outline the symbol shapes first, then fill the larger shield areas so the icons stay readable.