Squishmallow Coloring Pages
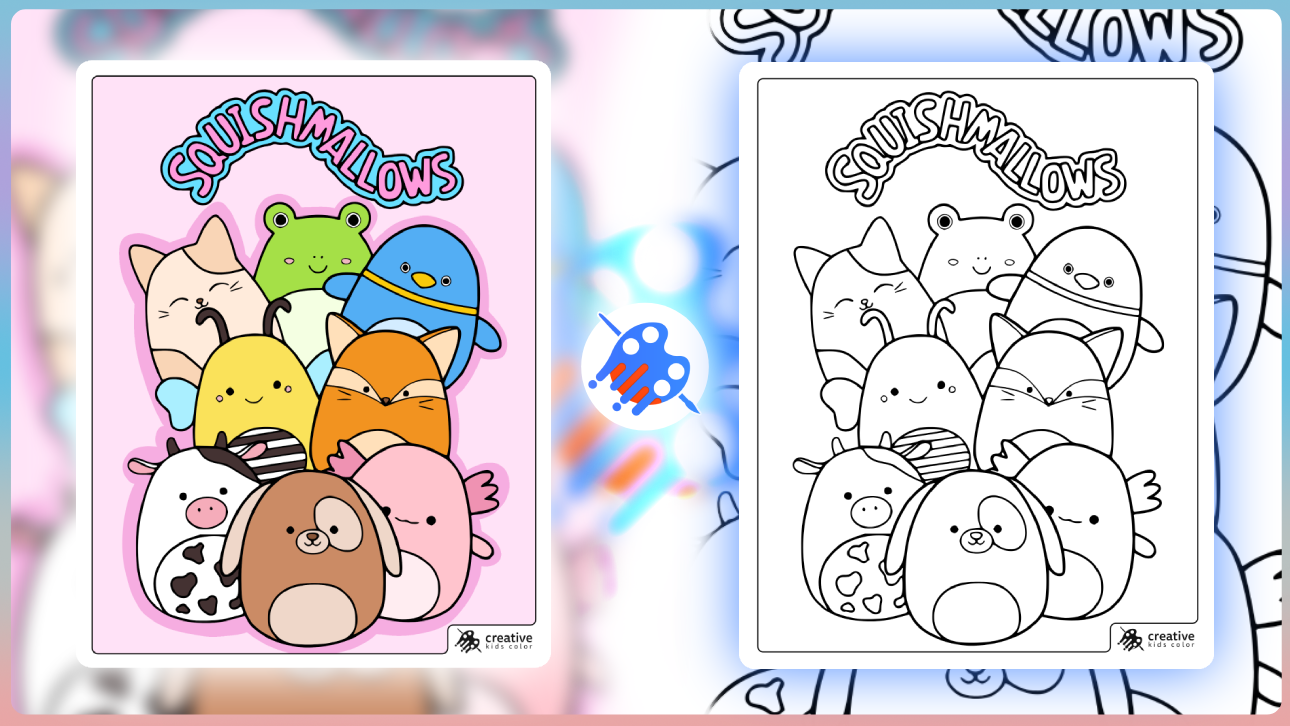
Our Squishmallow coloring pages are free printable sheets you can download and print whenever you want. This page includes 22 Squishmallow coloring pages designed with clean, kid friendly lines so children can color them at home, in the classroom, or anywhere they have a few minutes. Every page is made to be easy to start and simple to enjoy, so kids can pick a character and begin coloring right away.
You will see well known favorites like Archie the Axolotl, Connor the Cow, Malcolm the Mushroom, Wendy the Frog, and Sunny the Bee along with other fun characters on this page. Squishmallows first appeared in the United States as plush toys created by Kellytoy and they quickly became popular for their soft texture, rounded shapes, and collectible character lineup. The concept is built around sweet, simple characters with their own names and styles, which is exactly why they translate so naturally into printable coloring pages.
When coloring, kids can start with the largest areas and then move into smaller details like spots, wings, sprinkles, or patterns. These printables are formatted to work smoothly on both US Letter and A4 paper, so they stay easy to use whether you print at home, at school, or while traveling. You can use crayons, colored pencils, or markers, and it is easy to keep the colors classic or mix in new combinations for each character.
To download, simply click on the images or use the PDF buttons to open the printable files. Then print your favorites and enjoy coloring them as many times as you like.
How to Color Squishmallow Characters: Tips and Tricks
If you are printing these Squishmallow coloring pages for home or the classroom, the easiest way to keep the whole set looking polished is to use small, repeatable palettes. Squishmallows are built on simple rounded shapes, so clean color blocks and gentle accents usually look better than heavy shading.
Colored pencils are great for soft blending on cheeks and patterns, crayons fill the big shapes fast, and markers look neat when kids color in one direction and leave tiny highlights uncolored. Most characters look best with one main color, one lighter tone for the belly area, and one accent color for details like sprinkles, spots, wings, or bows.
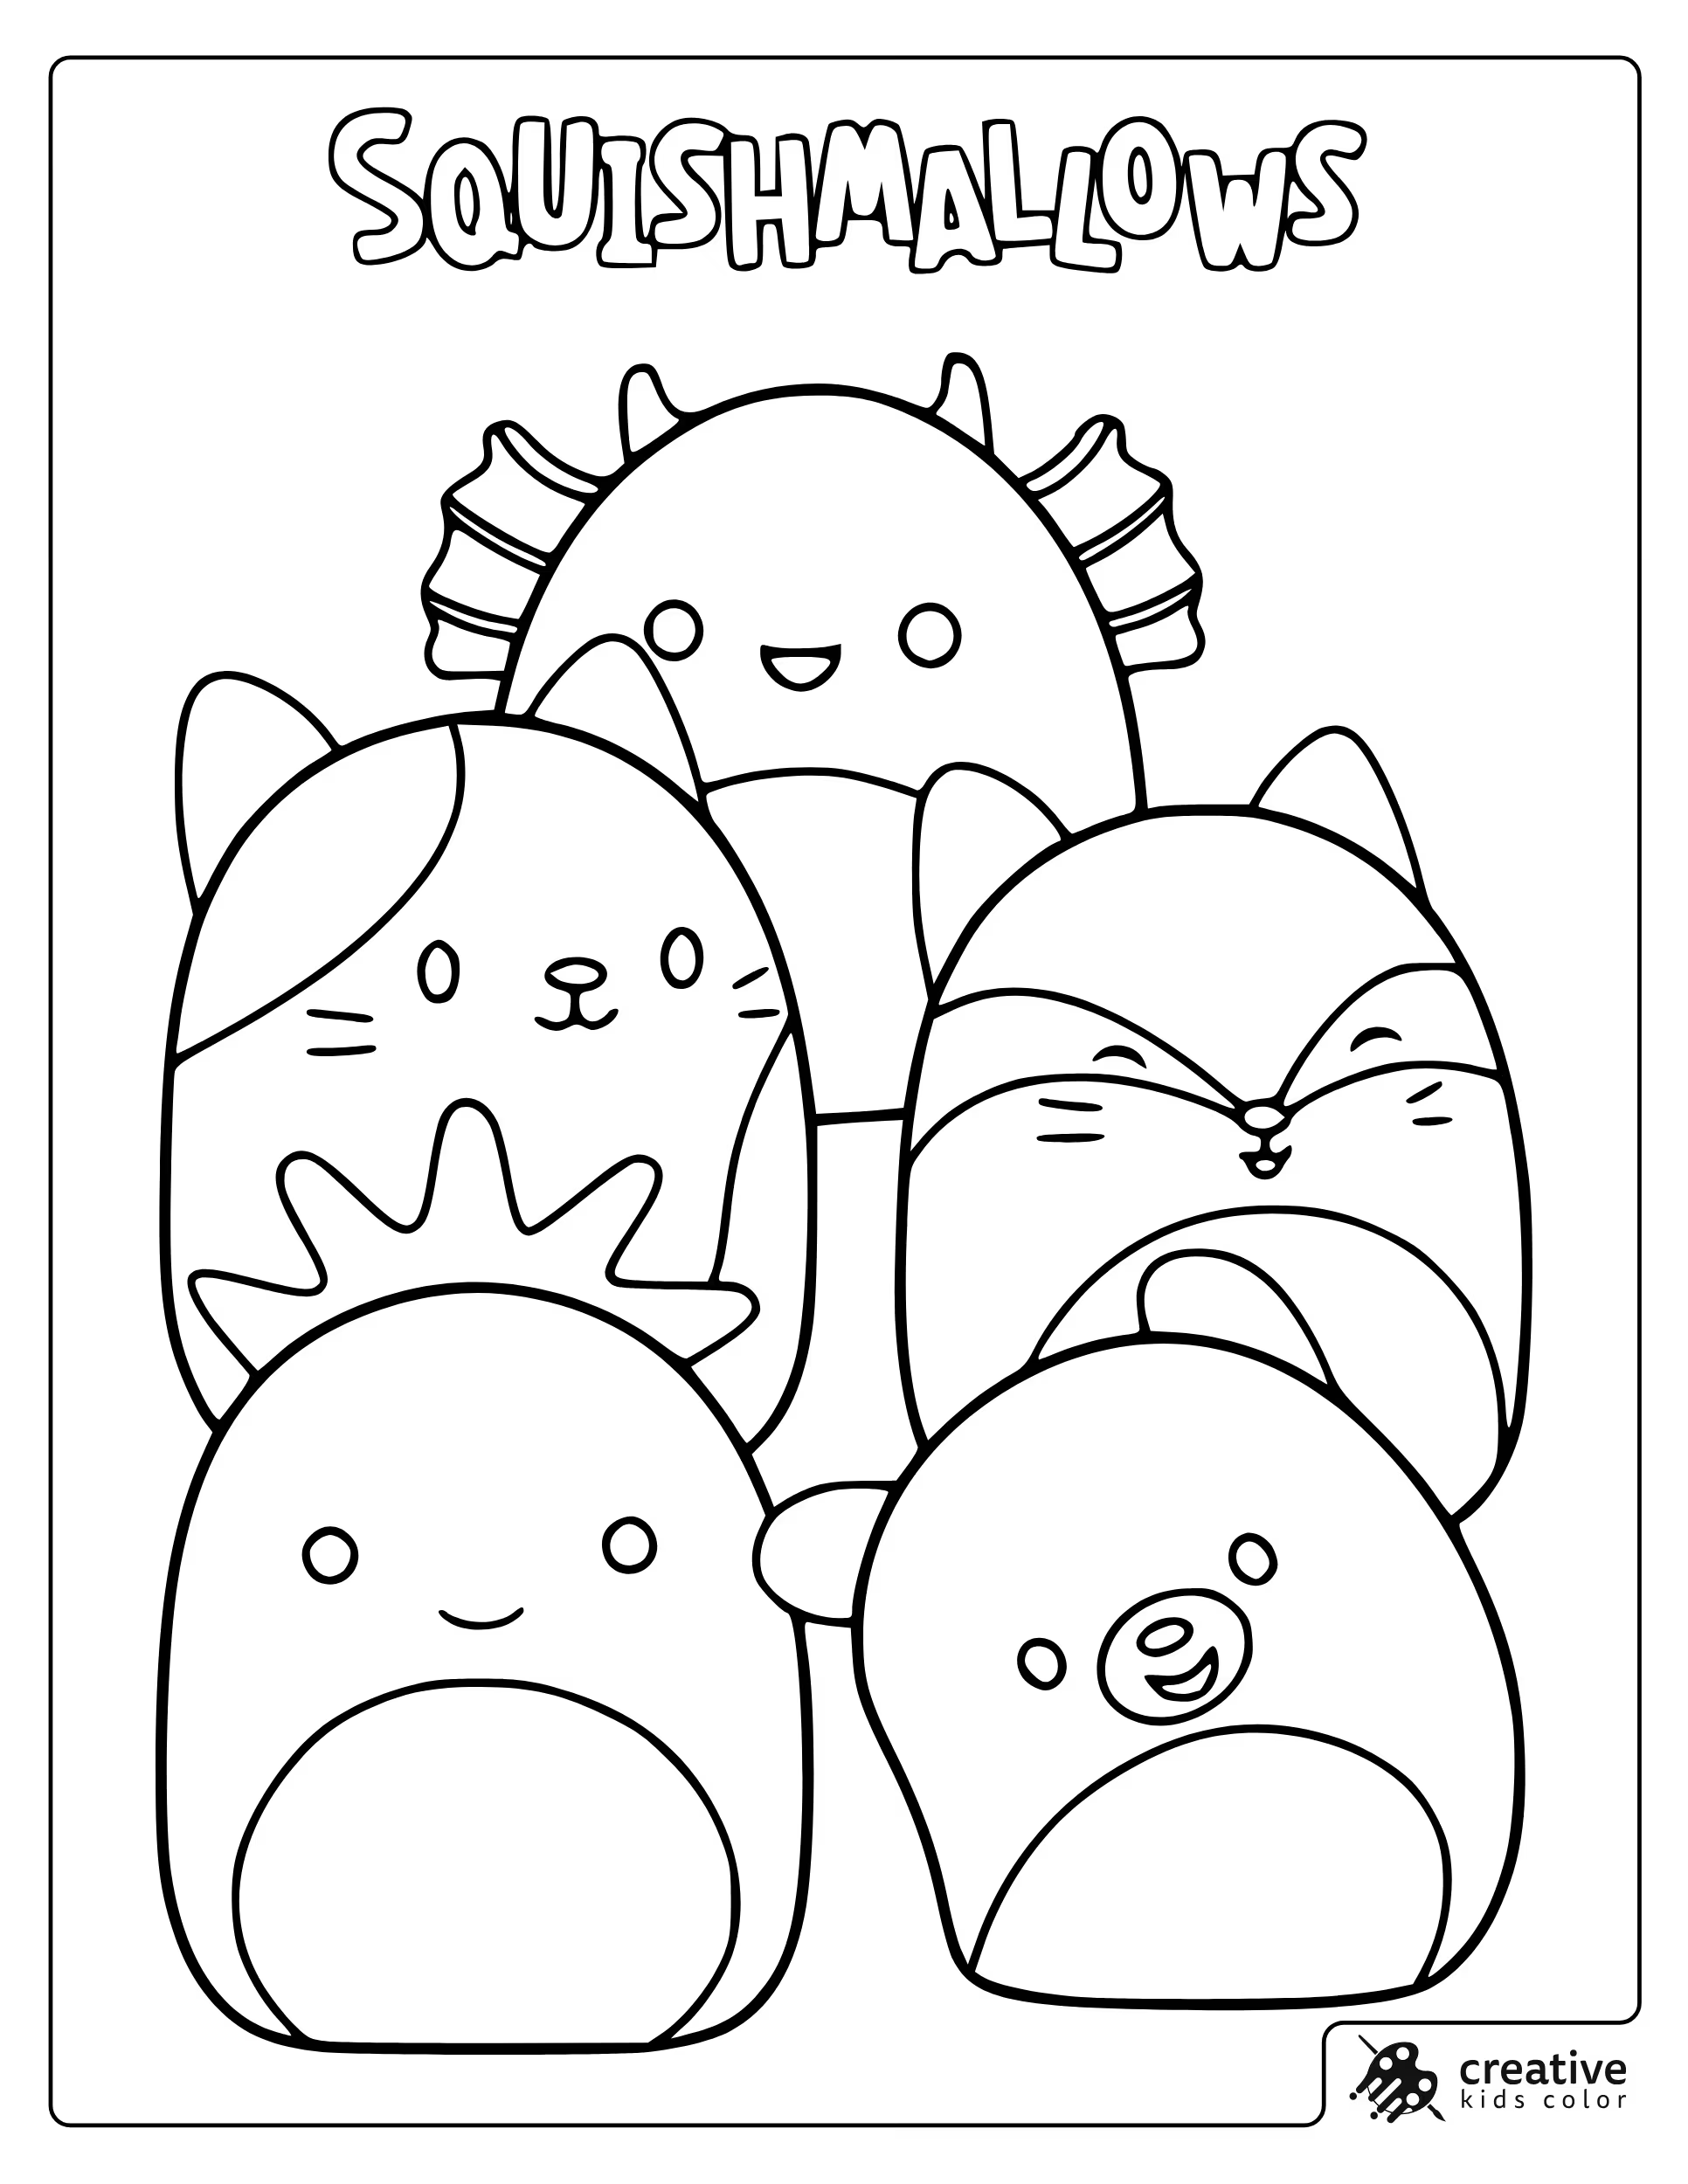
Squishmallow Friends
For the group page, pick one signature color per character so they do not blend together, then repeat one shared accent color in small spots across the whole page. Keeping the belly areas lighter than the bodies helps every face stay readable in a busy layout.
With colored pencils, use a slightly darker version of each character’s main color just around the outer edge to suggest the plush shape. With markers, color faces first and save the big body fills for last so the small details stay clean.
Archie the Axolotl
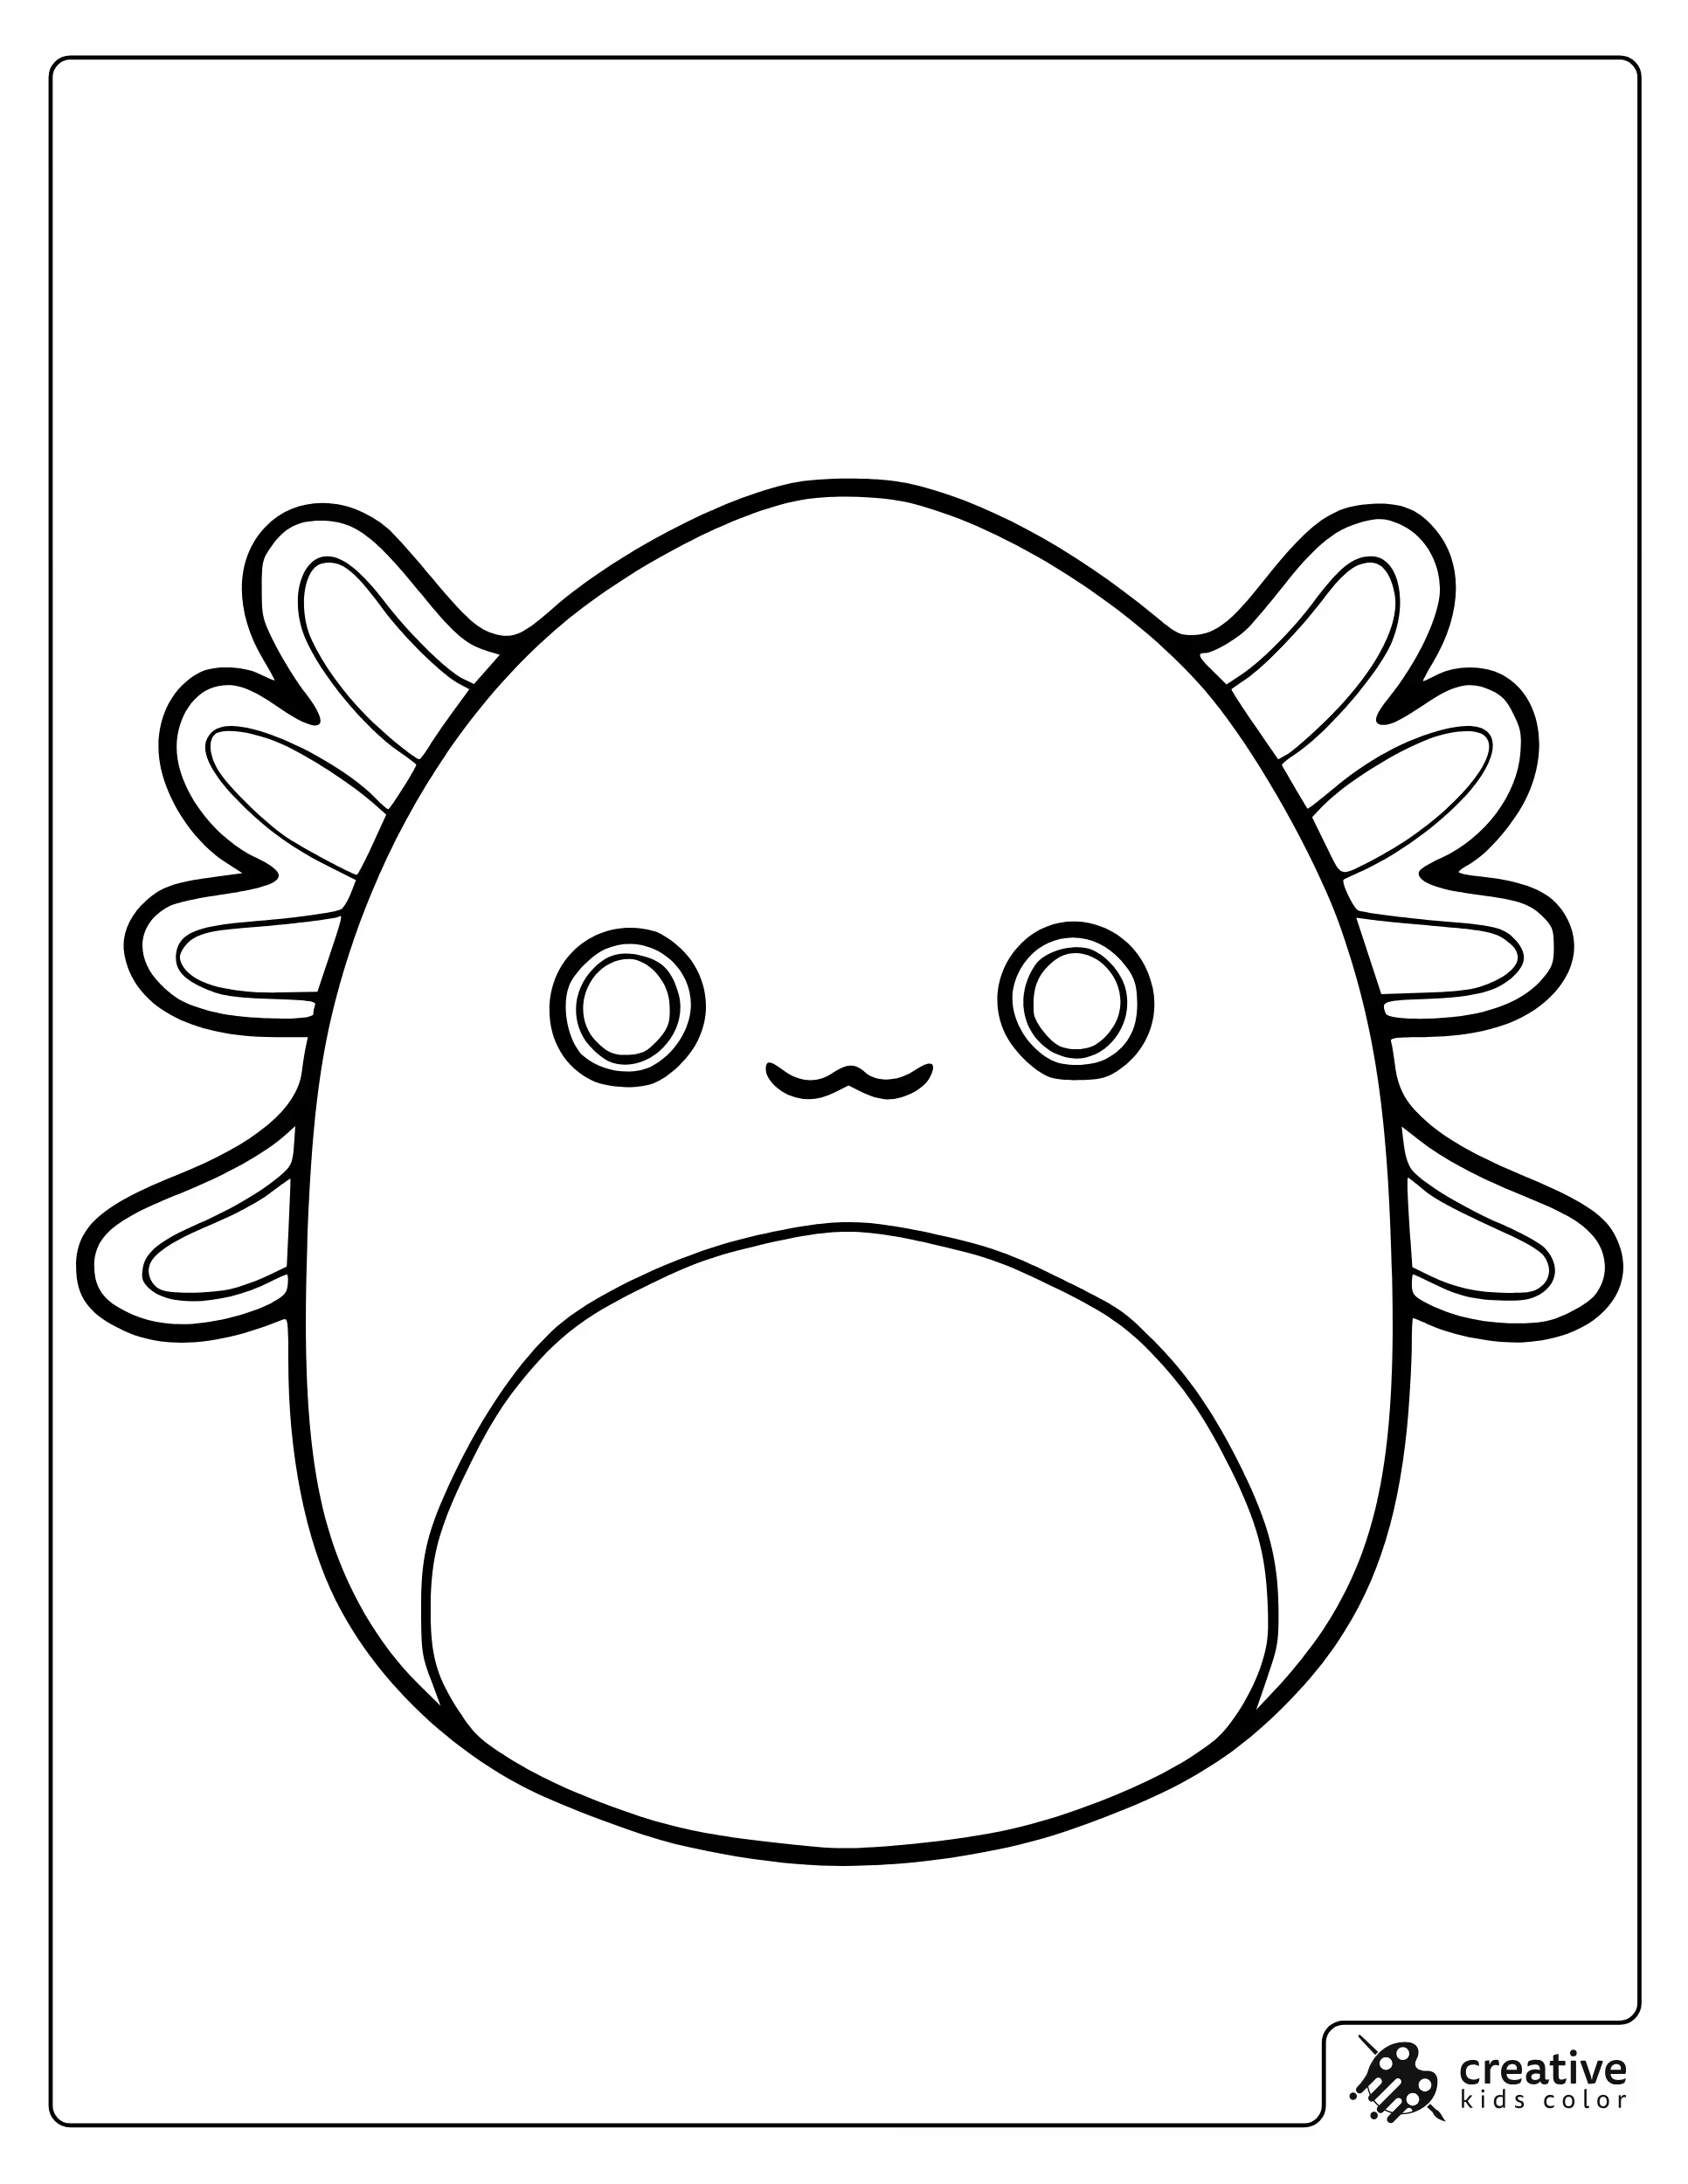
Archie is easiest with one main body color and a lighter belly tone, then a slightly darker shade for the side frills so they stand out. If kids want a soft plush look, keeping the center lighter and the edges a bit deeper is enough.
With crayons, light pressure keeps the rounded body from looking waxy. With colored pencils, a gentle second layer along the bottom curve gives quick depth without turning the page into a shading lesson.
Avery the Mallard
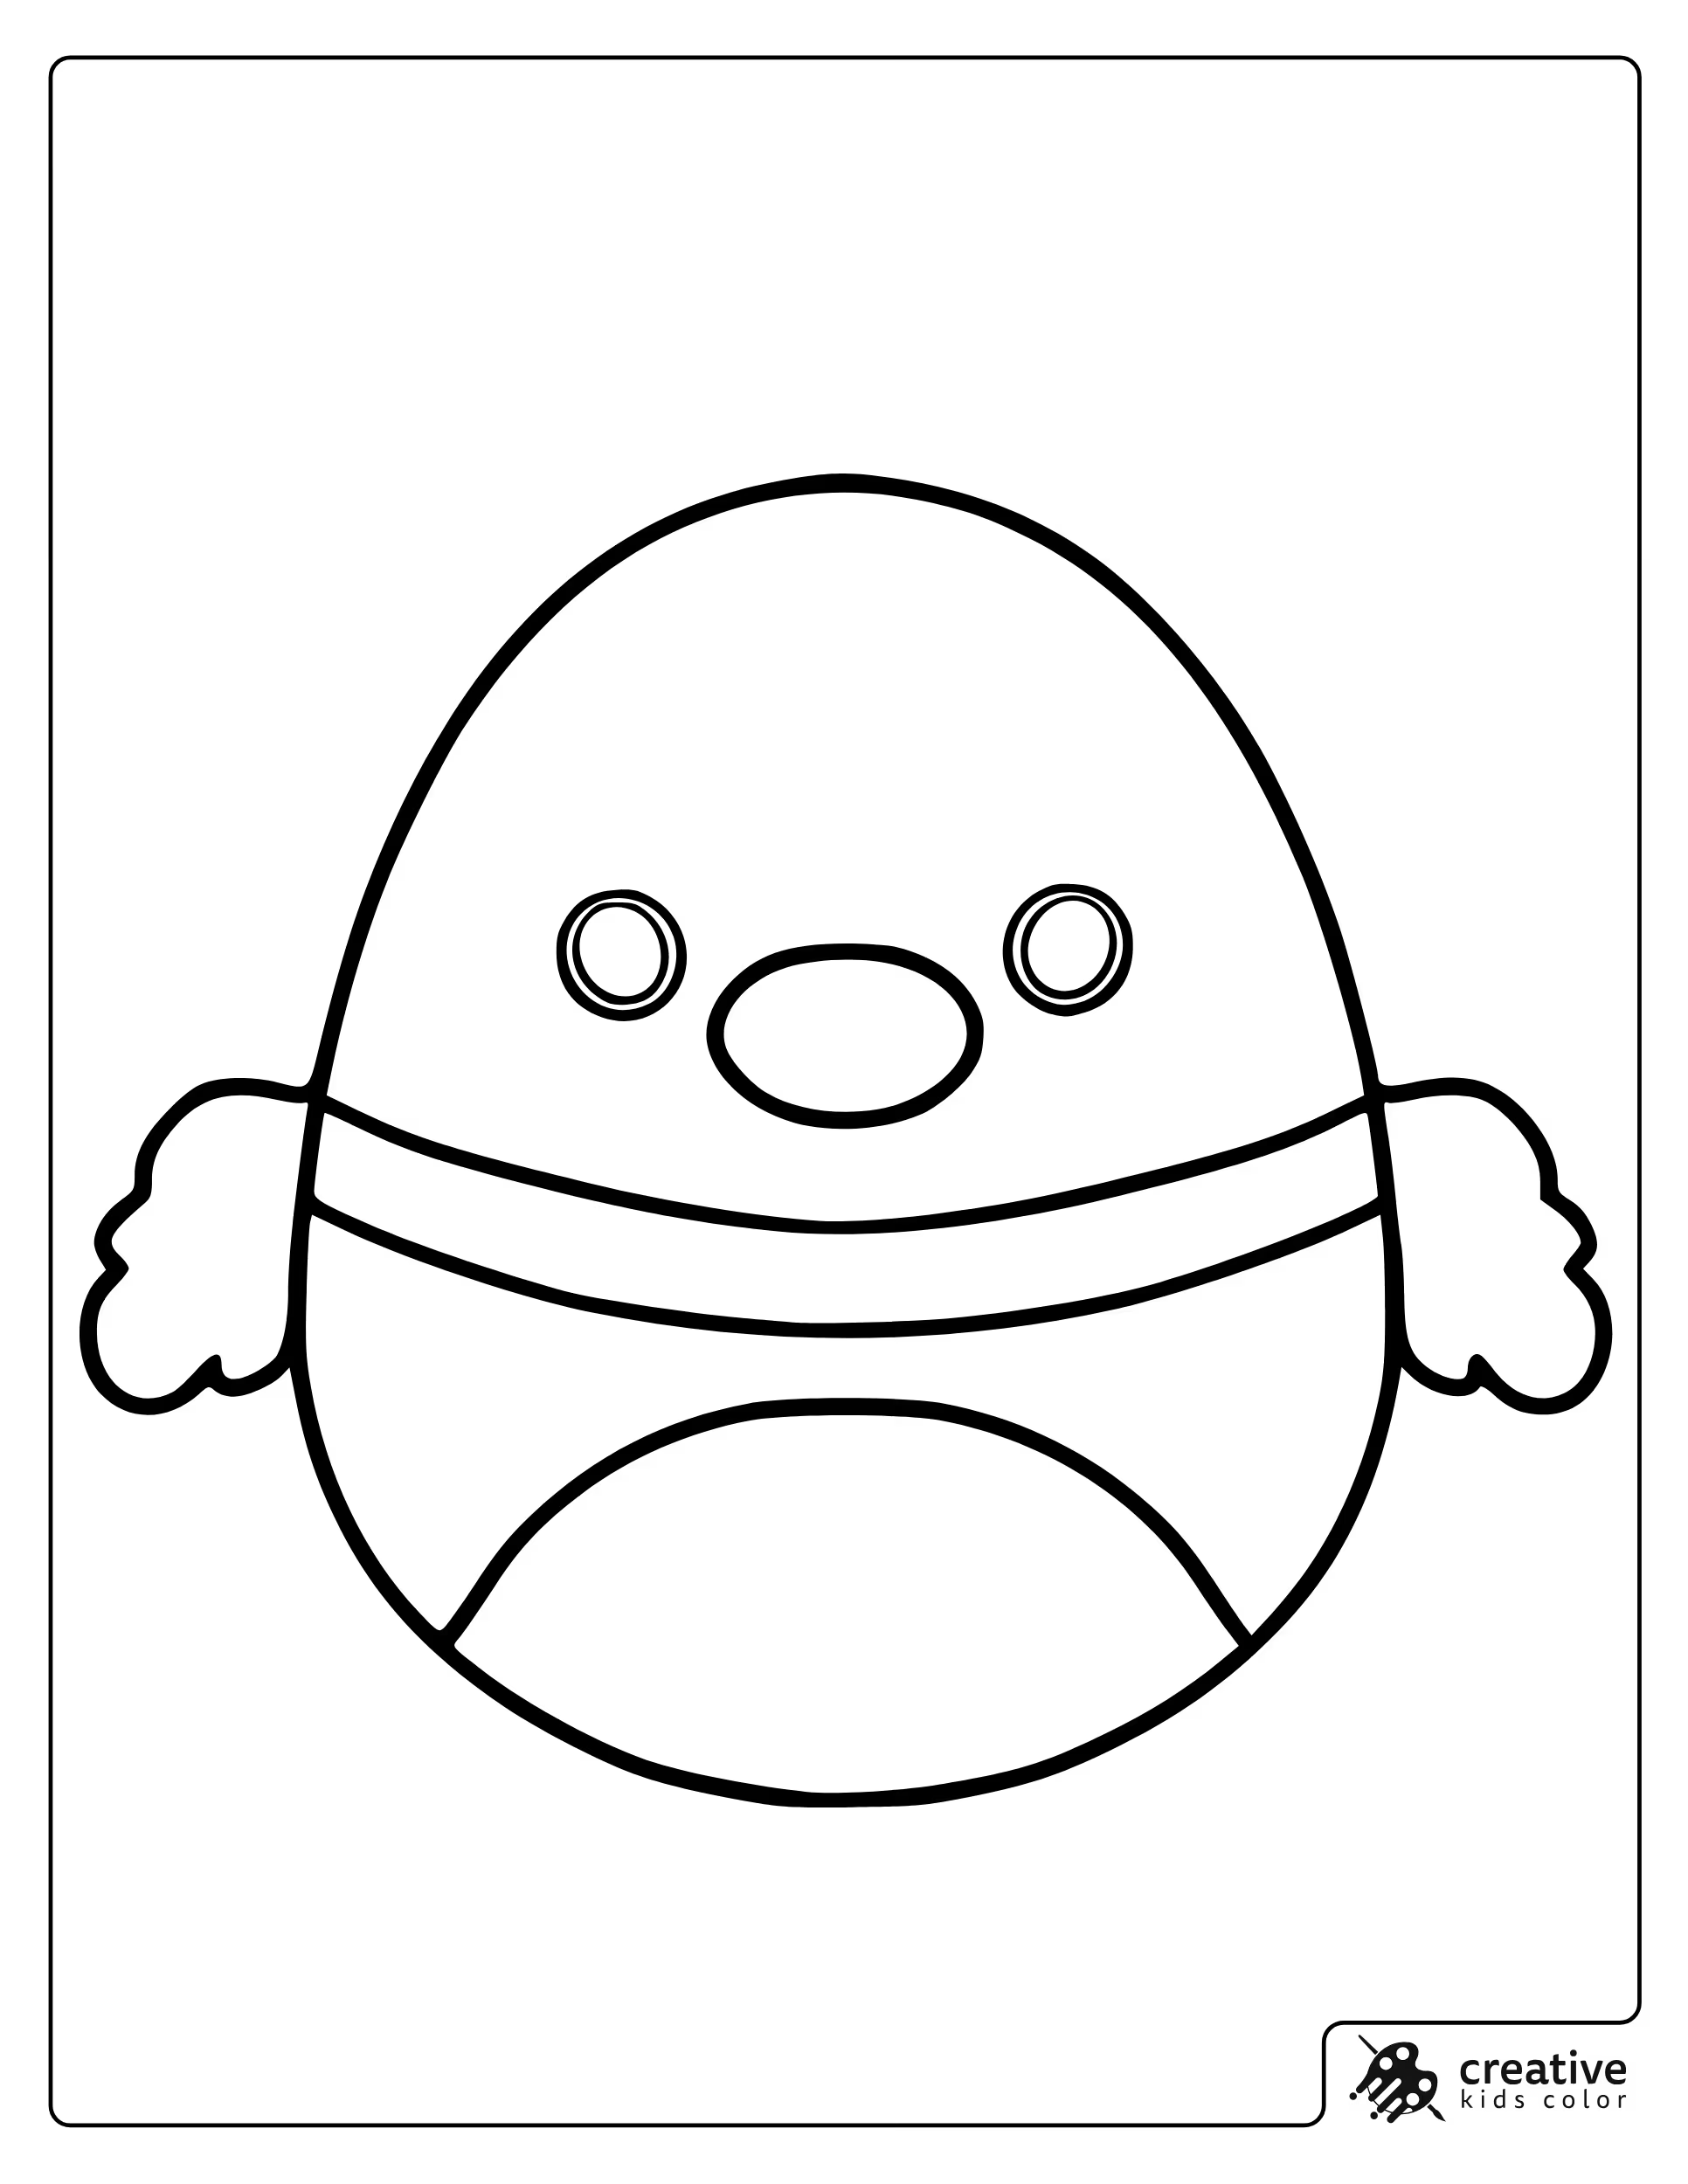
Avery looks clean with a simple two tone plan, one main body color plus a lighter tone for the face area and belly. The beak reads best when it is a clear accent color that contrasts with the body.
With markers, outline the beak and small wing shapes first so the edges stay tidy. With pencils, add a slightly darker pass near the wing base to separate the wing from the round body.
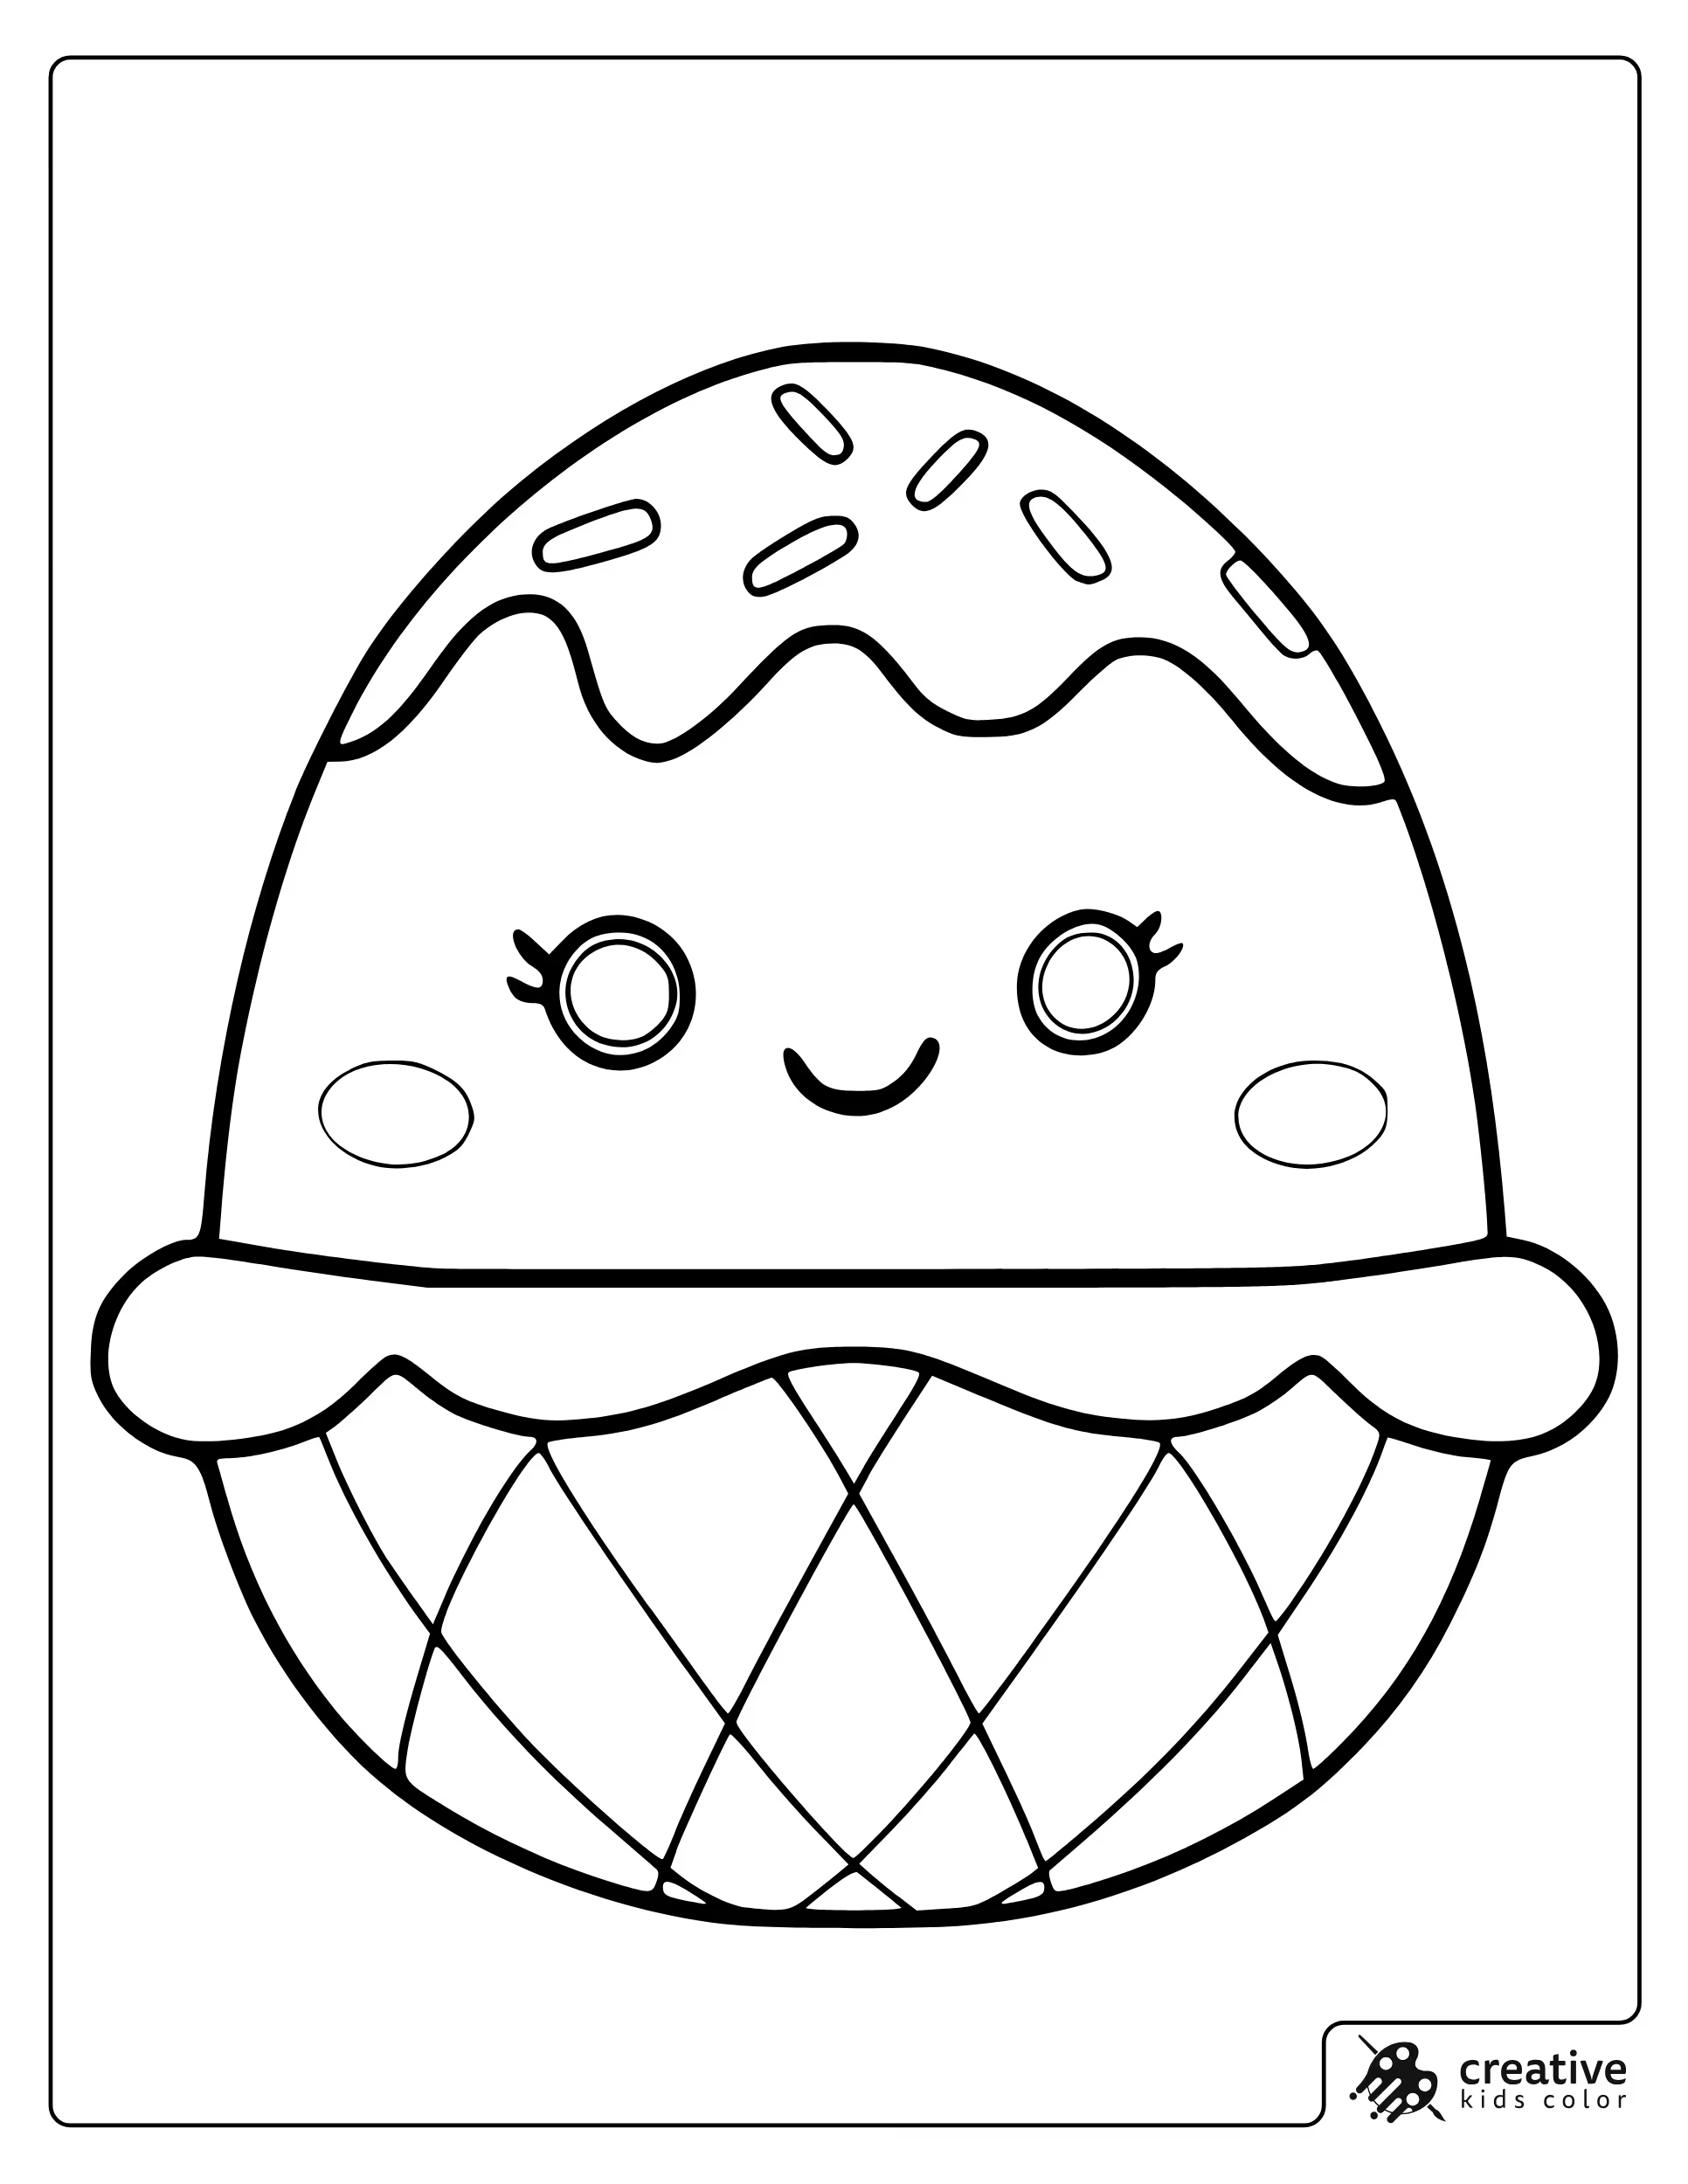
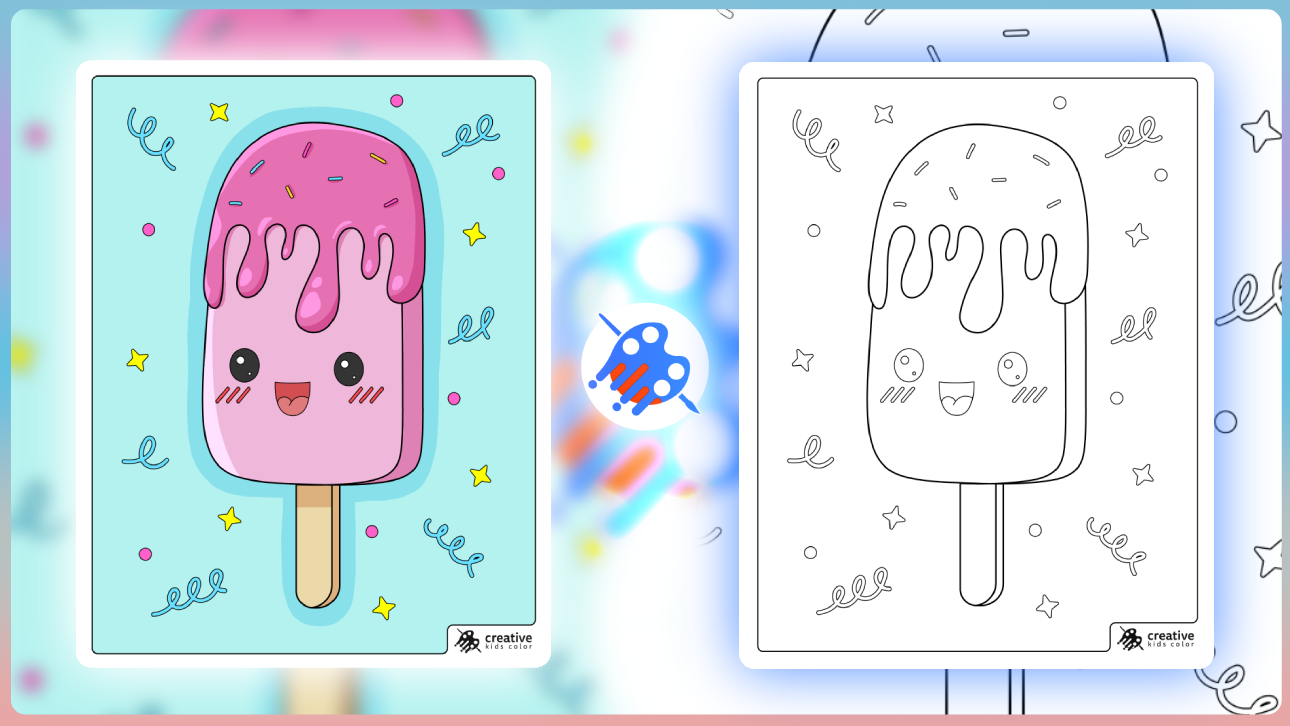
Bernise the Ice Cream
Bernise is perfect for a three part palette, one color for the ice cream top, one lighter tone for the drips, and a warm cone color for the base. Sprinkles look best when kids pick just two or three accent colors and repeat them.
With colored pencils, keep the drip edges a little darker than the center so the shape feels rounded. With crayons, fill the cone first because it is a big shape, then come back for sprinkles and face details.
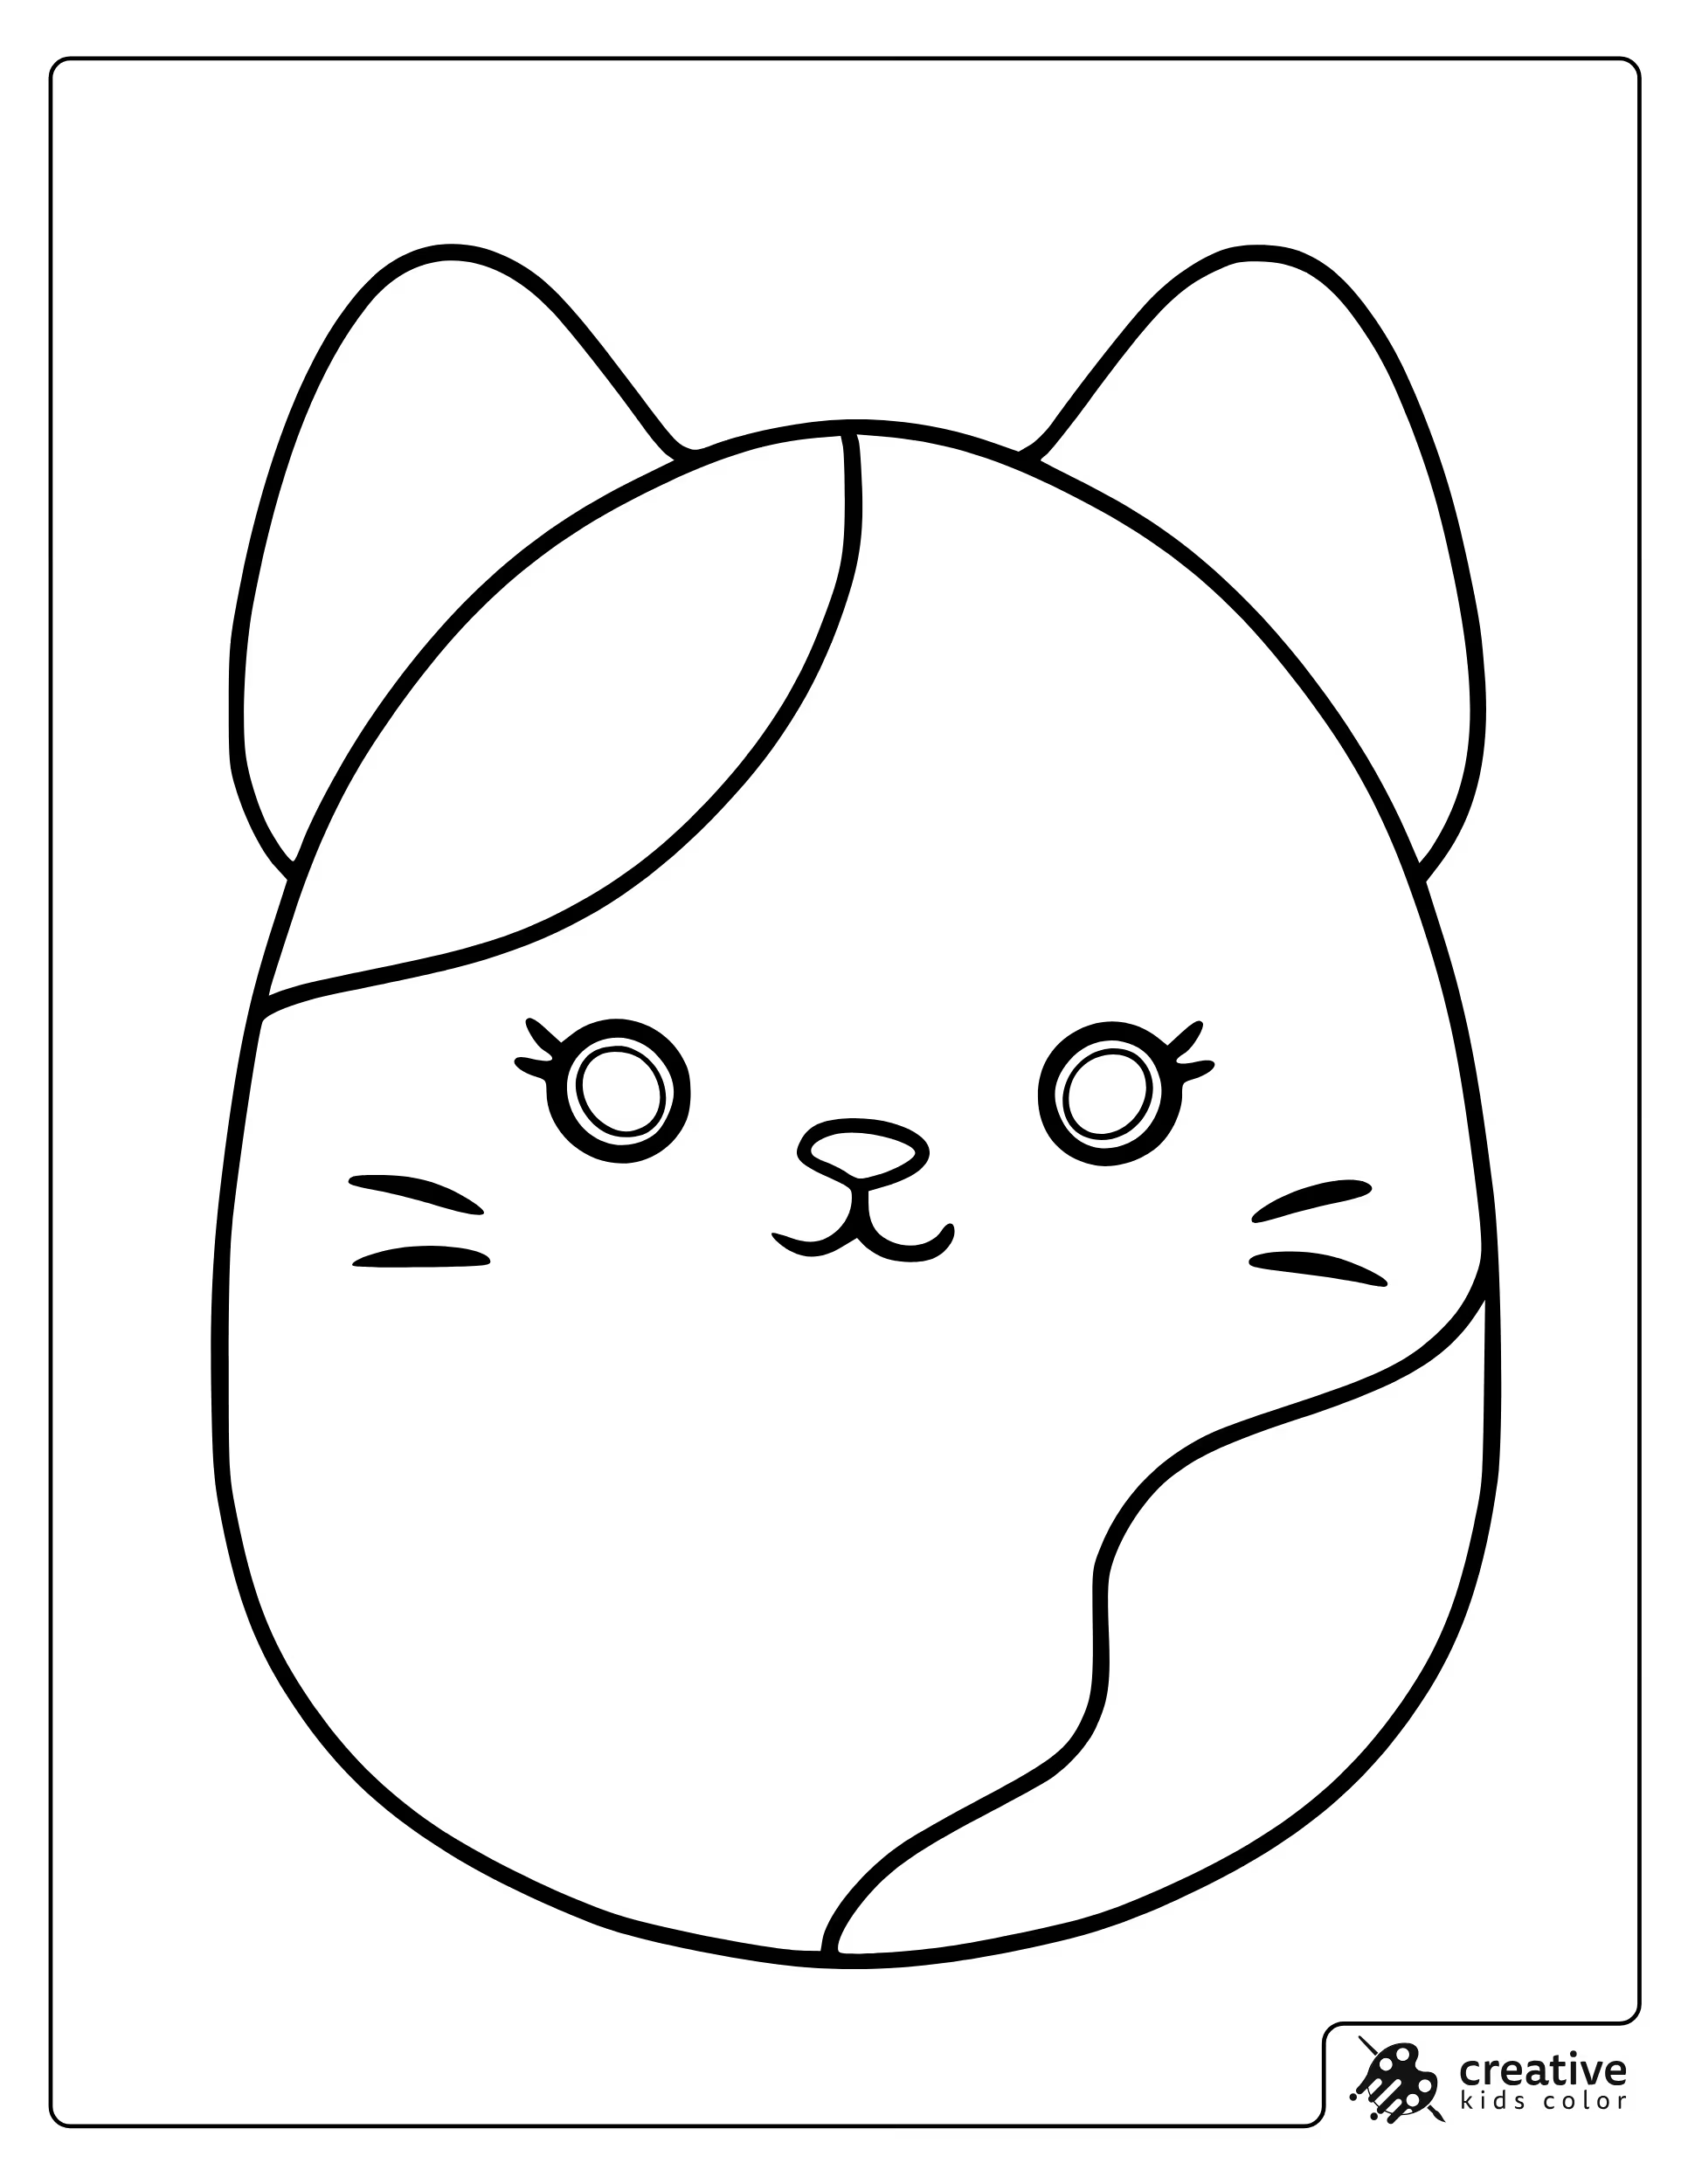
Cameron the Cat
Cameron works well with one main fur color plus a lighter belly tone, then one accent shade for markings and ear details. If the page has flowing patterns, using two close tones keeps it soft and plush looking.
With markers, color the face area first so whiskers and small lines stay visible. With pencils, a gentle darker layer on the outside edges makes the round body feel more squishy without extra colors.
Squishmallow Characters
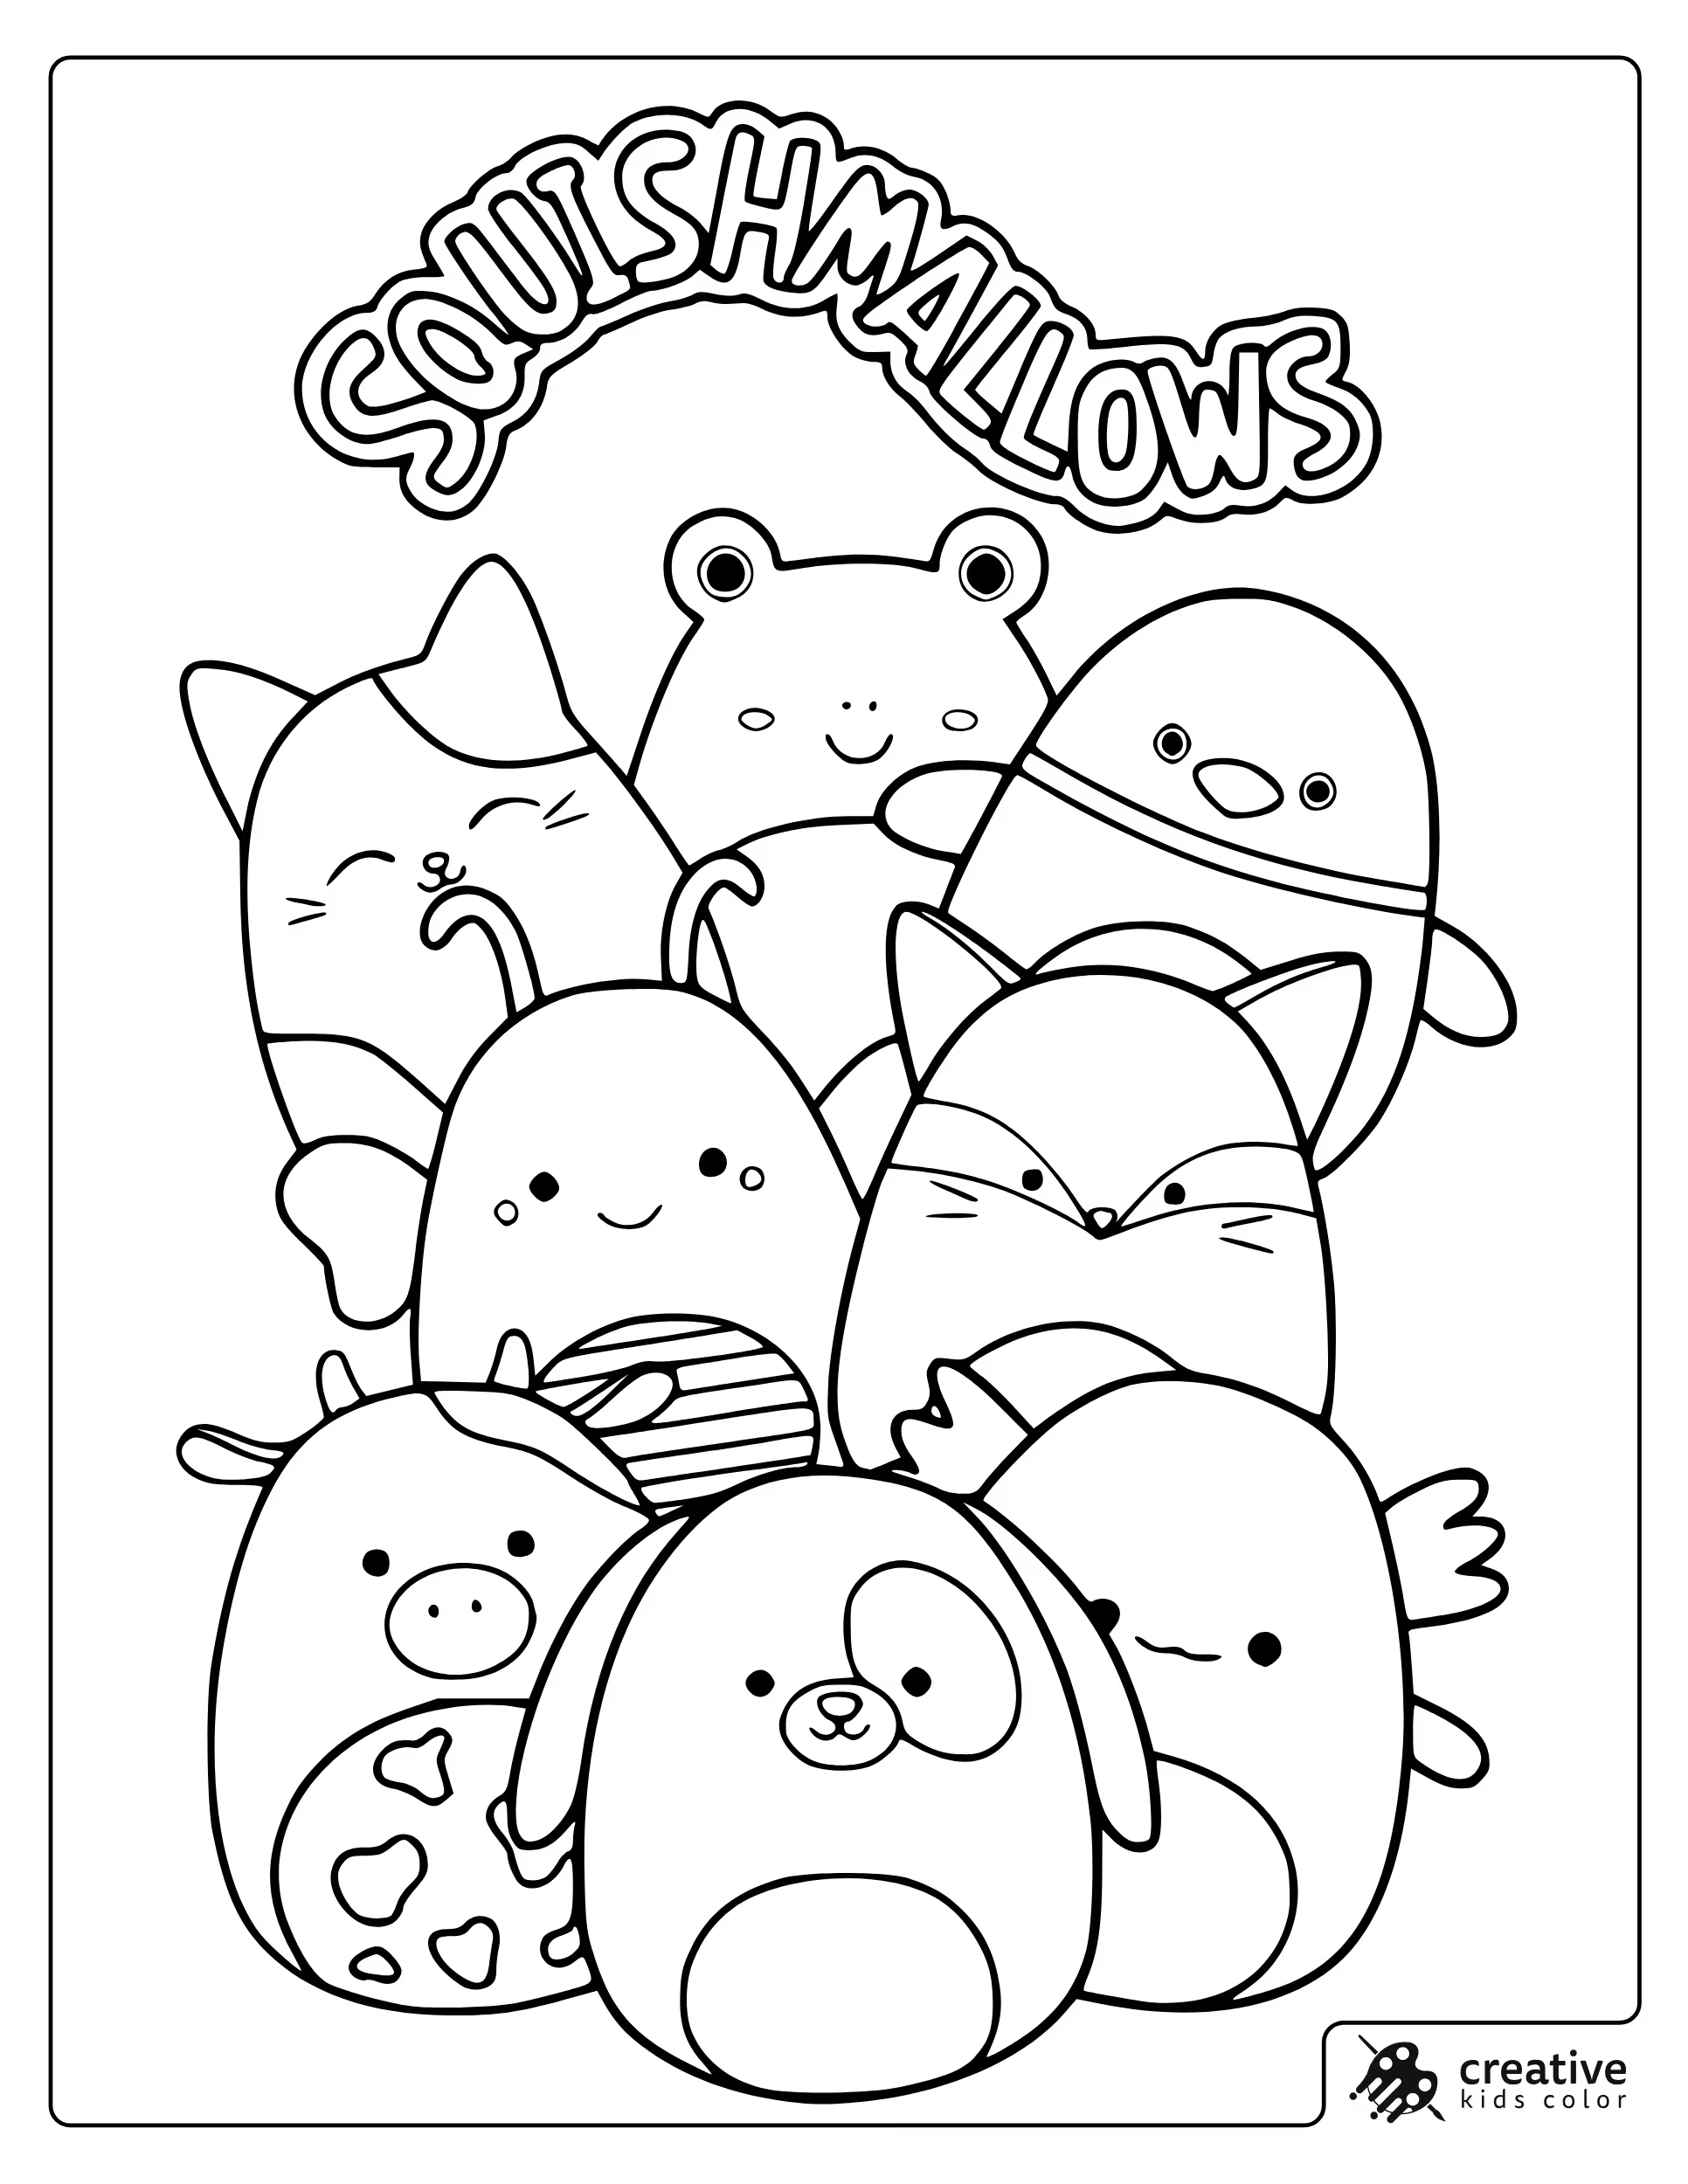
On the multi character page, keep each character to one main color and one accent, then repeat the same light belly tone across the group. That simple rule makes the whole page feel coordinated even when the shapes and ears change.
With crayons, fill one character at a time so kids do not lose track of which palette they picked. With pencils, add tiny blush cheeks or small highlights to bring the faces to life without clutter.
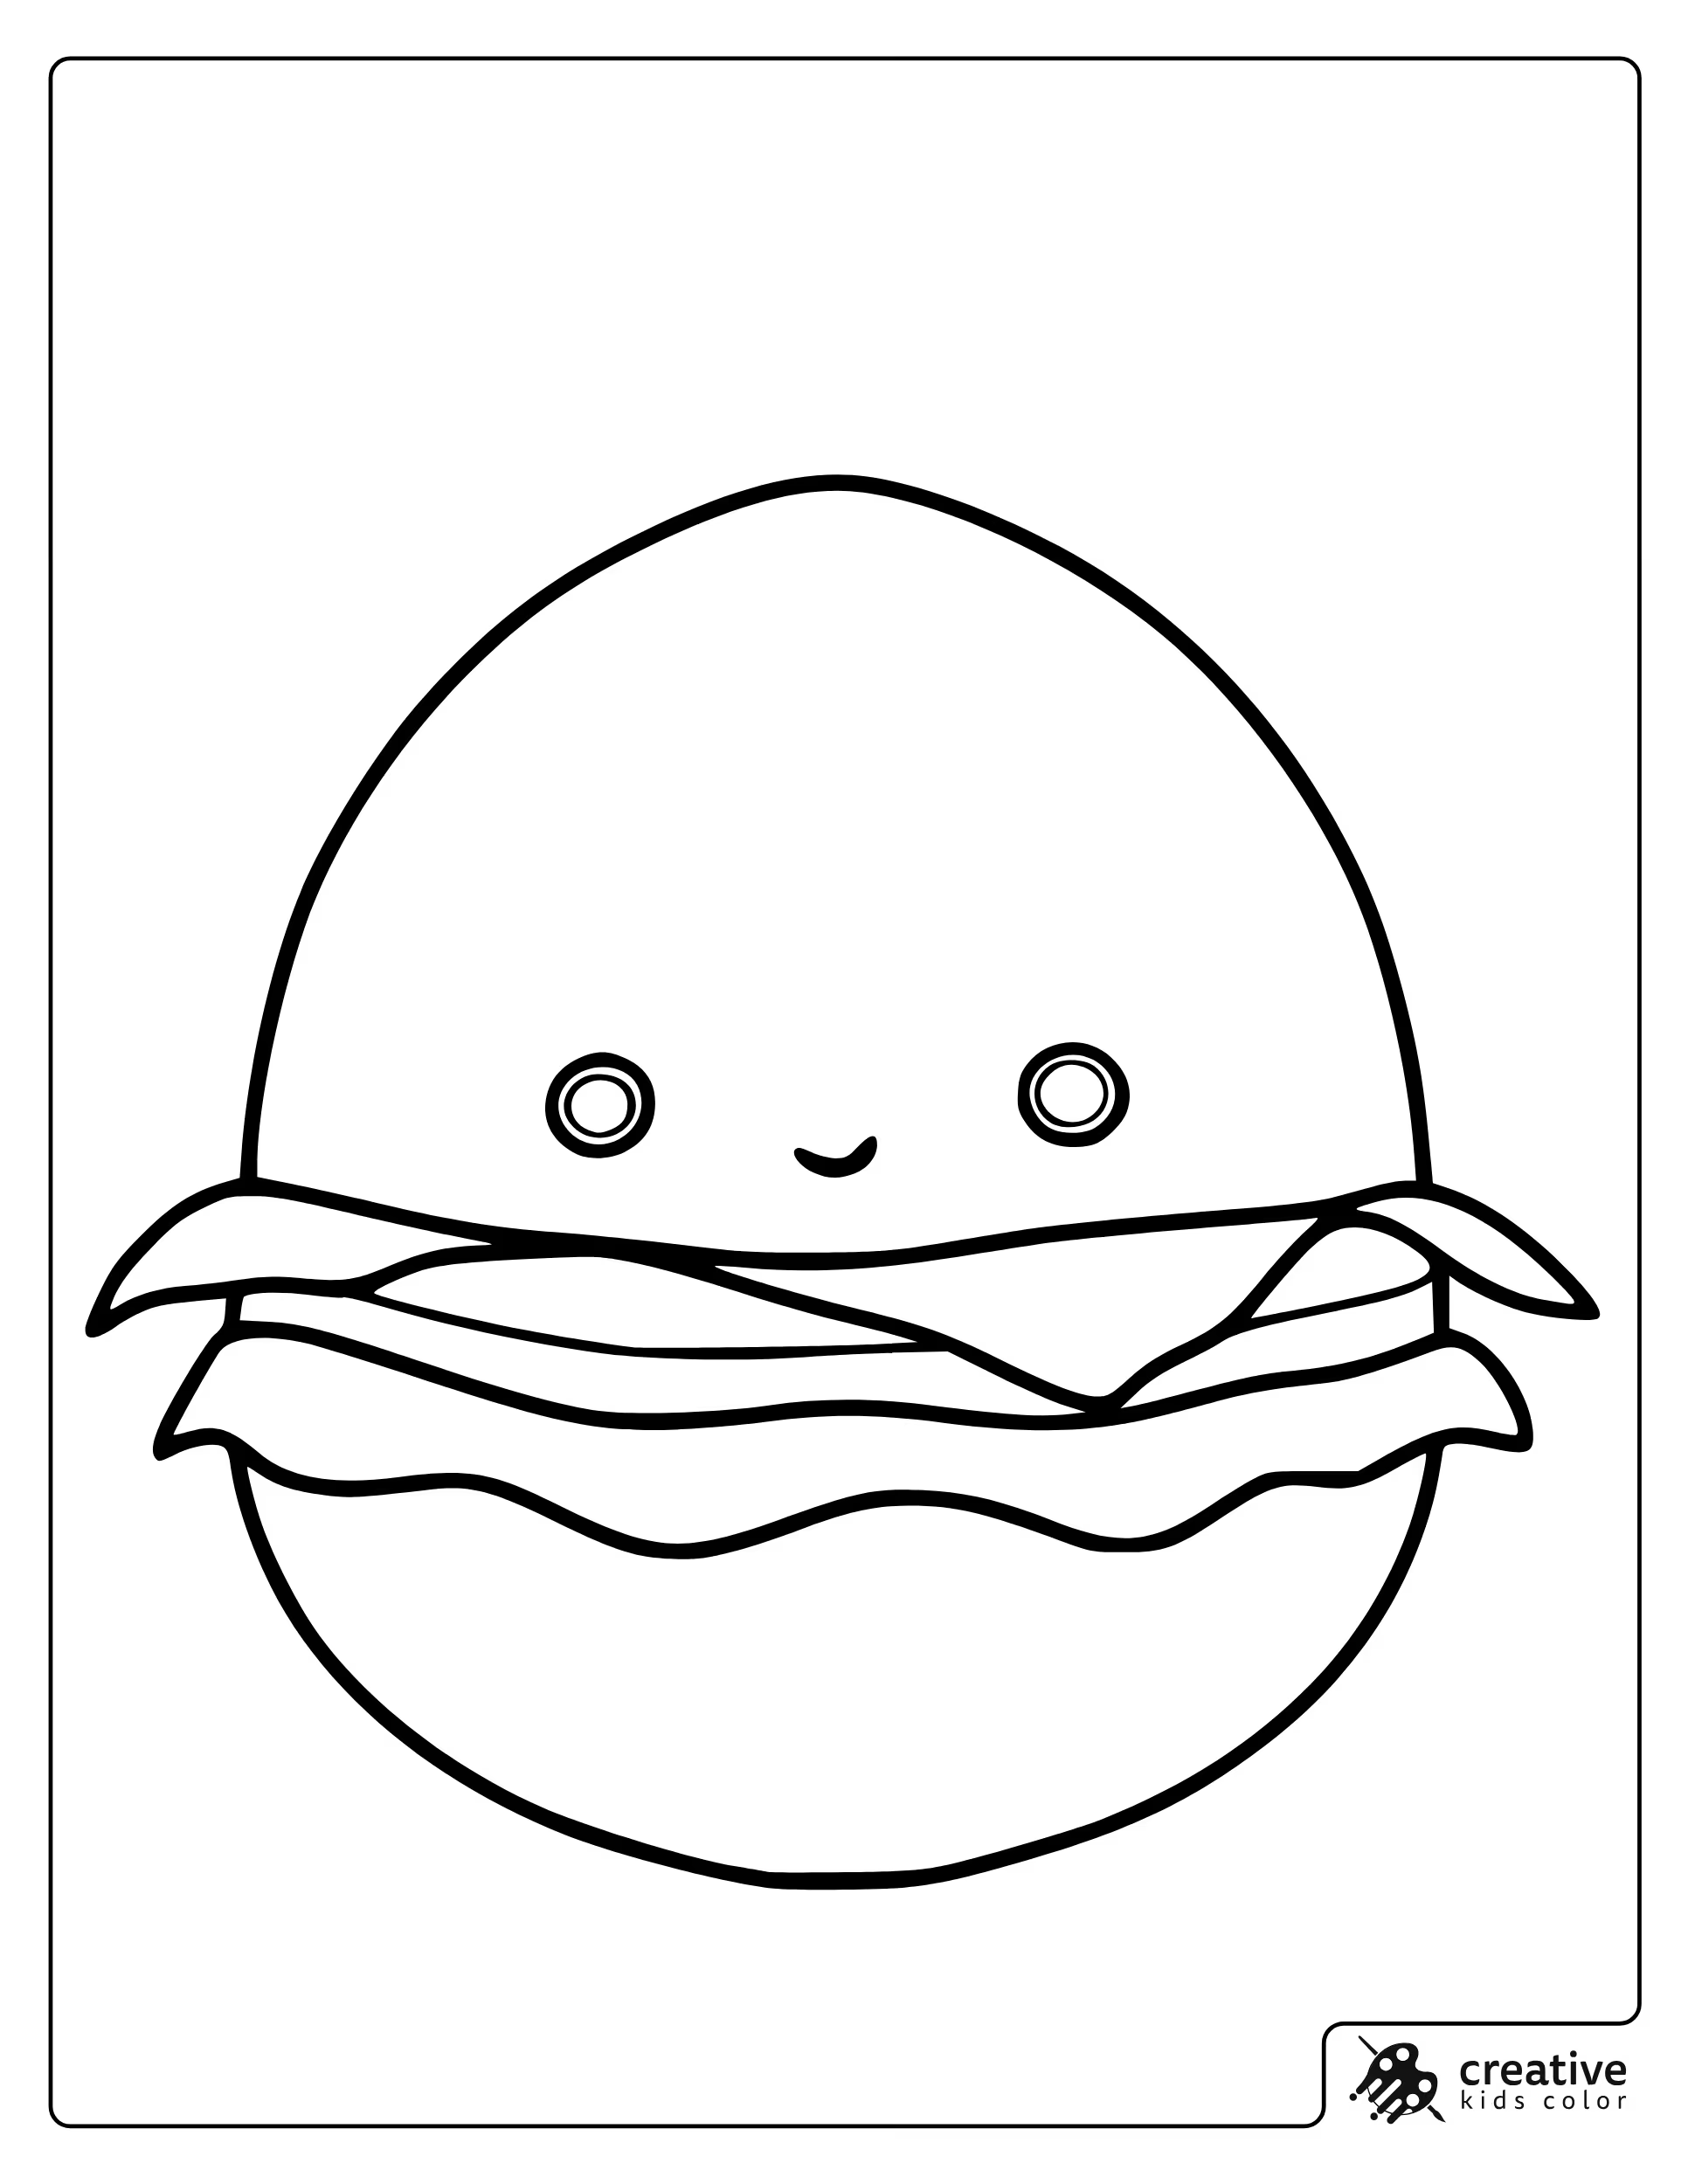
Carl the Cheeseburger
Carl looks best when you separate the stacked layers clearly, a warm bun color, a brighter cheese accent, and one darker tone for patty details. Keeping the face area light helps the smile stand out.
With markers, color the light bun first, then the cheese, then darker layers last so the edges do not smear. With pencils, a slightly darker bun tone along the bottom edge makes the burger feel rounded.
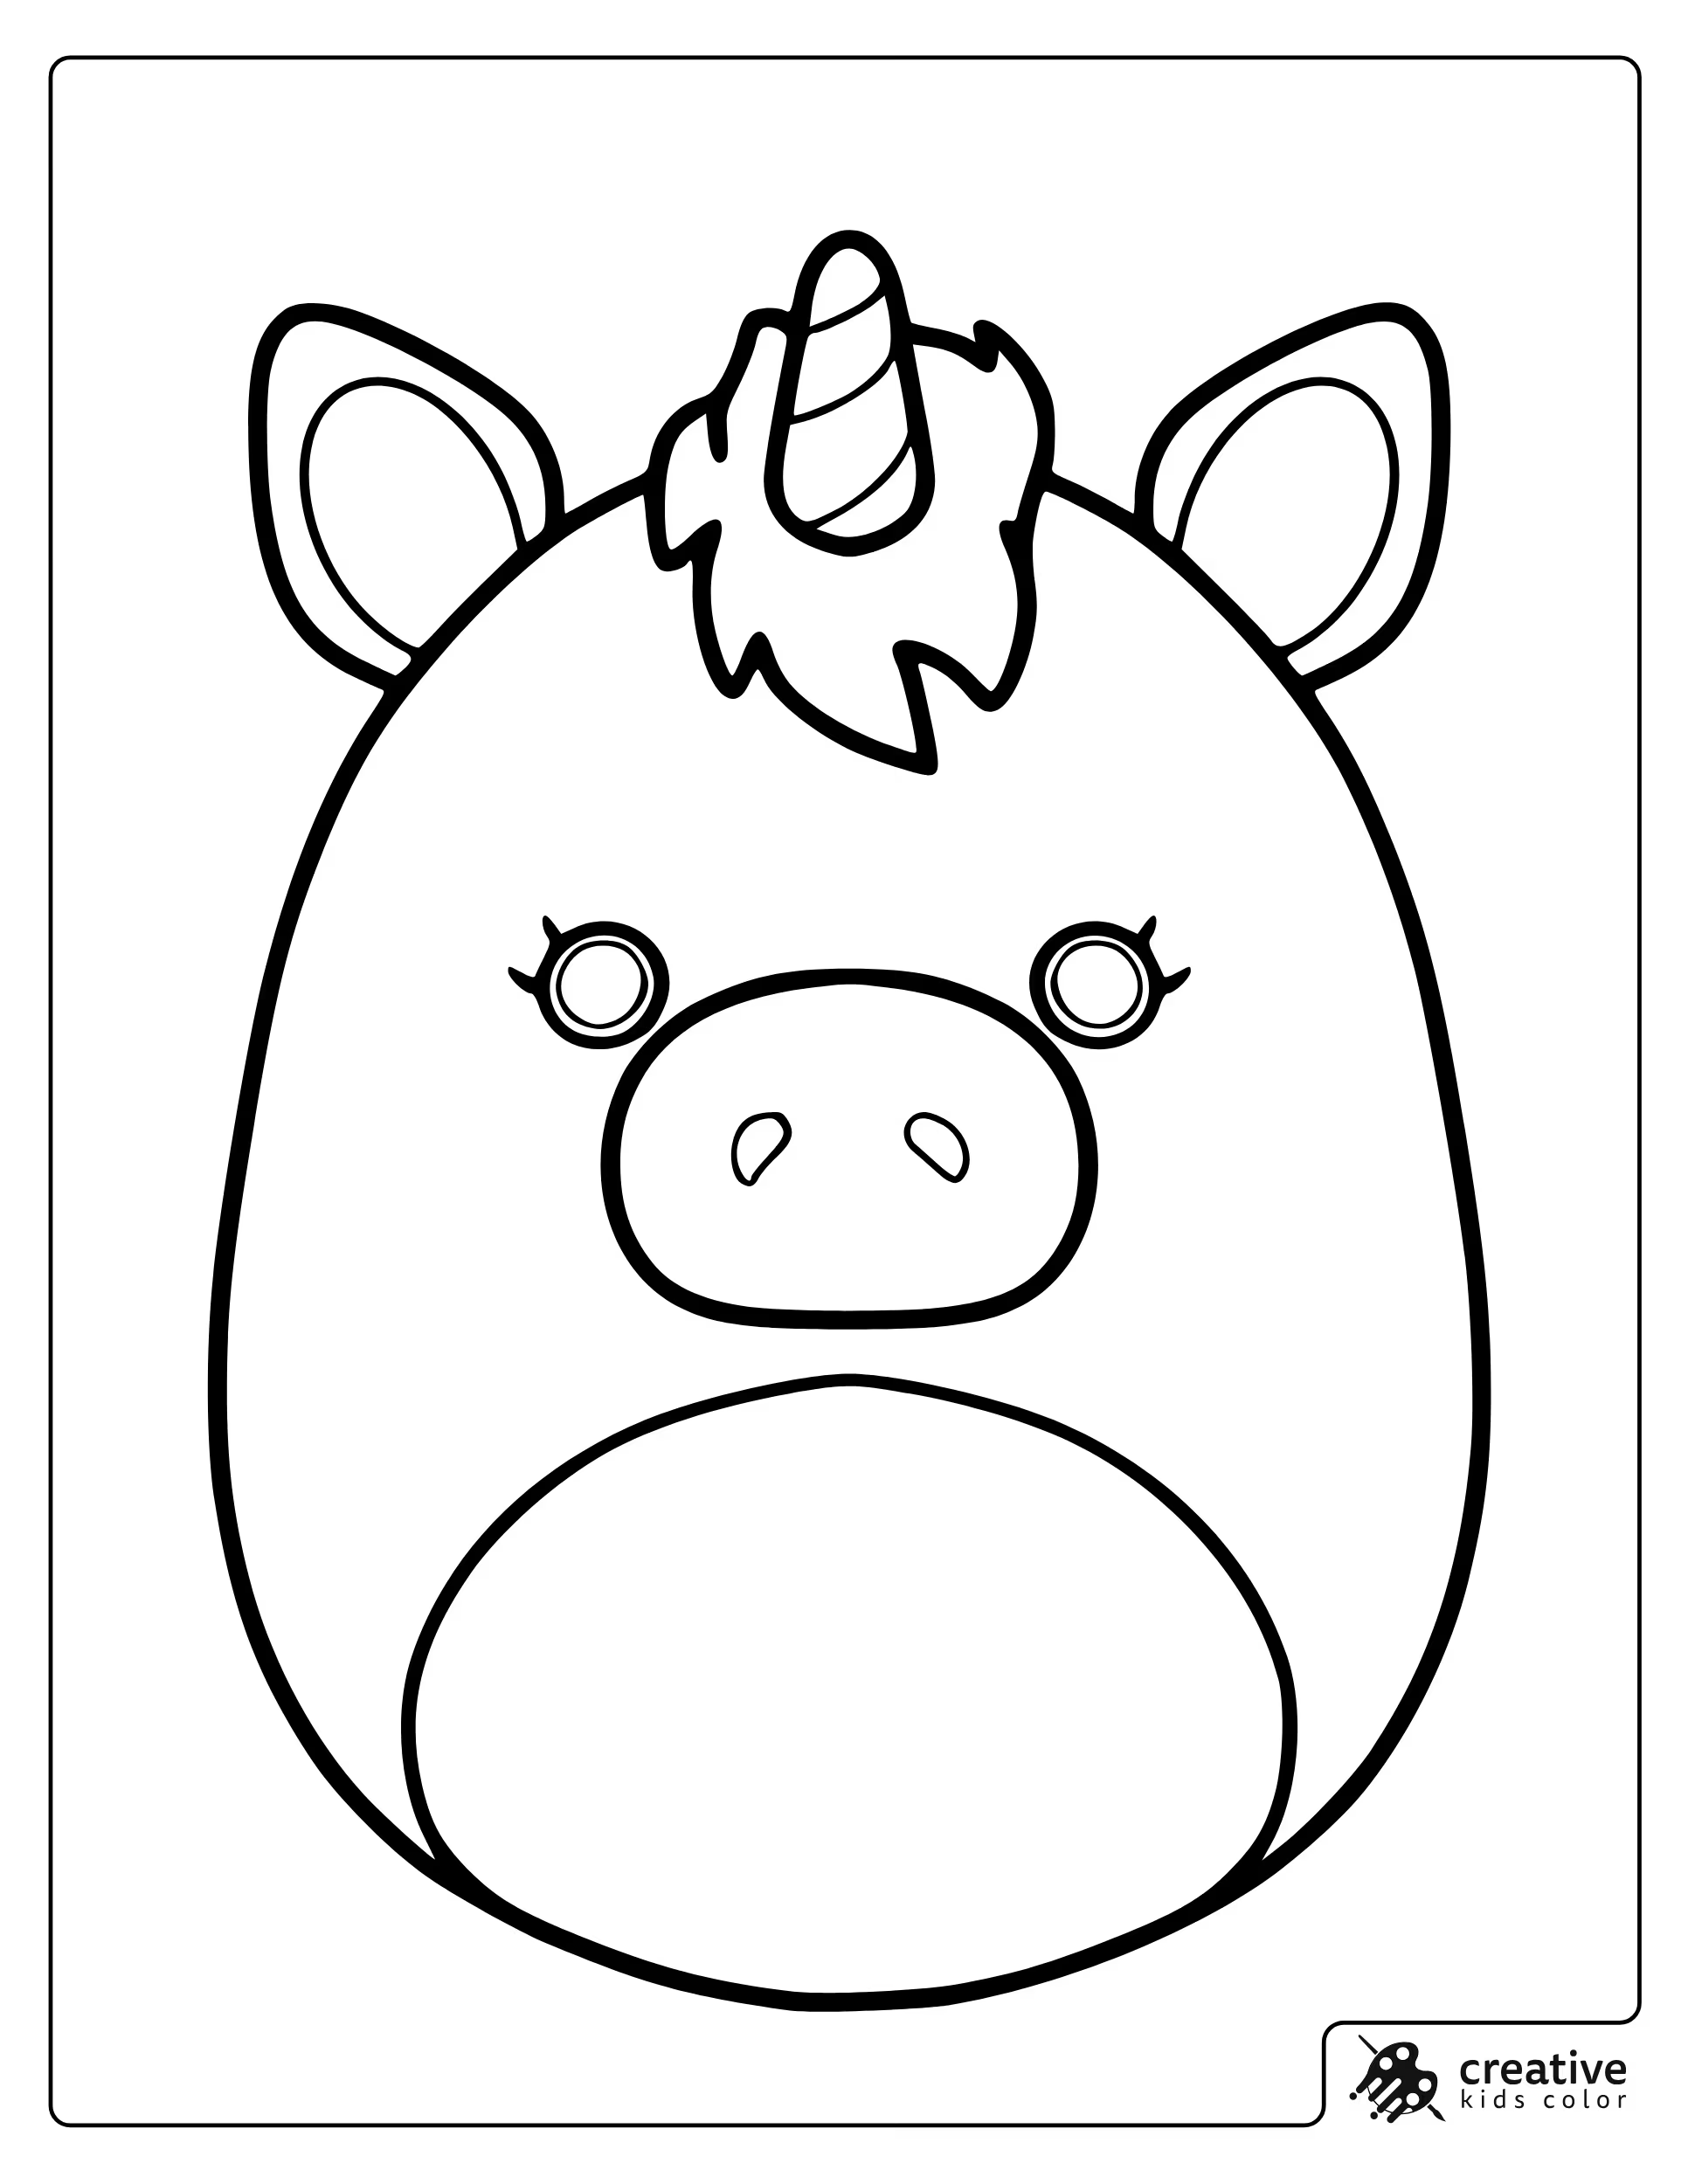
Celestina the Unicorn
Celestina is easiest with one main body color and a lighter belly tone, then an accent for the horn and another for mane details. If kids want a classic unicorn feel, keep the horn brighter than the body so it pops.
With pencils, blending the mane by layering two close tones looks soft and plush. With crayons, keeping the horn a single clean color usually looks better than trying to shade it.
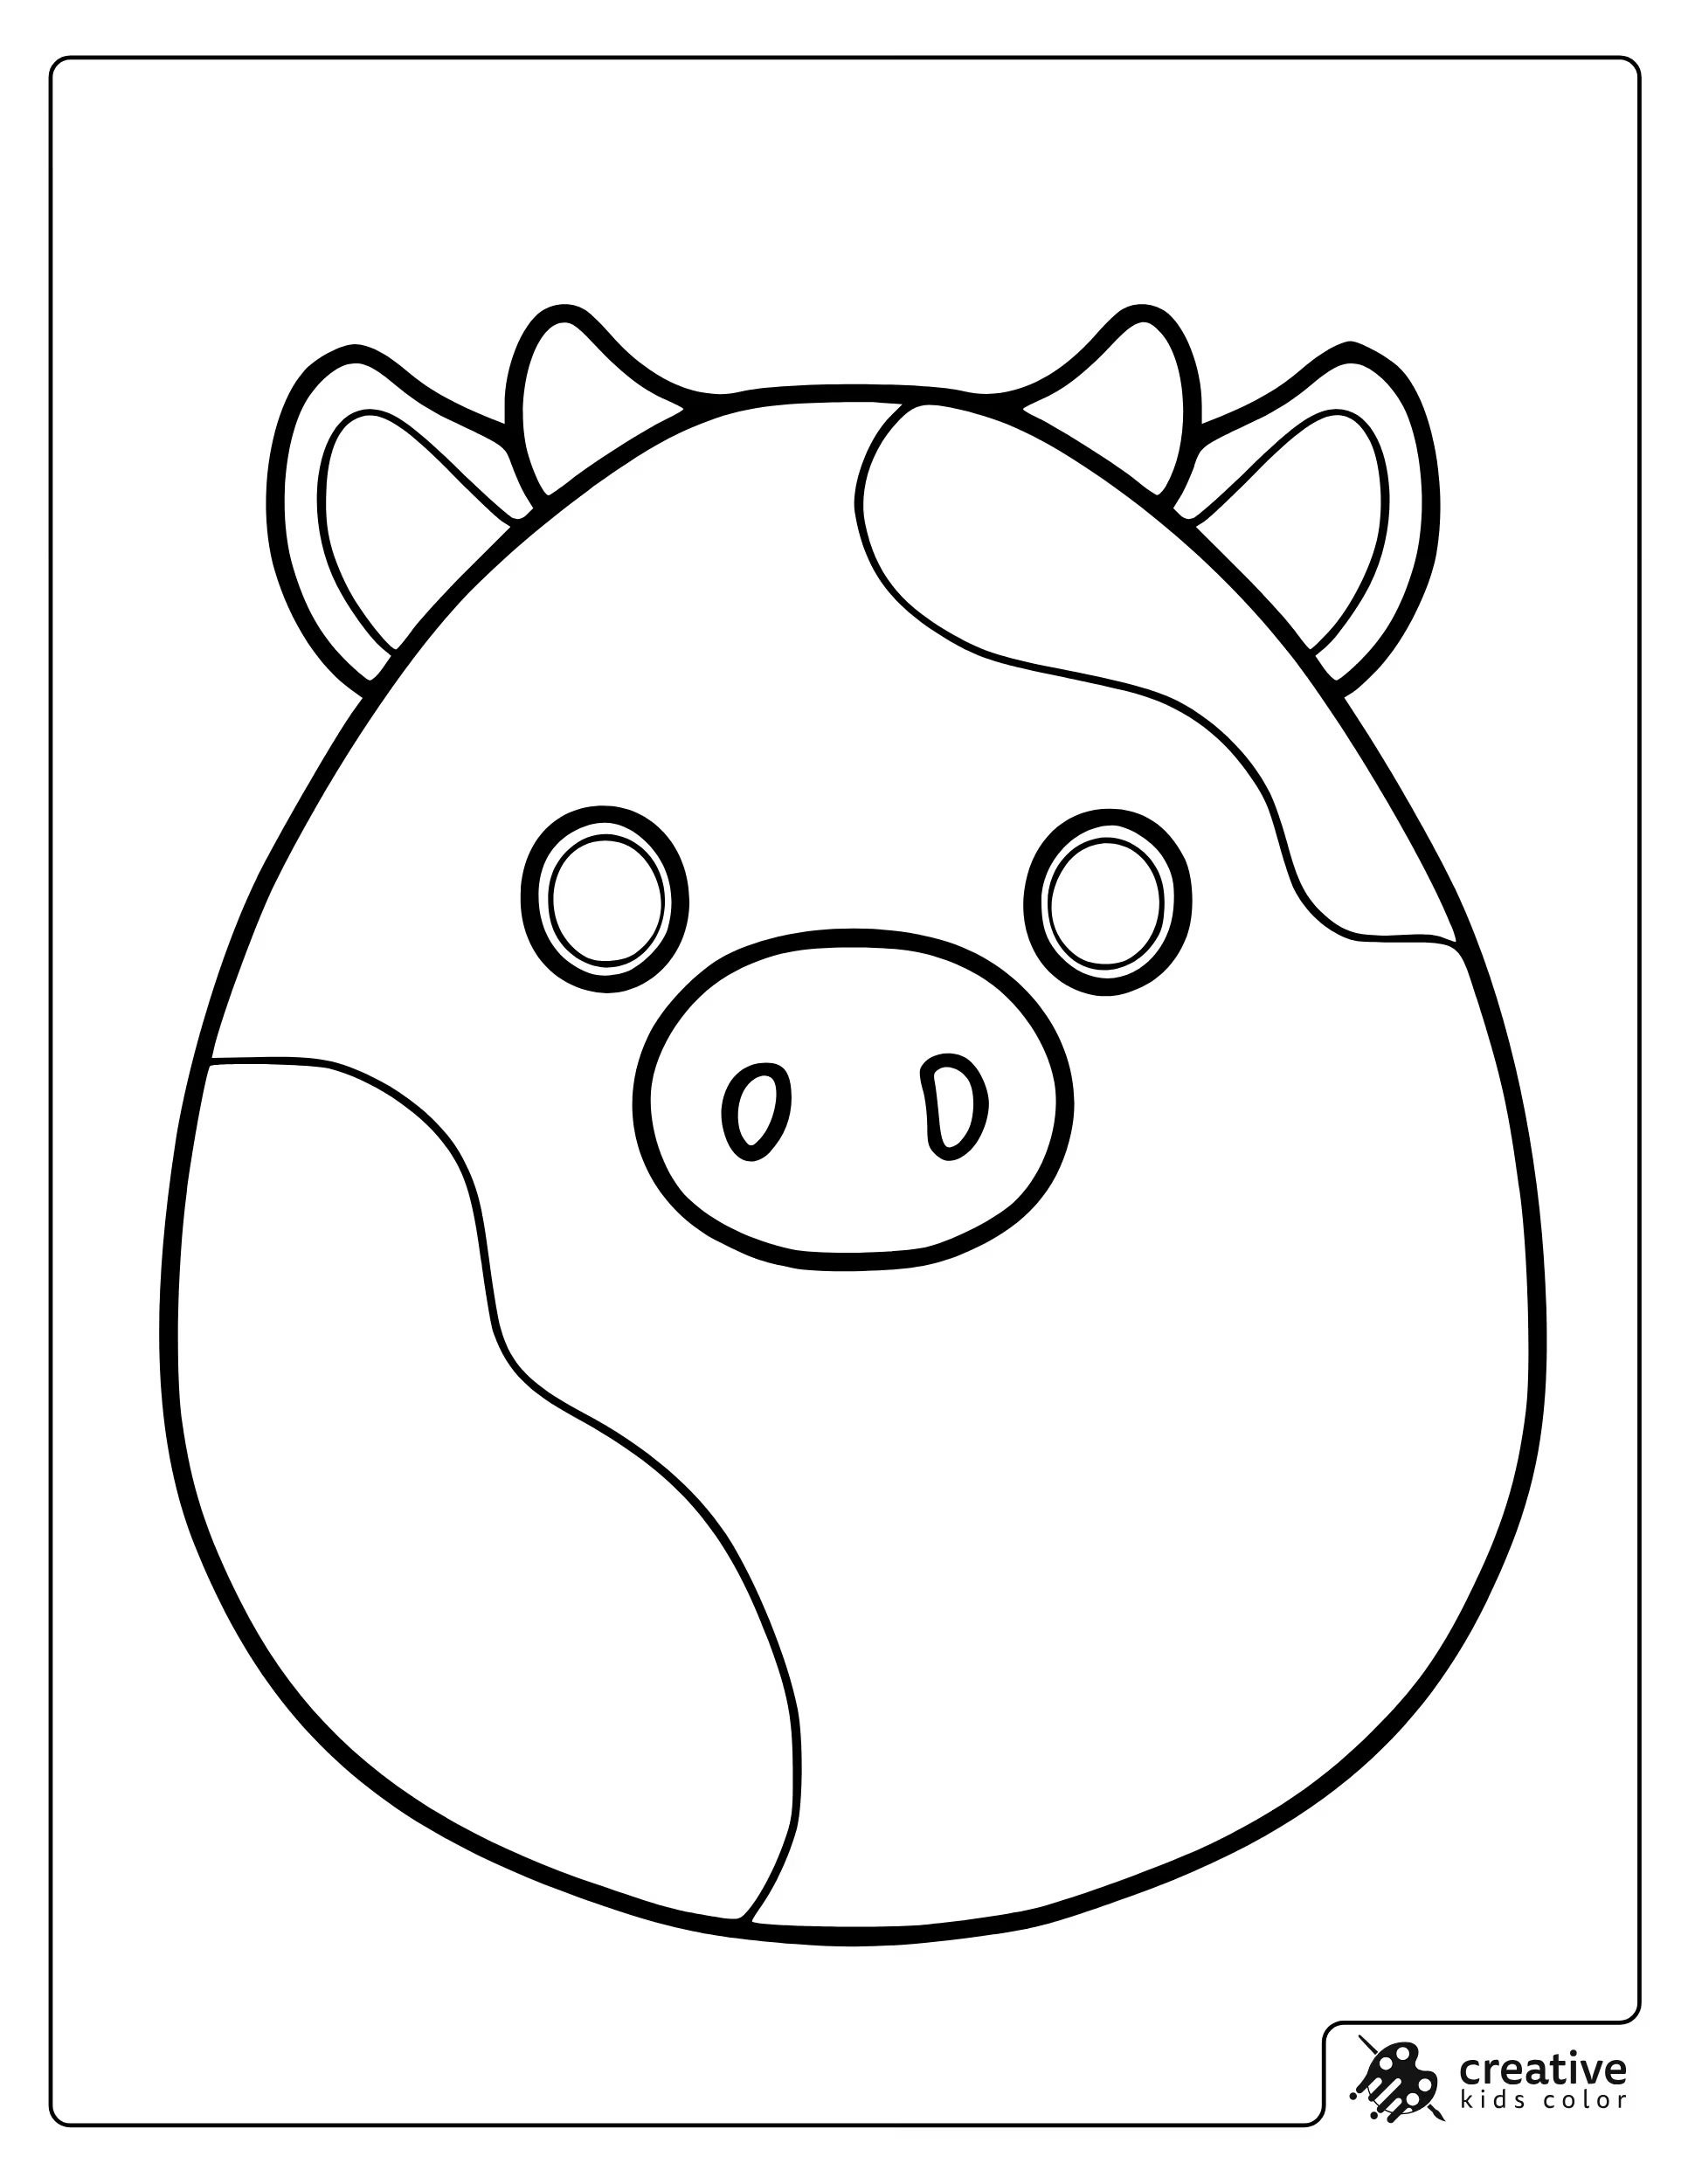
Connor the Cow
Connor looks most recognizable when the body stays light and the patches are a clear darker accent color. Horns and small details can be kept simple so the face stays the focus.
With markers, fill the light body first and add patches after it dries for sharper edges. With pencils, a light gray shadow under the belly is enough to suggest the squishy shape.
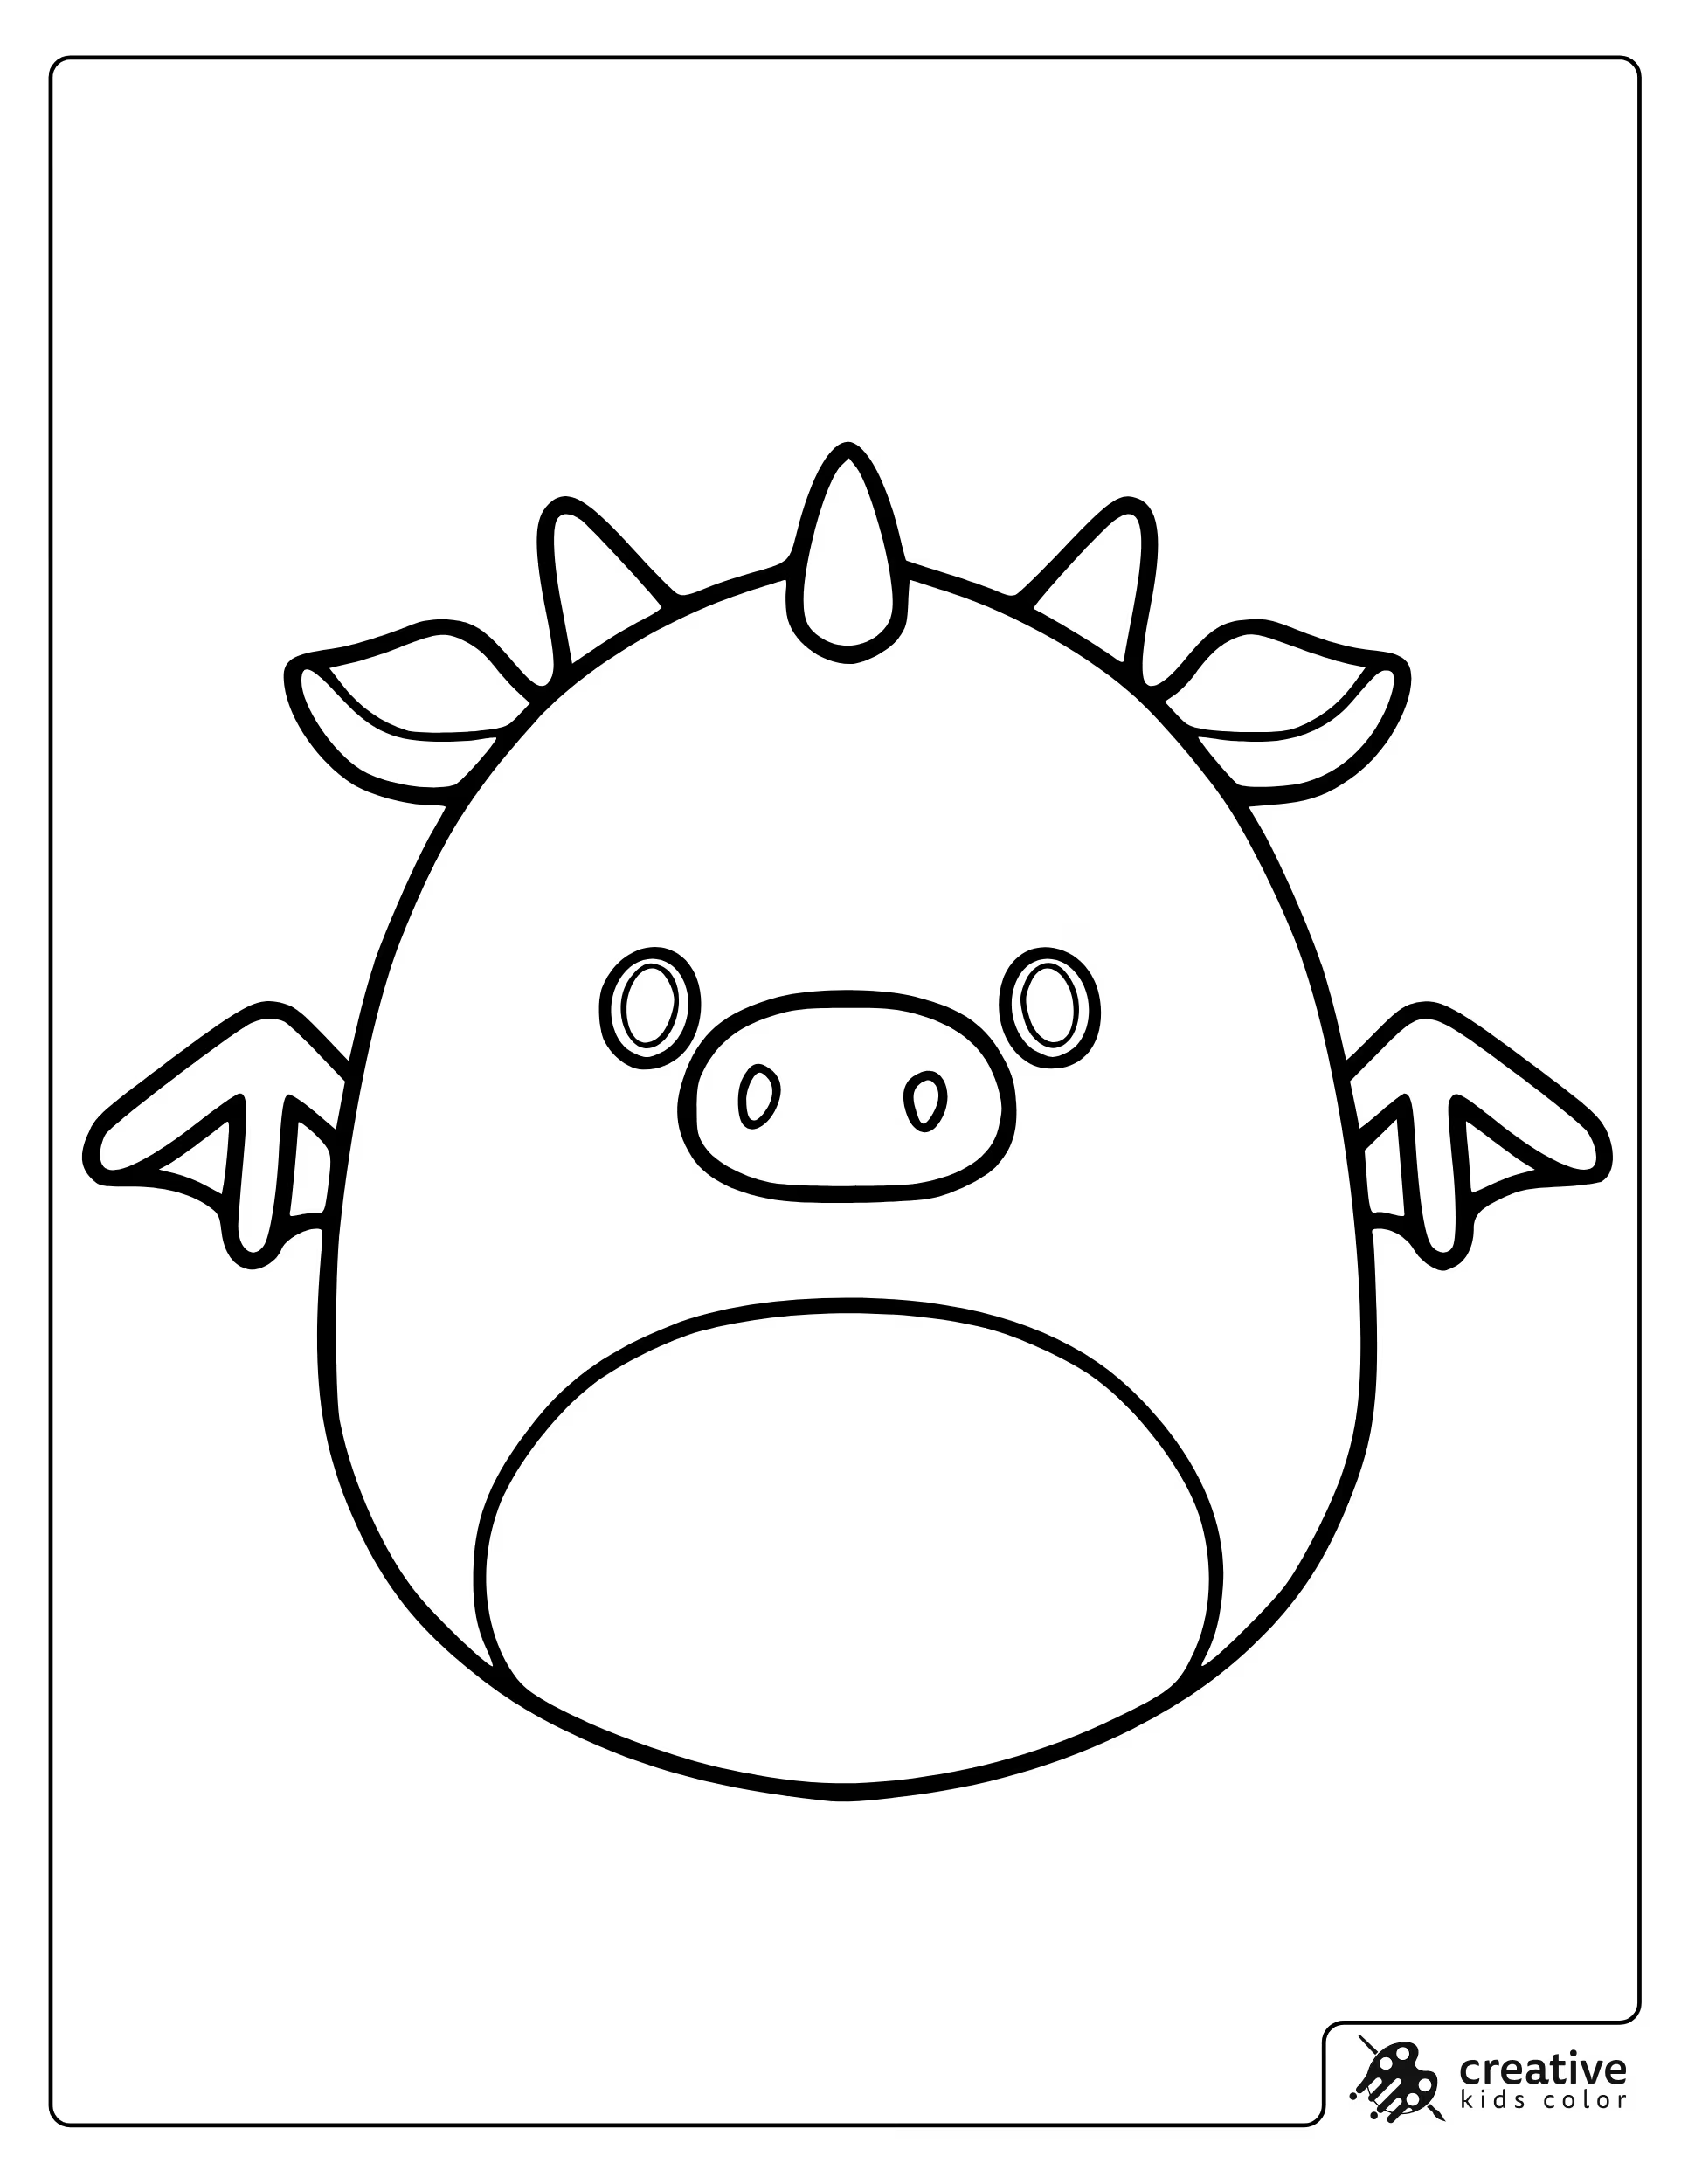
Dustin the Dragon
Dustin works well with one main dragon color plus a lighter belly tone, then a small accent for horns and wings. Keeping the wings a slightly different shade than the body helps the shape read instantly.
With colored pencils, deepen the color near the wing base and under the horns for quick dimension. With crayons, fill the belly area first so it stays clean against darker body colors.
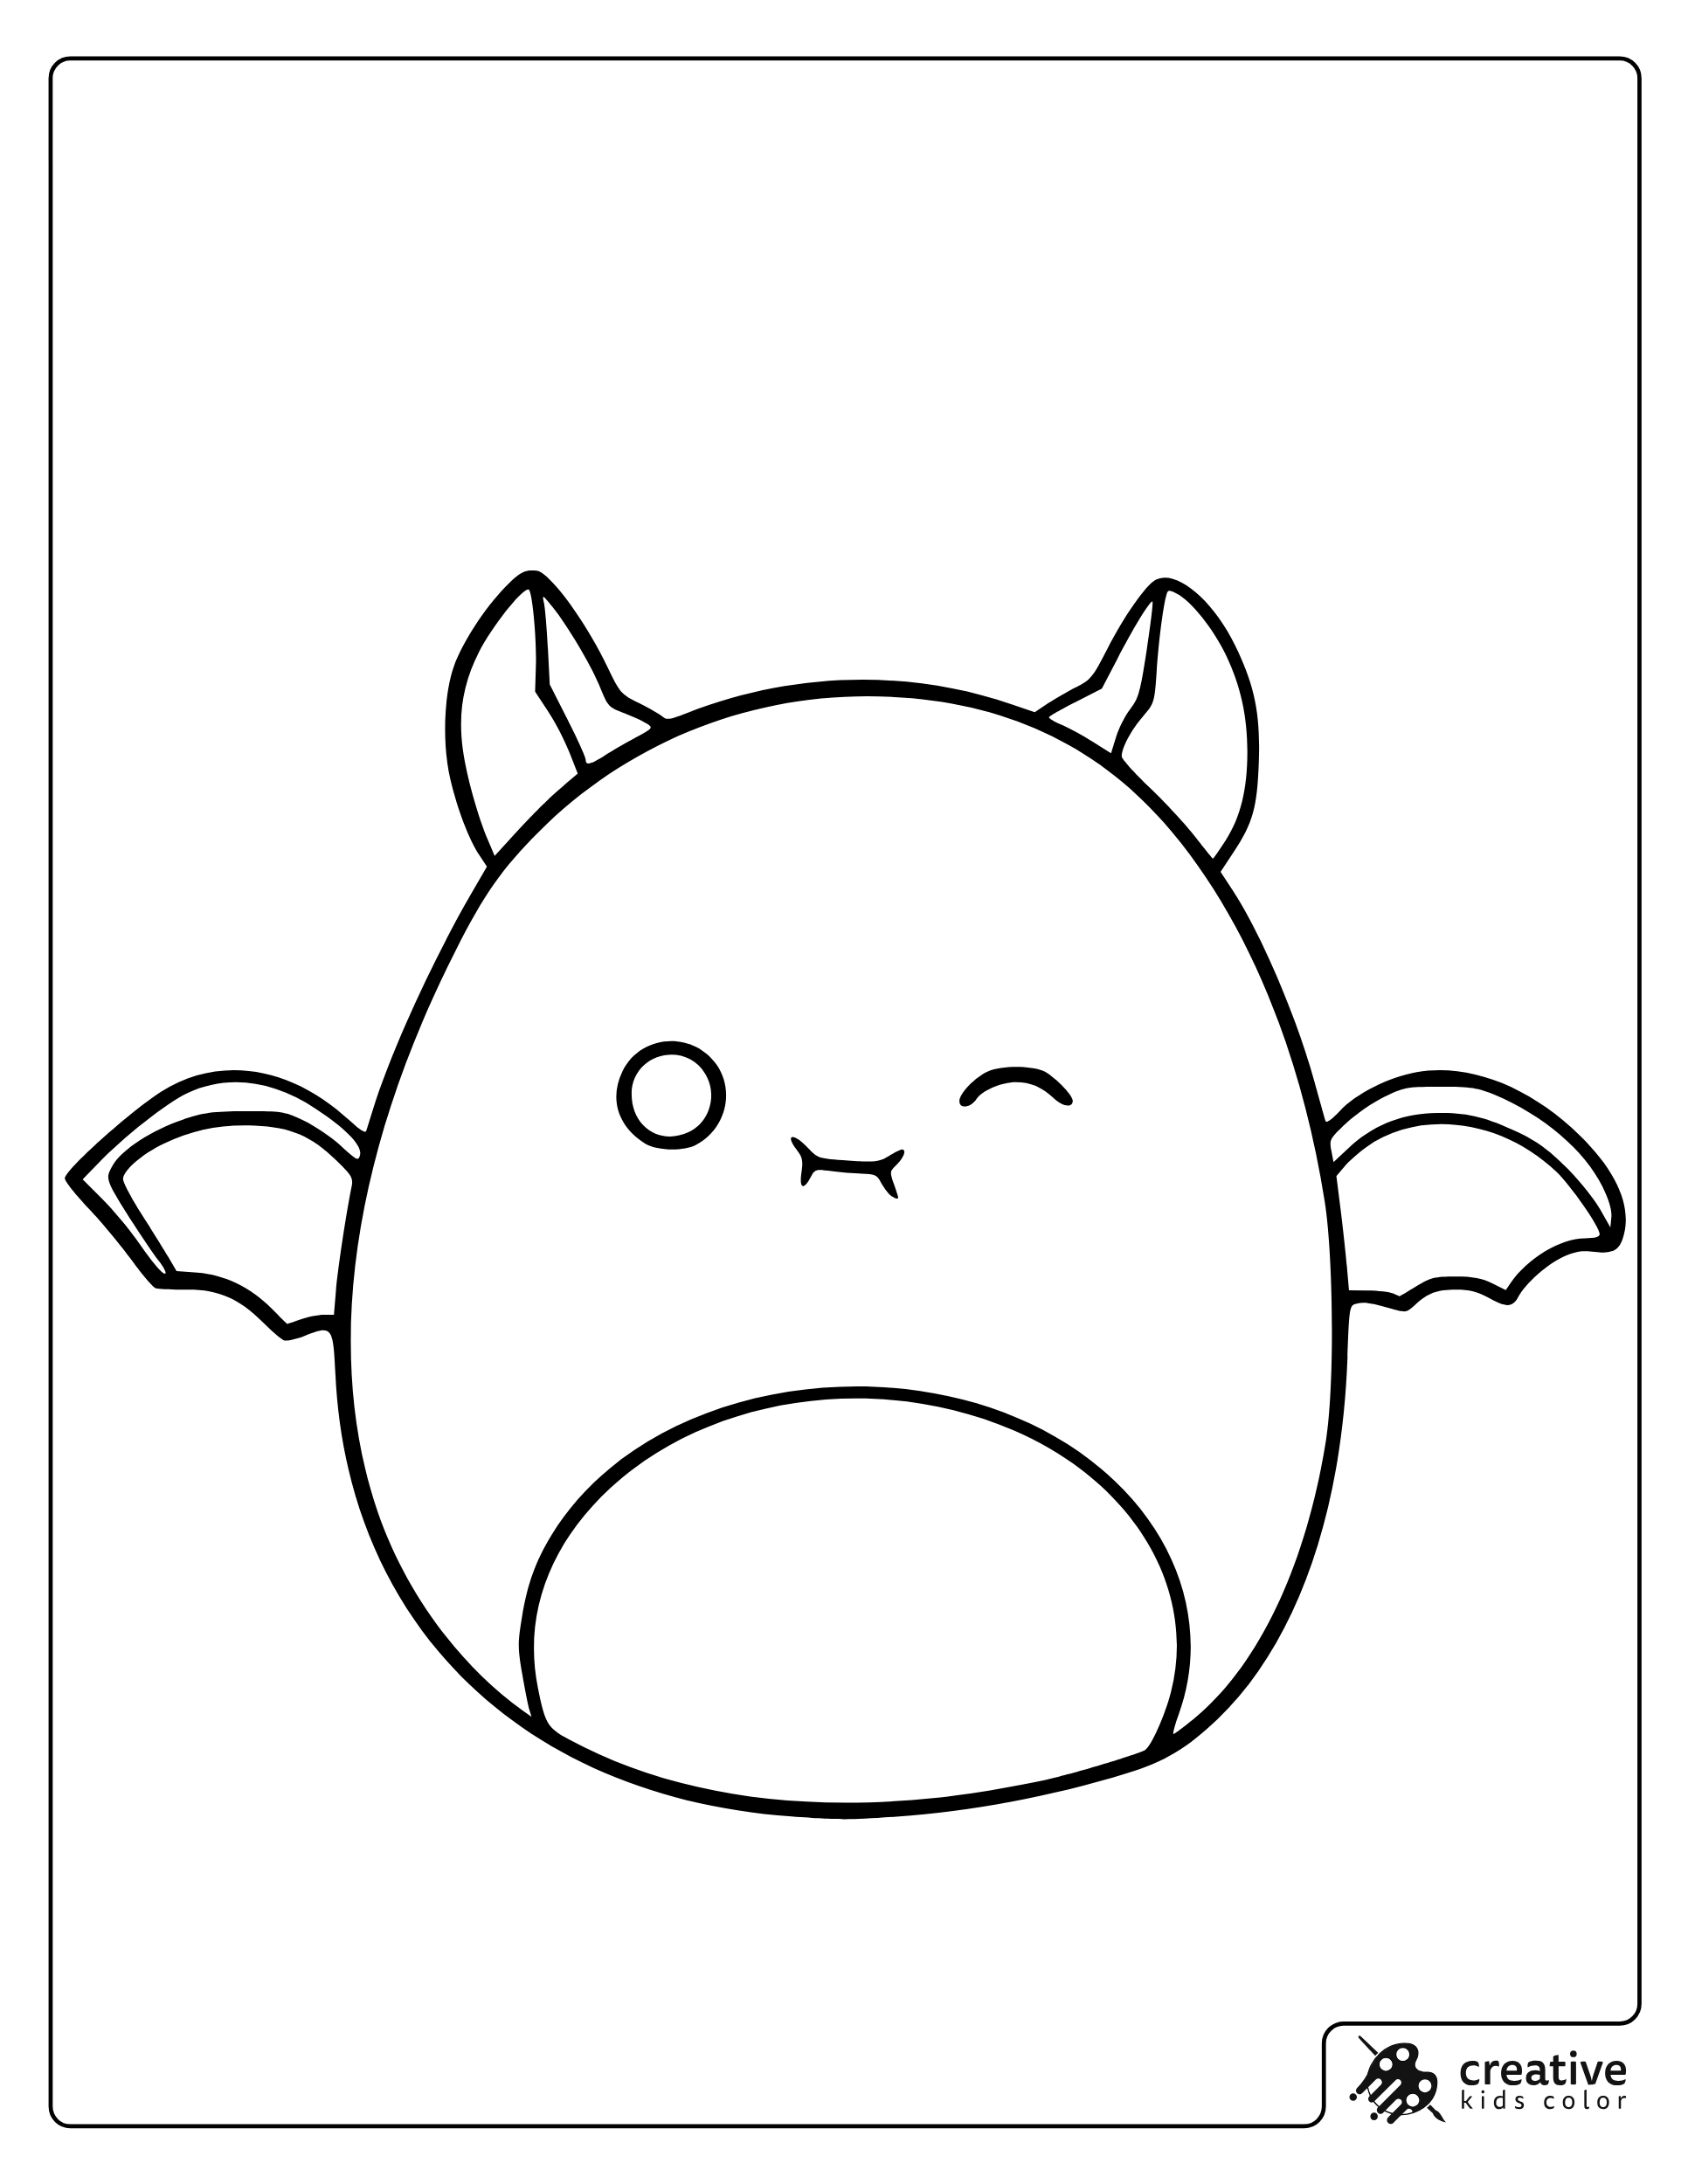
Emily the Bat
Emily is easiest when you pick a main body color and a lighter belly tone, then keep the wings just a shade darker or lighter than the body. The winking face looks best when the eye lines stay crisp and not covered by heavy coloring.
With markers, do the face first and then fill the wings carefully outward from the body. With pencils, a soft edge darkening along the wing tips makes the wings feel wider without extra colors.
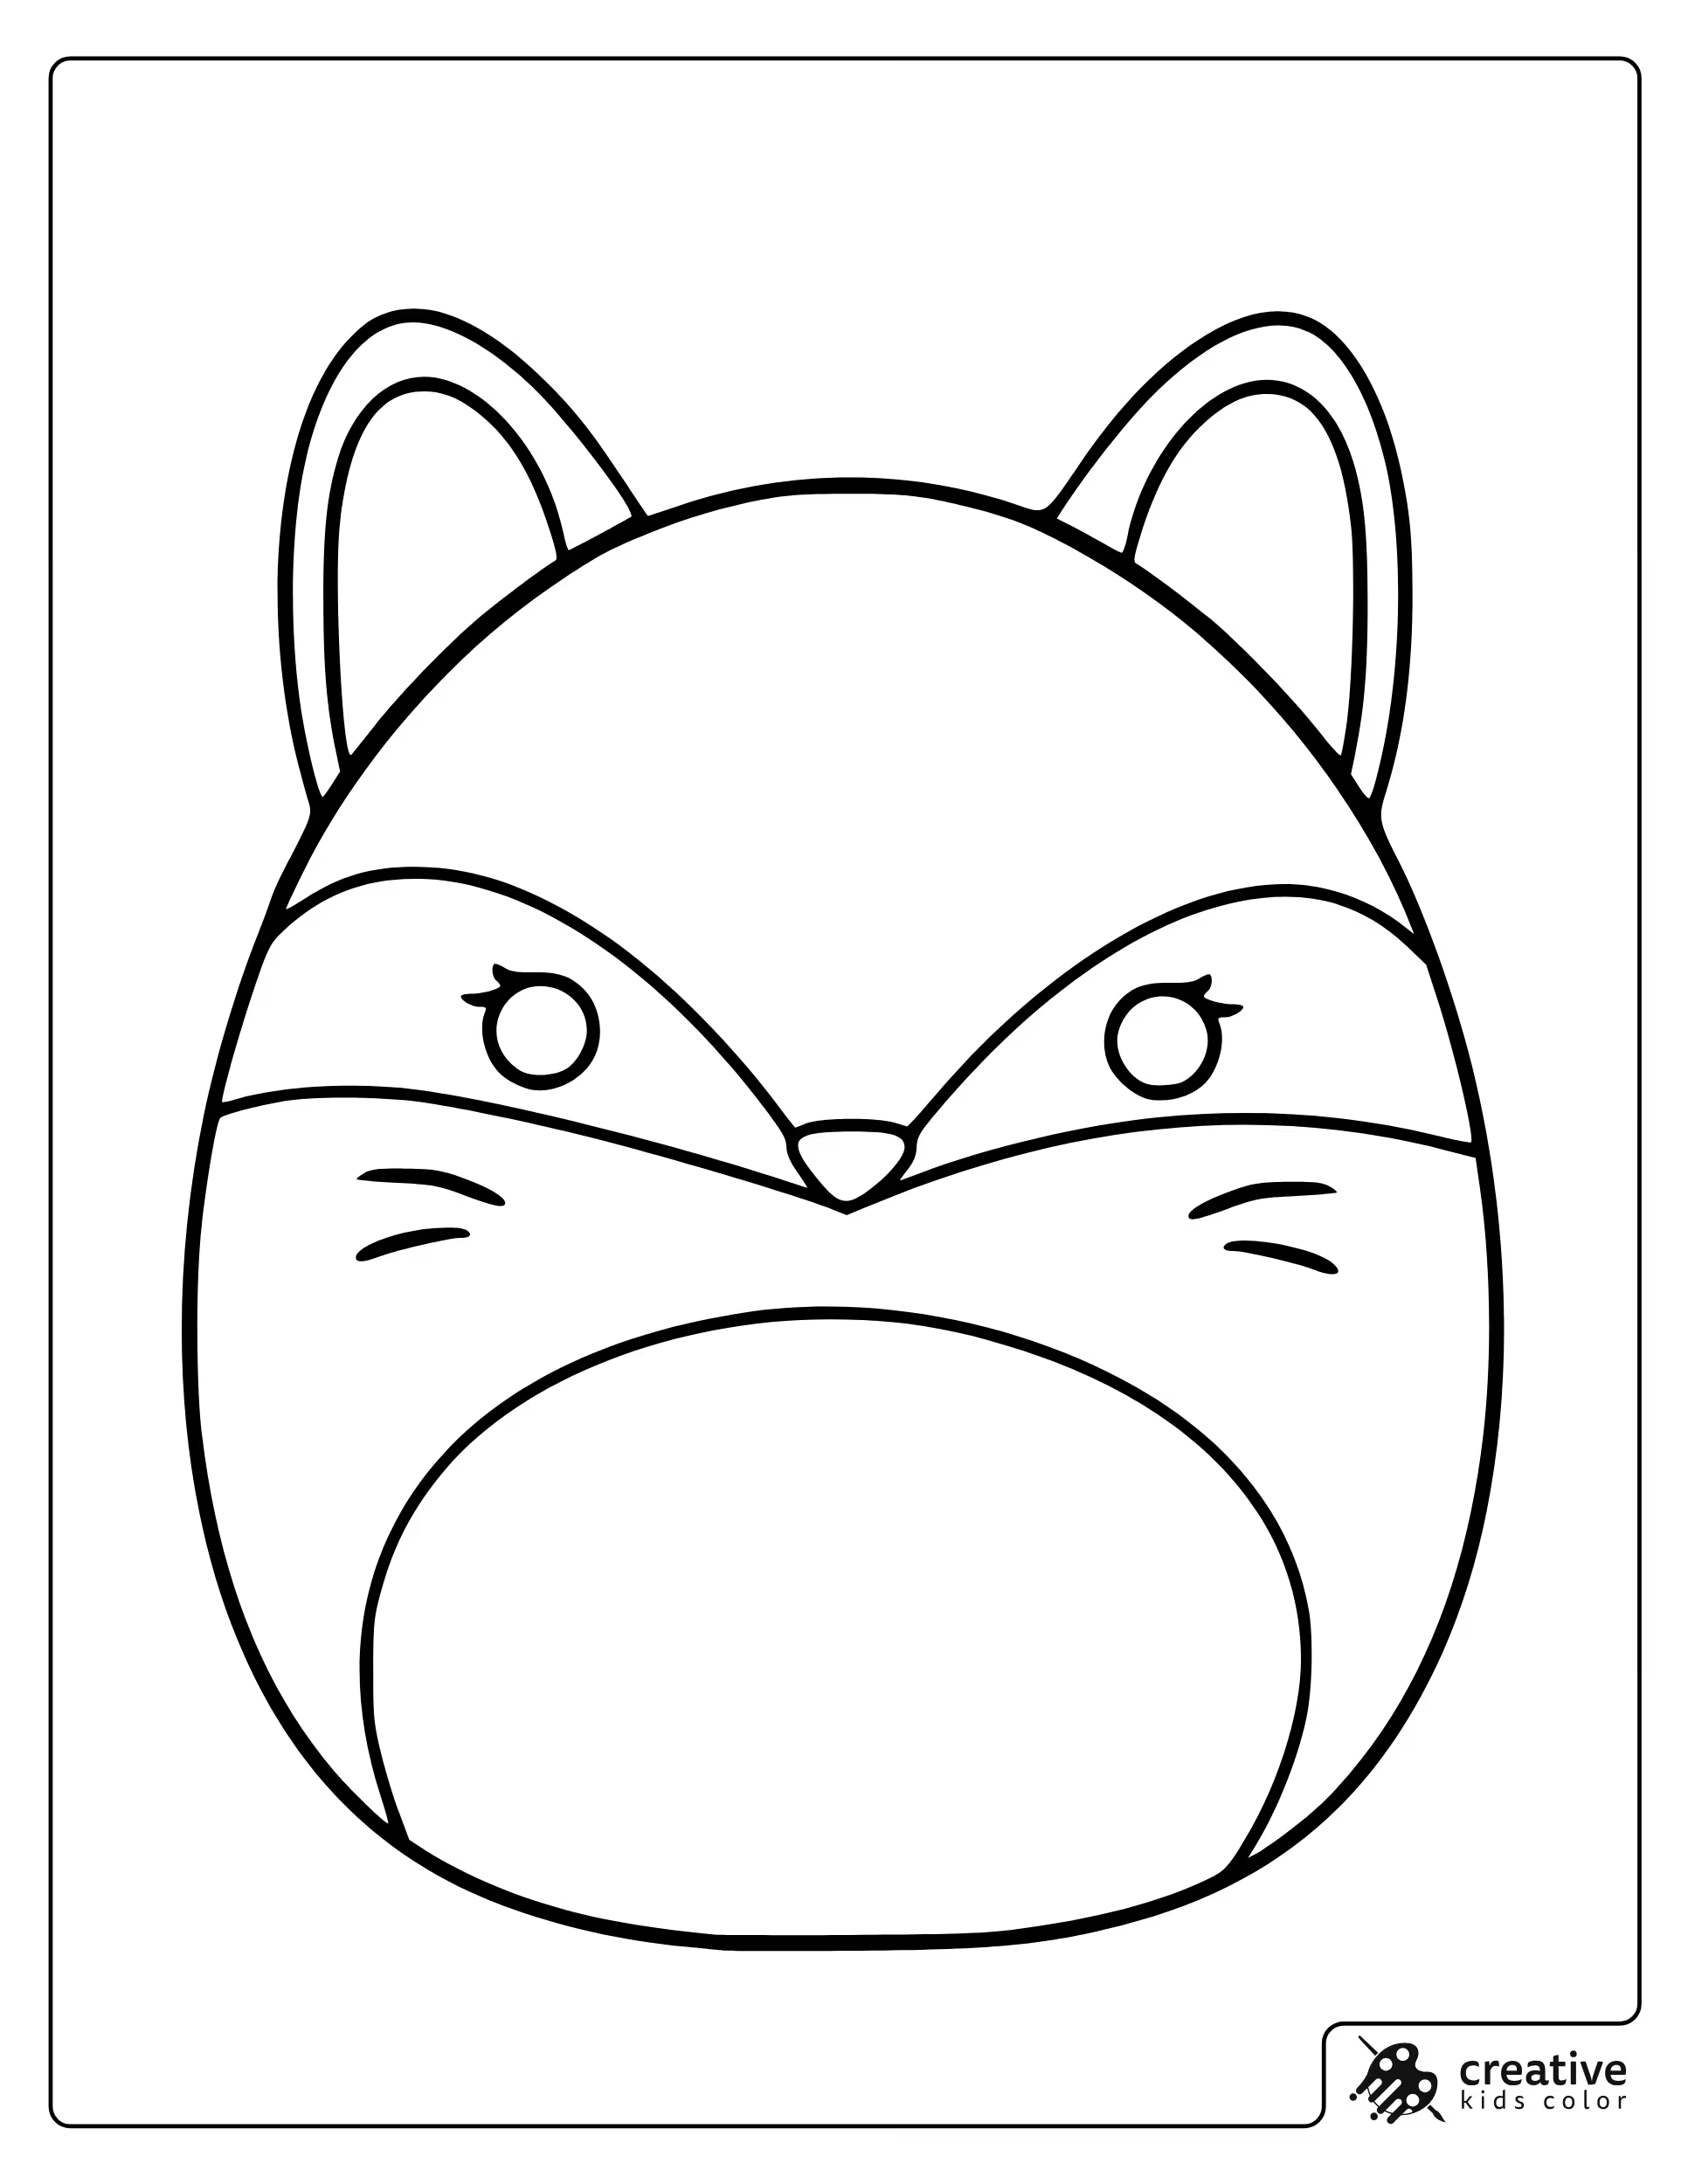
Fifi the Fox
Fifi looks great with a warm main fur color and a lighter muzzle and belly tone, then a darker accent for ear tips and facial markings. Keeping the markings slightly deeper than the base color makes the face read clearly.
With crayons, light layers help the orange tones stay bright. With pencils, a small darker pass under the cheeks and around the ear edges adds shape fast.
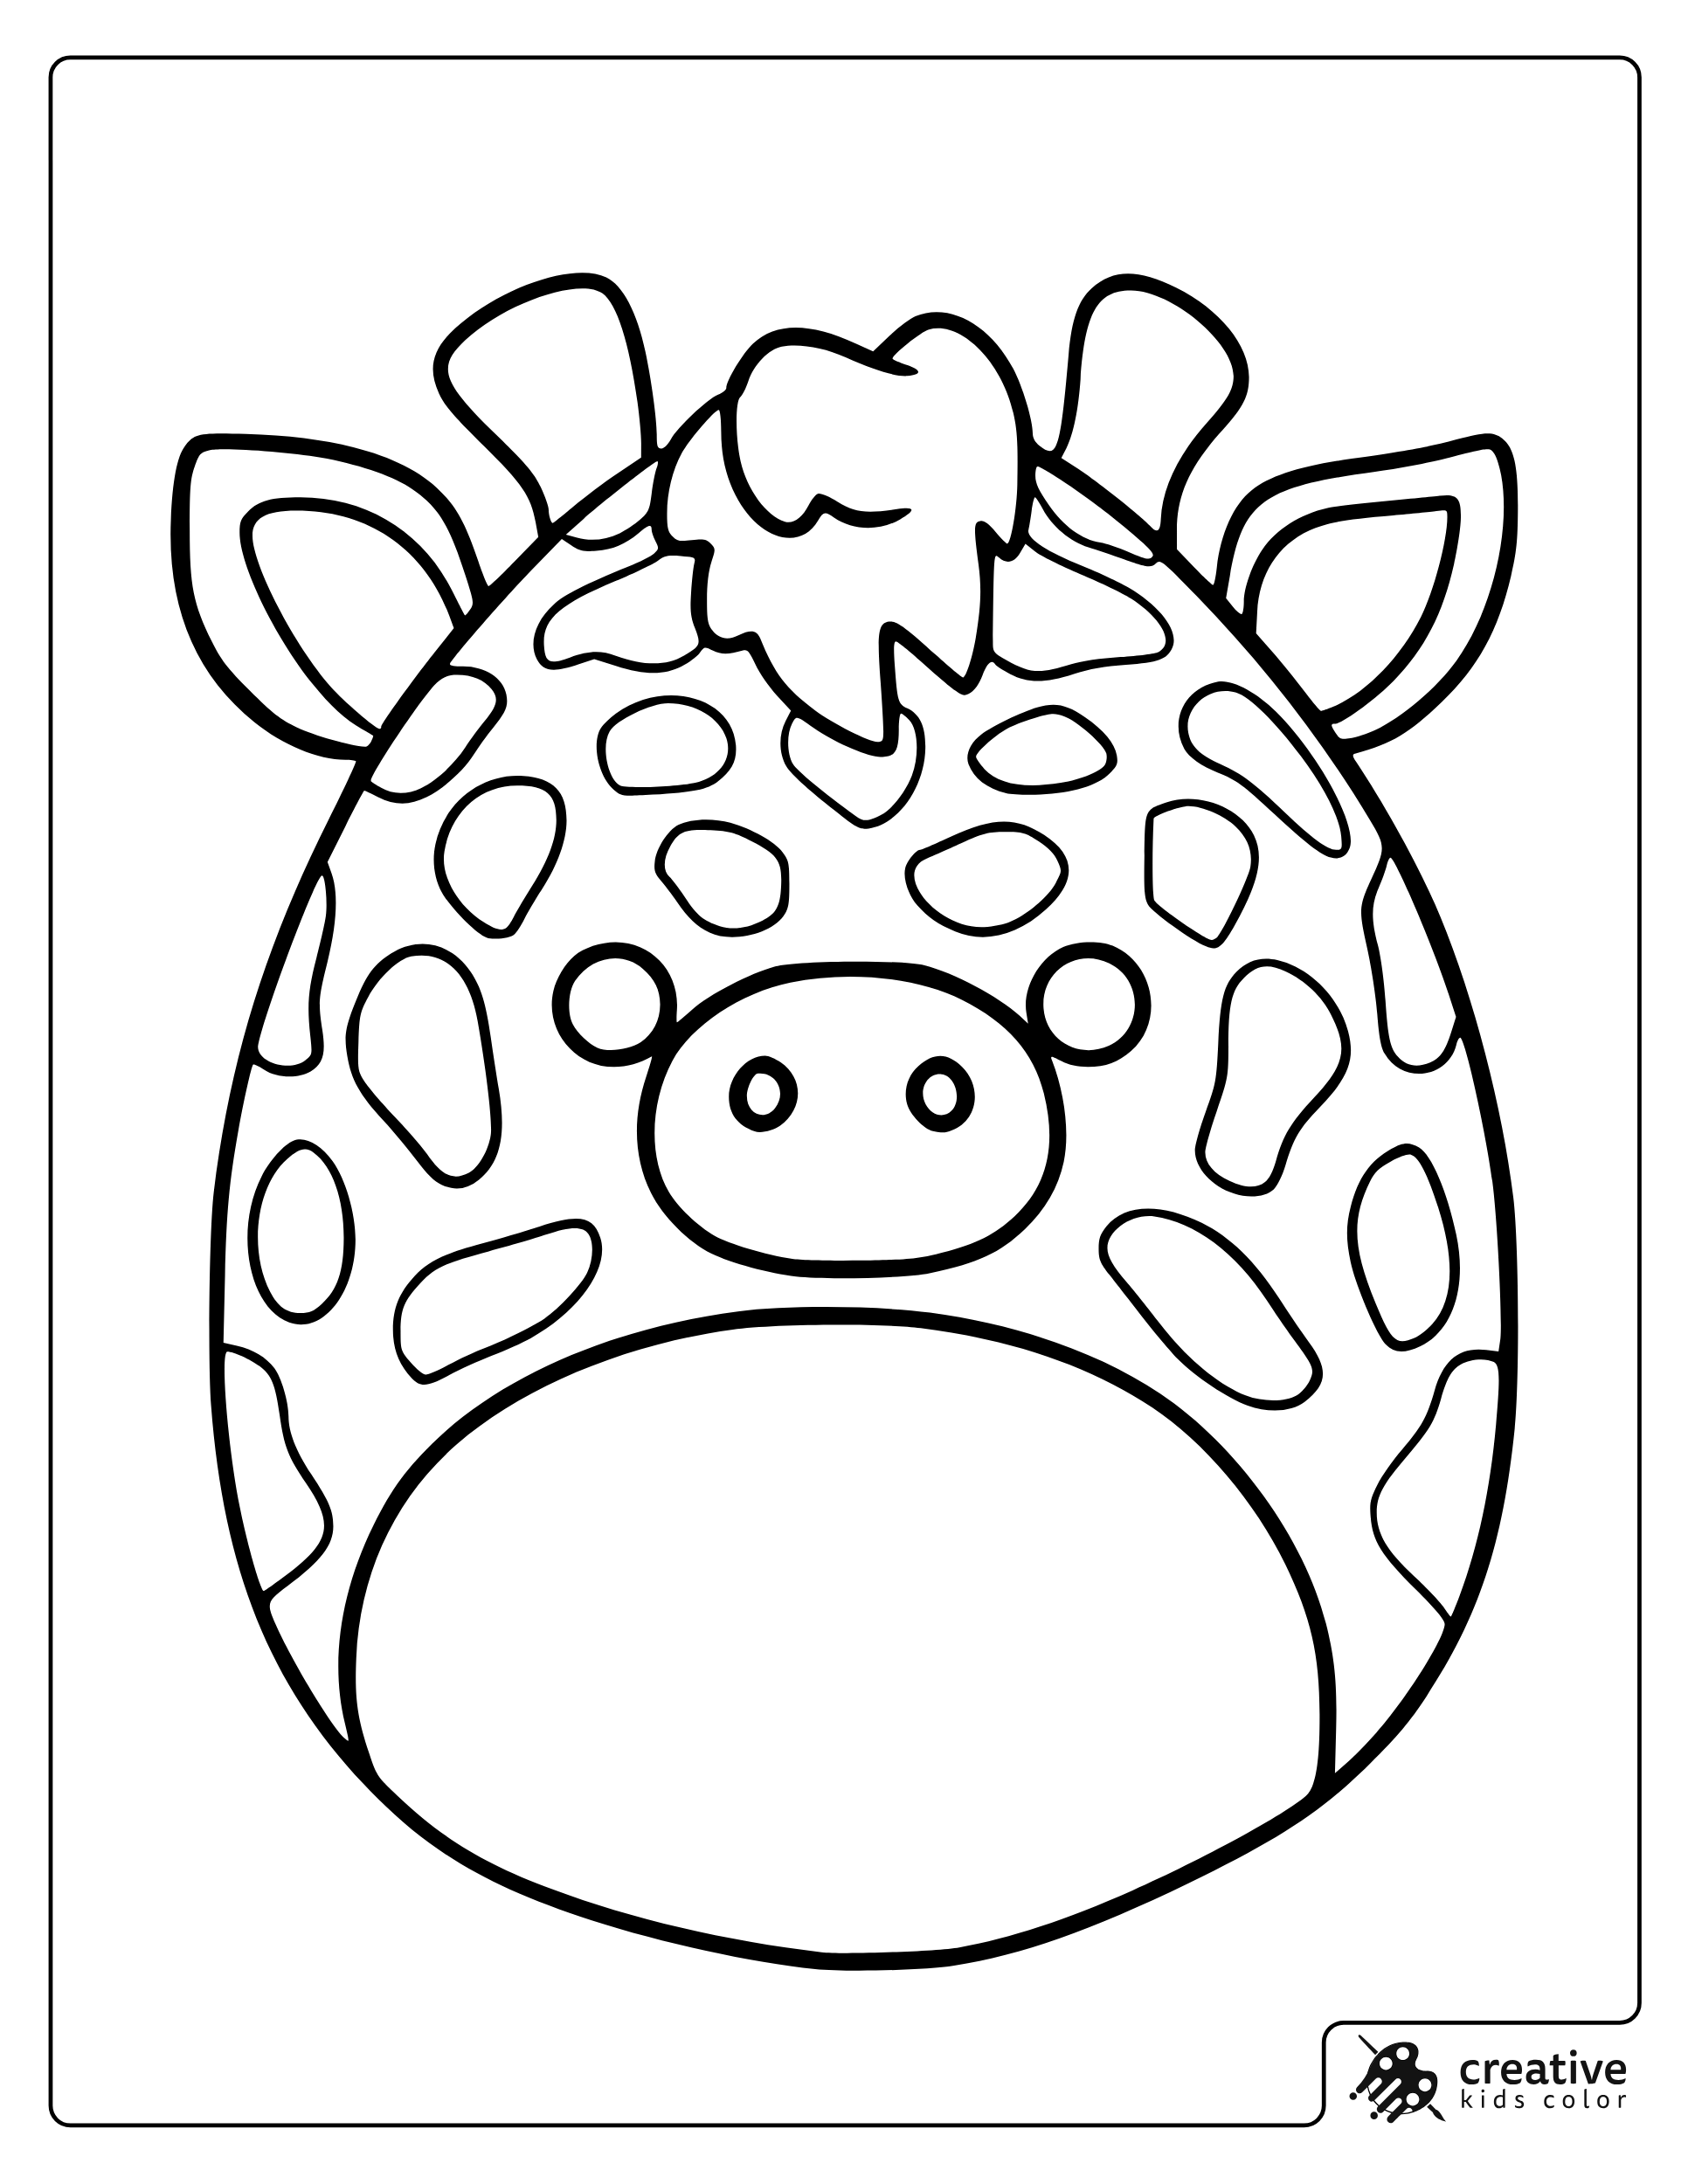
Gary the Giraffe
Gary is easiest with a light base color and a darker spot color, plus a lighter belly tone to keep the center bright. Spot patterns look best when kids repeat the same spot color consistently instead of changing colors.
With markers, outline the spots first so they stay neat and rounded. With pencils, shading only the bottom edge of a few spots can add depth without making the page busy.
Hans the Hedgehog
Hans works well with one main body color plus a lighter belly tone, then a dotted accent color for texture details. Keeping the dots in one consistent shade makes the design look tidy.
With crayons, use a lighter touch on the dotted area so the texture does not turn into a solid block. With pencils, add dots last so kids can place them neatly around the face.
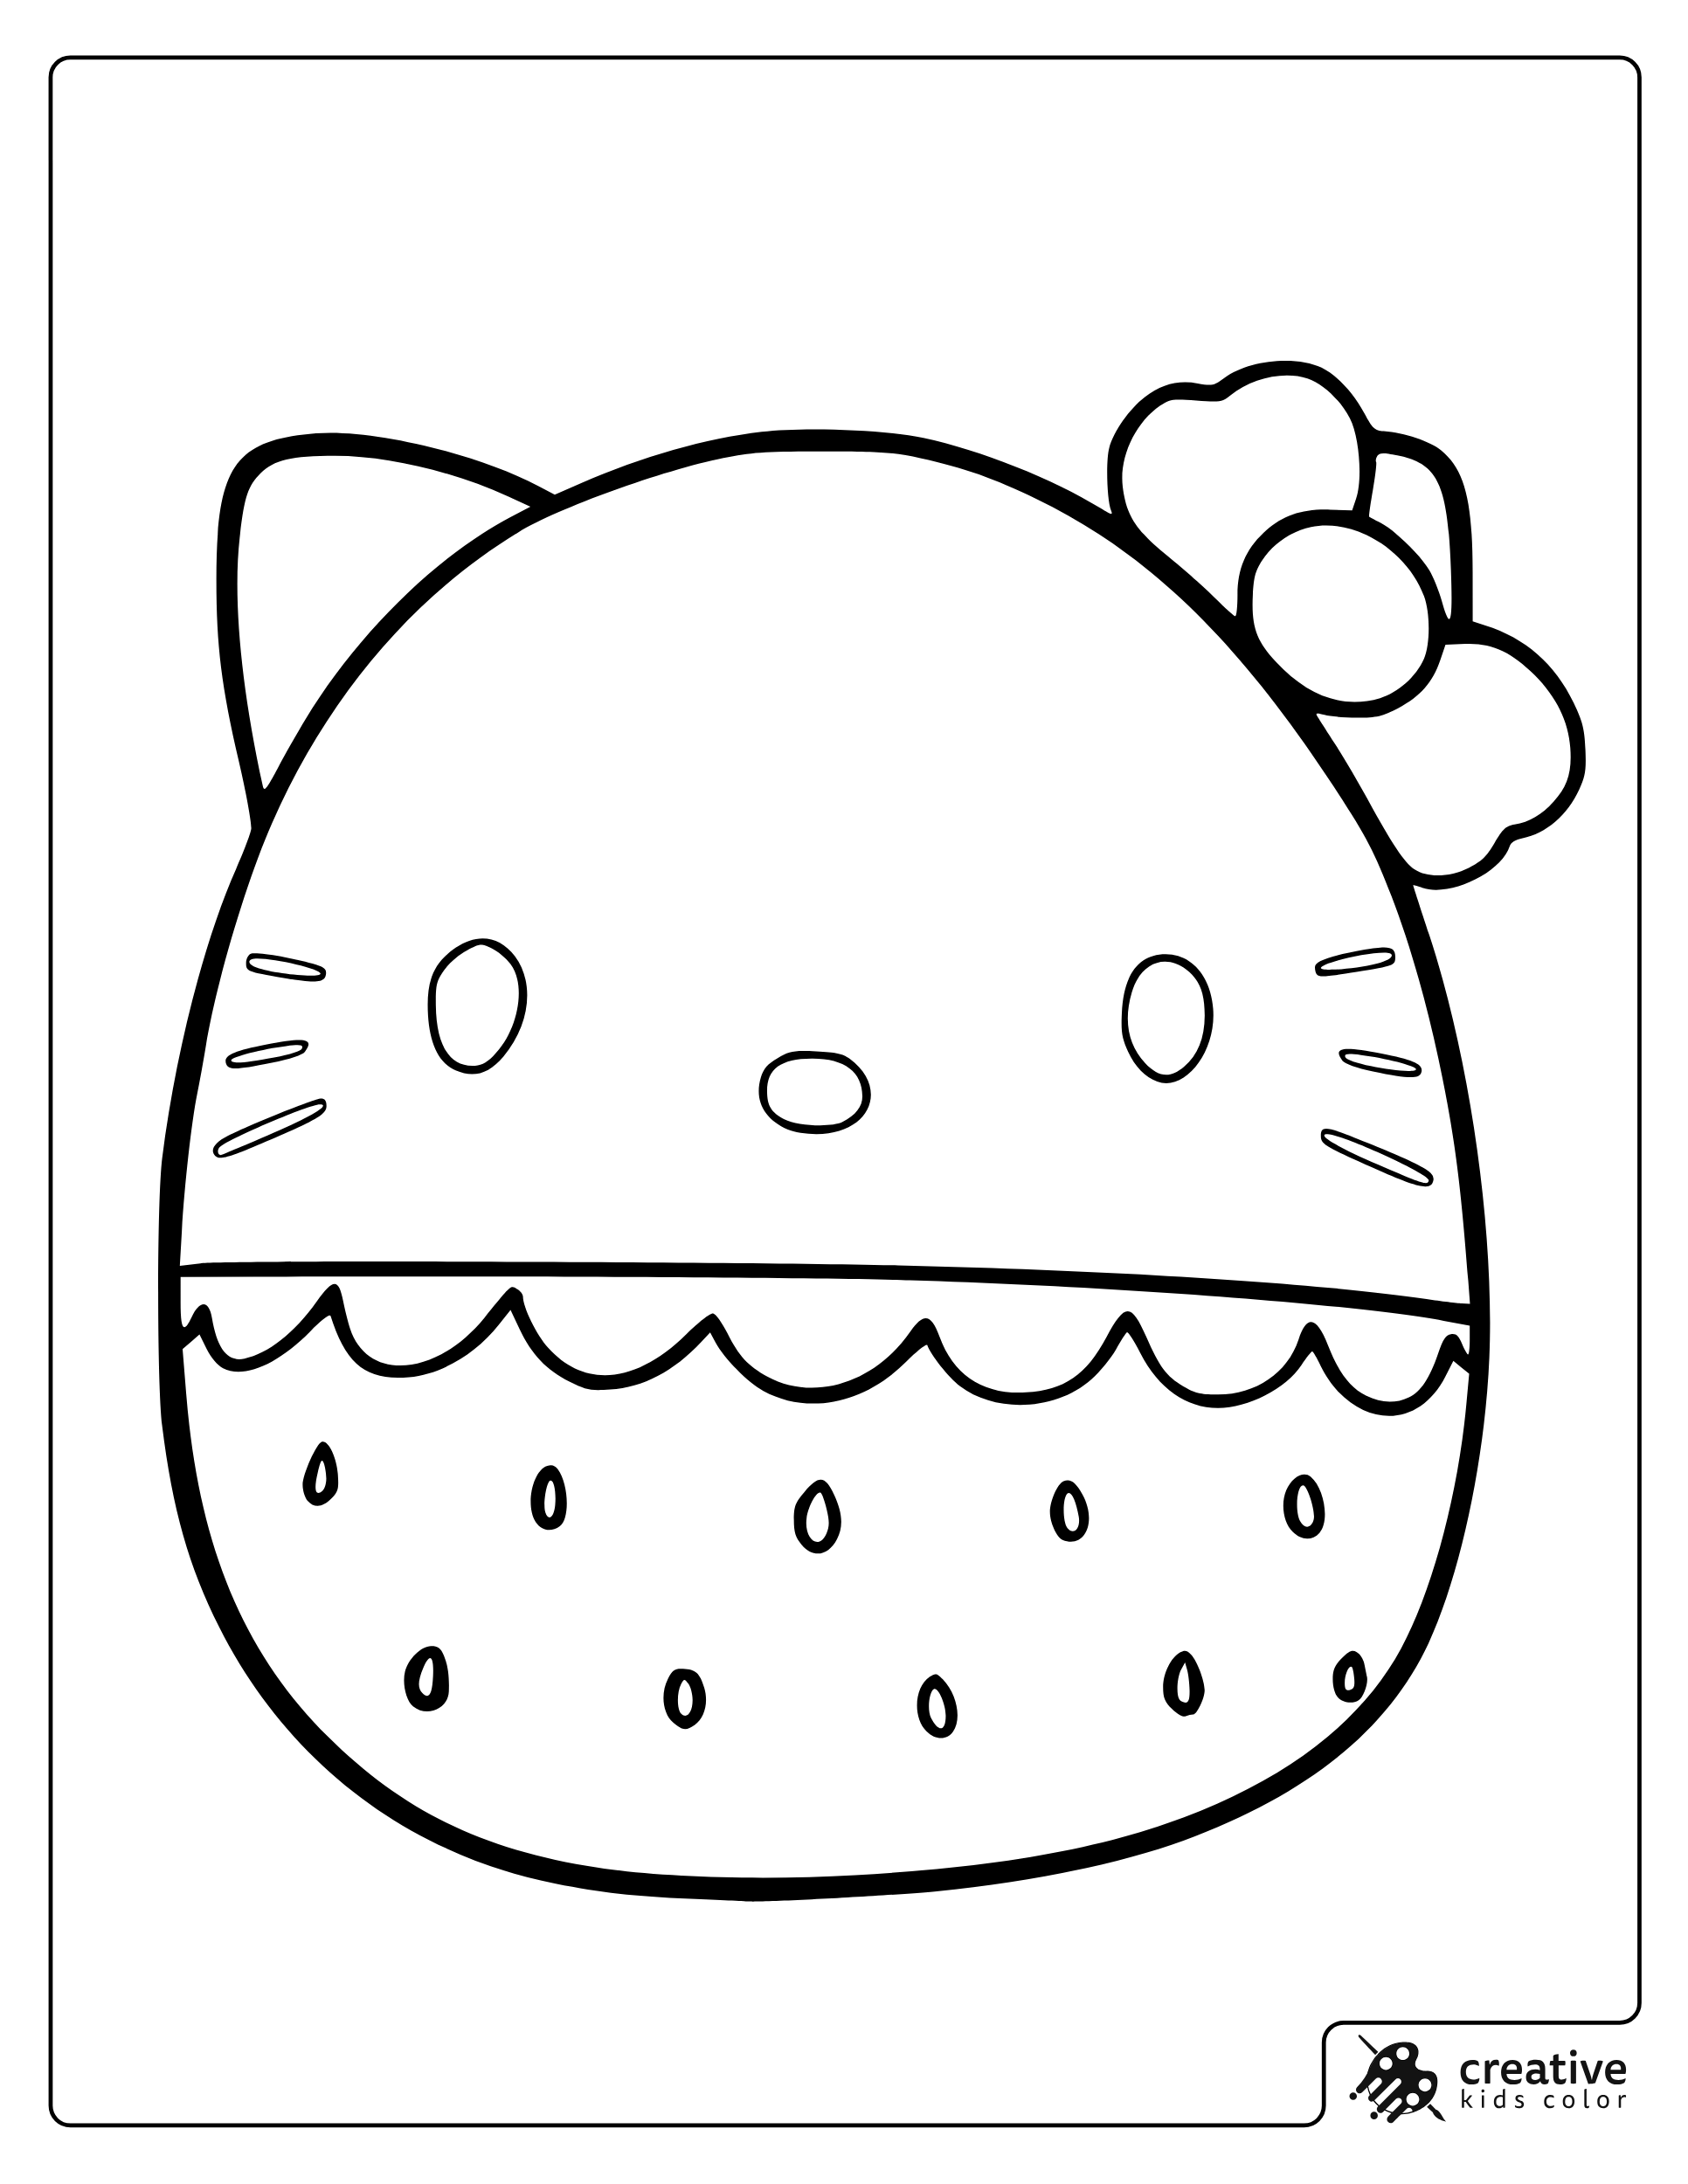
Hello Kitty Squishmallow
Hello Kitty is simplest when you keep the body mostly light, then use one bold accent for the bow and a small warm accent for the nose. Minimal facial details look best when kids avoid coloring too close to the face lines.
With markers, color the bow first and let it dry before moving near the face. With pencils, a very light shadow under the bow can add depth while still keeping the look clean.
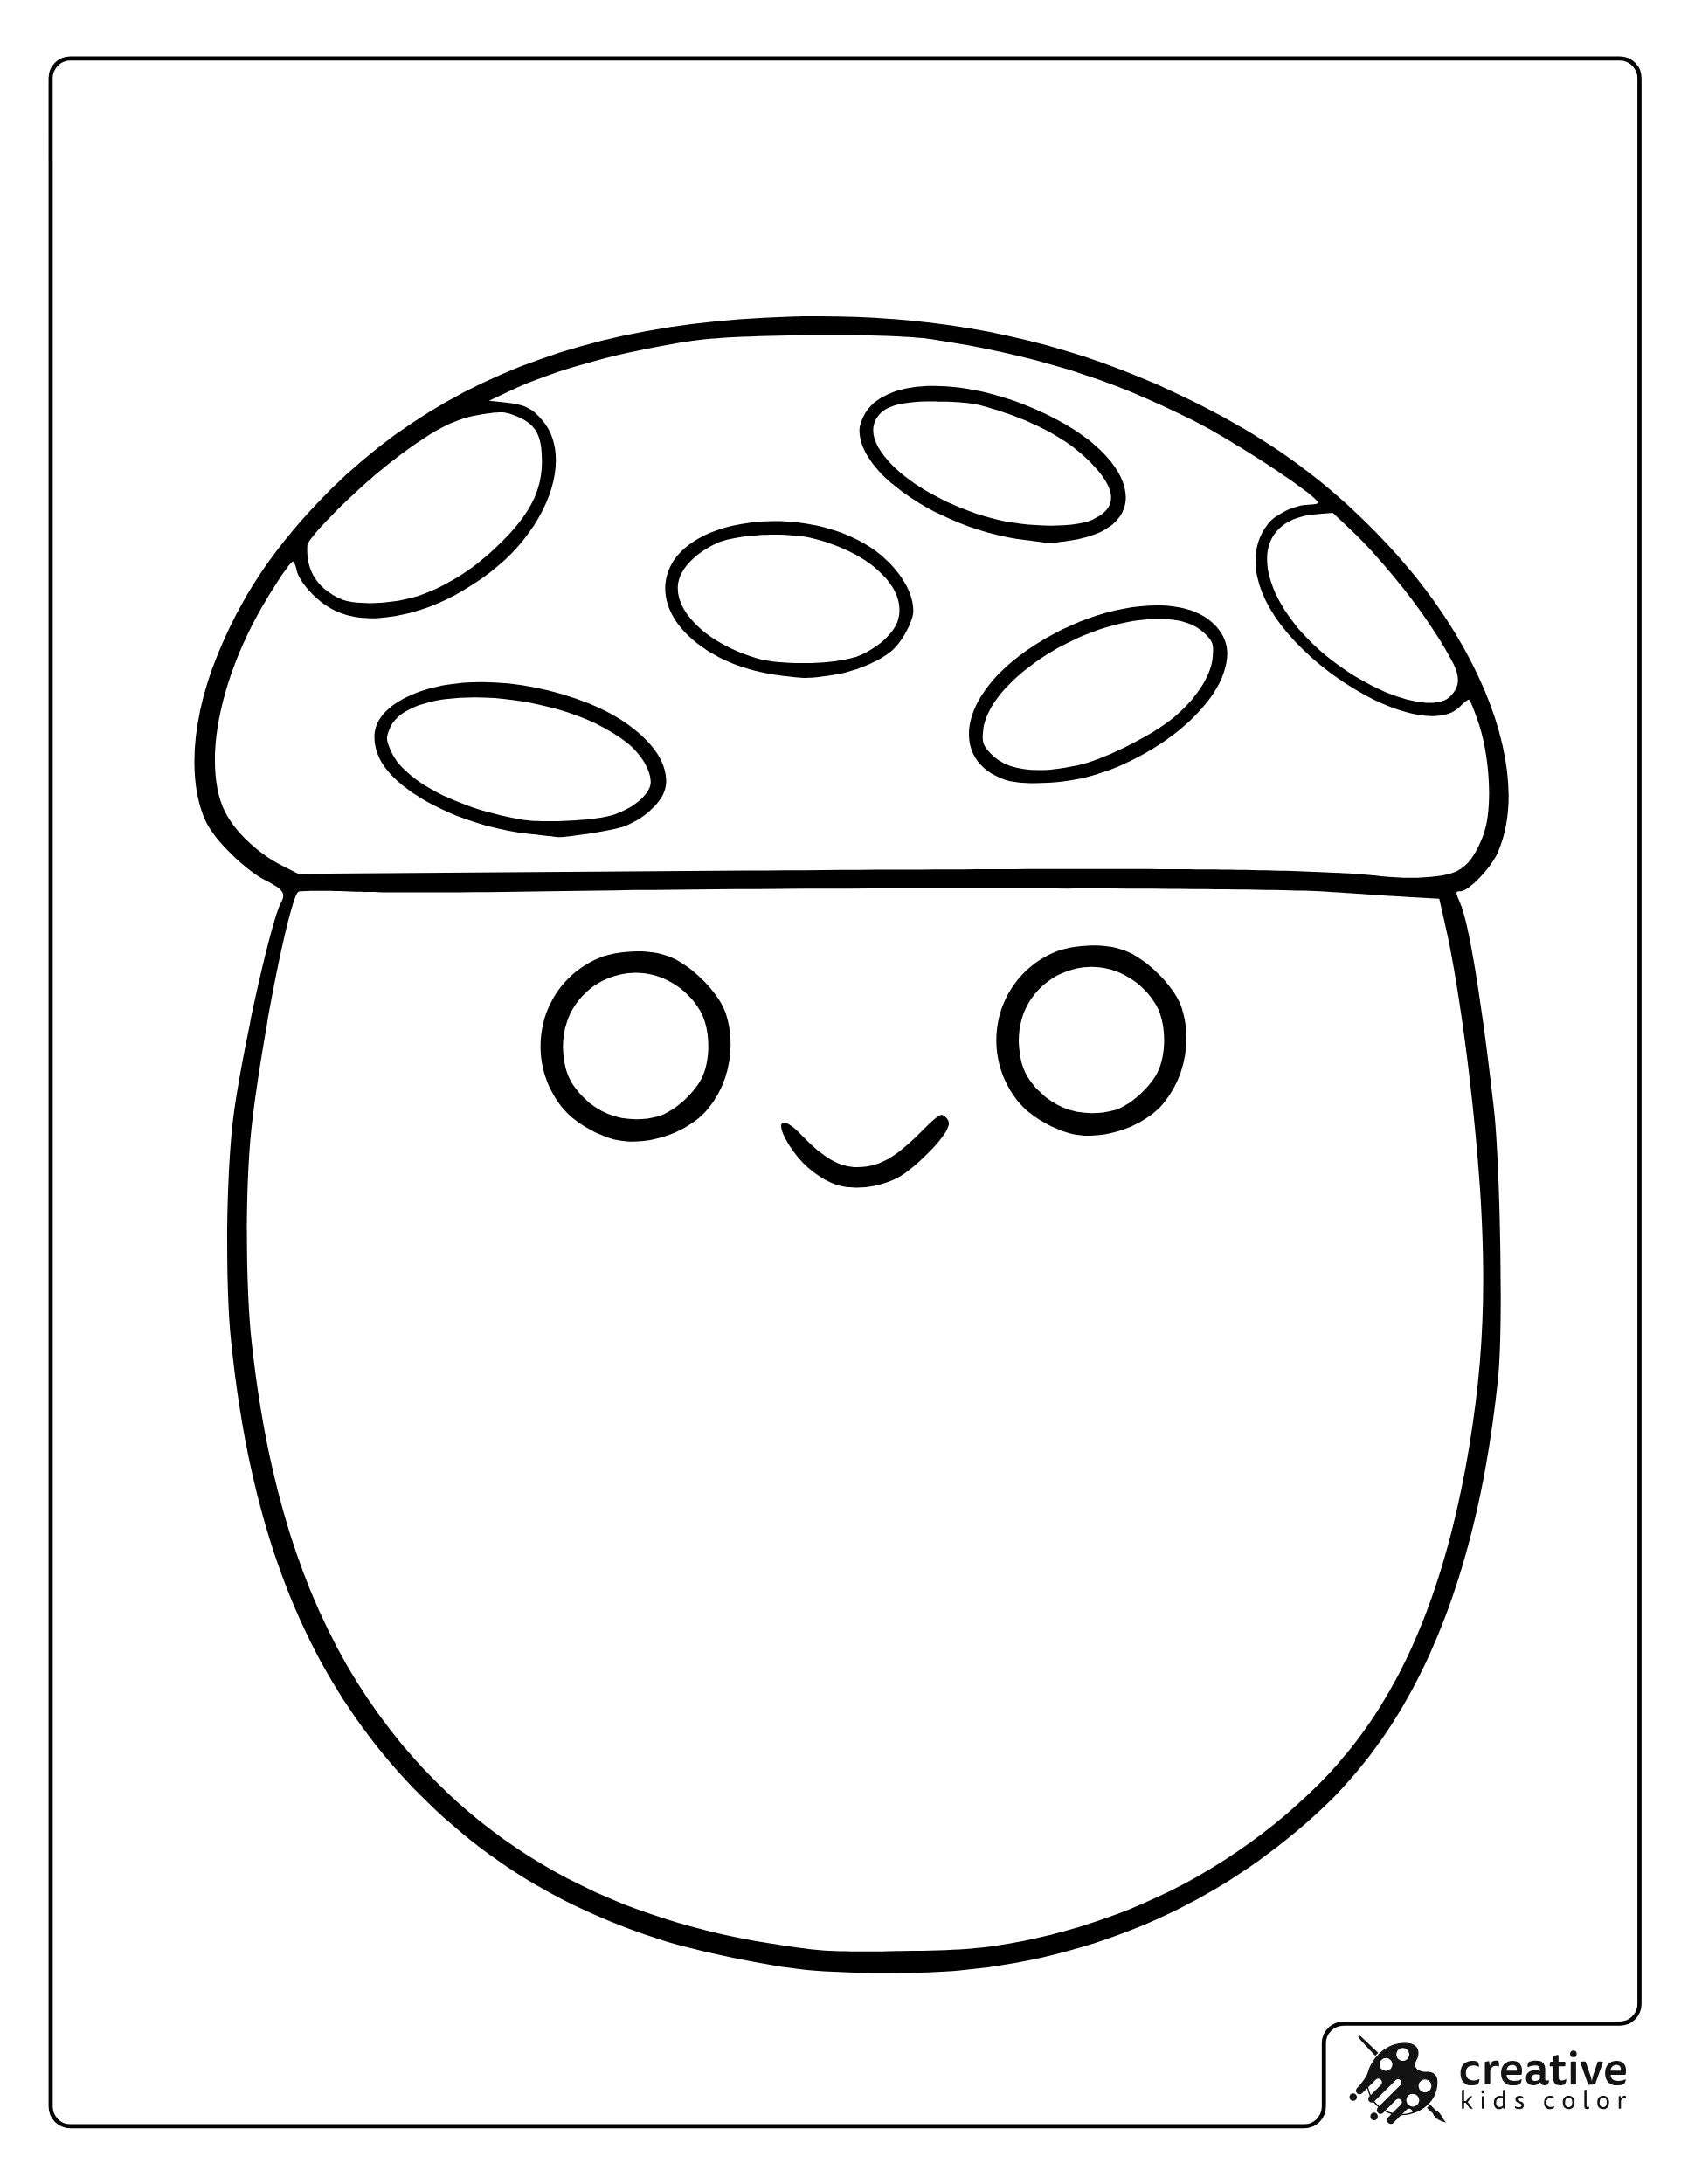
Malcolm the Mushroom
Malcolm looks best with a light stem color and a strong cap color, then one accent for the spots. Keeping the spots a single repeated color makes the cap pattern feel intentional.
With crayons, fill the cap first and do the spots last so kids do not lose the circle shapes. With pencils, a slightly darker edge around the cap gives a simple rounded mushroom look.
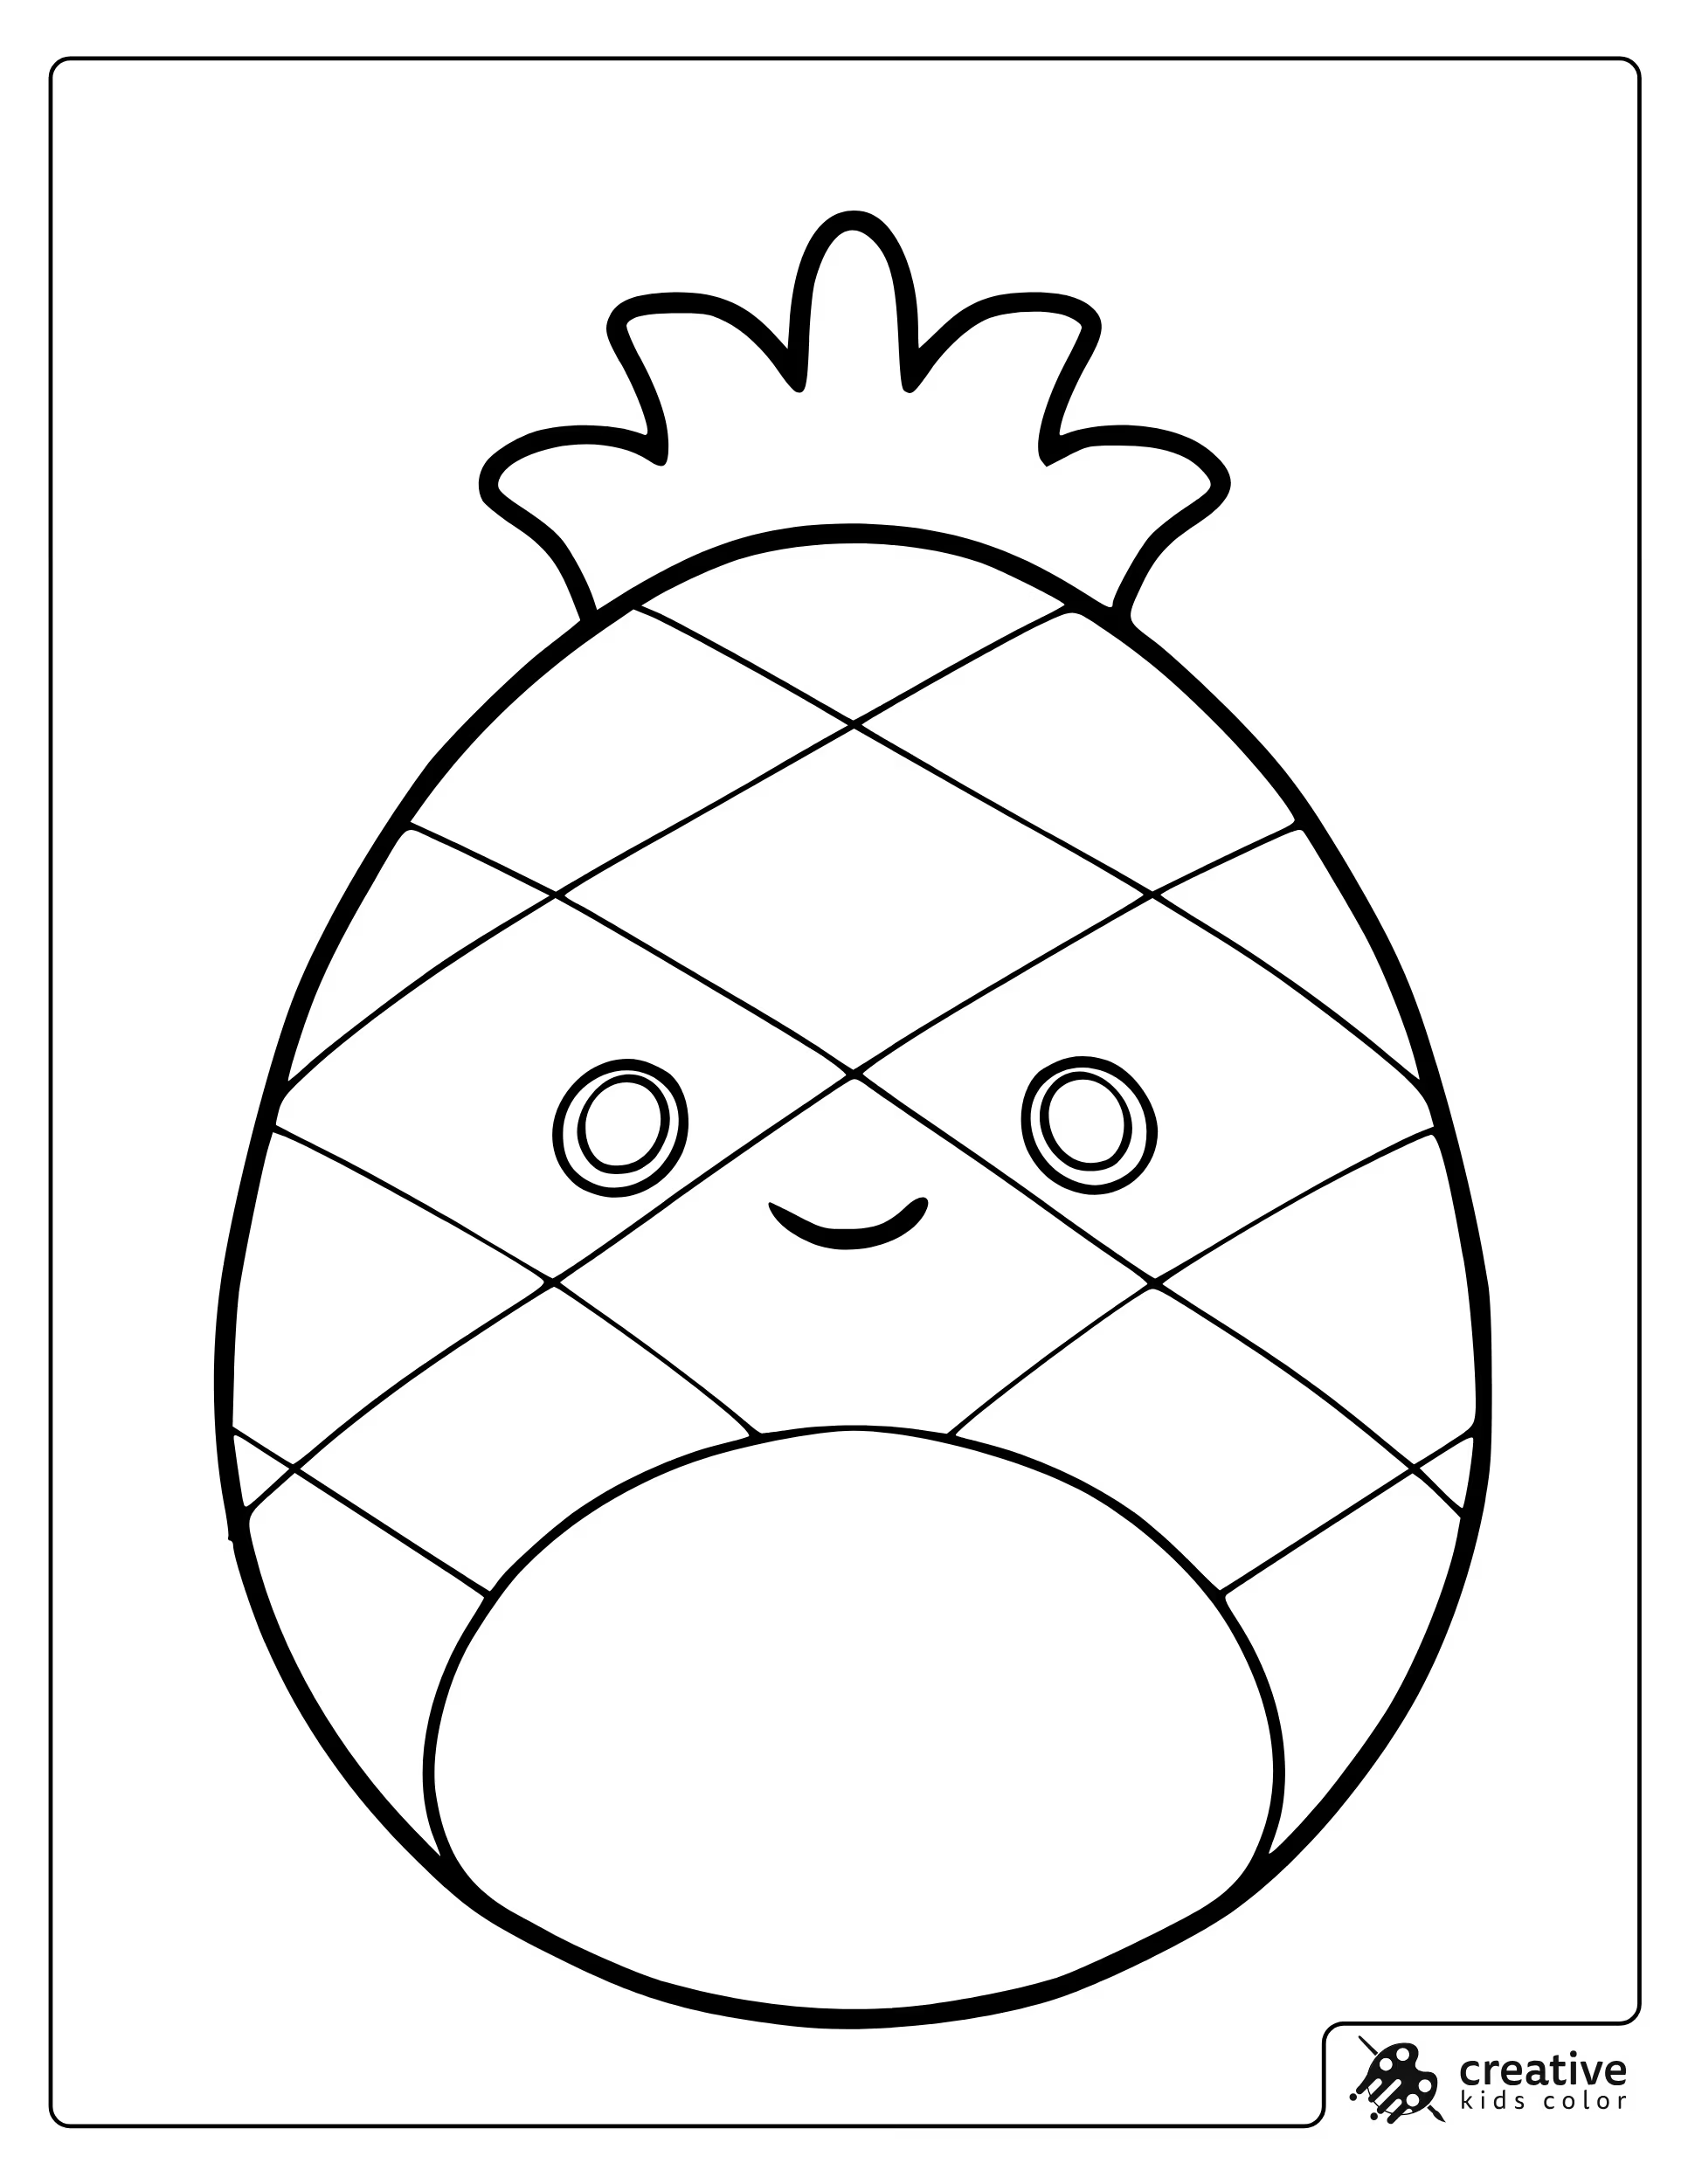
Maui the Pineapple
Maui is easiest with one warm yellow base, a slightly darker tone for the crisscross texture, and a green accent for the leafy top. Keeping the face area light helps the expression stand out over the pattern.
With markers, color the pineapple base first and add the crisscross lines after it dries to avoid bleeding. With colored pencils, a gentle darker pass along the bottom edge makes the fruit feel rounded.
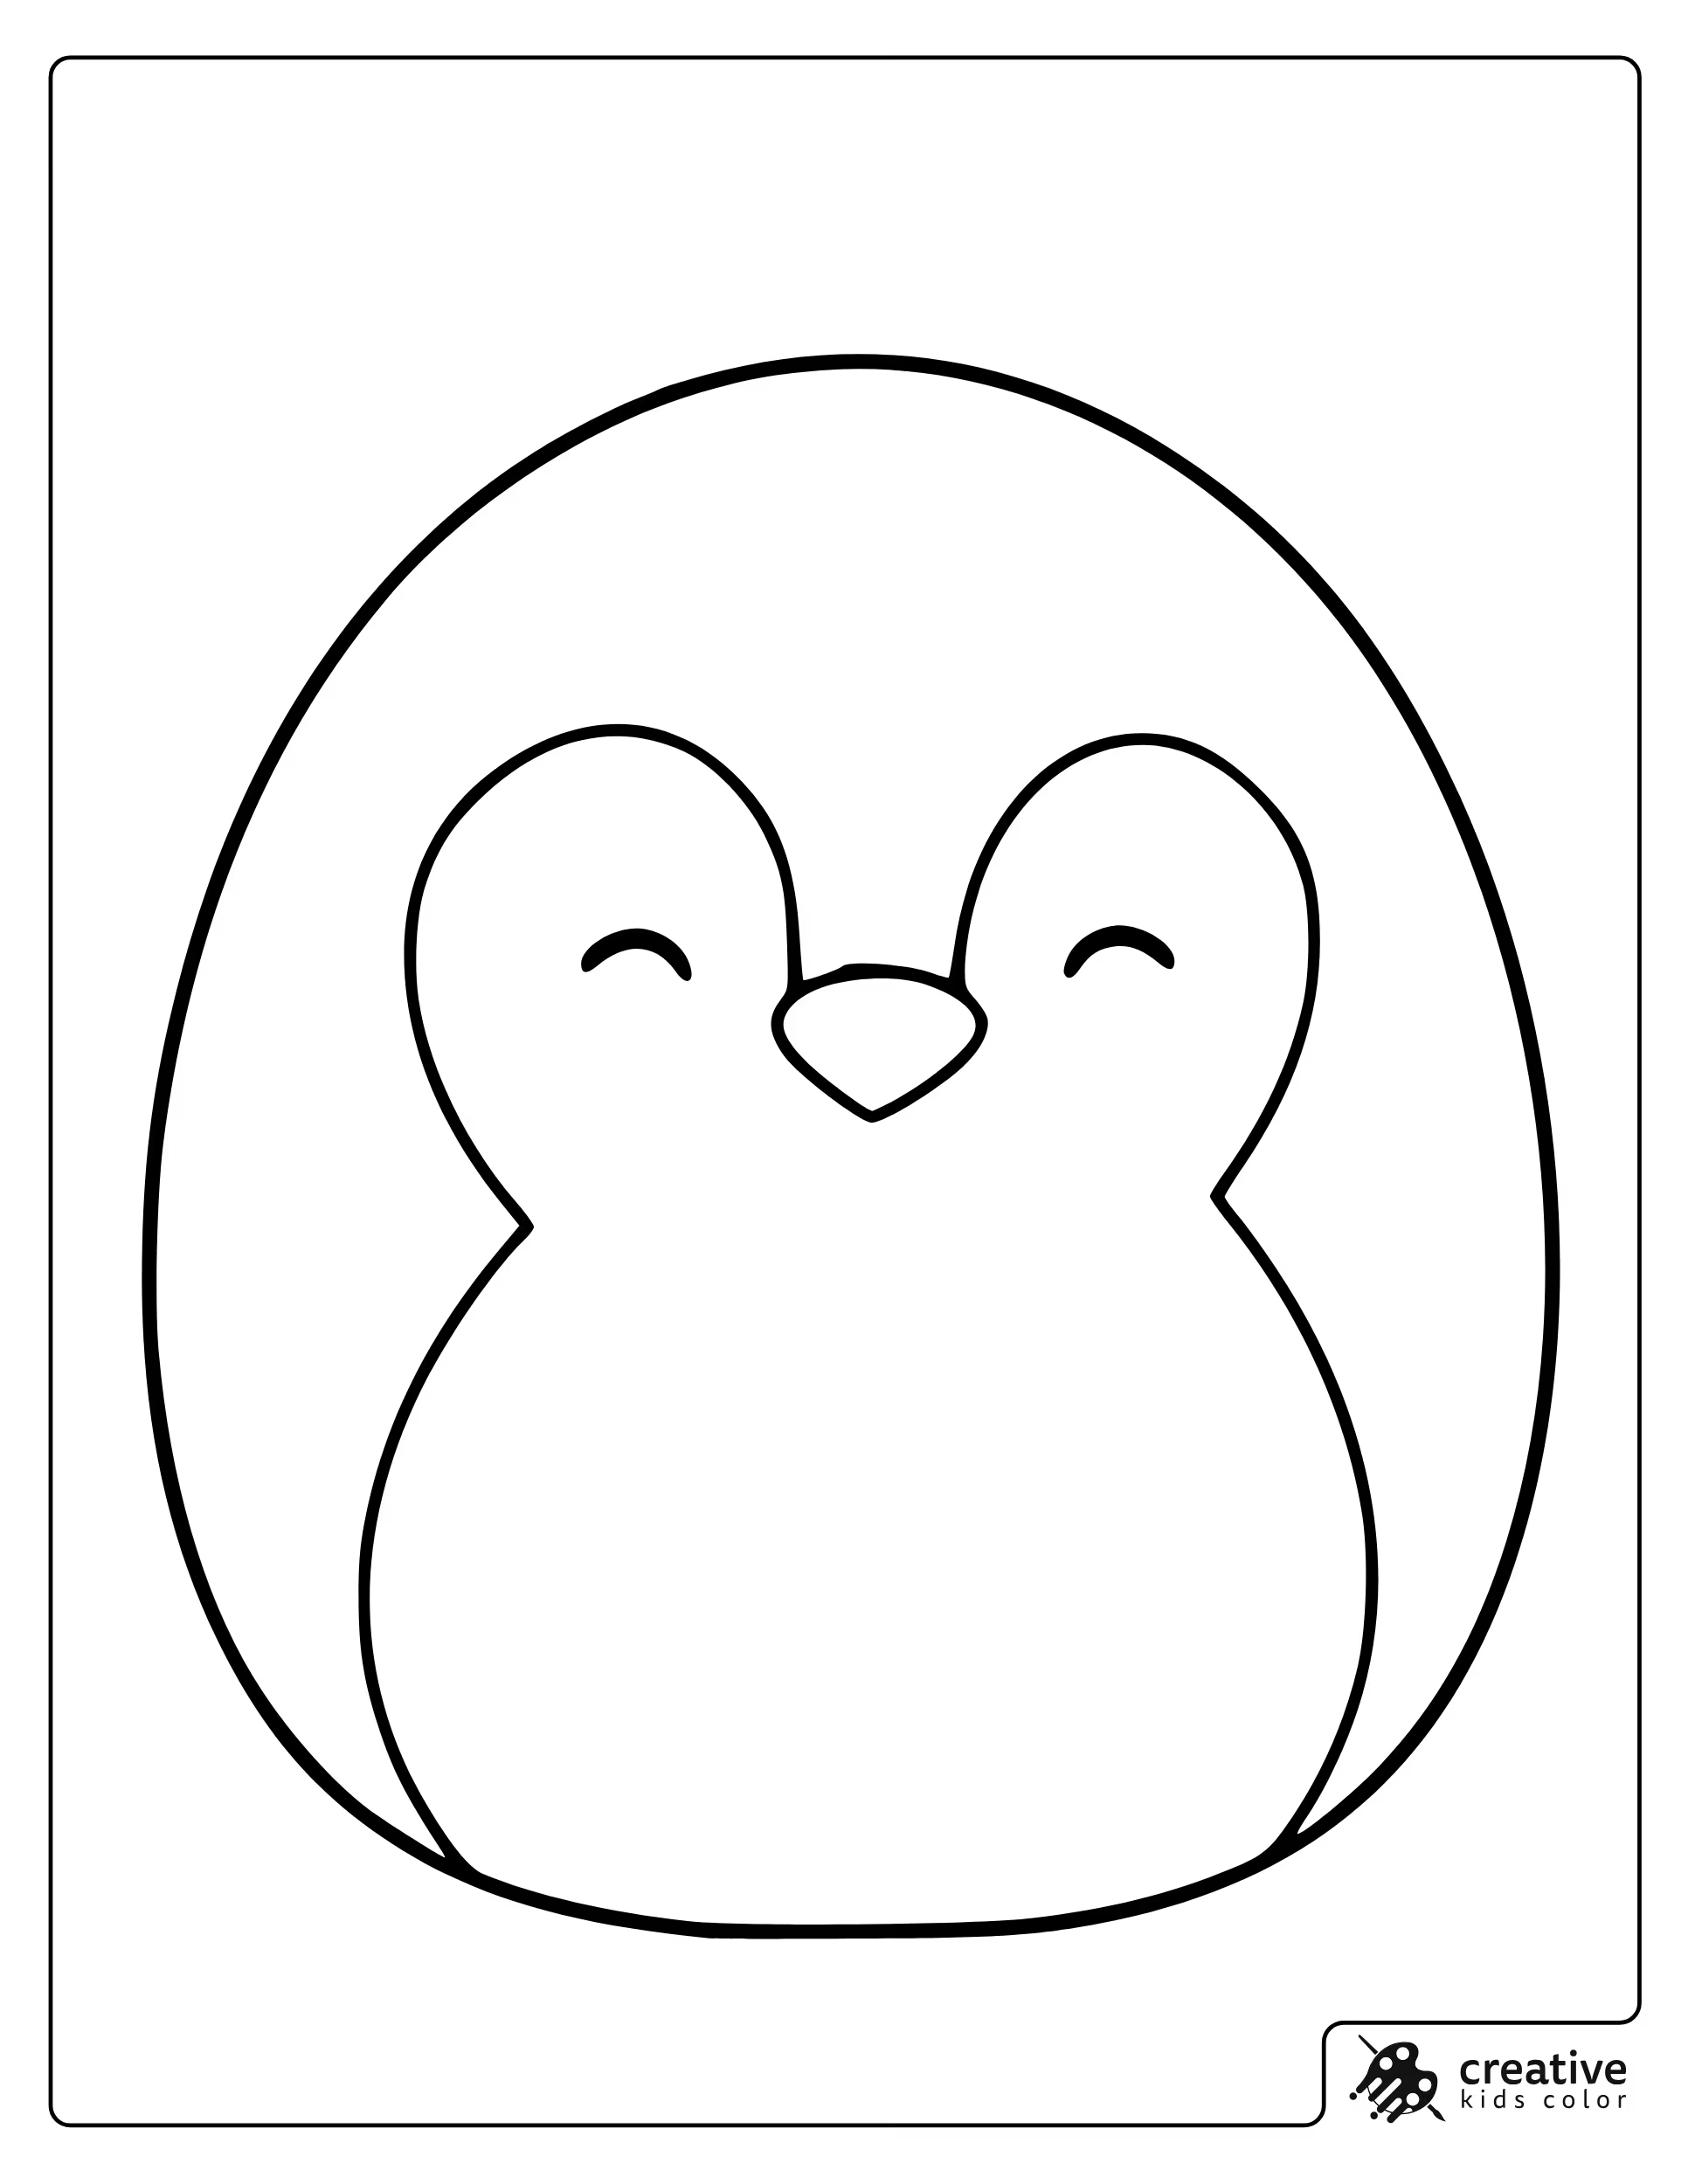
Piper the Penguin
Piper looks clean with a simple two tone plan, one darker body tone and one lighter belly tone, plus a warm accent for the beak. Closed eyes look best when the area around them stays light and tidy.
With crayons, fill the belly first so it stays clean against the darker body. With pencils, add a slightly darker layer only along the sides to keep the oval shape clear.
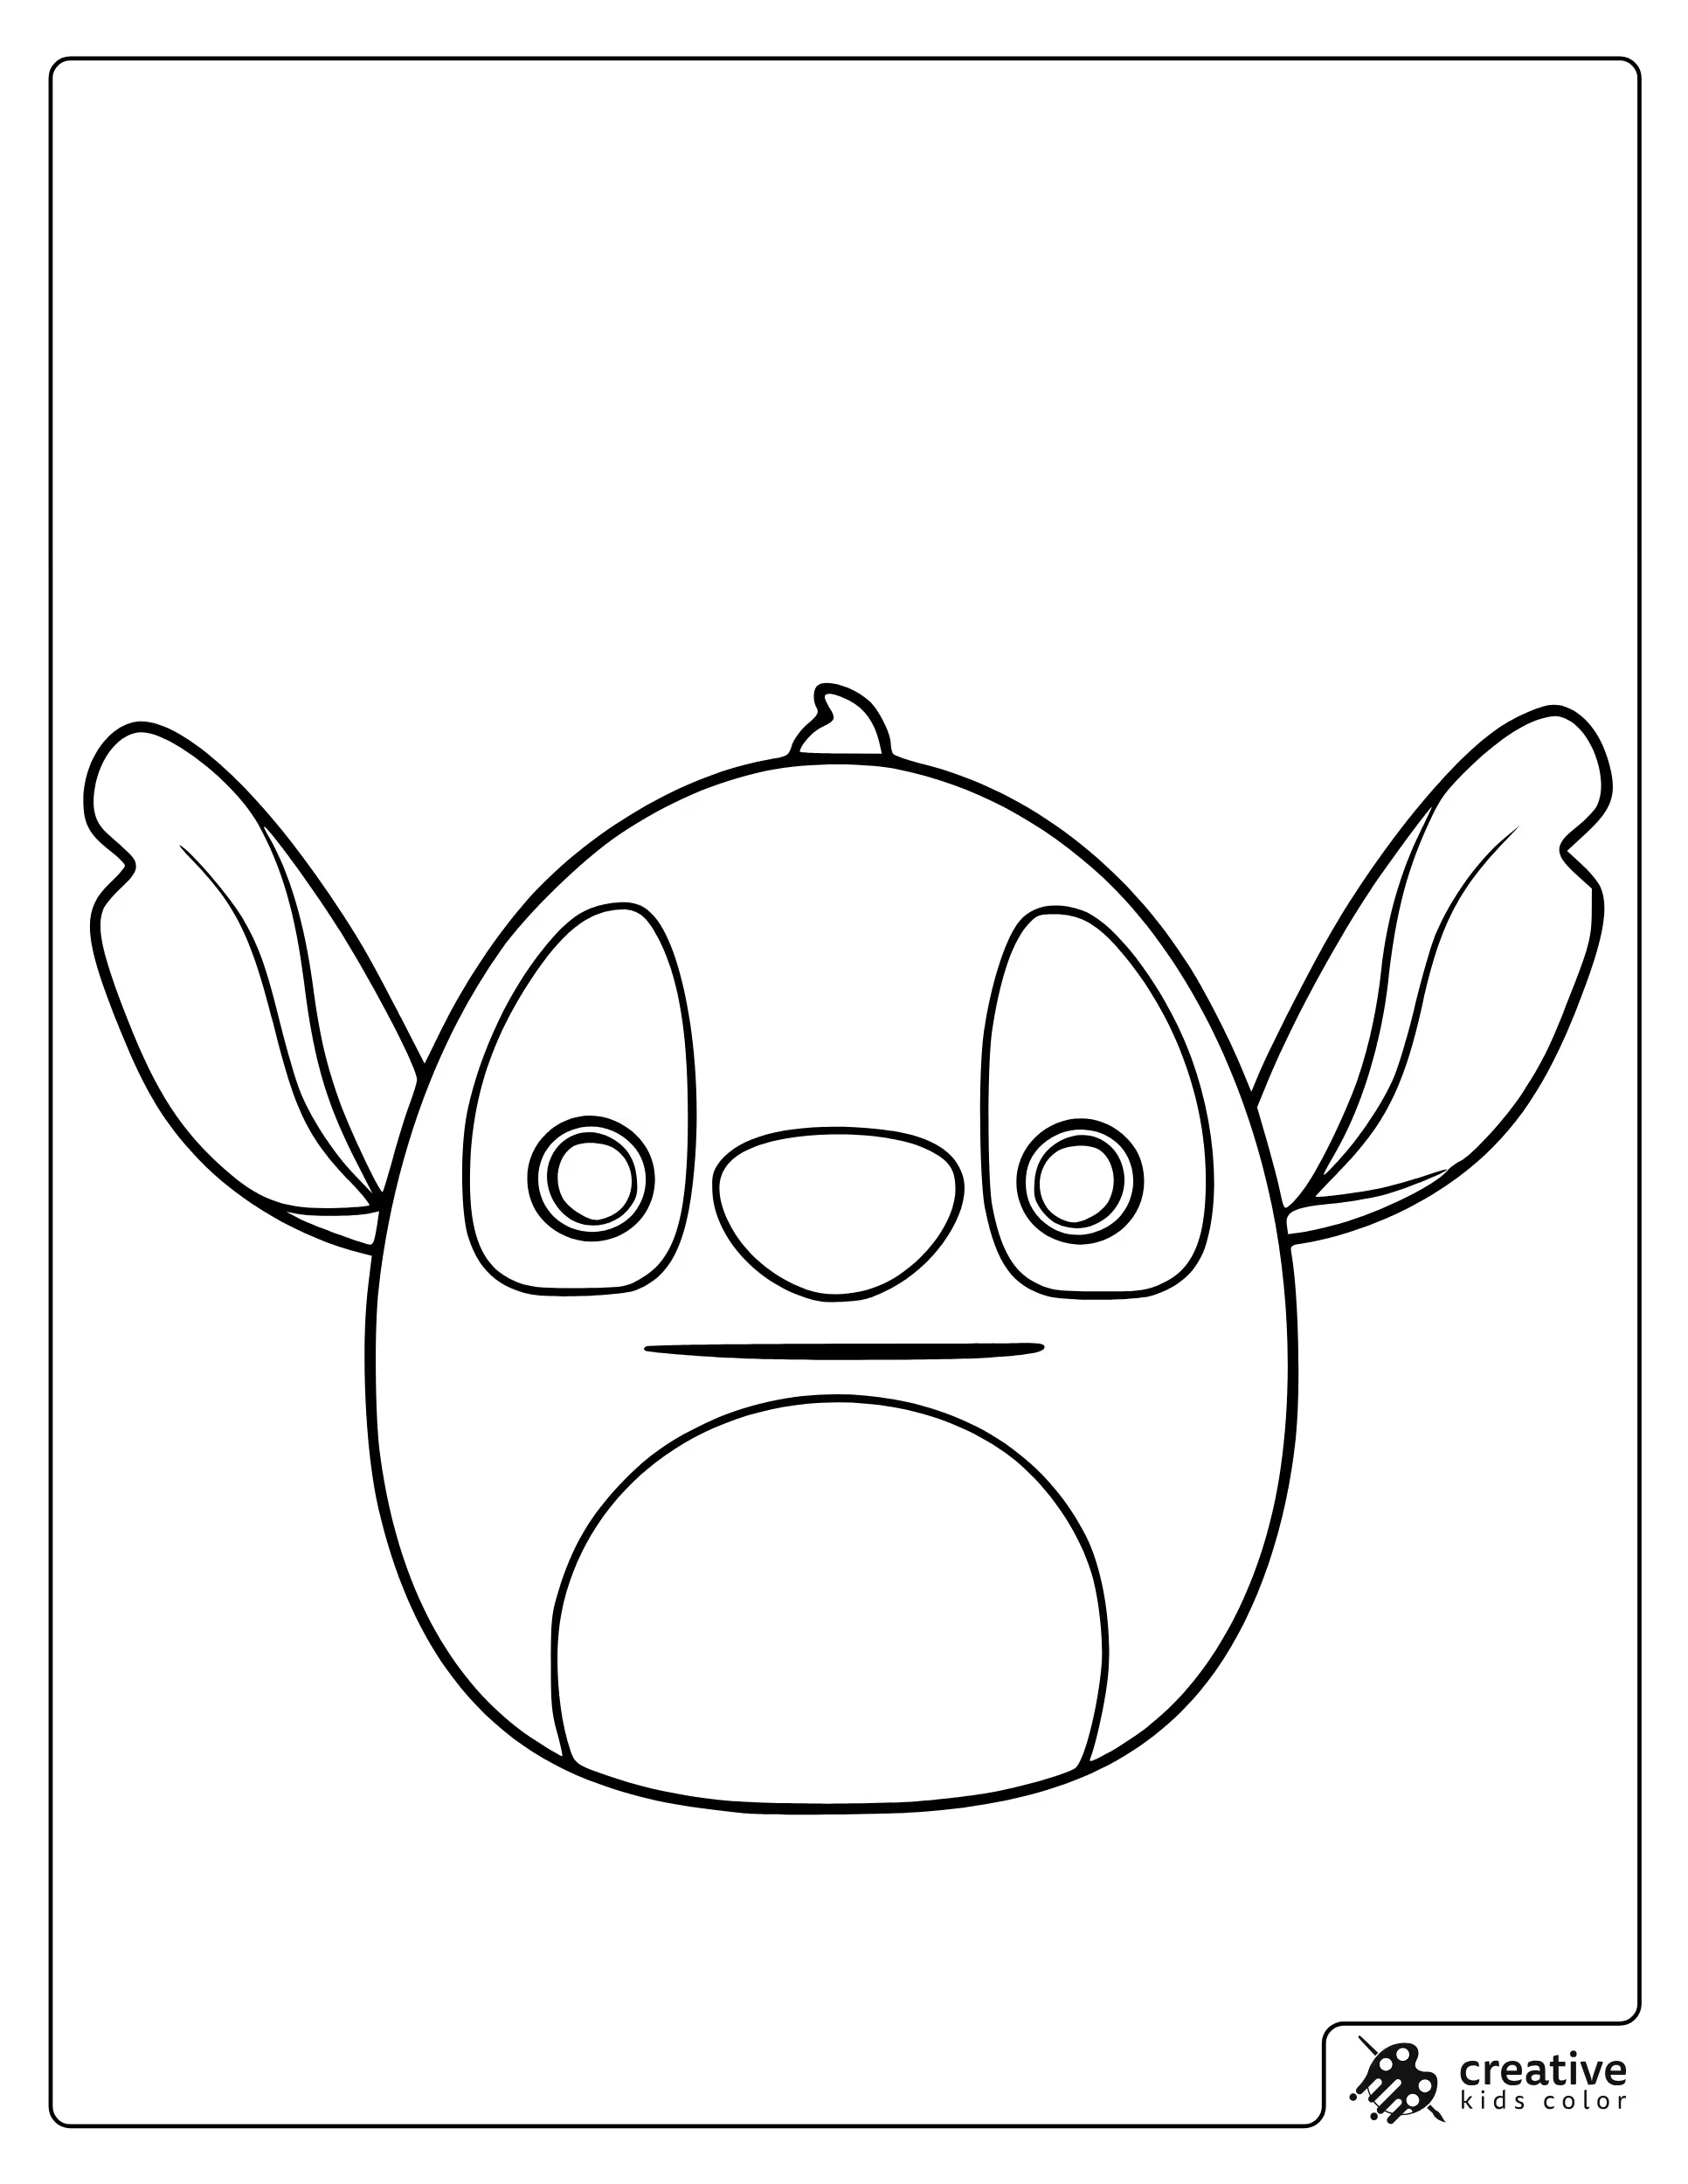
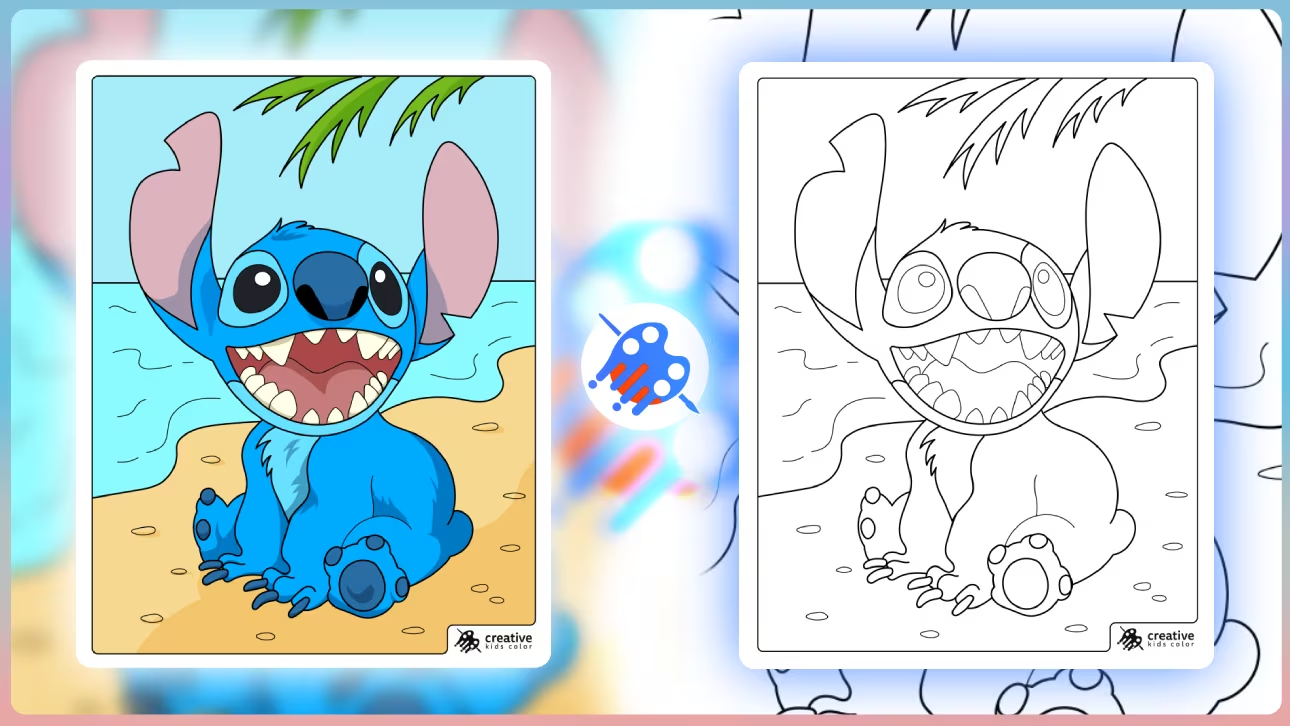
Stitch Squishmallow
Stitch works well with one main blue tone, a lighter belly tone, and a darker blue for ear edges and markings. Keeping the inside ears a slightly warmer accent helps them stand out without needing many extra colors.
With markers, outline the ears first so the big shapes stay crisp. With pencils, a gentle second layer on the outer edges makes the plush body feel round without heavy shading.
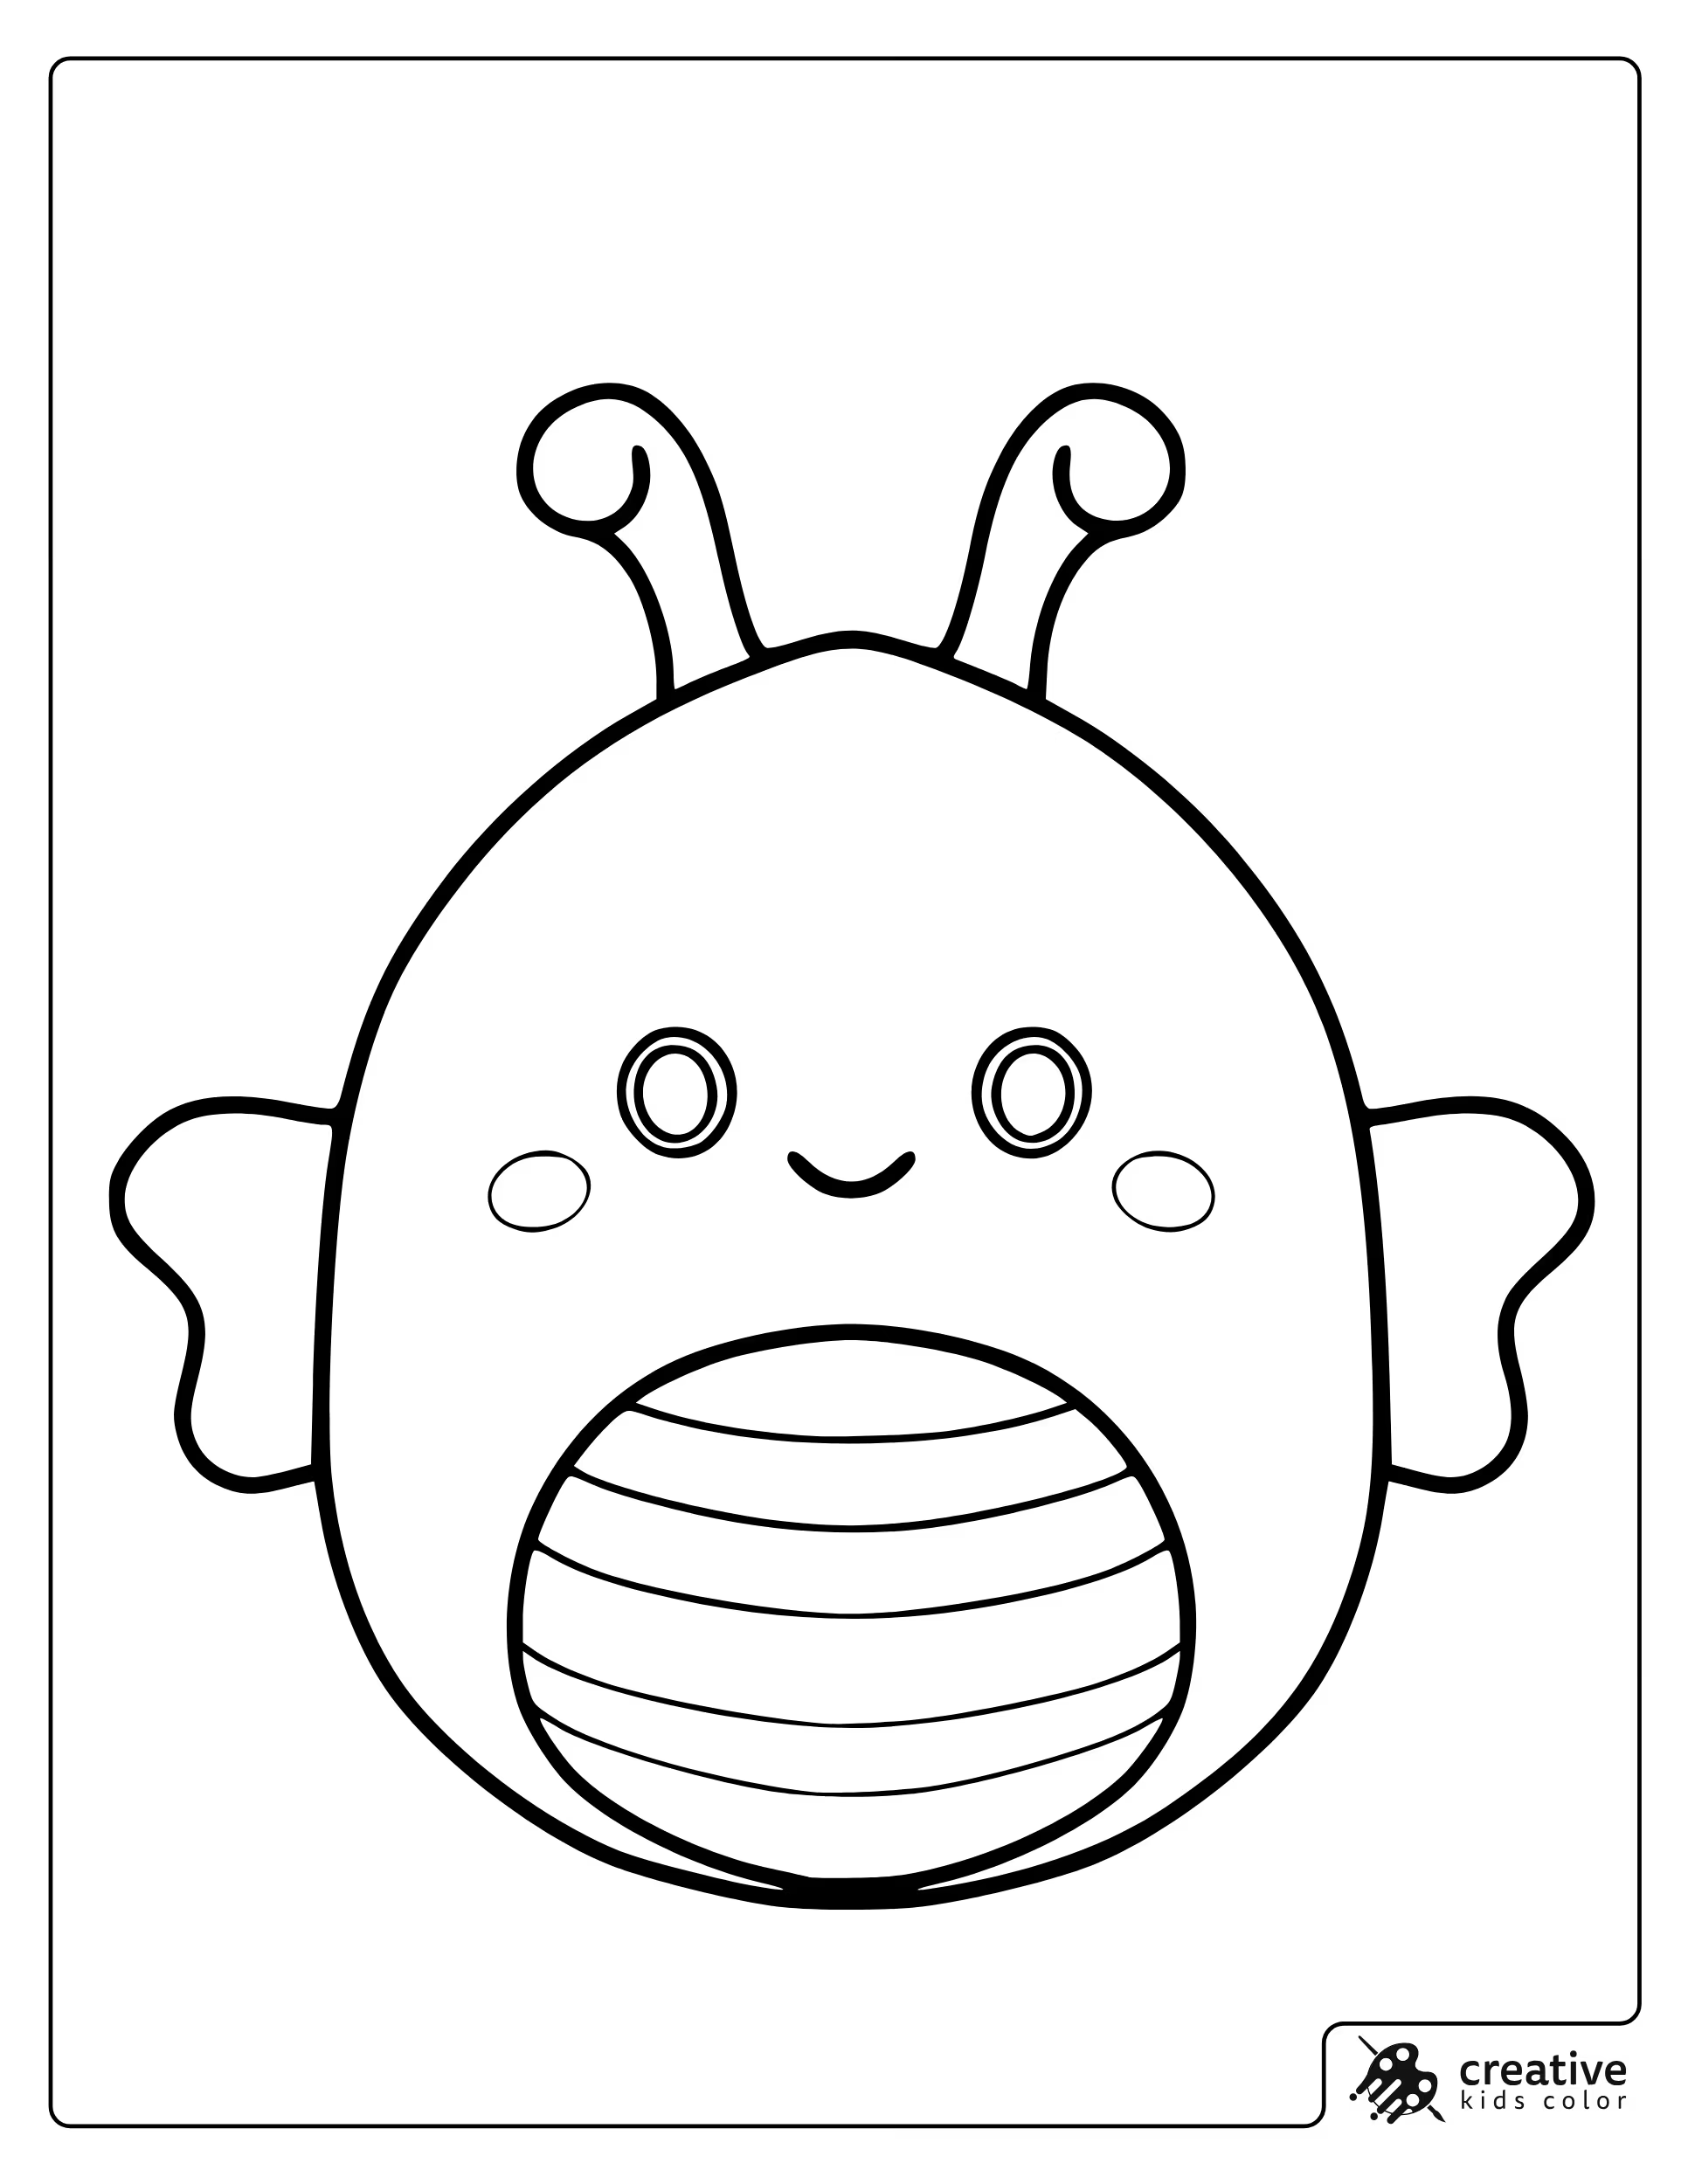
Sunny the Bee
Sunny is easiest with a bright main yellow, a darker stripe color, and a small accent for cheeks or antenna details. Wings look best when they stay very light so they do not compete with the face.
With crayons, color the stripes last so they stay clean and bold. With colored pencils, a darker yellow edge along the belly curve is enough to suggest the rounded plush shape.
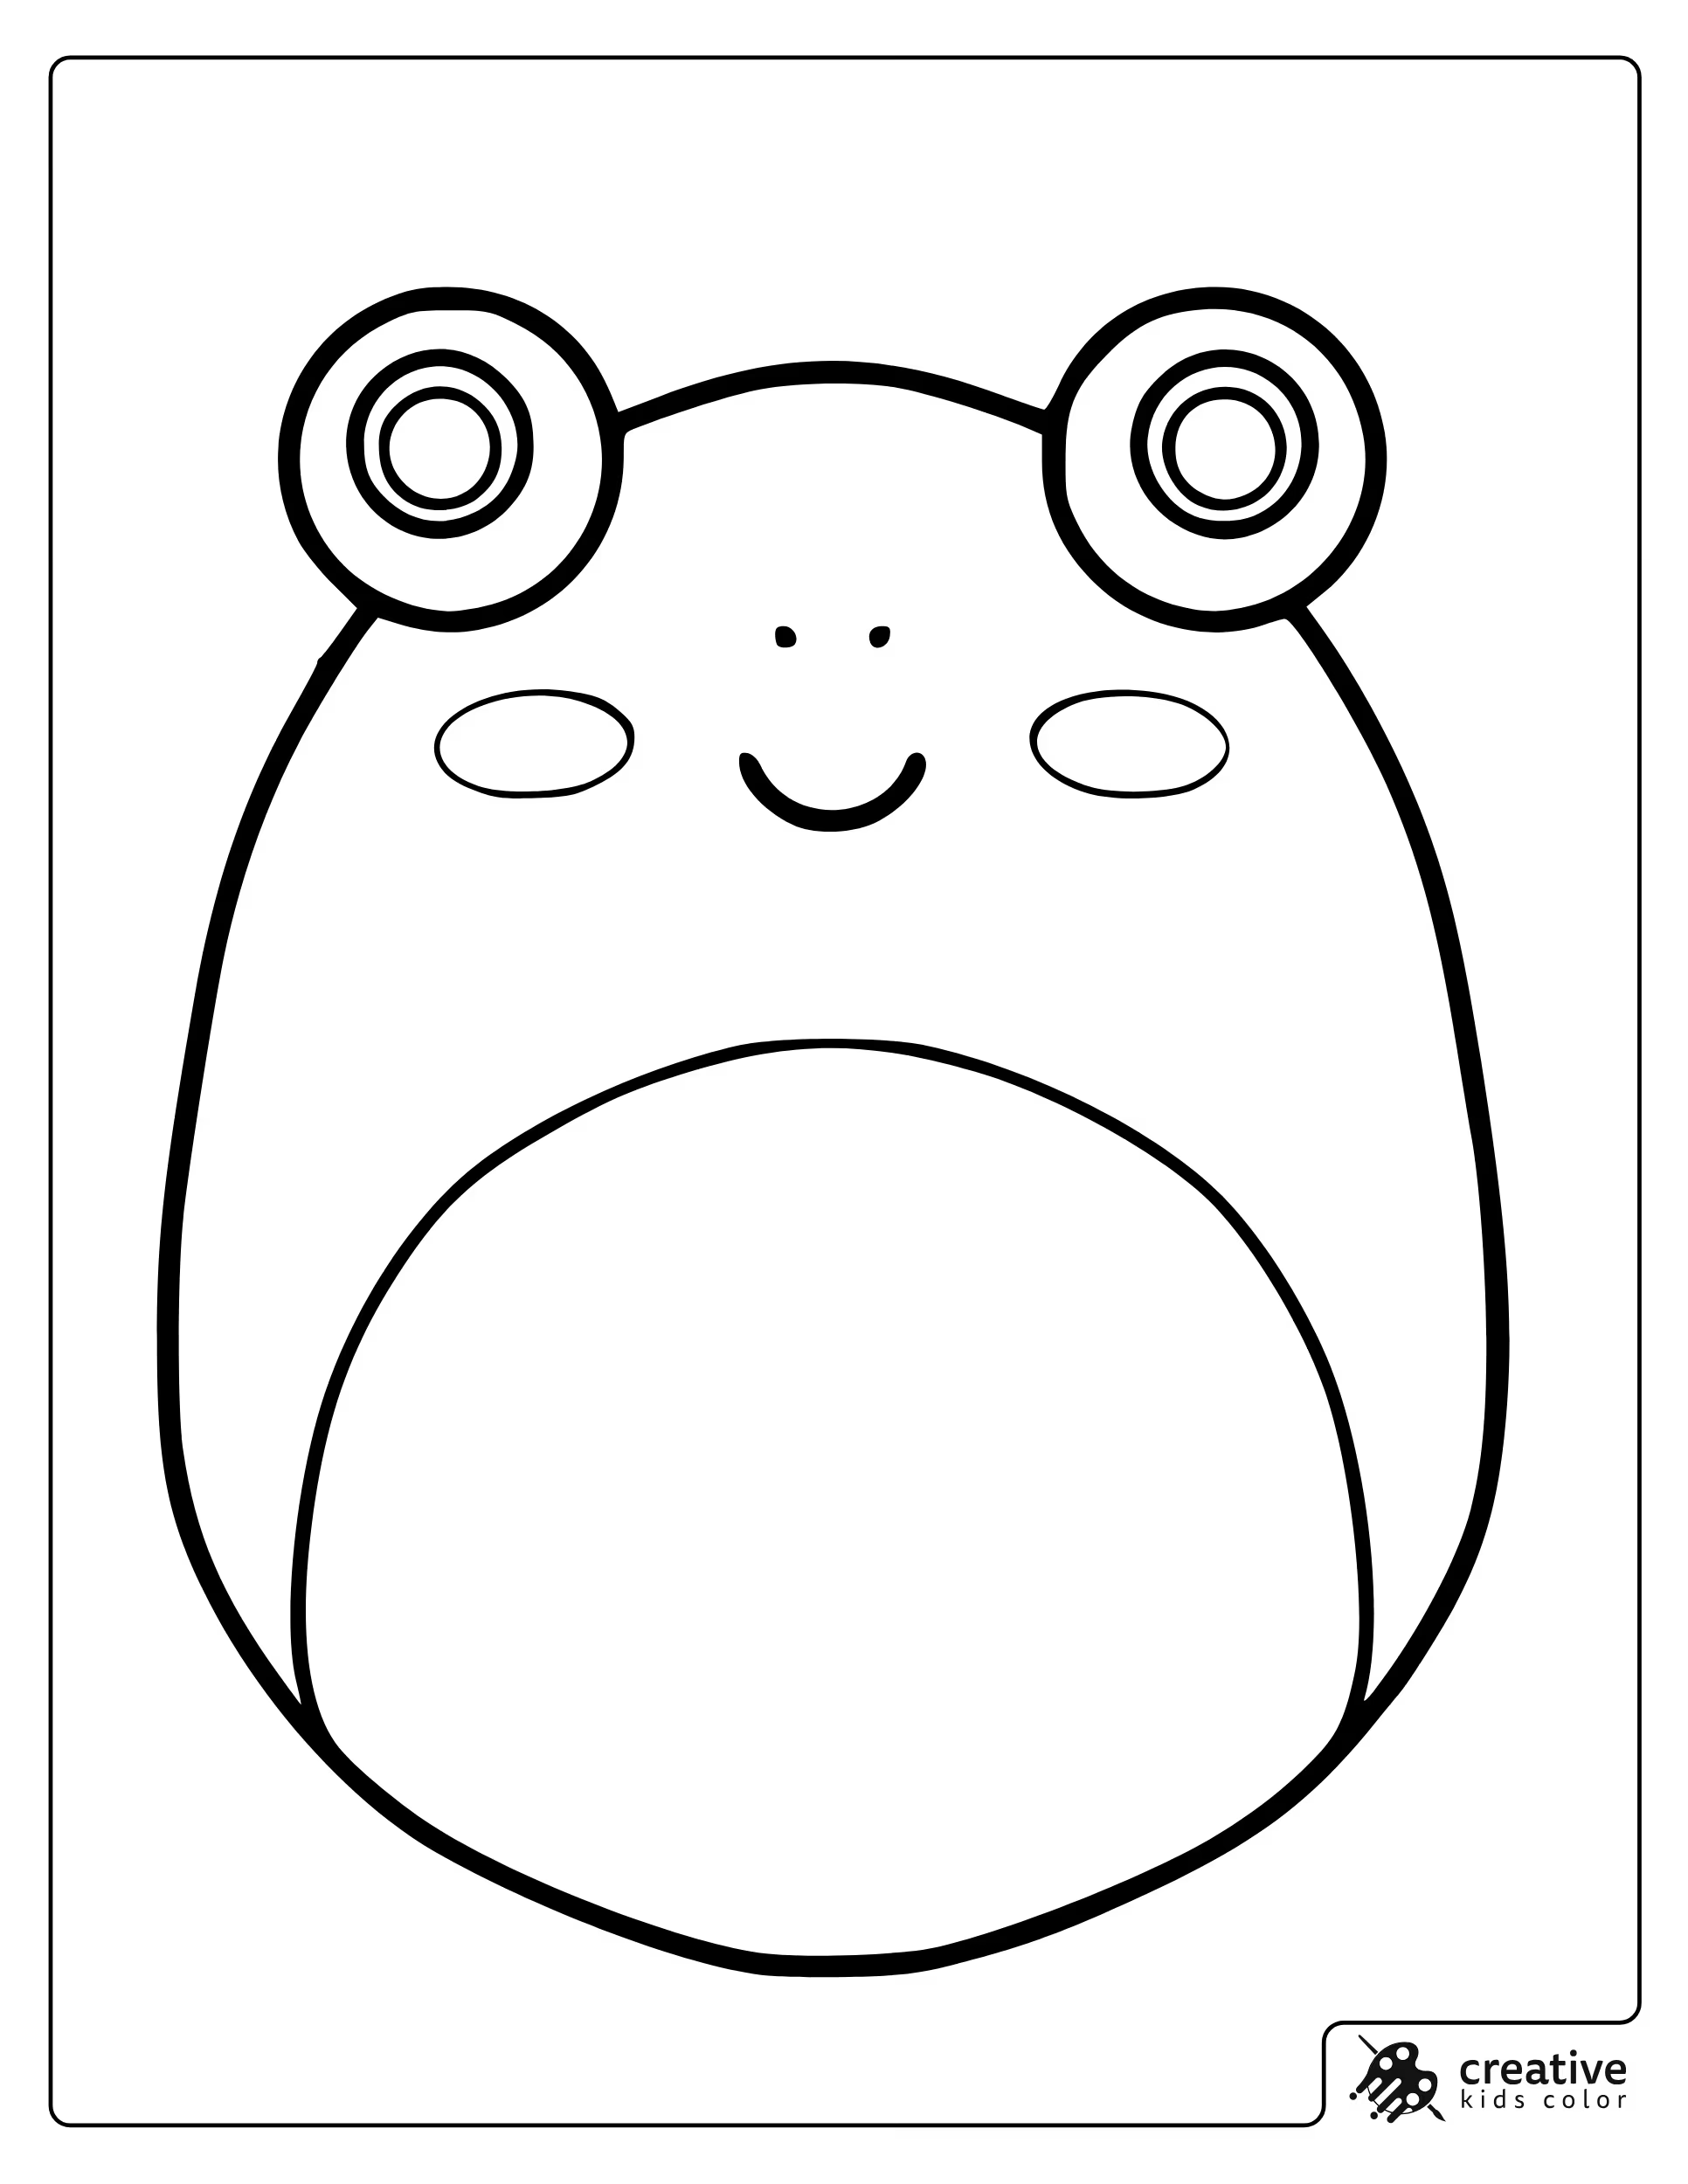
Wendy the Frog
Wendy looks best with one main green and a slightly deeper green for the outer edges, plus a lighter belly tone to keep the face bright. If the page includes blush cheeks, keeping them soft helps the expression stay sweet.
With markers, color the eyes and cheeks first, then fill the green around them so the face stays tidy. With pencils, a gentle darker pass under the chin gives depth without changing the simple style.
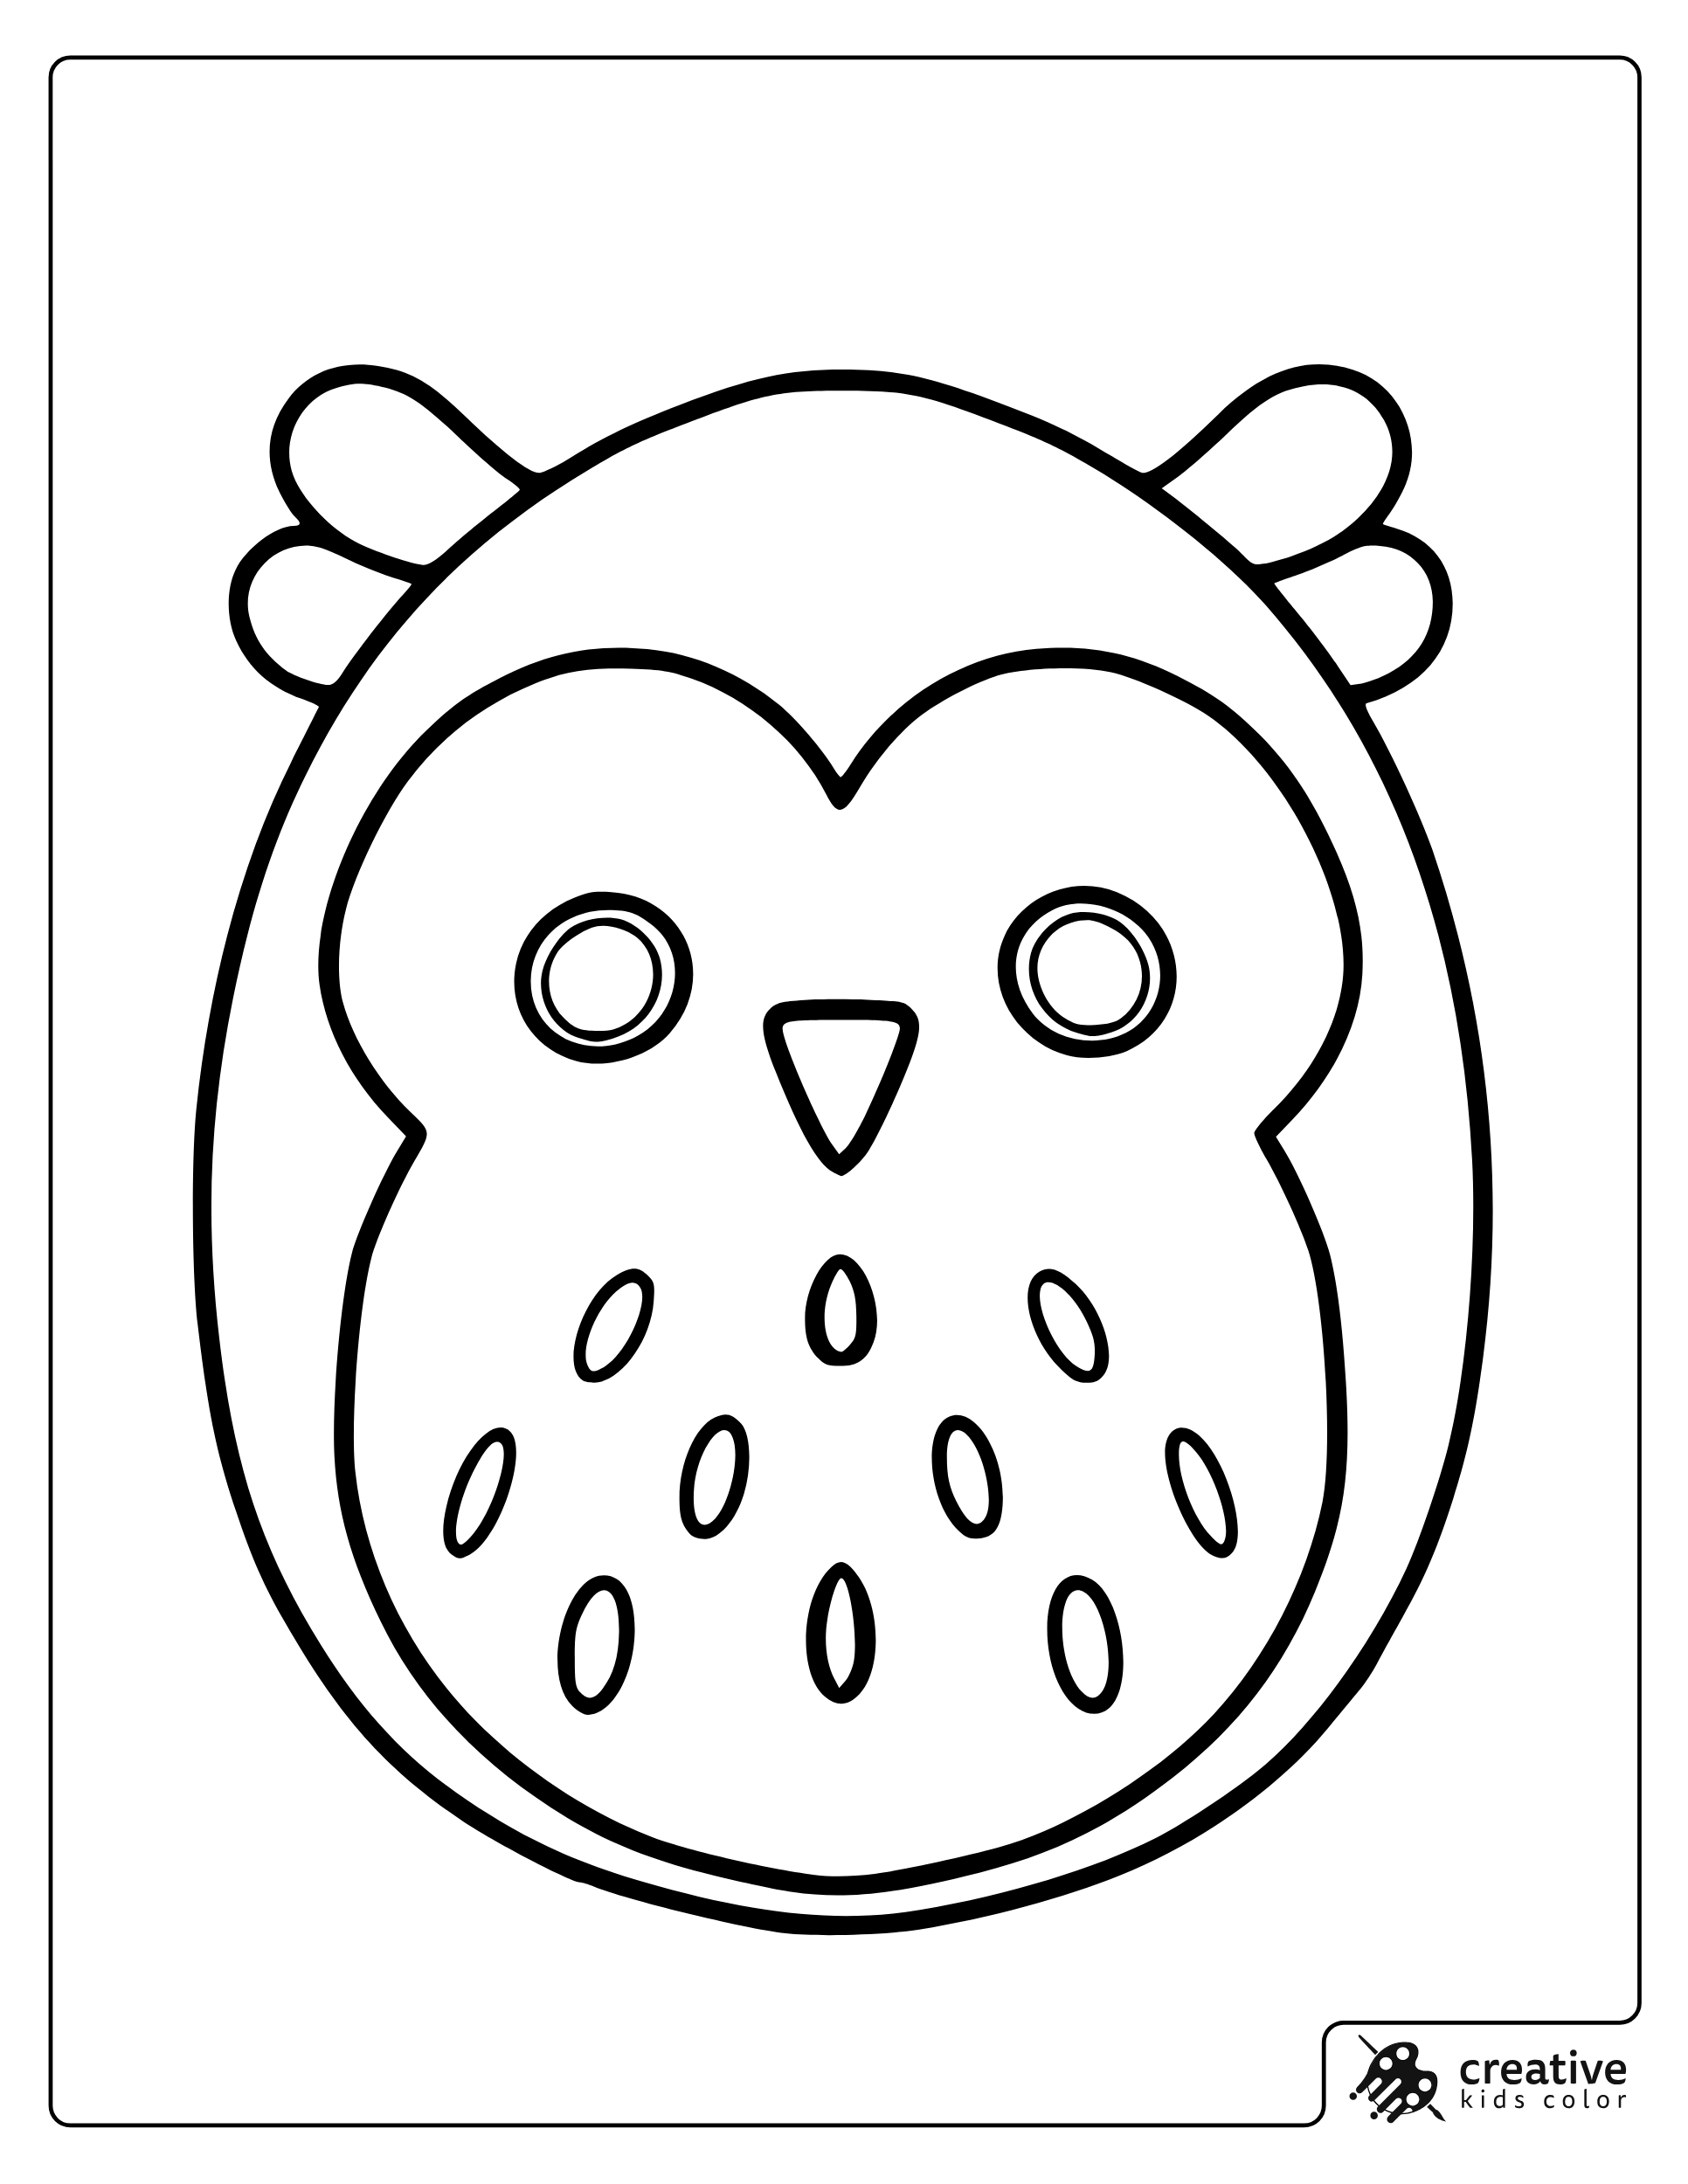
Winston the Owl
Winston works well with one warm base color and one darker accent for feather markings, plus a lighter belly tone so the eyes stay the focus. Keeping the feather lines visible matters more than heavy shading.
With crayons, fill the big body area first and add the feather markings after. With colored pencils, a soft darker layer along the sides can separate the wings from the round body without extra colors.