How to Draw a Bunny
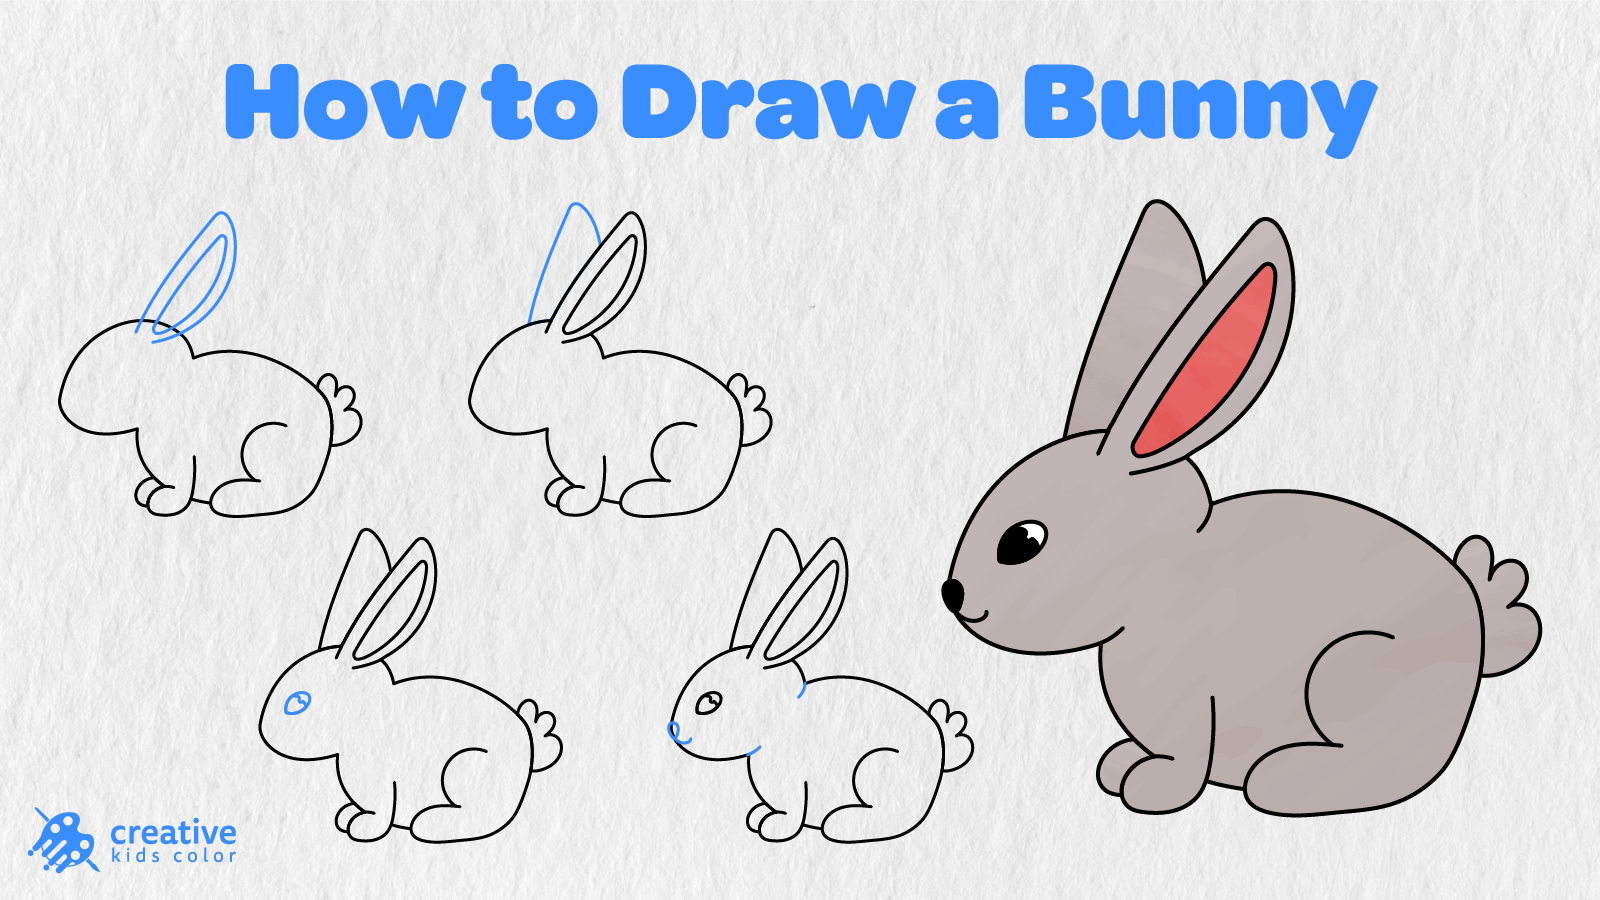
Bunnies are cute little animals that live everywhere from meadows and gardens to farms, people’s homes, and children’s imagination. These lovely creatures can sit perfectly still for a long time and suddenly run away at the first opportunity. In this drawing, we have a sitting bunny facing sideways with a round body, bent legs, two long ears, a fluffy tail and a lovely face.
Kids and beginners will learn how to draw a bunny in 10 simple steps. We will start drawing the head and body, then add a hind leg and paws, tail, ears, an eye, a nose, a mouth, and some finishing details before finally coloring the bunny.
Follow the blue lines in all the drawings as guides. Add the elements in the order they appear, and you will also get a lovely bunny sketch ready to color at the end of Step 10.
Easy Bunny Drawing Step by Step
To draw a bunny, you will need a pencil, paper, an eraser, and coloring tools. Start drawing near the center of the page, leaving ample space at the top for the bunny’s long ears.
Step 1: Draw the Head and Body Guides
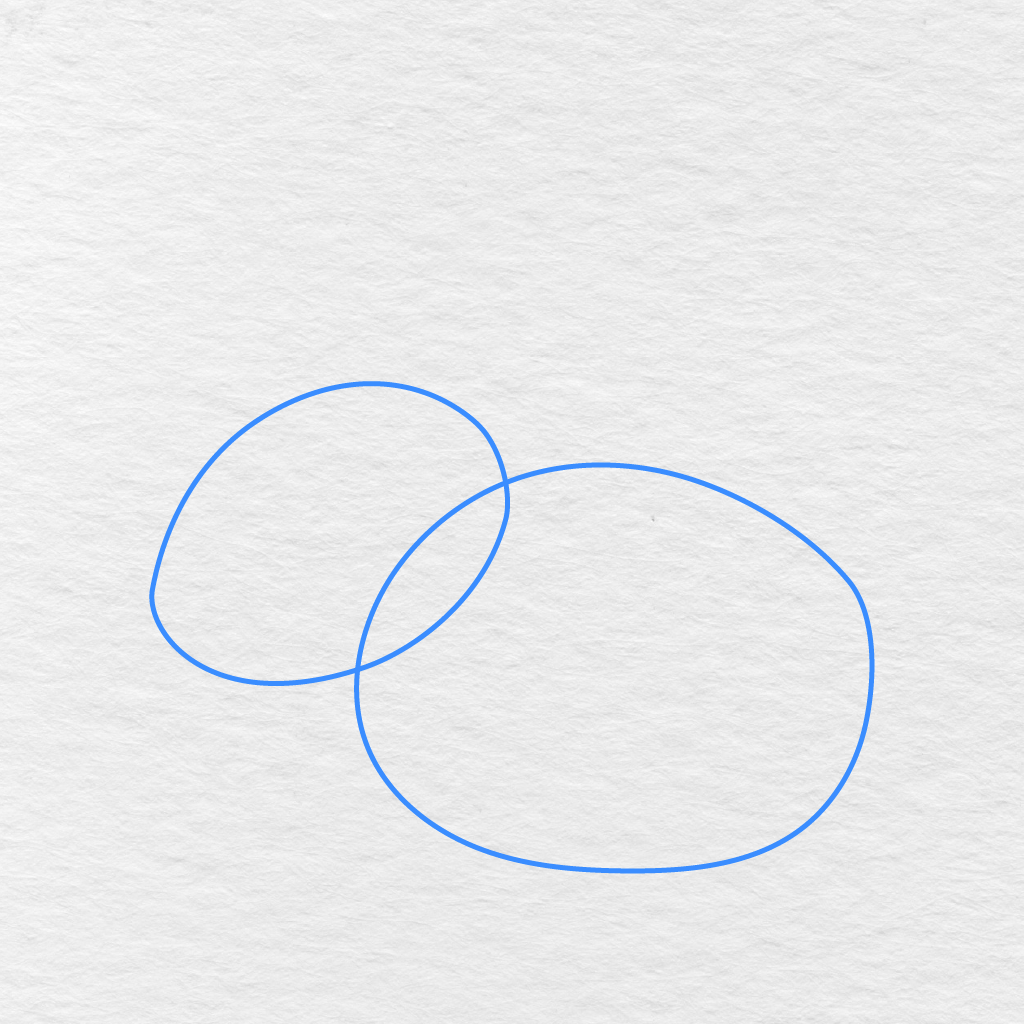
Start by adding two large rounded shapes that overlap each other slightly.
Add the smaller shape on the left as the bunny’s head and a bigger shape on the right as the body. The outer parts of these two shapes will form the main outline of the sitting bunny.
Step 2: Add the Hind Leg and Foot
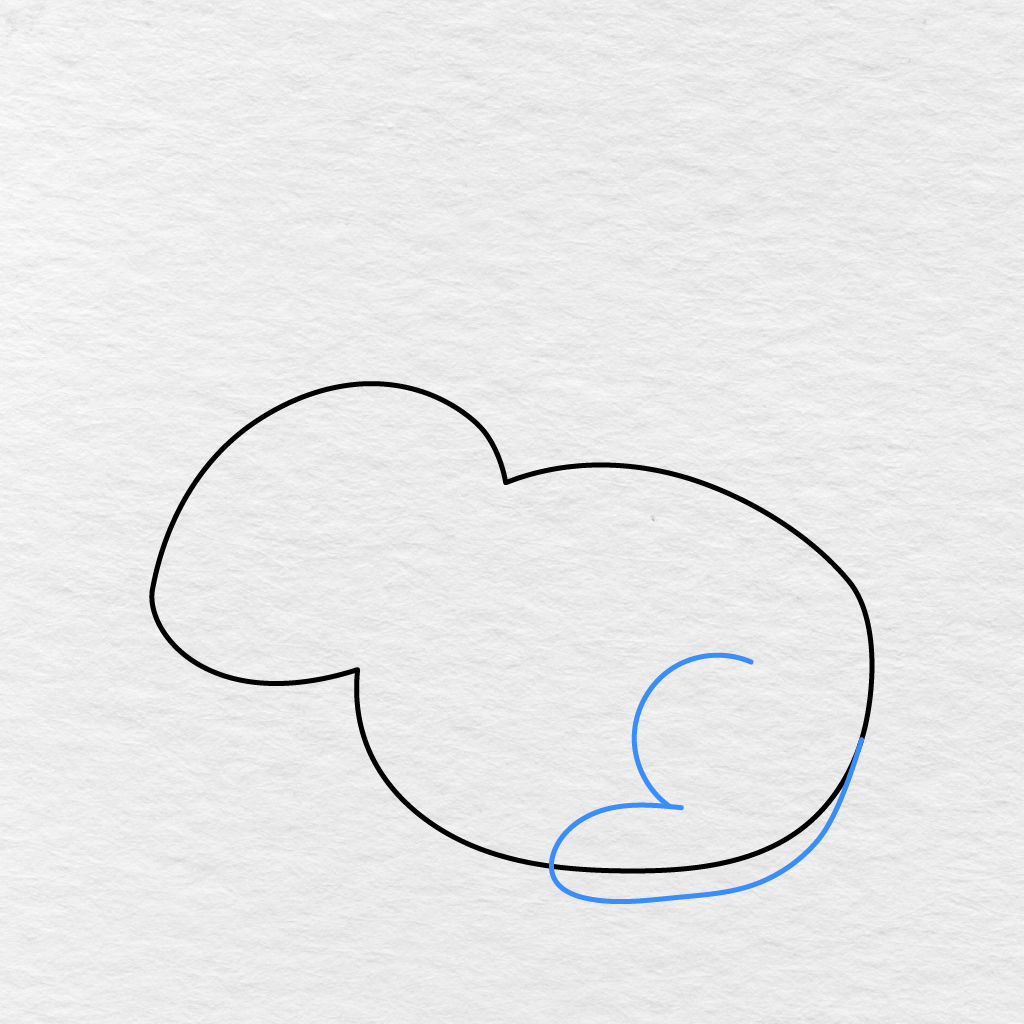
Inside the back of the bunny’s body, add a large curved line as the hind leg.
Move down almost to the end of the hind leg and add a long rounded shape for the bunny’s back foot. Let the foot trail along the bottom part of the bunny’s body before bending up.
Step 3: Add the Front Leg and Paw
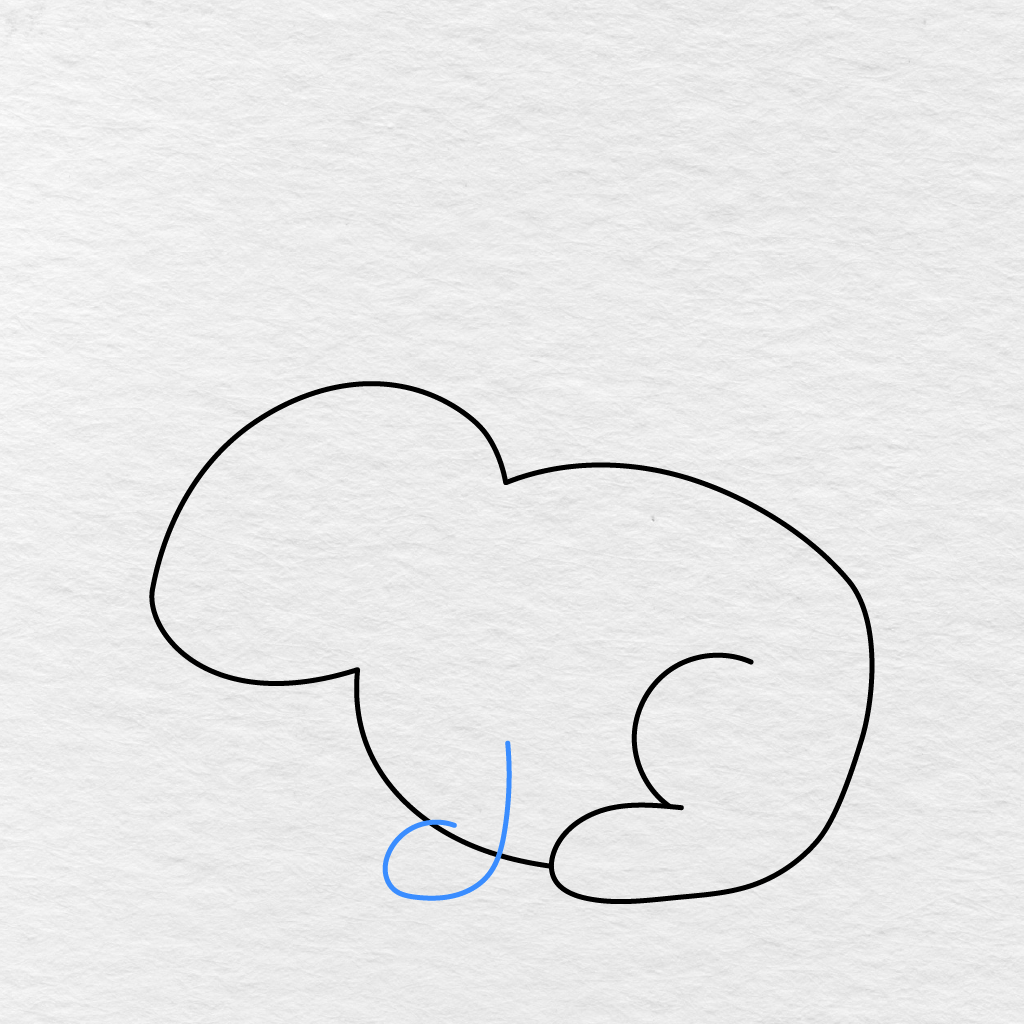
Add a long curved line trailing down from the front part of the bunny’s body.
At the front part of the bunny’s body, make sure to round the line as you draw the front paw before connecting the line near the bottom of the bunny’s body.
Step 4: Add the Second Front Paw
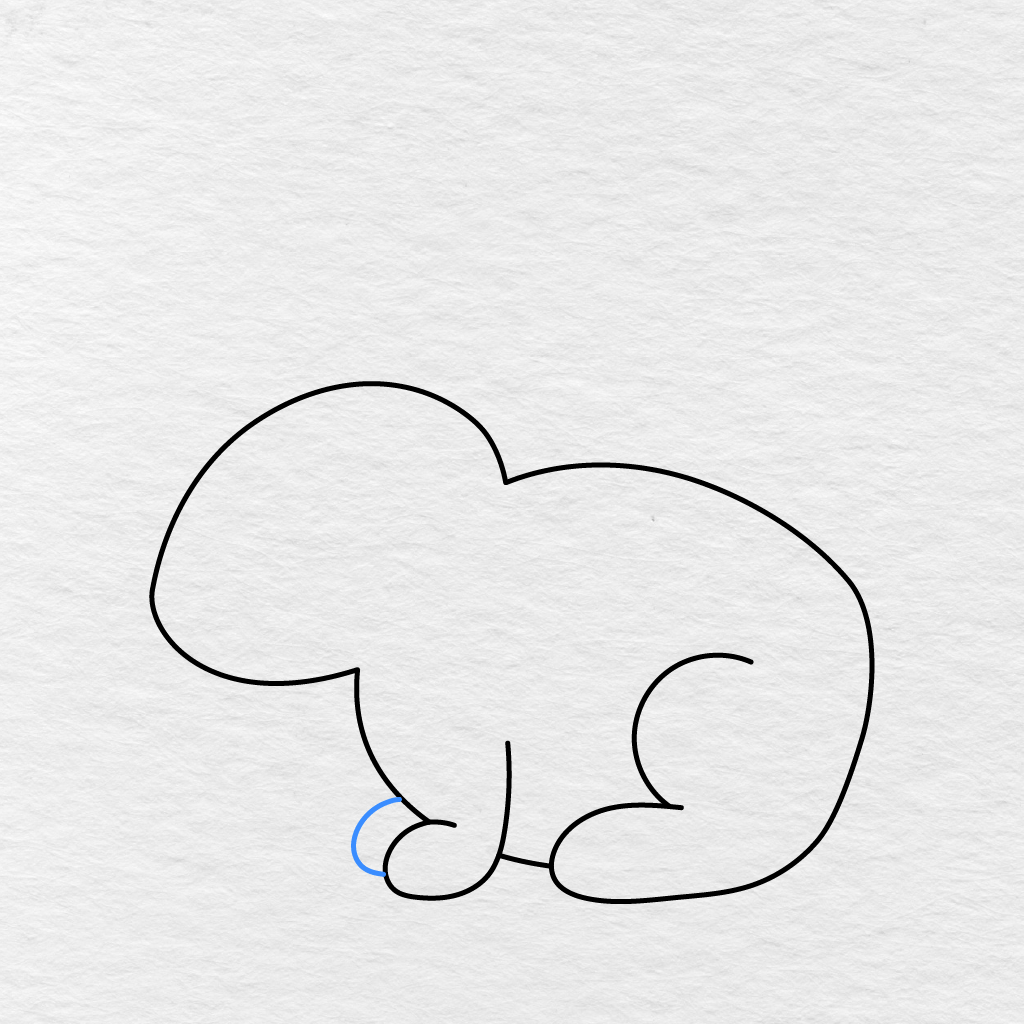
Add a smaller rounded shape like the front paw at the back of the first front paw.
Since the second front paw will only be partially visible, make sure to keep most of it hidden behind the first front paw.
Step 5: Add the Bunny’s Tail
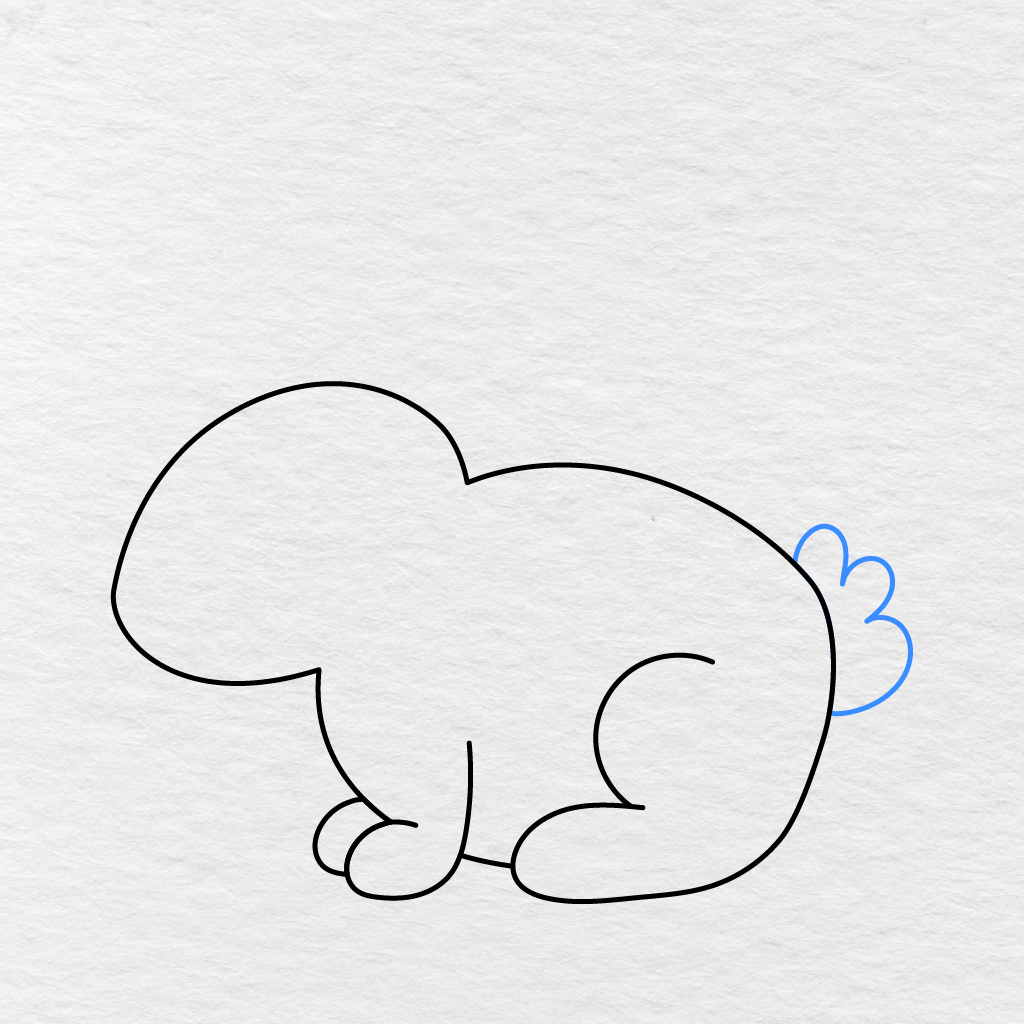
At the back end of the bunny’s body, add a small fluffy tail.
Use three rounded curved lines to give the tail a fluffy and puffy look.
Step 6: Add the Front Ear
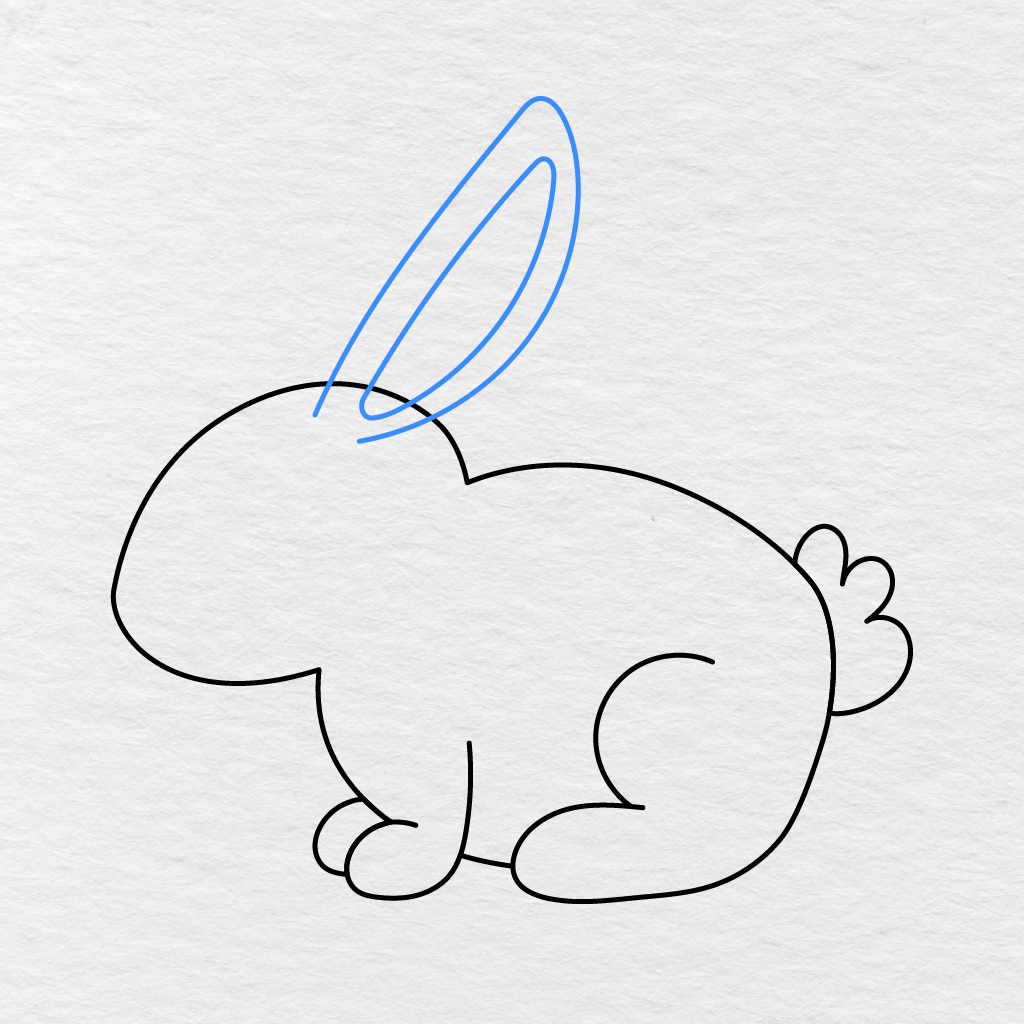
On the top part of the bunny’s head, add a long upright ear.
Make sure to add another narrow shape inside the front ear to give it depth. Round both the outer and inner parts of the front ear at the top.
Step 7: Add the Back Ear
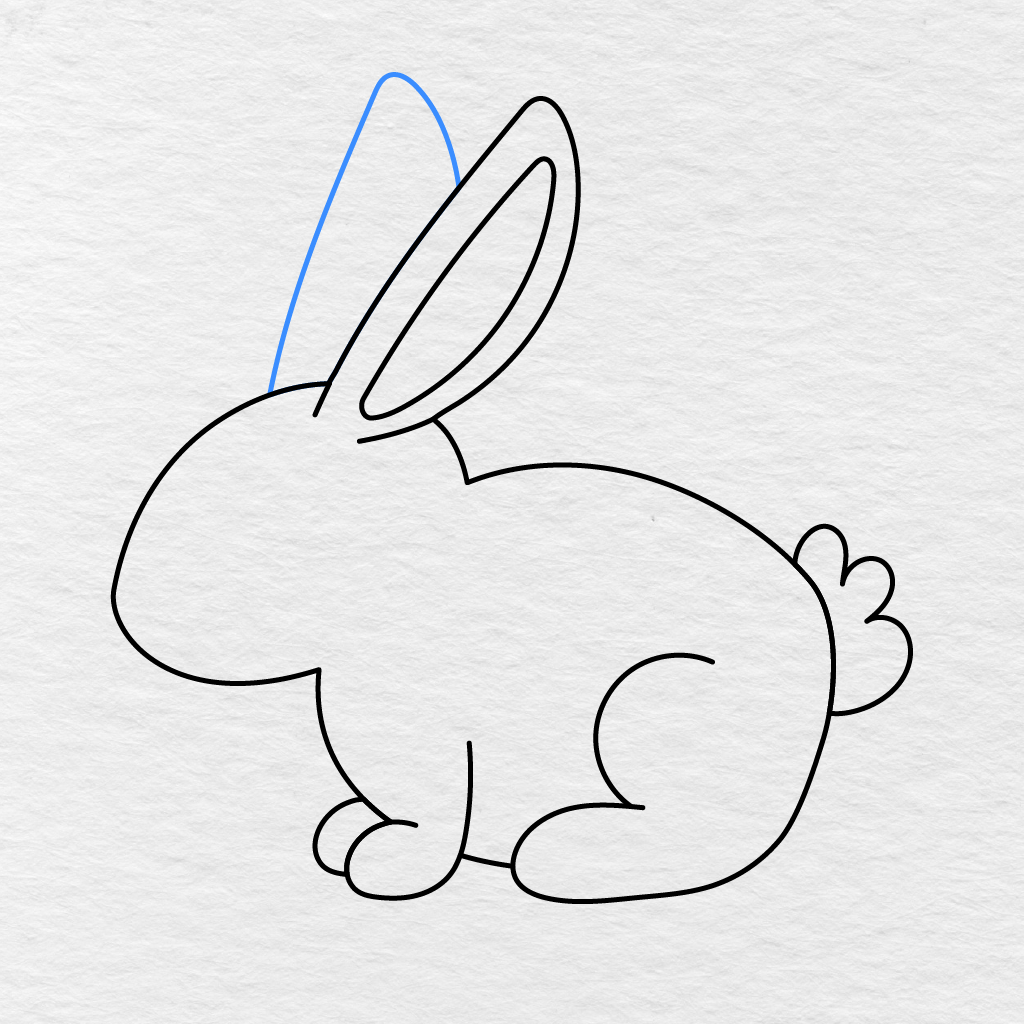
Add the second tall ear at the back of the first ear to complete the bunny’s ears.
Start adding the ear near the top part of the bunny’s head and make sure it is partly hidden behind the front ear.
Step 8: Add the Eye
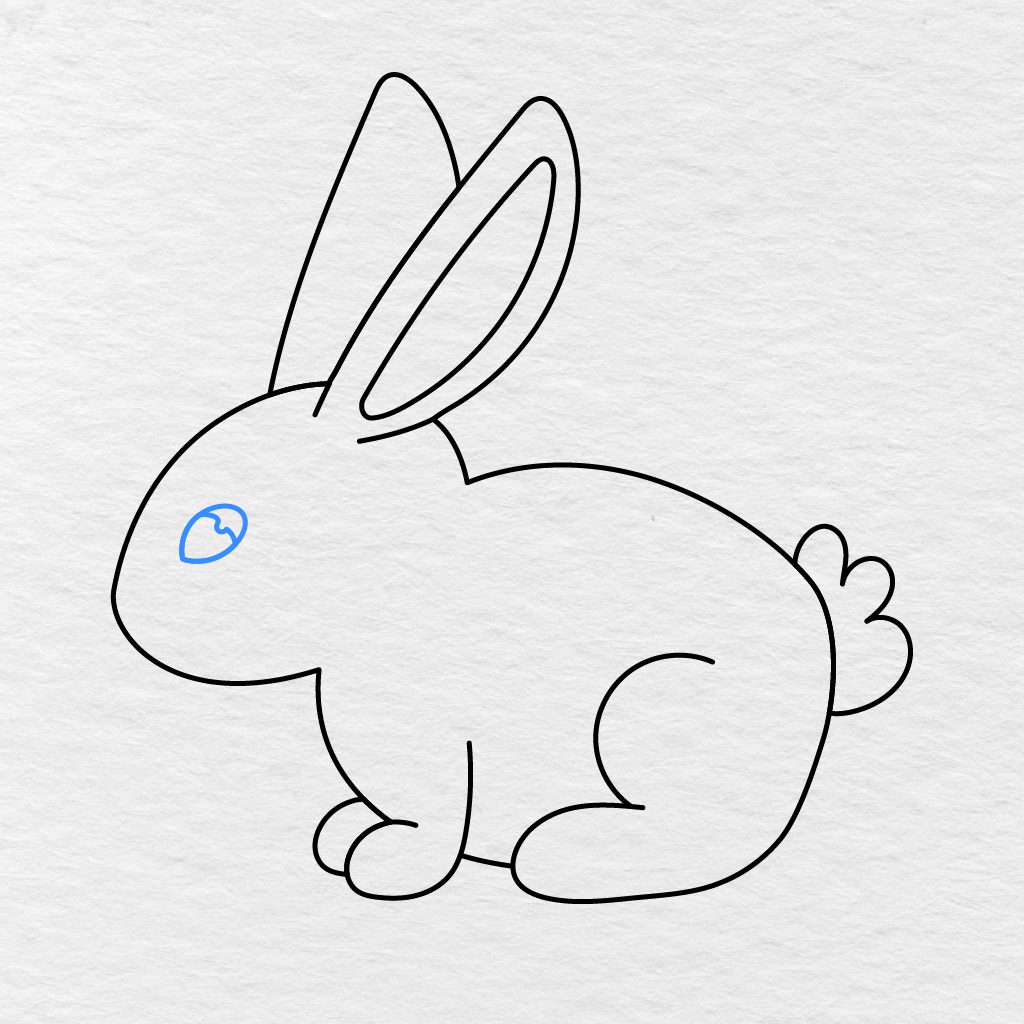
Near the front part of the bunny’s head, add a rounded shape for the eye.
Inside the eye, add another smaller rounded shape and leave a space to add a highlight.
Step 9: Complete the Face and Neck Details
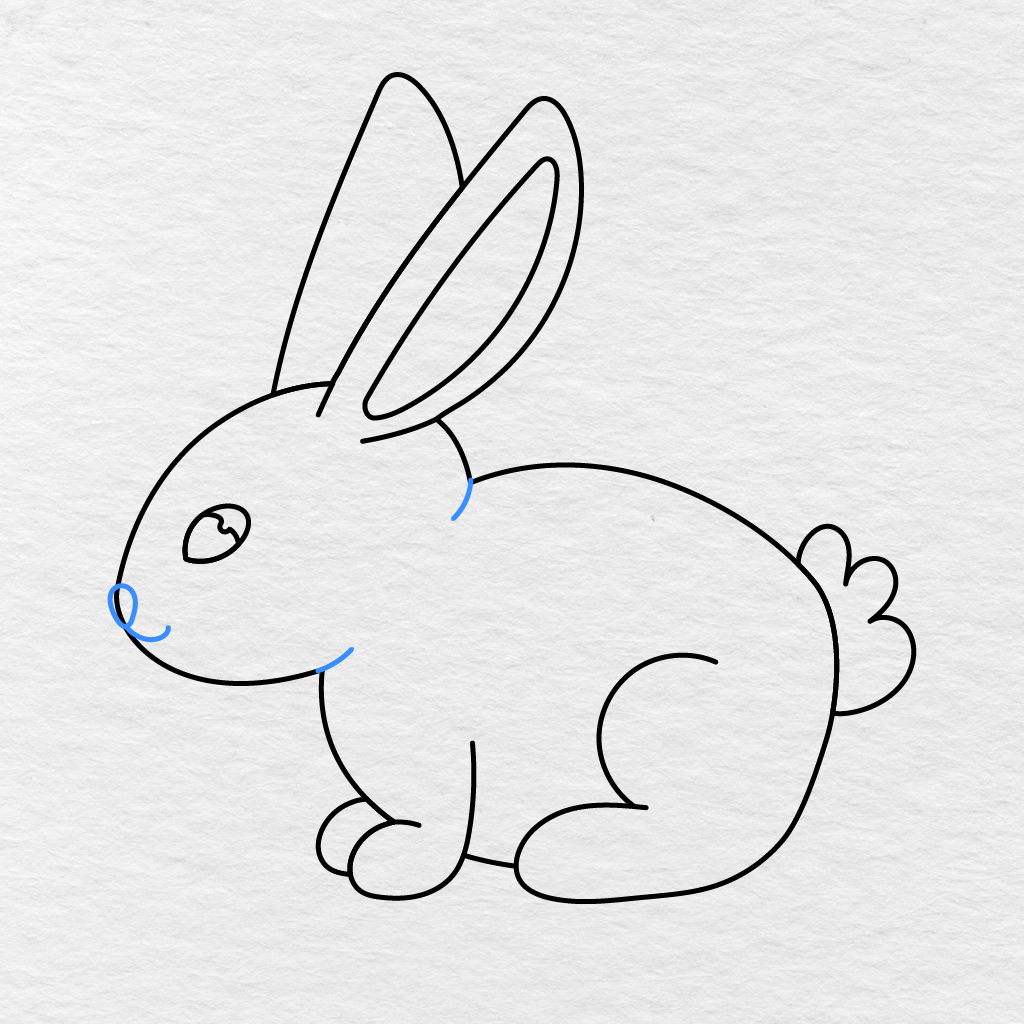
At the end of the bunny’s face, add a small oval shape for the nose.
Add a short curved line below the nose for the mouth. Add another short curved line at the back of the bunny’s head to separate the neck from the body.
Step 10: Color the Bunny
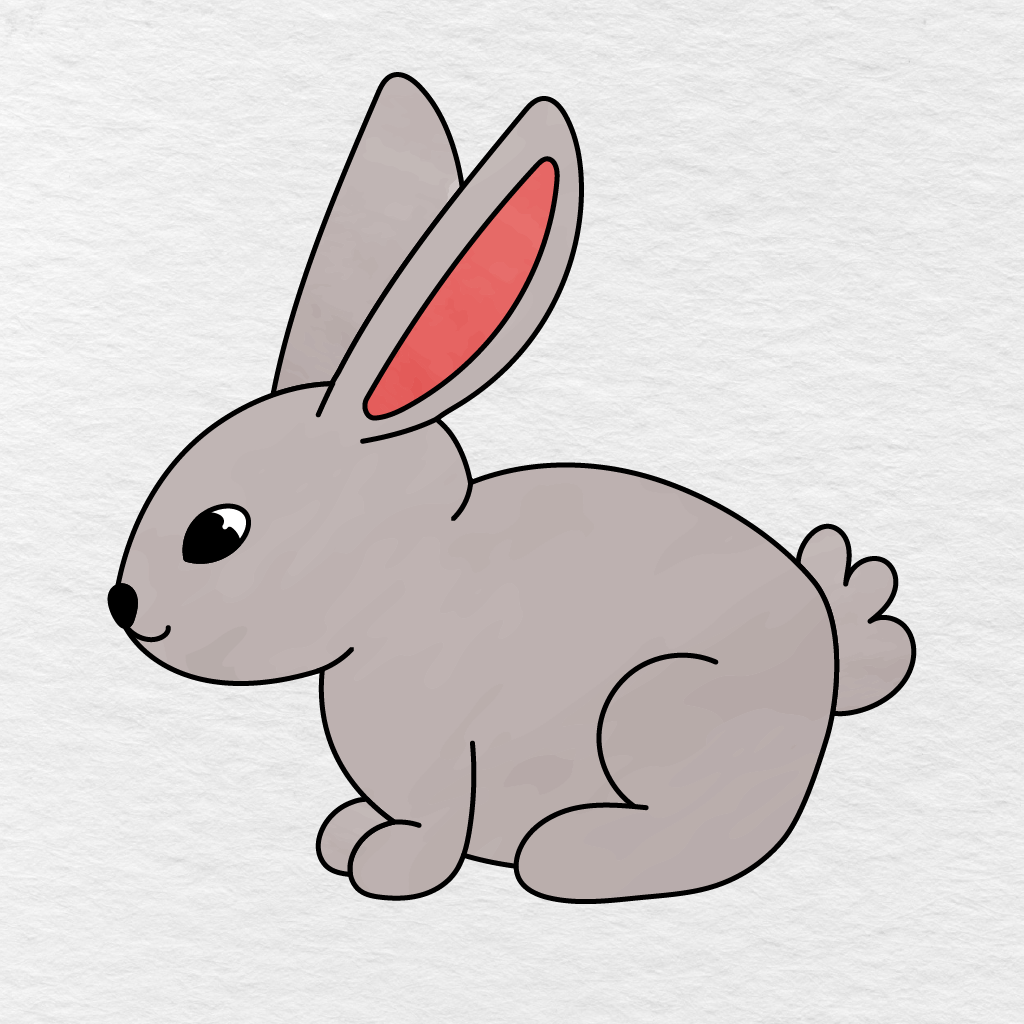
It is now time to color your bunny. We colored our bunny using a warm gray color for the body and pink color for the inside part of the front ear. The eye and nose are in black, with a white highlight inside the eye.
You can choose to use different colors such as white, brown, cream, black, or any other color you like. Similarly, you can also decide to change the color of the bunny’s fur, ear, tail, and other body parts.
Your easy bunny drawing is now complete!
Printable Bunny Drawing PDF
Below, you will find a printable bunny drawing PDF that you can download and print now or later. The bunny sketch comprises a round head and body, bent legs, two long ears, a fluffy tail, a large eye, a small nose, and a smiling mouth.
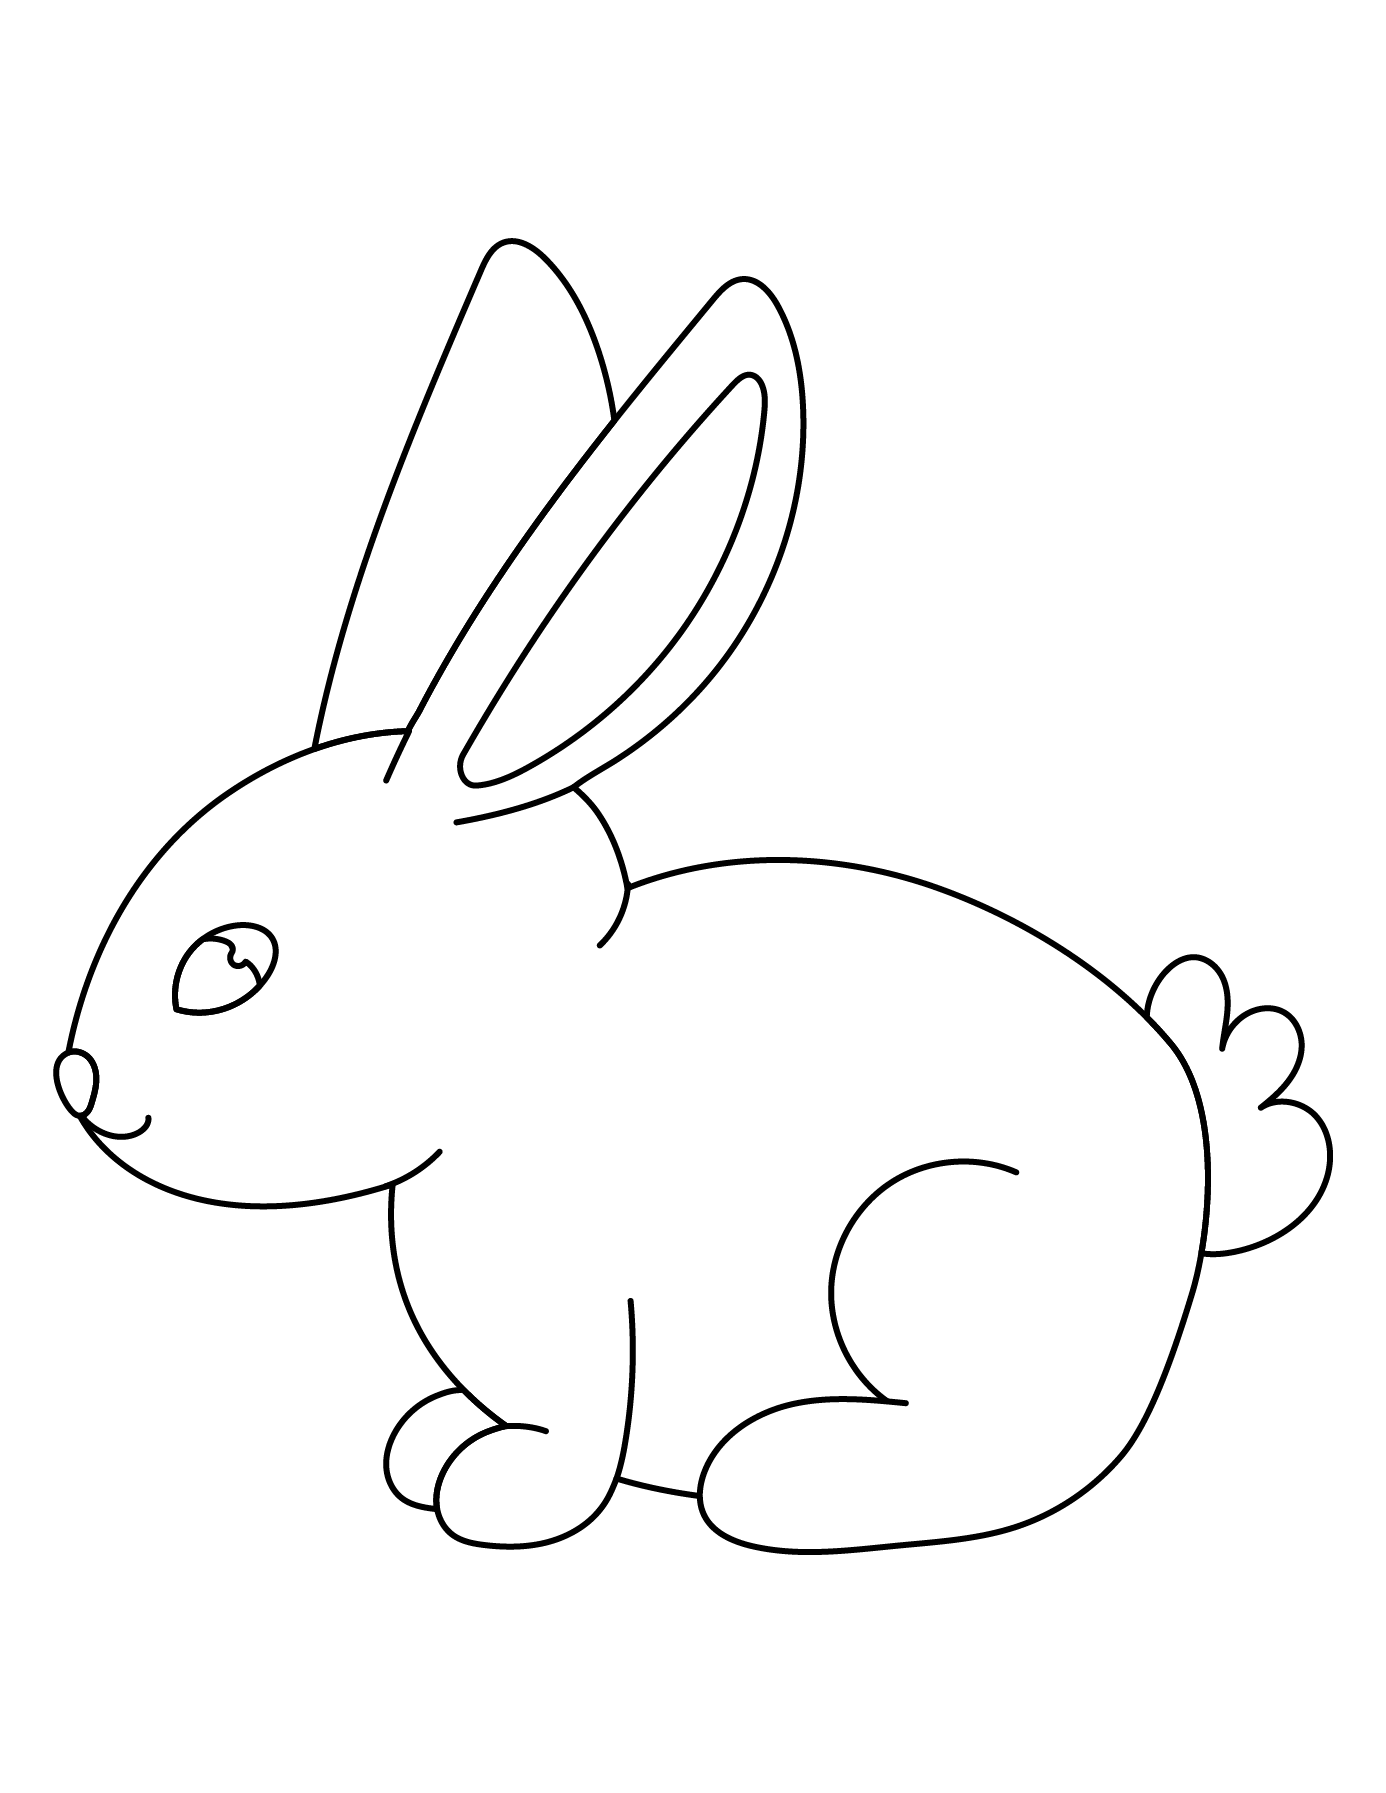
For more printable bunny activities, make sure to check out our Bunny Coloring Pages.
What color did you choose for your bunny? Make sure to share your bunny drawing in the comments area below and remember to share the guide with another parent, teacher, or friend.