How to Draw Stitch
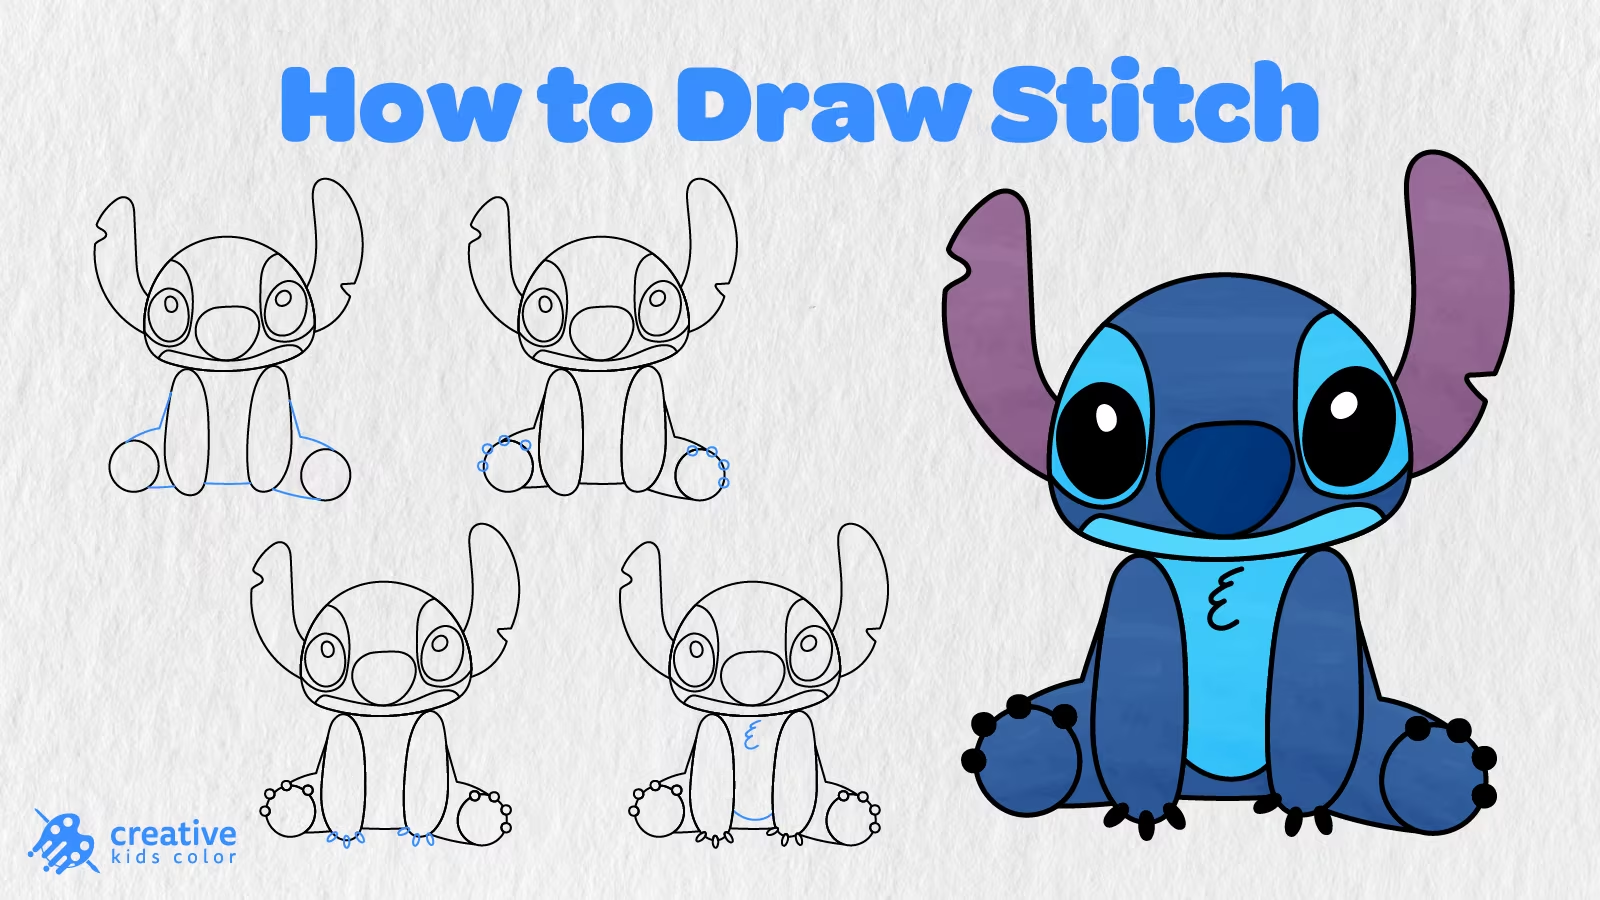
Stitch is such a recognizable cartoon character, his big ears, round eyes, bulbous nose, and small alien like facial features are hard to miss. His face is full of interesting shapes, but it can actually be created step by step with relative ease. In this tutorial, you will learn how to draw Stitch in 13 easy steps.
The drawing tutorial below is made for kids and beginners and very straightforward. We will begin with the head and move on to adding the ears, face patches, nose, eyes, mouth, arms, feet, body, claws, belly detail, and color.
Although there are many more details in this drawing compared to some of our other guides, the process is just as simple when you take it step by step. Once you add all those big ears, round eyes, blue toned body, and little claws, your Stitch drawing will look so lovely and mischievous, just like Stitch should!
Easy Stitch Drawing Step by Step
Before we begin, here are a few simple materials you will need to create this drawing: pencil, paper, eraser, and coloring tools.
The lines in blue on the images below show the next step of the drawing.
Step 1: Draw Stitch’s Head Shape
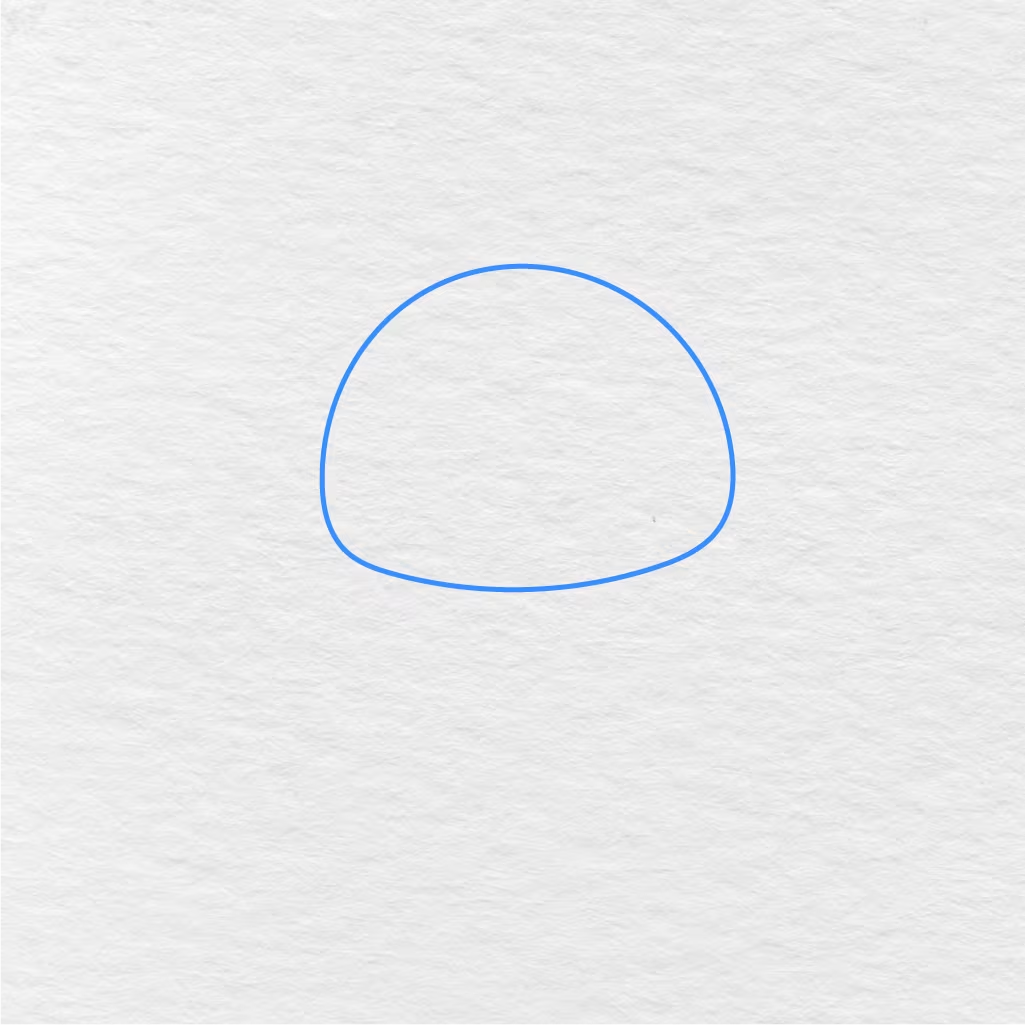
We will begin by drawing a large rounded shape near the top part of the page. The bottom part of the shape is a bit flatter, and the top is rounder.
This will be the head shape, and you can leave larger areas on the sides for the ears.
Step 2: Add Stitch’s Ears
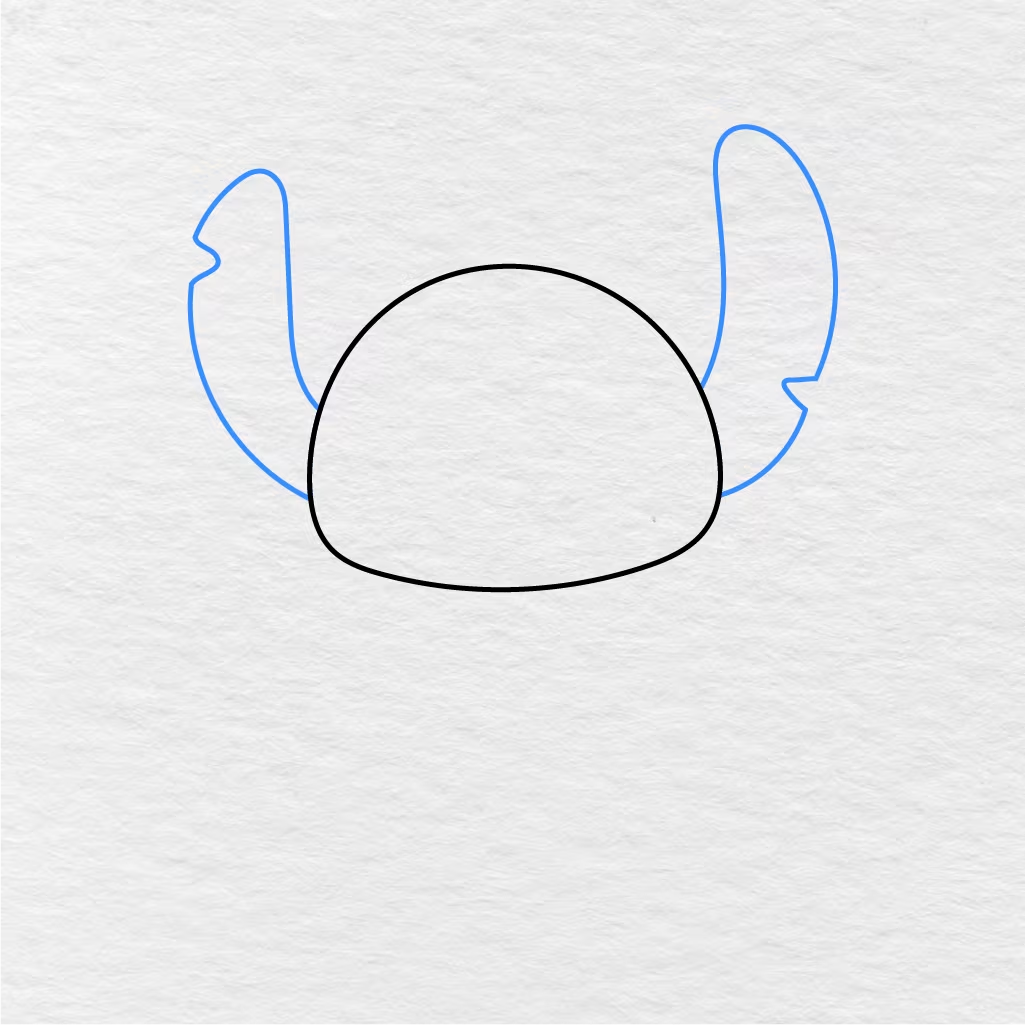
The next step is to add the ears to both sides of the head. Draw the long pointed lines on the sides of the head, and make sure that each ear has a small notch along the outer edge.
The ears are among the most recognizable features of Stitch, so make them pointy and tall.
Step 3: Draw the Face Patches
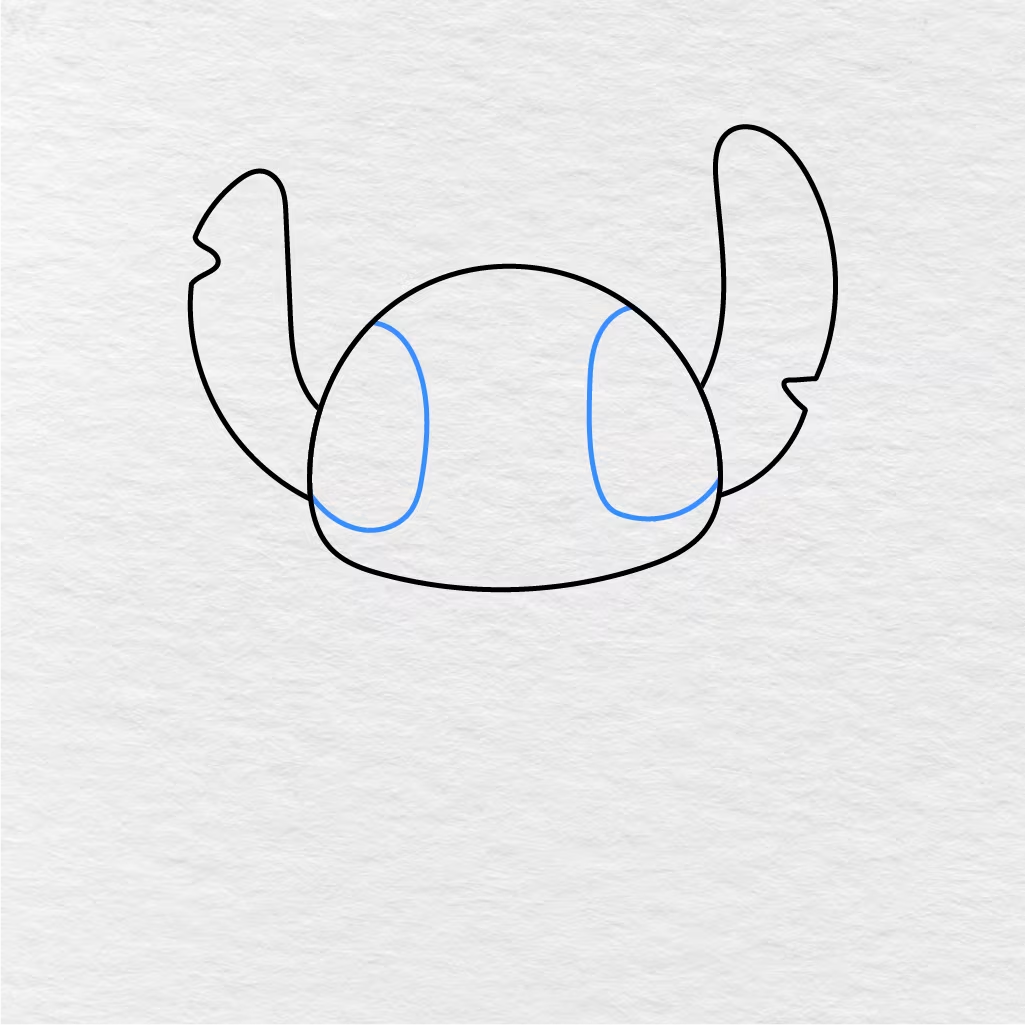
The next step is to add the face patch shapes to both sides of the head. Add the long rounded patches on the left and right sides, and then draw the curved line across the lower part of the face.
The two separate lines indicate the division between the face areas where the eyes and nose will be added.
Step 4: Add the Nose
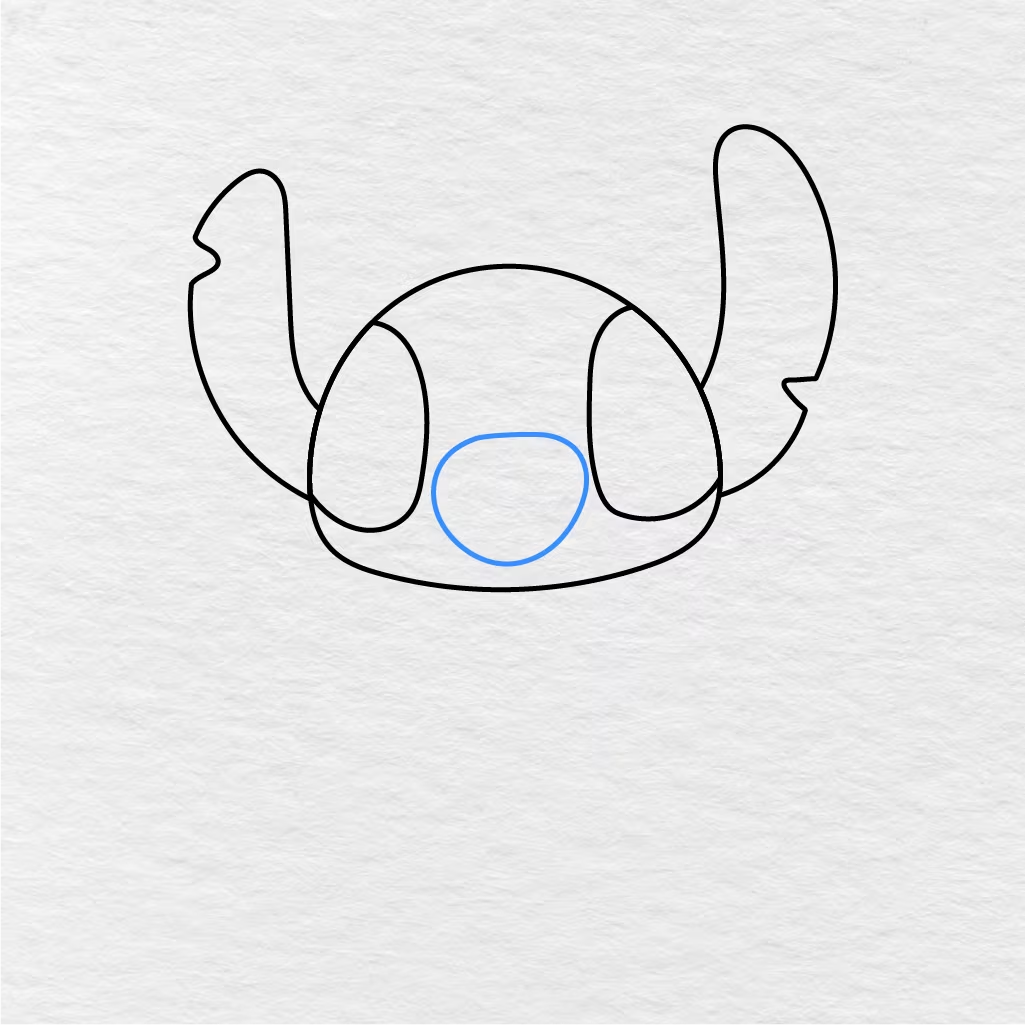
We will now add the big round nose to the center of the face. The nose is drawn between the face patches, and it is located slightly above the curved line across the lower part of the face.
This round nose is also one of Stitch’s most identifiable features.
Step 5: Draw the Eyes and Mouth
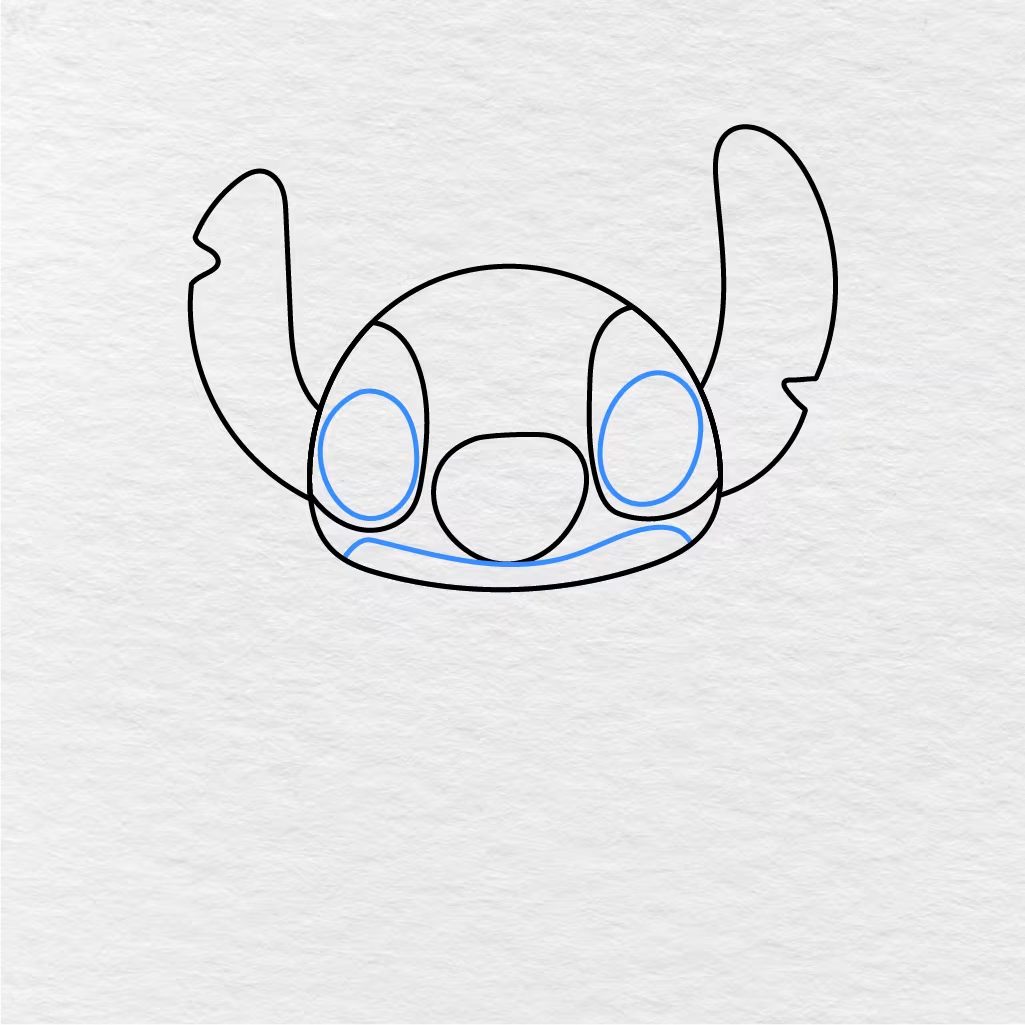
Now, we will add two large oval eyes inside the face patches. Try to keep their sizes similar so that the face appears balanced.
Then, draw the long curved line of the mouth just below the big round nose as shown in the image below.
Step 6: Add the Eye Highlights
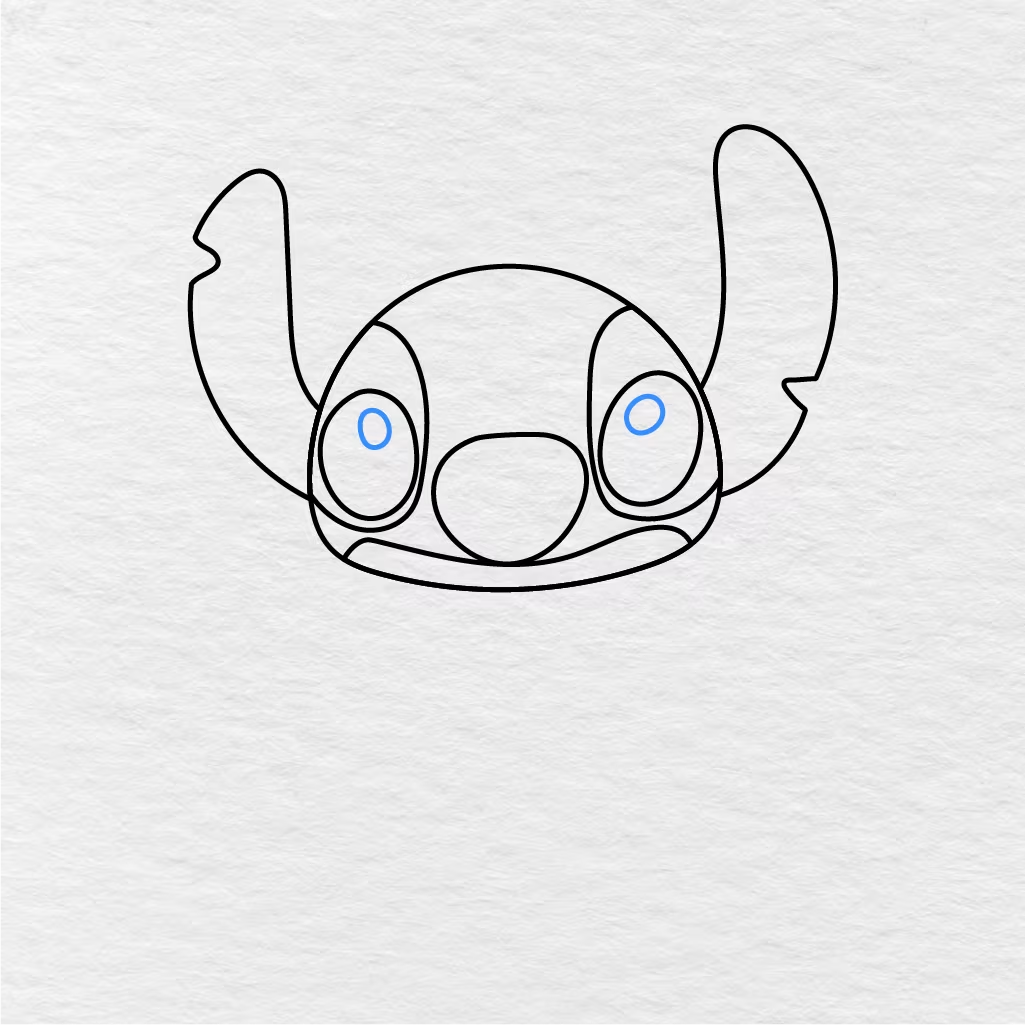
The next step is to add the eye highlights. They are small oval shapes that are visible on both eyes, and they are located near the top part of the eye.
They are necessary to give the eyes volume and make them stand out.
Step 7: Draw the Arms
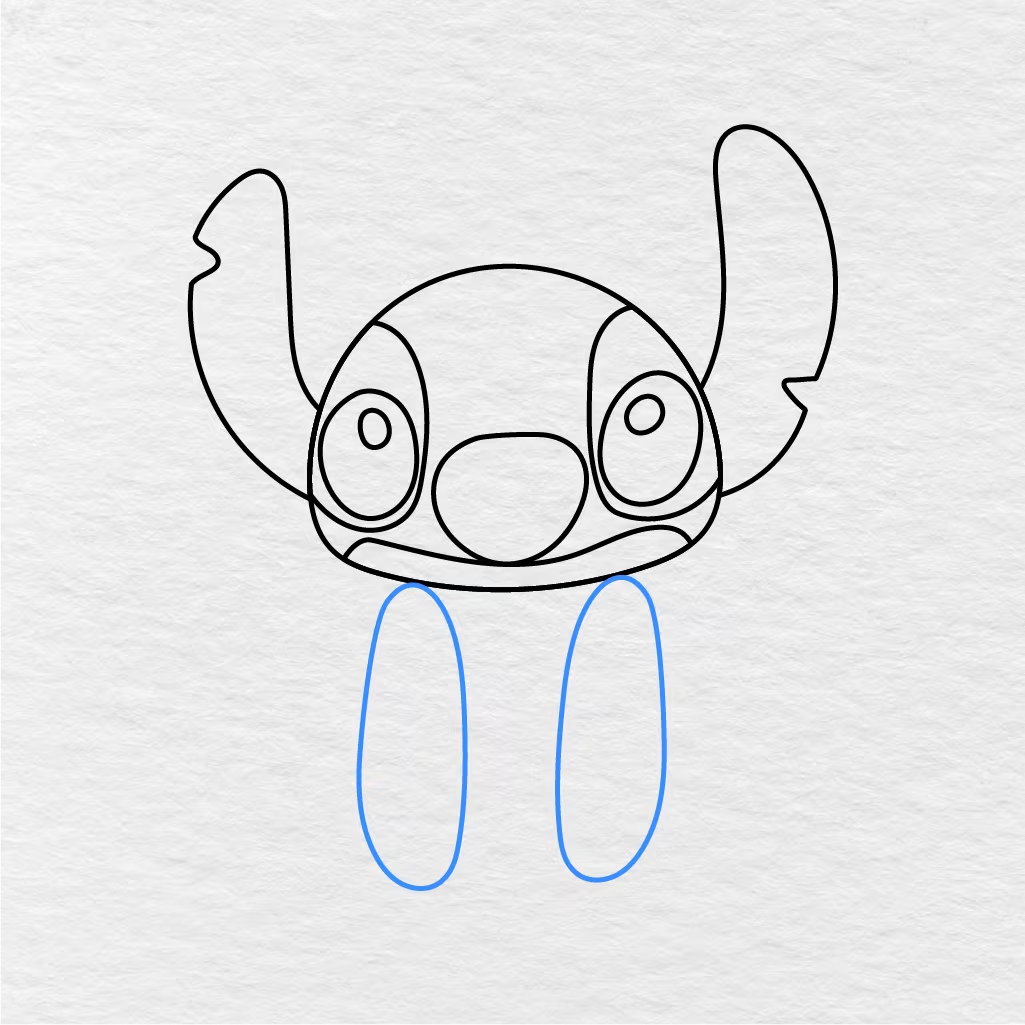
Now, we will add the arms to our Stitch drawing. Draw the two long round shapes that extend downwards from the head area.
The arms should be placed near the center of the image and leave some space on the sides for the feet.
Step 8: Add the Feet
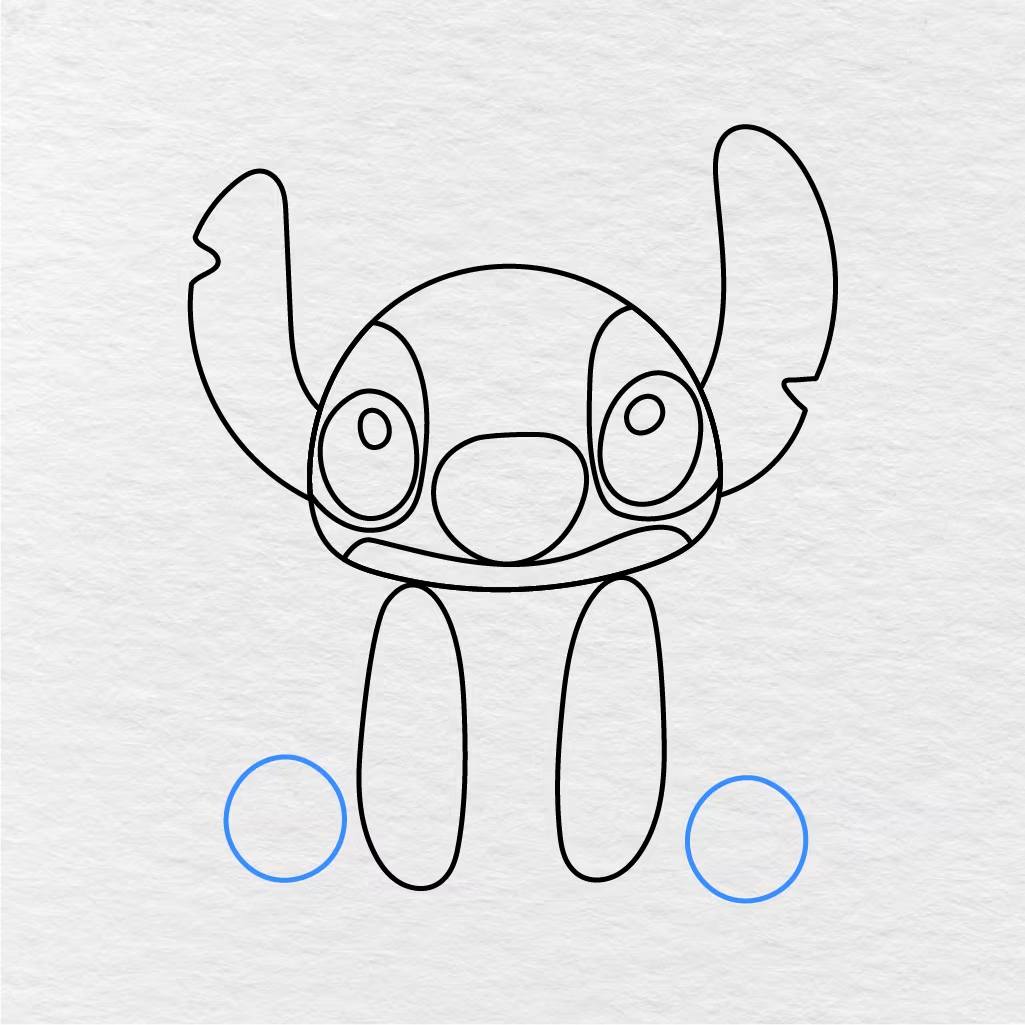
The next step is to add the feet to the drawing. We will add the big rounded feet on both sides of the body, and they should be placed near the bottom part of the page.
The feet are separate from the arms, and they help show the sitting position of Stitch.
Step 9: Draw the Body Outline
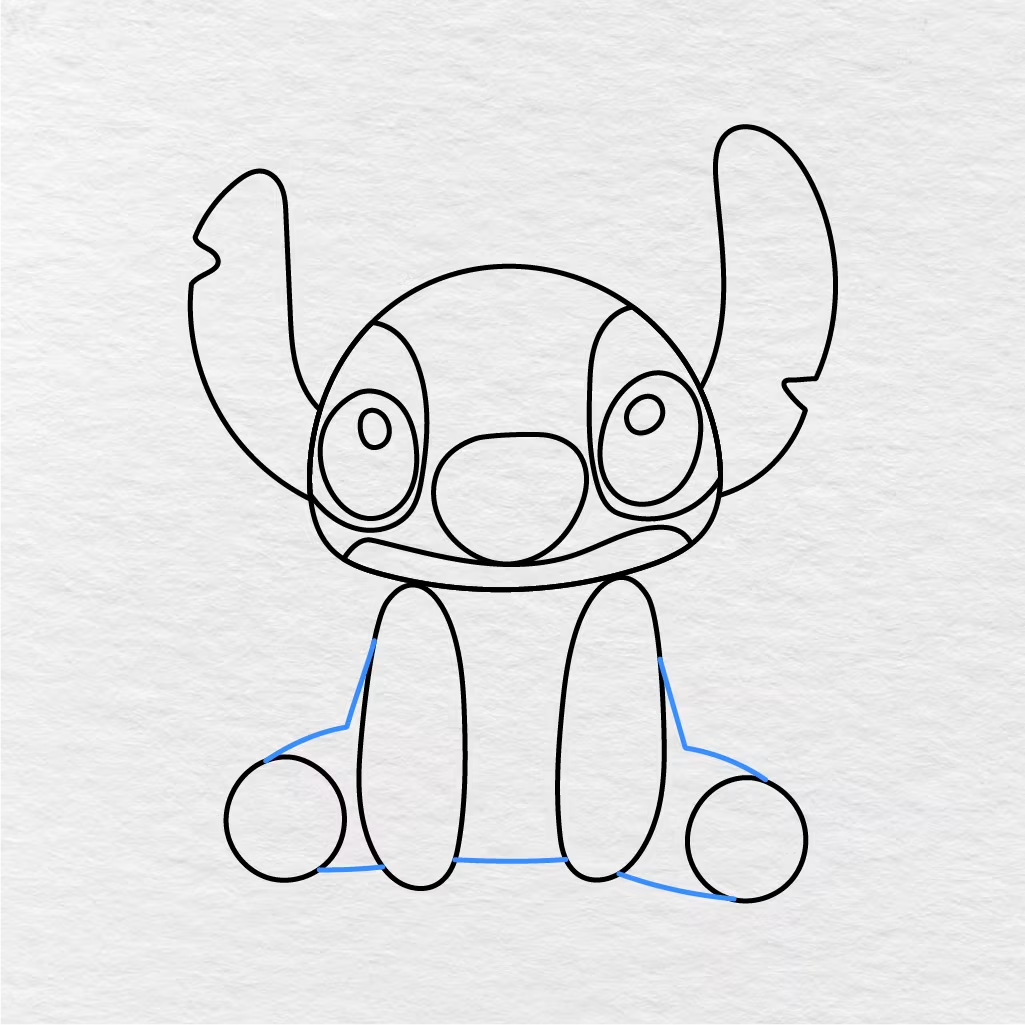
Now, we will add the body outline by connecting the head, arms, and feet with rounded lines. This line shows the general shape of Stitch’s body, and you can also add the outlines of the side body and the lower body part near the bottom.
At this point, you should see the general shape of Stitch’s sitting position clearly.
Step 10: Add Toe Details
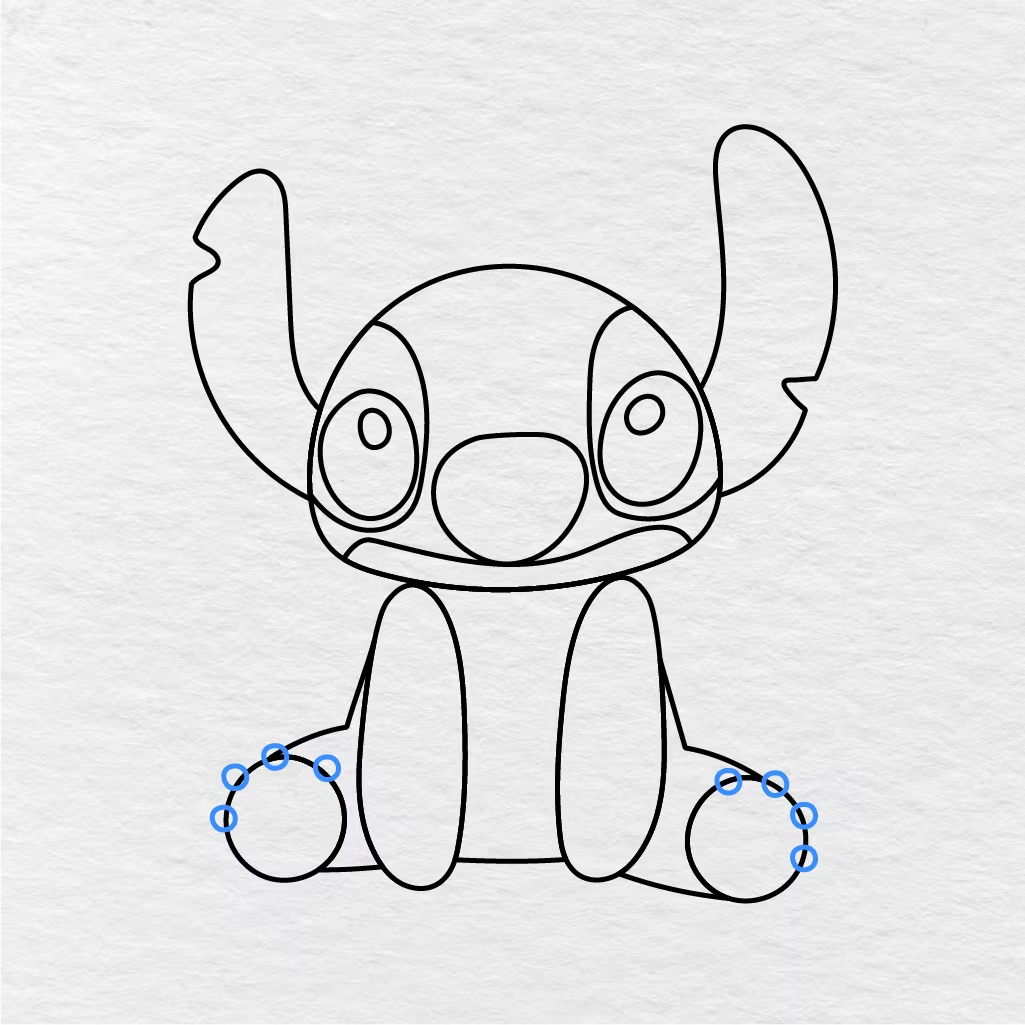
The next step is to add the toe details to the feet. They are small round shapes that are added around the top part of the foot area on both sides.
As seen in the image below, the toe details follow the rounded line of the foot.
Step 11: Add the Claws
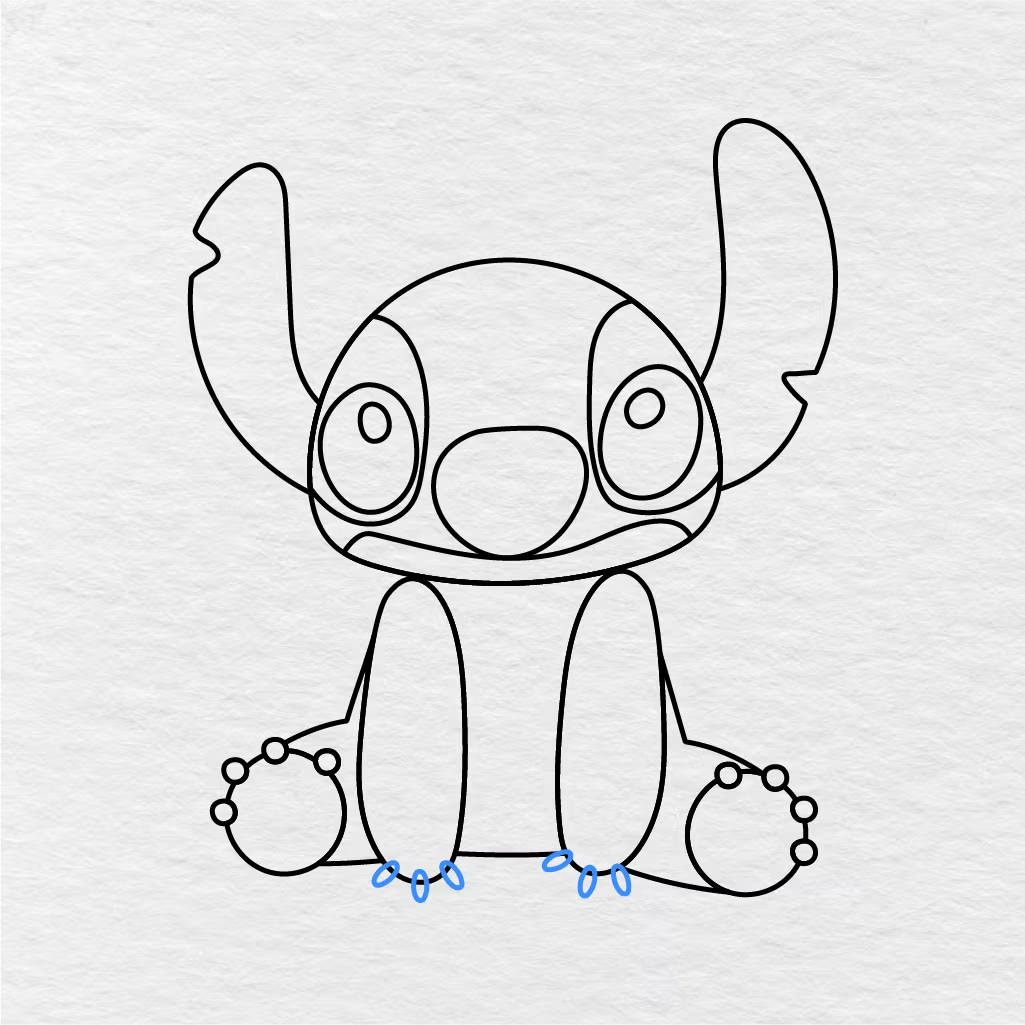
Now, we will add the little claws to the bottom of the arms. They are small oval shapes that help give Stitch’s arms more detail and definition.
This completes the small details on the arms.
Step 12: Add the Belly Detail
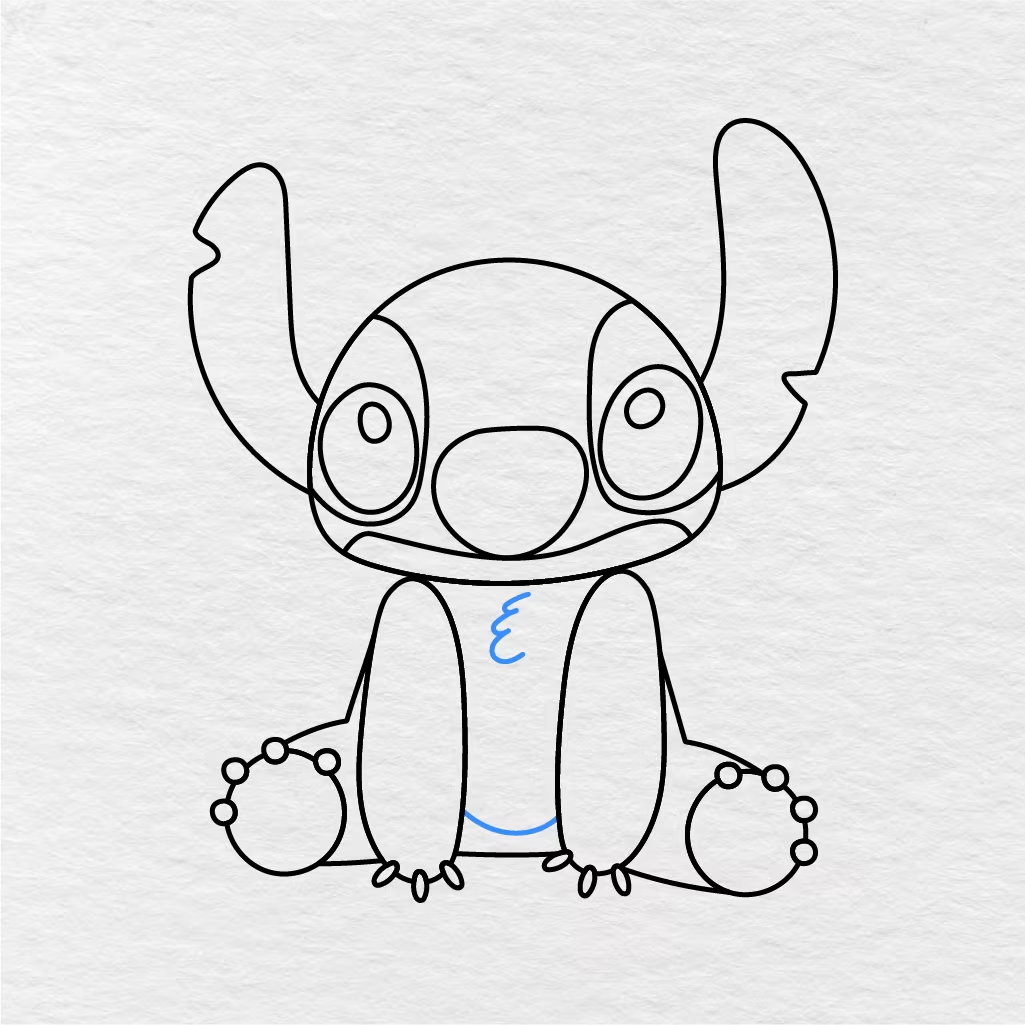
The next step is to add the small curved detail in the middle of the belly area. Then, we will add the rounded lower belly line just above the bottom edge.
These two belly elements complete the overall outline of the Stitch drawing.
Step 13: Color Stitch
Finally, we will add color to our Stitch drawing as shown in the image below. For this drawing, we used dark blue for the head and body, light blue for the face and belly areas, and a darker blue tone for the nose.
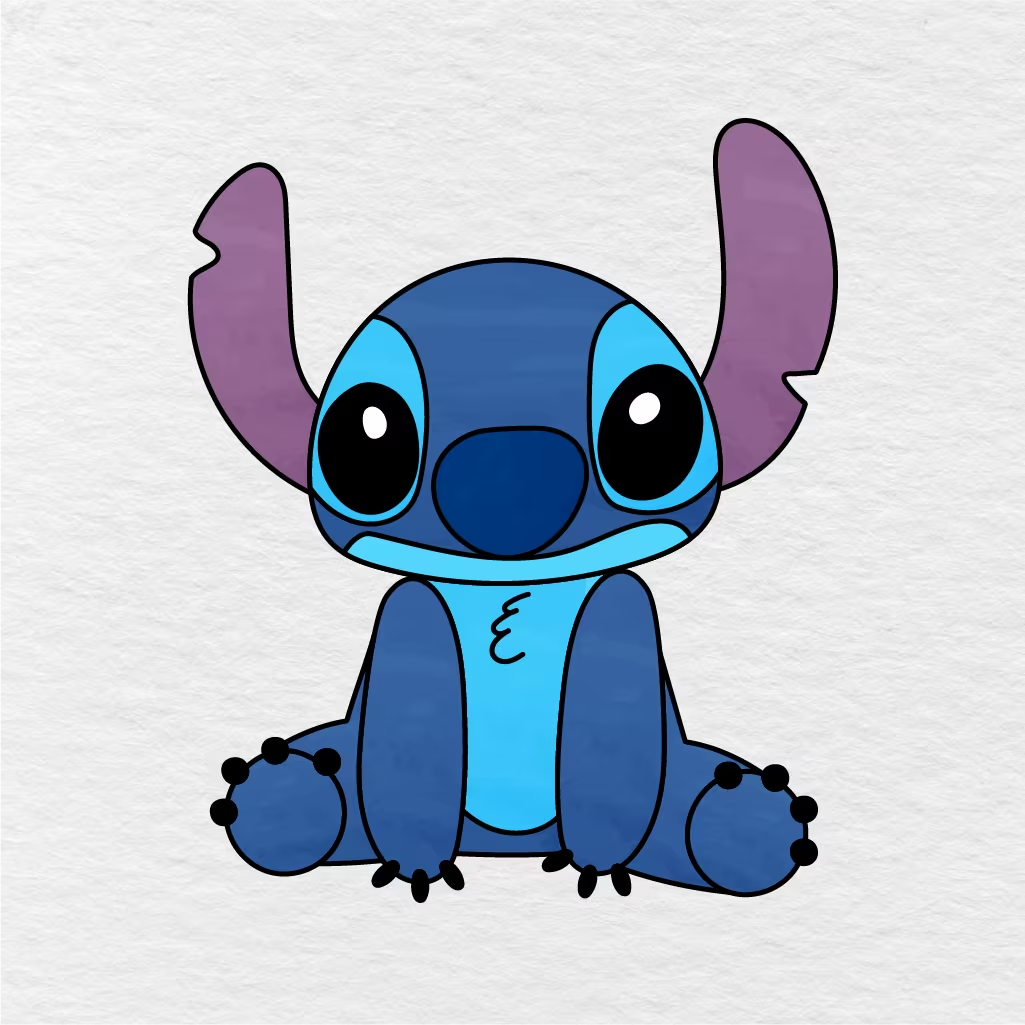
The ears are colored purple, and the eyes are black with white highlights. You can use any colors you like when coloring your Stitch drawing, and once you finish, your easy Stitch drawing is complete!
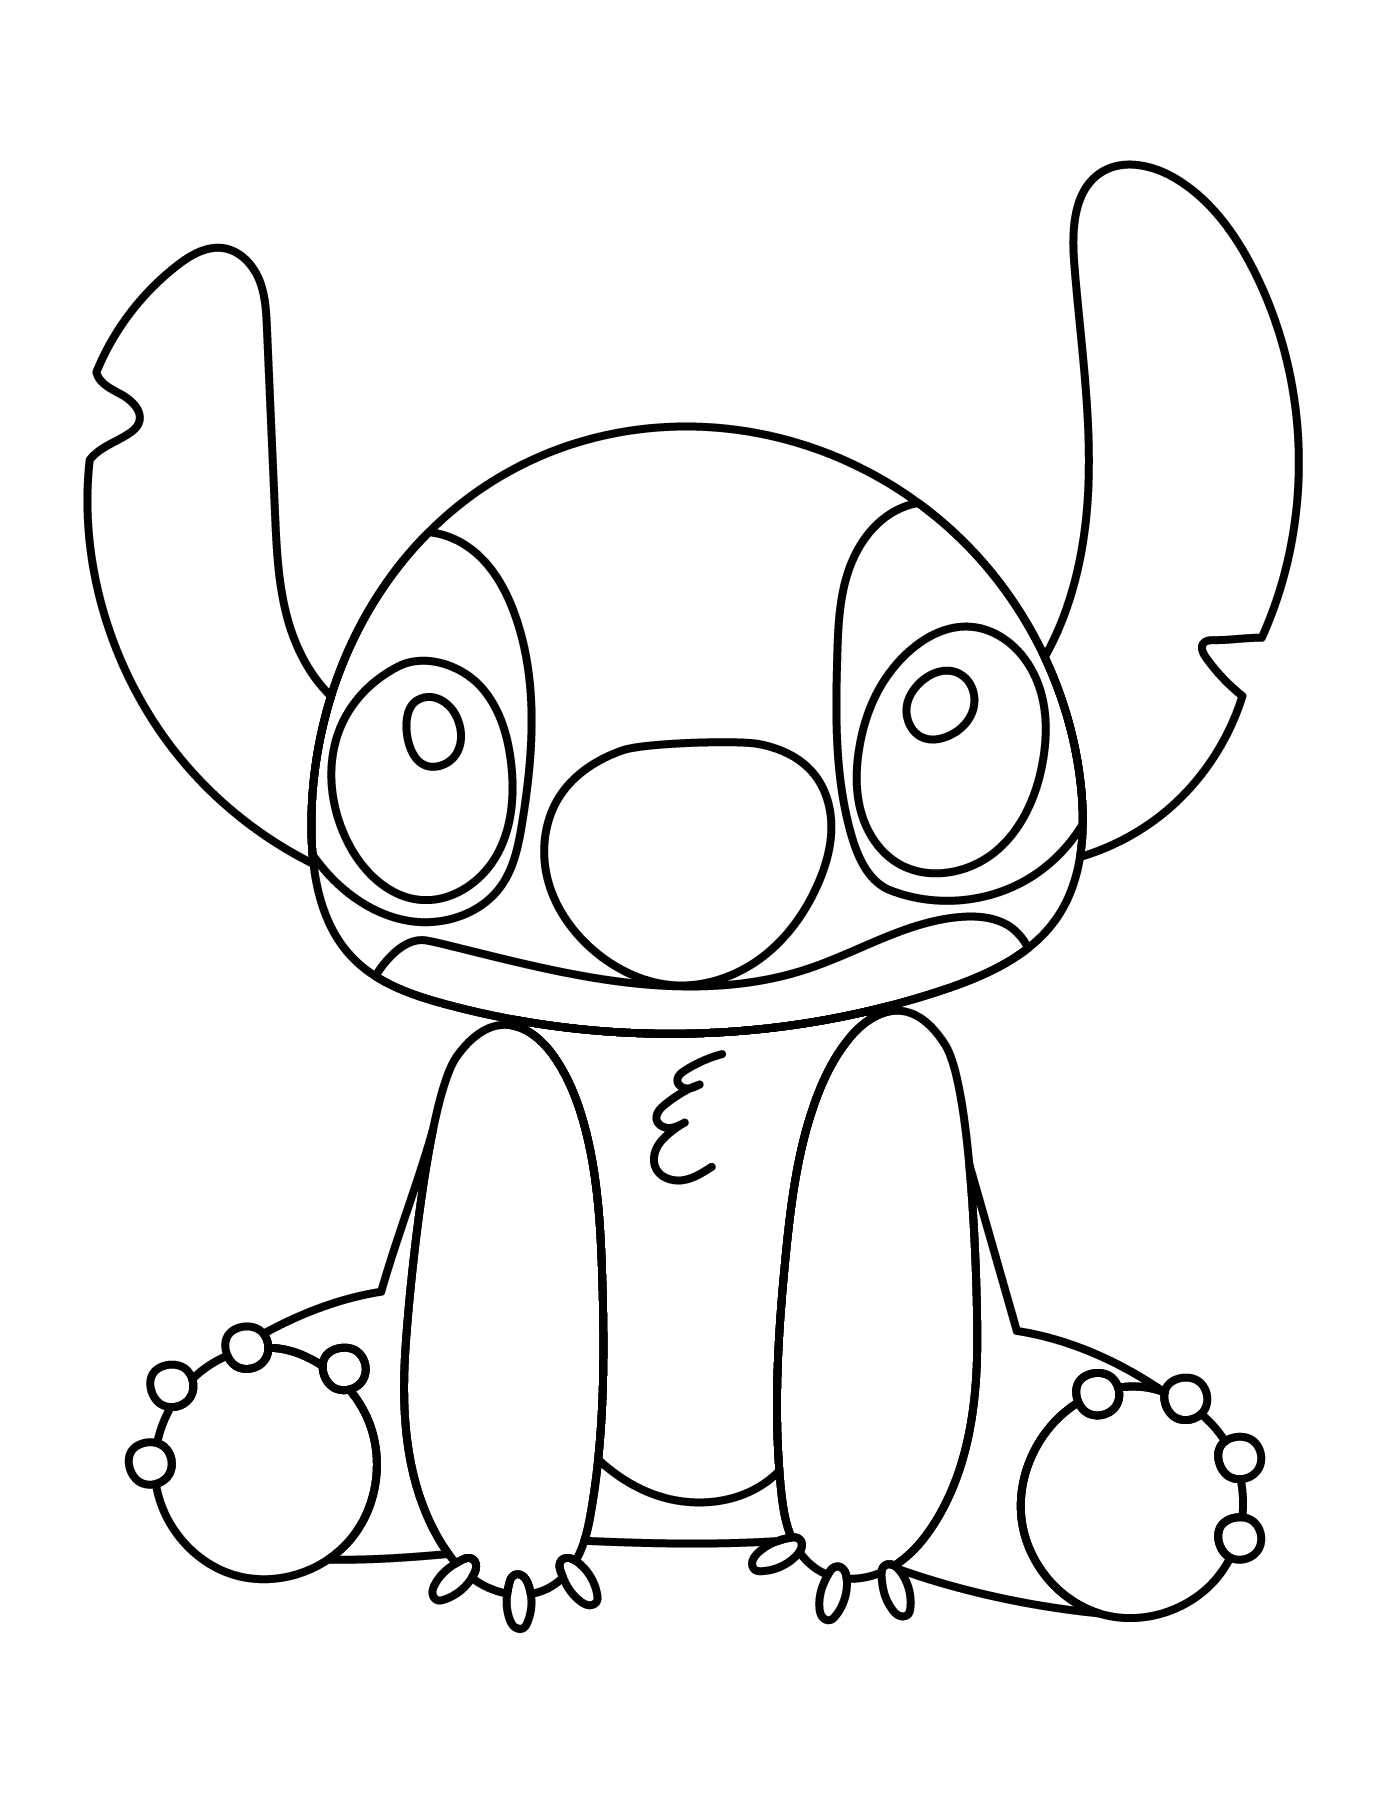
Printable Stitch Drawing PDF
If you want to print the page as a PDF and color the drawing in, please use the image below. The drawing is kid friendly, and kids will enjoy coloring this Stitch image, which they can print out and use for their reference when they want to try drawing Stitch in the future.
If you liked this simple and easy Stitch drawing activity, make sure to let us know down below in the comments section. You can also share it with another parent, teacher, or friend, if Stitch does not run away with the pencil first!