How to Draw a Rose
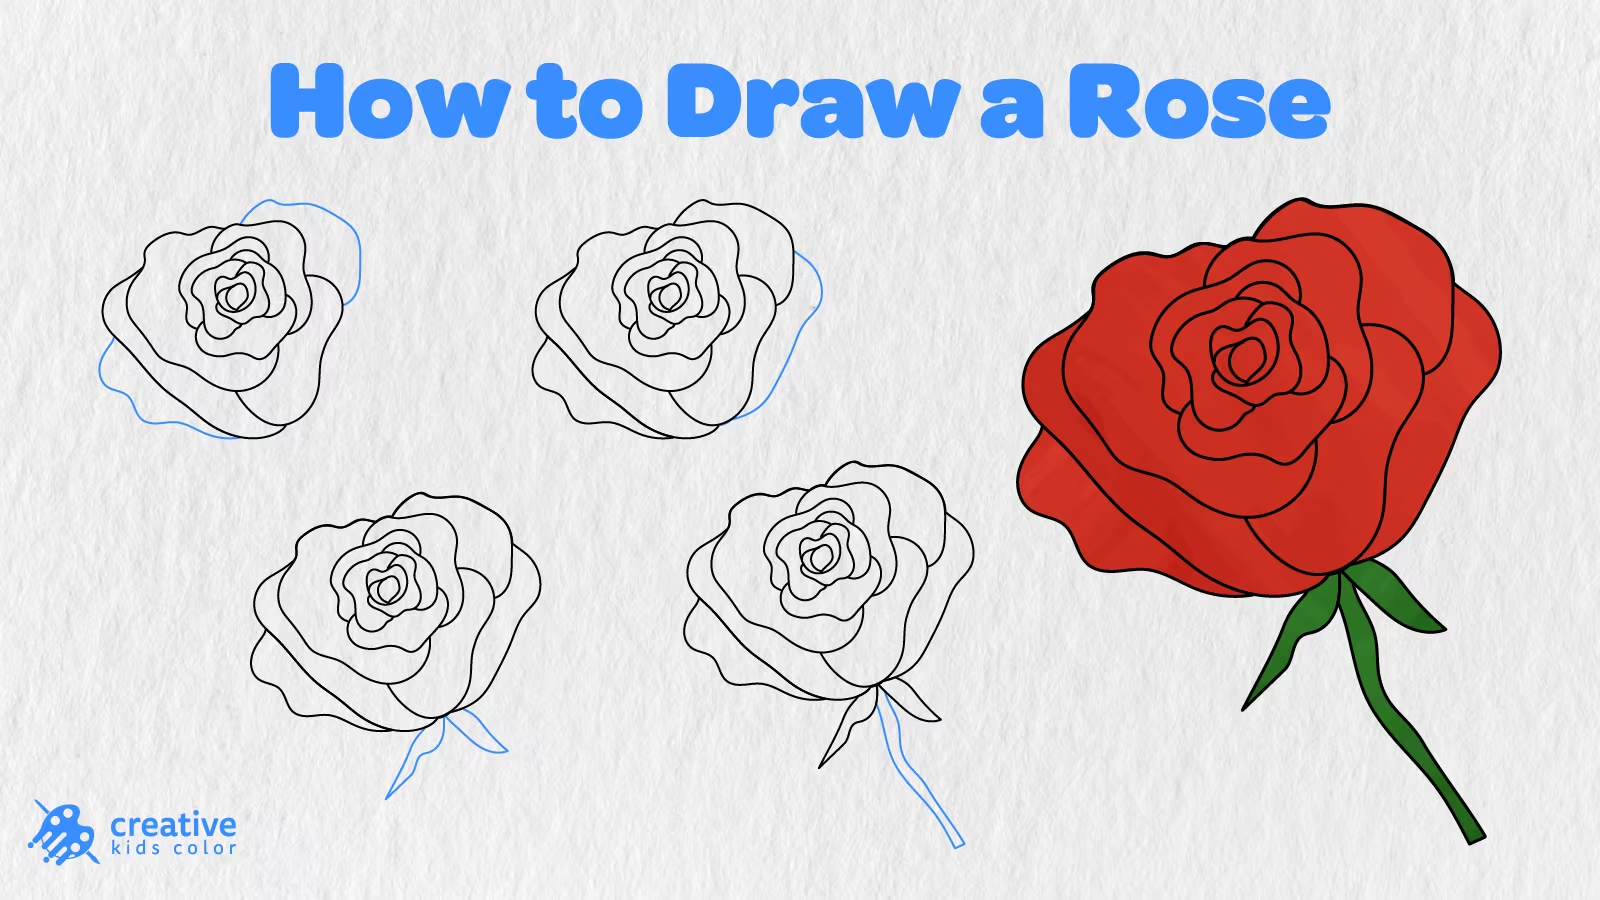
Roses are beautiful flowers in a garden, in bouquets, and at special events. This printable rose drawing page uses a fully opened rose with lots of petal layers that curve around, three sepals that point out like leaves, and a slender stem for the illustration. For this printable drawing guide, kids and beginners can learn how to draw a rose in 12 easy steps.
First, we will draw a small center bud to create the center of the rose, then we will add flower petals around it, then we will add sepals and the stem, and finally color our drawing.
Follow along the blue lines as shown in each image and add one detail at a time. At the end of the 12th step, you will see that a beautiful rose drawing is complete and you can start coloring it.
Easy Rose Drawing Step by Step
To complete this easy rose picture, you will need a pencil, paper, an eraser, and coloring tools of your choice. Begin drawing the rose near the top of the page to leave enough space for the big flower and the slender stem.
Step 1: Draw the Center Bud

Start by drawing the small center bud of the rose.
Use a few short curved lines to make a rounded shape with folded petals in the middle. The first part of the rose should be small since we will add petals around it to continue to the next steps.
Step 2: Add the First Inner Petal

Add the first curved petal around the right and lower sides of the center.
Begin the petal near the top of the center, and curve the line outward and back under the center.
Step 3: Add the Second Inner Petal

Use another rounded petal to add the second inner layer of the rose.
Curve the line around the left side of the rose, and draw the petal so that it goes down before connecting near the bottom of the center.
Step 4: Draw the Middle Petals

Begin the middle layer of petals around the small center.
Add one curved petal near the top and right side of the rose, and another petal around the bottom part of the flower. Use uneven lines so that the petals have a nice rounded shape.
Step 5: Add More Middle Petals

To continue adding the middle petals around the rose, add another set of curved petals.
Draw the petals around the top and side part of the flower. Again, add some variety to the sizes so that the rose does not look circular.
Step 6: Draw the First Outer Petal
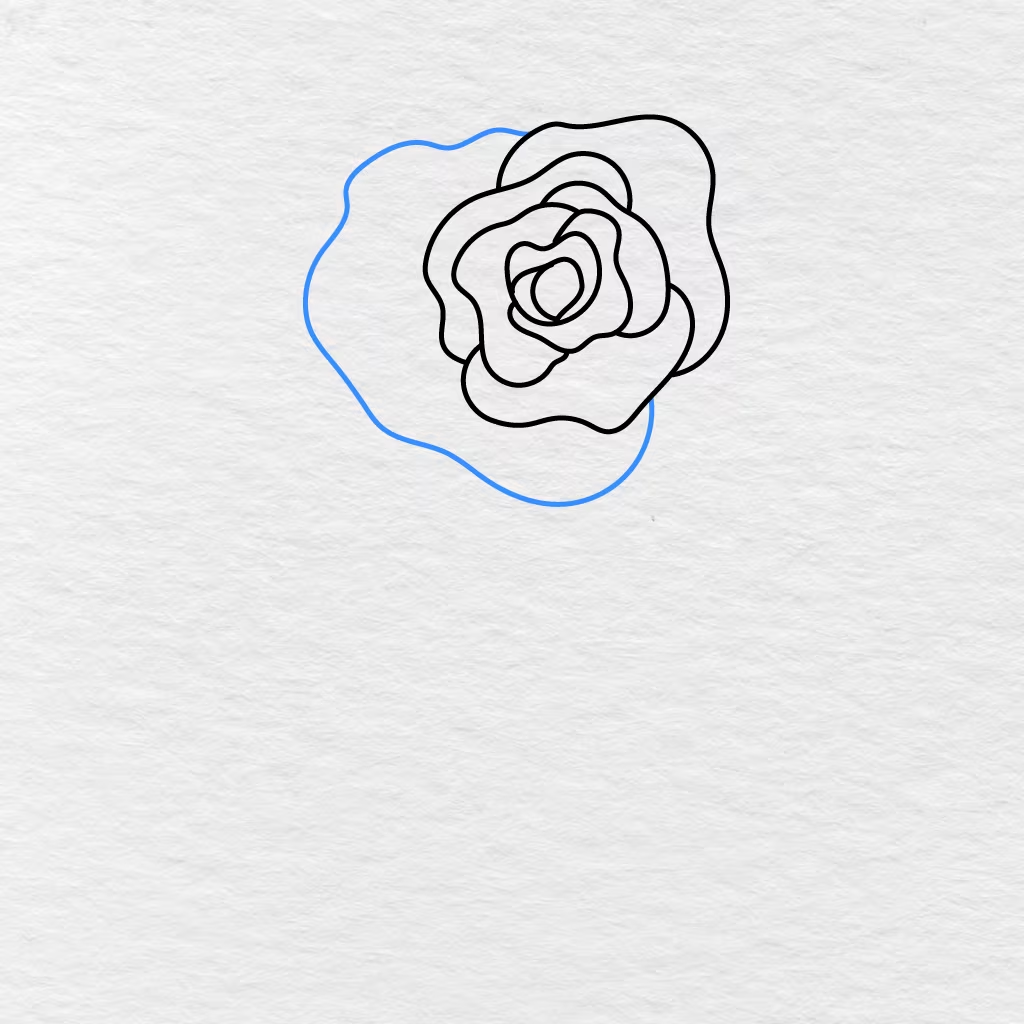
The first outer petal of the rose is added around the left and lower sides of the flower.
Use a long curved line with a wavy edge for this big petal. The size of this petal should be bigger than the petals we have drawn near the rose center.
Step 7: Add More Outer Petals
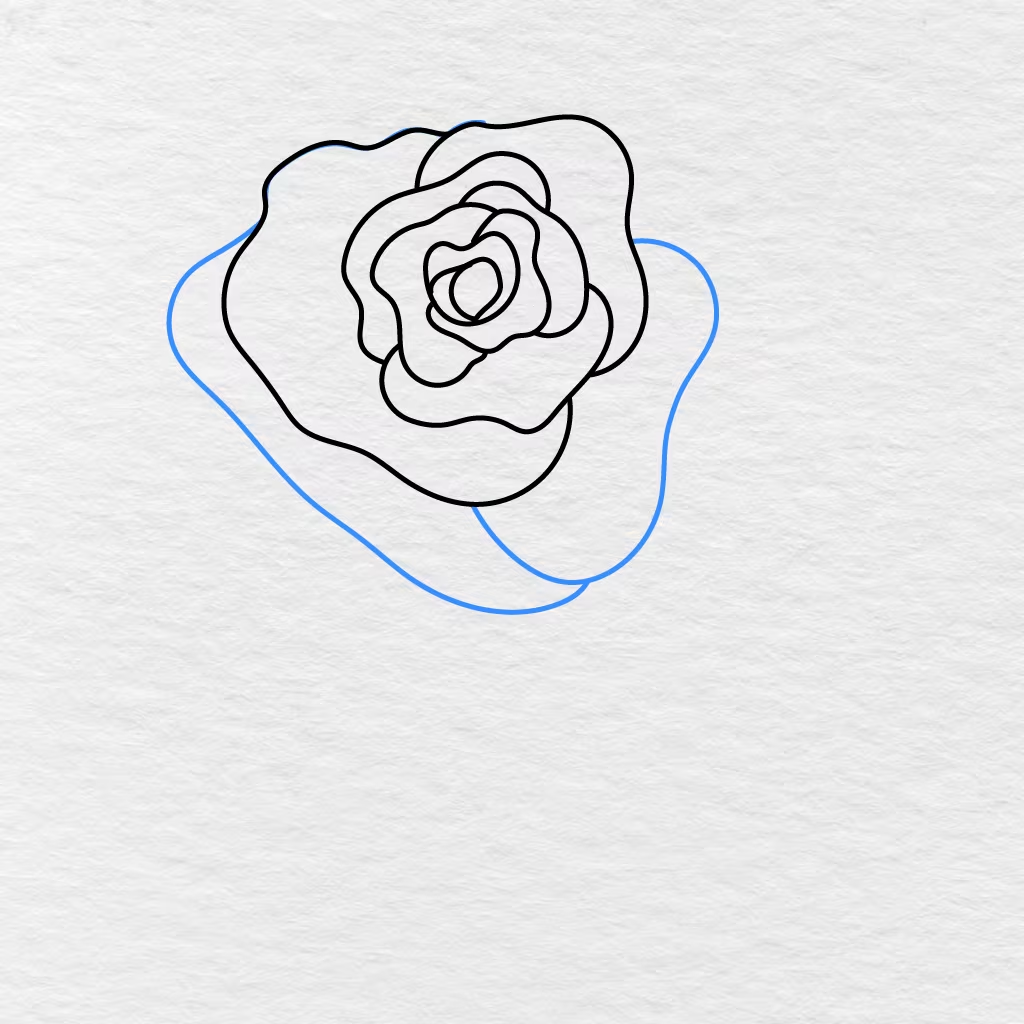
Add two more outer petals around the left and lower right area of the rose.
Use wide petals for these outer layers of the flower. The shapes will help give volume to our rose illustration.
Step 8: Continue the Outer Petals
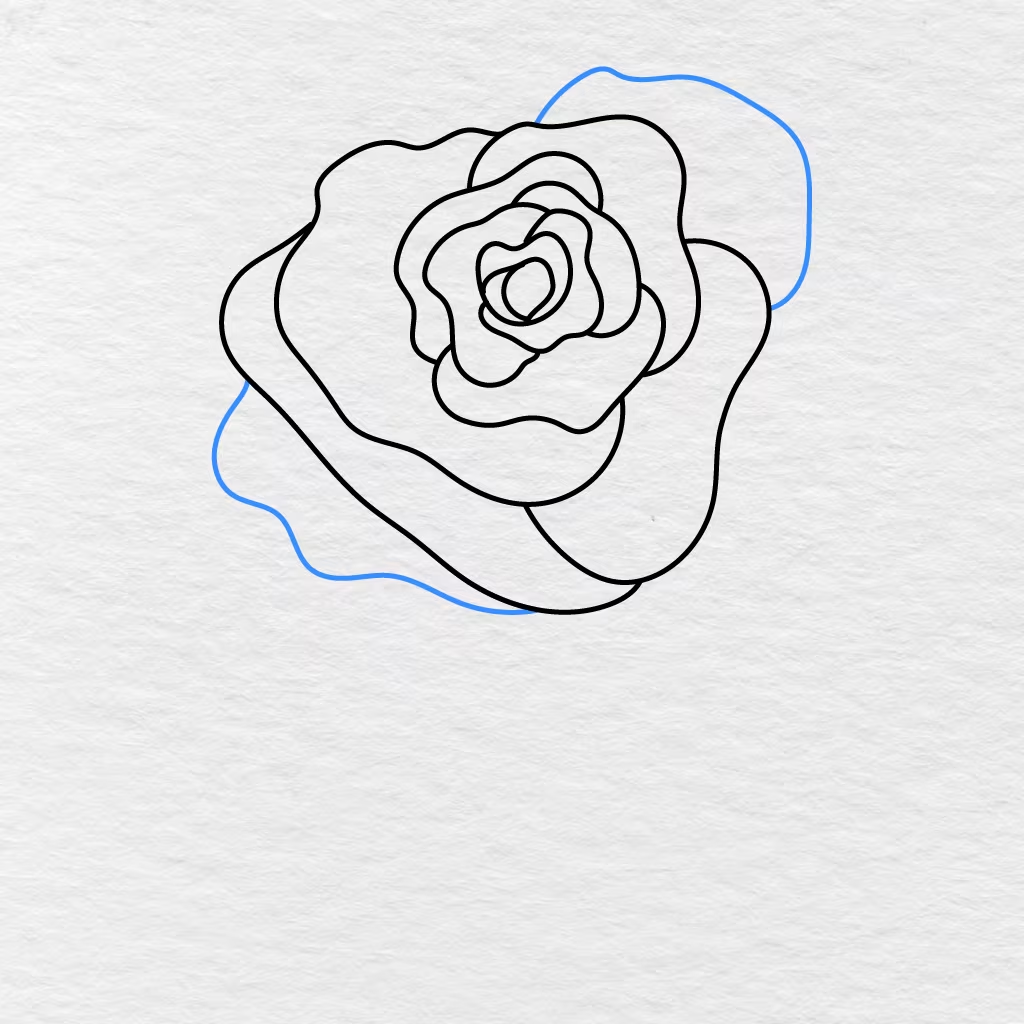
Continue to the next step in drawing the outer petals of the rose.
Add another set of large petals around the top right and lower left sides of the flower. Draw the lines following the rounded shape of the rose, leaving the edges of these petals wider and more curved.
Step 9: Complete the Outer Petals
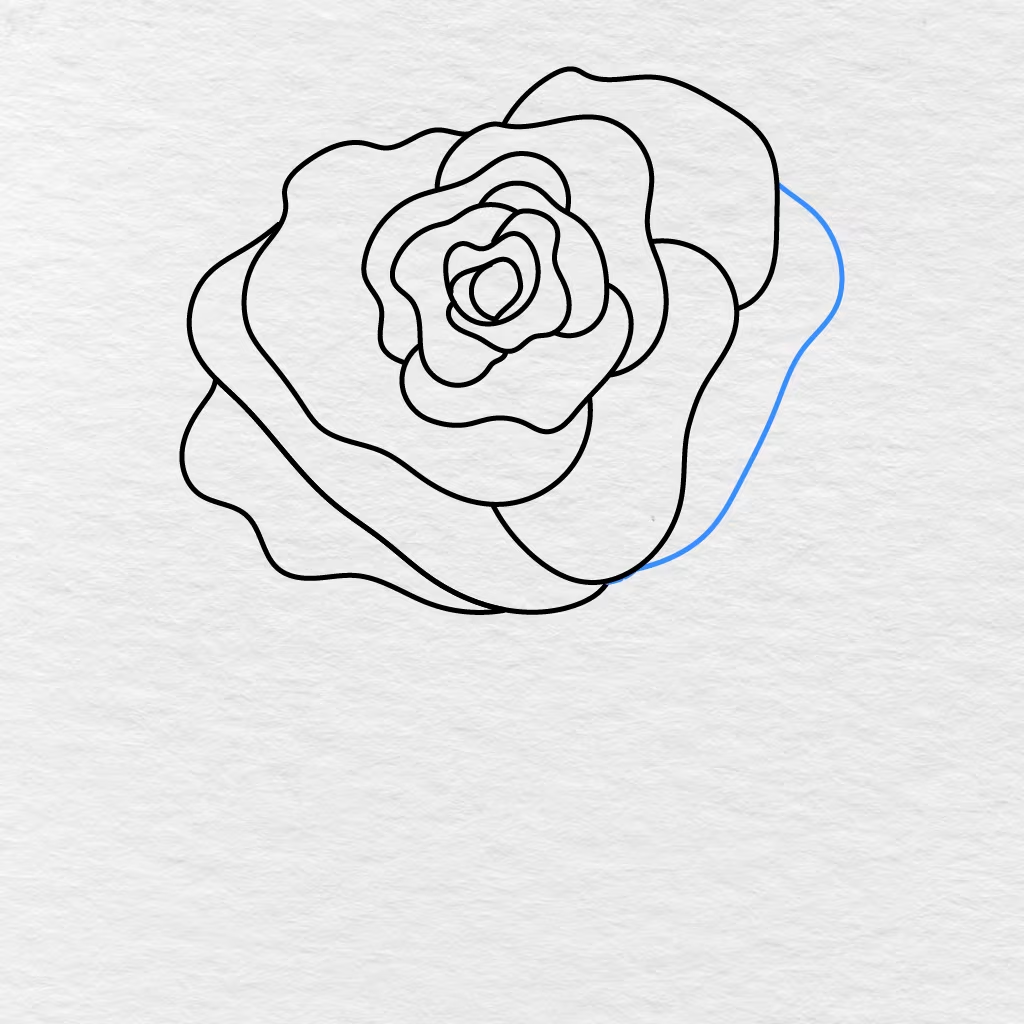
Add the last big petal around the right side of the rose drawing.
Start the petal near the top right edge of the flower, and curve the line outward before drawing it down to the bottom area of the rose. At this point, we have completed the rose bloom.
Step 10: Add the Sepals
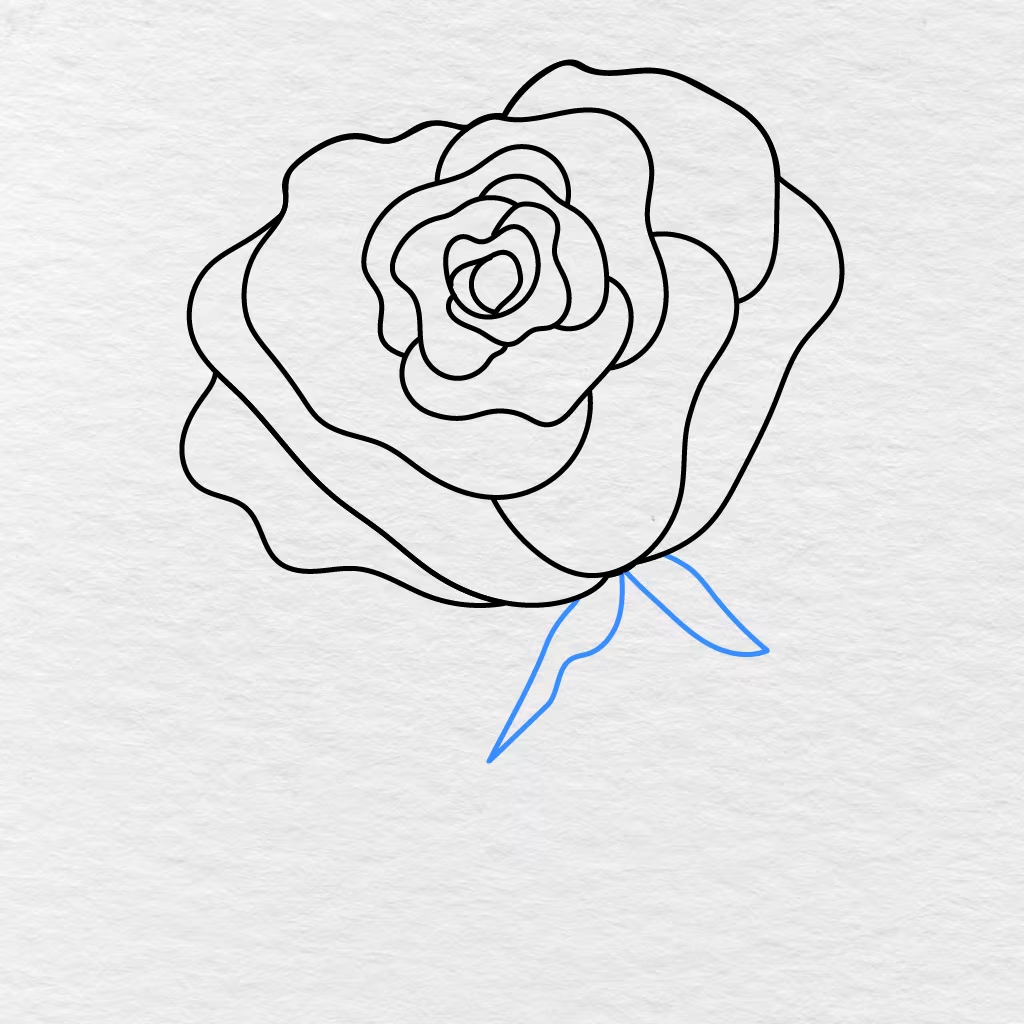
Add three pointed sepals at the bottom of the rose flower.
The three leaf shaped forms will be drawn around the lower part of the rose, leaving one on the left, one in the middle, and one on the right.
Step 11: Draw the Stem
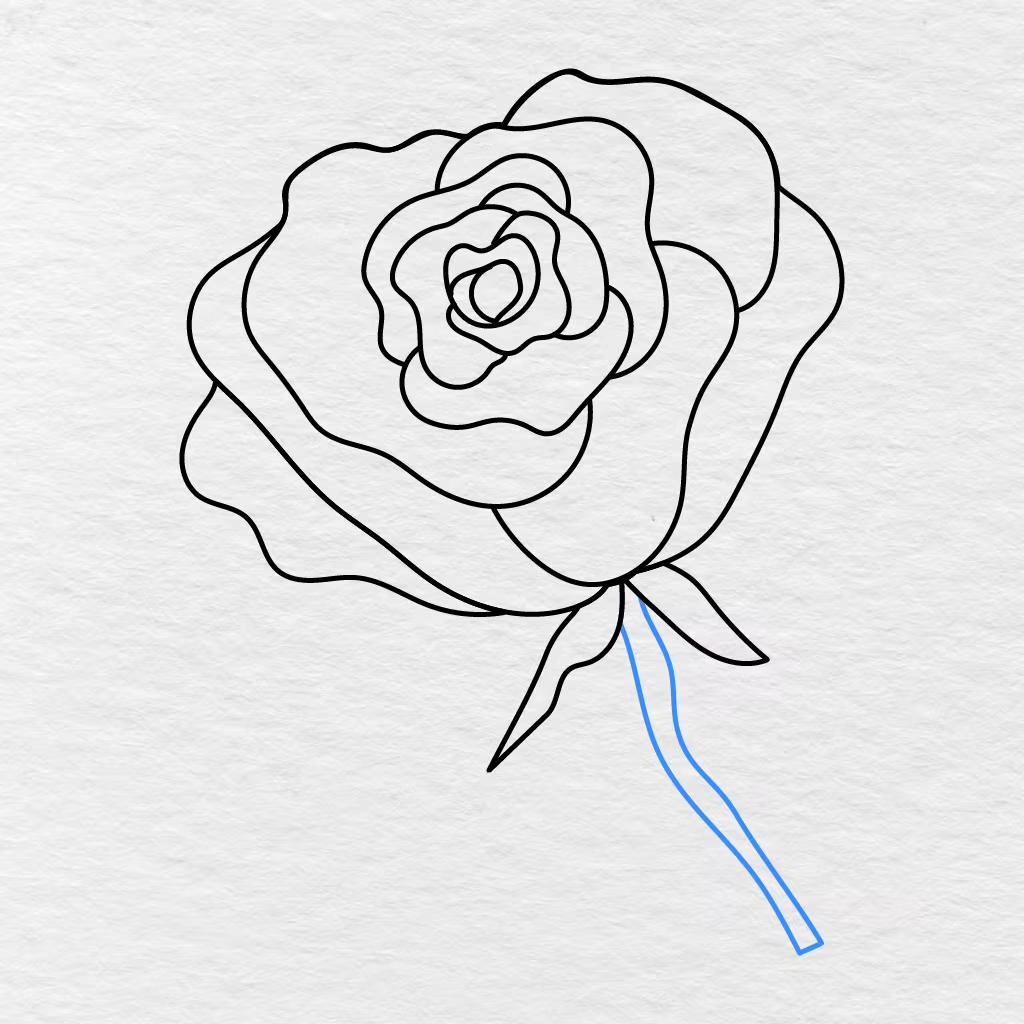
From the bottom of the rose, draw two long lines going down vertically.
Leave these lines close to each other, and curve them slightly to the right at the bottom. Connect the ends of the lines to finish the long slender stem.
Step 12: Color the Rose
It is now time to color our rose picture.
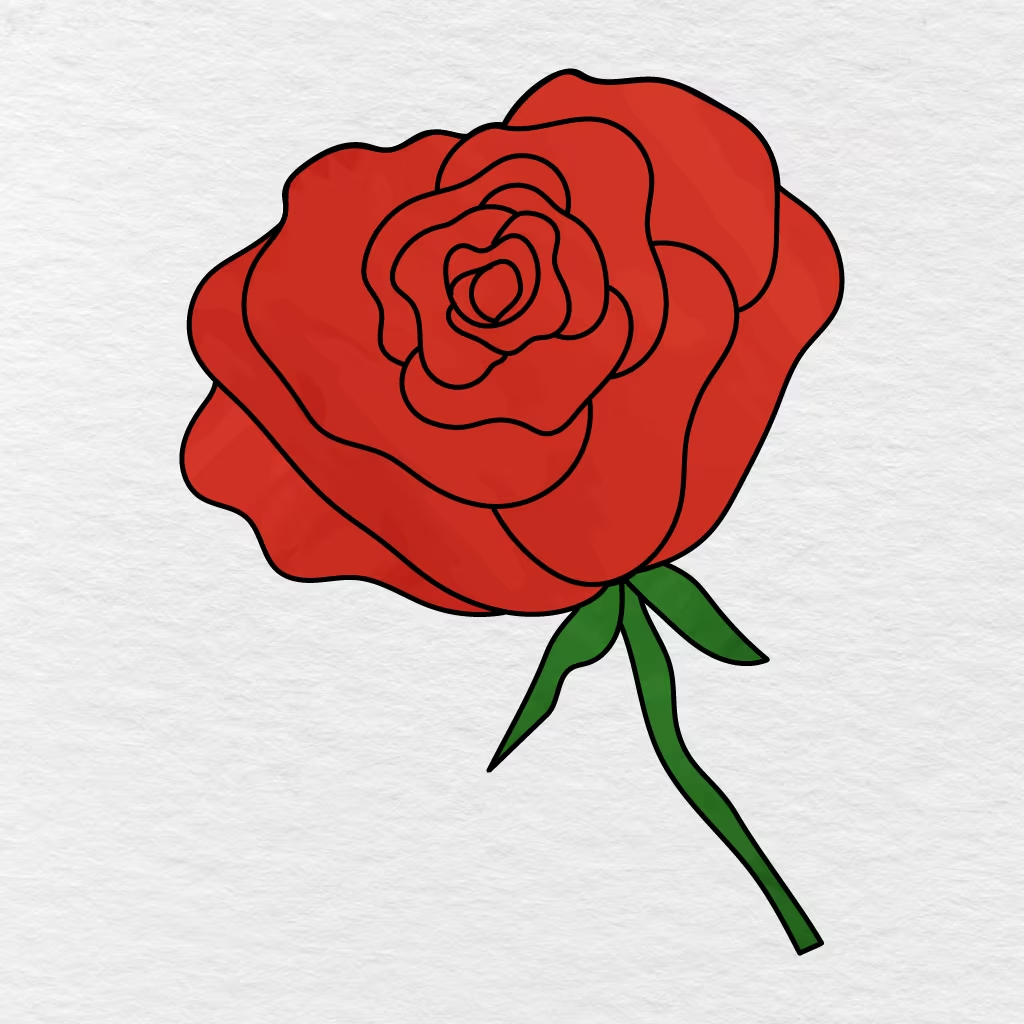
We have used bright red for all the petals, and green for the sepals and stem in this example, but you can choose any other colors you like. You can make a pink, yellow, white, purple, orange, or blue rose.
Your easy rose picture is complete!
Printable Rose Drawing PDF
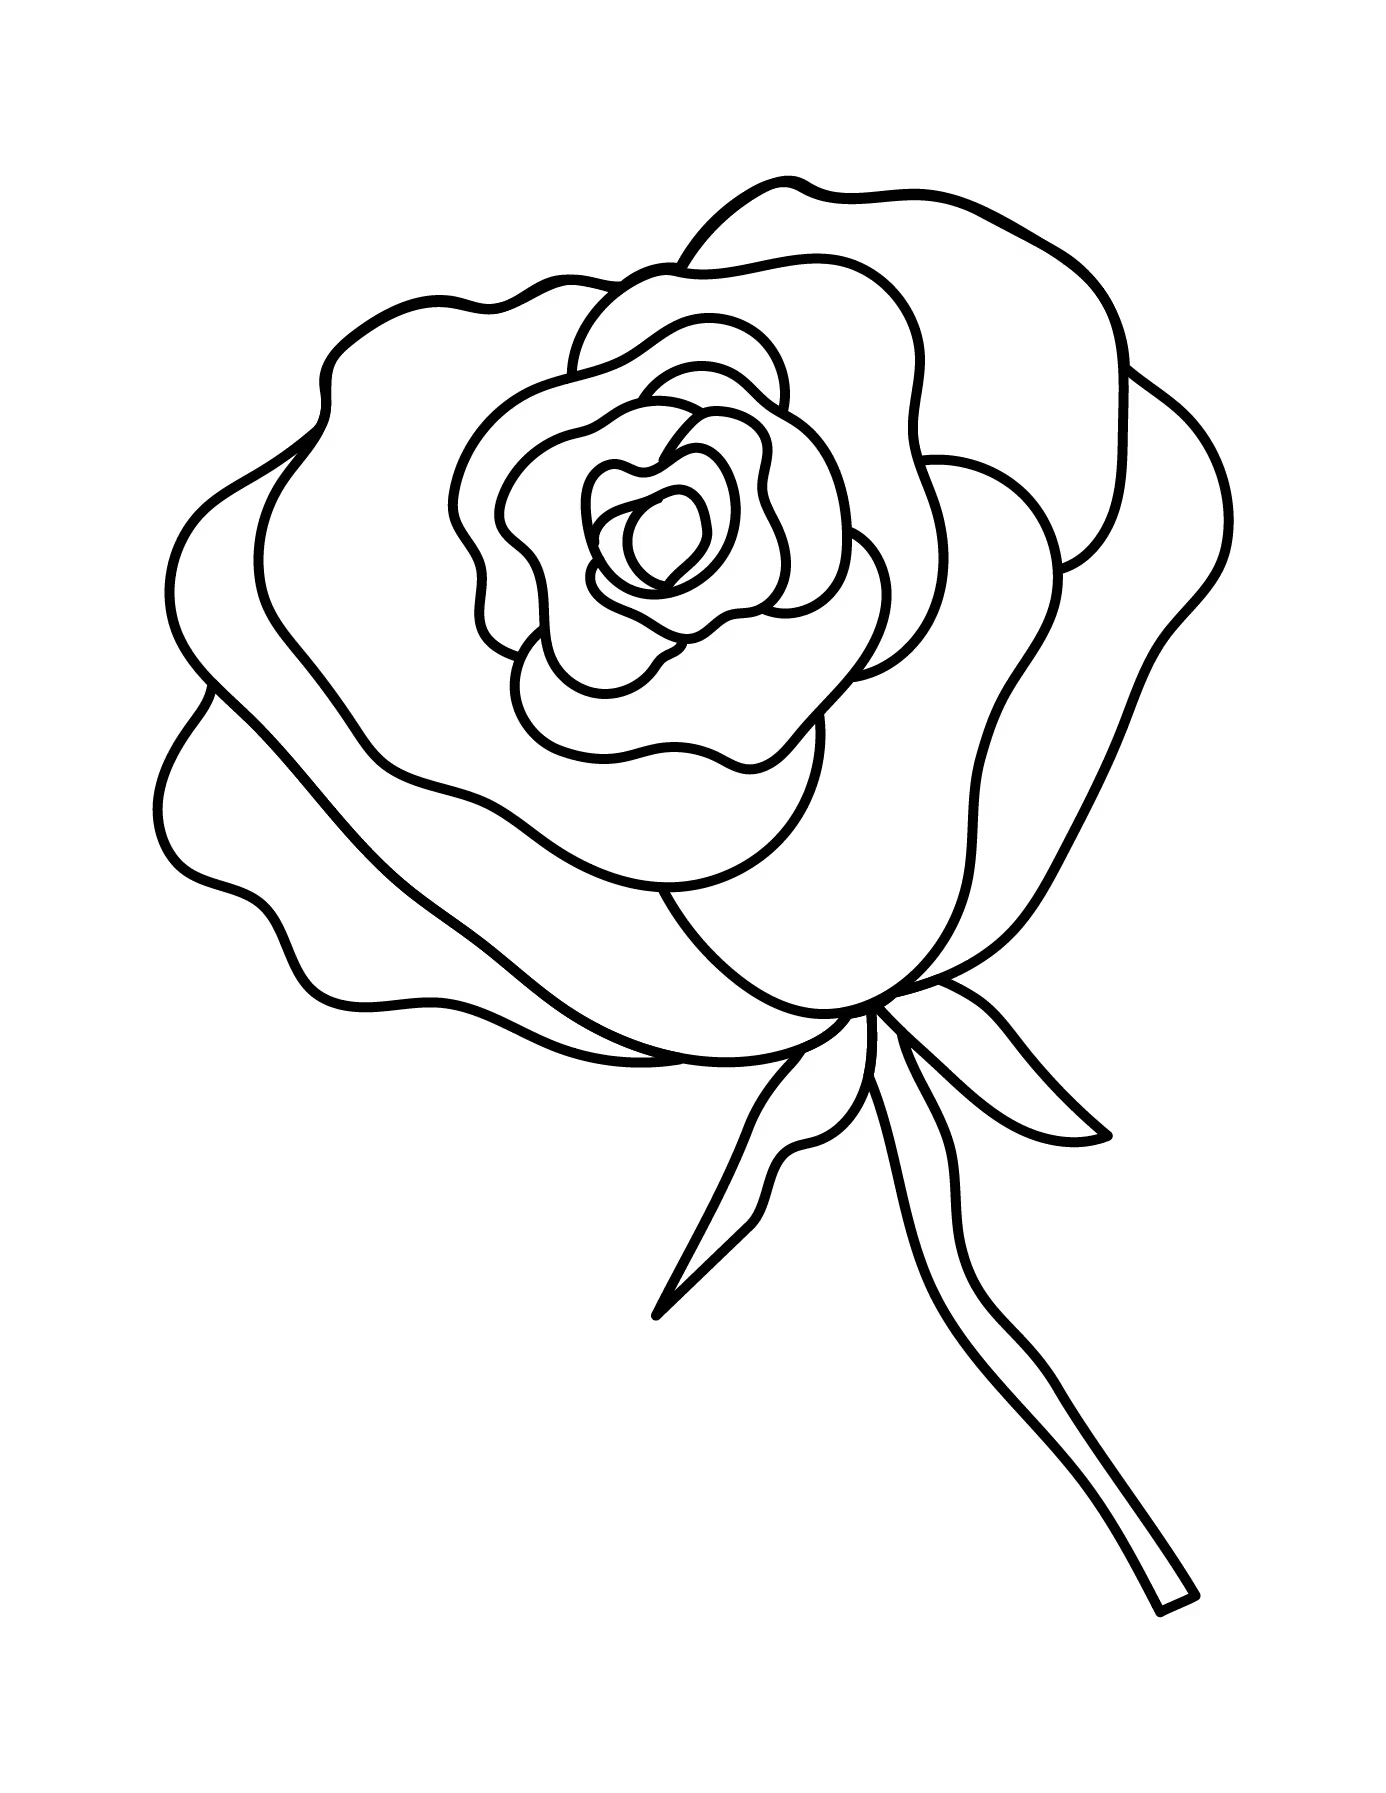
Below you can find a printable rose drawing PDF that you can use right now or save for later. We hope you enjoy coloring, and remember to check our Rose Coloring Pages for another fun printable activity with this beautiful flower.
What color did you choose for your rose picture? Do not forget to share your drawing with us in the comments below and share this tutorial with another parent, teacher, or friend.