How to Draw a Cat
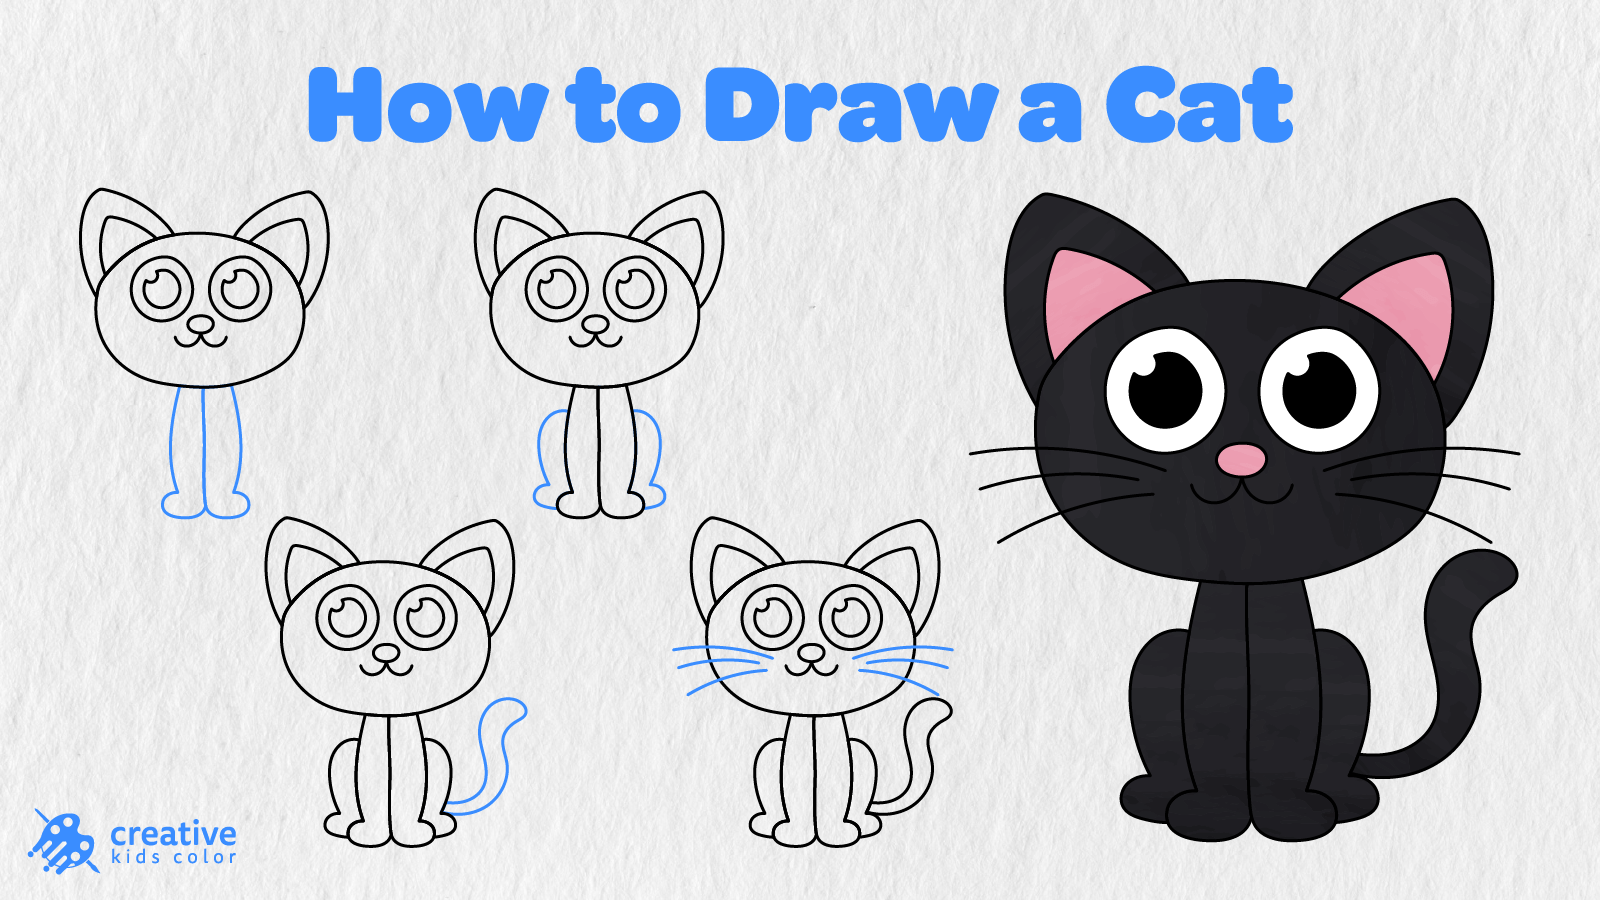
Cats are pets that live in the homes of many people. They curl up to sleep on sunny windowsills, play around the house, and rest on their favorite human’s lap with contented purrs. Cats can be wonderful companions to their owners. This is why they are such popular pets. In this tutorial, you’ll learn how to draw a cat in 11 easy steps.
This easy cat drawing is perfect for children and beginning artists. We’ll start with one large oval, and add the eyes, nose, mouth, ears, legs, paws, tail, whiskers, and color.
Our cat is sitting with big bright eyes, pointy ears, a curved tail, and long whiskers. Just follow the blue lines in each picture and see how a few simple shapes come together to make this cute cat drawing step by step.
Easy Cat Drawing Step by Step
Grab your pencil, paper, eraser, and coloring tools. The shapes are simple in this cat drawing, so just follow along each blue section and add one new detail at a time.
Step 1: Draw the Head Shape

We’ll start by drawing a large horizontal oval for the cat’s head.
Make the oval wide enough to leave room for the eyes, ears, nose, and whiskers that we’ll add later.
Step 2: Add the Eyes

Draw two large circles inside the top of the oval for the cat’s eyes.
Make sure the eyes are close together and are about the same size.
Step 3: Draw the Eye Details
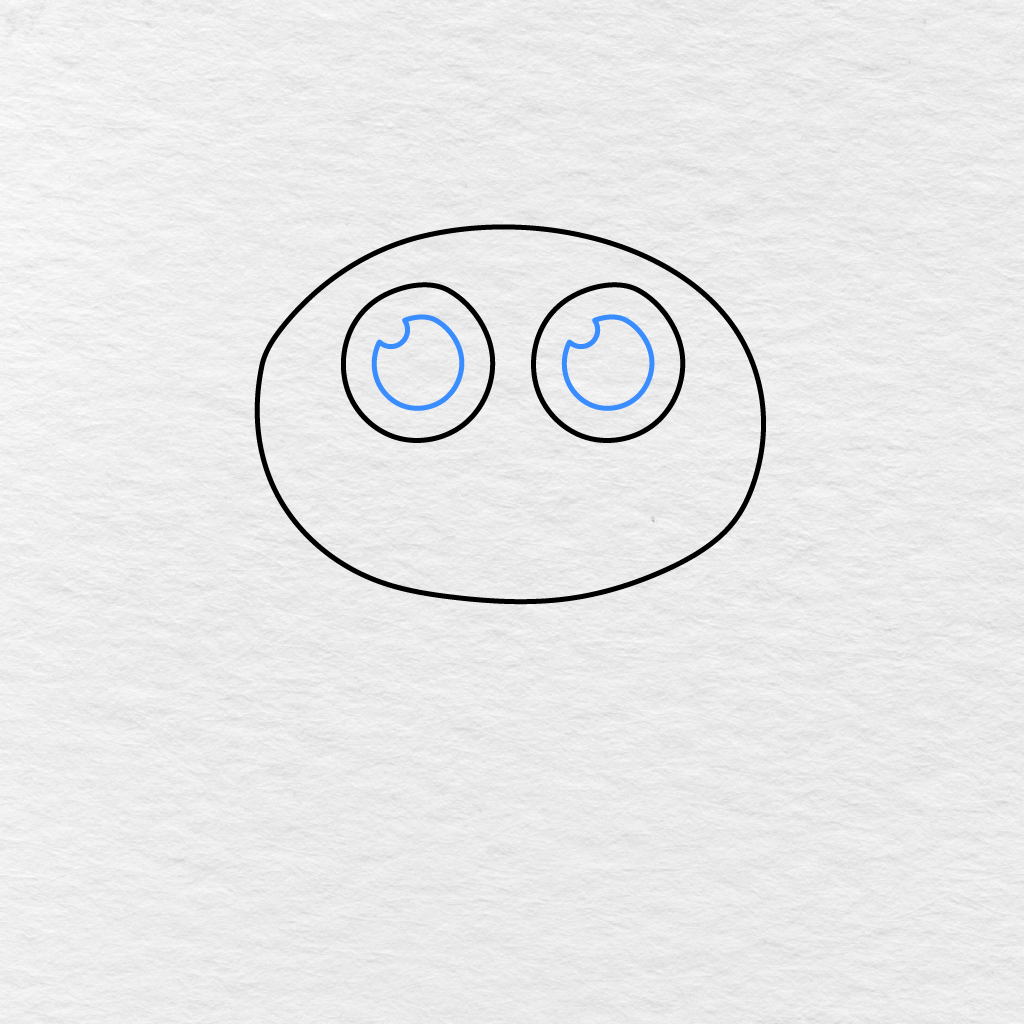
Add a smaller rounded shape inside each eye.
Leave a curved space near the top of each shape. These will be the bright white areas of the cat’s eyes when we color.
Step 4: Add the Nose and Mouth
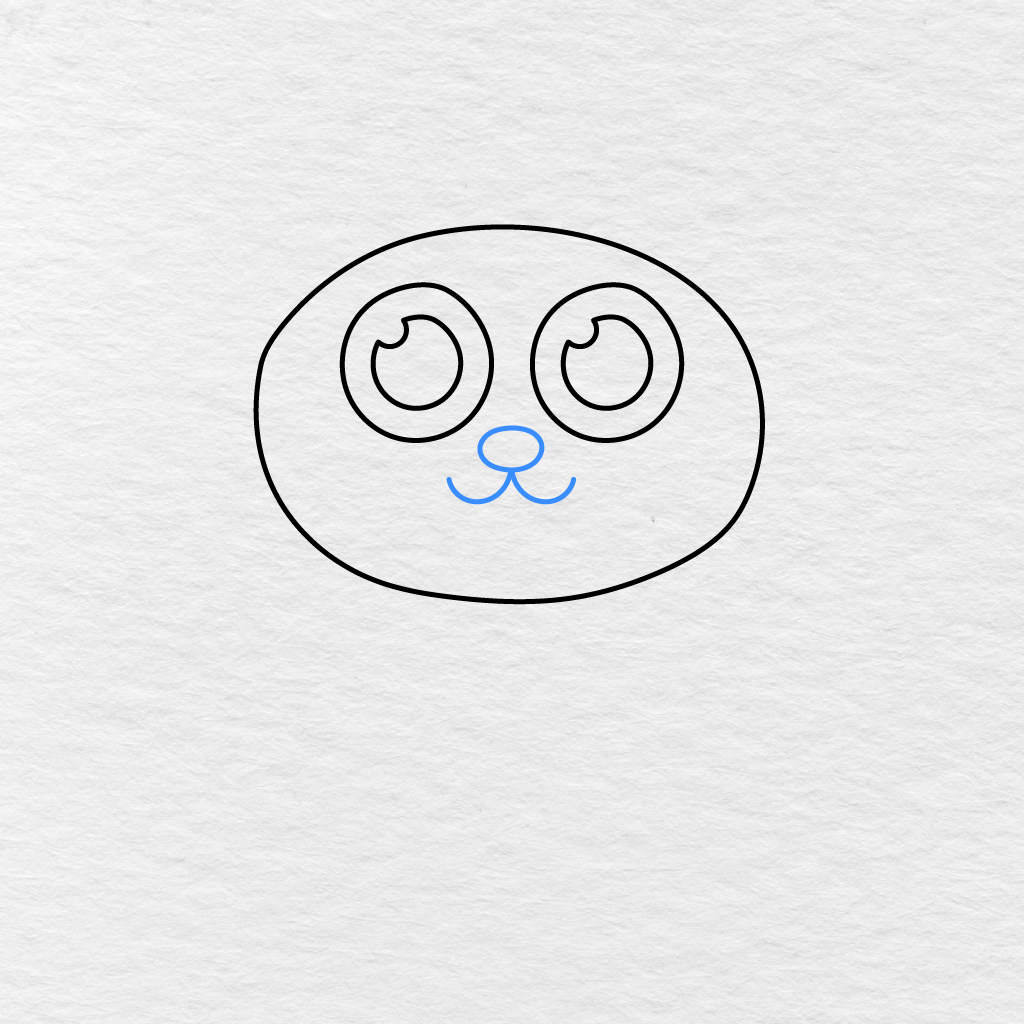
Draw a small horizontal oval below the eyes for the cat’s nose.
From the bottom of the oval, draw two short curved lines that curve in opposite directions to make the cat’s mouth.
Step 5: Draw the Ears
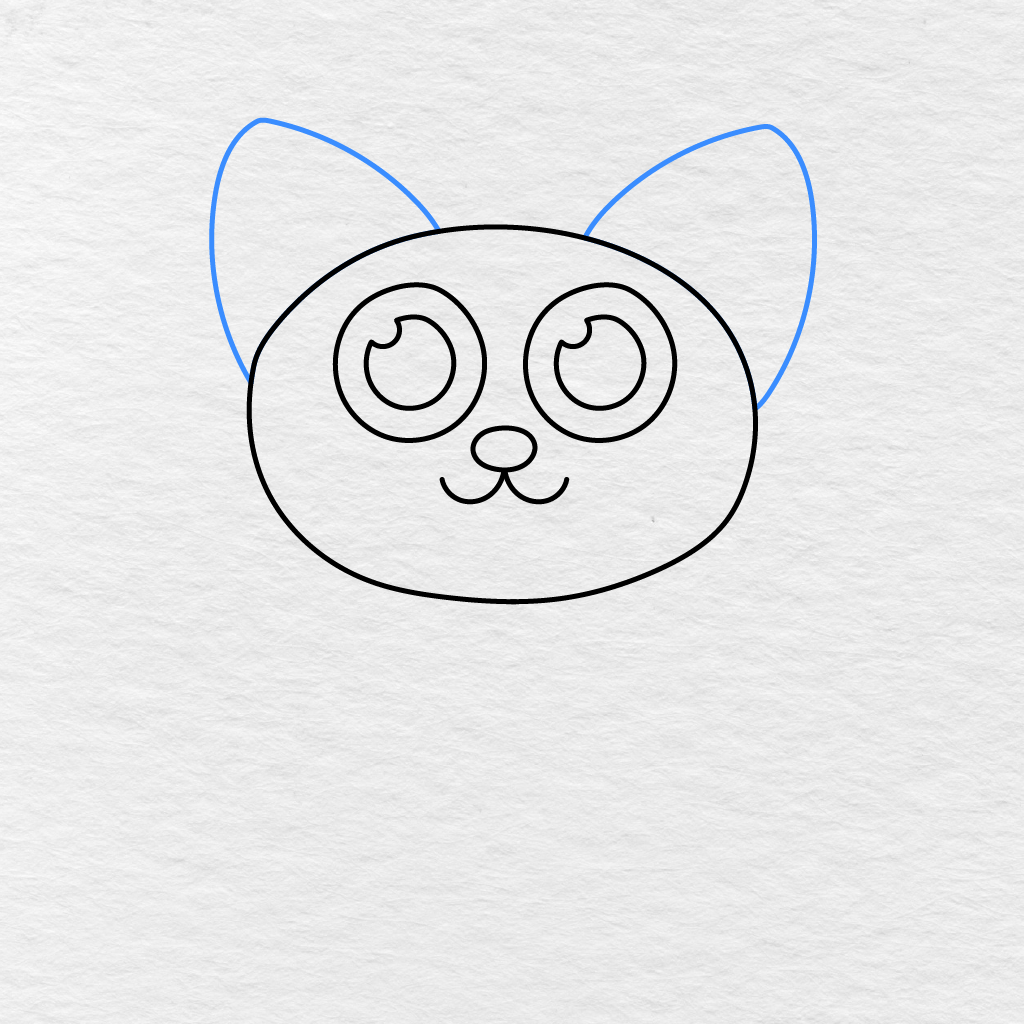
Add one large pointy ear on each side of the cat’s head.
Start the ears behind the head and bring the lines upward until they meet at a rounded tip.
Step 6: Add the Inner Ears
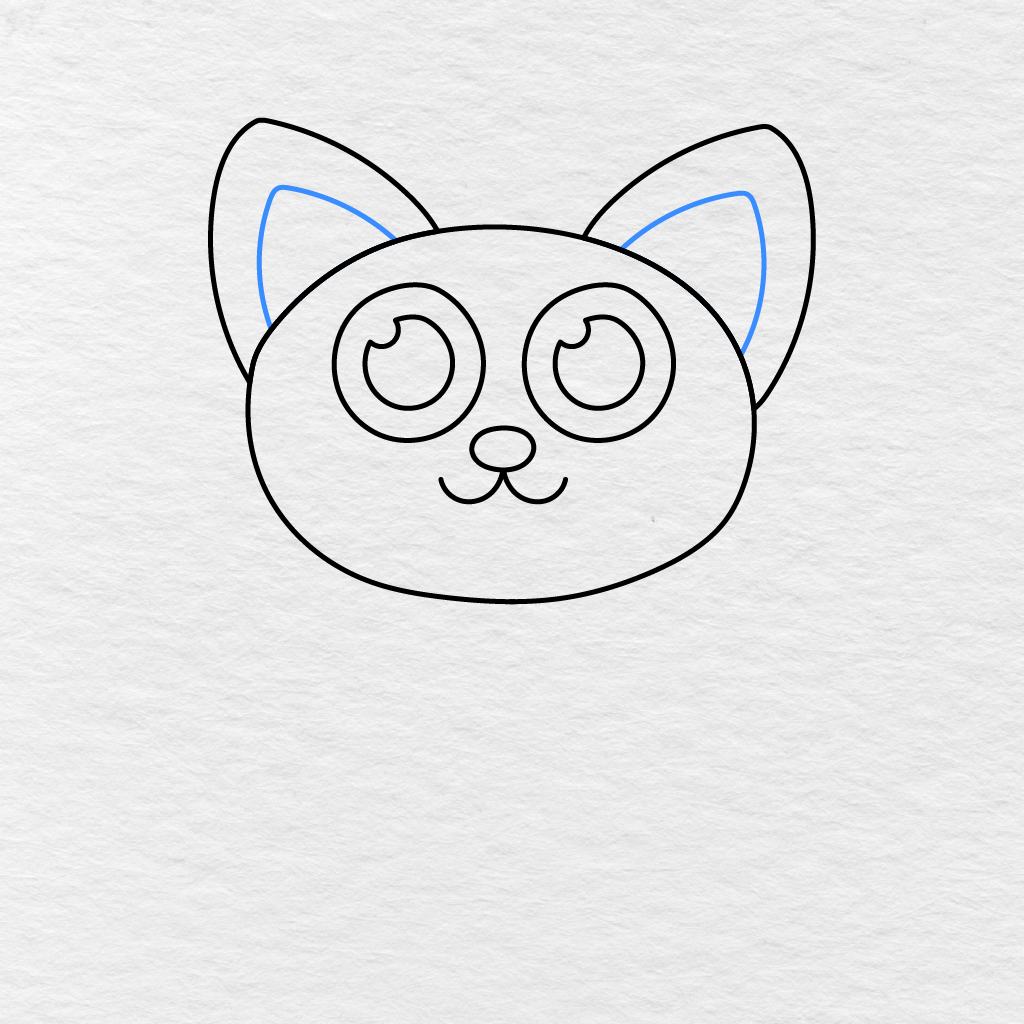
Draw a smaller pointy shape inside each ear.
Follow the shape of the larger ears, but leave some space between the two shapes.
Step 7: Draw the Front Legs and Paws
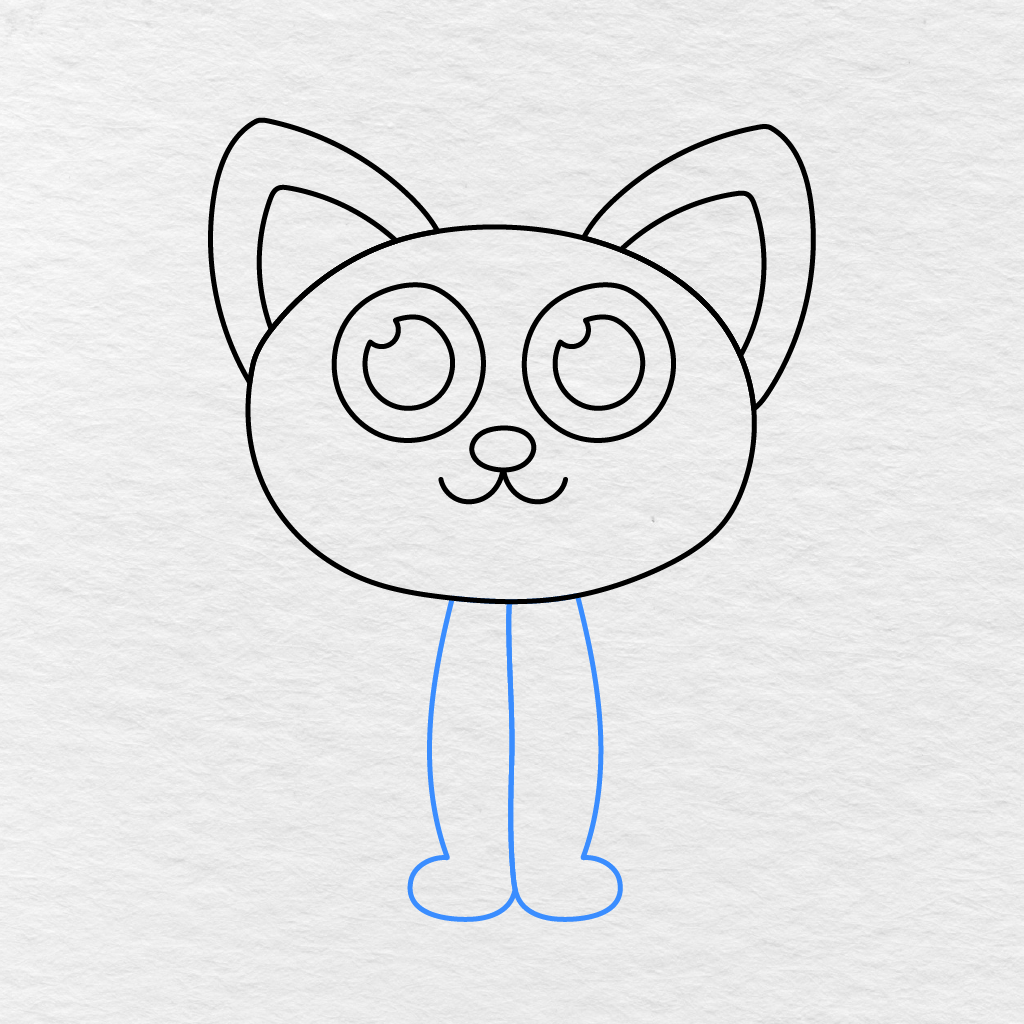
Draw two long front legs that come down and curve in from the bottom of the head.
Bring the legs close together at the bottom and add a small rounded paw at the end of each leg.
Step 8: Add the Hind Legs and Paws
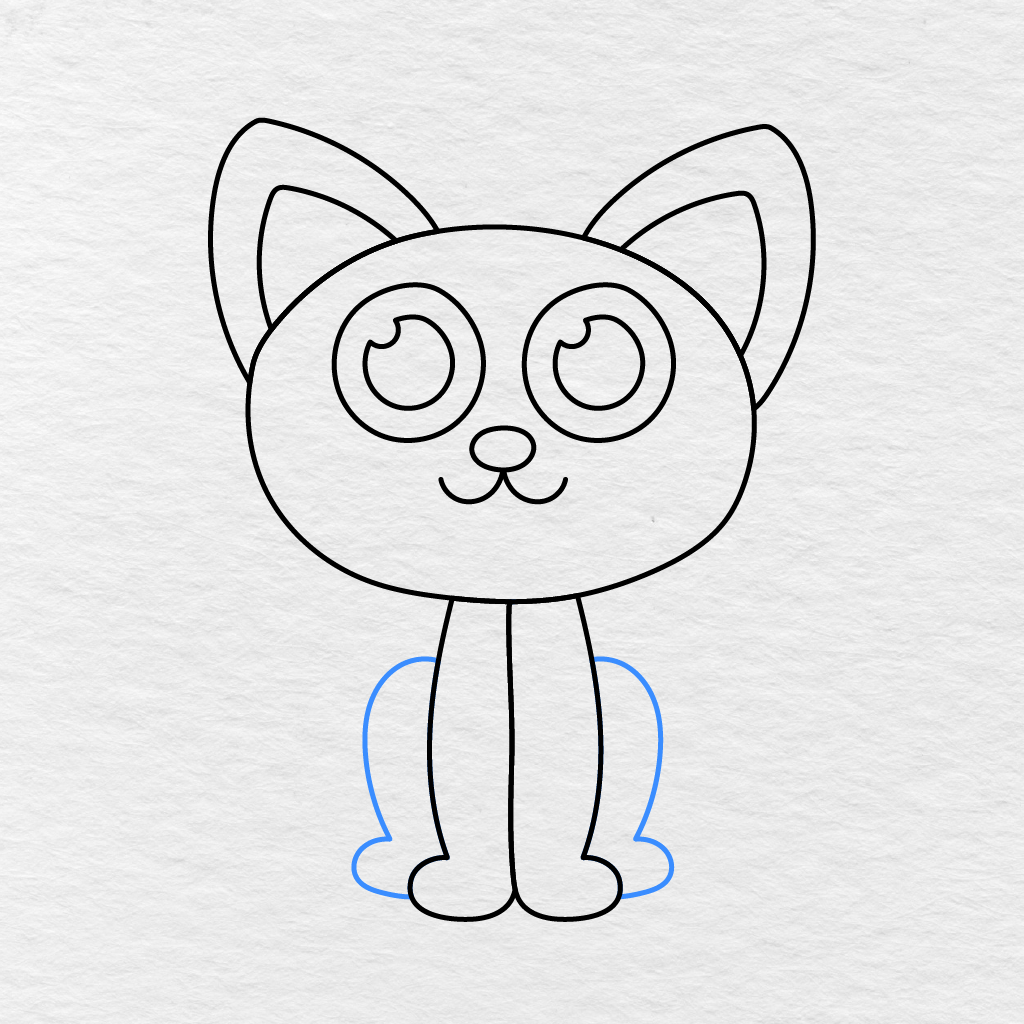
Draw a large curved hind leg on each side of the front legs.
Curve each leg down towards the floor and add a rounded rear paw at the end of each leg.
Step 9: Draw the Tail
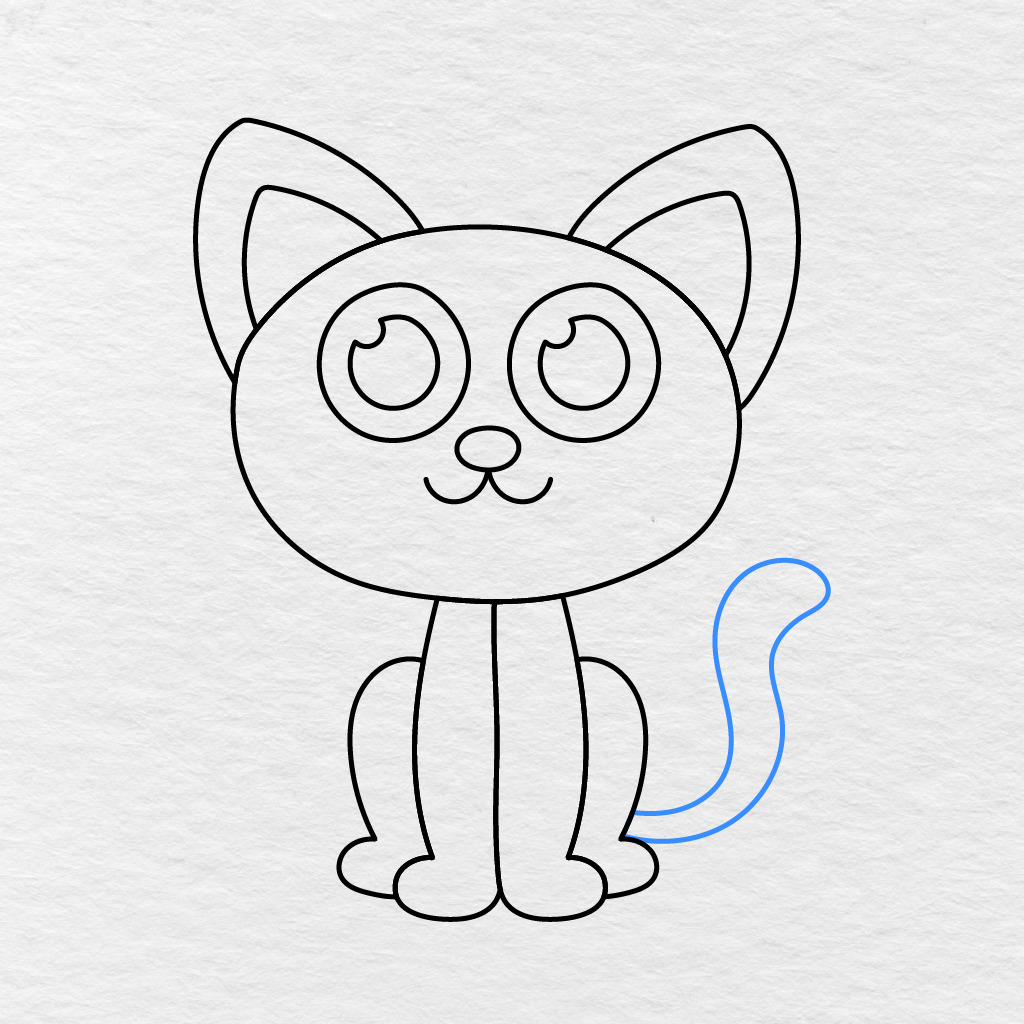
Add a long curved tail behind the hind leg on the right side of the drawing.
Let the tail curve out and up along the side of the cat’s body. Make sure the end of the tail comes to a rounded tip.
Step 10: Add the Whiskers
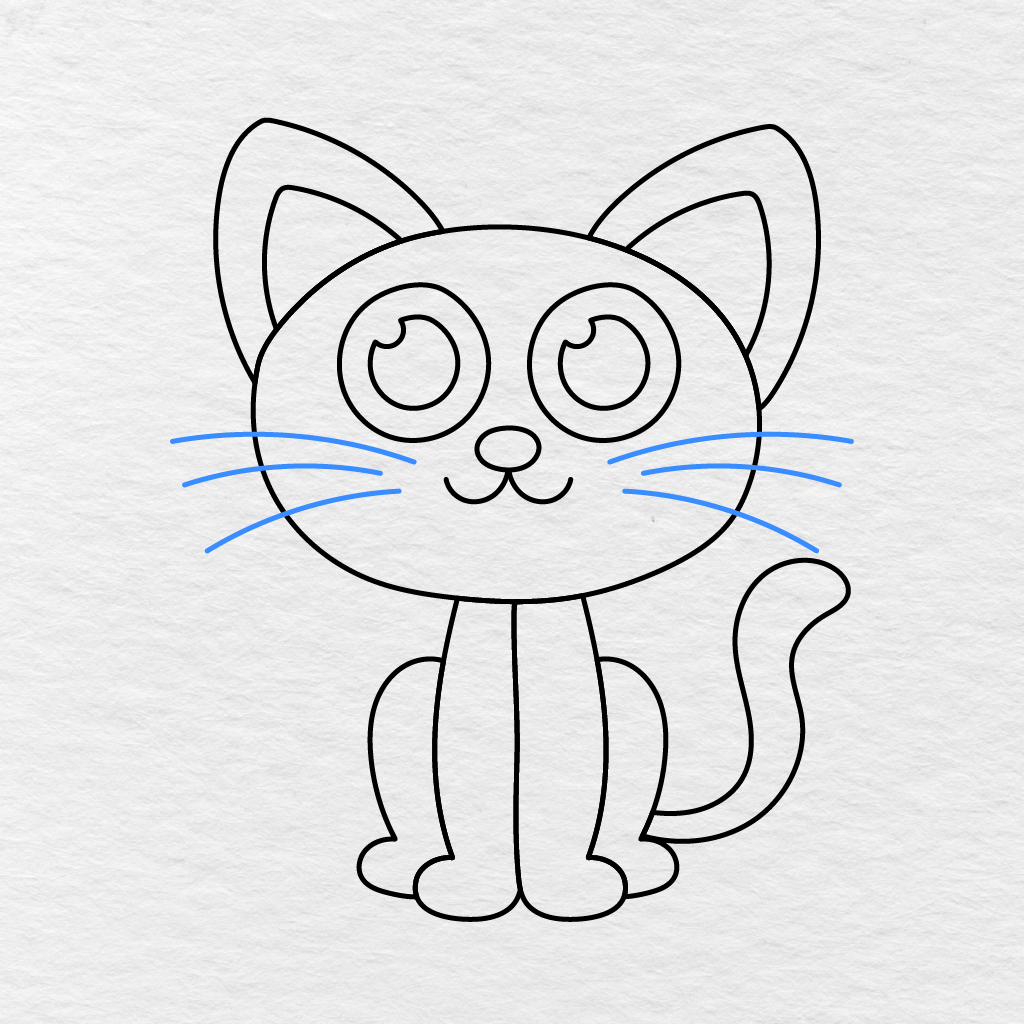
Draw three long curved whiskers on each side of the cat’s face.
Space the whiskers apart from each other and let them curve out and down from the sides of the face.
Step 11: Color the Cat
Now it’s time to color your cute cat drawing.
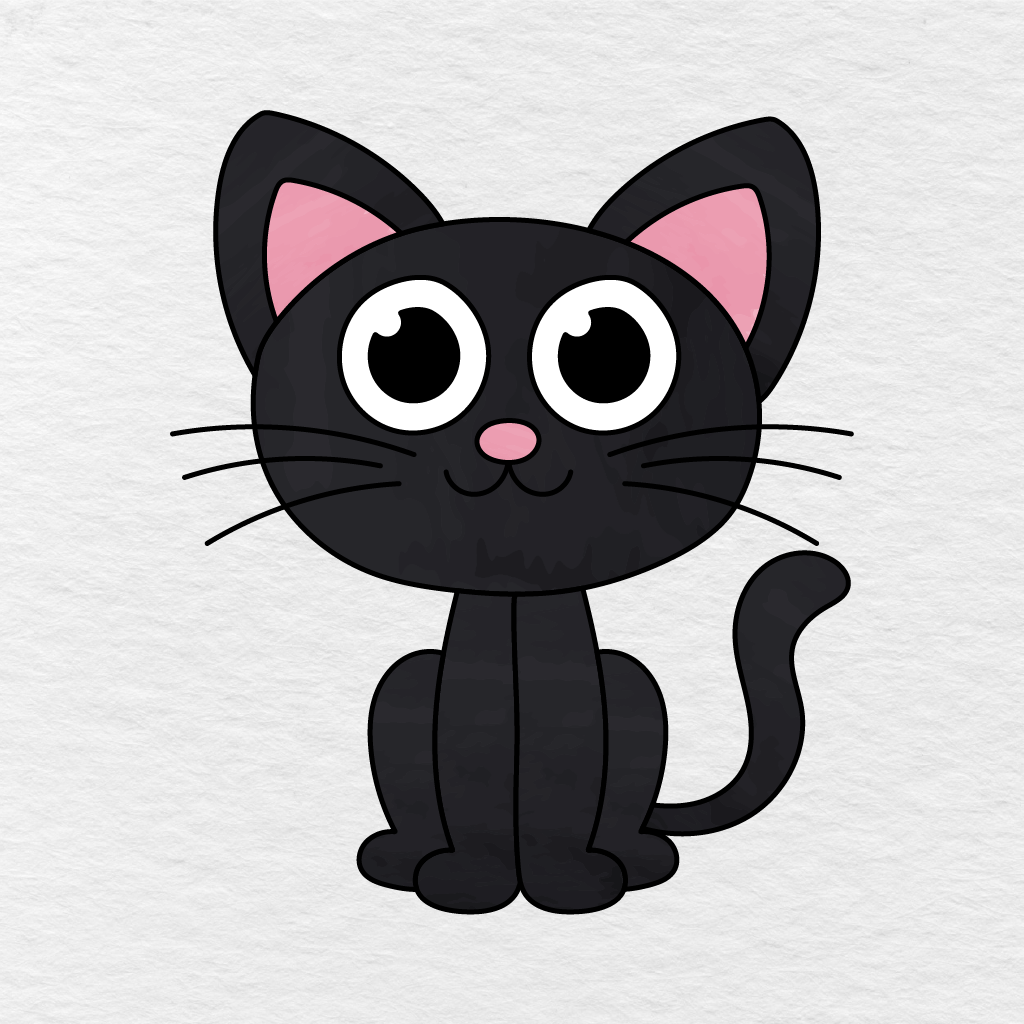
We colored the cat’s body, ears, legs, paws, and tail in black with some dark charcoal shading. The inner ears and nose are pink, while the eyes are black and white. You can use these same colors to make a black cat, or try using orange, gray, brown, white, or any other colors that you like.
Your cat drawing is complete!
Printable Cat Drawing PDF
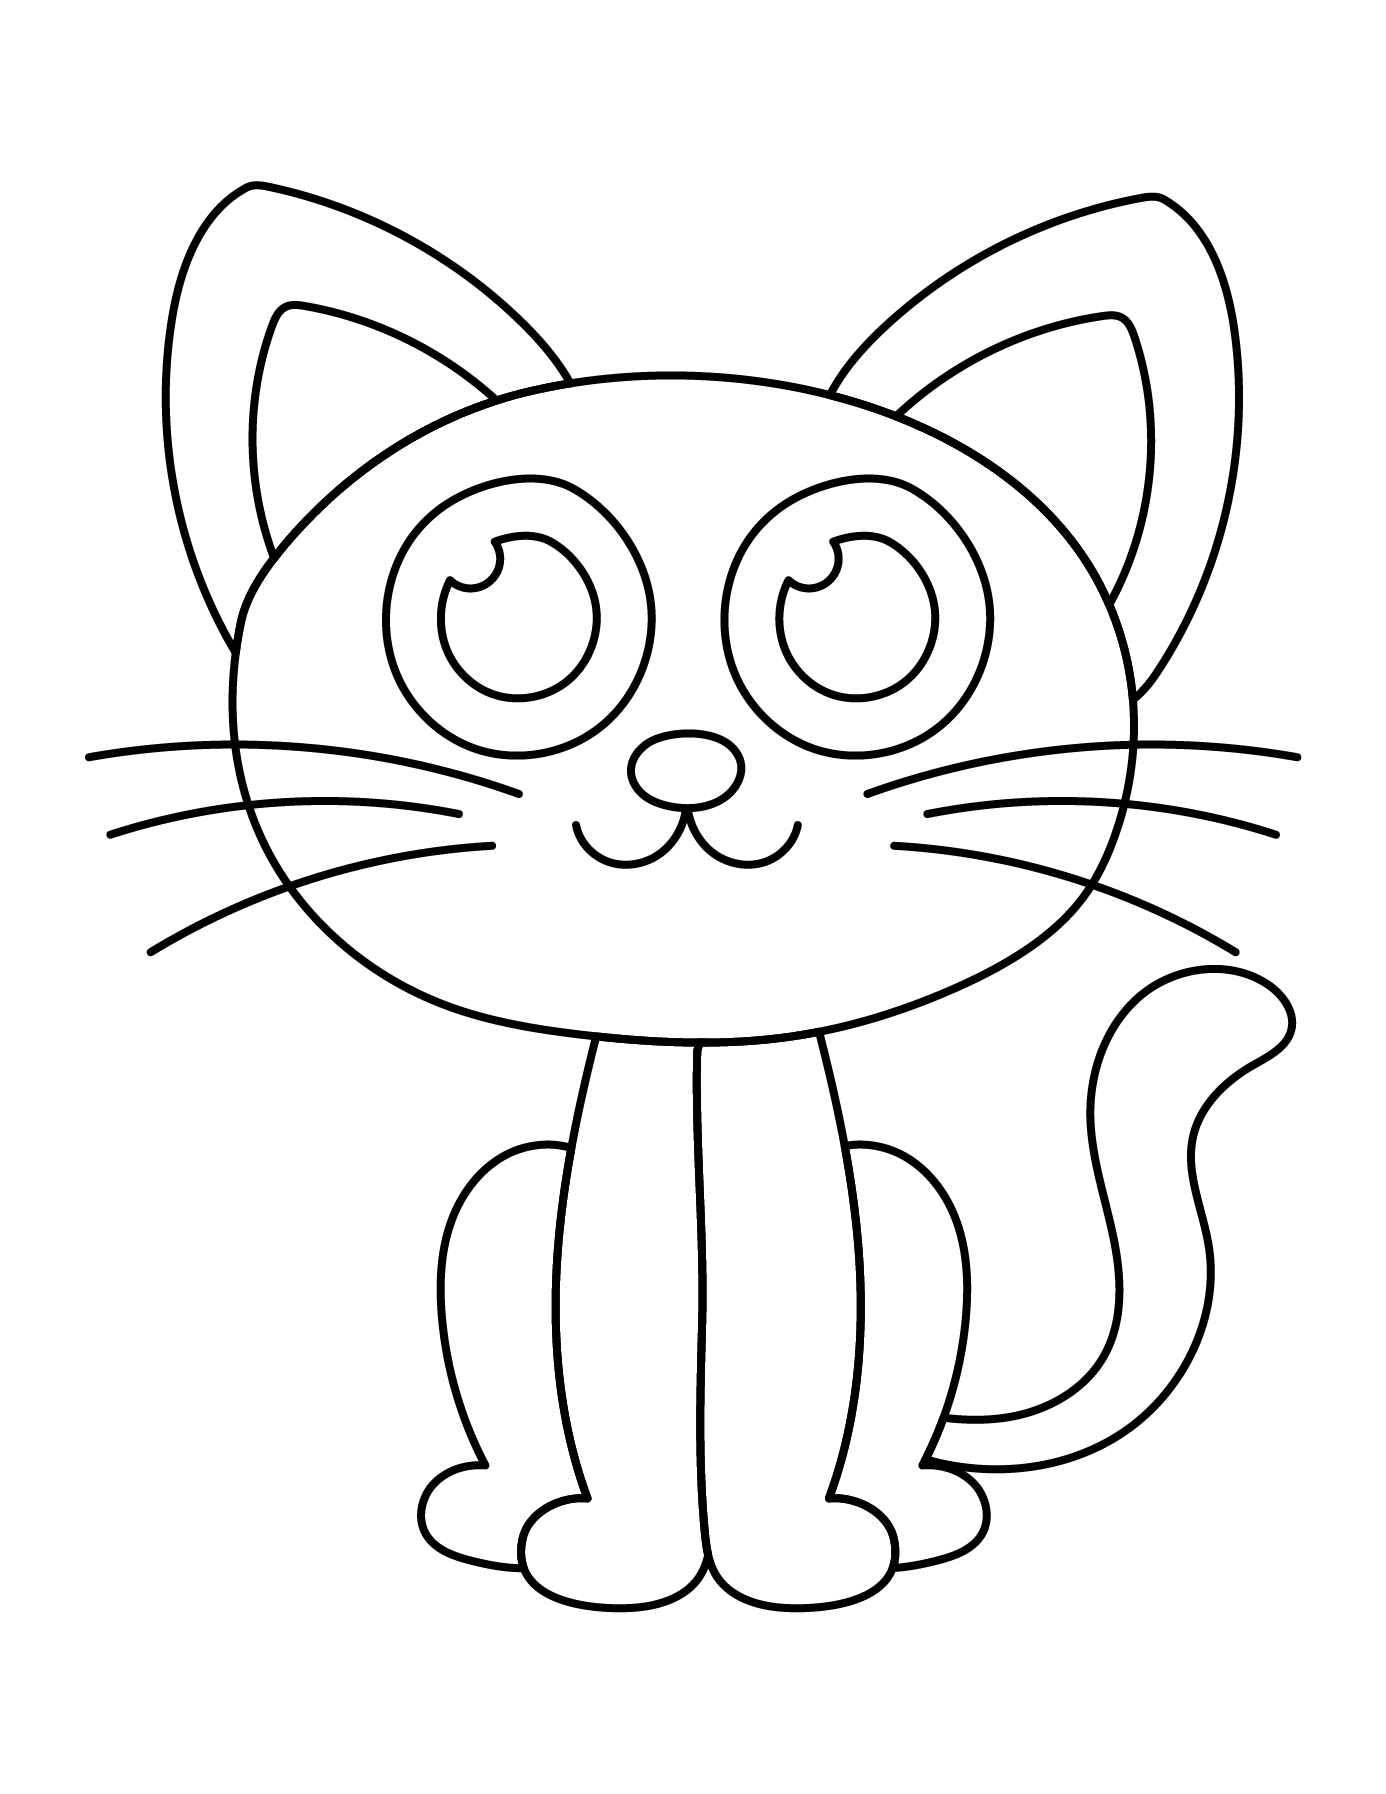
We have a printable cat drawing PDF below that you can color or use as a reference when you want to try this cat drawing again. The completed outline includes the large eyes, pointy ears, front and hind legs, rounded paws, curved tail, and whiskers that we added in this tutorial. If you’d like to try coloring more pictures of this familiar pet, you can also find our Cat Coloring Pages collection.
Did you make a black cat like ours, or did you go with a different color? Let us know in the comments below and share this cat drawing tutorial with another parent, teacher, or friend.