How to Draw a Dragon
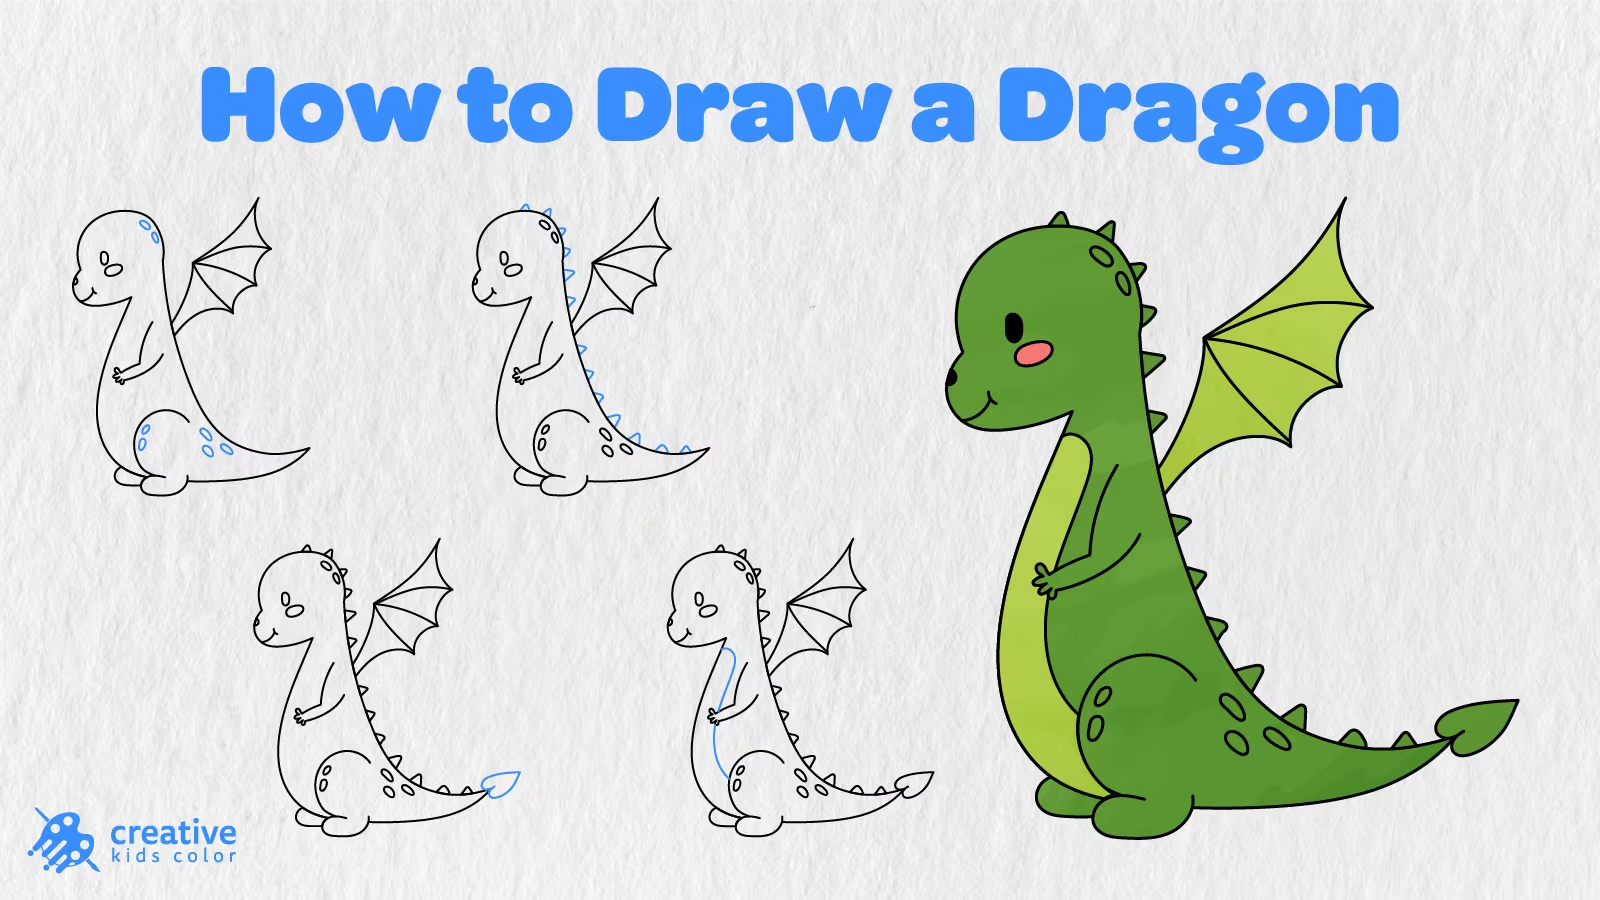
Although dragons can be quite intimidating in stories, they do not always have to be scary! For this page, we have drawn a friendly sitting dragon with a happy smile, a round belly, one big wing, small claws, and a long wiggly tail.
In this guide, kids and beginners will learn how to draw a dragon in 13 easy steps. First, we will draw two guide shapes, then add the body, wing, face, spots, back spikes, belly, and leaf shaped tail tip.
To draw this easy dragon step by step, follow the blue lines in the images below and add one new detail in each step. In the last step, we will get a finished dragon drawing to color!
Easy Dragon Drawing Step by Step
For this easy dragon drawing, you will need a pencil, paper, an eraser, and coloring tools of your choice. Draw the first two shapes with light lines because we will use them as guides for the dragon’s head before adding the final outlines.
Step 1: Draw the Head Guide Shapes

Draw one big circle for the top of the dragon’s head.
Add a smaller horizontal oval at the bottom of the first shape. We have shifted the oval to the left so that the two shapes overlap because the one on the bottom will be the rounded snout of the dragon.
Step 2: Draw the Head, Body, and Tail
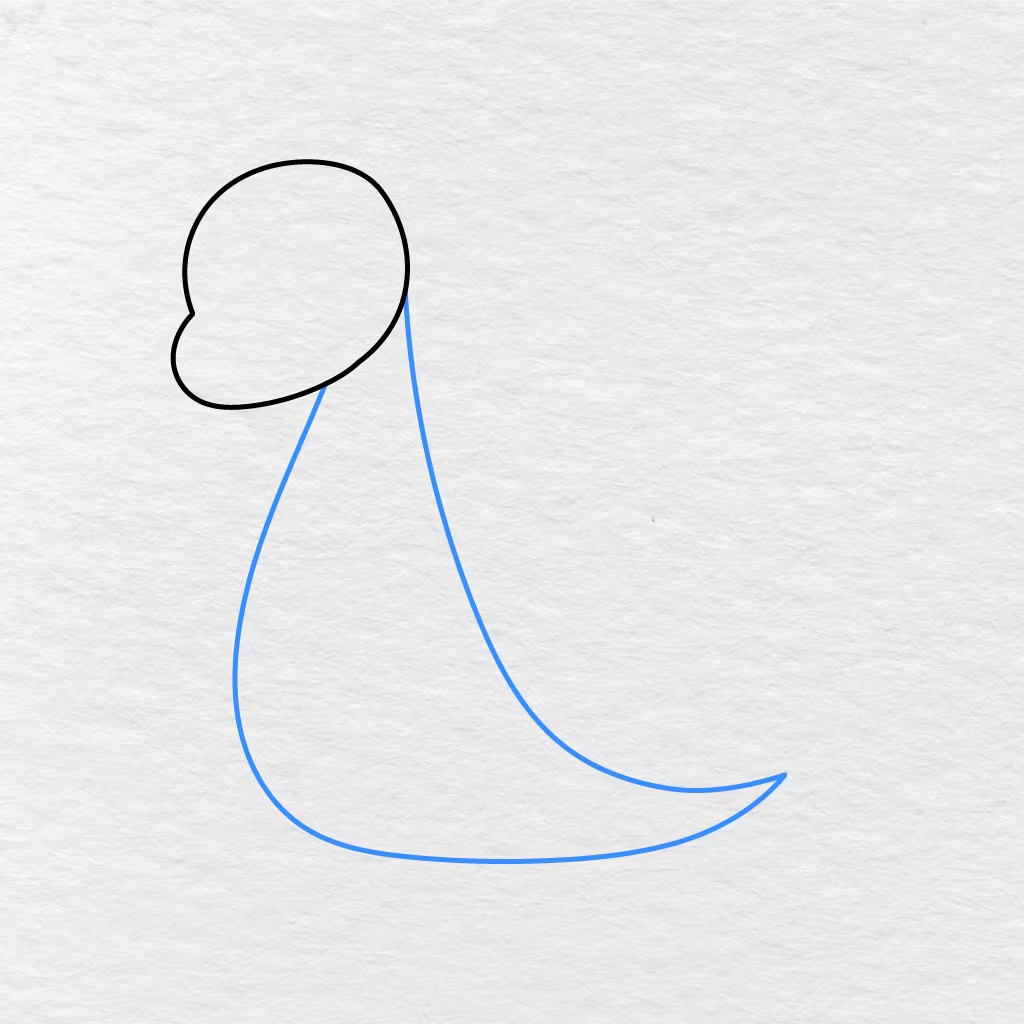
Use the two guide shapes to draw the head and snout of the dragon.
From under the dragon’s head, we have drawn a long curved line for the front of the body. Another line is added from the back of the head going down and curving to the right to make the long tail. Erase the guide shapes inside the dragon’s head.
Step 3: Add the Arm and Claws
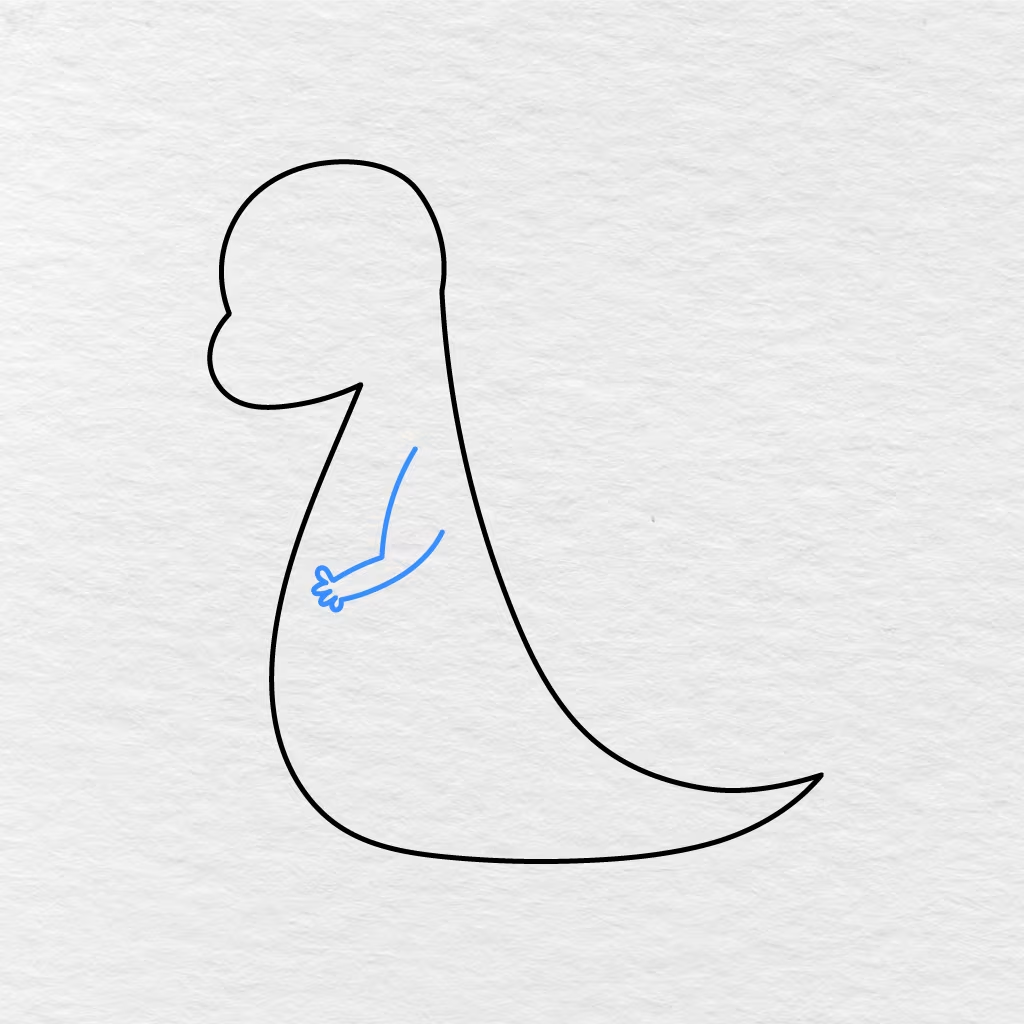
We have added one small bent arm at the front of the dragon’s body.
At the end of the small arm, we have drawn three little curved lines for the claws. They are close to each other to make a group on the side of the body.
Step 4: Draw the Wing Outline
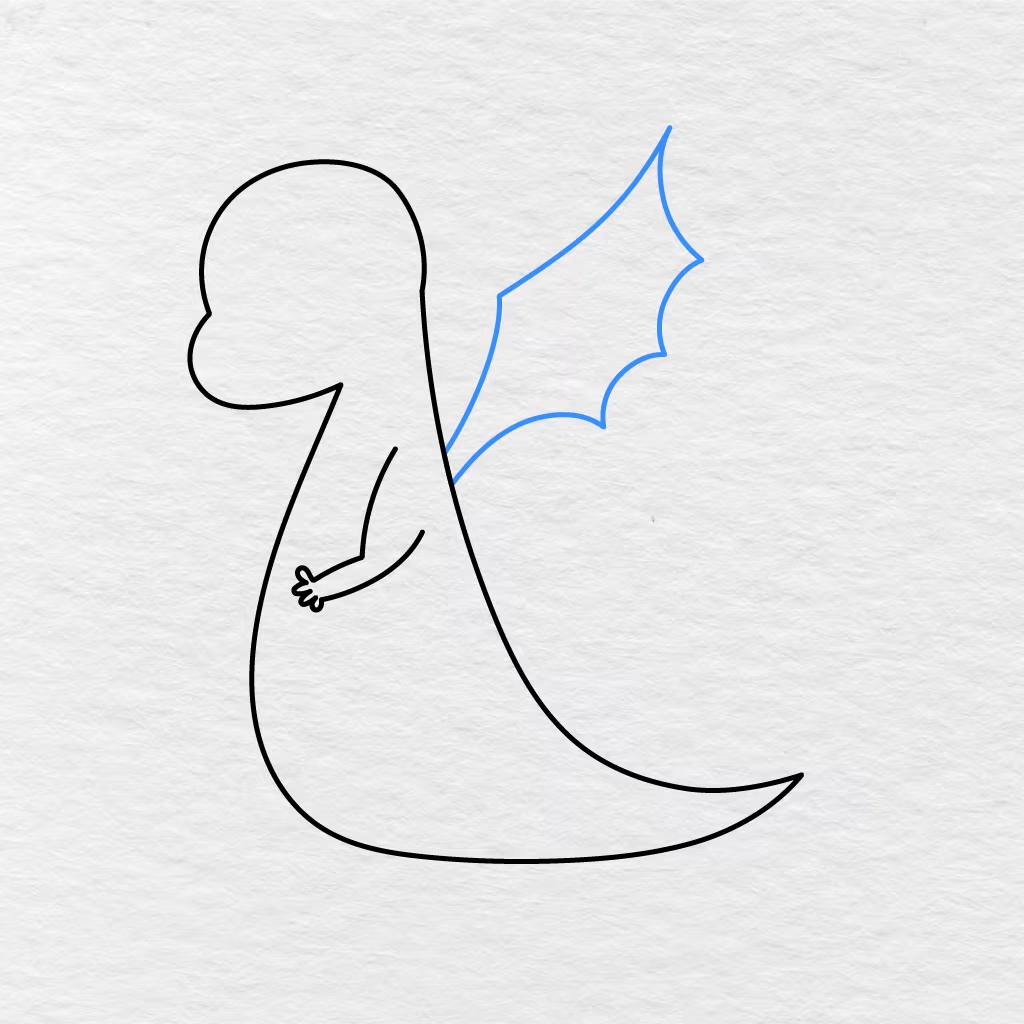
Start drawing one big wing on the dragon’s back.
The line added at the beginning of this step goes up to make the pointed top of the wing. We have added a few inward curves on the side of the wing and pulled the bottom back toward the dragon’s body.
Step 5: Draw the Hind Leg and Paw
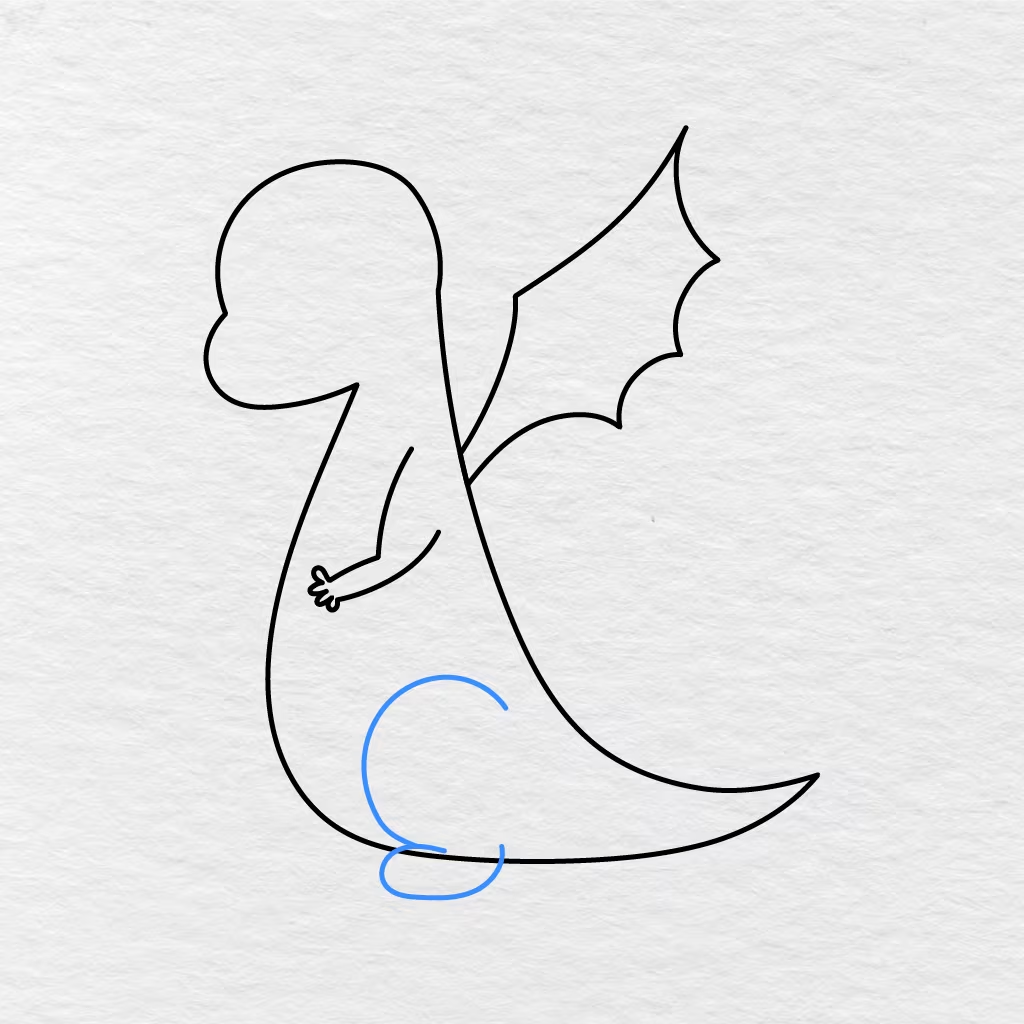
Inside the lower part of the dragon’s body, we have drawn a long curved line for the hind leg.
The line continues down to make a big round paw at the bottom of the hind leg.
Step 6: Add the Second Hind Paw
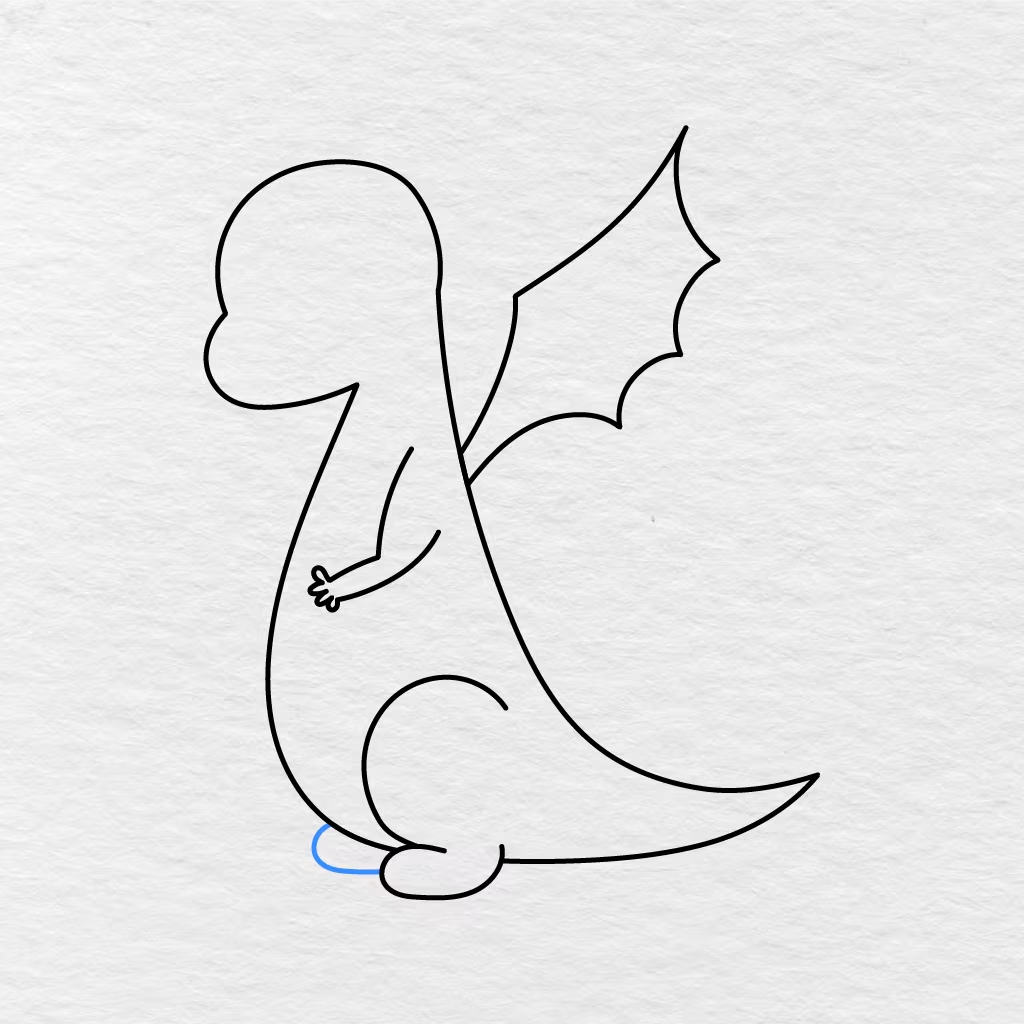
We have added the second hind paw behind the first one.
Only a small part of the second hind paw can be seen behind the first paw because most of it is hidden by the dragon’s body.
Step 7: Add the Wing Details
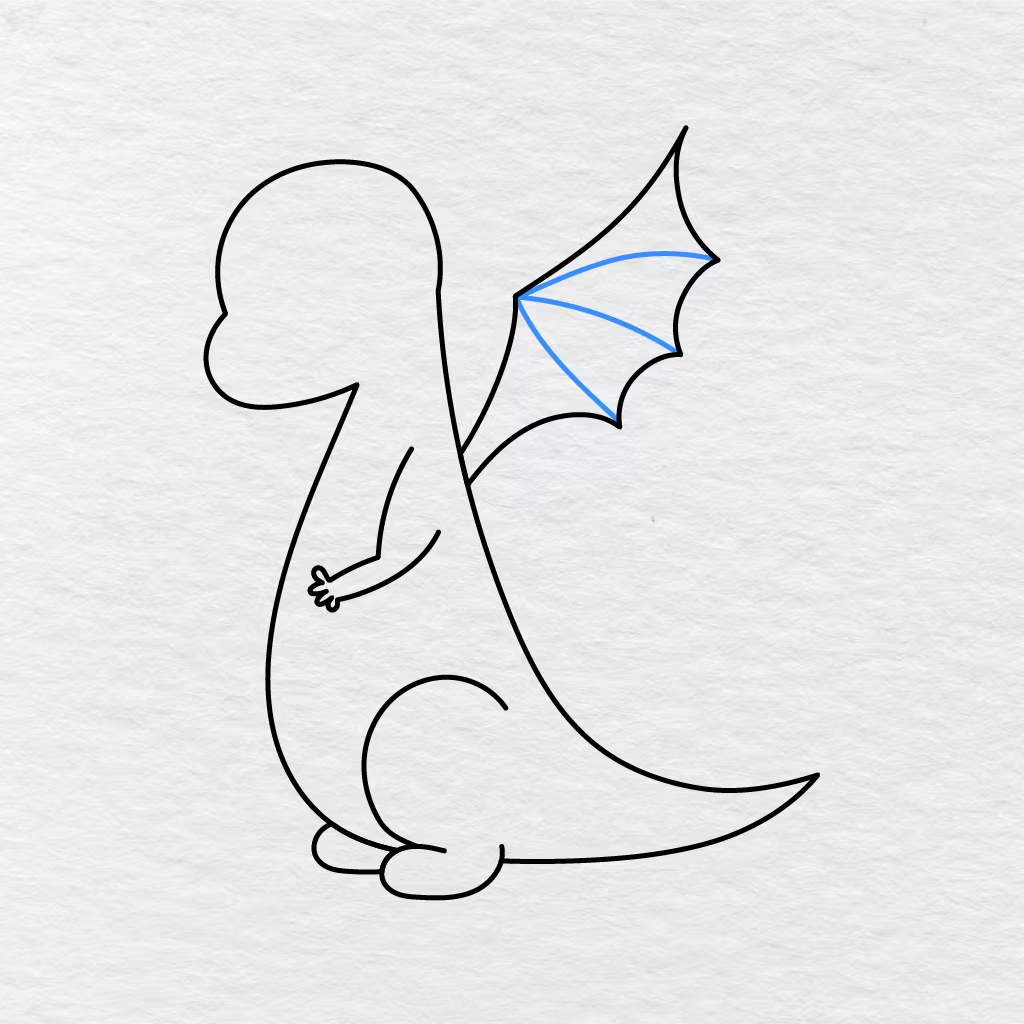
Go back to the wing and add three curved lines inside the outline.
The lines are added from the place near the dragon’s back where the wing begins and go out to the wing points. They divide the wing into sections.
Step 8: Draw the Face
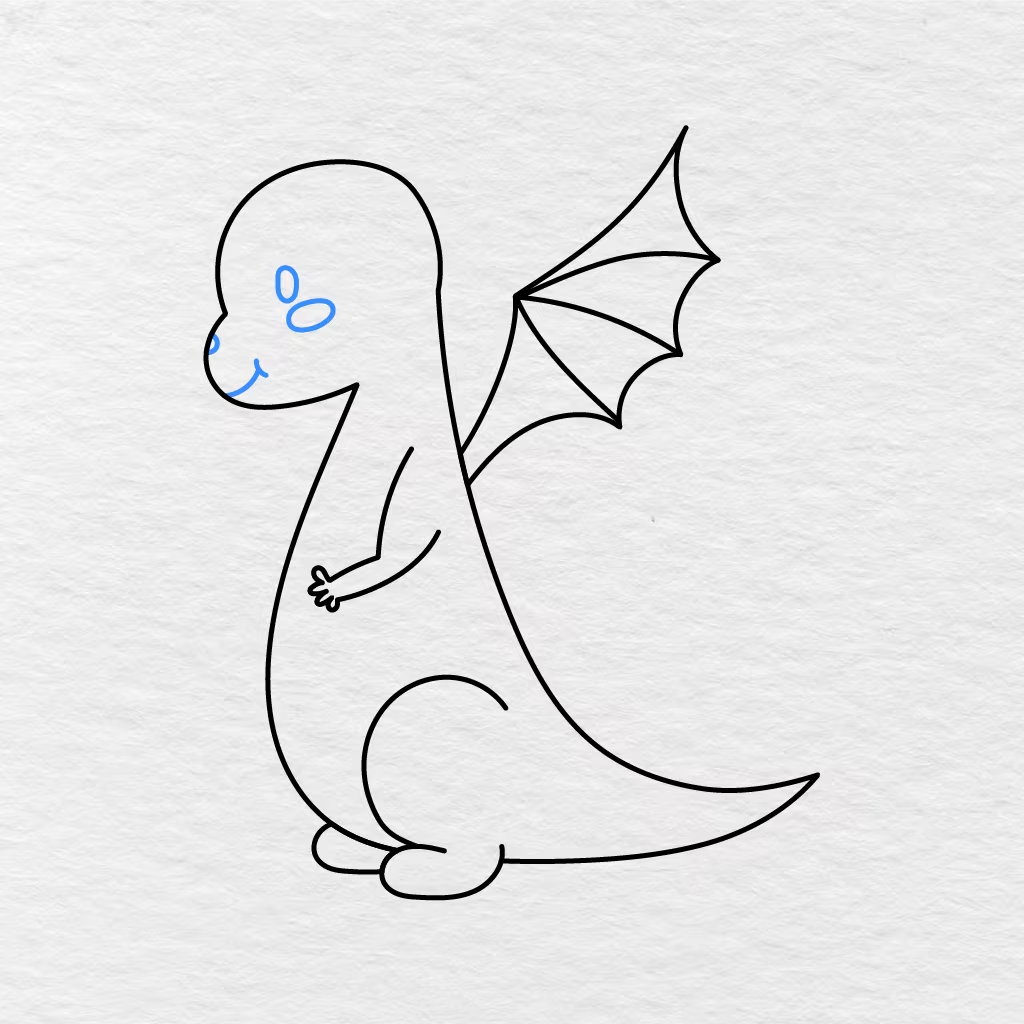
Finally, we can draw the cute and friendly face of this easy dragon.
Add a tall oval for the eye and a smaller oval for the cheek. Draw a tiny nostril at the front of the snout and two curved lines for the dragon’s smiling mouth.
Step 9: Add the Body Spots
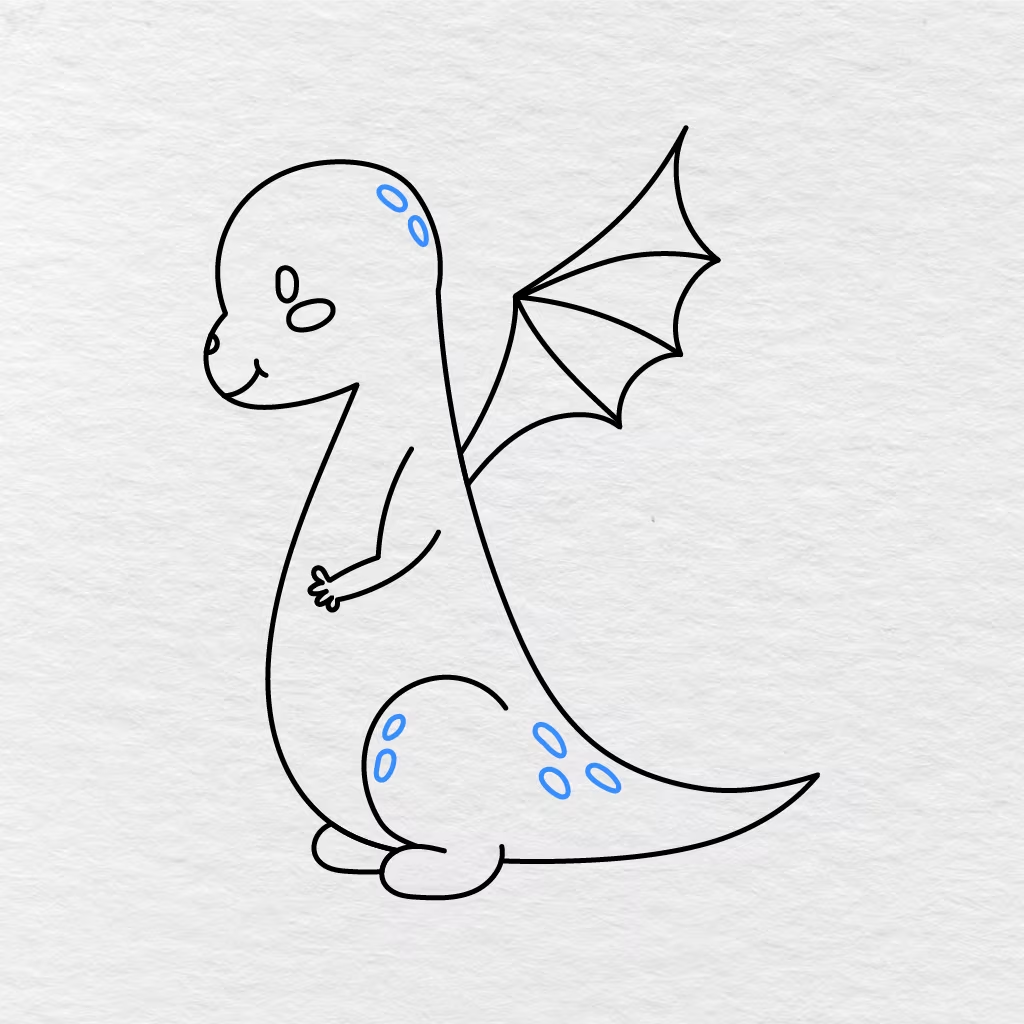
Let us add a few oval spots to make the dragon cuter.
We have added two spots at the top of the dragon’s head, two spots on the hind leg, and three spots on the tail. You can make them different sizes.
Step 10: Draw the Back Spikes
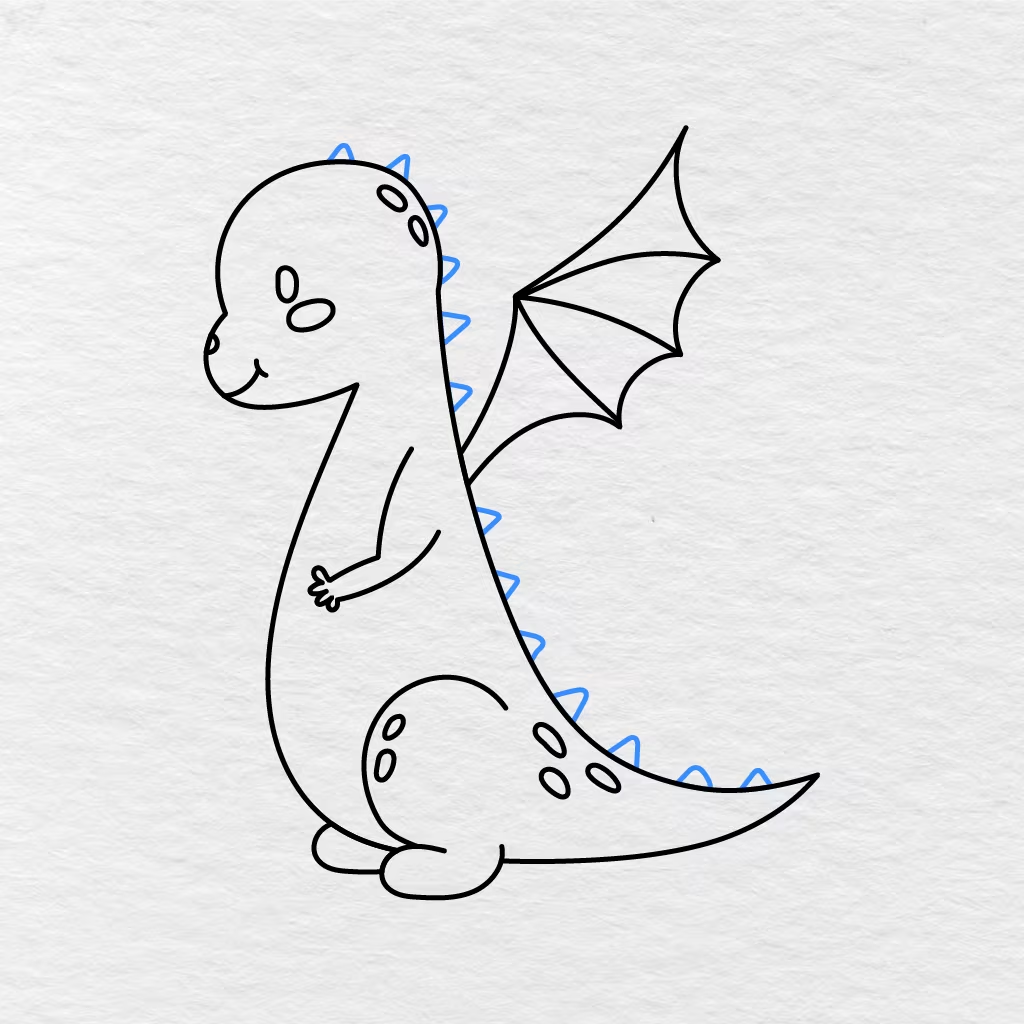
From the top of the dragon’s head, we have added a few triangular spikes.
The spikes continue along the back and over the tail. They become smaller as we get to the end of the tail.
Step 11: Add the Tail Tip
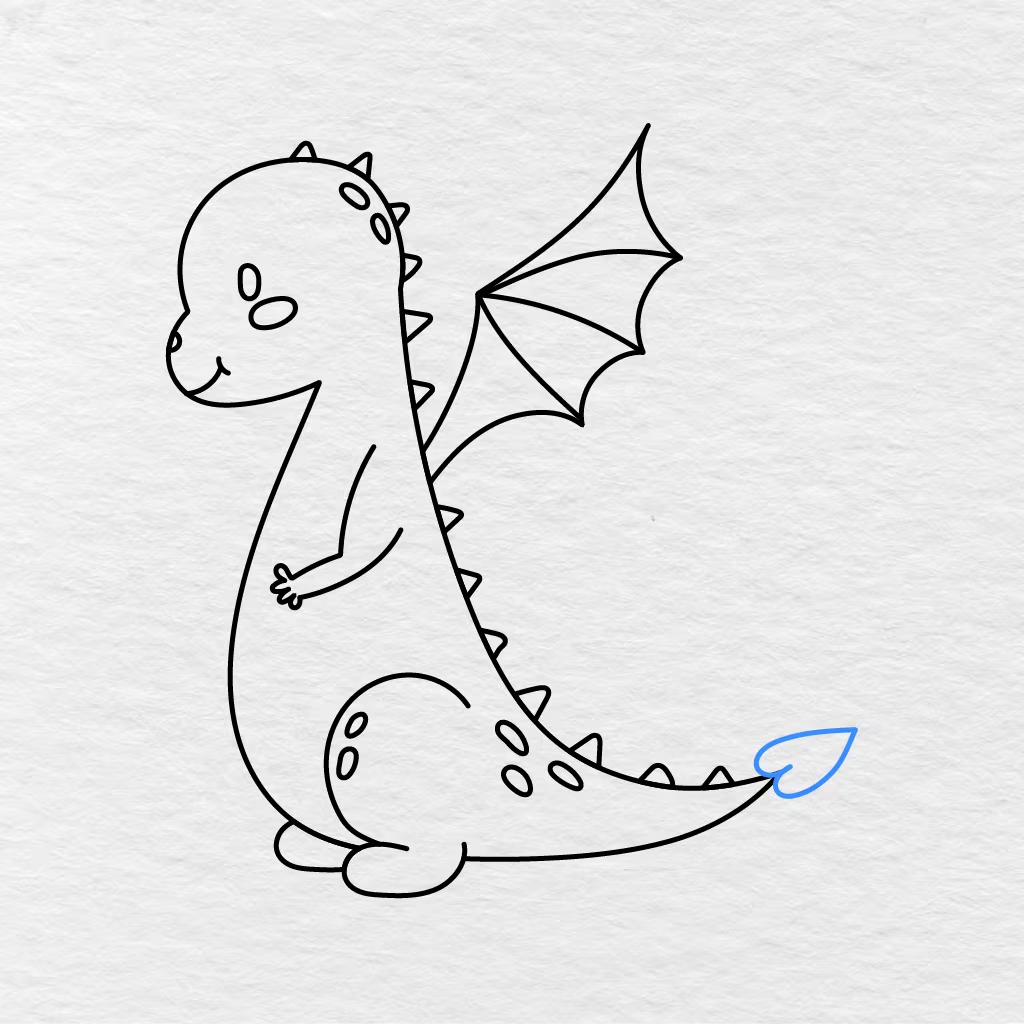
At the end of the dragon’s tail, we have drawn a leaf shaped tail tip.
Use two curved lines for the tip that spread out and come together at the end. Connect the new tail tip to the two sides of the tail.
Step 12: Draw the Belly Outline
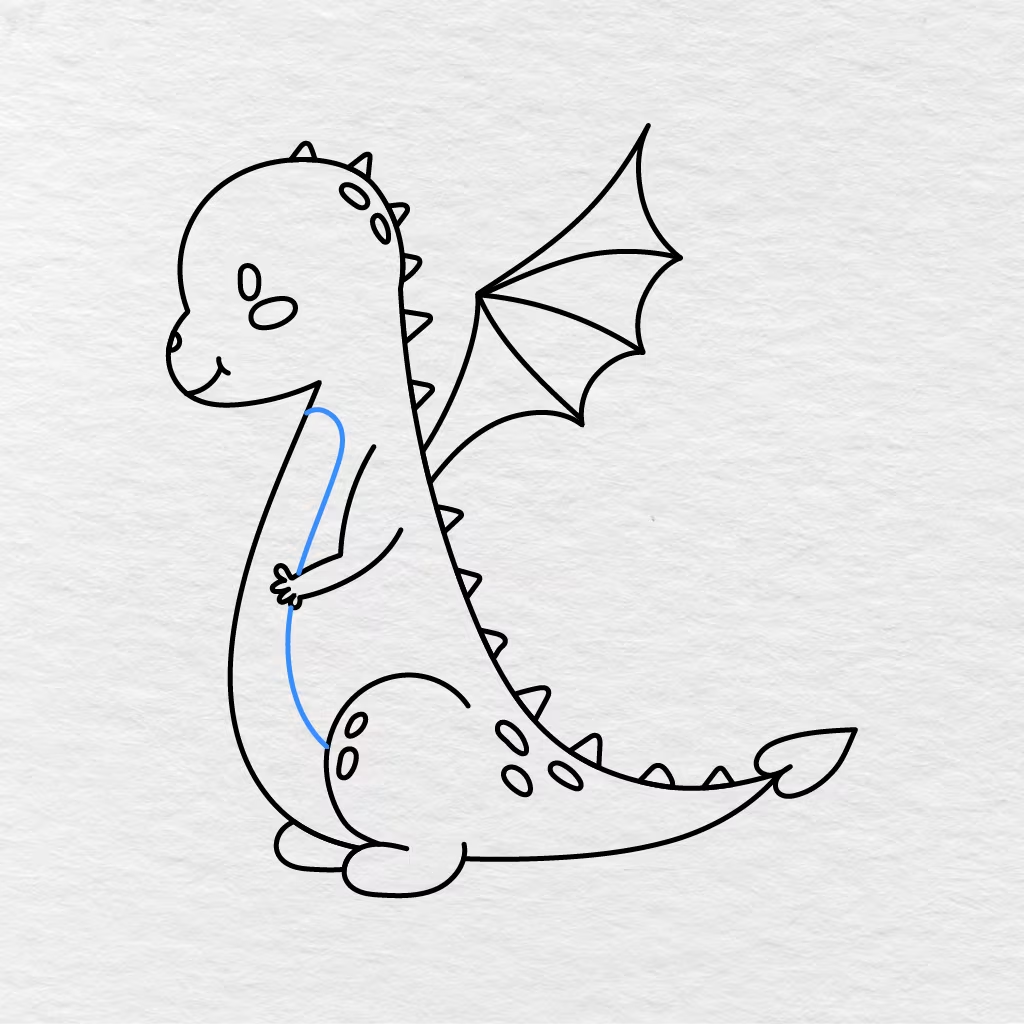
We have drawn one long curved line under the dragon’s head for the belly.
The line goes down the front of the dragon’s body, behind the little arm, and ends near the hind leg. This makes the round belly of the sitting dragon.
Step 13: Color the Dragon
Finally, we have colored the easy dragon drawing!
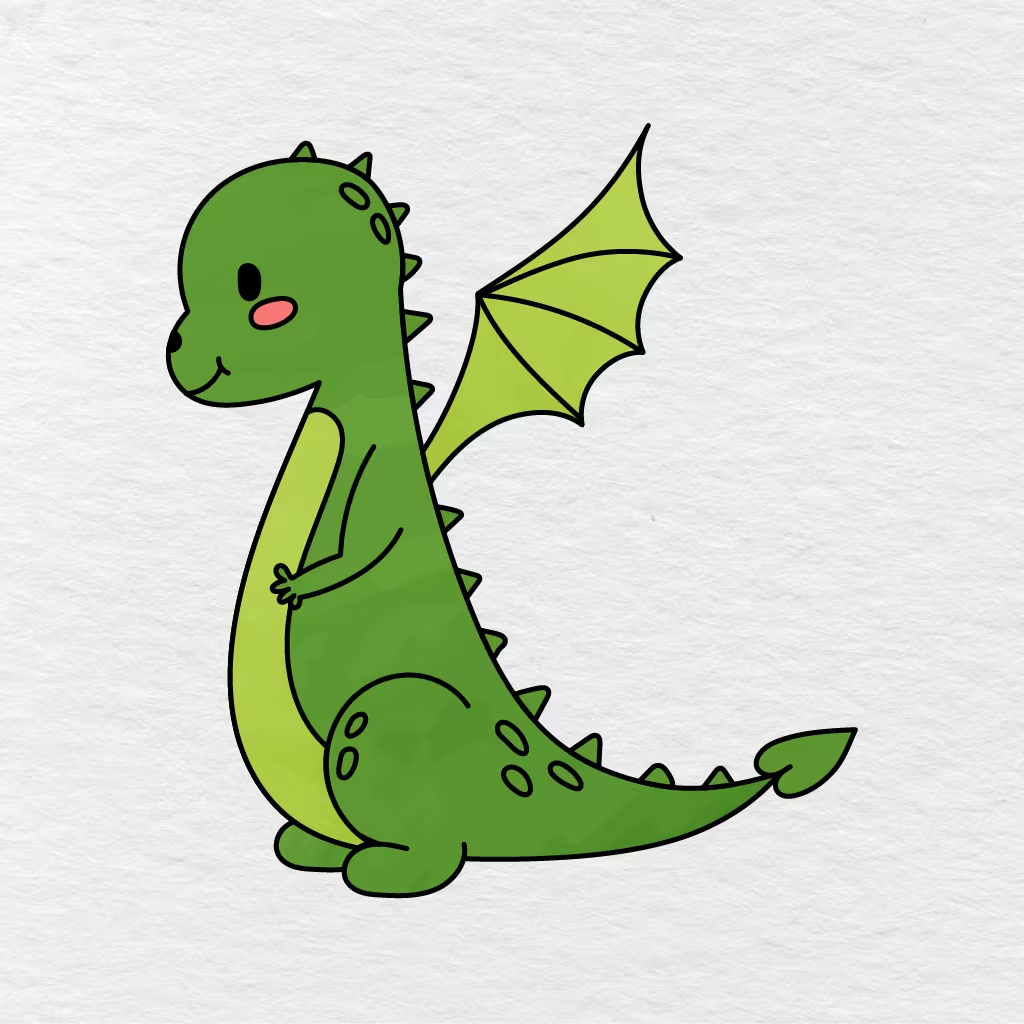
We have used medium green for most of the dragon’s body. The belly and parts of the wing are light yellow green, and the spots, back spikes, and tail tip are darker green. We have added black color for the eye and nostril and used pink for the cheek. You can color your dragon with similar colors or choose blue, purple, red, orange, or any other colors!
Your easy dragon drawing is complete!
Printable Dragon Drawing PDF
Below you can find a printable dragon drawing PDF that you can use now or save for later. The image shows the finished outline with the rounded head, friendly face, small arm, hind legs, big wing, body spots, back spikes, long tail, and leaf shaped tail tip drawn in this tutorial.
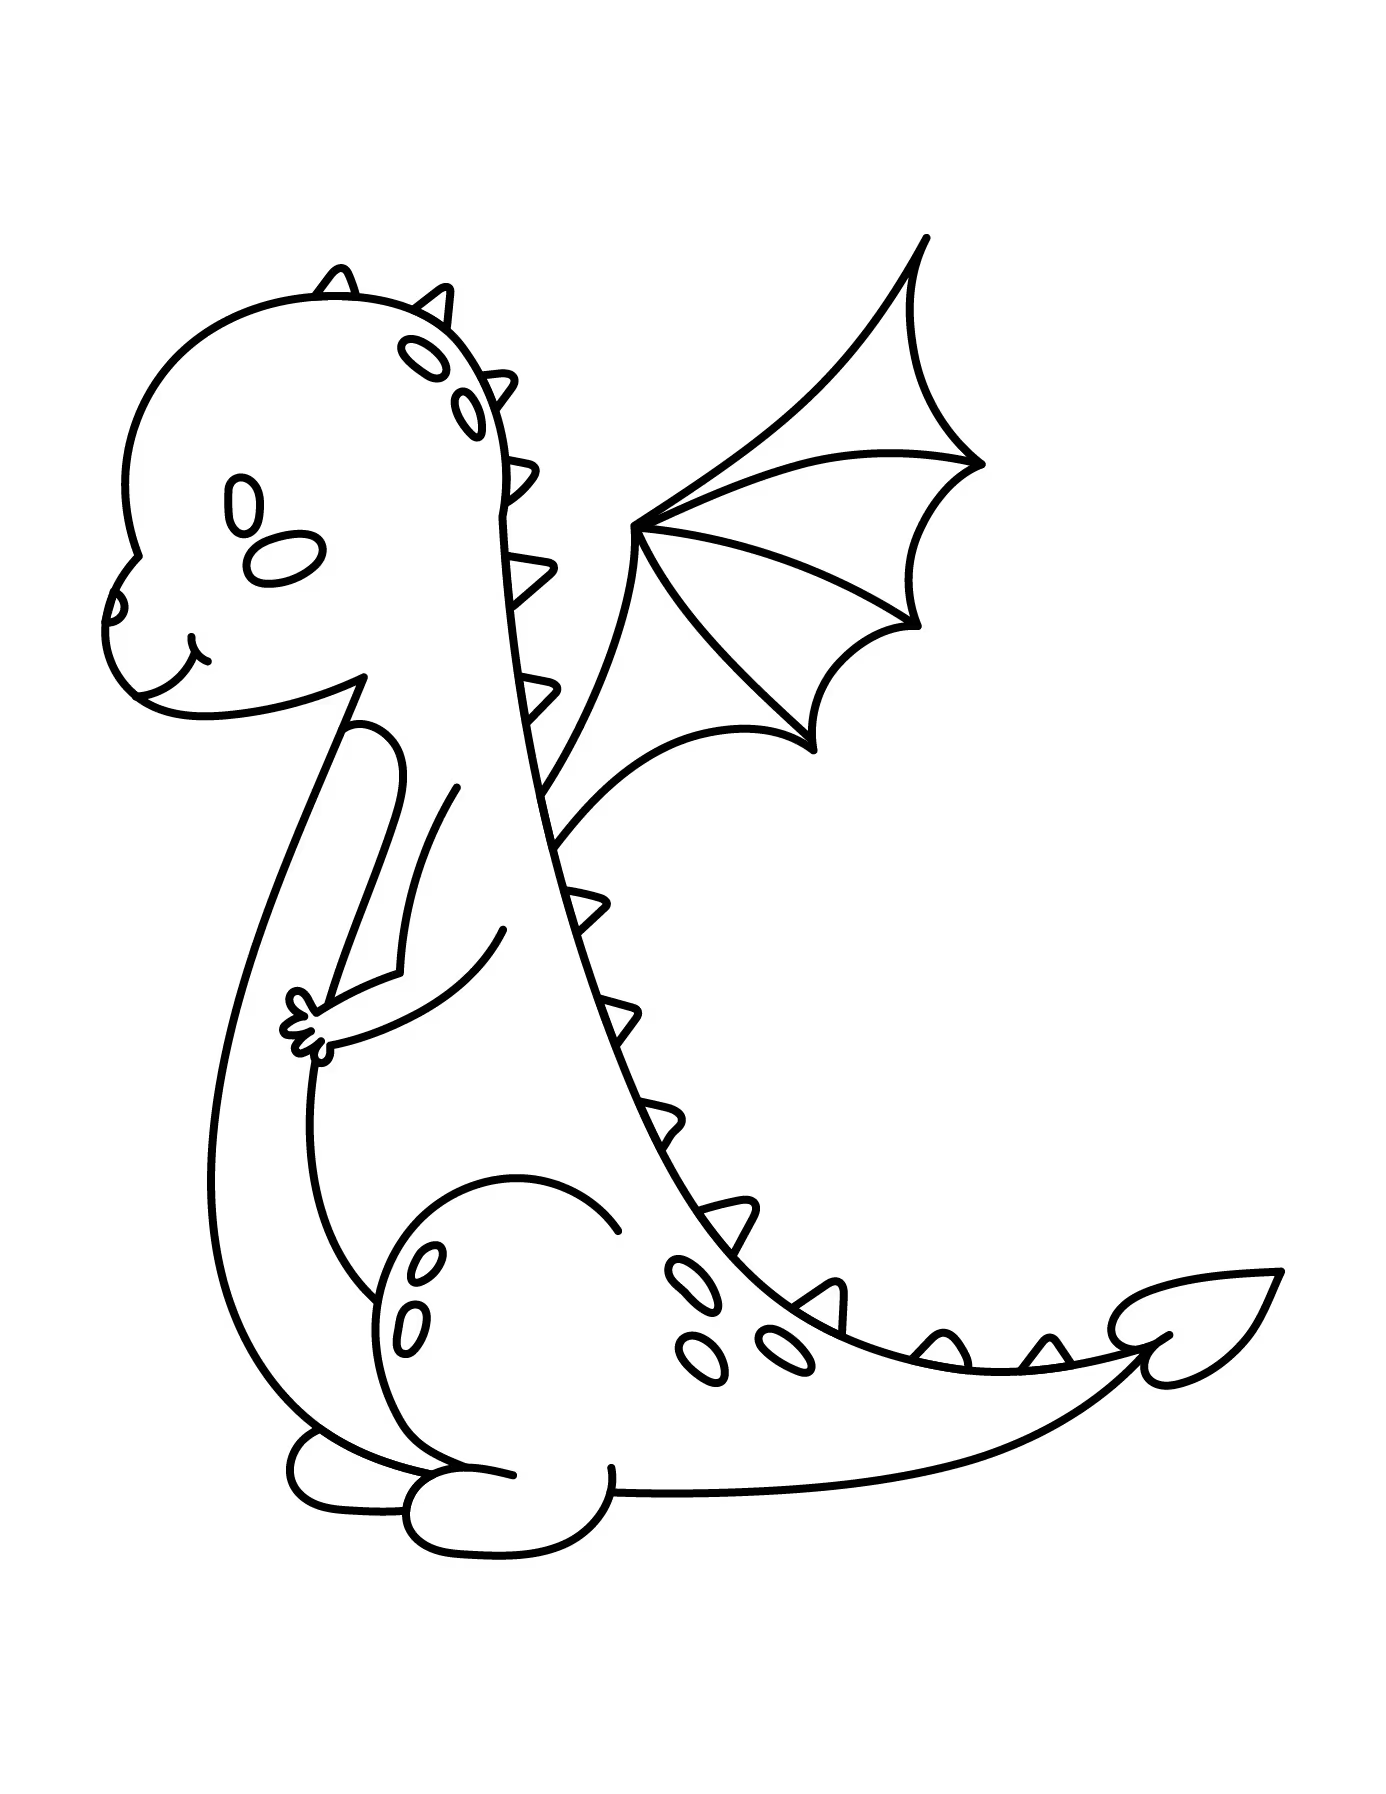
For another fun activity, try our Dragon Coloring Pages.
What colors have you chosen for your dragon? Let us know in the comments below! Also, please share this tutorial with another parent, teacher, or friend.