How to Draw a Bird
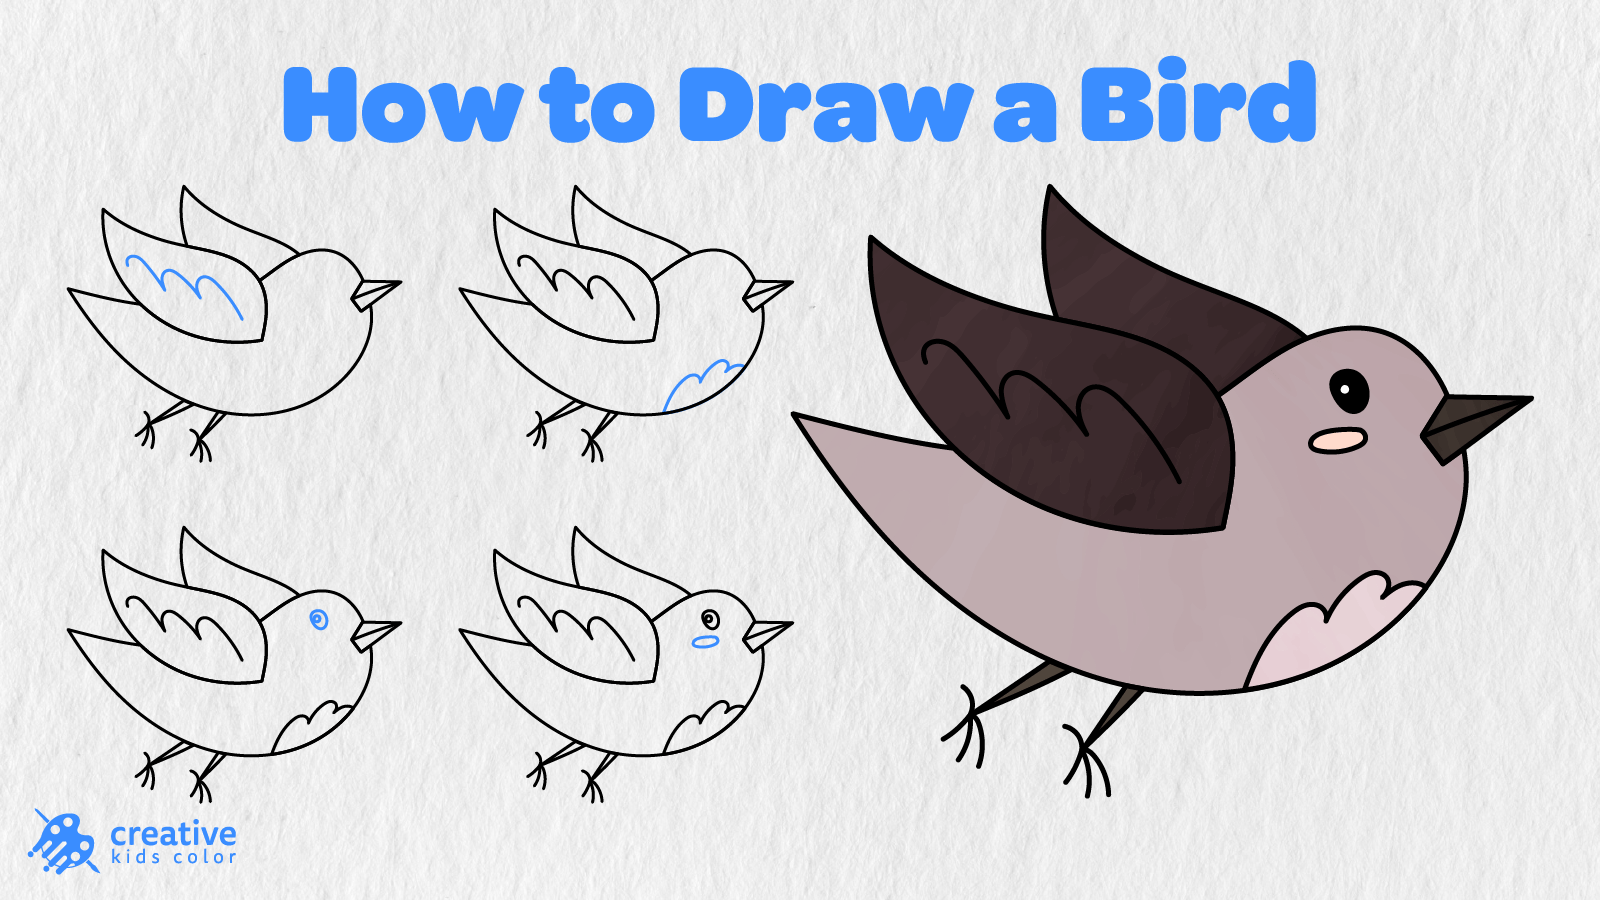
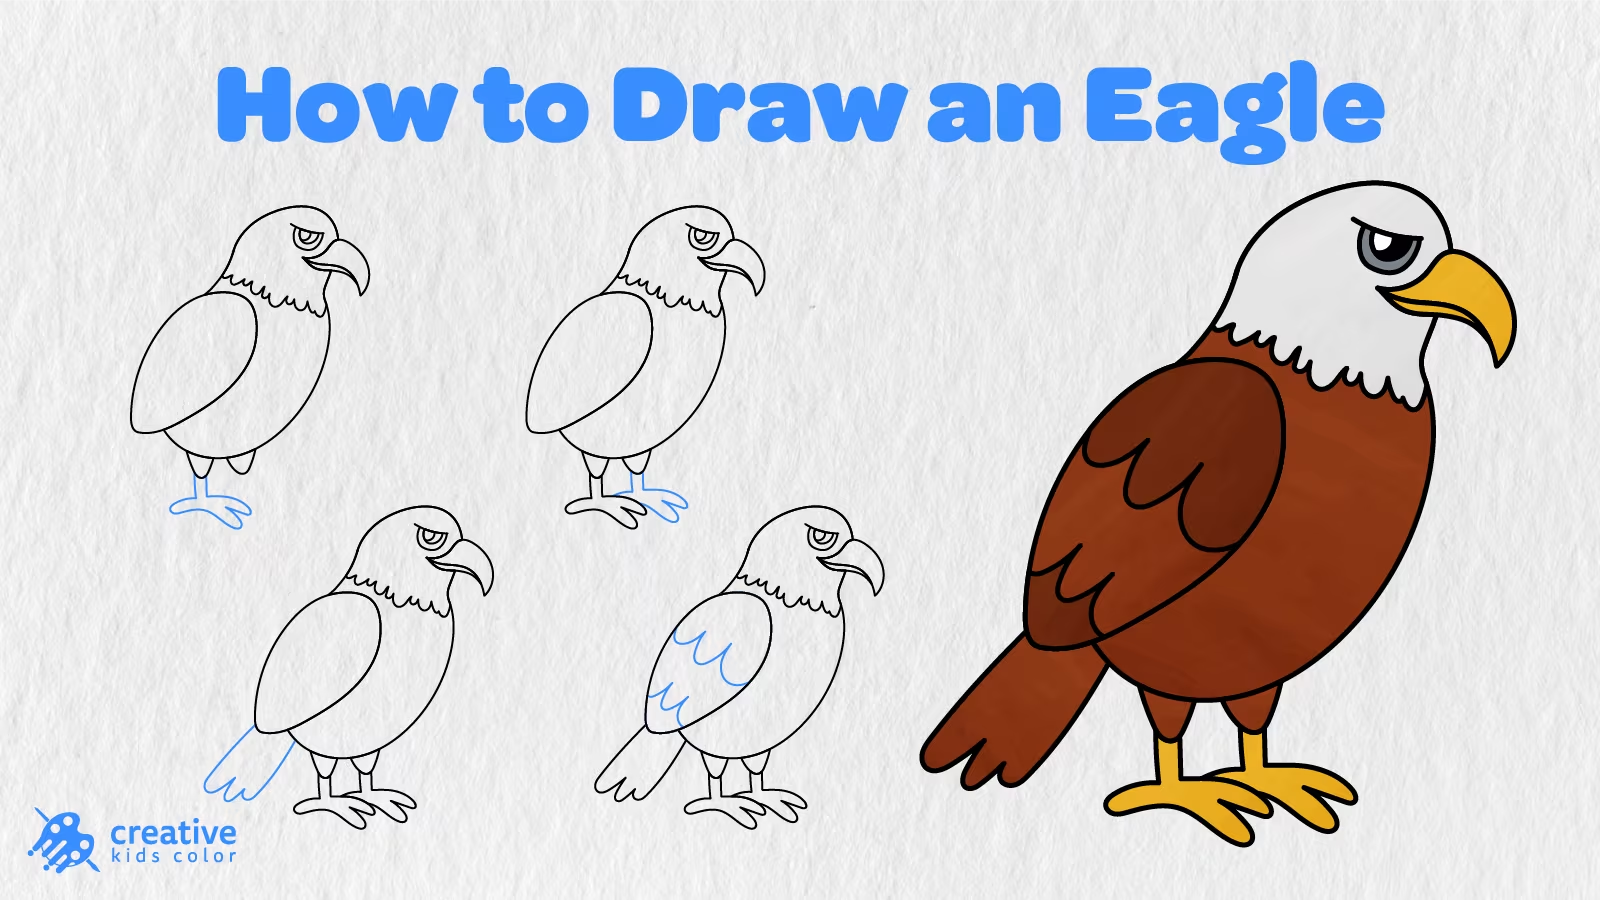
Birds are some of the easiest animals to spot outside. They run around gardens, sit on telephone wires, build nests, and sing. For this drawing, you can see we made a little bird facing sideways with a rounded body, two raised wings, a pointy beak, thin legs, and some feather details.
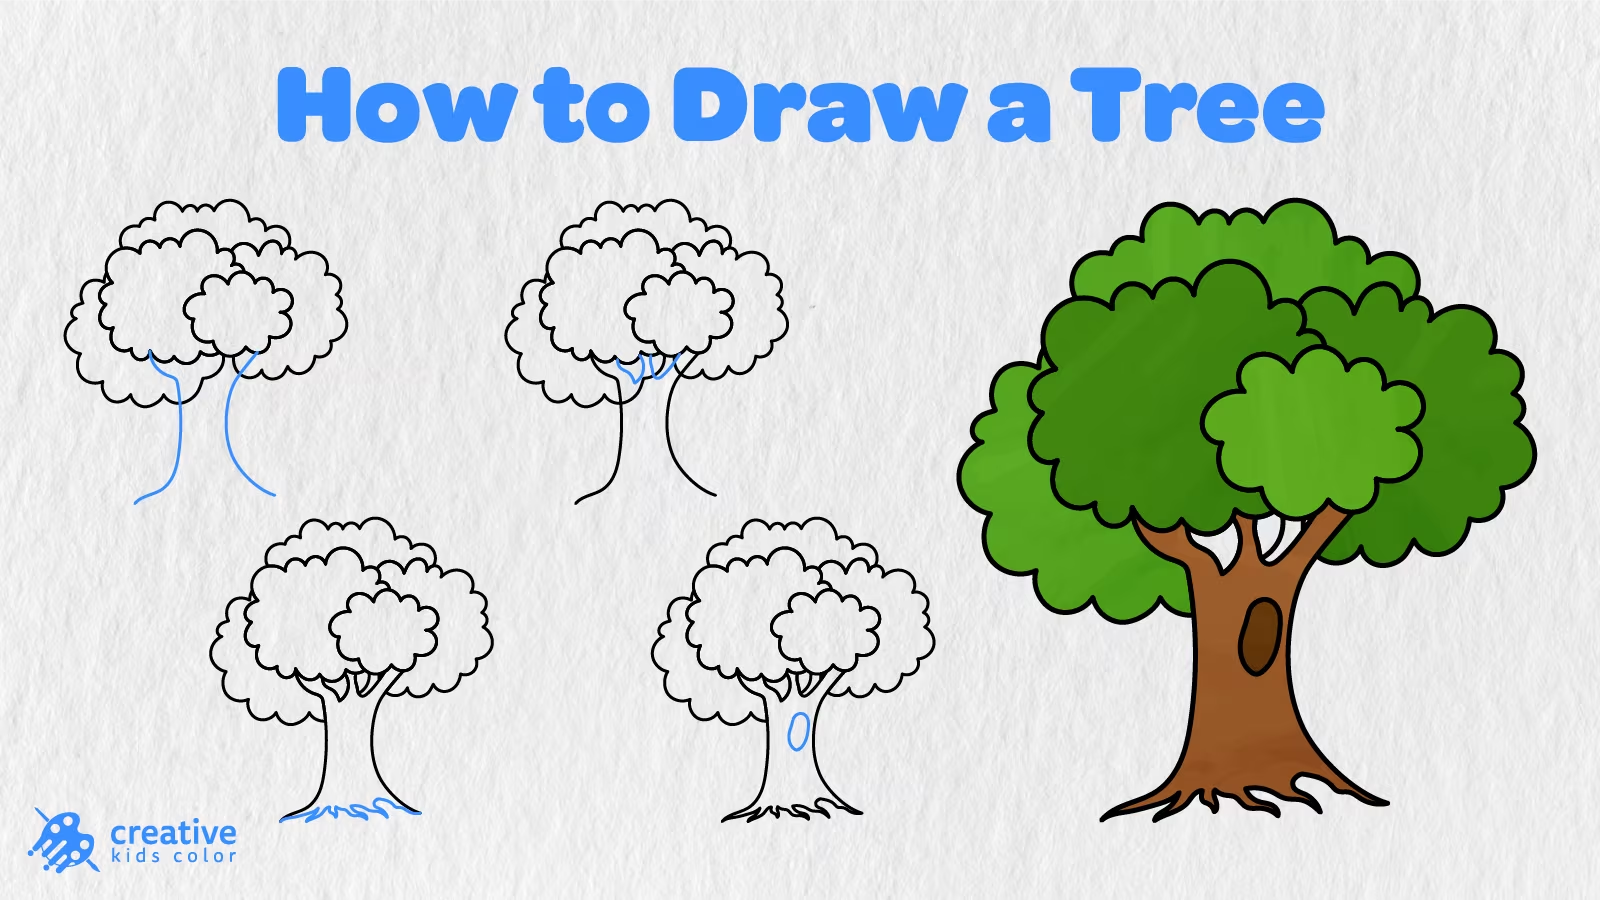
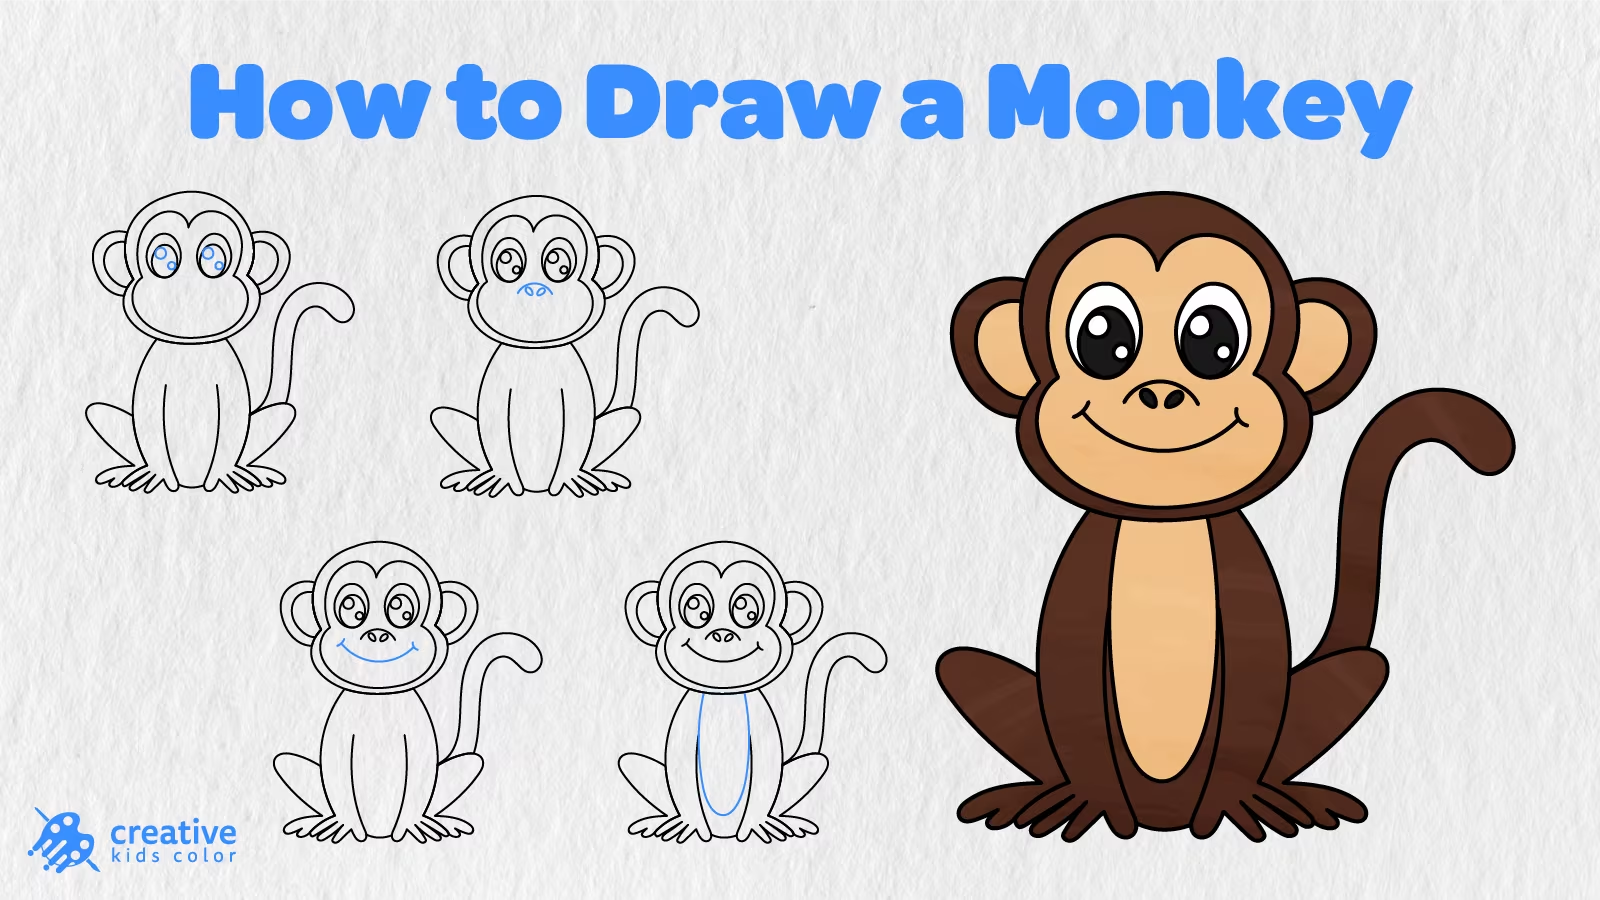
Kids and beginner artists will have fun learning how to draw a bird in 11 easy steps. We will start with the body, then we will add the wings, beak, legs, feet, feathers, eye, and cheek before we color our bird.
The blue lines show what we added in each step. Just follow the directions and by Step 11, you will have a nice bird to color.
Easy Bird Drawing Step by Step
To begin our easy bird drawing activity, you will need some paper, a pencil, an eraser, and coloring tools. As you begin, start near the middle of the page and leave some room above the bird for the raised wings.
Step 1: Draw the Body Outline
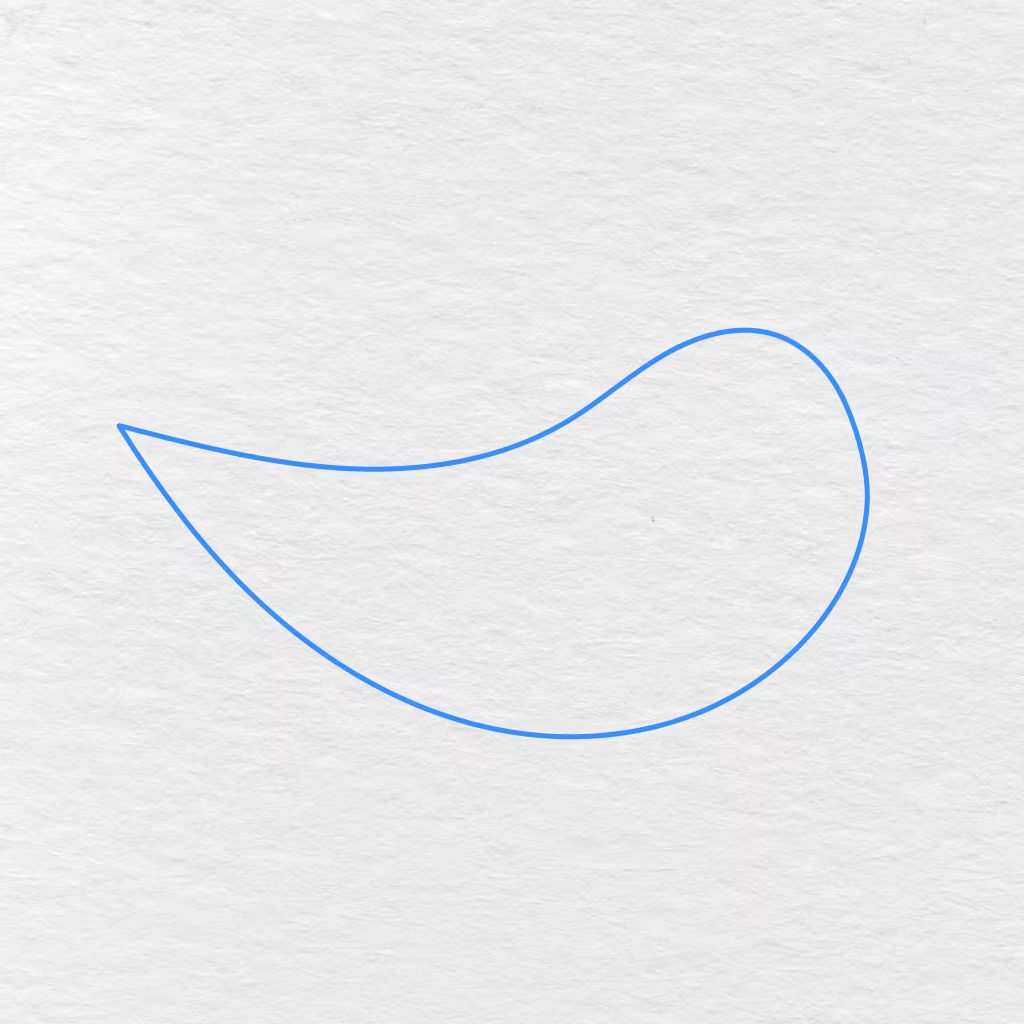
We need to draw one long curved shape for the bird’s body.
Make sure the front of the body is wide for the head and chest and bring the lower line back to the left for the tail that comes to a point.
Step 2: Draw the Front Wing
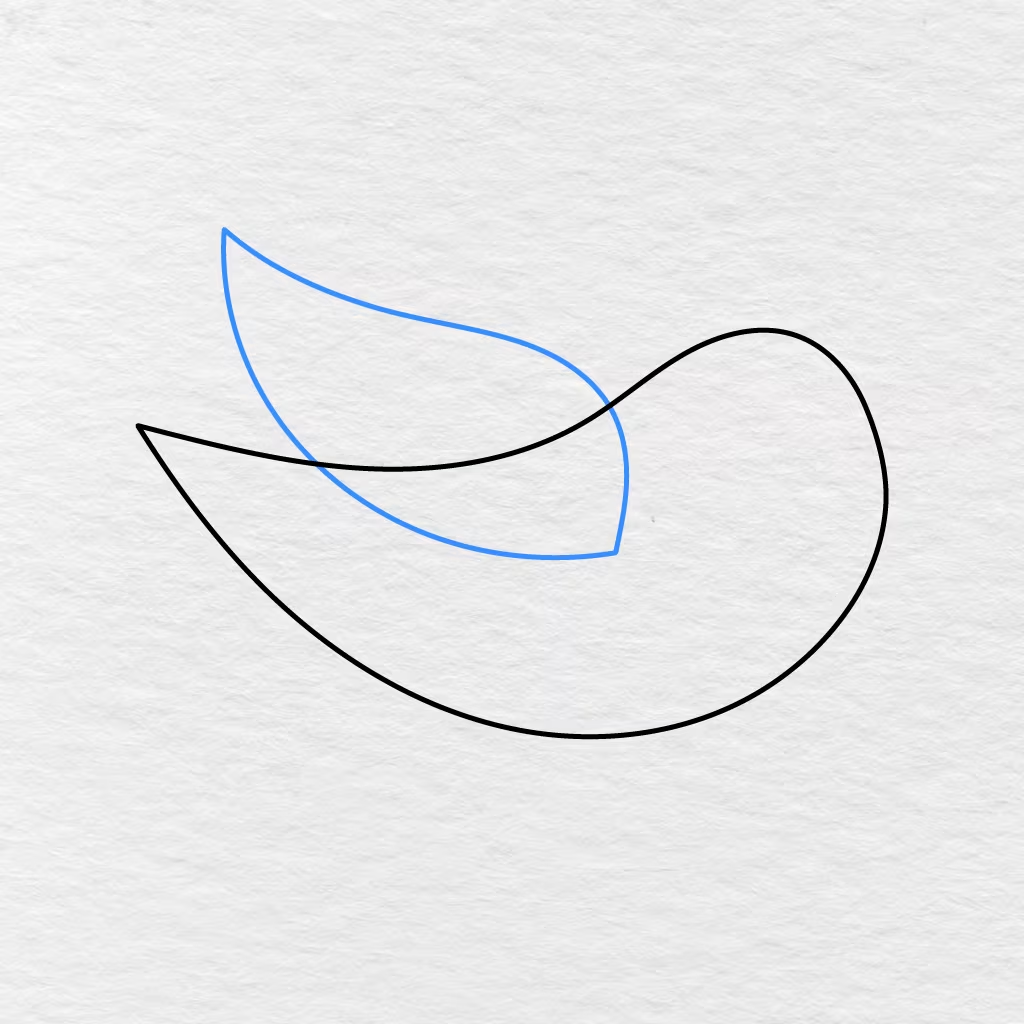
Looking at the upper part of the bird’s body, we will draw one big pointed wing.
Begin at the back of the body and work your way up and to the left. Bring the lower line back towards the bird’s neck area.
Step 3: Add the Back Wing
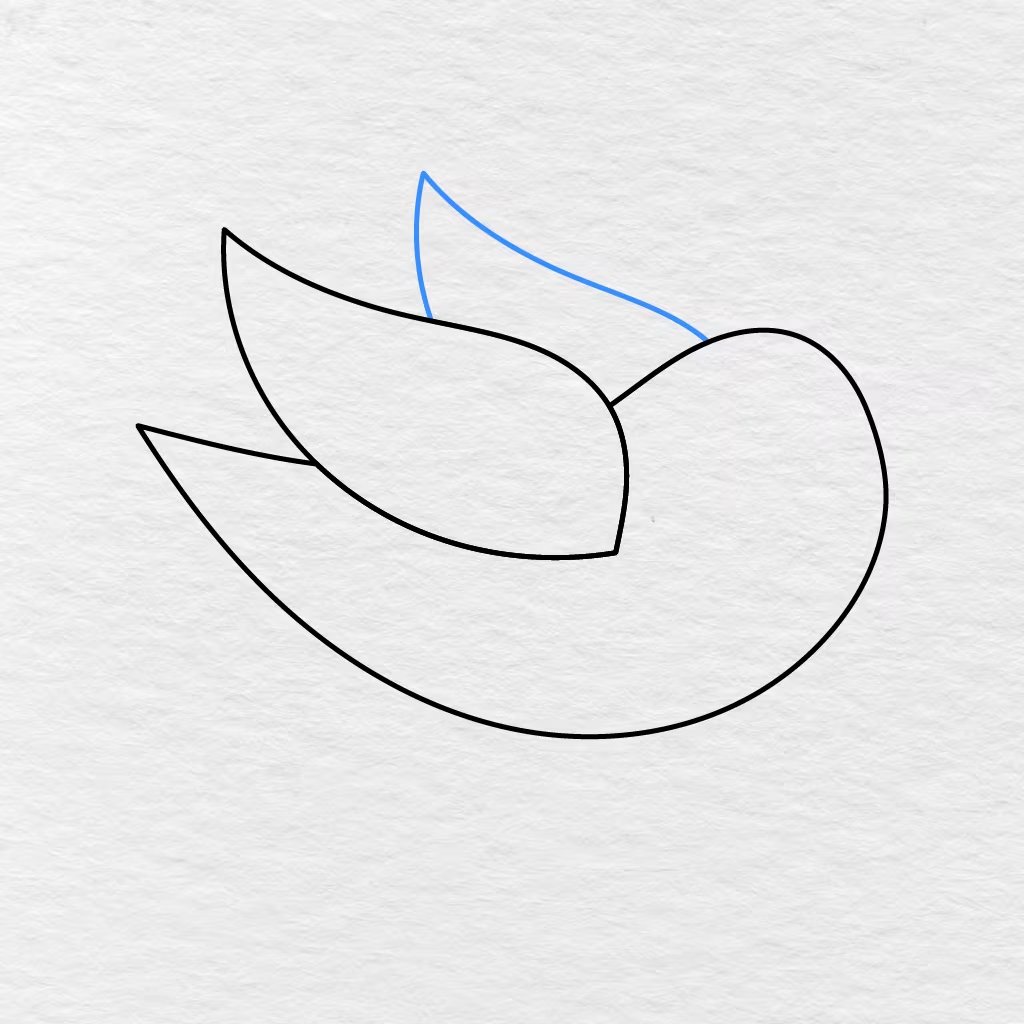
We need to draw another long pointed wing behind the first one.
Make sure to keep part of the second wing hidden behind the front wing and bring its point up above the first.
Step 4: Draw the Beak
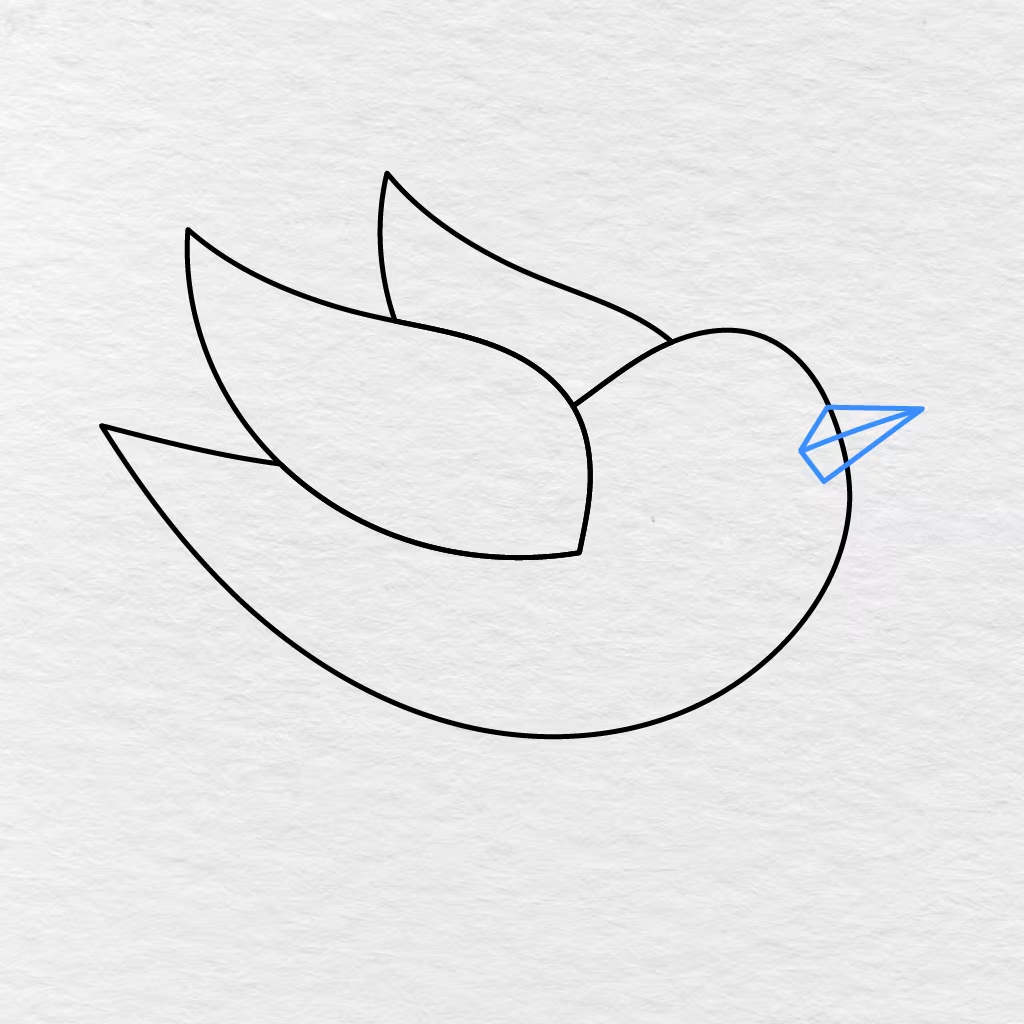
At the front of the bird’s head, we are going to add a beak.
Make two thin triangular shapes that come to a point at the front of the head. Make the upper part slightly longer than the lower part.
Step 5: Add the Legs
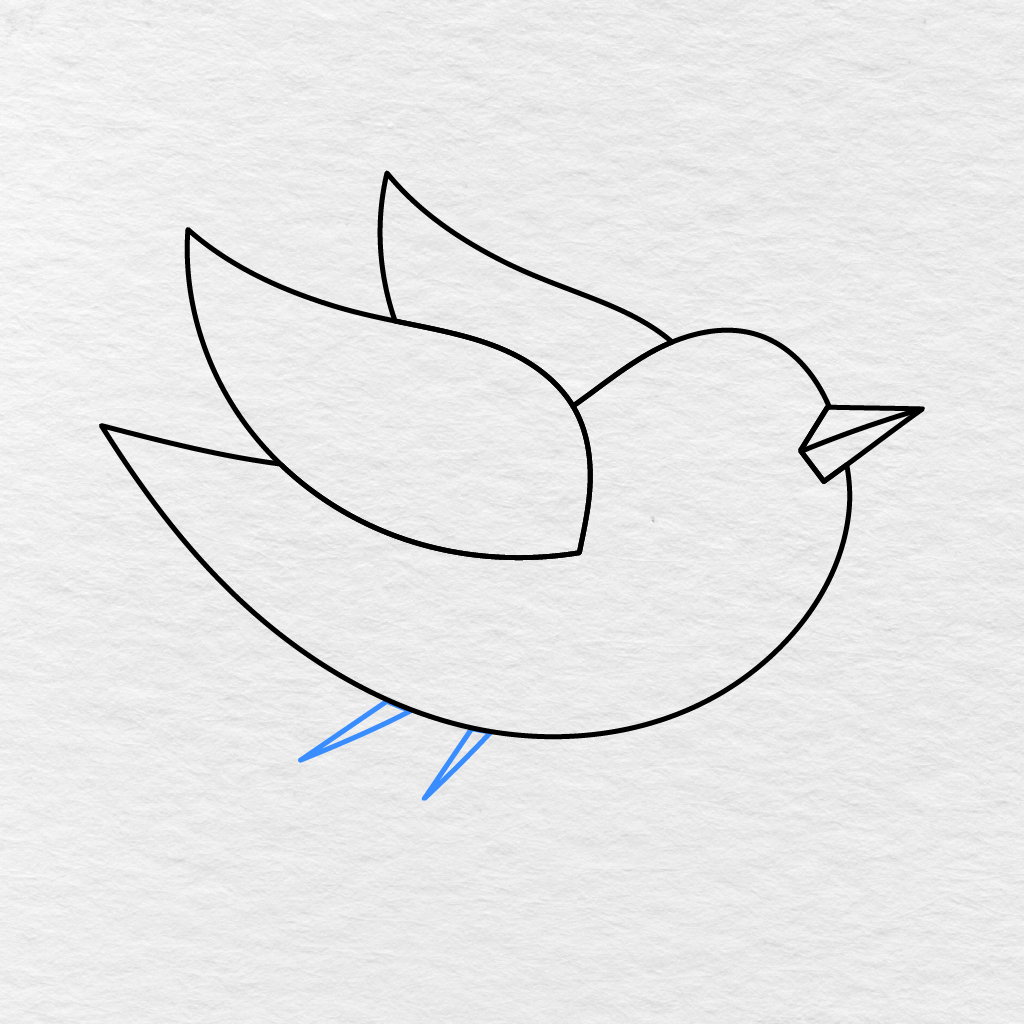
Underneath the bird’s body, we need to add two slender pointed legs.
Make sure to space the legs so there is some room between them. You can also angle them slightly backward.
Step 6: Draw the Feet and Toes
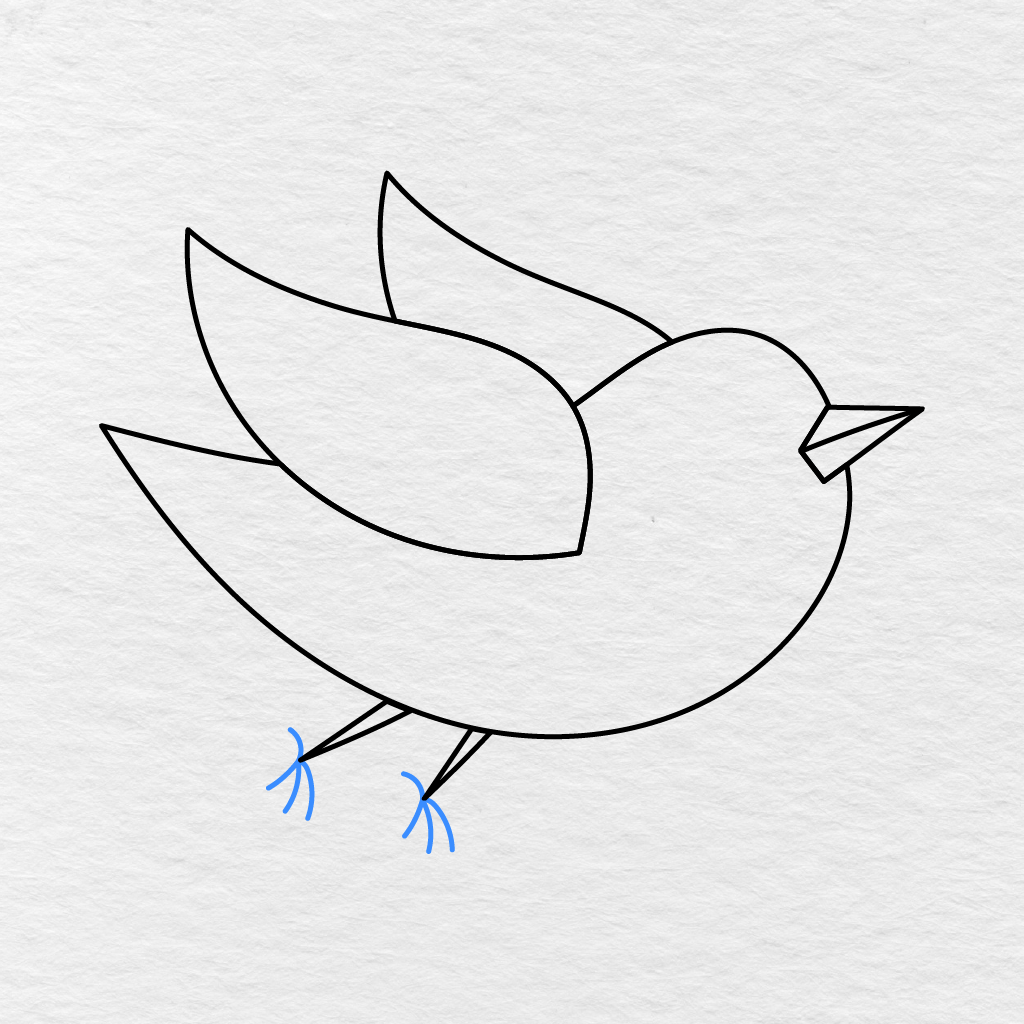
At the bottom of the bird’s legs, we need to add the feet.
Using short curved lines, make the bird’s thin toes and be sure to spread them out from each other.
Step 7: Add the Wing Feather Details
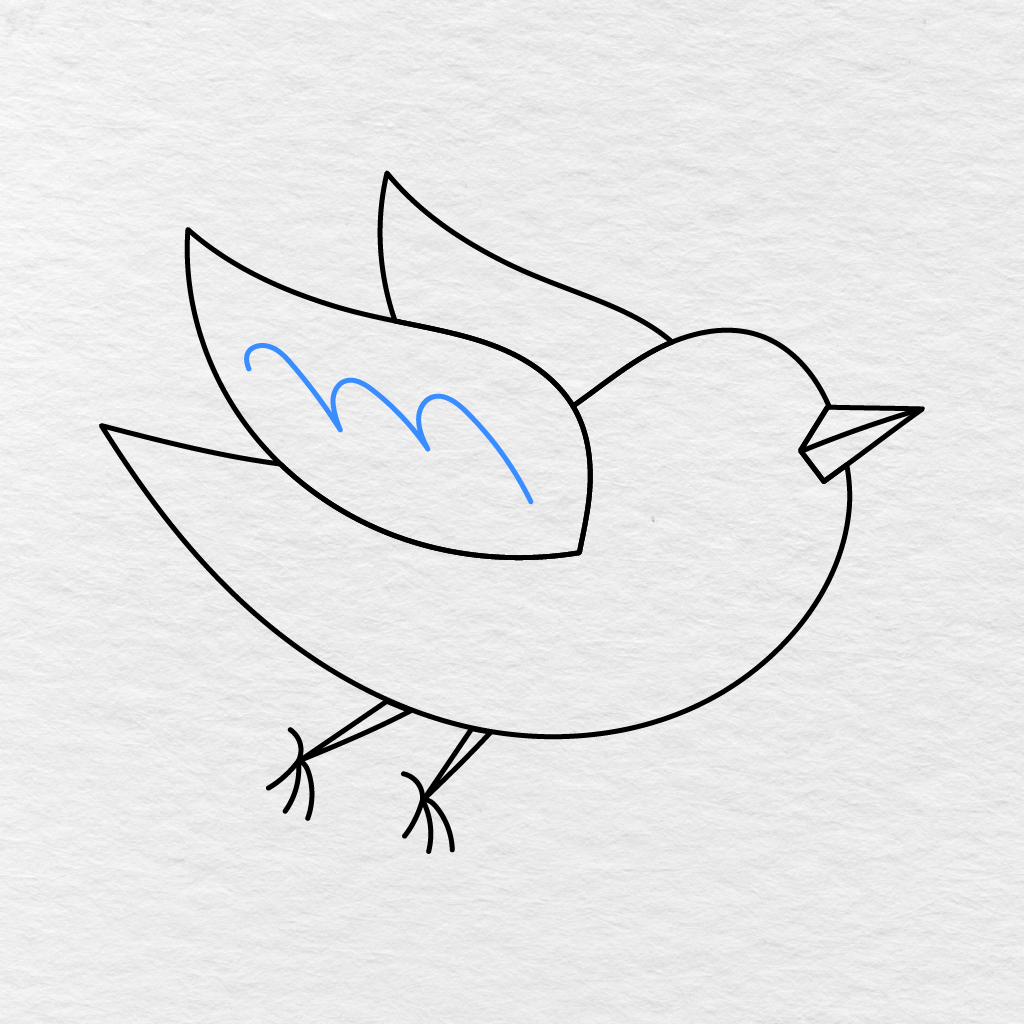
Inside the front wing, we need to make a long curved feather pattern.
Make three rounded curves along the line and then bring the last part of the curve down towards the lower front of the wing.
Step 8: Draw the Chest Feather Details
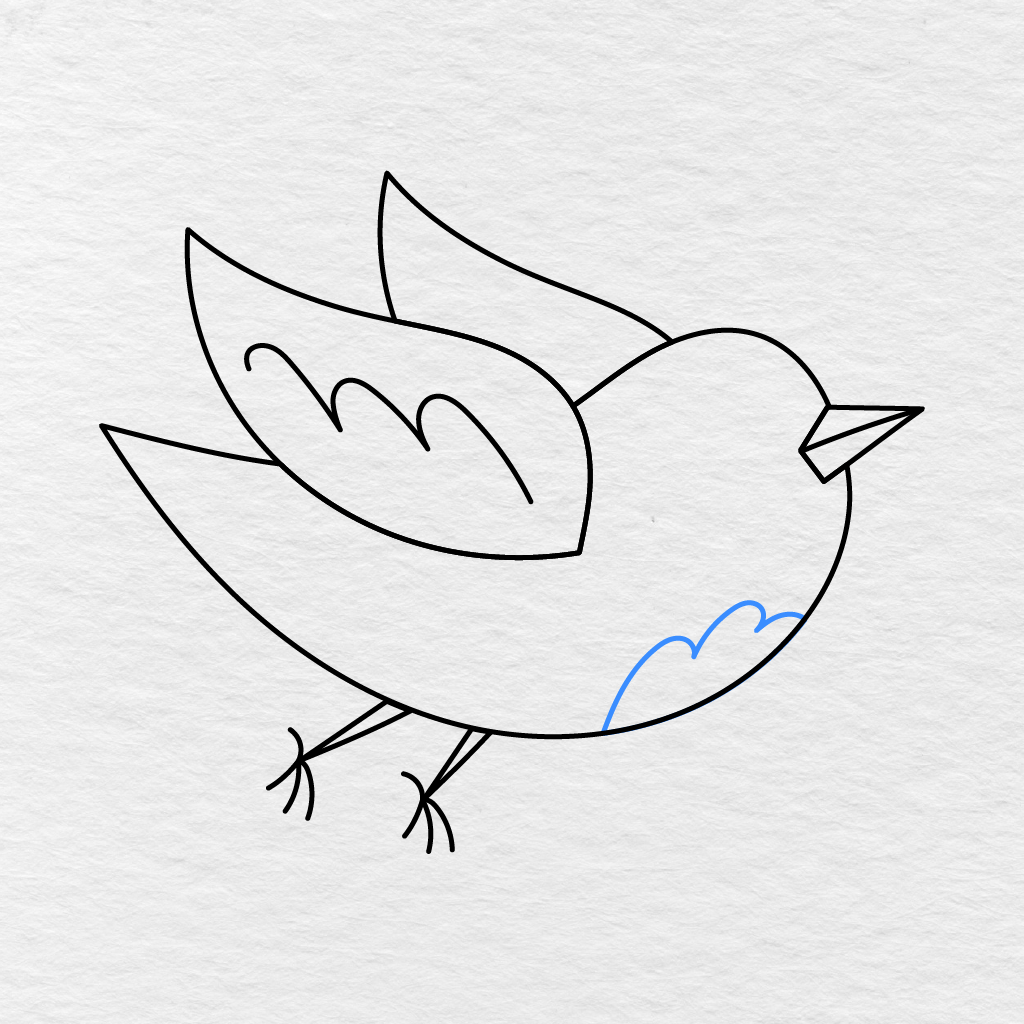
At the lower front part of the bird’s body, we will add a small feather pattern.
Using three rounded curves, make a curved pattern for the chest feather that follows the front of the bird’s body.
Step 9: Add the Eye
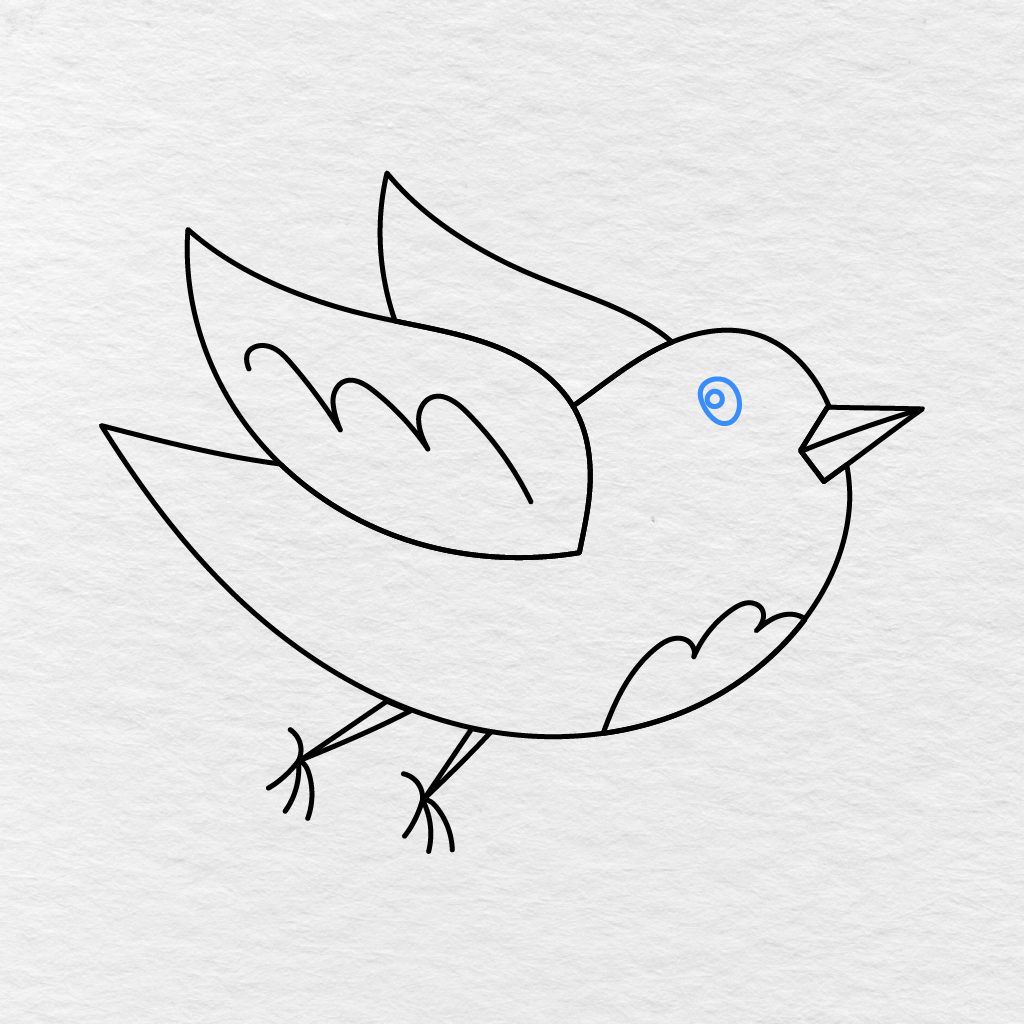
Near the front part of the bird’s head, we need to make a rounded eye.
Add a smaller circle inside the eye and leave a small white area for the highlight so it stands out against the darker surrounding areas.
Step 10: Draw the Cheek Detail
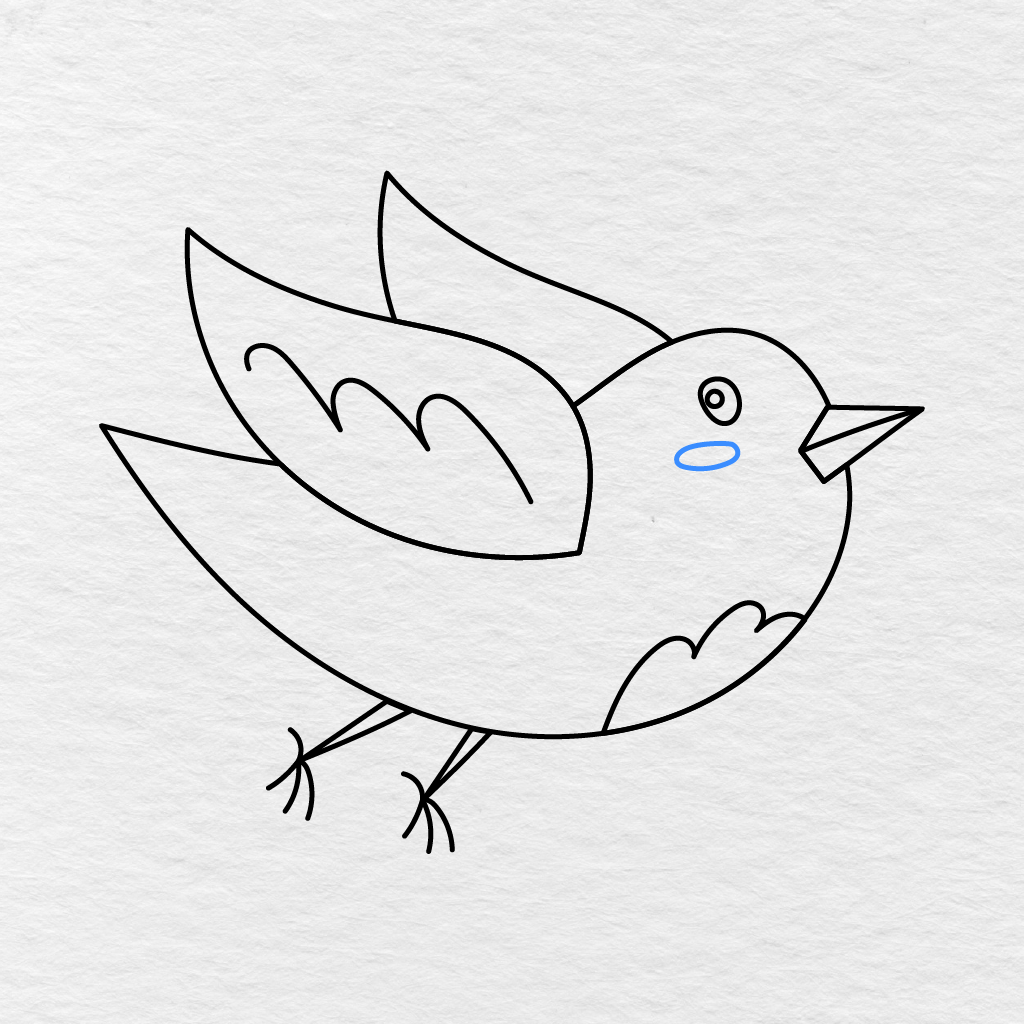
Right under the eye, make a small oval shape for the bird’s cheek.
Make sure to keep the oval narrow and put it between the eye and the beginning of the chest feather pattern.
Step 11: Color the Bird
It’s time to color our bird!
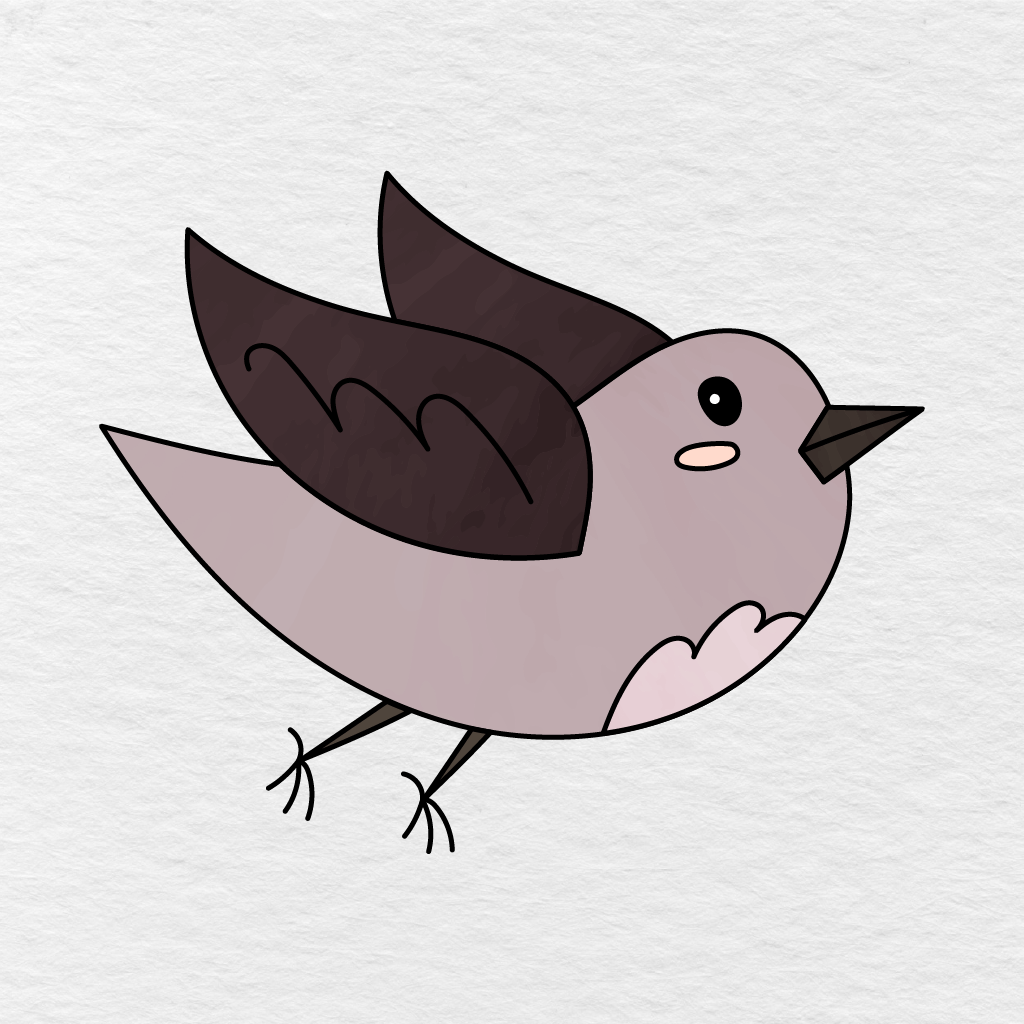
We colored our bird’s body with a light pink and used dark brown for its wings. The chest feather detail and cheek are light pink, while the beak and legs are dark brown. The eye is black with a white highlight. You can use any colors you want! Maybe blue and yellow, or red and green, or orange and pink…the choice is up to you!
Your easy bird drawing is complete!
Printable Bird Drawing PDF
Below is a printable bird drawing PDF that you can download right now and enjoy. It features our little bird with a rounded body, two raised wings, a pointy beak, slender legs and feet, a round eye, and some feather details.
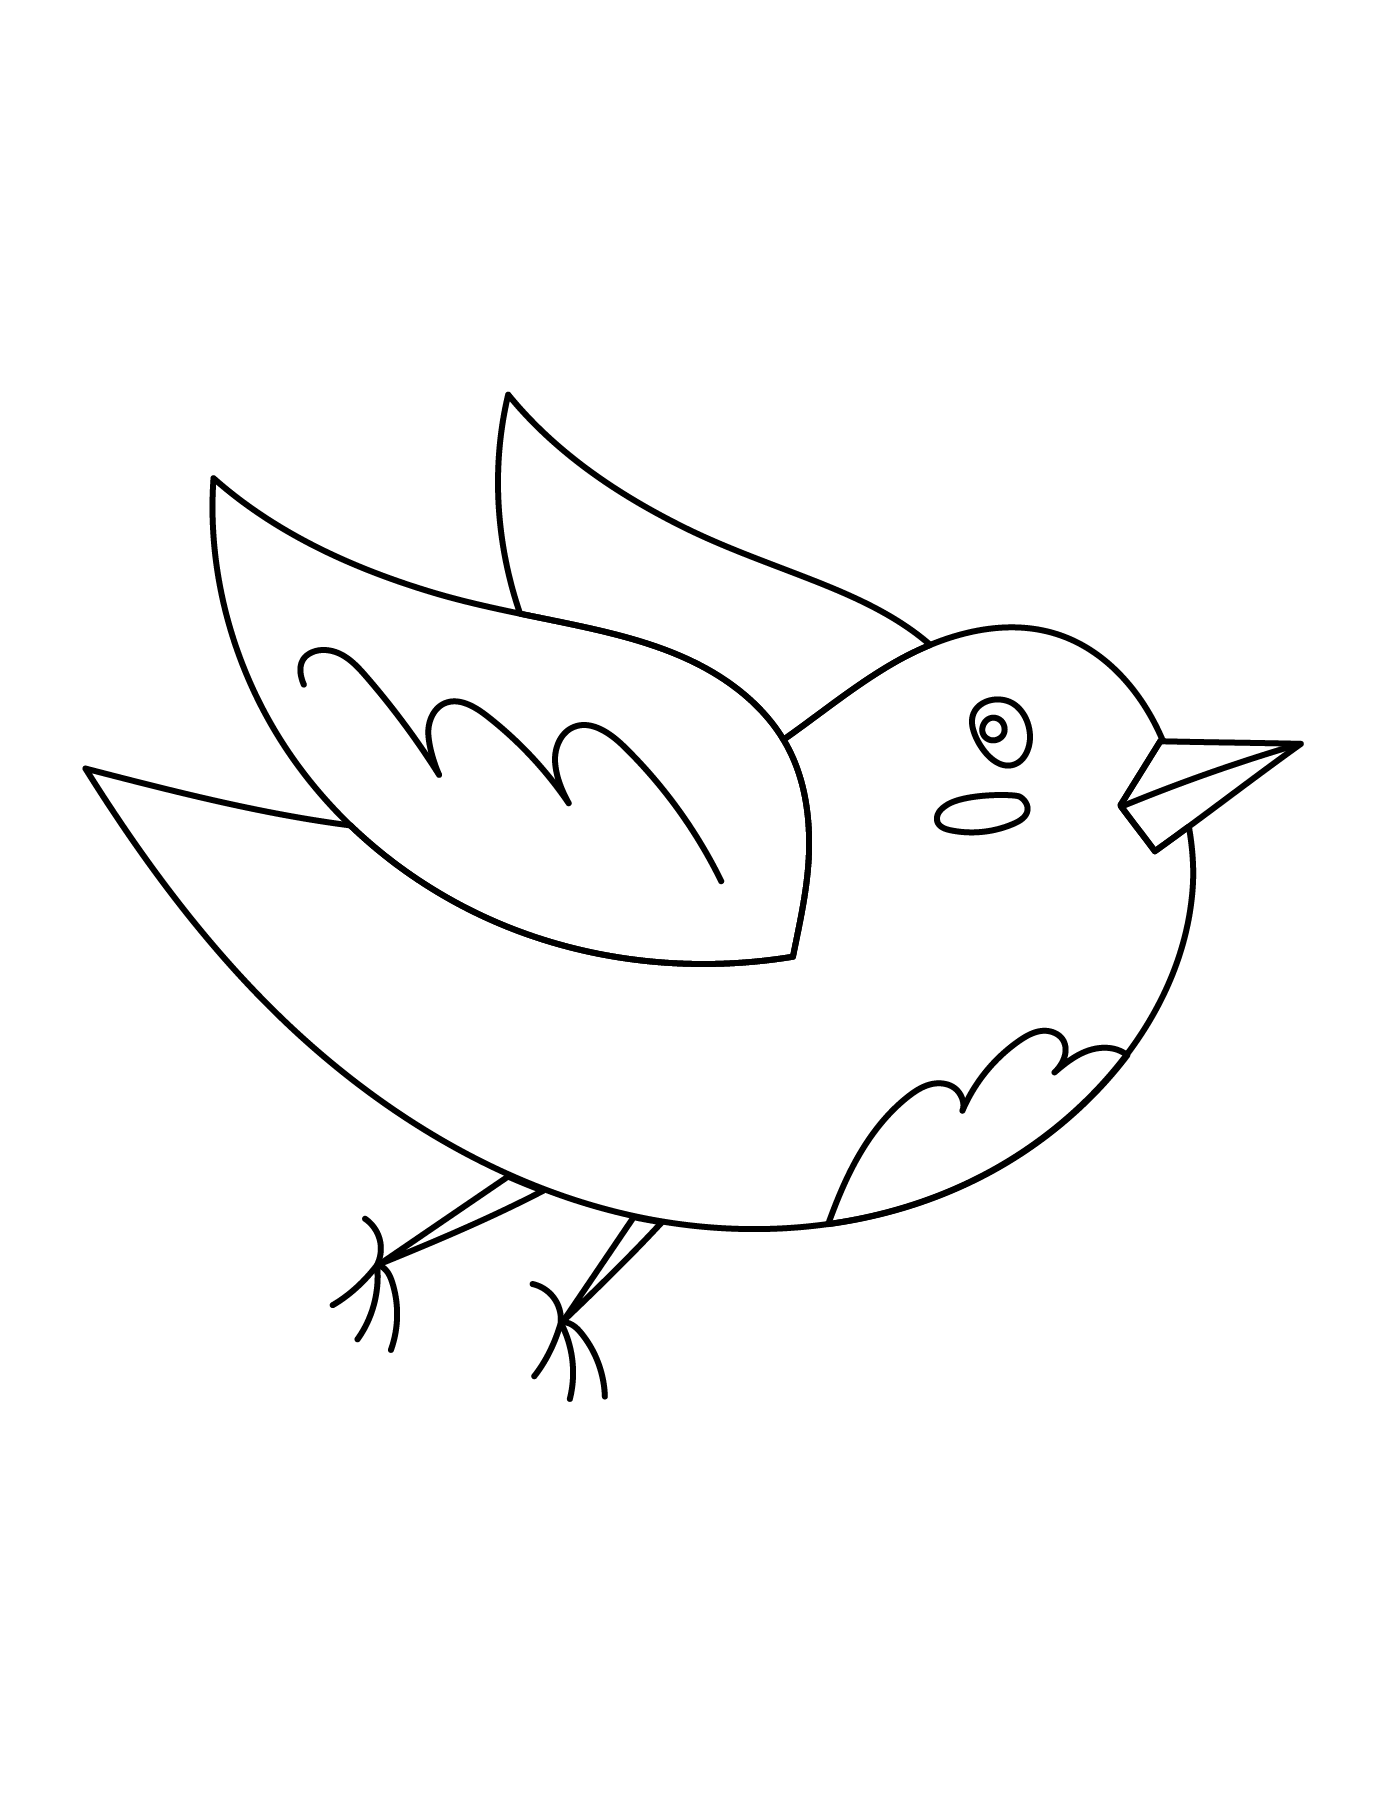
For more printable activities featuring different kinds of birds, be sure to check out our Bird Coloring Pages.
What colors did you choose for your bird? Be sure to share your creation with us in the comments below and don’t forget to share this post with another mom or dad, teacher, or friend.