How to Draw a Tree
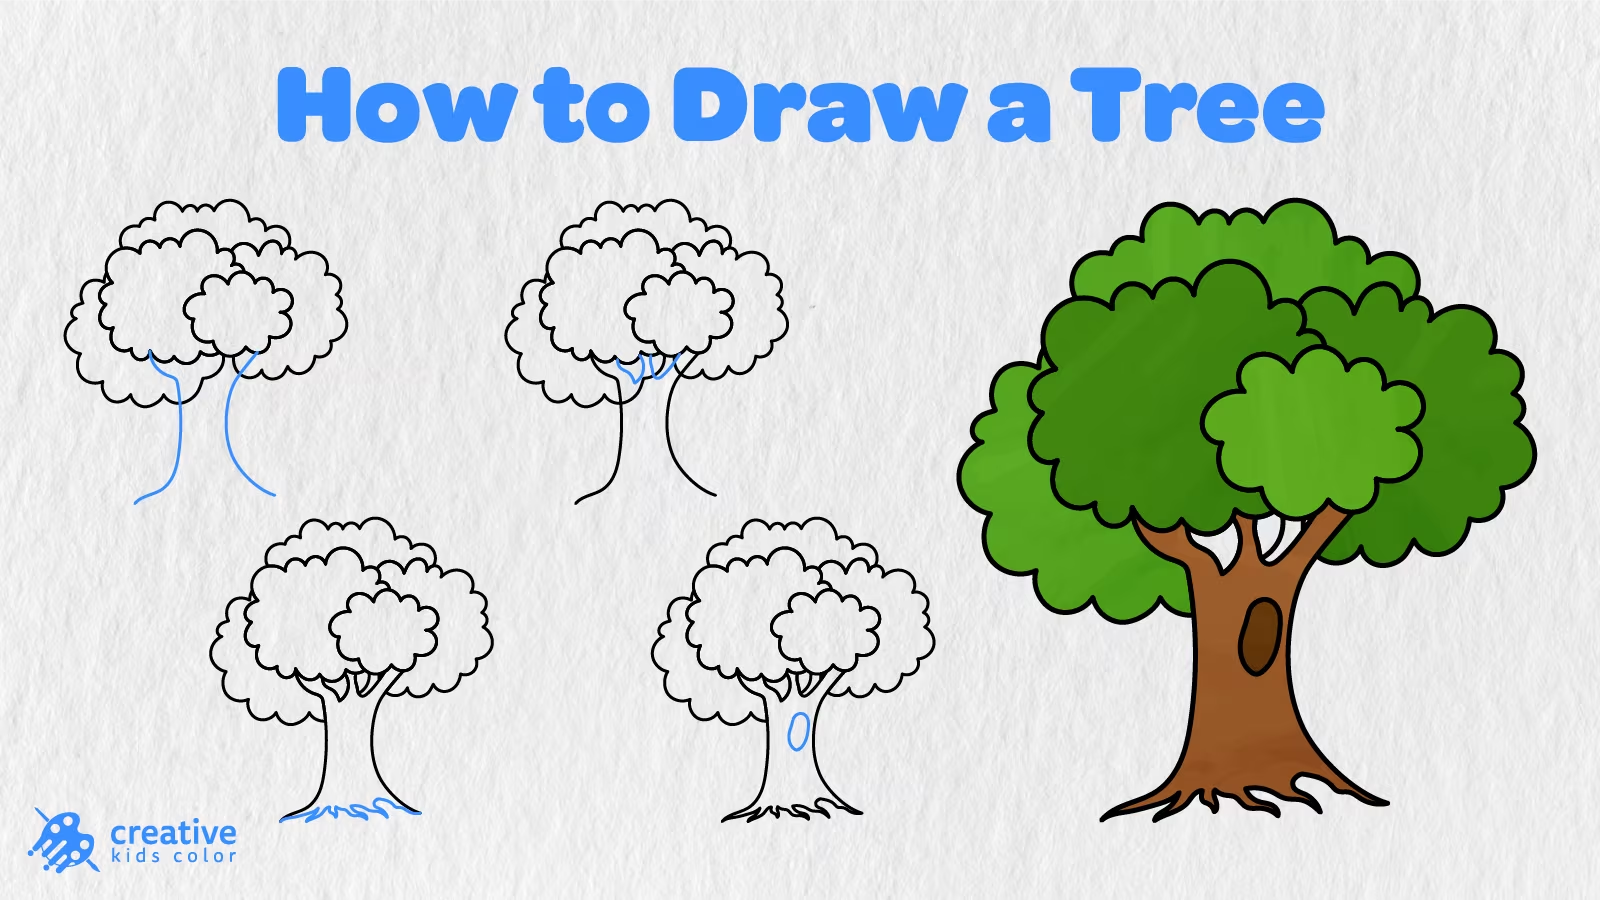
Trees are one of the most important things in nature as they purify air, provide shade, food, and habitat for animals and protect the soil from erosion. Let’s learn how to draw a tree and put the popular elements of nature together on a leafy canvas.
On this page, we have prepared an easy tree drawing for kids and beginners. We will start adding rounded leaf clusters one by one and then move on to the tree trunk and roots. Don’t forget to add a nice knot at the trunk part! Once our tree is ready, we will color it in.
The blue lines indicate the drawing process. Just follow all the steps in order and watch how a simple leaf cluster turns into a complete tree picture.
Easy Tree Drawing Step by Step
Get a pencil, paper, an eraser, and coloring tools ready to start. Draw the tree in the middle top part of the page, leaving enough space at the bottom for the trunk and roots.
Step 1: Draw the First Leaf Cluster

Let’s start with one simple rounded leaf cluster.
Add several curved lines connected to each other until you reach the end of the curve. You should get a fluffy leaf cluster at the top of the future tree.
Step 2: Add the Left Leaf Cluster

We will add another leaf cluster to the left of the first one. Make this one larger and a bit lower than the previous.
Start the line on the left side at the top of the picture and add several smooth oval lines to the right. Follow the curve directions until you reach the leaf cluster end.
Step 3: Draw the Right Leaf Cluster

To continue leaf cluster adding, we will do the same but on the right side now.
This time, make the leaf cluster bigger than the first one but let it be placed behind the smaller cluster to the left to see the left cluster better.
Step 4: Add the Top Leaf Cluster

Now let’s add one more leaf cluster at the top to make the leafy crown fluffy and full.
Make some rounded lines and place them on the left side top so that this cluster is located behind the others. This time, we will draw a leafy shape with connected curved lines.
Step 5: Draw the Lower Left Leaf Cluster

Next, let’s add another leaf cluster that will be the lower and left one. Once again, we will use several curved lines.
Make this leafy cluster larger and continue it with the lines that will be placed behind the already drawn leaves.
Step 6: Draw the Tree Trunk
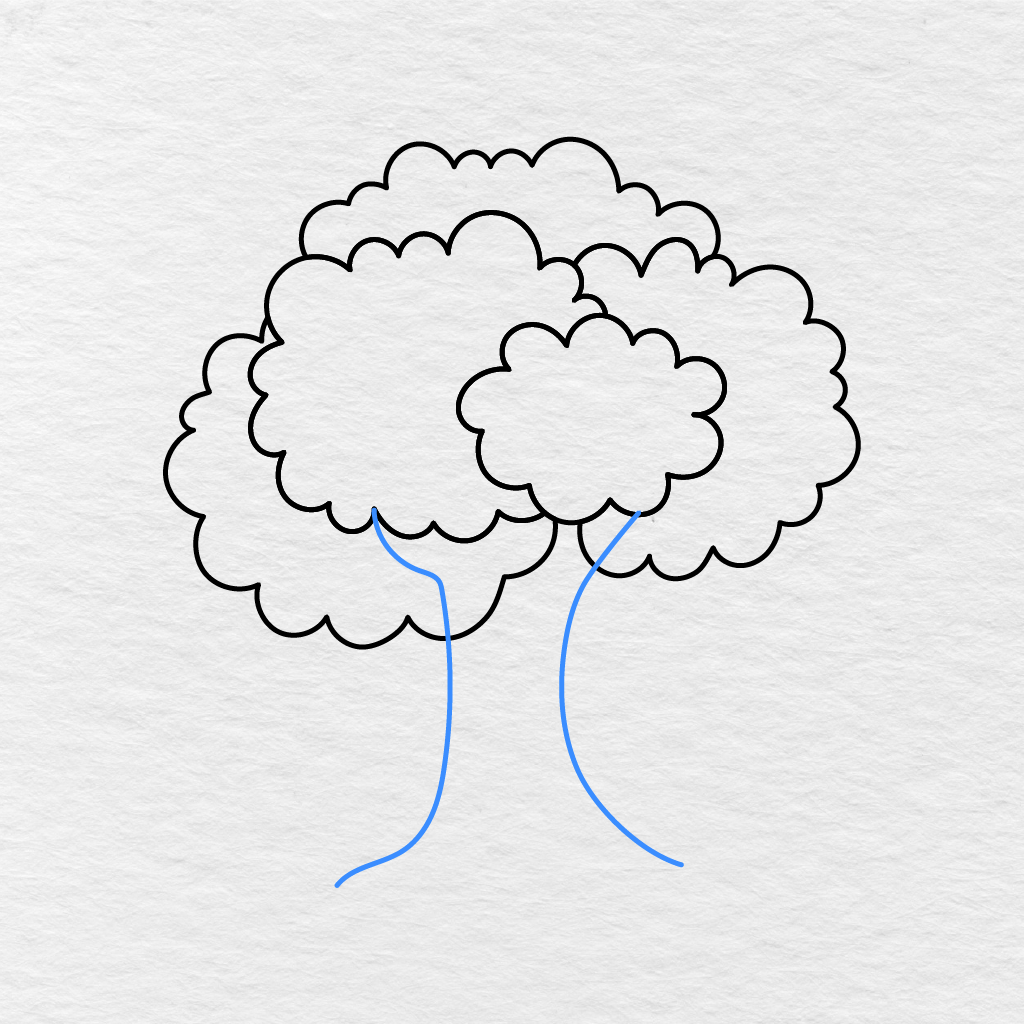
Under the leafy crown, we will add two long curved lines that will represent the tree trunk. Make sure the trunk begins beneath the leafy clusters.
Start these two lines from under the leafy cluster and make the trunk widen as it goes down to the bottom of the page.
Step 7: Add the Branches
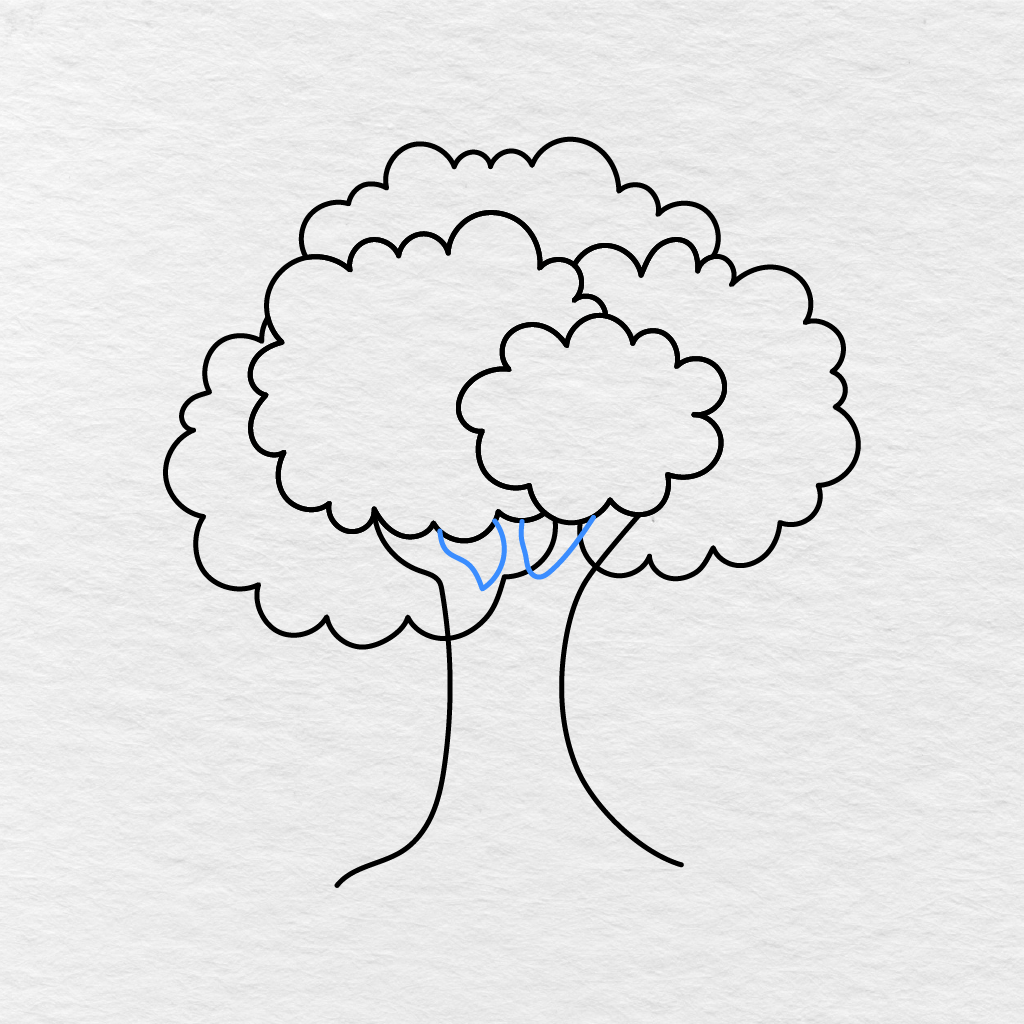
Now, under the leafy part of the tree, add several curved lines to continue the trunk lines.
These lines will be the tree branches, showing how the trunk widens at the bottom of the crown.
Step 8: Draw the Tree Roots
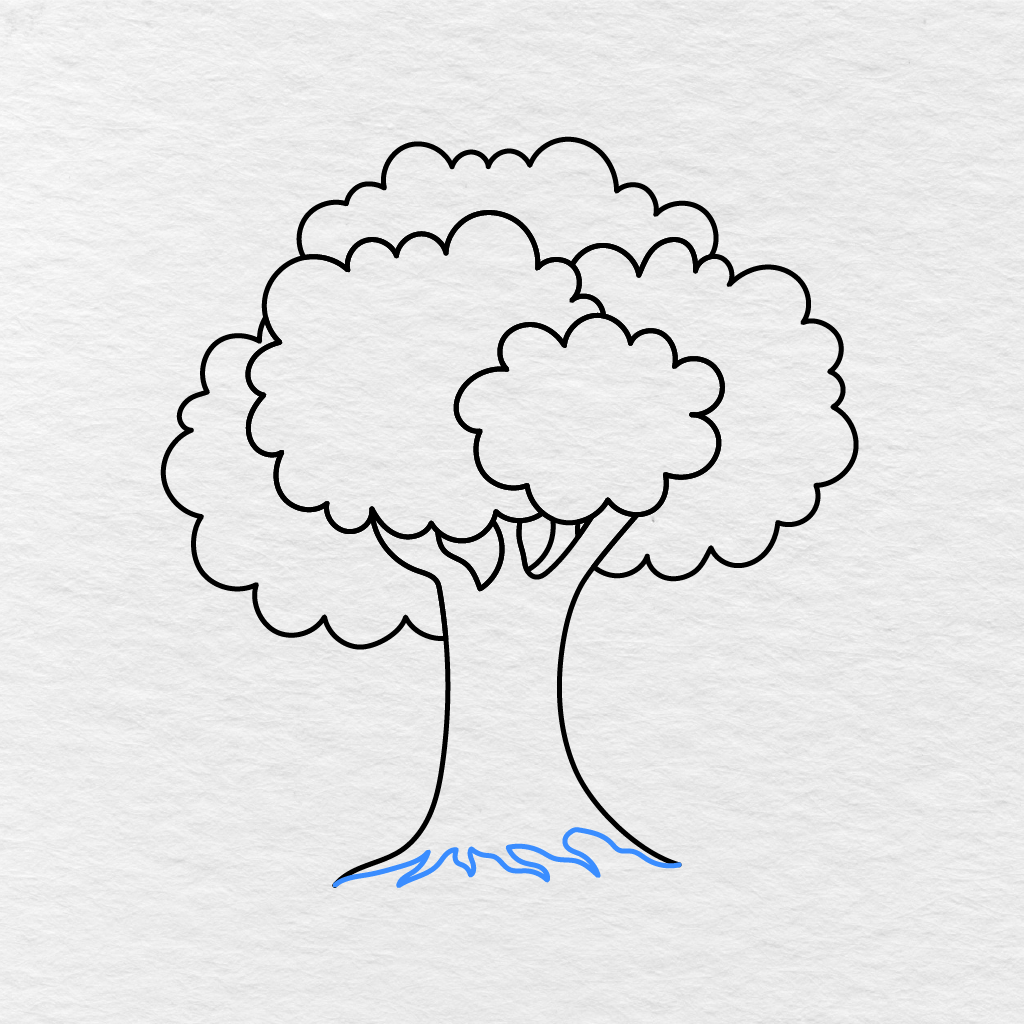
Let’s add several lines to the trunk bottom part. First of all, make sure there is enough space at the bottom of the picture and start adding long pointed lines.
Follow the direction of the lines. Some of them can go to the left and some to the right, creating the tree roots.
Step 9: Add the Trunk Knot
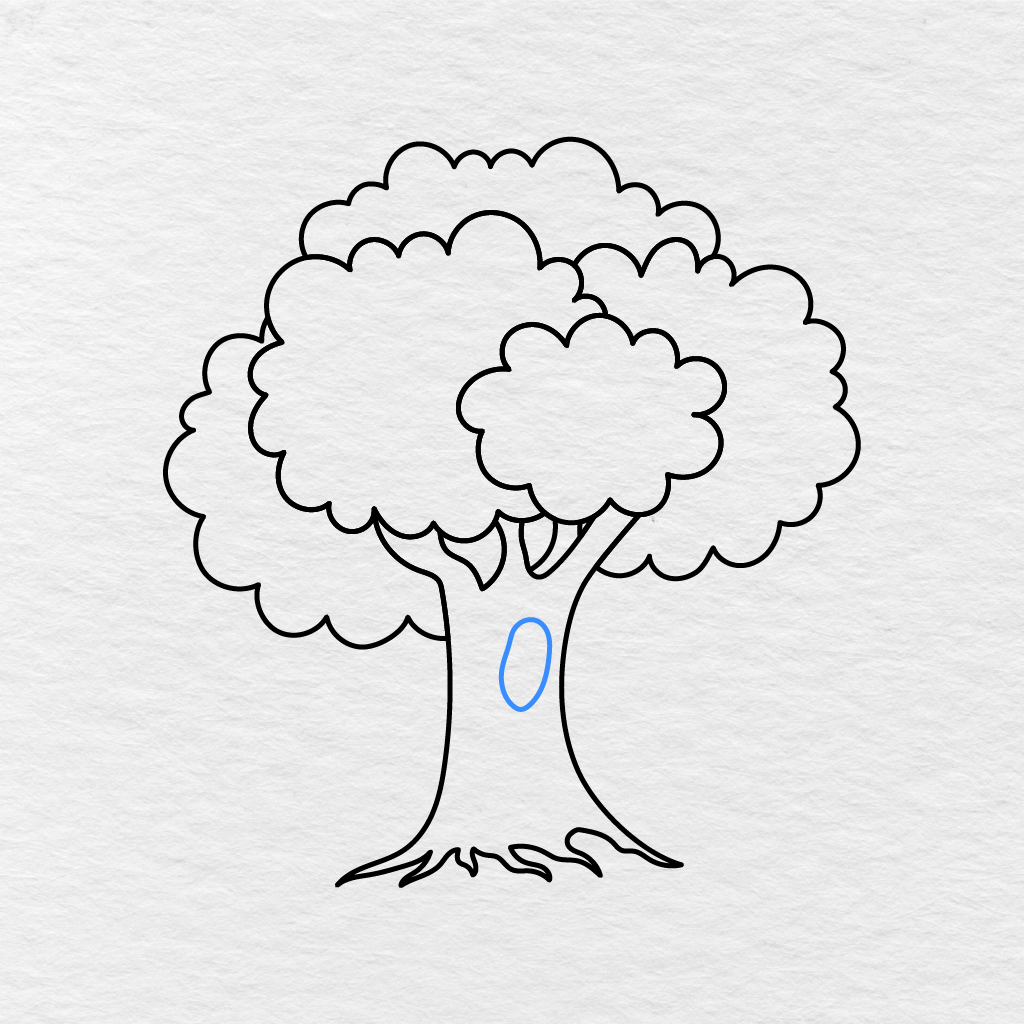
Inside the trunk, we will add one small oval shaped line to make a knot. It will be the last step before coloring, so take your time and add this detail carefully. The knot adds a small detail to the tree trunk.
Step 10: Color the Tree
Finally, it’s time to color the tree!
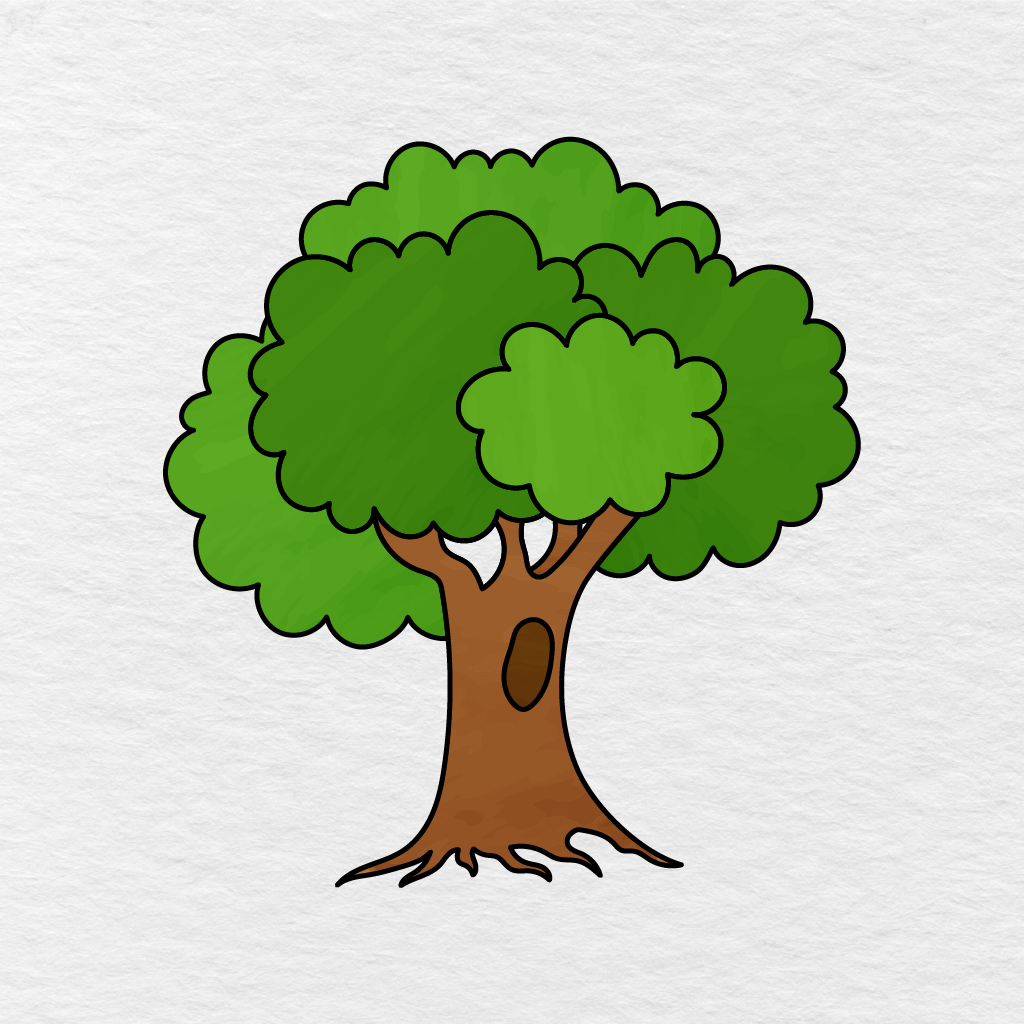
We have chosen different green colors for leaf clusters to make it look more realistic. The trunk and the branches were colored in brown, and the trunk knot was filled in with a dark brown color.
Use the colors you like to fill in your leafy crown, trunk, branches, and knot. Maybe, you can use light green, dark green, yellow, orange, and red colors to make your tree look like it’s in spring or summer or in the autumn season.
Your Easy Tree Drawing Is Complete!
Printable Tree Drawing PDF
Below you can find a printable tree drawing PDF that you can use now or save for later.
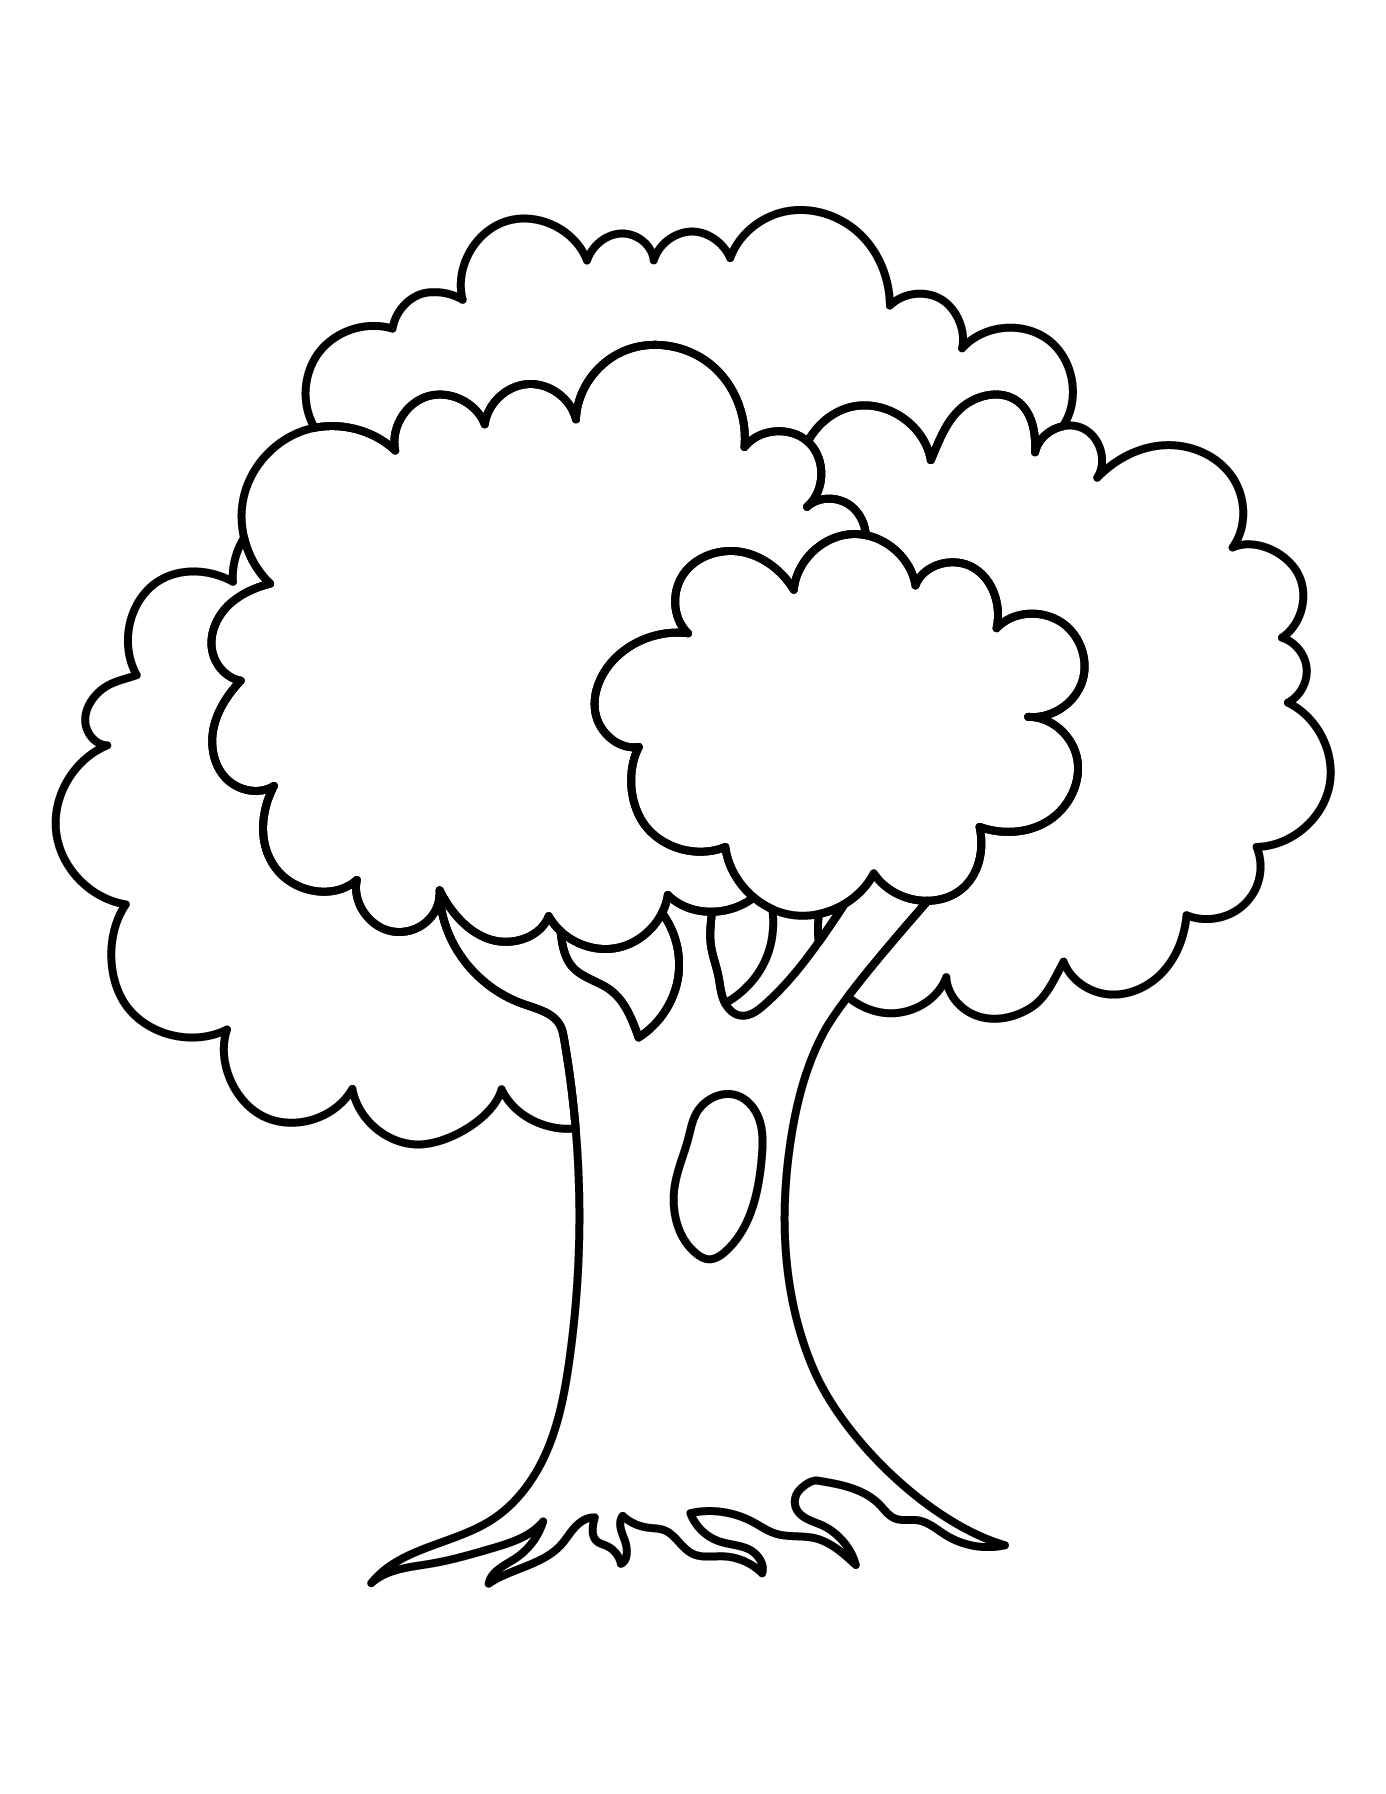
For more fun and easy activities like this, make sure to check out our Nature Coloring Pages.
What colors did you choose for your tree? Let us know in the comments below and don’t forget to share this tree drawing tutorial with another parent, teacher, or friend!