How to Draw a Turtle
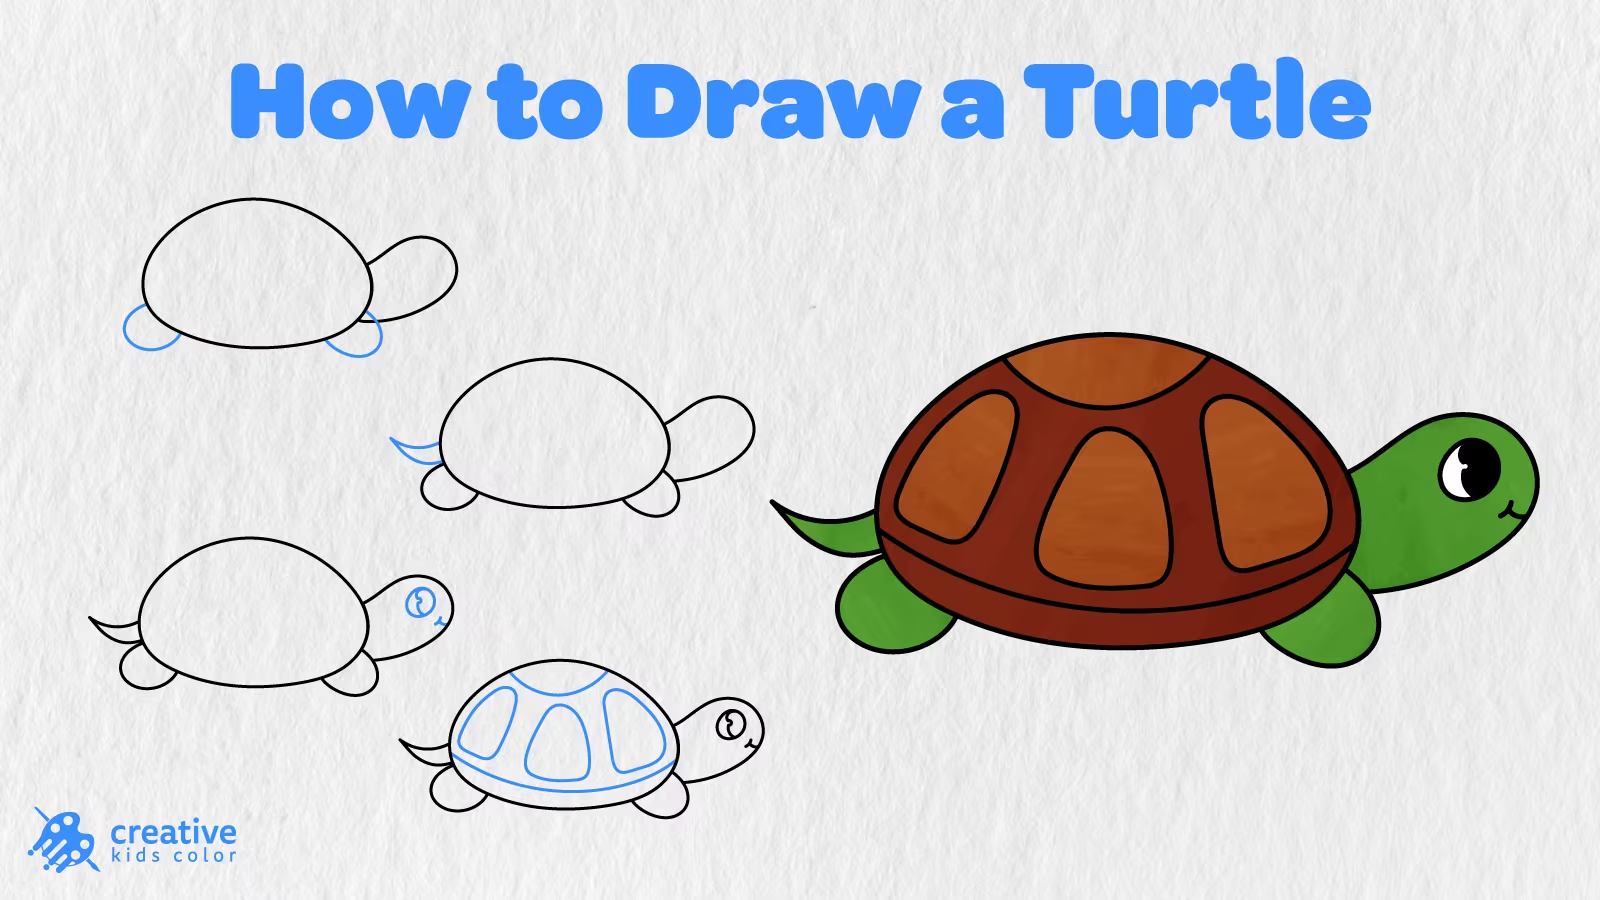
A turtle is always carrying its cozy little home on its back. With its round shell, short legs, pointed tail, and adorable face, this reptile is one of those animals that can look cute without needing too many small details. In this simple step by step guide, you will learn how to draw a turtle in only 7 easy steps.
The illustrated guide below is perfect for kids and beginners who want to create a cute little animal sketch. You will start by adding the big shell, and then move on to the head, legs, and tail. After that, you will add the facial features, shell details, and color.
All the steps are rather simple and only require you to make a few rounded marks. After you add eyes, a smile, and a few shell details, your cute little turtle will look ready to crawl right off the page.
Easy Turtle Drawing Step by Step
Make sure you have a pencil, paper, eraser, and coloring tools with you before you begin. The blue lines in the images below indicate the strokes you have to make in each step.
Step 1: Draw the Turtle Shell

Start by sketching a big rounded shape in the center of the page. The shell has to be wide and resemble an oval with a flat bottom.
Leave some space on the right side to add the head, and some room below to add the legs.
Step 2: Add the Turtle Head
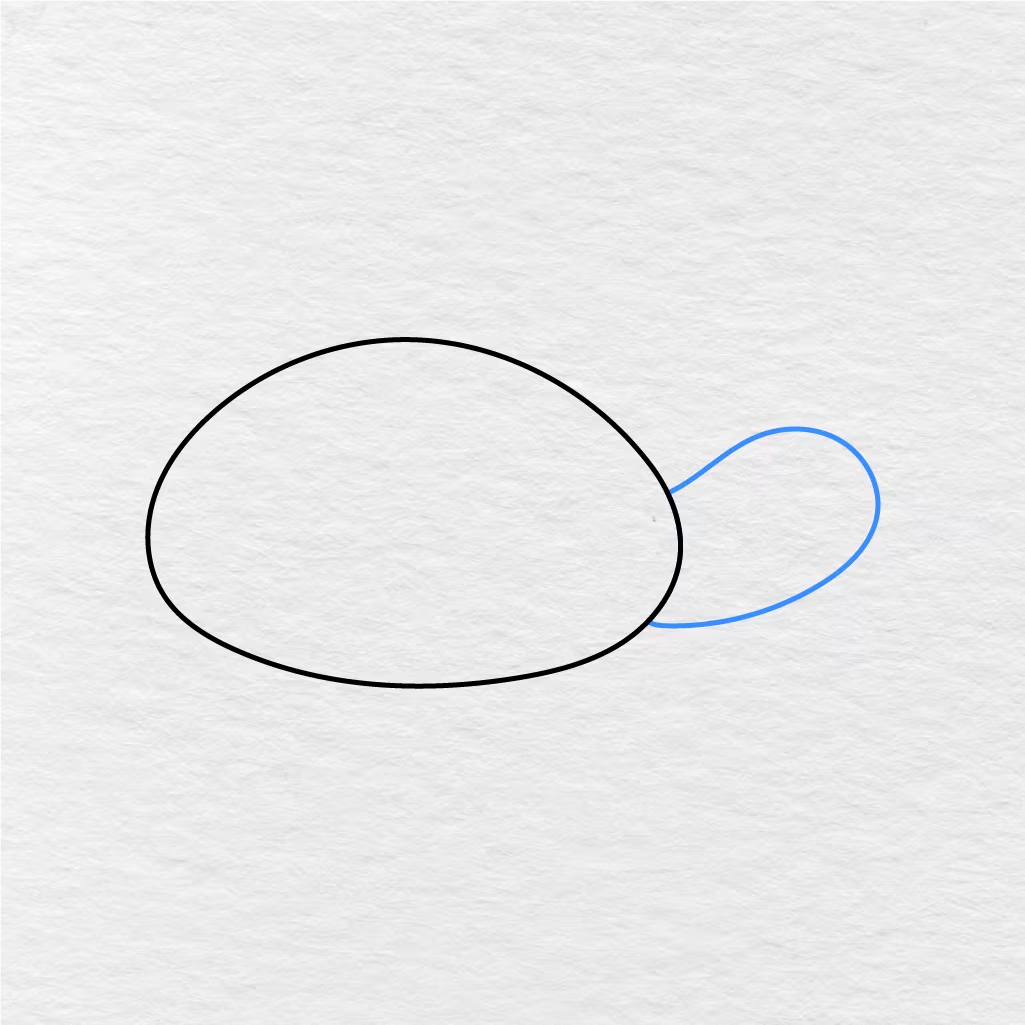
Now, add a rounded shape on the right side of the shell. Make sure it extends out from the shell, just like in the image below.
Your turtle now has a simple head and body.
Step 3: Draw the Turtle Legs
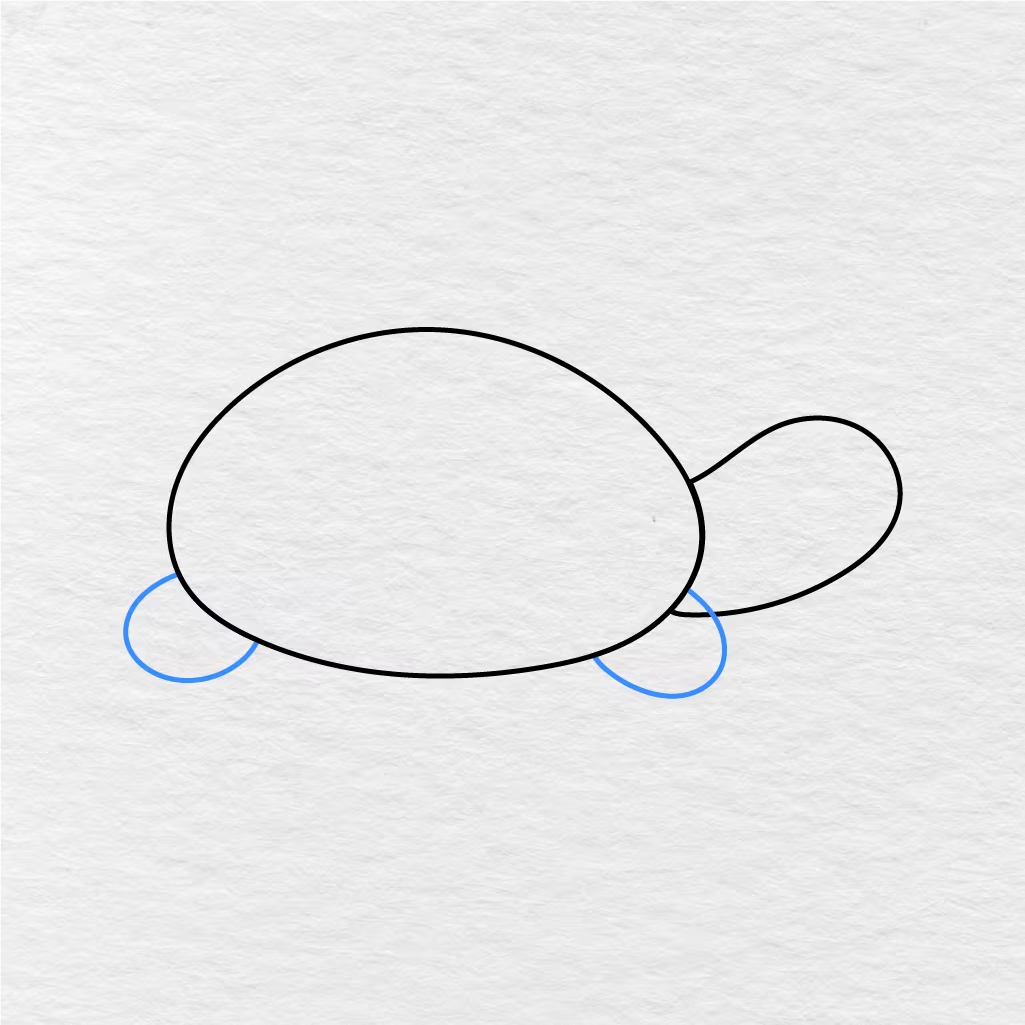
Add two simple rounded legs below the shell. Make sure one leg is placed toward the back, and one leg is placed toward the front.
Simple lines like these will allow you to give your turtle a cute little crawling look.
Step 4: Add the Turtle Tail
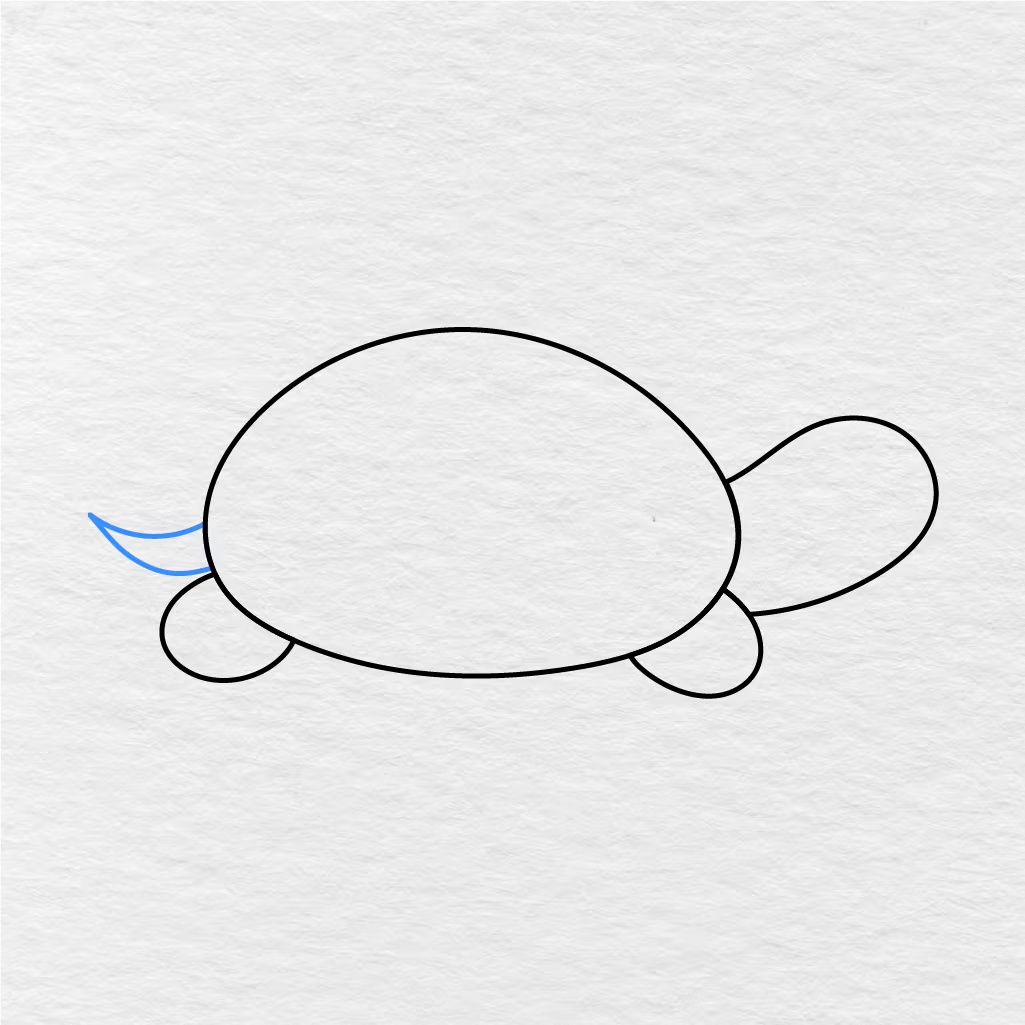
Now, all your turtle needs is a little pointed tail on the left side to have a complete little turtle look. Make it short and slightly curved at the end, like in the image below.
This simple addition will complete the turtle’s body shape.
Step 5: Draw the Turtle Face
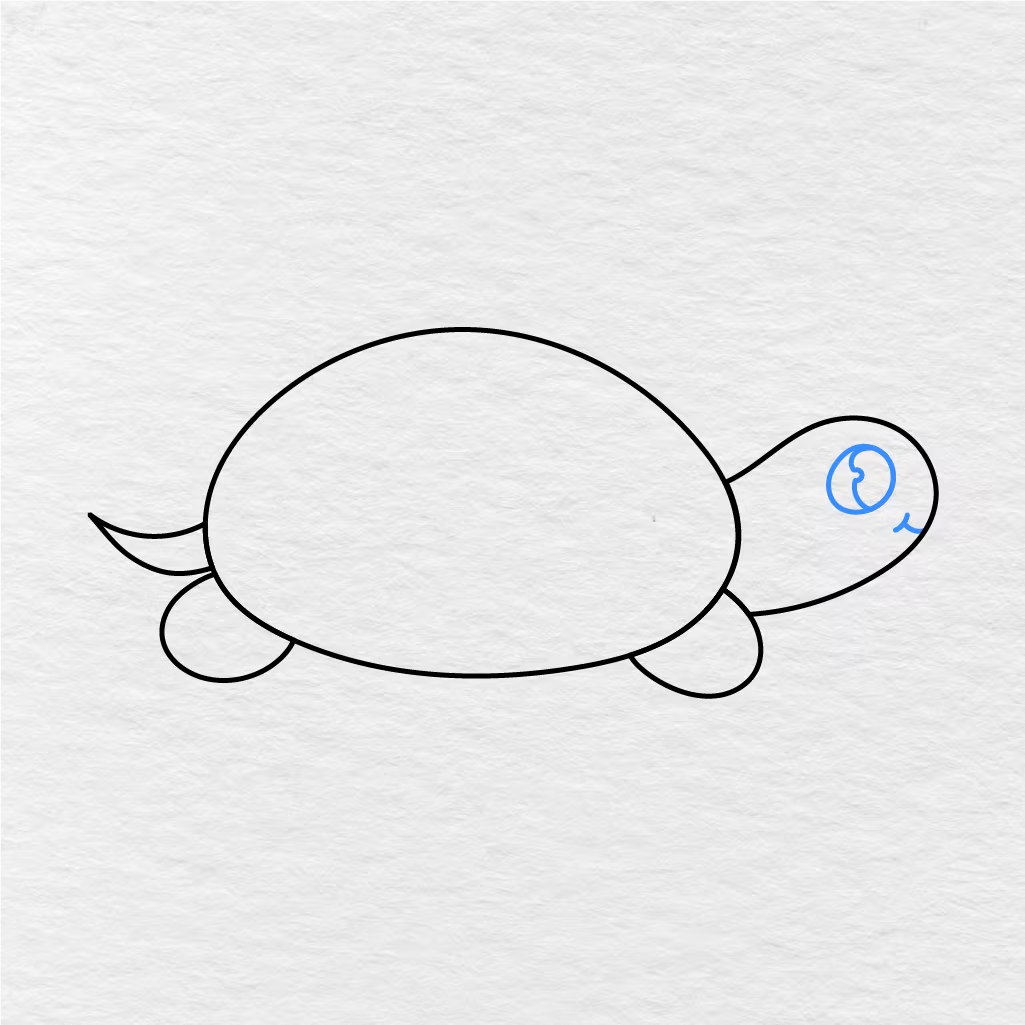
Now it is time to add a cute little face to your cute little turtle. Add a big eye and a small curved line for a smile, like in the image below.
A big cartoon like eye and a small smile are simple additions that will make your little turtle look friendly and approachable.
Step 6: Add the Shell Details
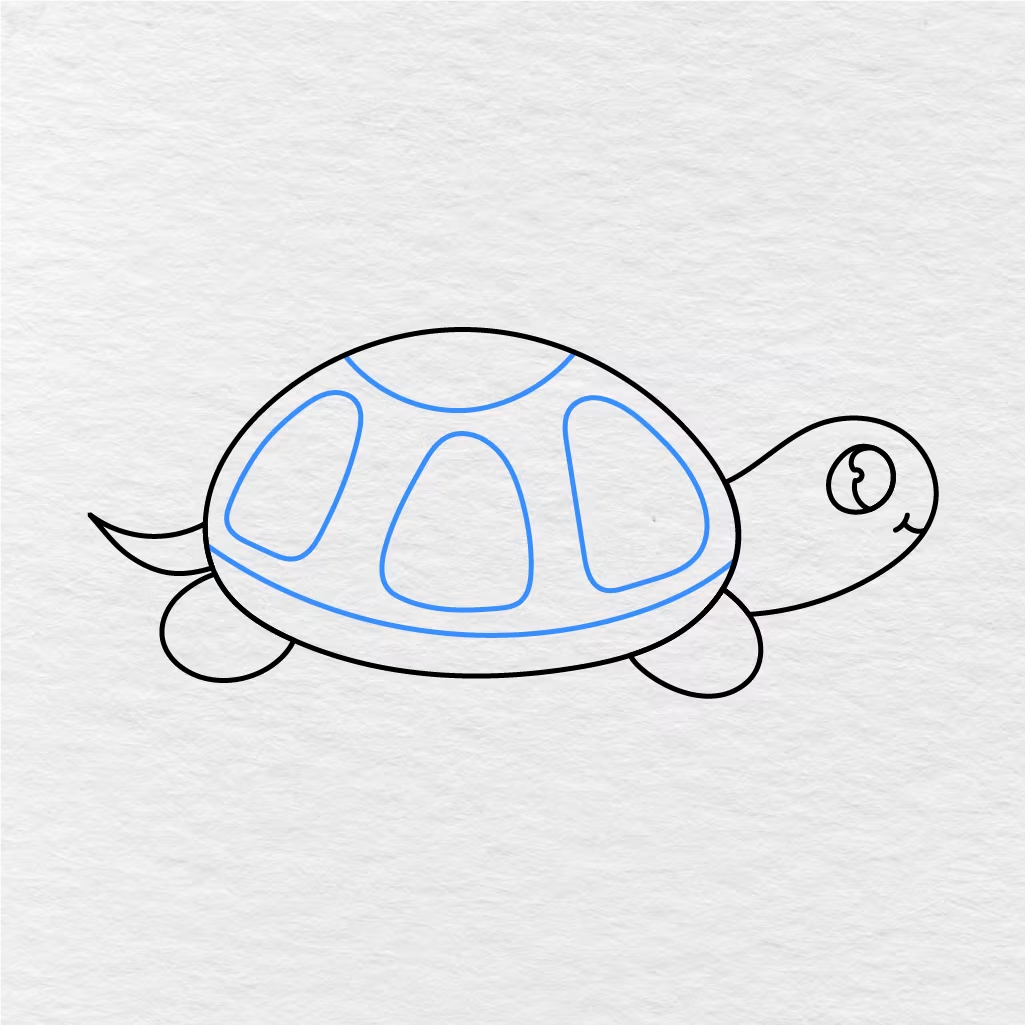
Now, add a few details to the shell. Start with a curved line at the bottom of the shell, and add a few rounded shapes at the top of the shell, like in the image below.
The details will give the shell a nice look and character.
Step 7: Color the Turtle
Use the image below for reference and fill in the areas with color to complete your cute little turtle. In our example, we used green for the head, legs, and tail. We used dark brown for the shell, and light brown for the details on the shell.
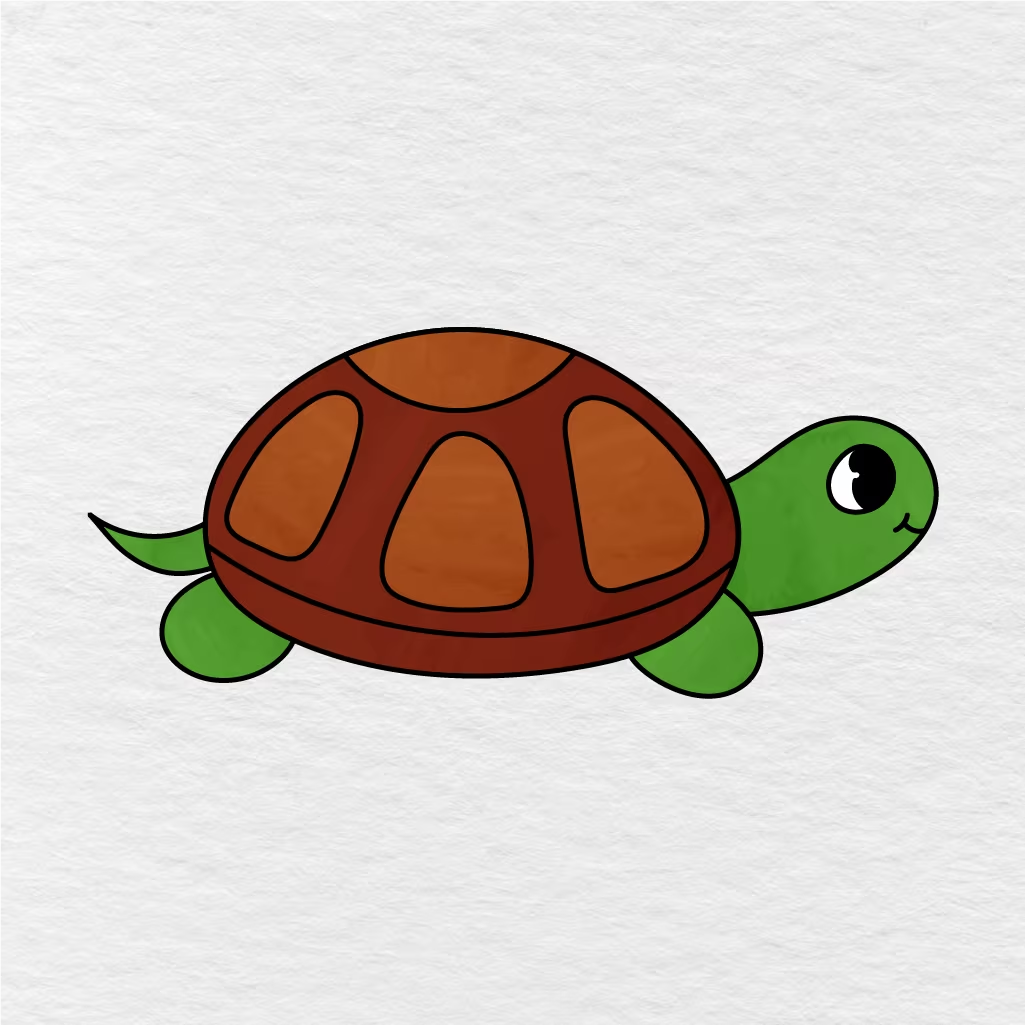
You can use different colors for your turtle if you like. After you finish filling in the colors, your easy turtle drawing is complete!
Printable Turtle Drawing PDF
You can also print the image below as a PDF and use it as a coloring page. This way, kids can enjoy coloring the cute little turtle and save it for future reference the next time they want to try drawing a turtle again.
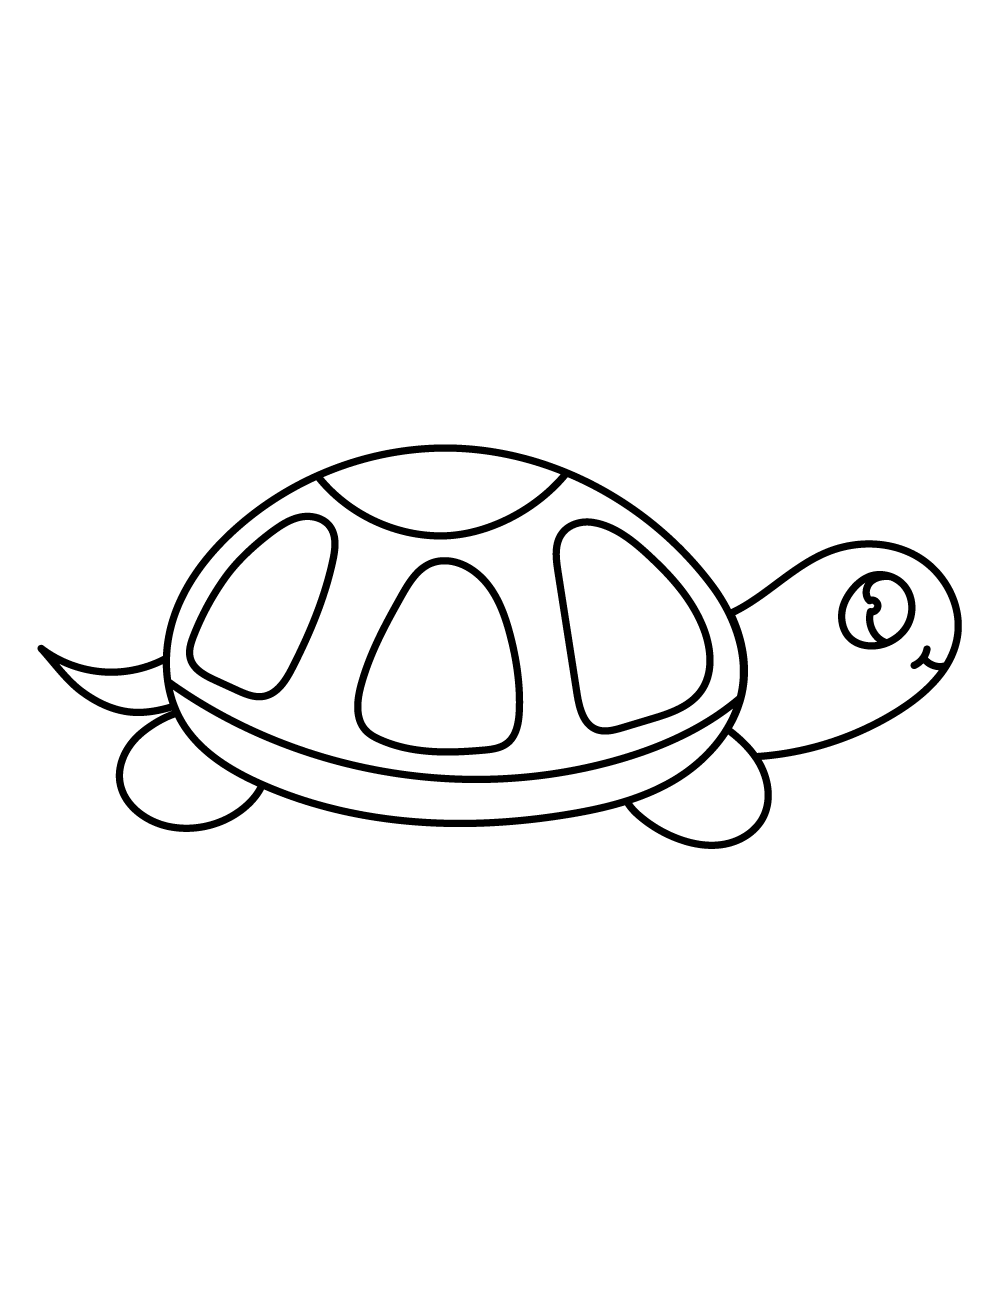
For more turtle themed pictures to color, you can also visit our Turtle Coloring Pages collection.
If your child, student, or class enjoyed this fun printable turtle drawing activity, please let us know in the comments below. You can also share this page with another parent, teacher, or kid who would enjoy it!