How to Draw a Book
A book can contain a bedtime tale or a classroom lesson, and even before adding words, simply drawing out an open book shape can make us feel as though we’re about to absorb some knowledge. If you’d like to know how to draw a book too, you’ll love this simple step by step drawing guide!
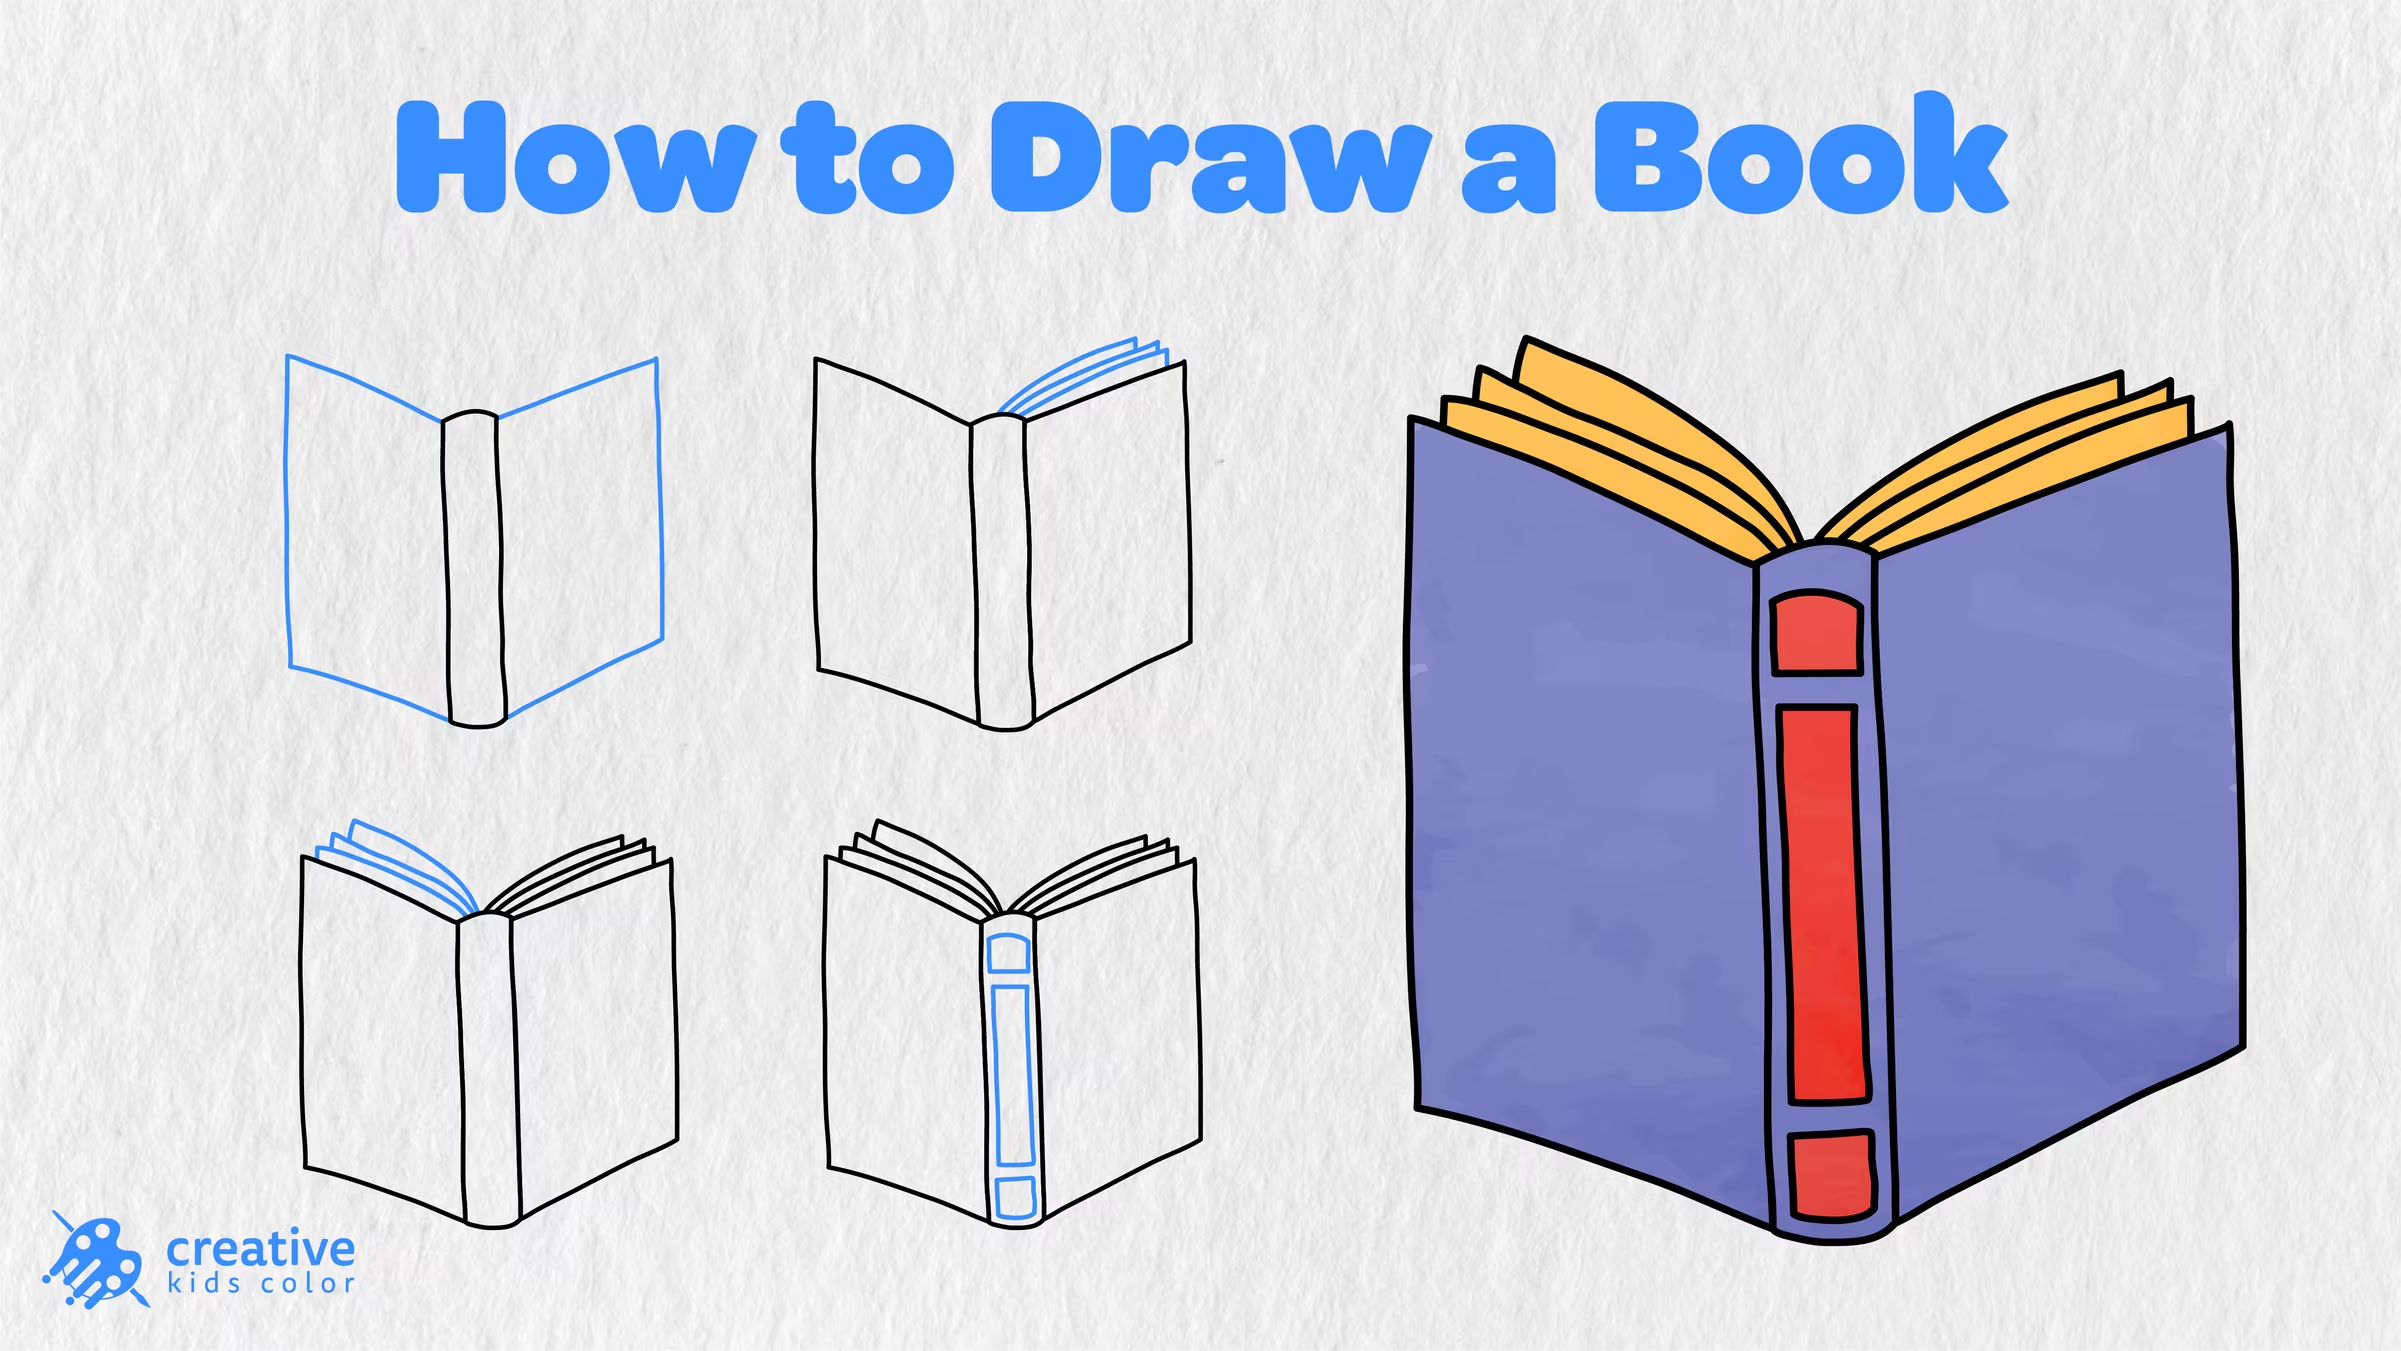
Our easy book drawing is made for kids and beginners, and it only requires six simple steps to create. We’ll be completing the book drawing by first completing the spine, adding the open book covers, and then completing the page shapes on both ends. We’ll finally be adding a few finishing touches and color to our book.
Although the book drawing may look a bit intimidating to recreate, it’s honestly just a few simple lines and shapes. Once we’ve added those spine and page lines, we’ll have created a nice book shape for our easy drawing of a book, even if we won’t be adding every word in it!
Easy Book Drawing Step by Step
Once you’ve gathered up some supplies, you’re all set to begin drawing a book with this easy step by step guide. The blue lines in the drawing below will highlight what to add during each step.
Step 1: Draw the Book Spine

We’ll begin our book drawing by creating the long, narrow spine in the center of the page. Be sure to make the sides mostly straight while rounding the top and bottom ends.
Step 2: Add the Book Covers
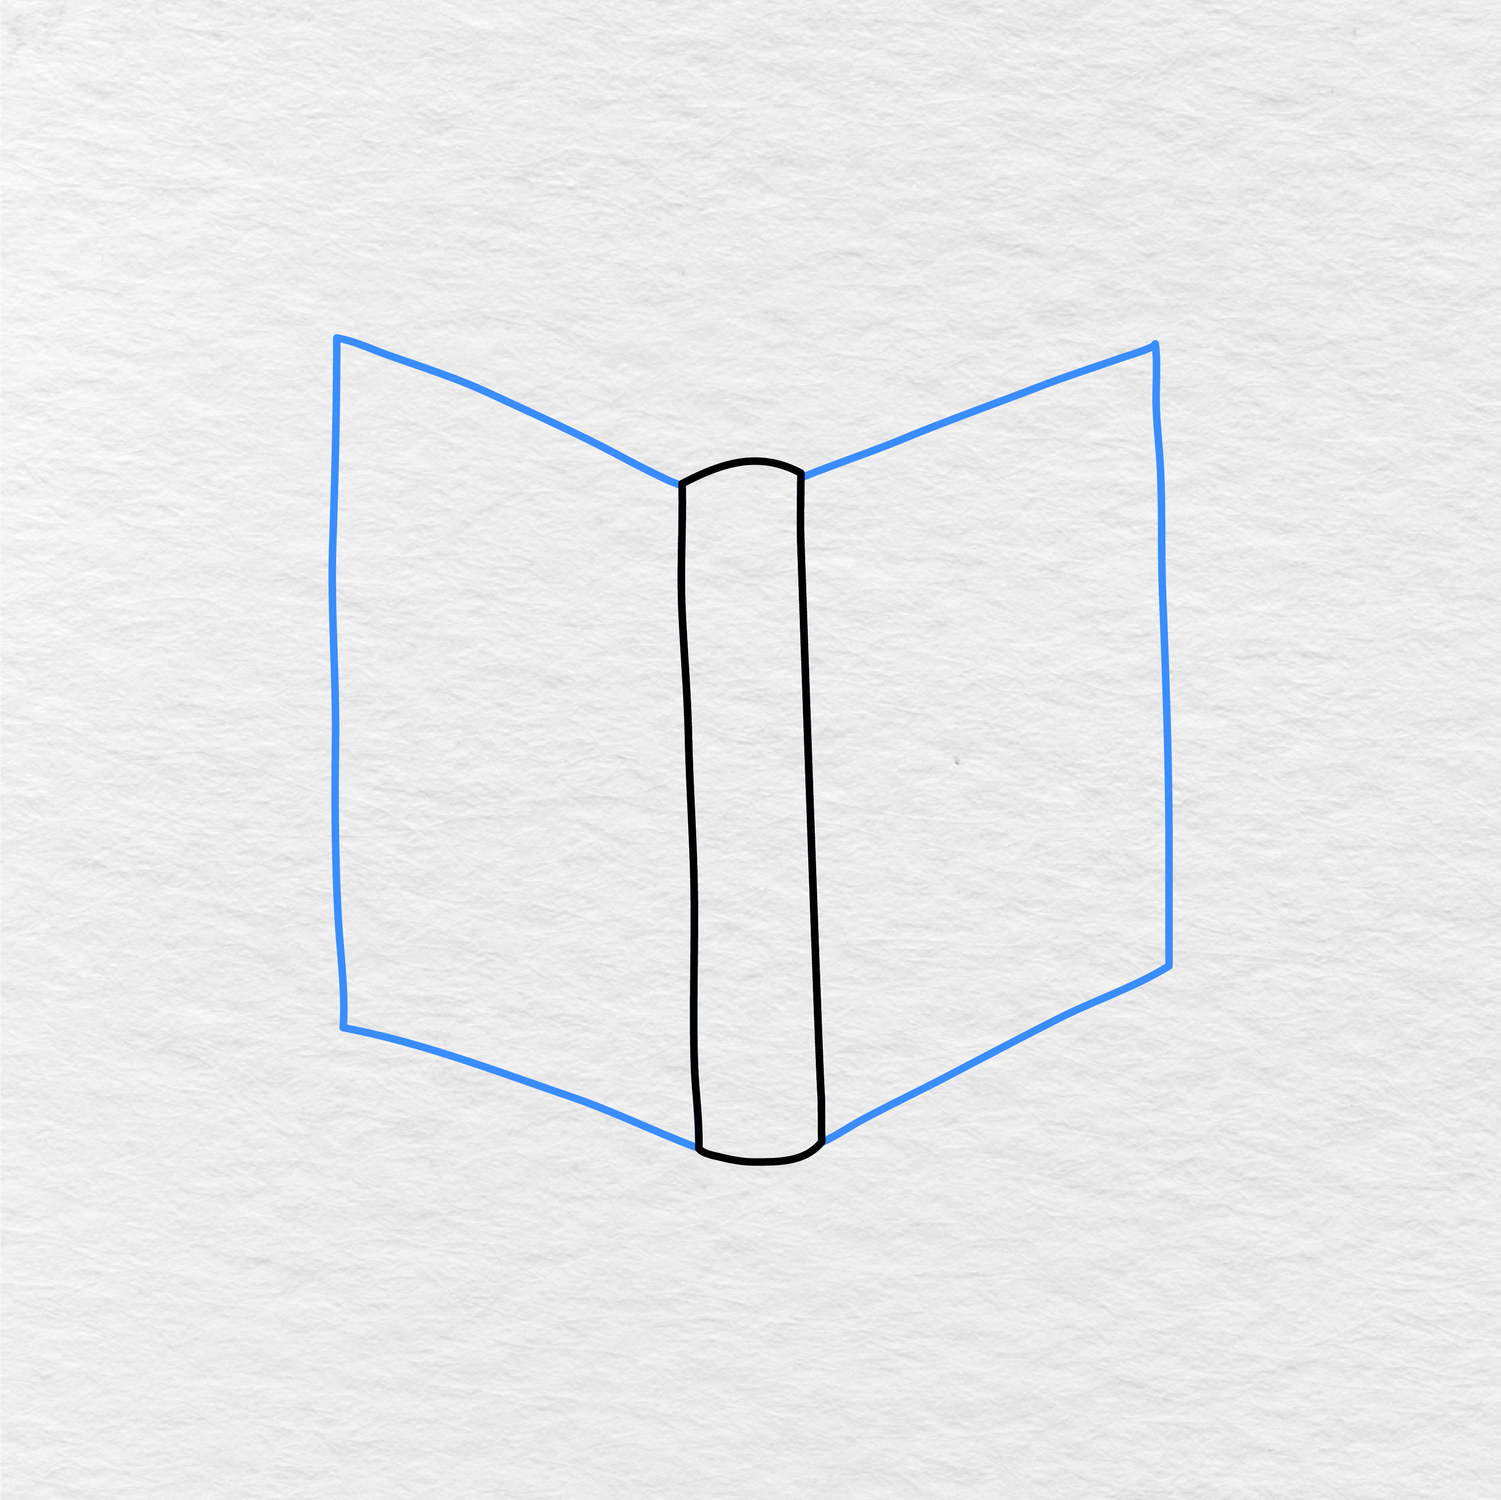
Next, we’ll be adding the two book covers. Add one panel on the left and one panel on the right side of the spine. We’ll want to be sure and open up both of the book covers in this step.
The top ends of the covers should slightly slope away from the spine, while the bottom ends should slope downwards to create the sides of the book.
Step 3: Draw the Right Pages
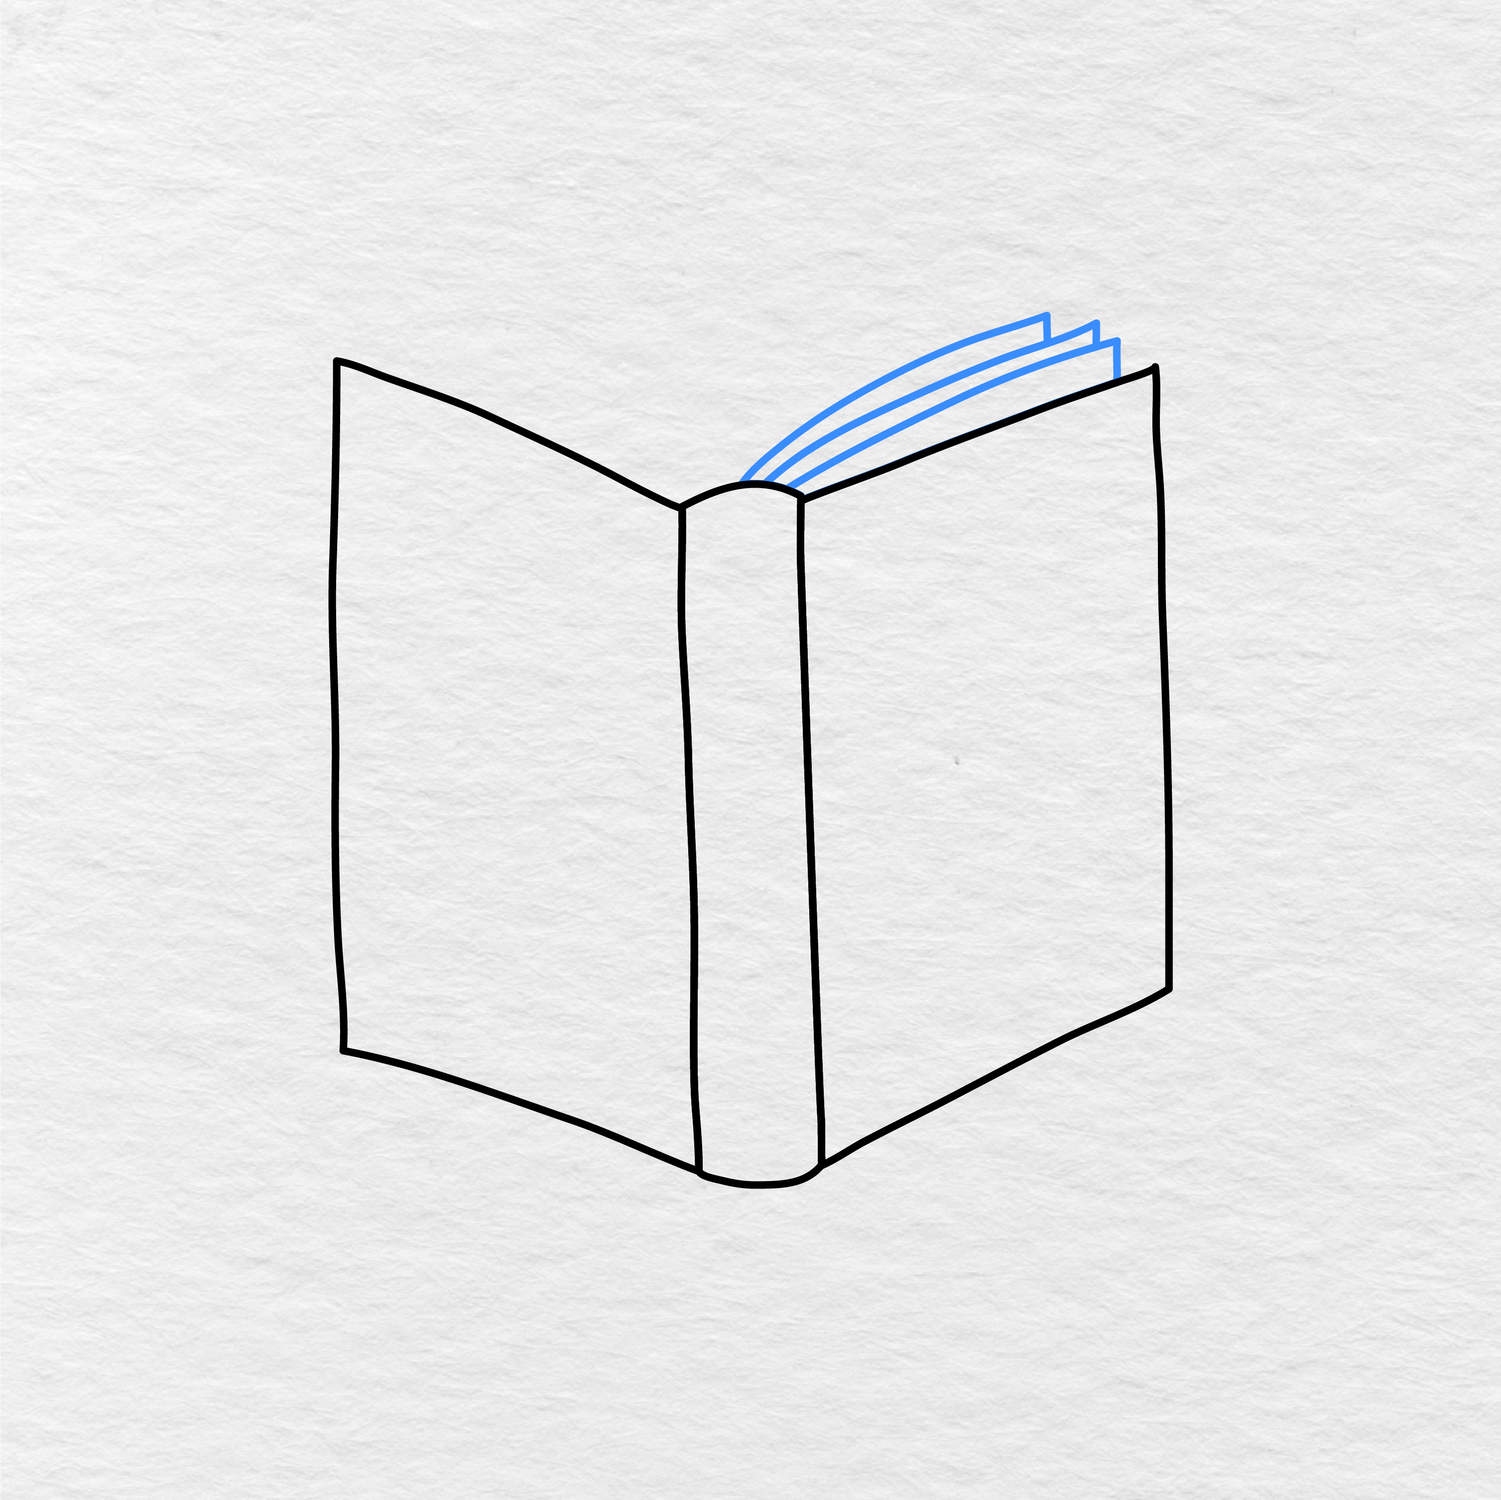
We’ll continue to the right side of the book and add several curved page lines above the right cover. We’ll be adding these lines to open up the right side of the book.
Step 4: Draw the Left Pages
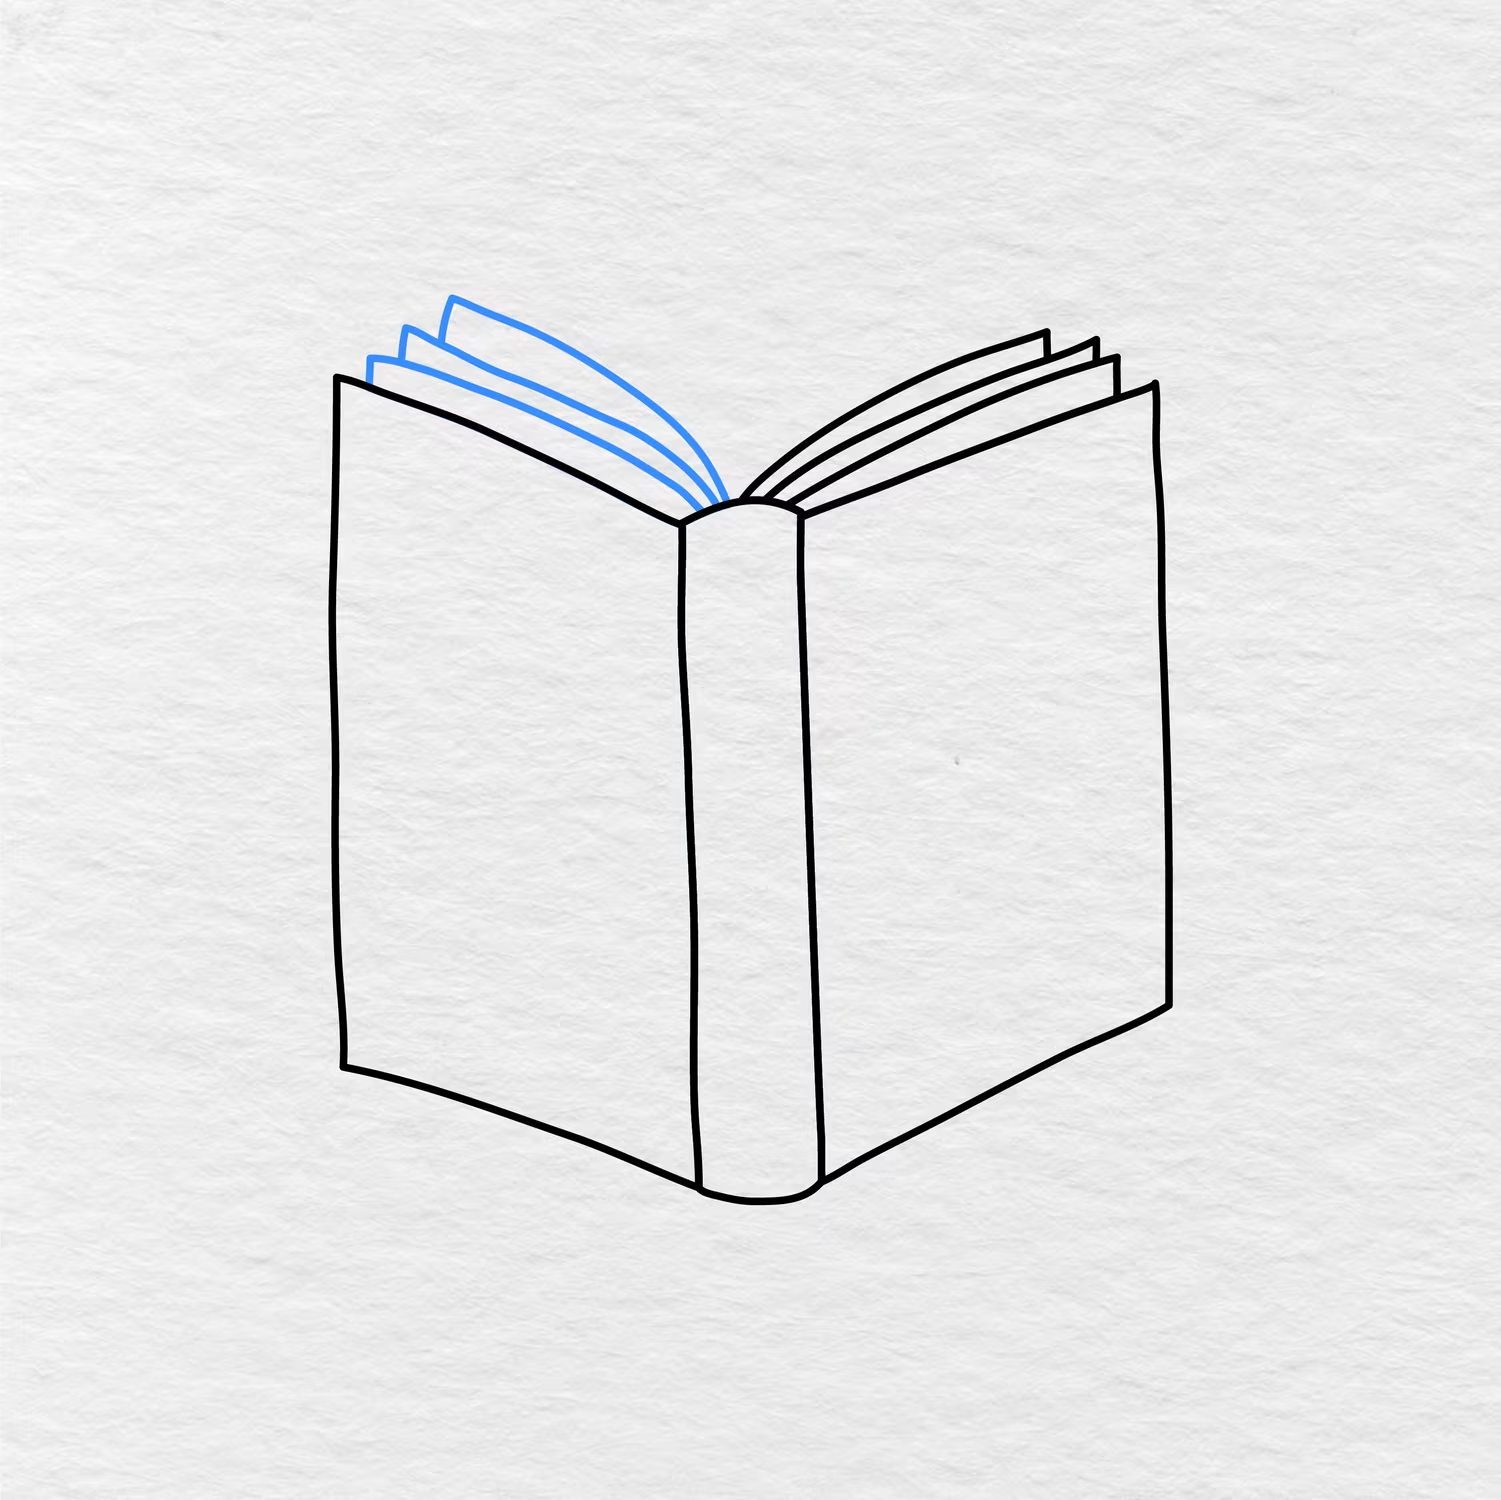
On the left side of the book, we’ll repeat the previous step by adding several curved page lines above the left book cover. Make sure these lines are also curved outwards and are beginning near the top of the spine.
At this point, the pages on both the left and right side of the open book should be visible.
Step 5: Add the Finishing Touches to the Spine
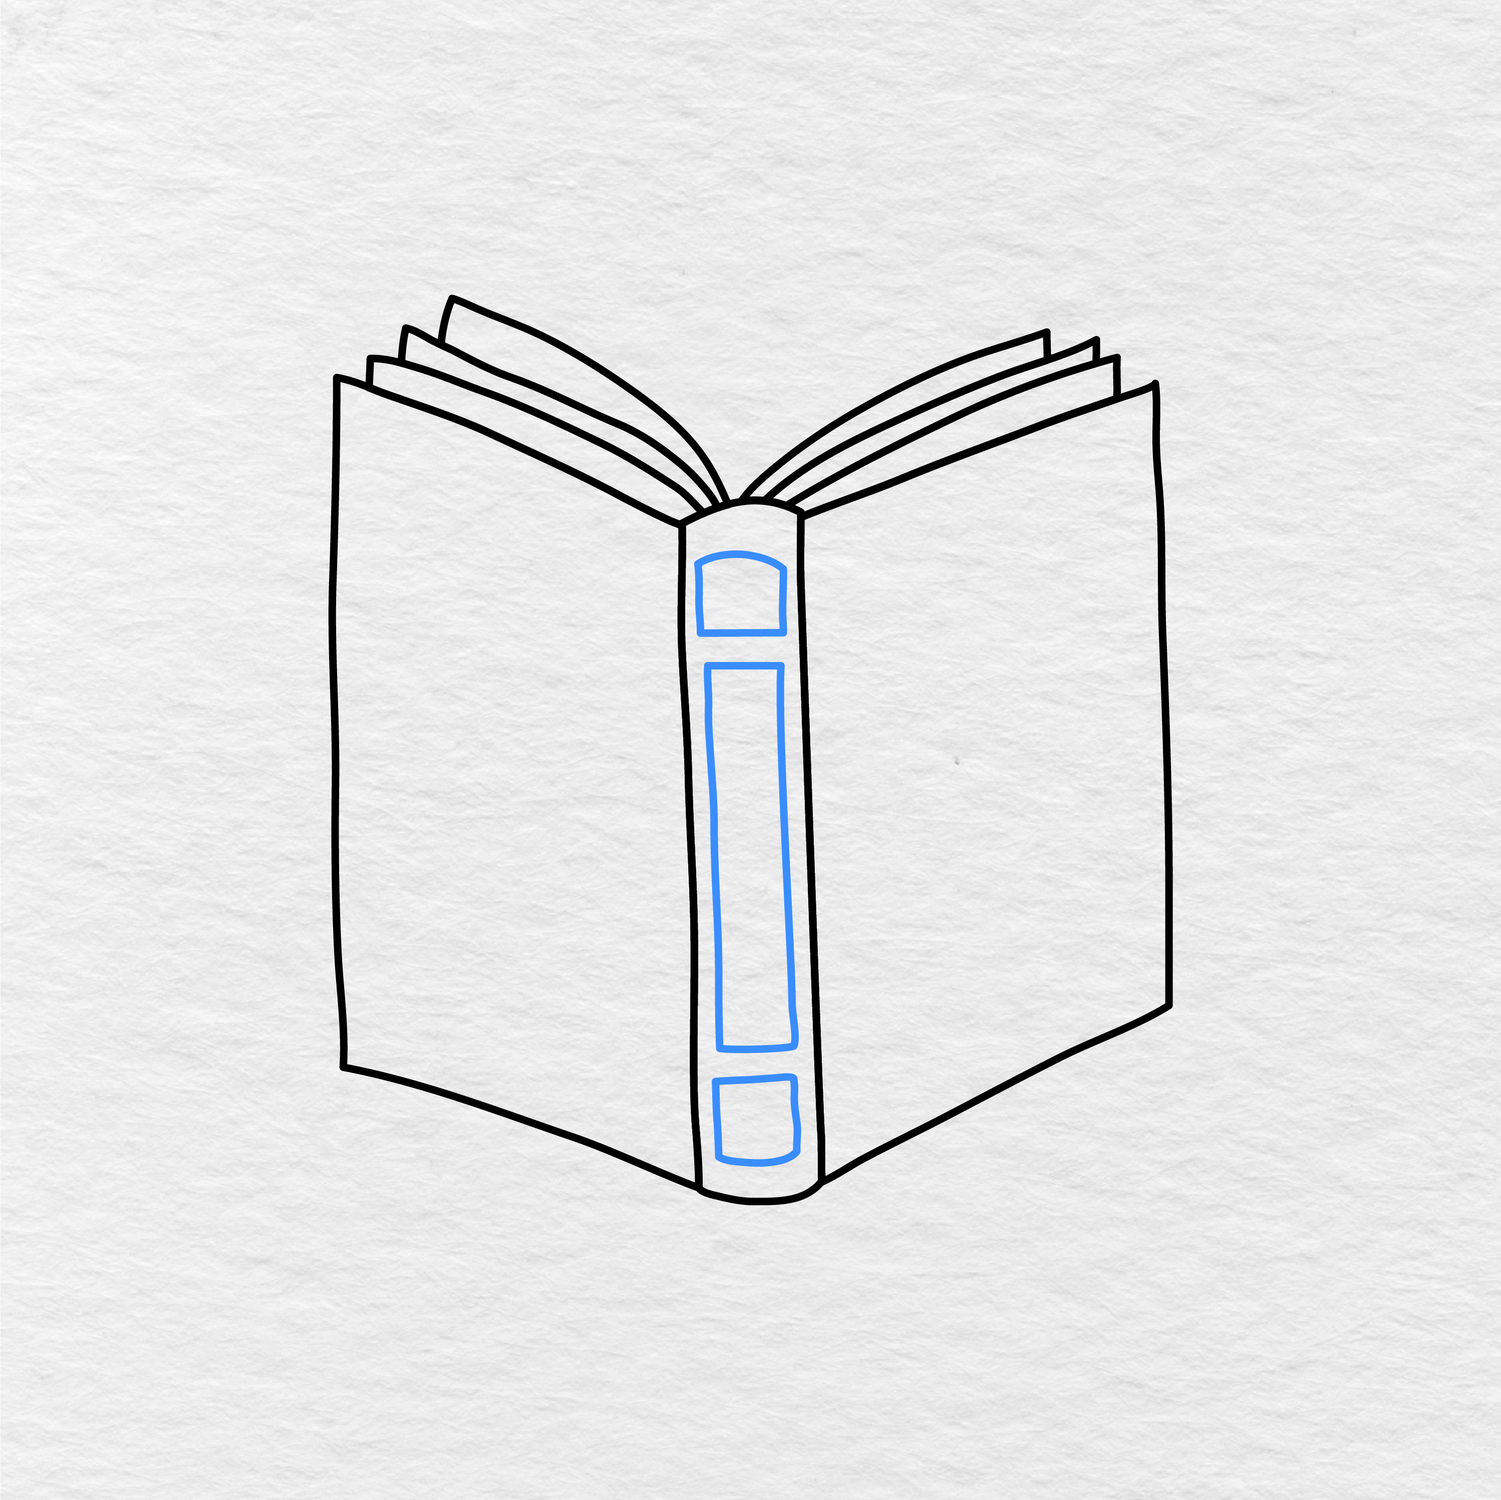
For this step, we need to add a few details to the book spine. To begin, add a small rounded detail near the top of the spine. Then, we’ll add a longer rectangle detail in the center of the spine. Finally, we’ll add yet another small detail towards the bottom end of the spine.
With those three small details added to the spine of the book, it almost looks like we’ve finished this easy drawing of a book!
Step 6: Color the Book
Using the completed book drawing below as a reference, we’ll color in our book. In our example, we’ve colored the book cover purple, and we’ve colored the pages yellow. We’ve also colored the three small spine details in red.
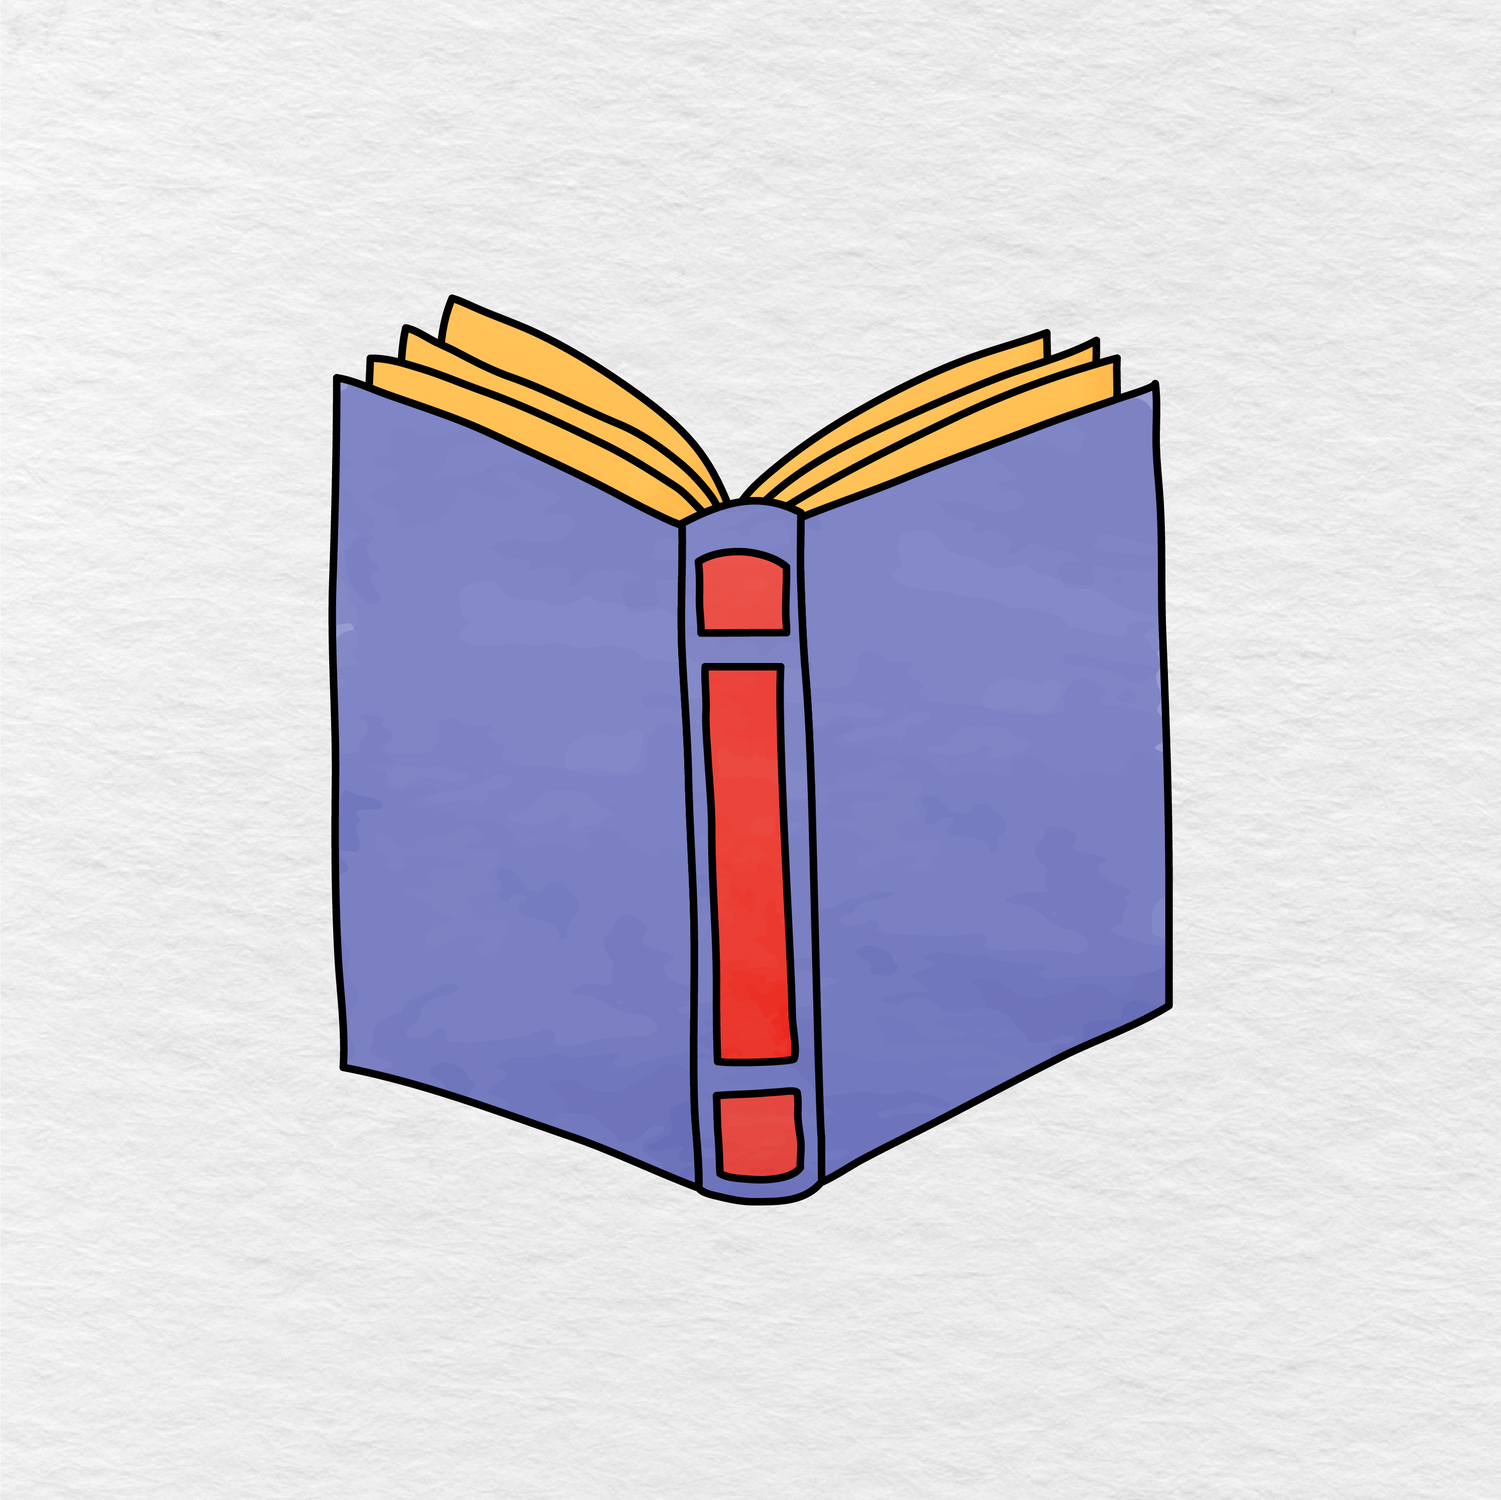
Of course, if you want to, you could always color the book in different colors or even add color to match your favorite storybook or schoolbook. Once you’ve finished coloring, you’ve officially completed this easy book drawing!
Printable Book Drawing PDF
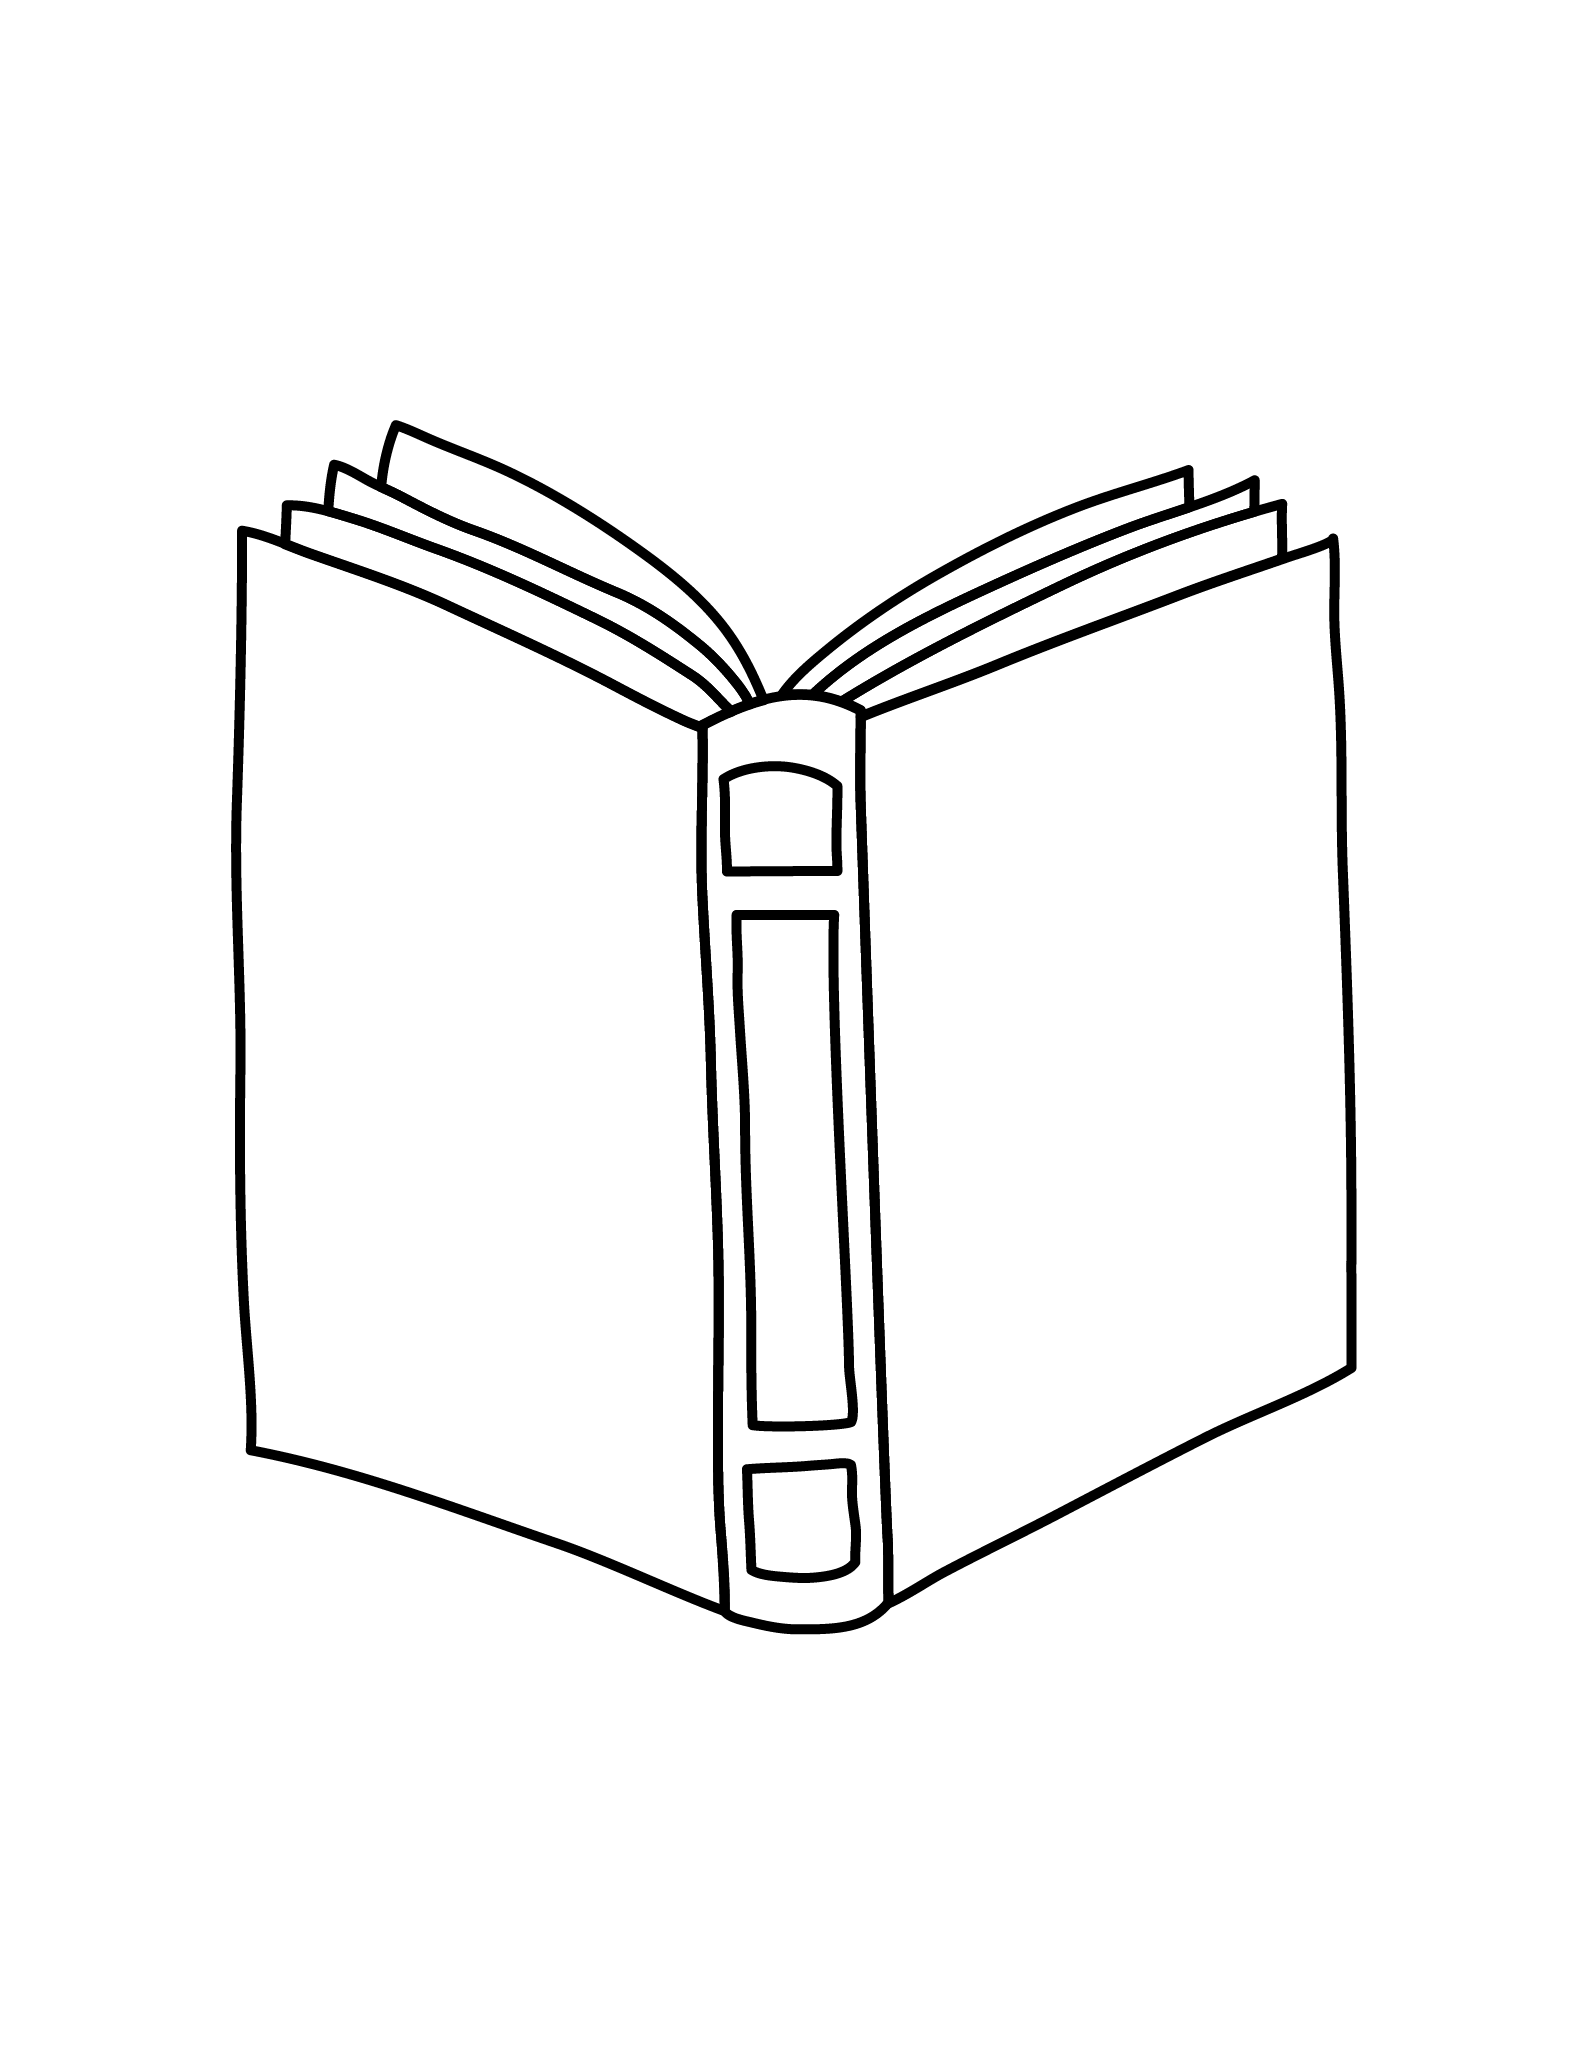
If you want, you could also print out the completed book drawing as a PDF for coloring fun. The drawing below shows the completed book without the color, so make sure to print it out and color it in so that kids can use it as a reference for their own drawing whenever they’d like to draw a book again.
Let us know in the comments below if your kids, students, or class loved this easy how to draw a book activity. And be sure to share this page with another parent, teacher, or friend if you want even more cool activities like this one!