How to Draw a House
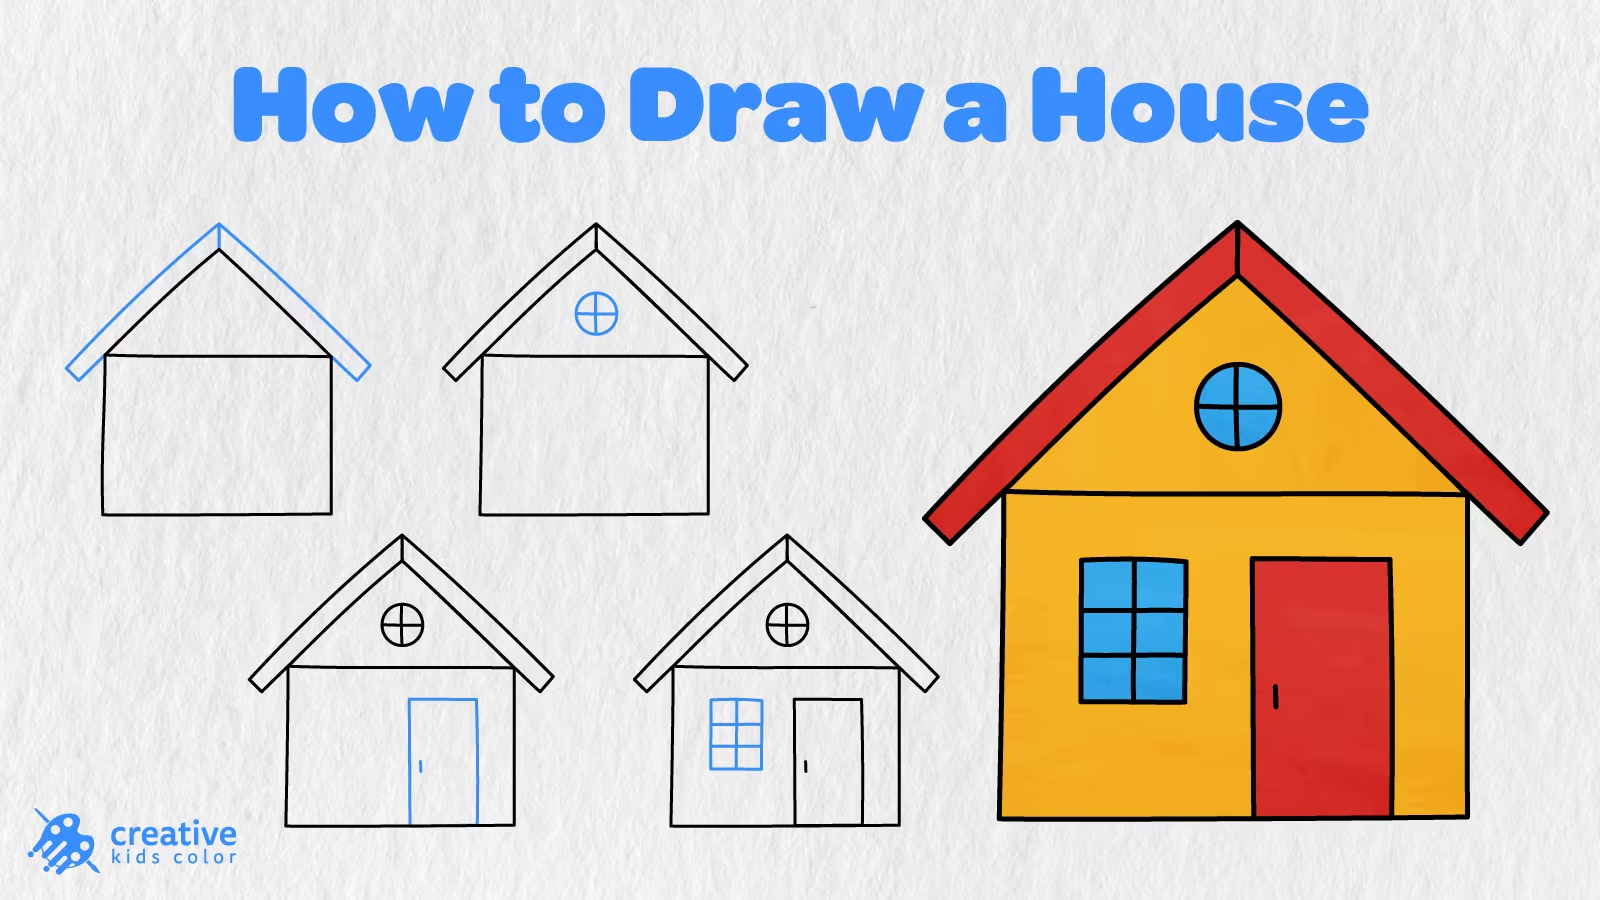
A house is more than the walls, roof, and door. It is the place where family waits for us, where we like to spend our free time, where we have our favorite room, or where we return tired after a long day of work. In this guide, we will teach you how to draw a house in 7 easy steps. Starting with just a simple rectangle, you will learn how to create a bright little house.
This tutorial was created for kids and beginners, so it contains all the necessary steps in the easiest way. You will first draw the house body and then add the roof, windows, and door. You will also add small details and color the drawing.
The drawings show all the simplest shapes that will serve as the basis for the final figure. But you will see that after adding the red roof, yellow walls, blue windows, and red door, the house becomes cozy and inviting, although there is still no furniture yet.
Easy House Drawing Step by Step
So that you can follow all the steps easily, before you start, be sure to have a pencil, paper, eraser, and something to color.
The blue lines in the drawings below show you what you need to draw at each step.
Step 1: Draw the House Body

To start drawing, you need to choose a piece of paper and draw a large rectangle near the bottom of the page. As shown in the drawing below, the sides of the rectangle should be almost straight. You should also leave some space at the top of the page for the roof.
Step 2: Add the Roof Shape
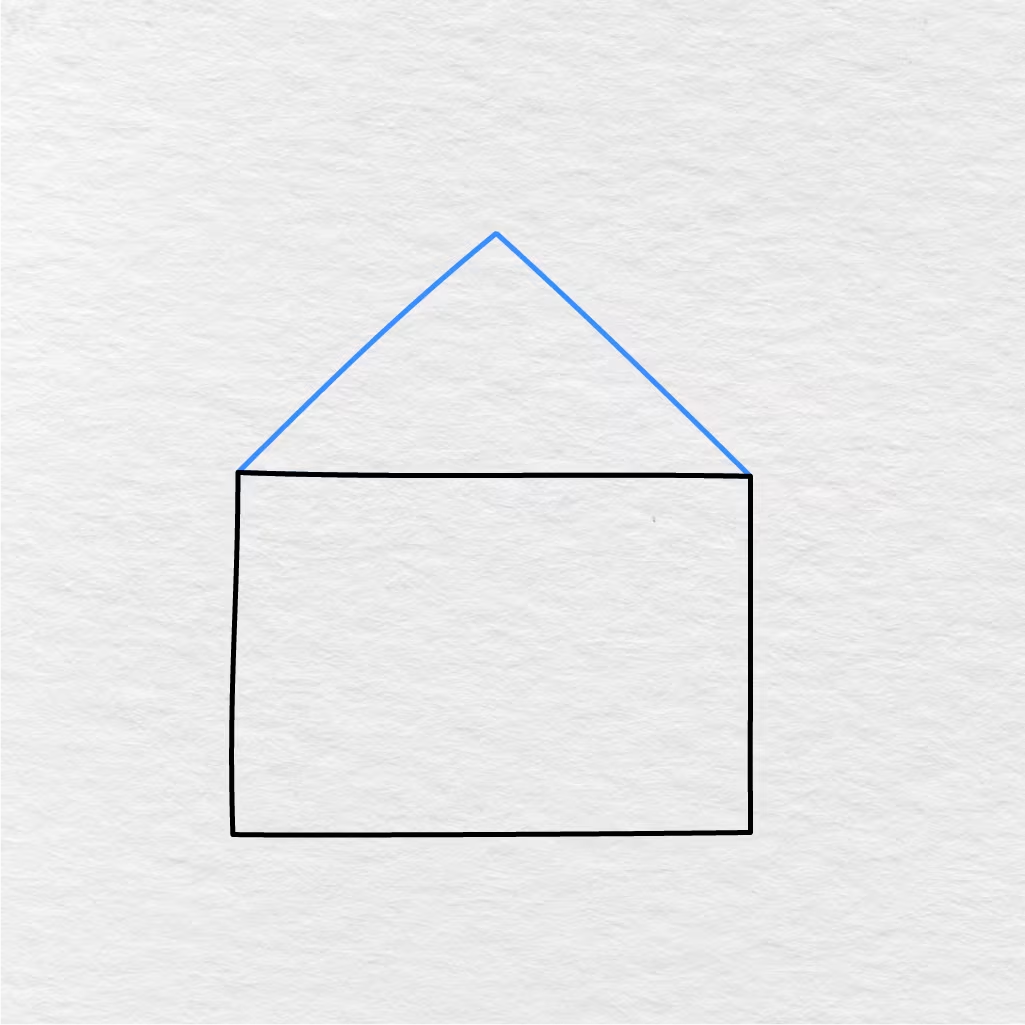
You need to add a roof to the house, which means you need to draw a triangle on top of the house body. Make sure the base of the triangle is on the same line with the top side of the house. In addition, you need to direct the tip of the roof to the center of the house to make it symmetrical.
Now your house looks like a normal house with a roof and walls.
Step 3: Draw the Roof Trim
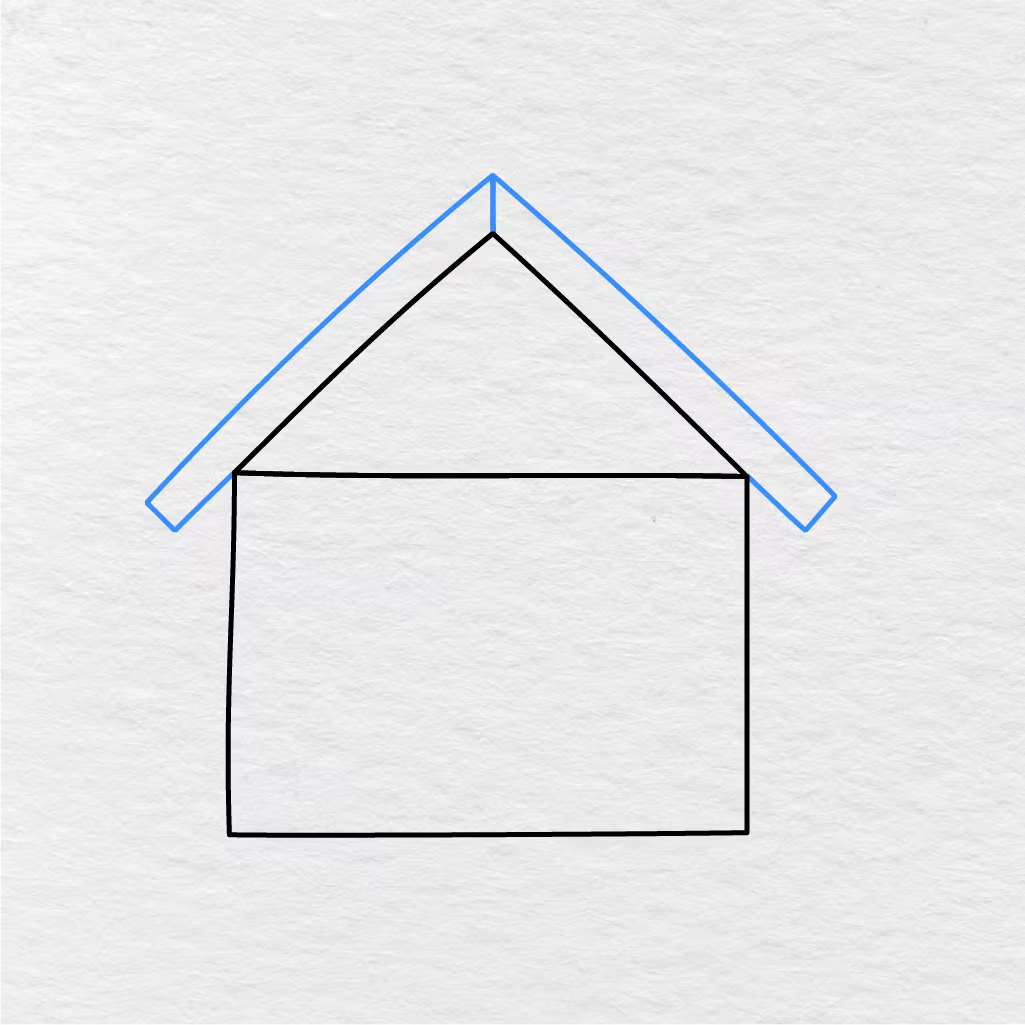
In this step, you need to make the roof wider. As shown in the drawing below, you need to draw a larger roof around the roof that you drew in Step 2. Make sure the new roof extends beyond the house walls on both sides. At the same time, the roof trim should meet at the same top point as the roof from Step 2.
Now the house has a new roof trim, making it look better.
Step 4: Add the Round Window
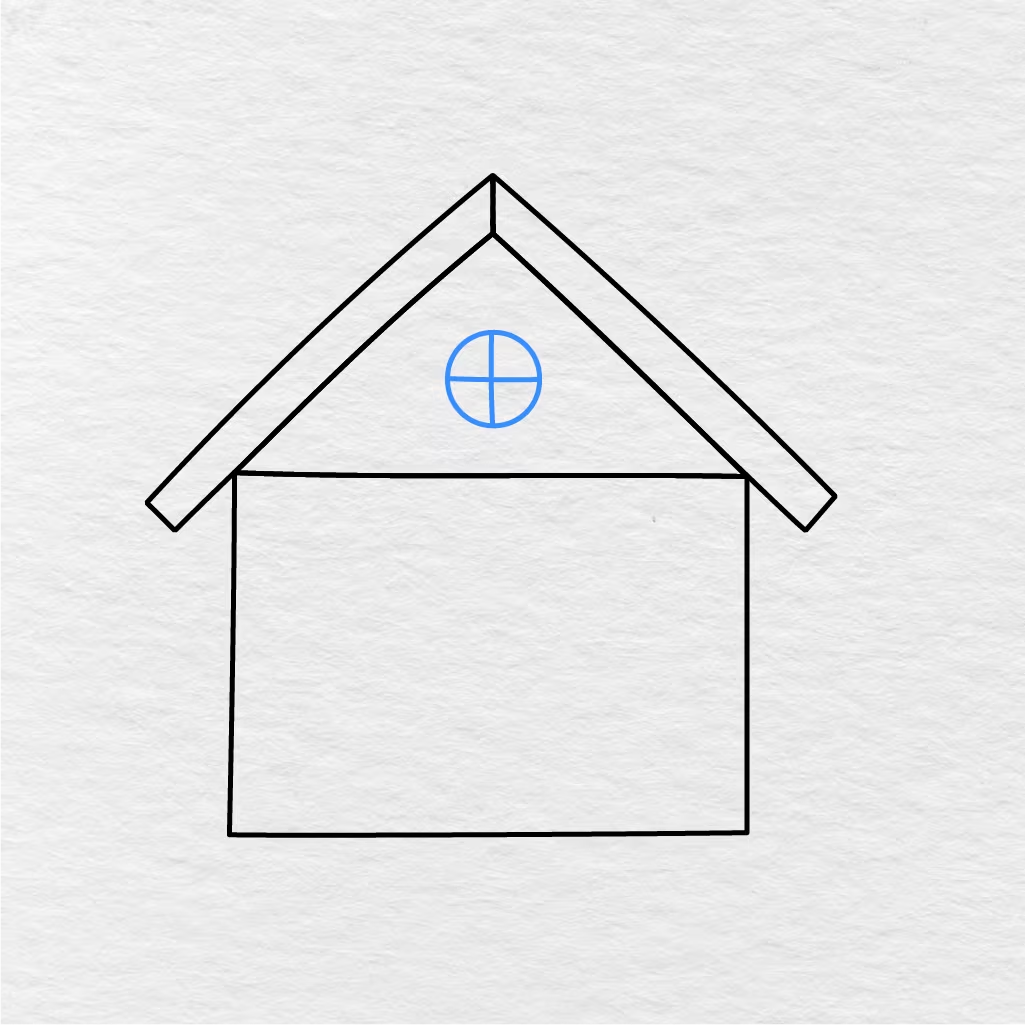
In this step, you need to add a window to the house. First, you need to draw a small circle at the top of the house, as shown in the drawing below. Then, draw a straight vertical and horizontal line inside the circle.
Now the house has one round window that looks great at the top of the house.
Step 5: Draw the Door
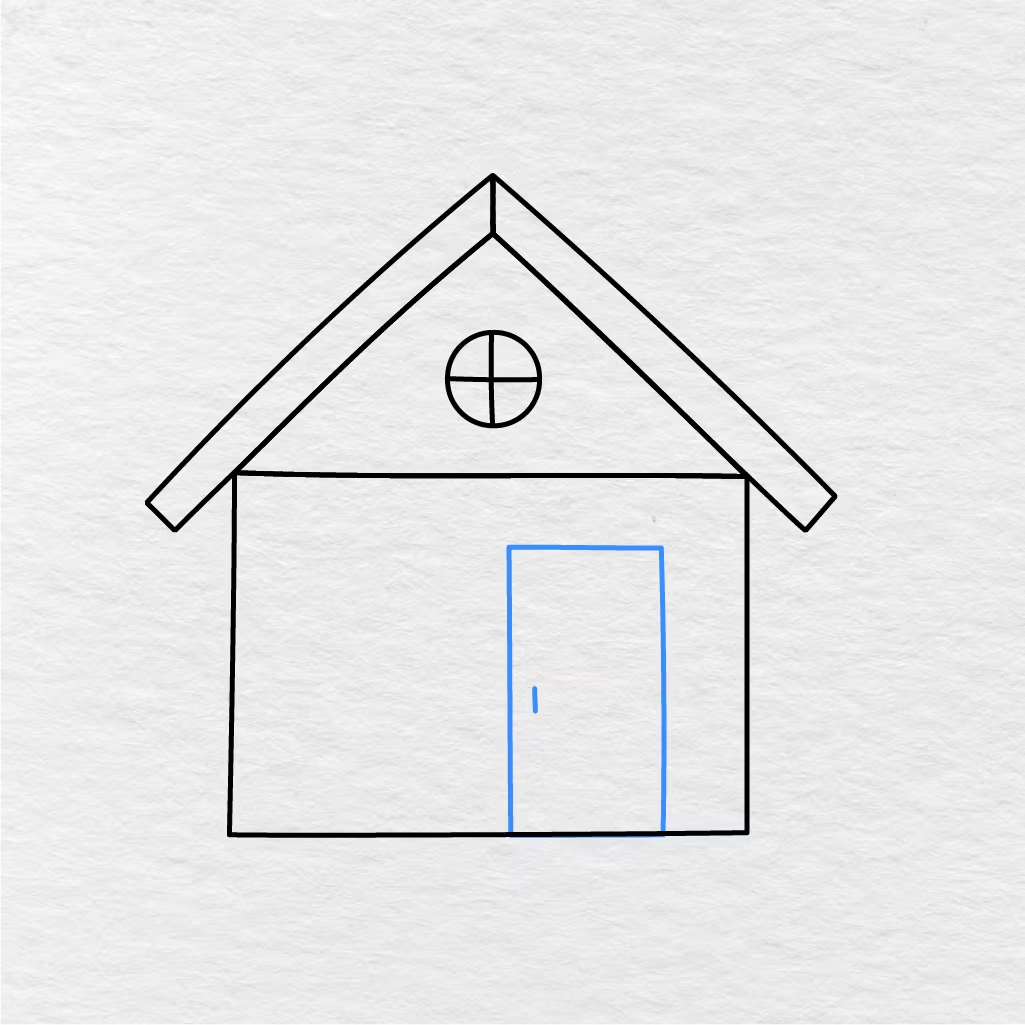
You need to add a door to make the house look like a real house. So, start by drawing a vertical rectangle at the front of the house, as shown in the drawing below. Then, draw a small vertical line inside the door for the door handle.
In our example, the door is located near the bottom right of the house.
Step 6: Add the Side Window
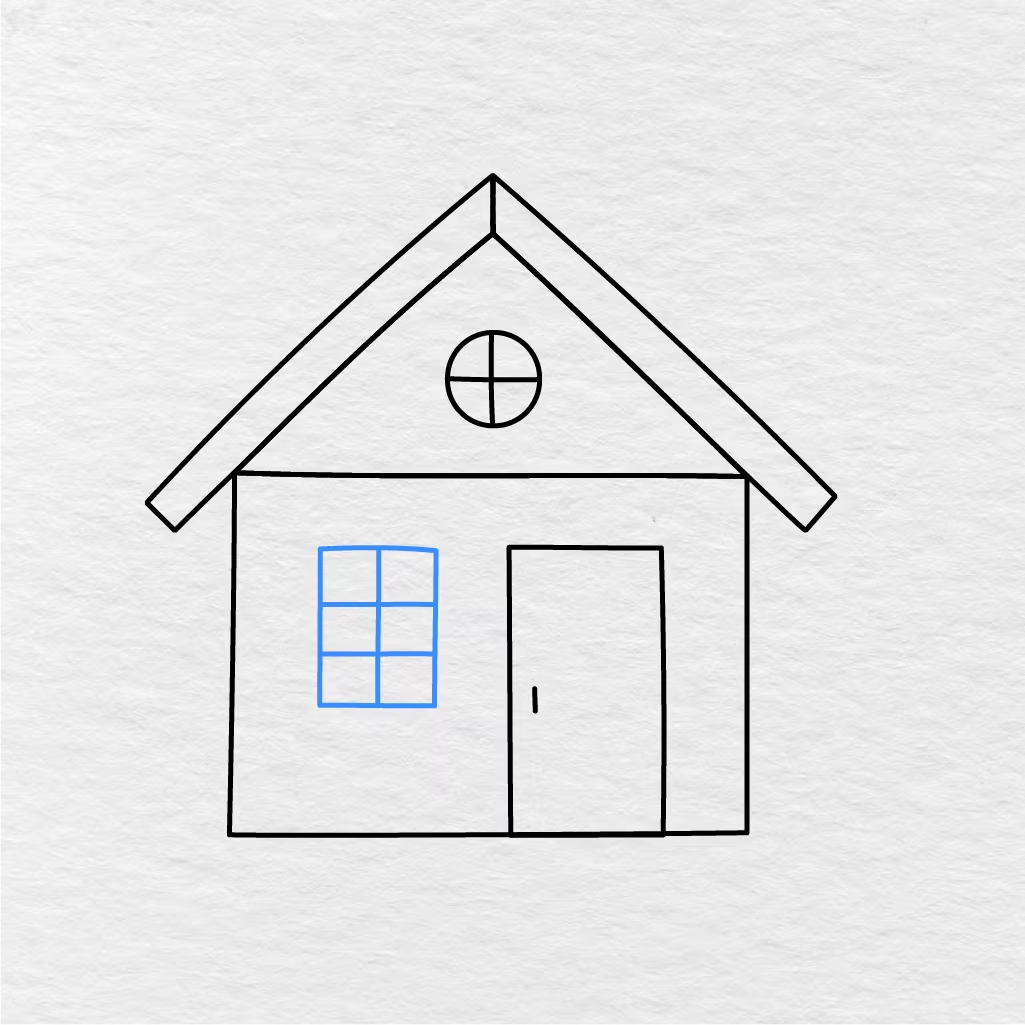
To make the front of the house more beautiful, you need to add a window on the left side of the house. So, first, draw a vertical rectangle on the left side of the front wall of the house. Then, add straight lines inside the window to make it look like a multi paned window.
After that, your house should look like the one in the drawing below.
Step 7: Color the House
Now you need to color your house. You can use the example shown in the drawing below. The walls are yellow, the roof and door are red, and the windows are blue. However, you can choose any colors you like. The house will look great in any colors!
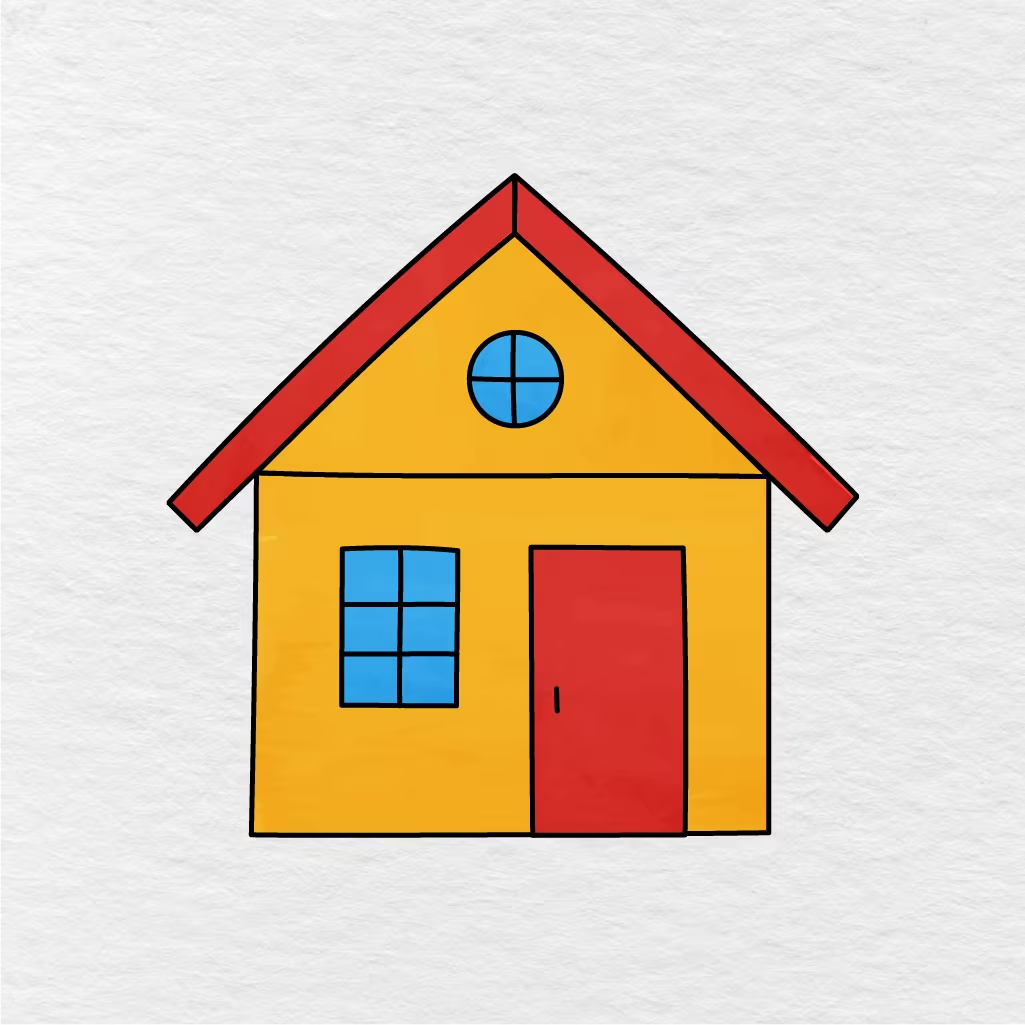
So, by coloring the drawing, you completed an easy step by step house drawing tutorial.
Printable House Drawing PDF
You can print the house drawing as a PDF page and color it. The house drawing below is the final result without colors, so kids can print it, color it, and use it as a reference when they try to draw this house again.
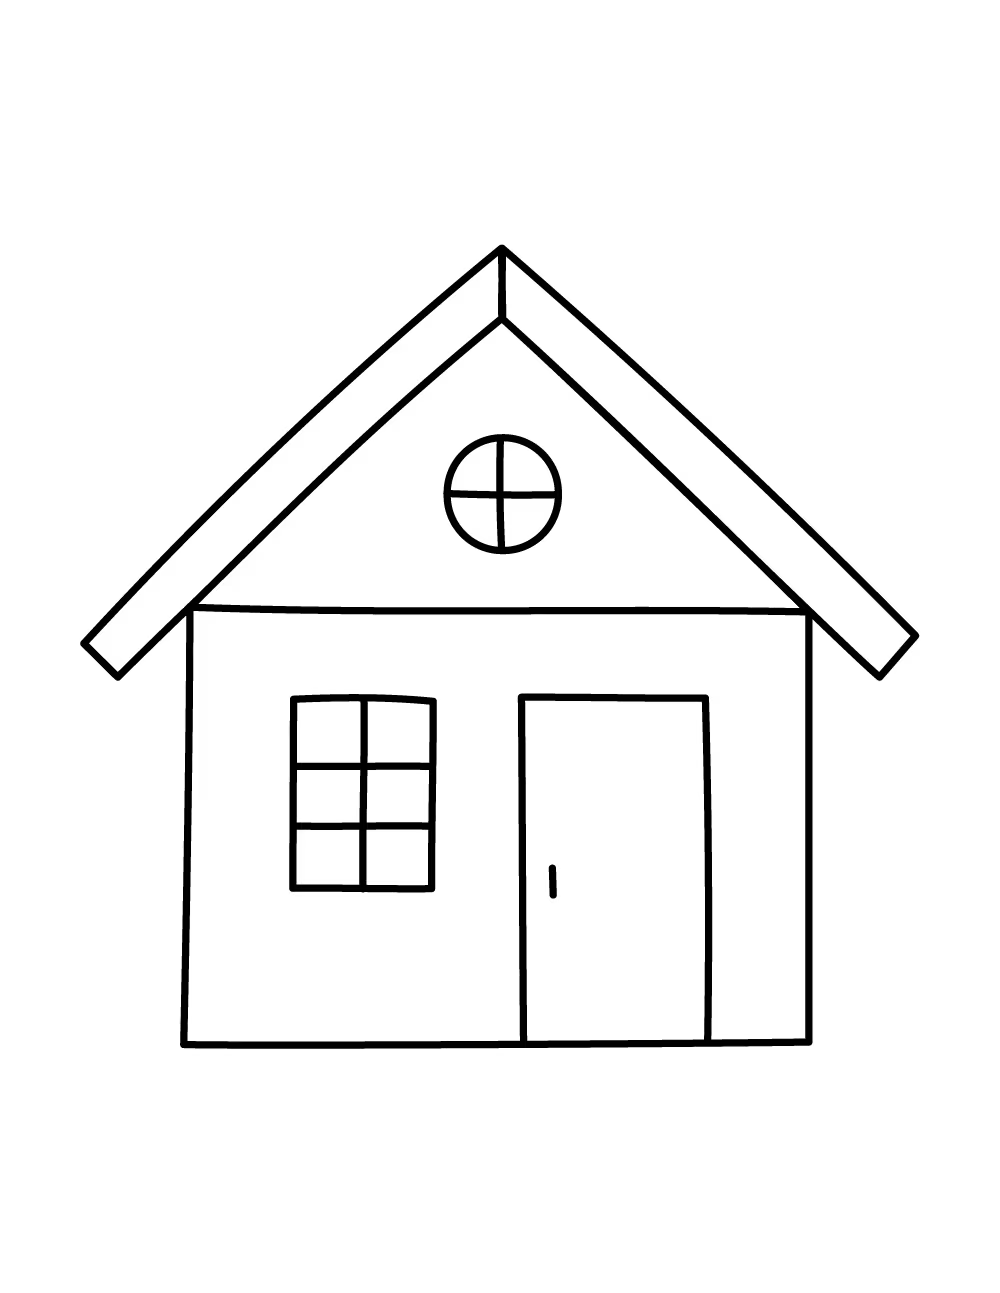
If your child, student, or class loved this house drawing tutorial, please share your thoughts in the comments below. In addition, you can also share this page with another parent, teacher, or friend.