How to Draw an Airplane
Airplanes make faraway places feel close. Whether it’s a family trip, a vacation, or a flight abroad, the journey can begin at the airport and continue high above roads, cities, and clouds. Kids can learn how to draw an airplane and turn this familiar form of travel into a picture of their own.
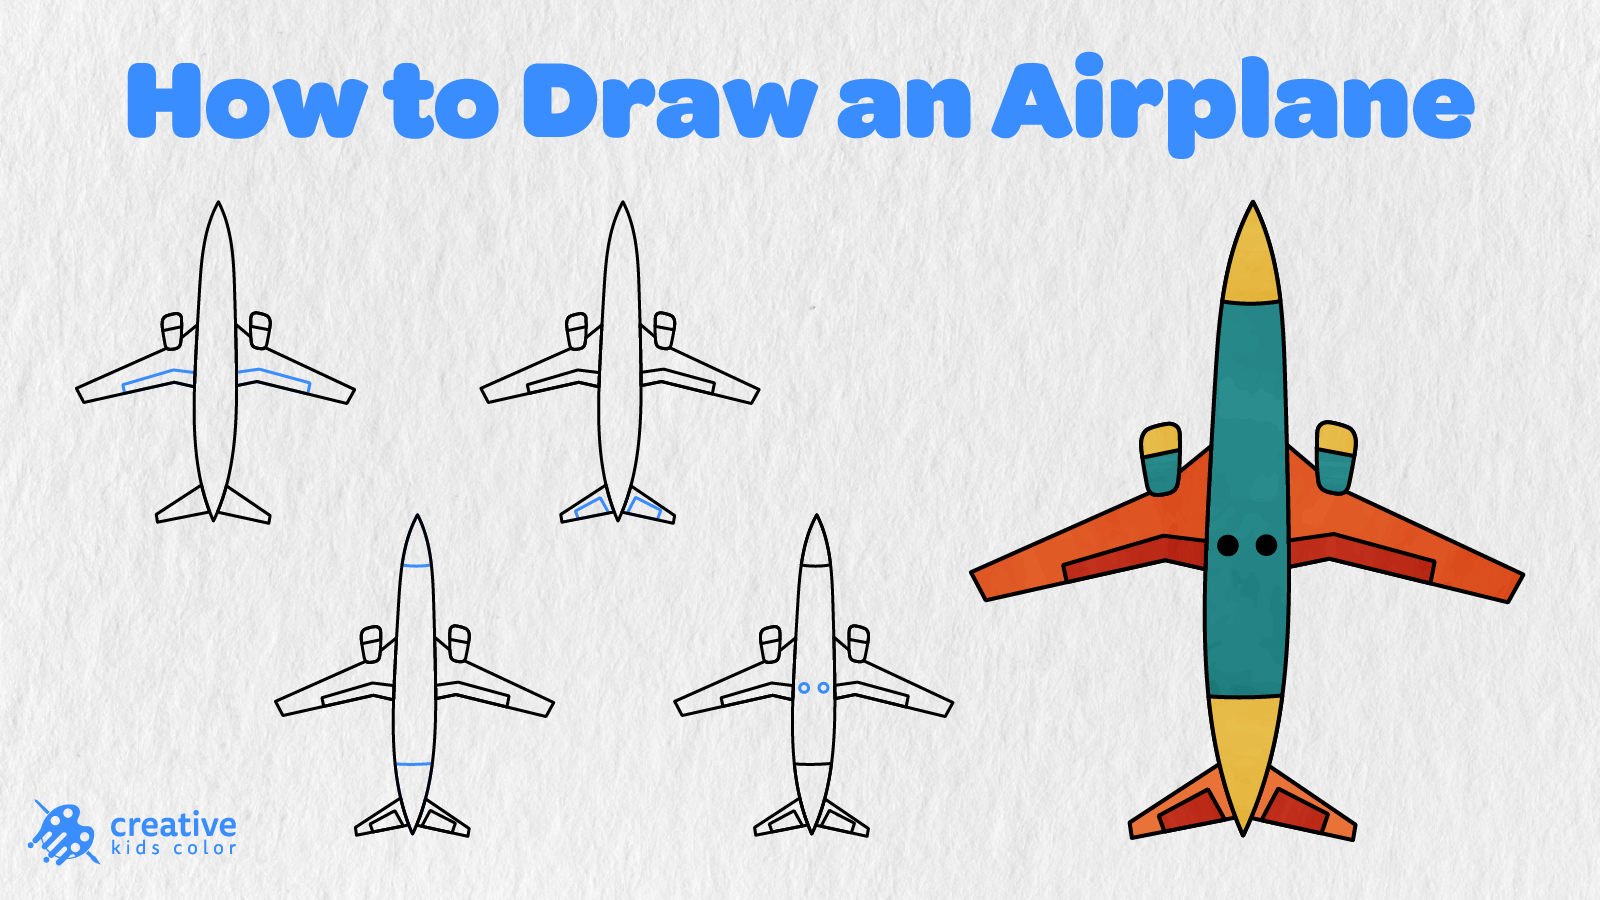
On this page, we’ve drawn a top view airplane in 10 easy steps. Kids and beginners will enjoy starting with the long and thin body, then drawing the big wings and the tail wings. We’ve added the engines, the inner details, the lines showing the airplane’s sections, the windows, and the colors.
The blue lines show what we added in each step. Follow along and see how the simple outline of the aircraft from Step 1 turns into a fun picture to color in.
Easy Airplane Drawing Step by Step
To draw this easy airplane drawing, you’ll need a pencil, paper, an eraser, and coloring tools. Start near the middle of the page, and make sure to leave room for the airplane’s huge wings on either side.
Step 1: Draw the Airplane Body
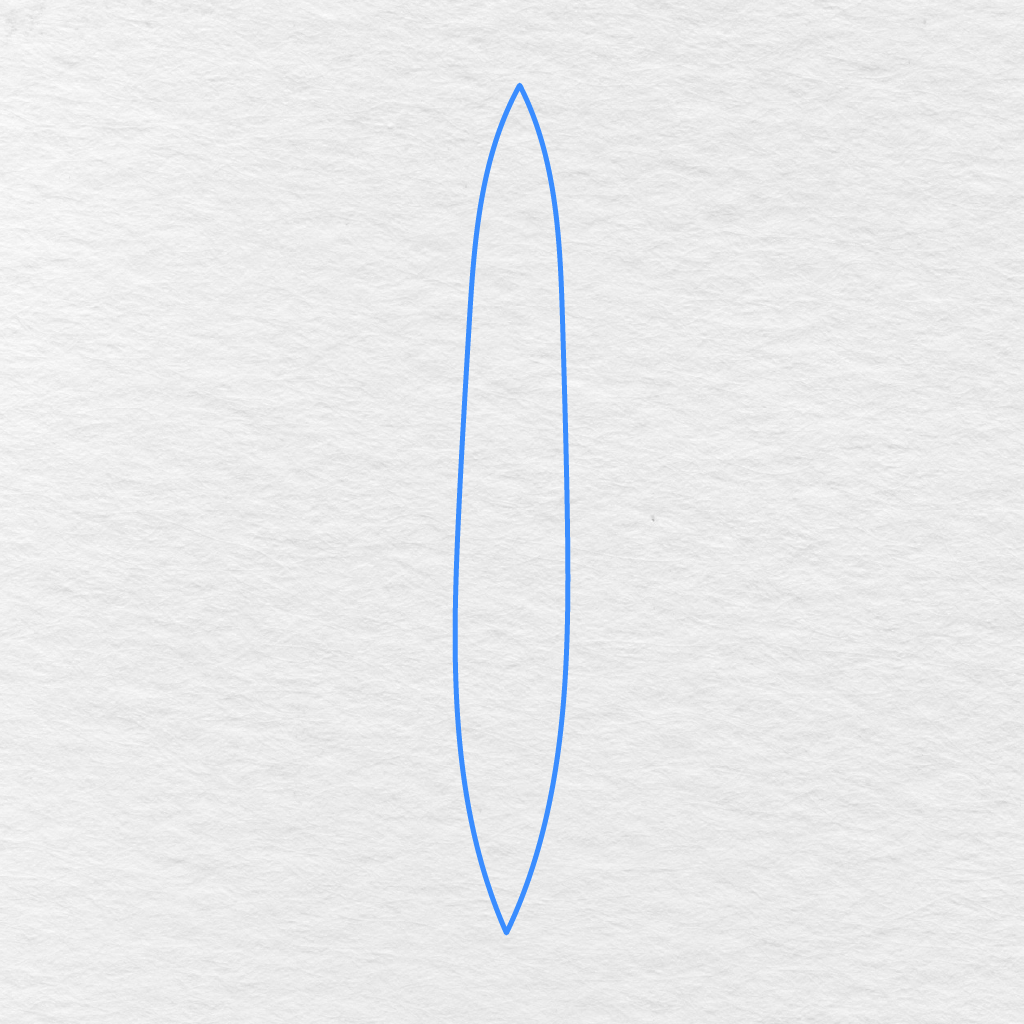
First, draw one long and skinny shape for the airplane’s body.
Make sure to make the top and bottom pointy, and curve the sides gently. Try to draw a straight, centered shape.
Step 2: Draw the Airplane’s Main Wings
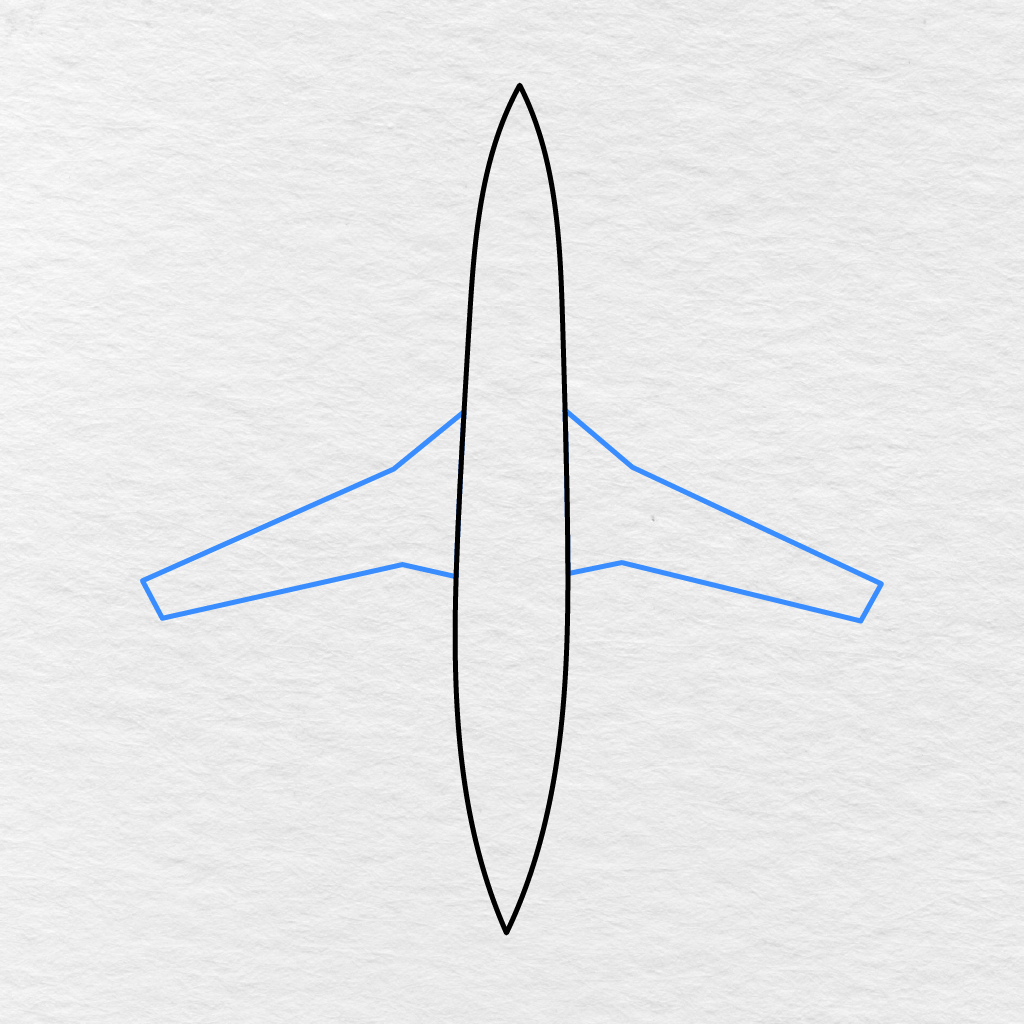
Next, draw one giant airplane wing on either side of the airplane’s body.
Start near the top and center of the airplane, and draw the wings, curving them slightly on the bottom before connecting them back to the body.
Step 3: Draw the Tail Wings
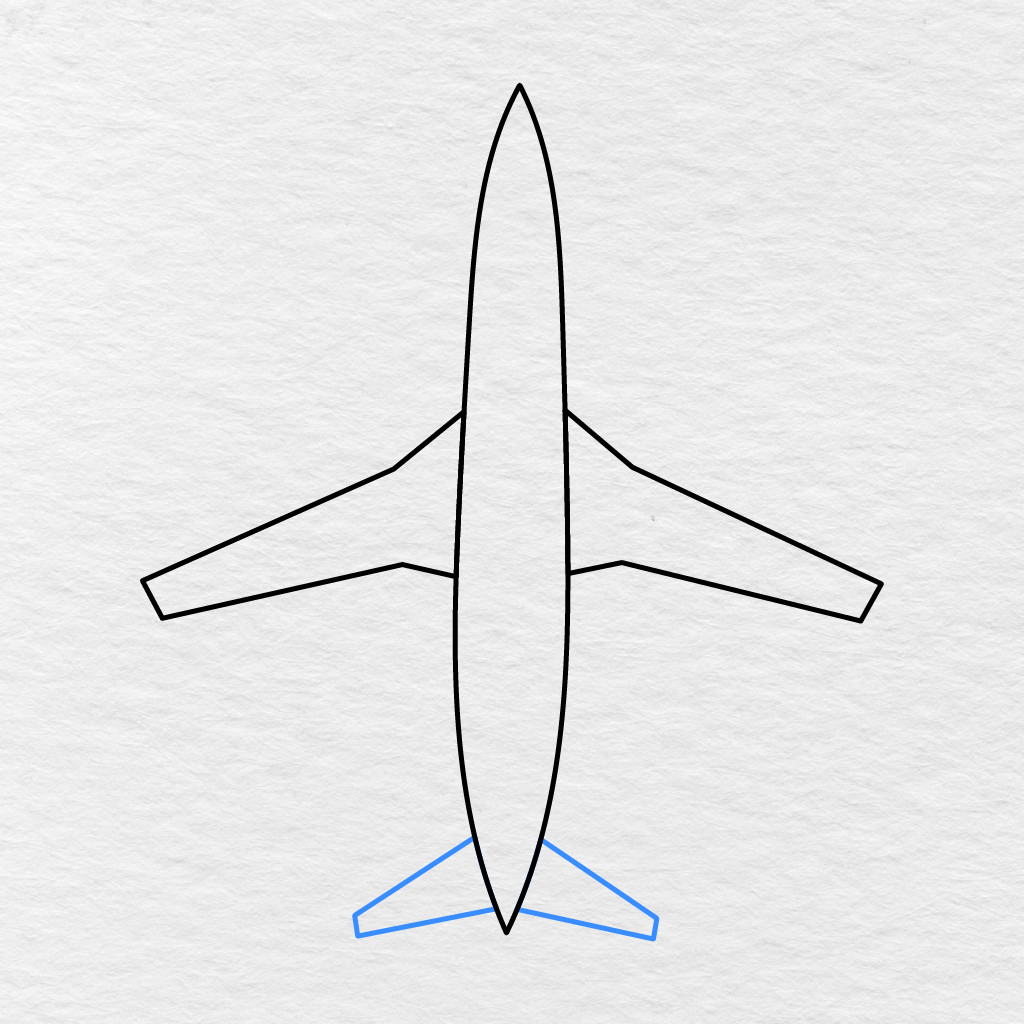
At the bottom of our airplane, we’re going to add two smaller tail wings.
Draw one pointy shape going to the left, and another pointing to the right. Make sure to draw both of the tail wings roughly the same size.
Step 4: Draw the Airplane’s Engines
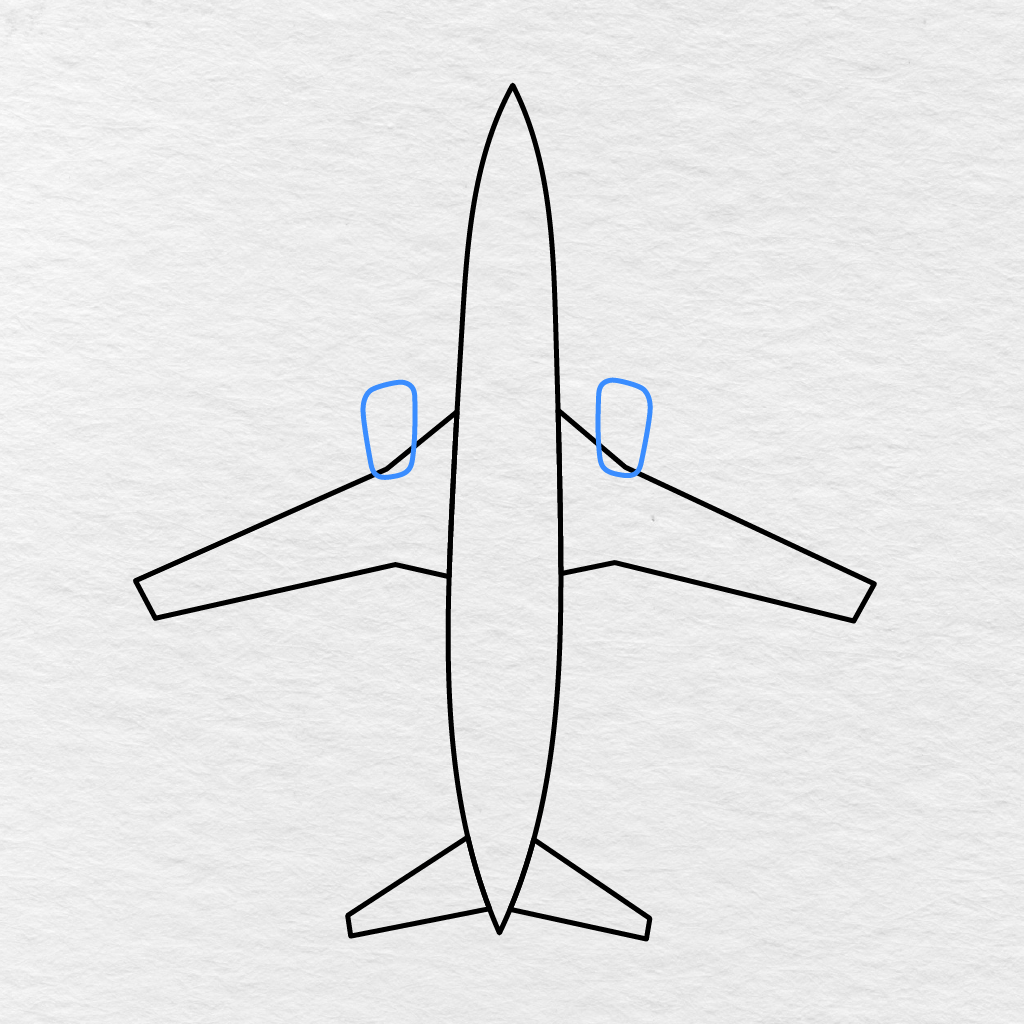
We’re going to add two small round engines above the main wings.
Make sure to put the engines near the airplane’s body, and roughly on the same level.
Step 5: Draw the Airplane’s Engine Details
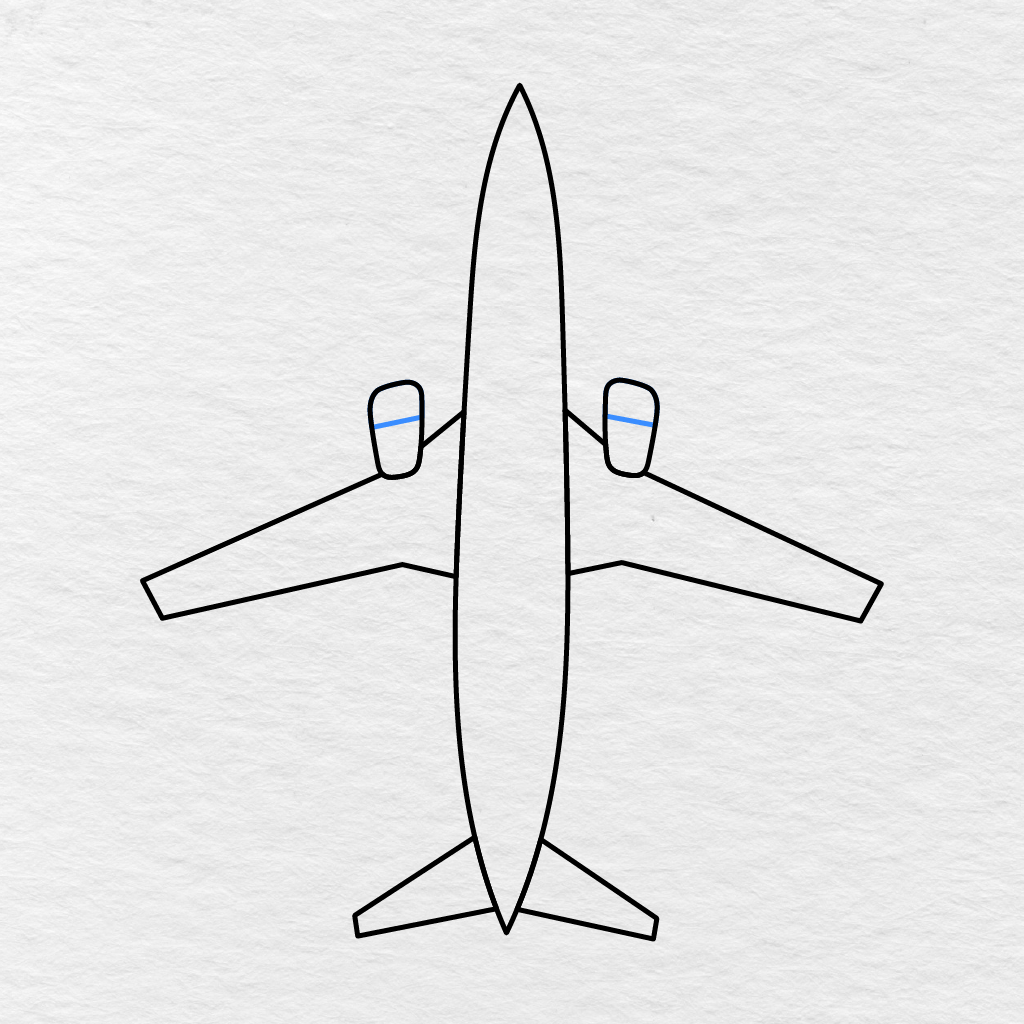
We’re going to draw one short line in the middle of both engines.
This shows the separation between the top and the bottom, which can be colored in differently.
Step 6: Draw the Airplane’s Main Wing Details
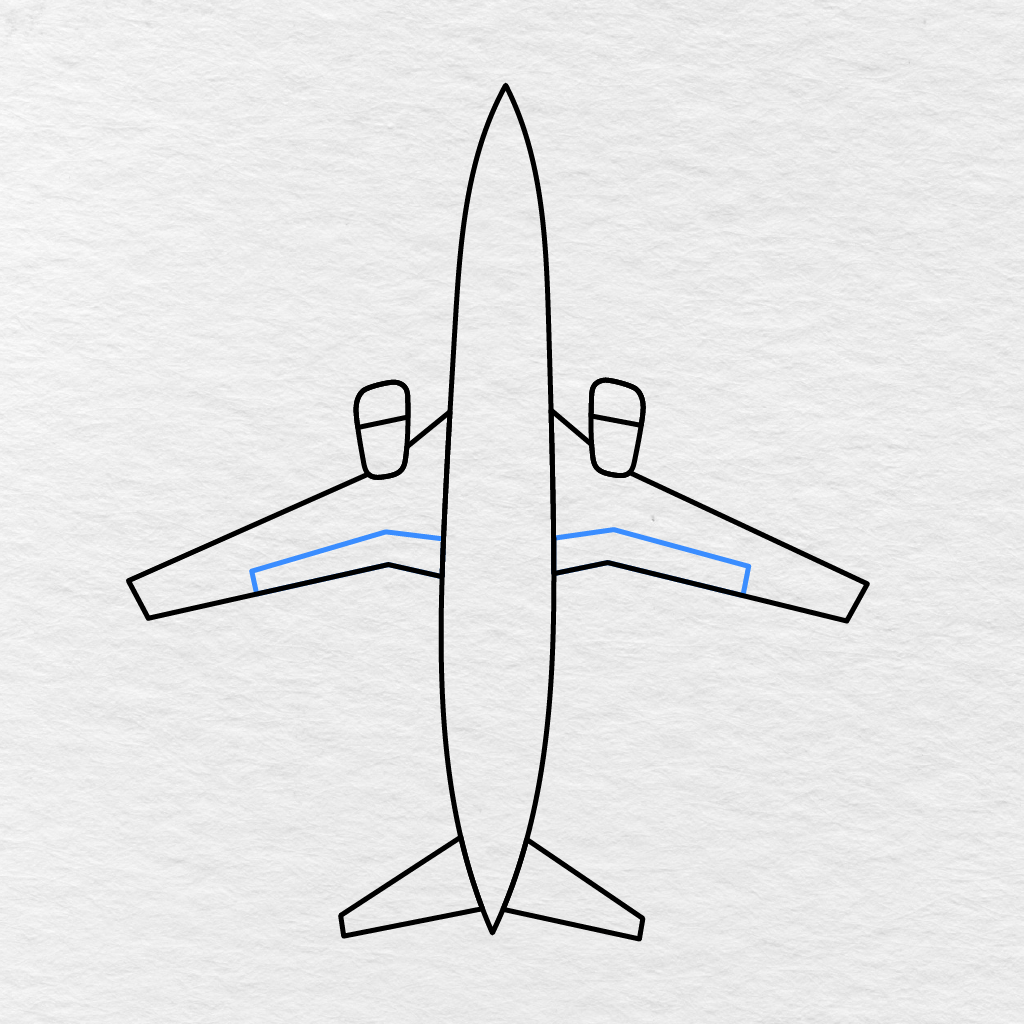
Inside each of the main wings, we’re going to add one long, angular detail.
Draw a line inside the wings, following the same direction. Make sure to leave some space between the line and the bottom of the wings.
Step 7: Draw the Tail Wing Details
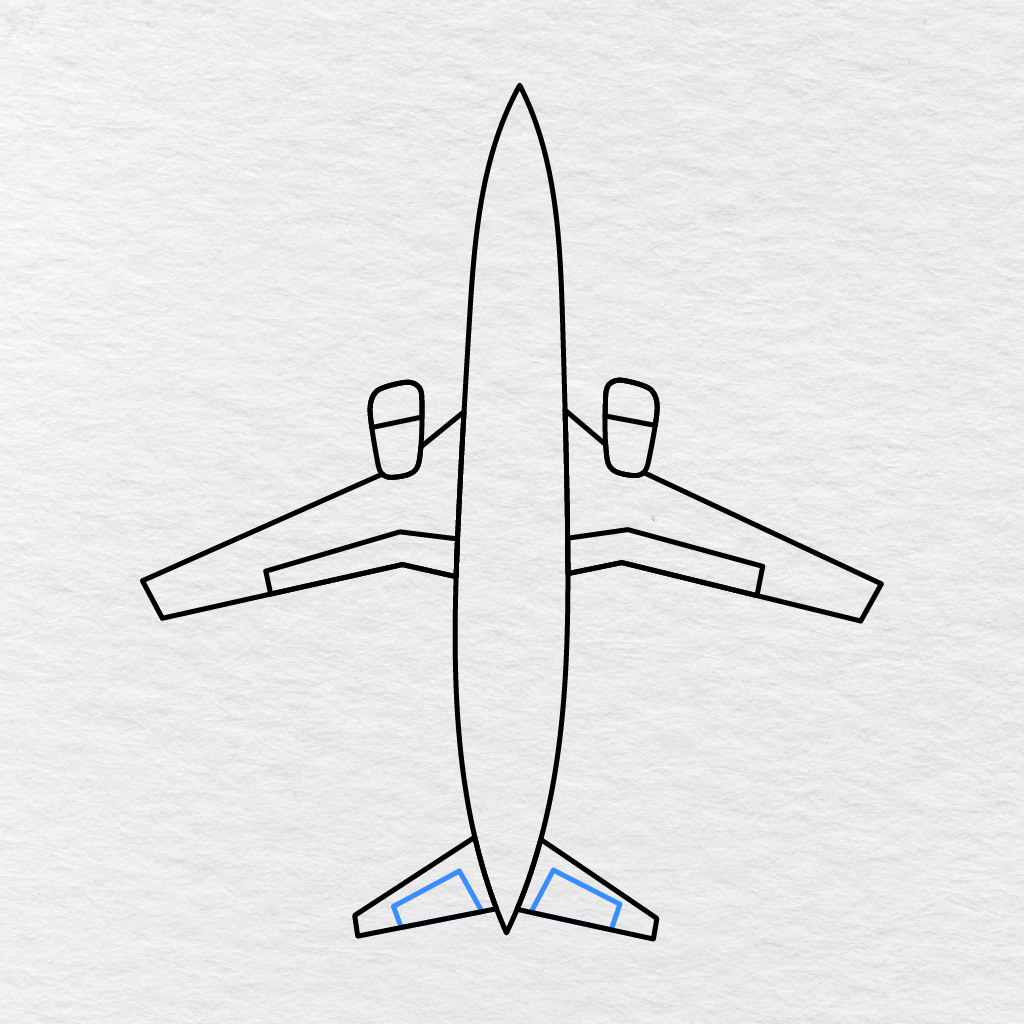
Inside each tail wing, we’re going to draw one smaller, angular detail.
Again, make sure to follow the shape of the tail wing and keep these two details roughly the same size.
Step 8: Draw the Airplane’s Body Section Details
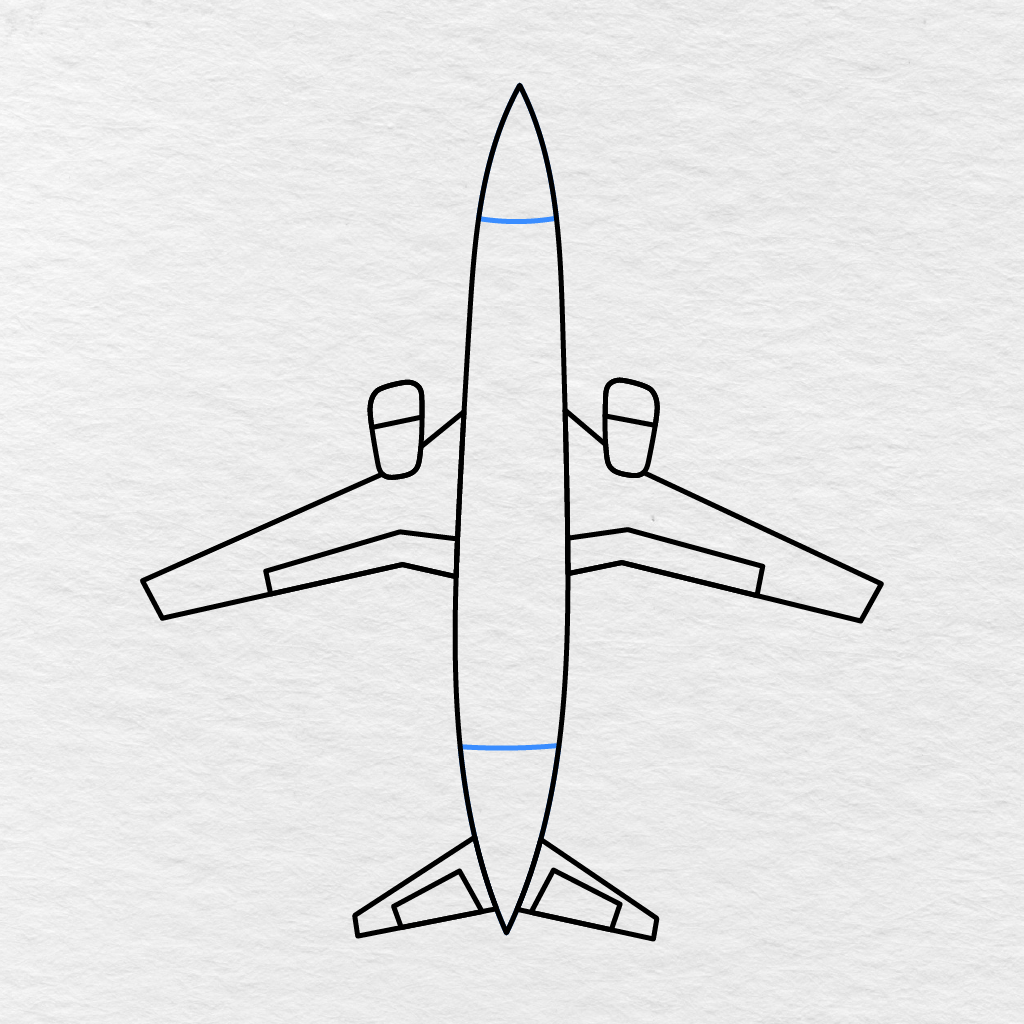
We’re going to add one curved line near the top of the airplane’s body.
Then, we’ll add another similar curved line near the bottom. This creates two distinct sections on the front and the back of the airplane’s body.
Step 9: Draw the Airplane’s Windows
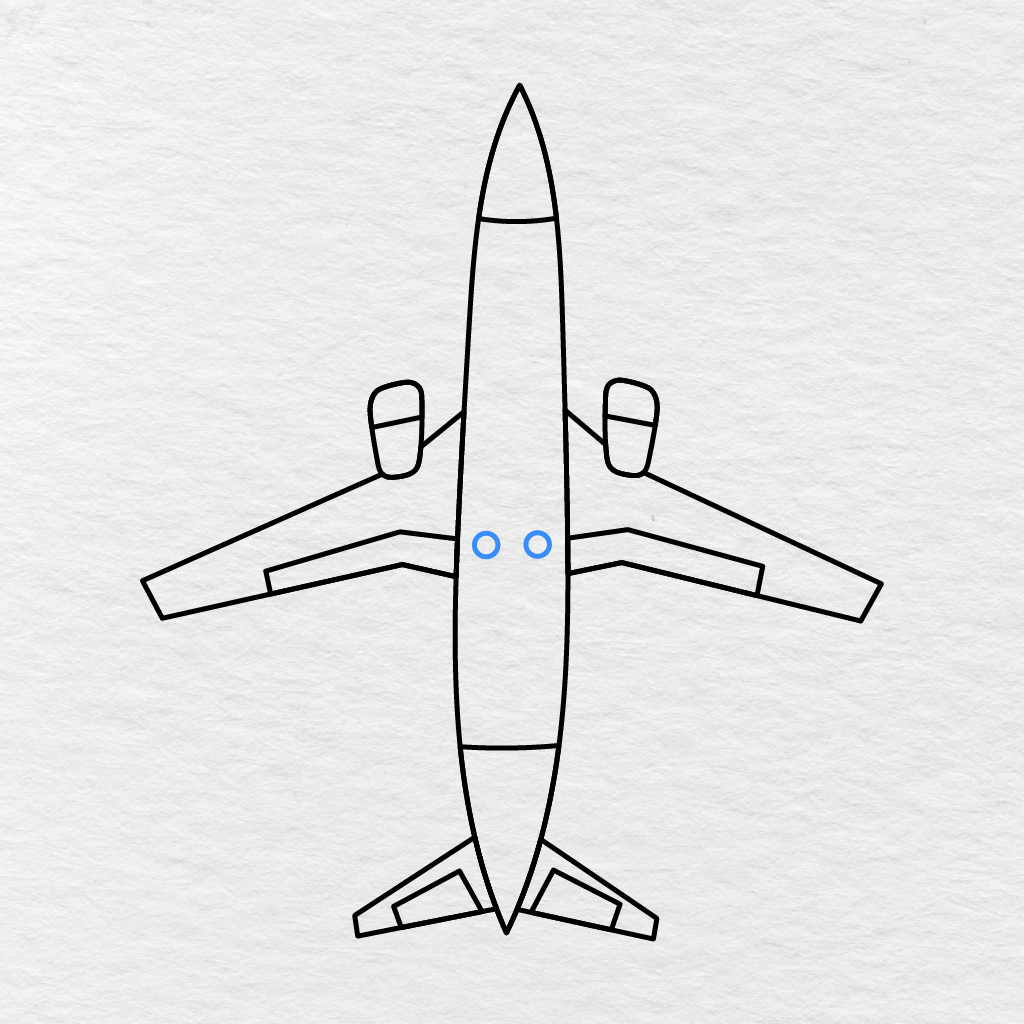
We’re going to add two small circles near the middle of the airplane’s body.
Make sure to place these two windows next to each other on roughly the same level.
Step 10: Color the Airplane
It’s time to color in our completed airplane drawing!
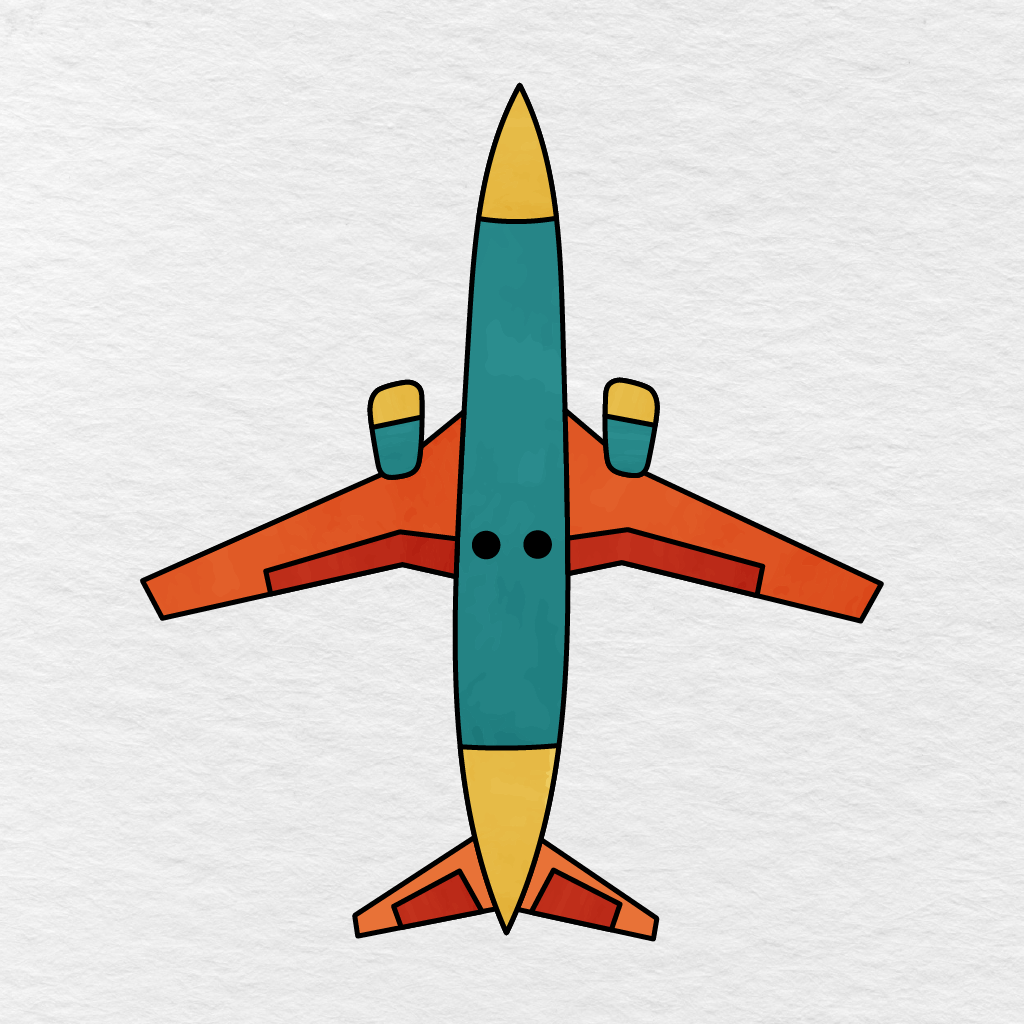
We’ve colored the middle part of the plane and the bottom parts of the engines dark teal. The front and back sections of the body, as well as the top parts of the engines, are yellow. The wings are orange, the inner wing details are red, and the two windows are black.
You can color your airplane drawing like ours, or you can use different colors, such as blue, green, purple, pink, gray, and any others!
Your easy airplane drawing is complete!
Printable Airplane Drawing PDF
You can download and print our airplane drawing PDF below.
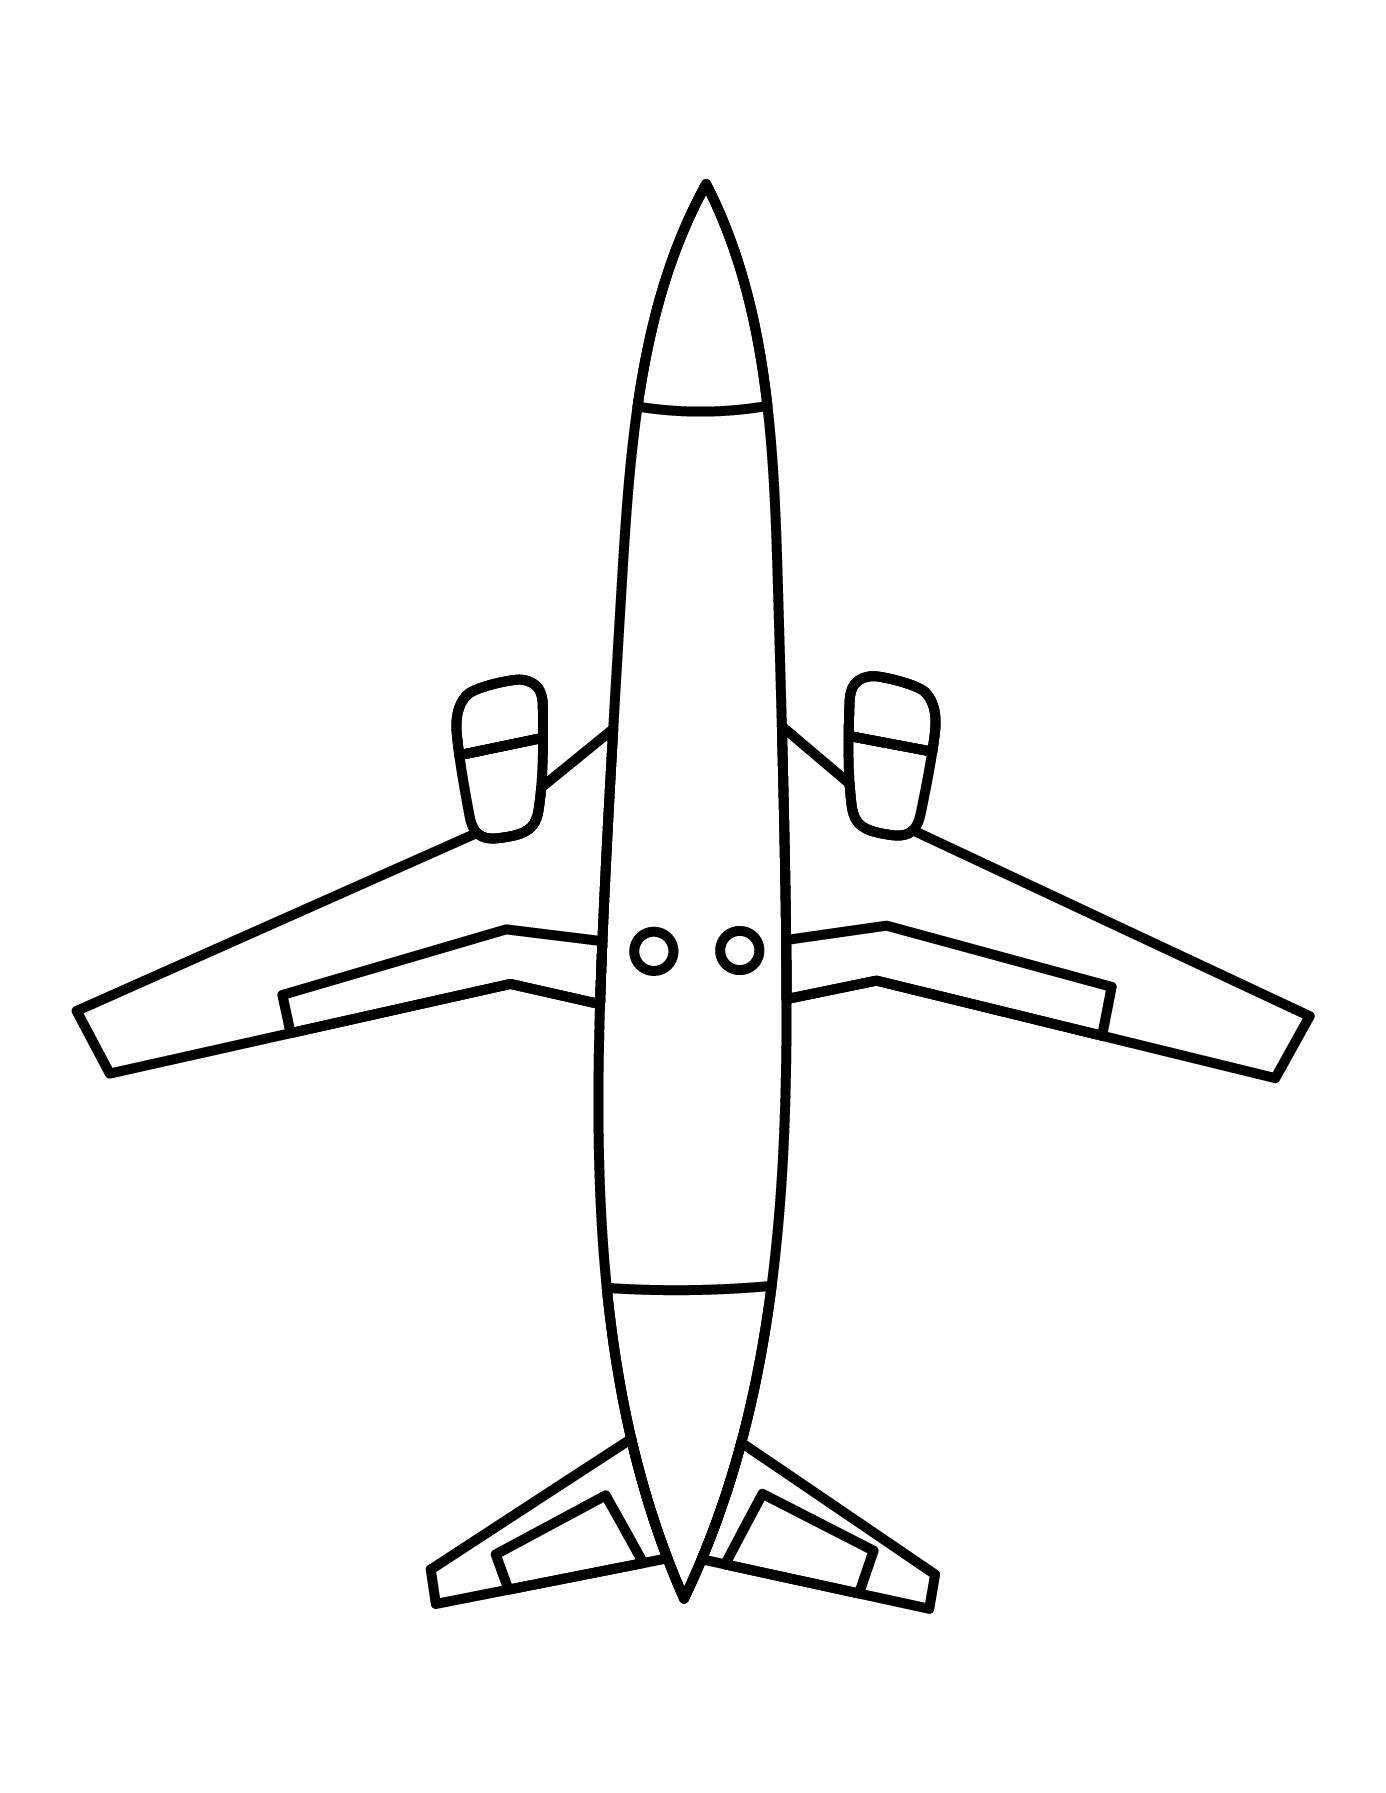
For another activity related to different forms of transportation, make sure to check out our Vehicles Coloring Pages.
What colors did you use to color your airplane drawing? Let us know in the comments below, and share this easy airplane drawing tutorial with another parent, teacher, or friend.