How to Draw Fire
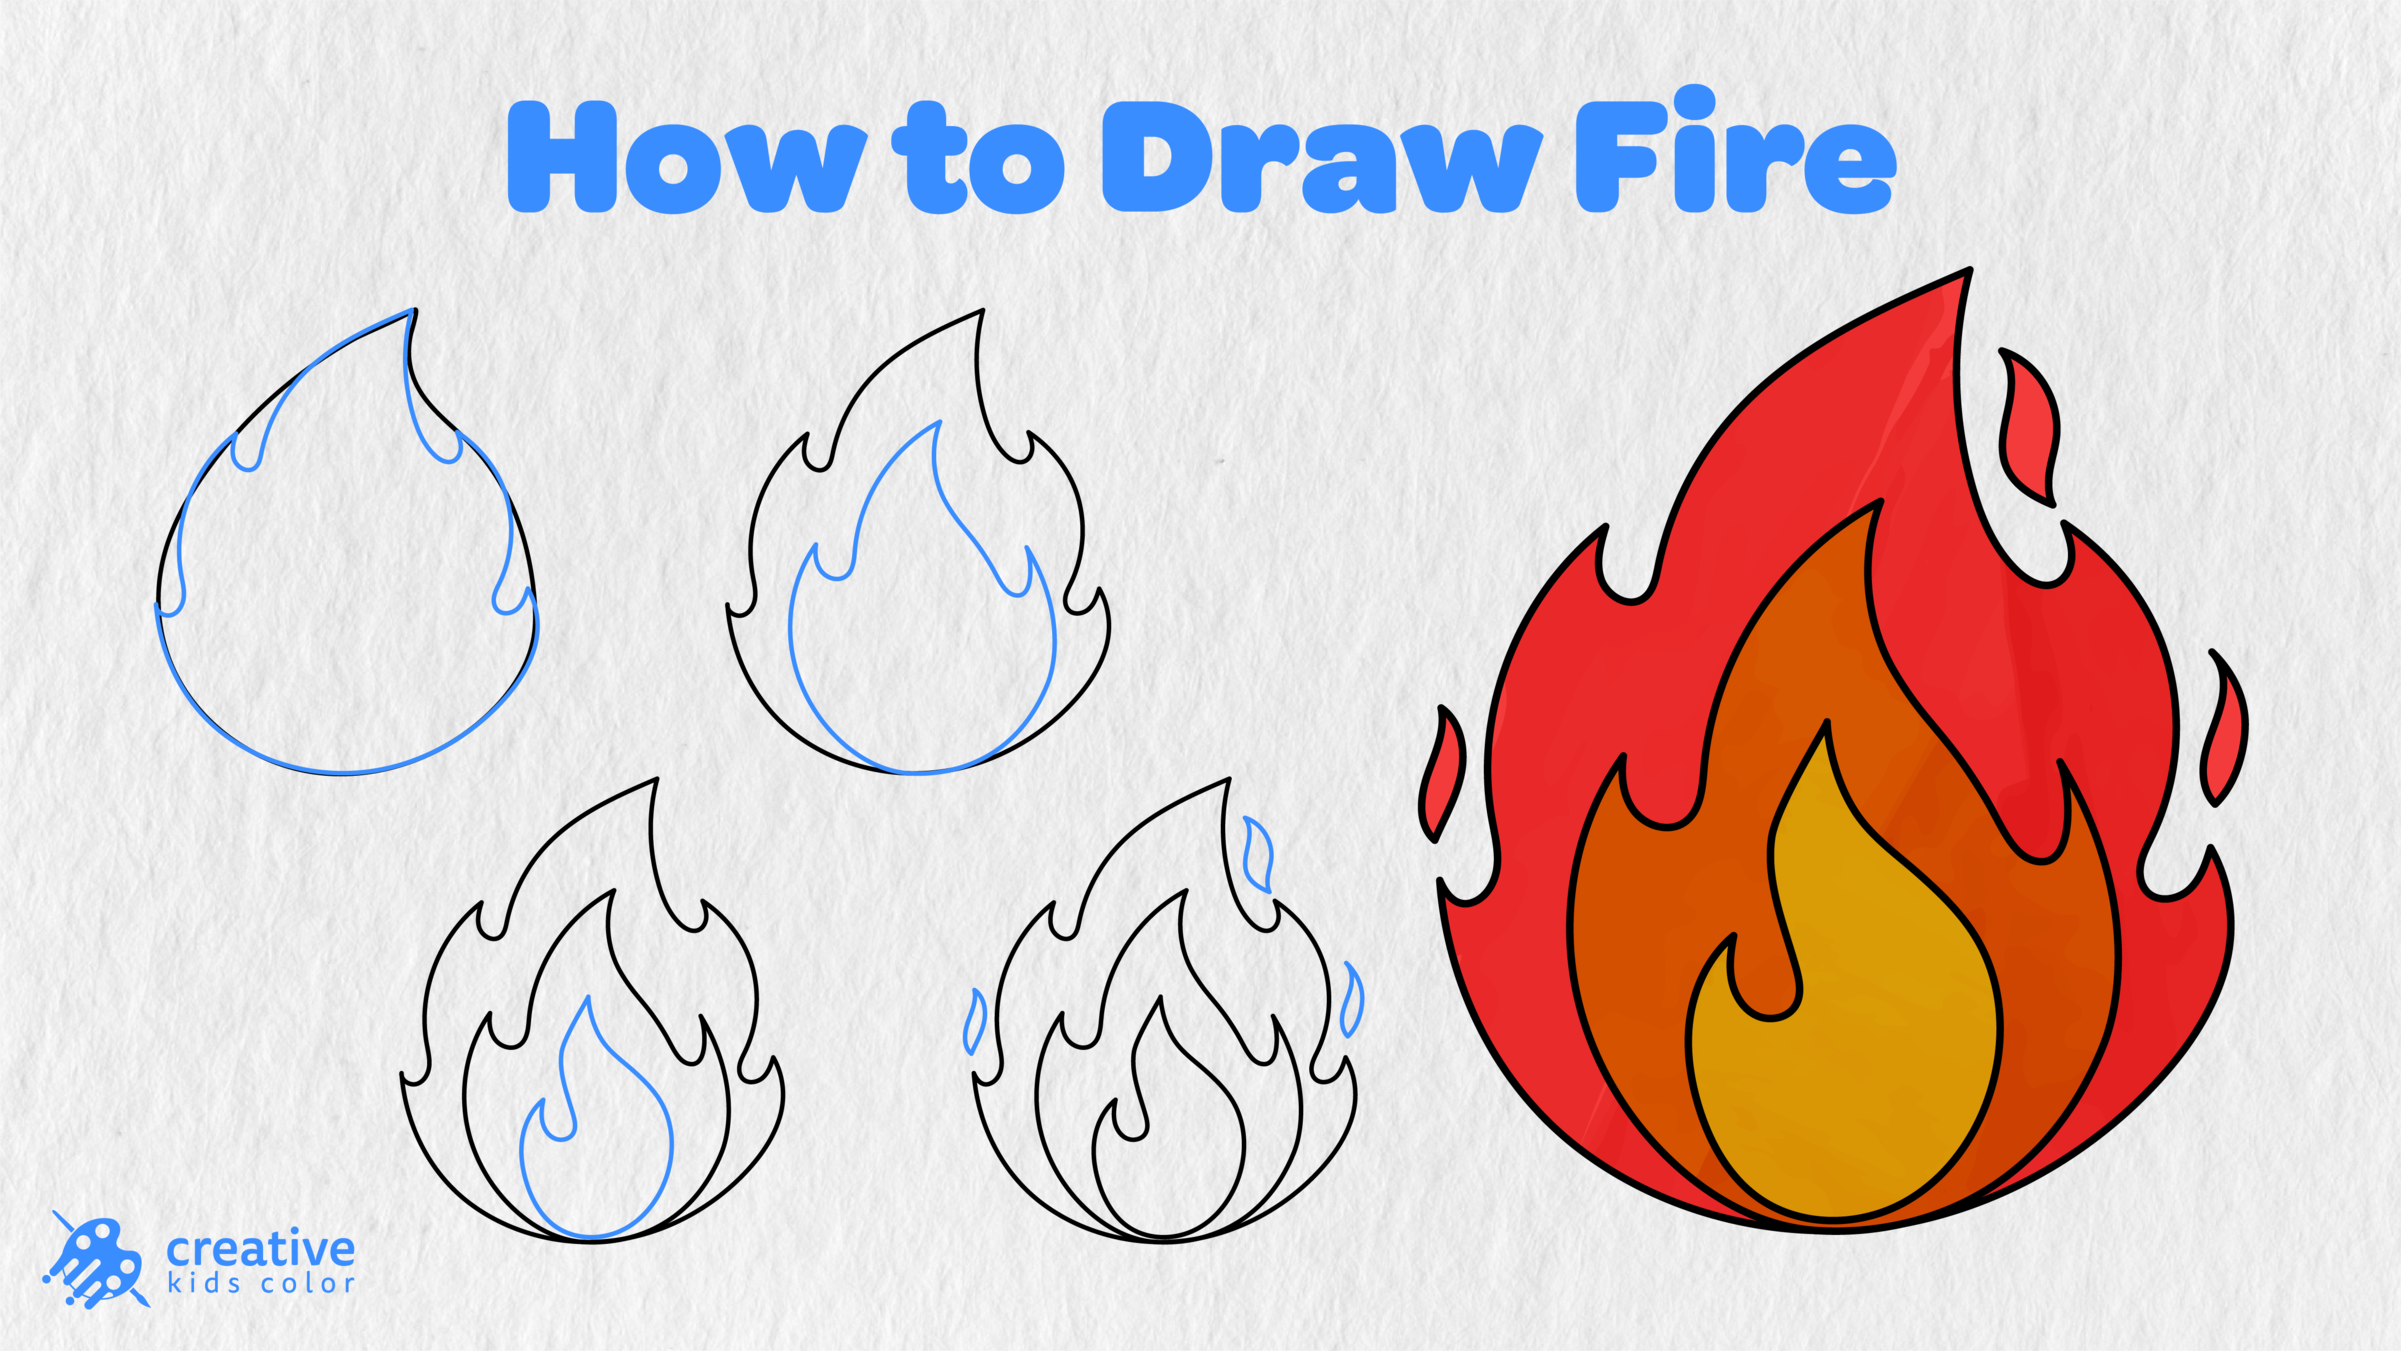
Fire may seem complex, but this version of it is made up of one large flame, two small ones in the center, and a few pointed flames around the sides. In this step by step tutorial you will learn how to draw fire by using curved lines in three separate layers and then adding color.
This step by step tutorial is great for children and beginners who want to make a bright cartoon style flame. You can follow along with the easy to understand instructions and even use the final image as a base to color your own fire!
The fire you will be drawing here starts as one large rounded shape. On top of that you will add two smaller flames in the center and a few more tiny ones around the edges to complete the image. Although it may look like a lot of movement once you reach the end, luckily this fire can be limited to only a few pages.
Easy Fire Drawing Step by Step
Before you begin make sure you have a pencil, paper, eraser, and something to color with on hand. Using light lines when you begin sketching will let you make adjustments to the curve and pointy parts as needed.
Step 1: Big Flame Shape
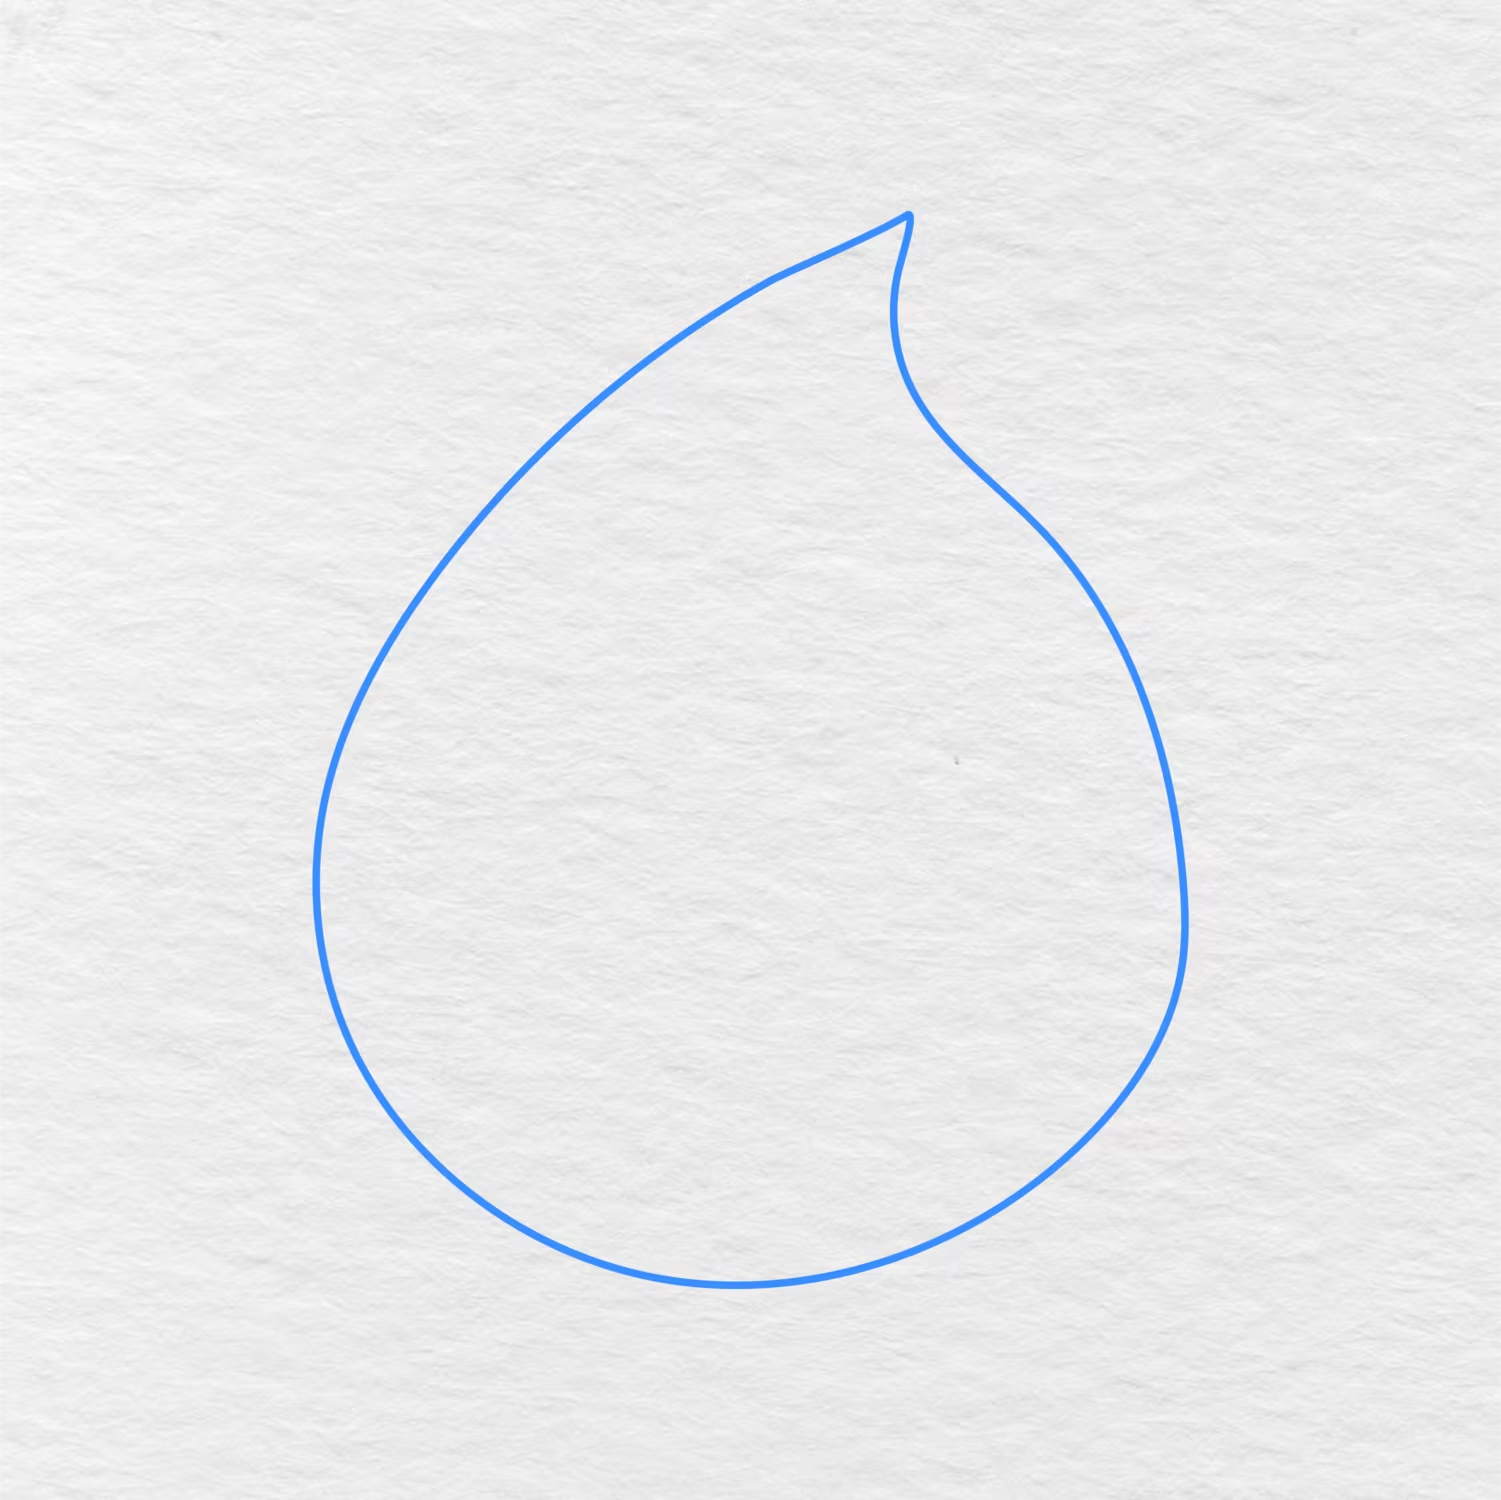
Make the biggest flame as the base of your fire drawing. This shape should start wide at the bottom and come to a point at the top, with the sides gently curving inwards as they reach the top.
Your first big shape will act as the foundation of the whole fire drawing, so make sure to leave enough room in the center for the next two flames.
Step 2: Outer Layers
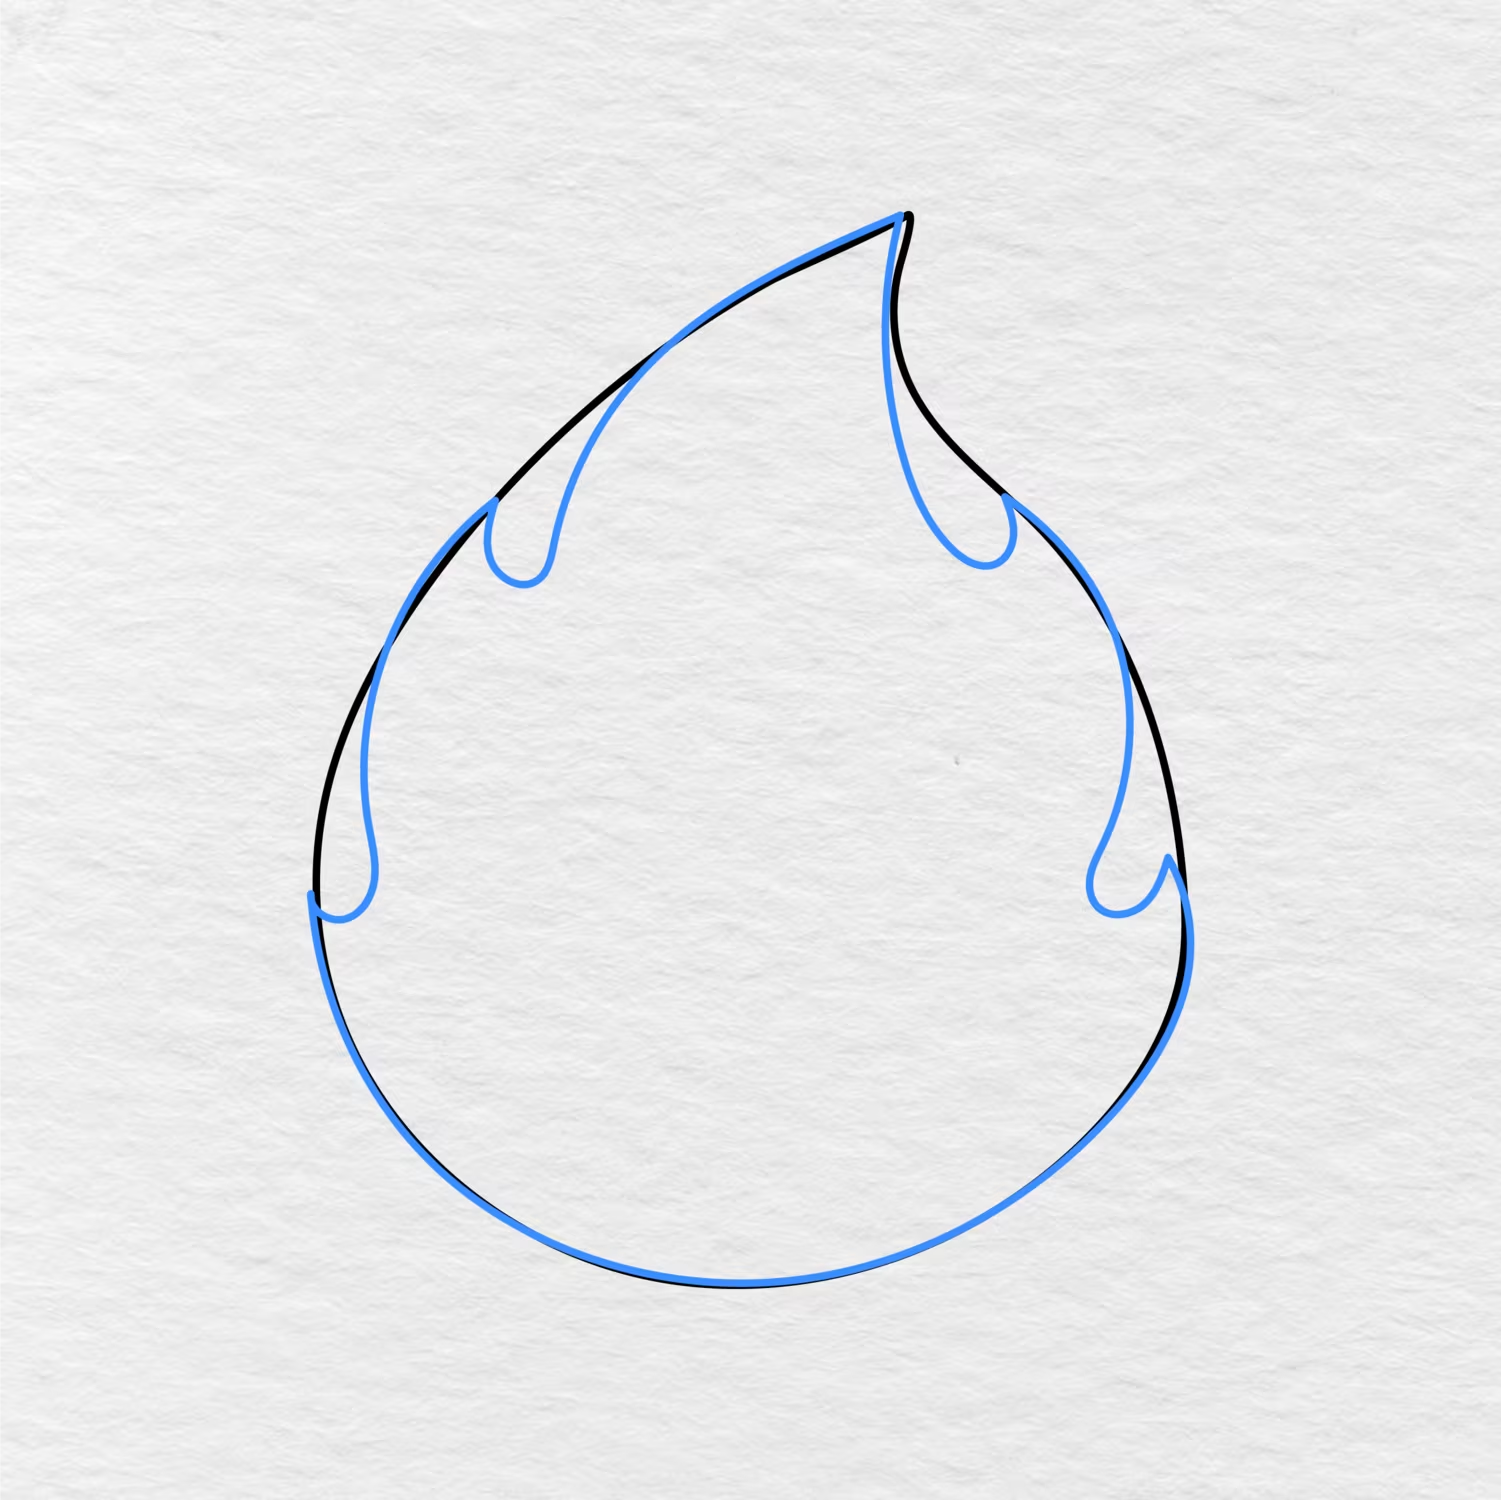
Using the big flame as a guide, make a few inward curves and points on the sides of the flame. These will help turn the simple big shape into an outer layer of your fire.
The size of the points do not need to be completely consistent, and a few differences will make the fire drawing look less rigid and more realistic.
Step 3: Second Layer
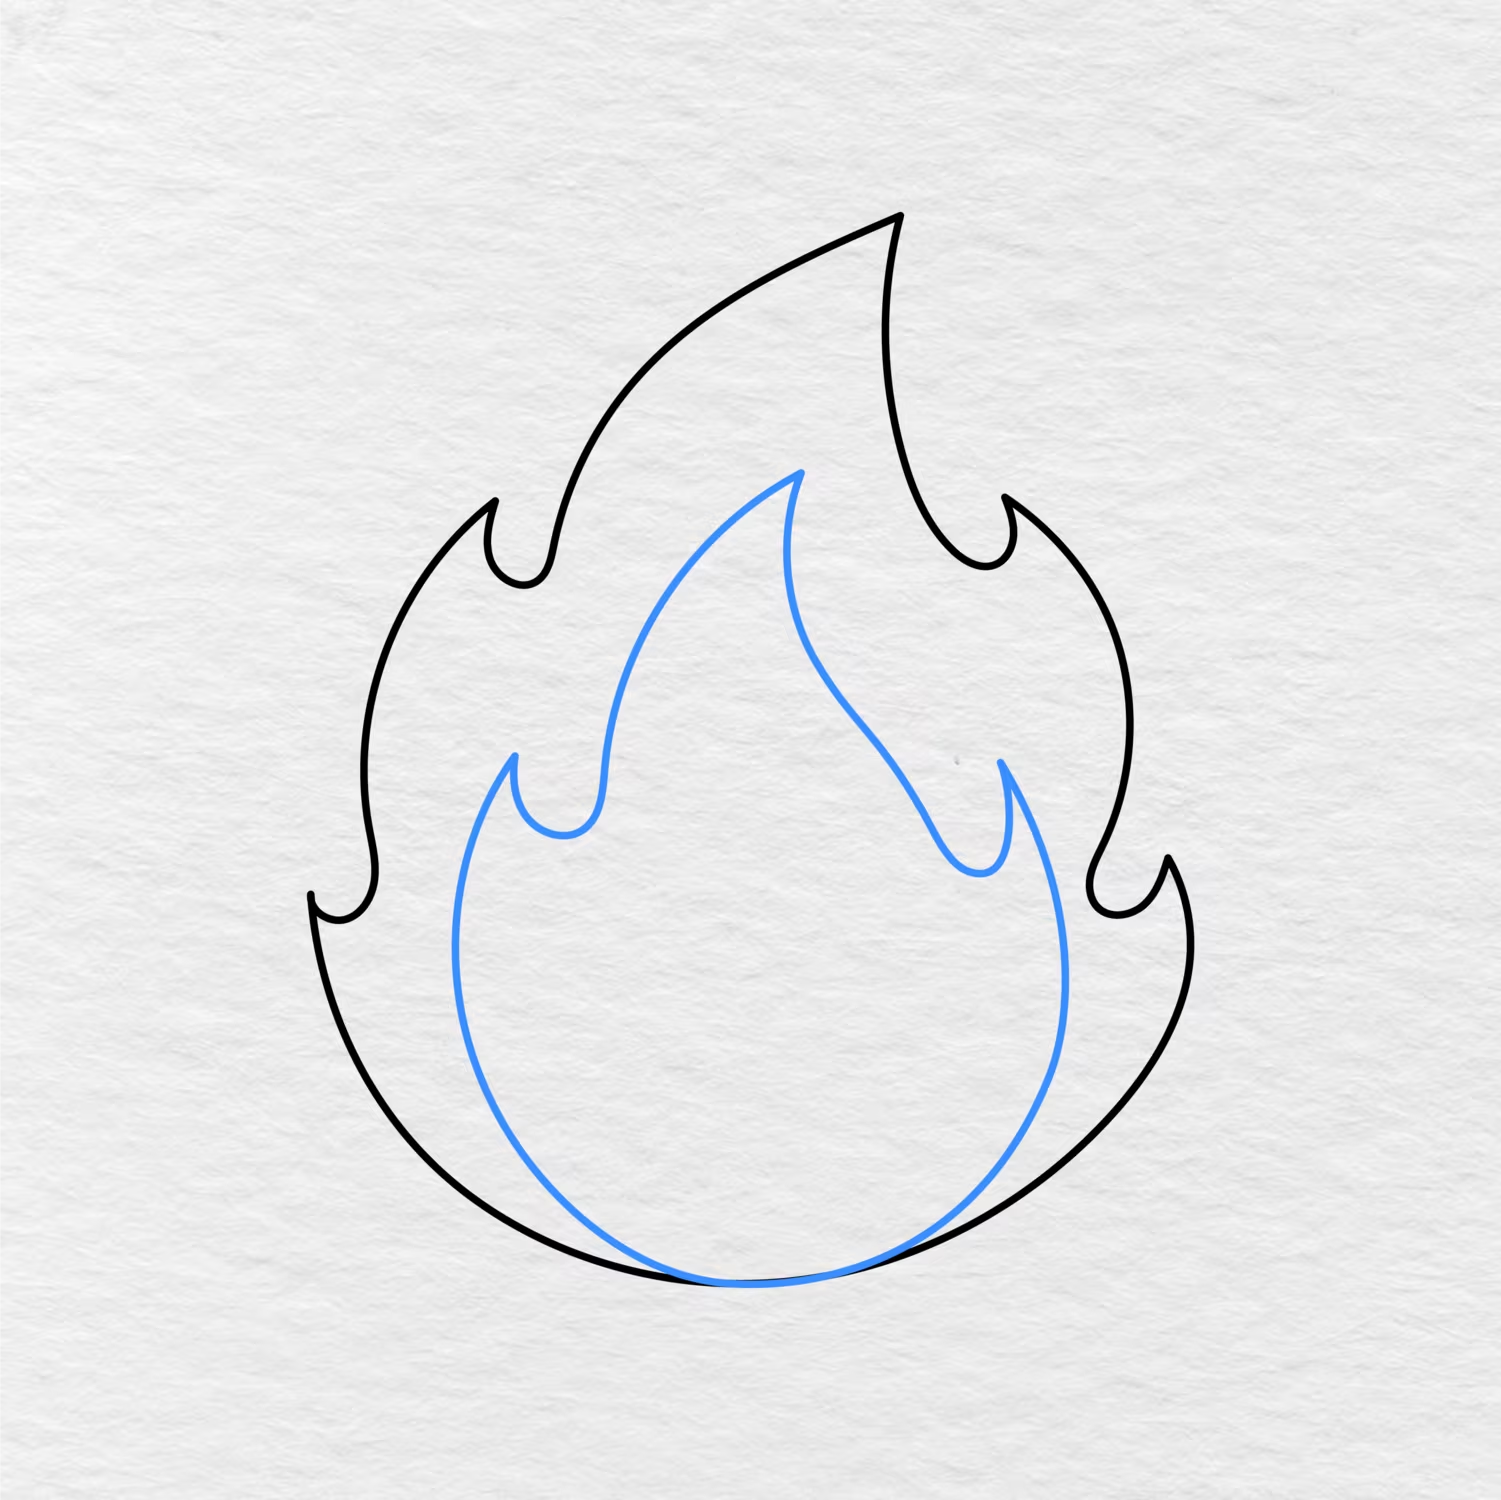
Inside the first big flame, make a second, smaller one. This time the bottom should still be rounded while the top gently curves into a point. You will want to make the second layer a little narrower so some of the first layer will peek through the gaps.
Make sure the second flame follows the same flowing pattern as the first but in an opposite direction so your fire will have enough detail to look nice.
Step 4: The Center Flame
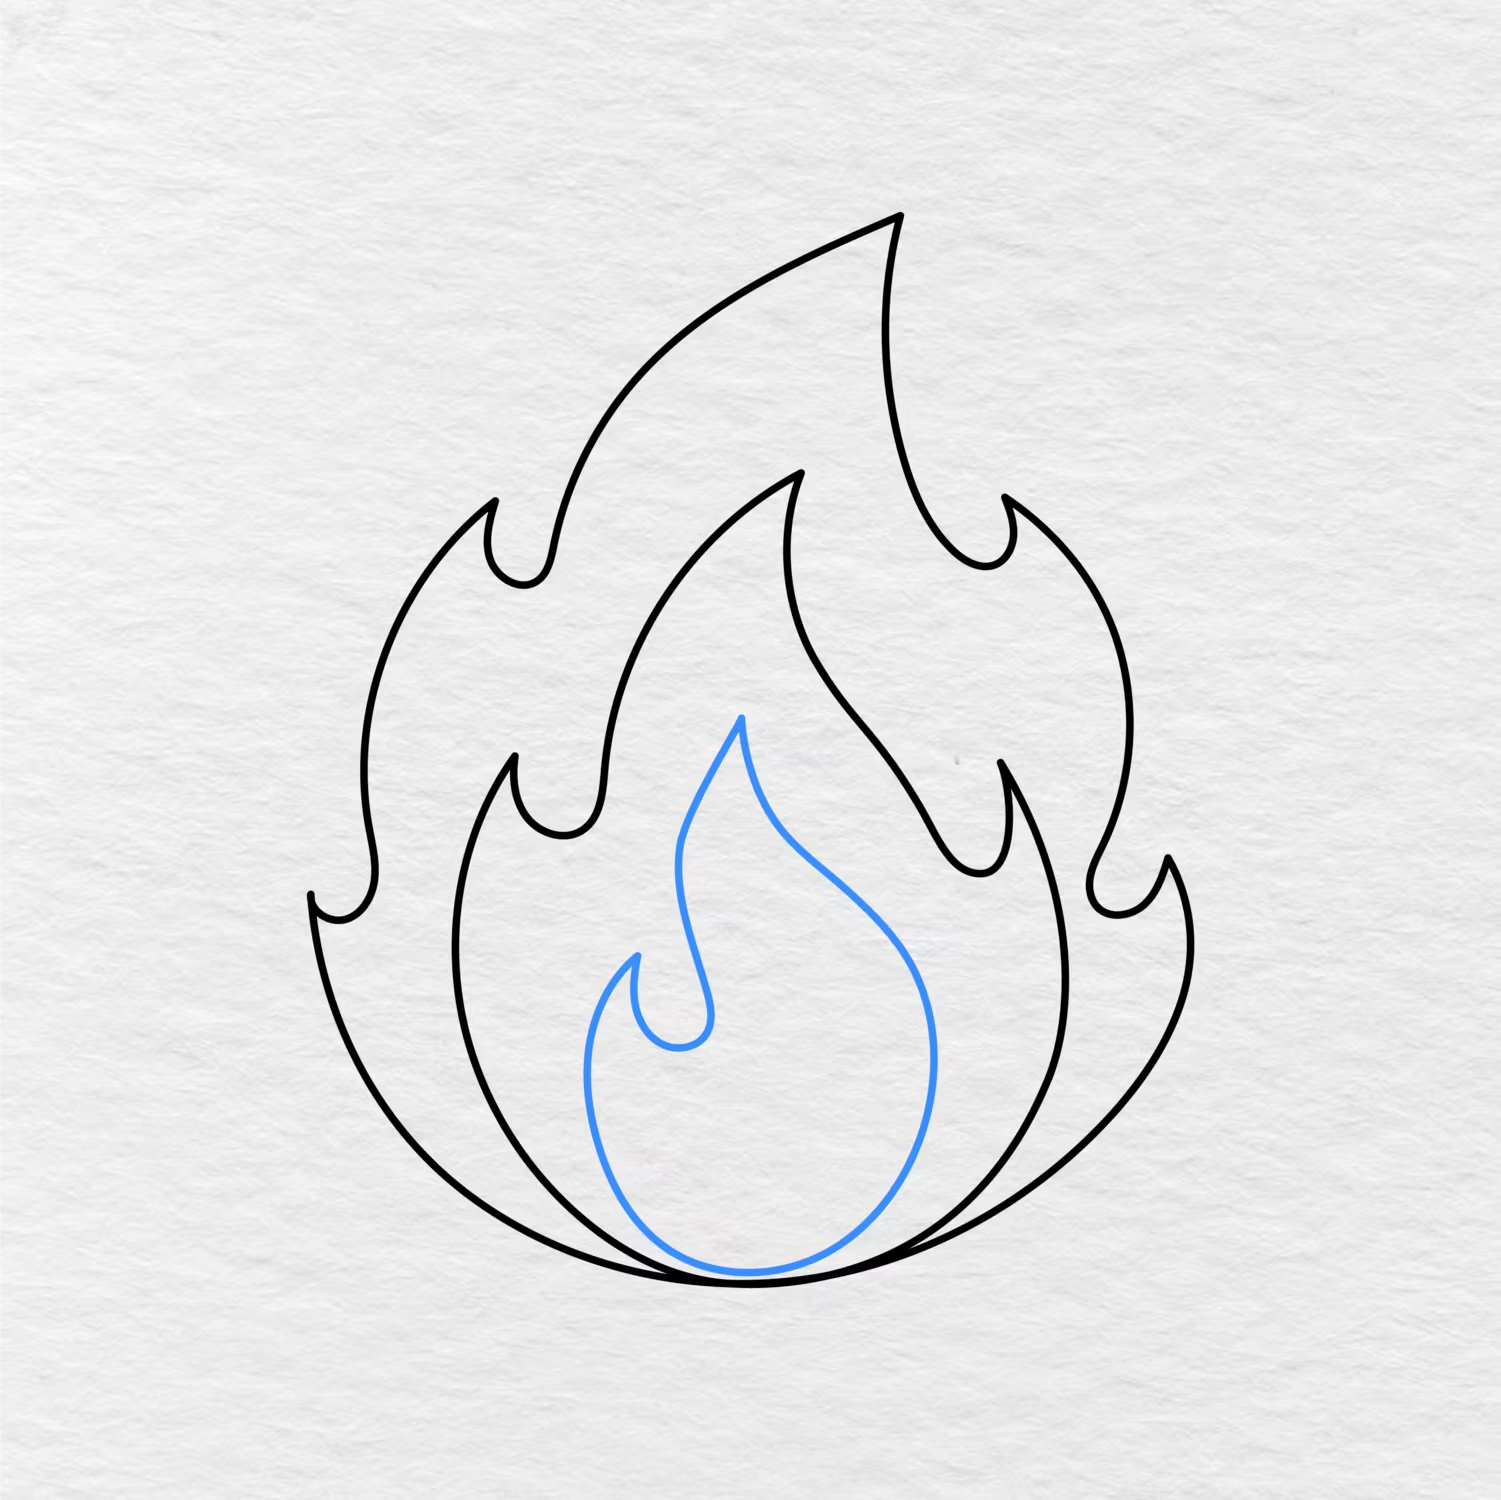
Next, inside the second layer, make a small third flame. This one should also have a rounded bottom and pointed top, but it will be the narrowest of all the flames and start at the very bottom. Once you are done it will be possible to see your fire from the inside out!
Step 5: Detail the Fire
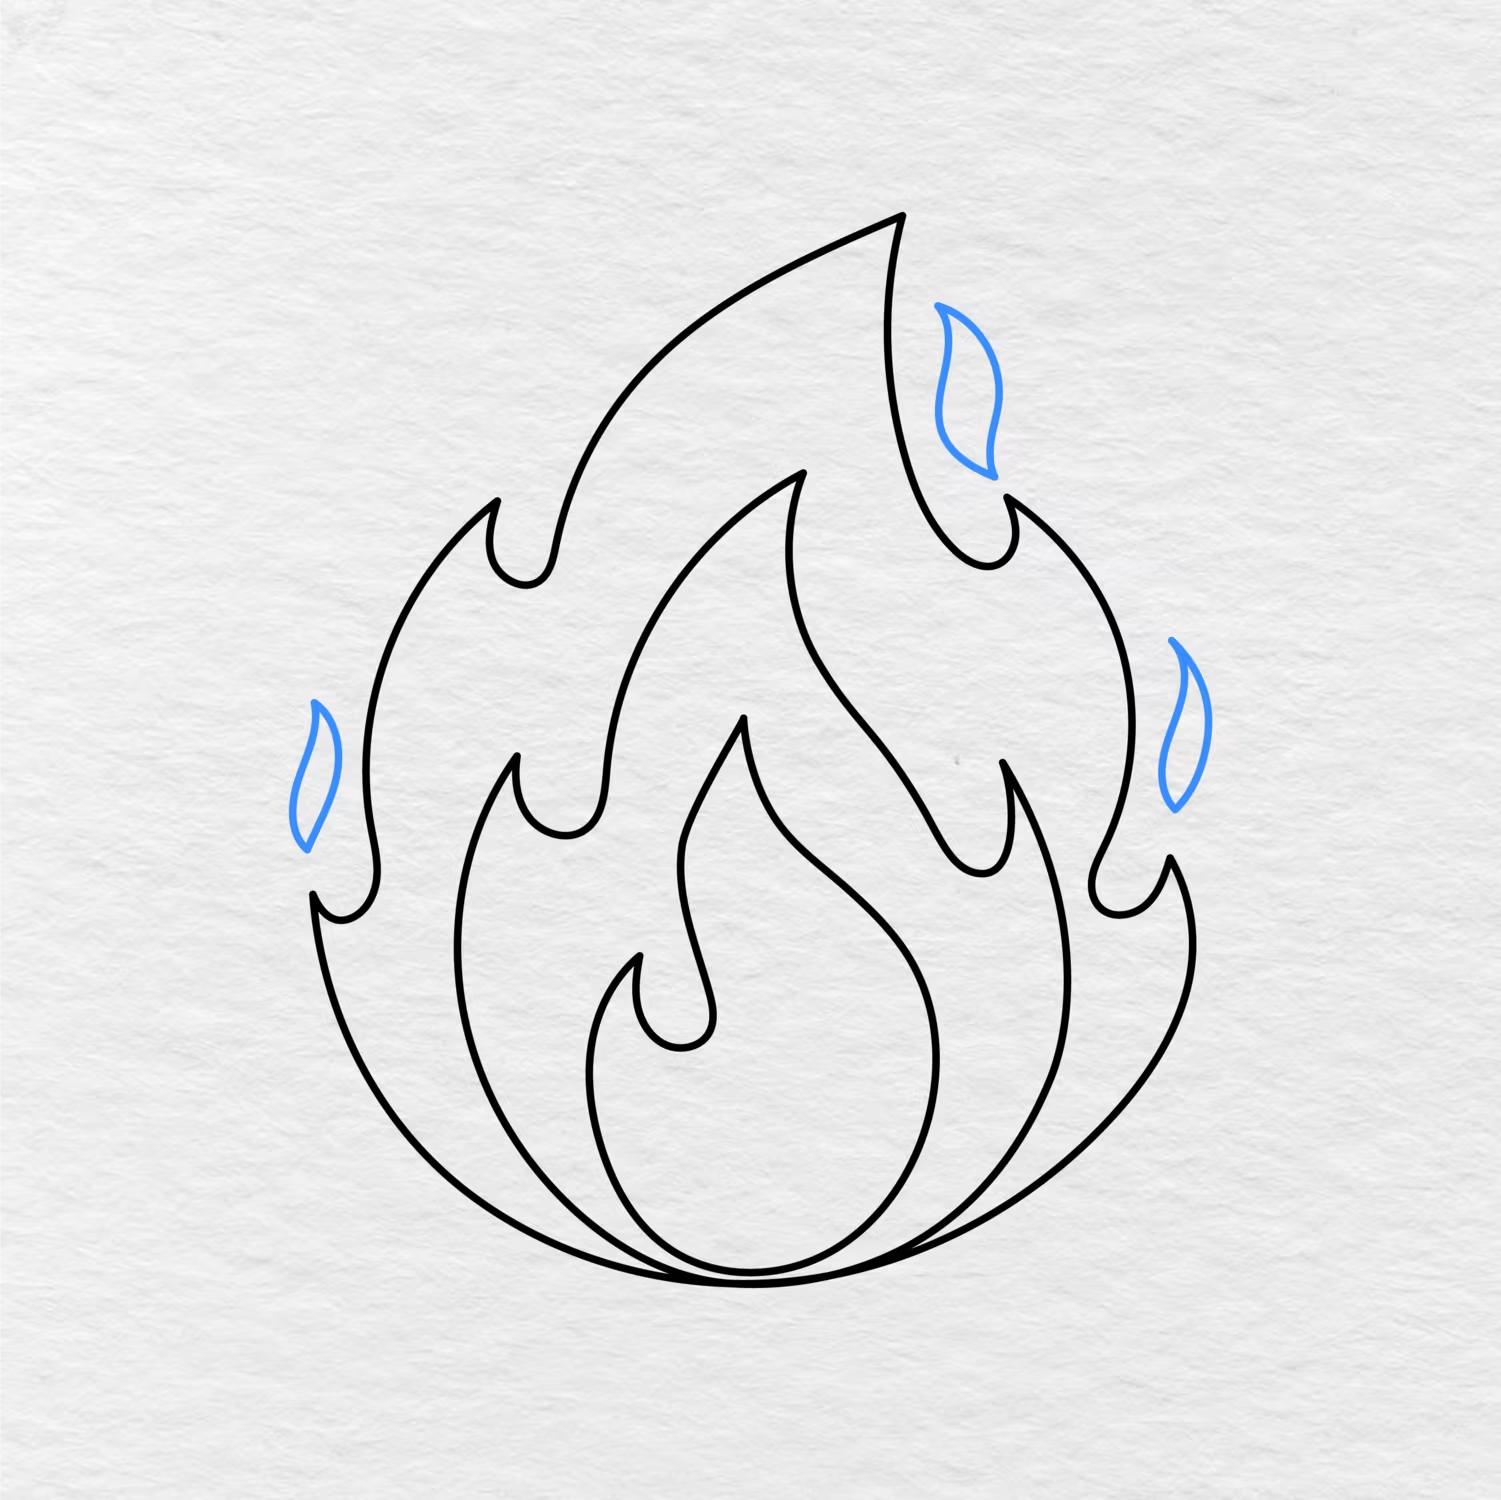
Now it is time to add a few extra details to the drawing. You will want to make three tiny flames on the sides of the main one, one on the left and two on the right as shown in the image.
Make sure to keep them narrow, curved, and pointed so they can be seen but they will not overwhelm the main part of your fire drawing.
Step 6: Color Your Fire
The last step is to go over your fire drawing and color it in. If you are struggling with what colors to choose, you can use the image below for reference.
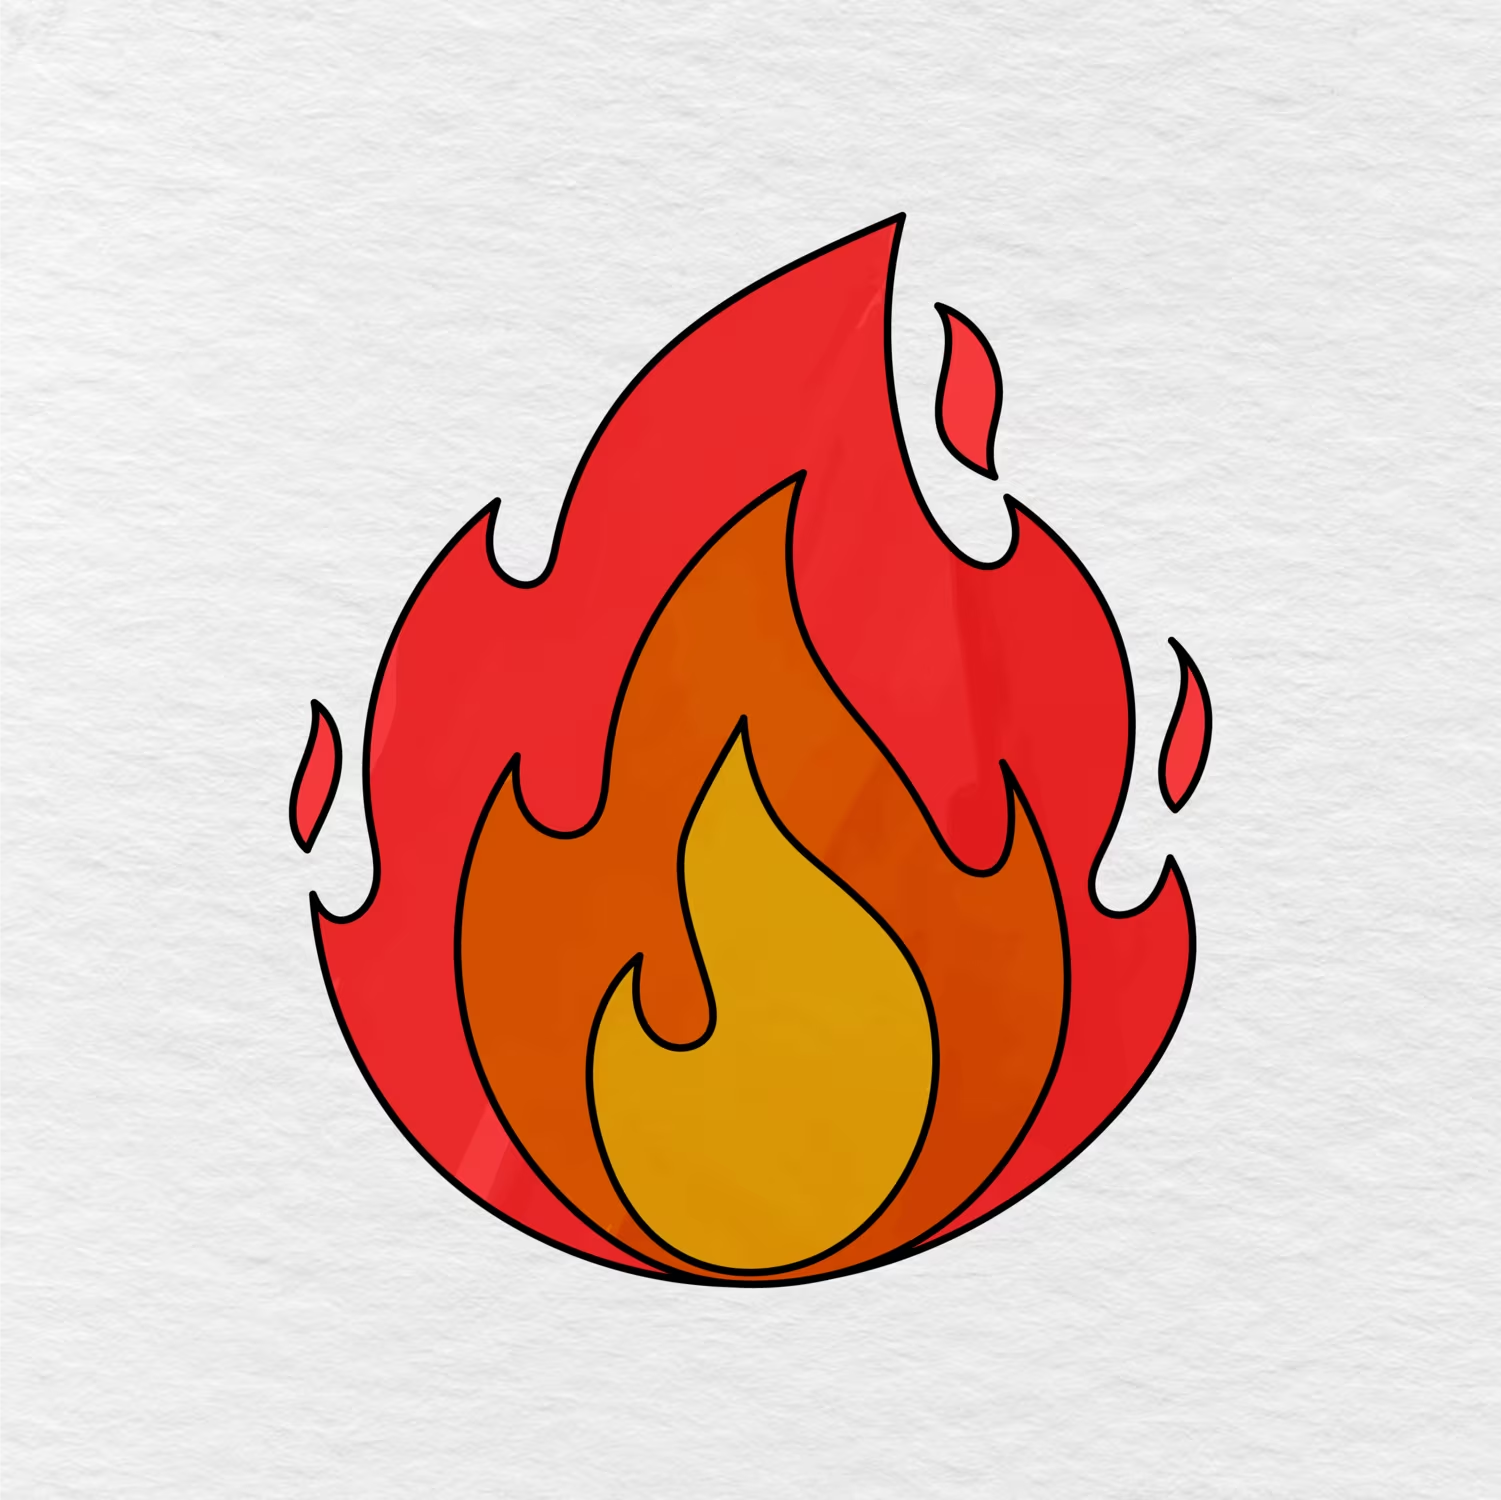
The outer flame should be red, the second one orange, and the innermost one yellow. You can also color the little flames on the sides red. With all the colors added your easy fire drawing is complete!
Printable Fire Drawing PDF
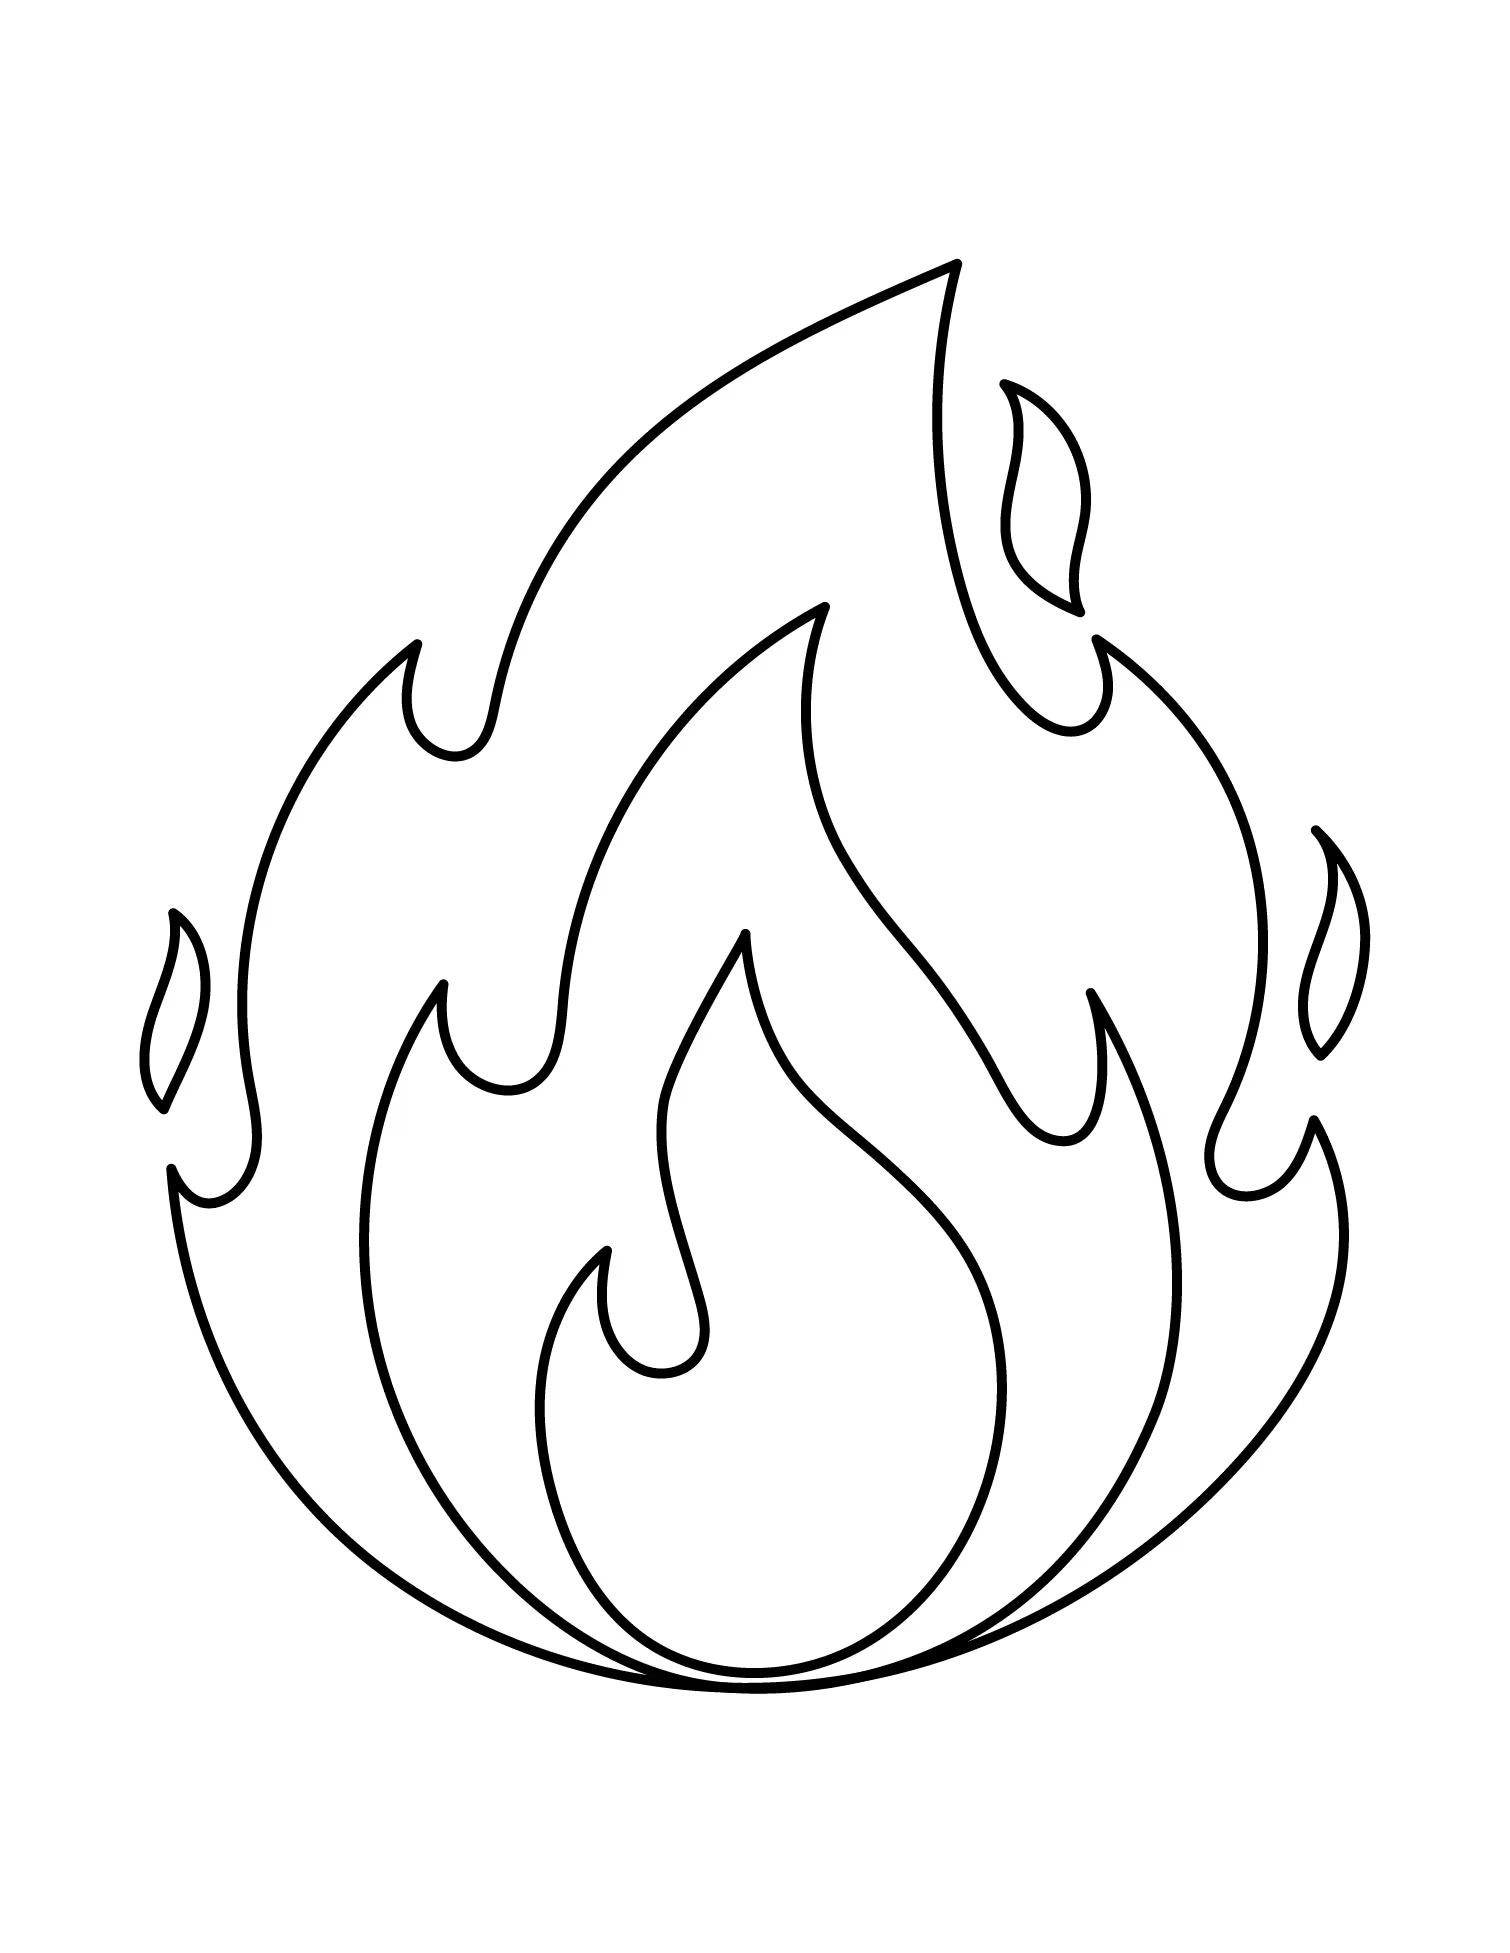
You can also print out the image of the completed fire drawing to use as a coloring page.
The image below does not have any colors to guide you, so kids will be able to print it out, color it in, and reference it again when they try to do the fire drawing again.
If your kids, students, or class enjoyed this fire drawing activity, let us know in the comments below. We would also appreciate it if you could share this post with another parent, teacher, or friend!