How to Draw a Horse
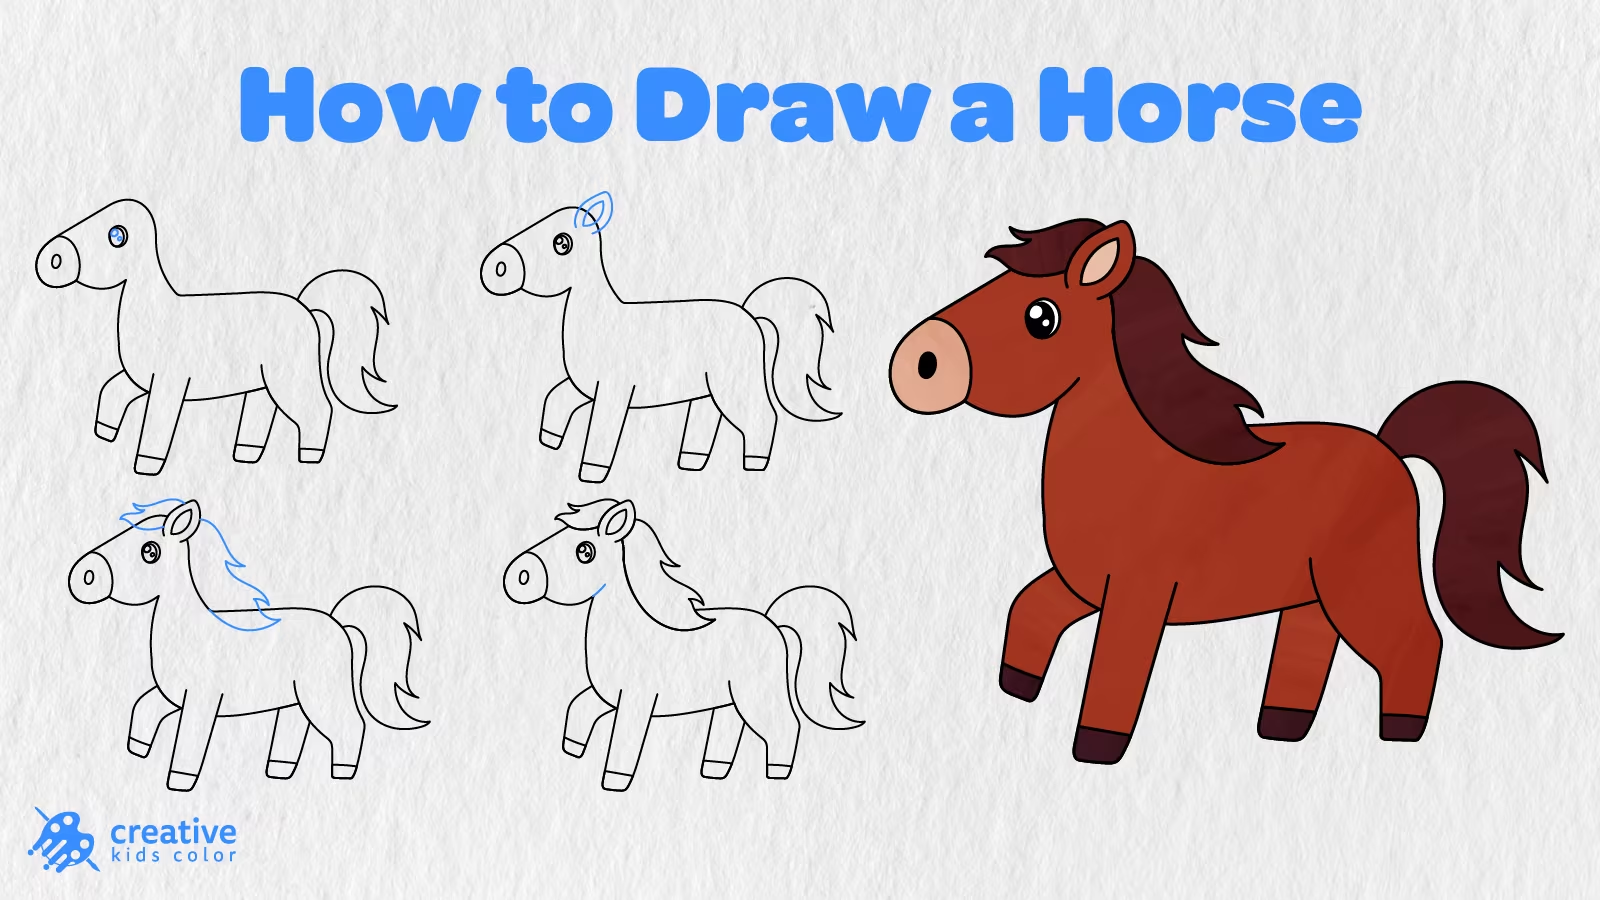
Horses are wonderful animals that have served mankind for centuries. Whether you encounter them on a farm, at a horse riding school, at a horse race, or in a fairy tale, their flowing manes and powerful legs inspire children to start drawing. Let’s learn how to draw a horse so kids have the opportunity to create a cute animal using just a few simple shapes and lines.
On this page, we have created horse drawing instructions containing 13 easy steps for kids and beginners. We will start by drawing separate shapes for the horse’s head and body and add the neck and chest in the next step. After that, we will add legs, tail, hooves, muzzle, eye, ear, mane, and mouth and finish by coloring our horse drawing.
The blue lines indicate what we will be adding in each step. All you have to do is follow the numbered steps and the two simple shapes from Step 1 will transform before your eyes into a cute horse.
Easy Horse Drawing Step by Step
To begin our easy horse drawing let’s gather a few simple supplies including a pencil, paper, eraser, and coloring supplies. You will want to start near the middle of your page leaving enough space to the left for the horse’s head and to the right for the horse’s tail.
Step 1: Draw the Horse Head and Body
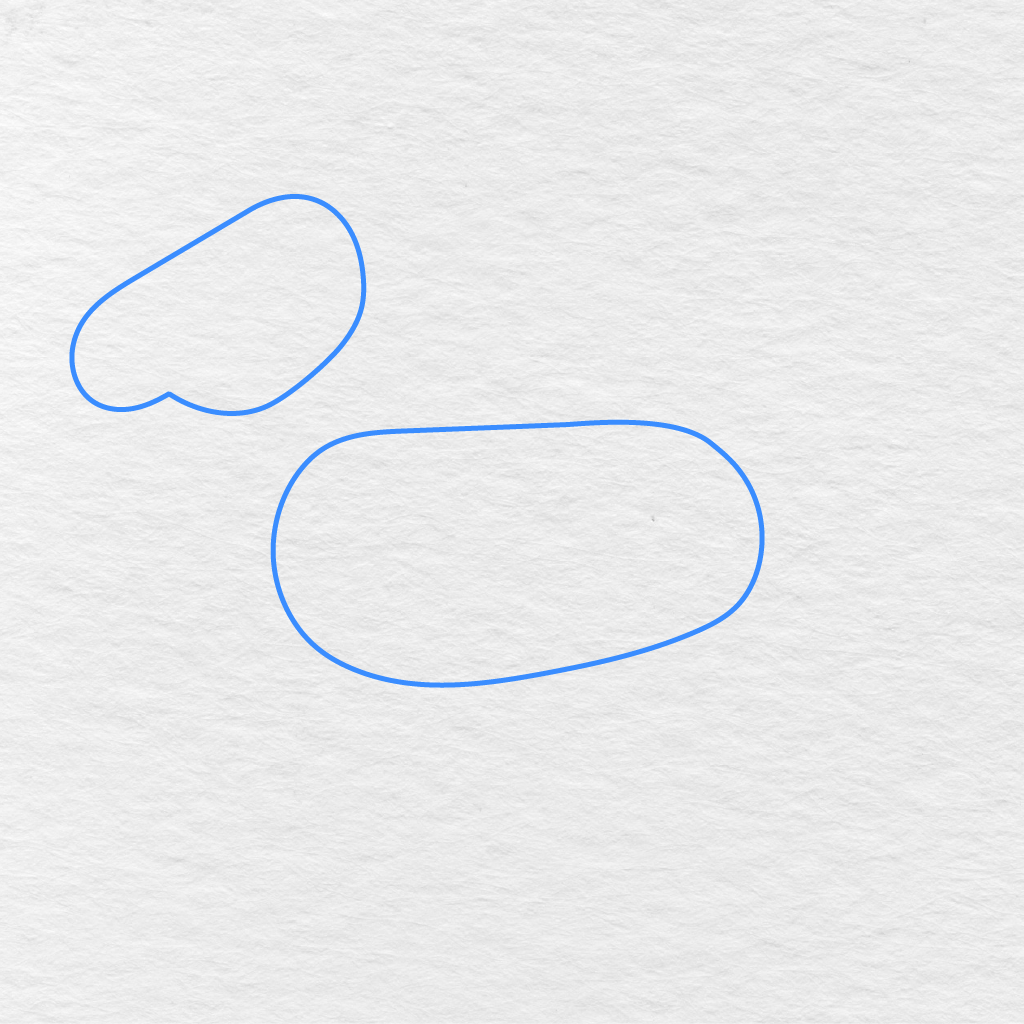
Let’s start by drawing two separate shapes. First, we will draw a rounded shape near the top and to the left of the page for the horse’s head. We will then add a larger and longer rounded shape below and to the right of the first shape for the horse’s body.
Make sure to leave some space between the two shapes so that we can add the neck in the next step. Now take a moment to make sure that you can see the head and body of your horse.
Step 2: Add the Neck and Chest
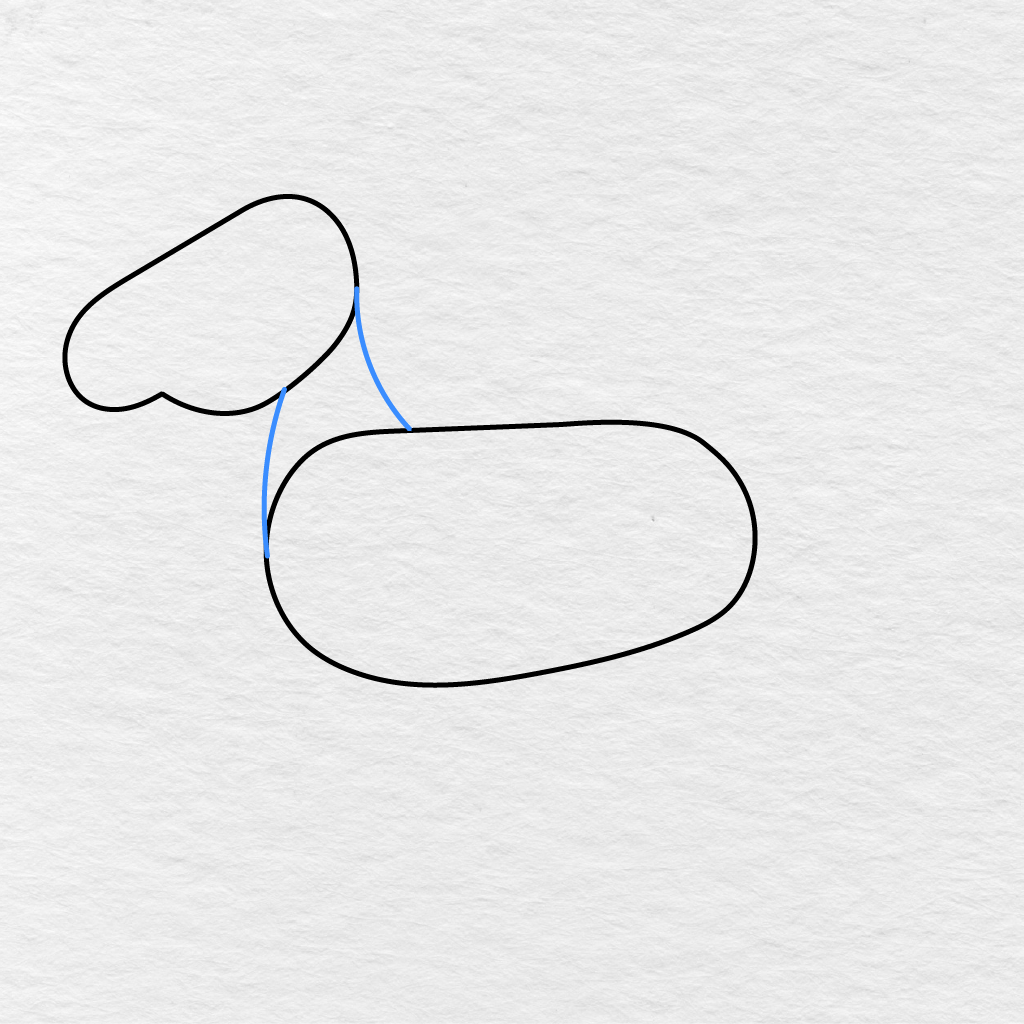
Let’s connect the head and body with the horse’s neck. First, we will draw one curved line from the back of the head to the top of the body. We will add another curved line from the bottom of the head to the front of the body.
Step 3: Draw the First Front and Back Legs
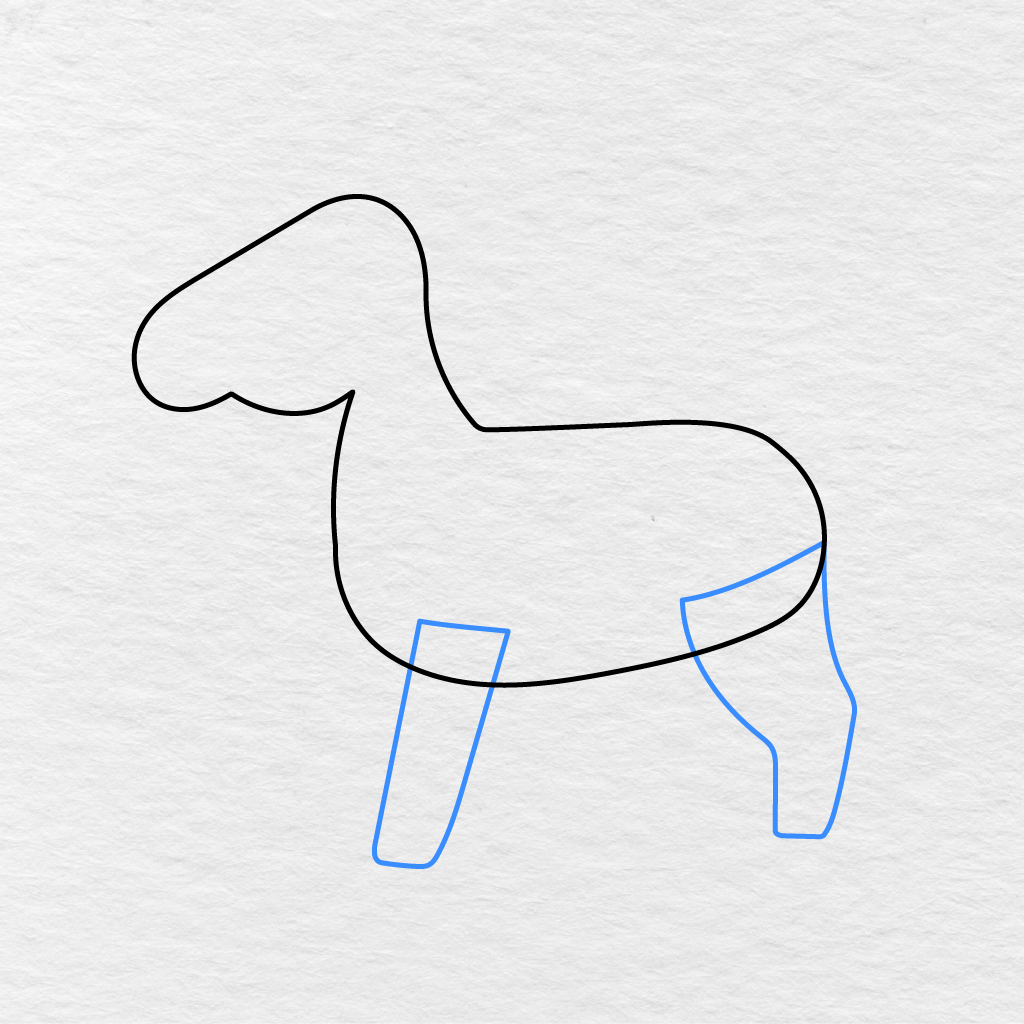
Let’s start adding the horse’s legs.
Let’s draw one long front leg from the bottom of the horse’s body. Next, we will draw one back leg from the right side of the body, add a bend to the leg, and continue the line down towards the hoof.
Step 4: Add the Remaining Legs
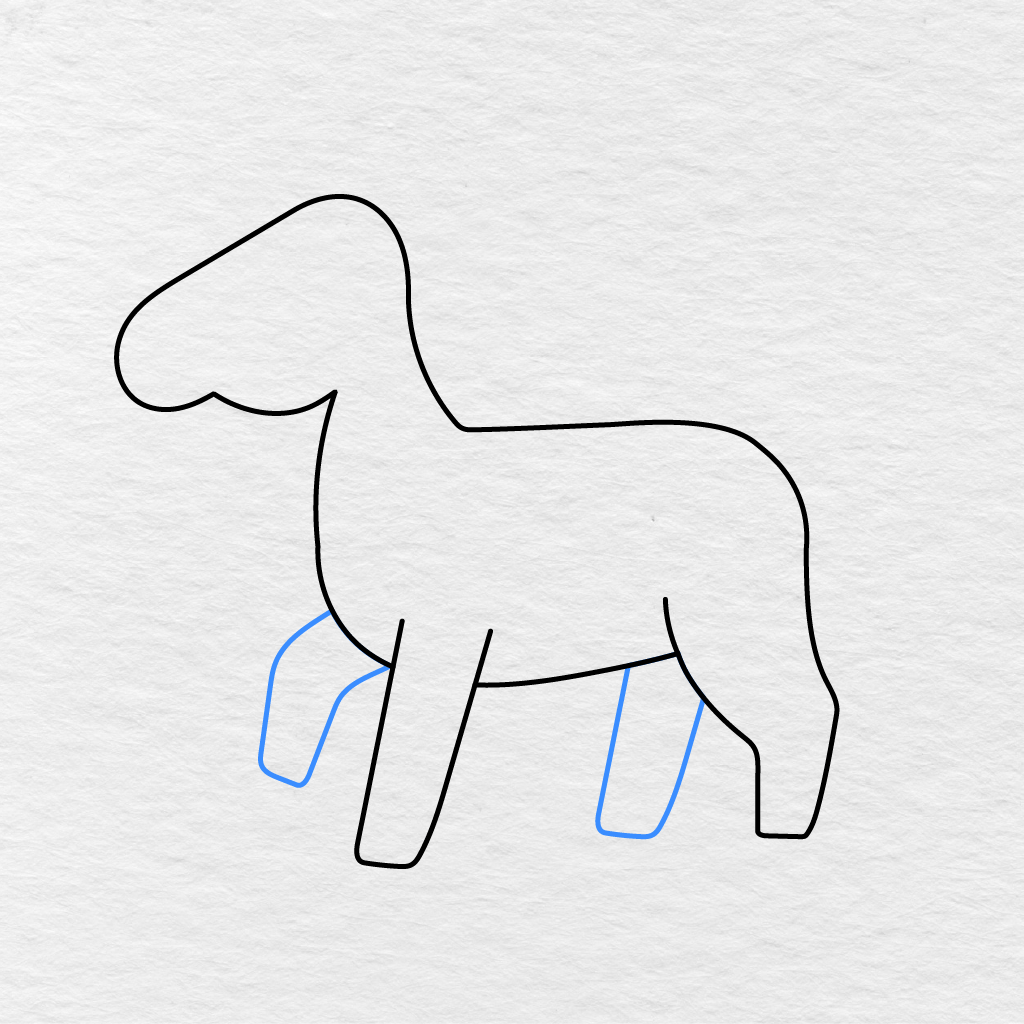
We will add the remaining two legs for the horse in this step. Let’s add a short raised leg behind the first front leg. We will continue the line so that it bends down towards the hoof.
Next, we will add another leg under the back part of the horse’s body. Try to leave some space between the legs so that all of them are visible.
Step 5: Draw the Horse Tail
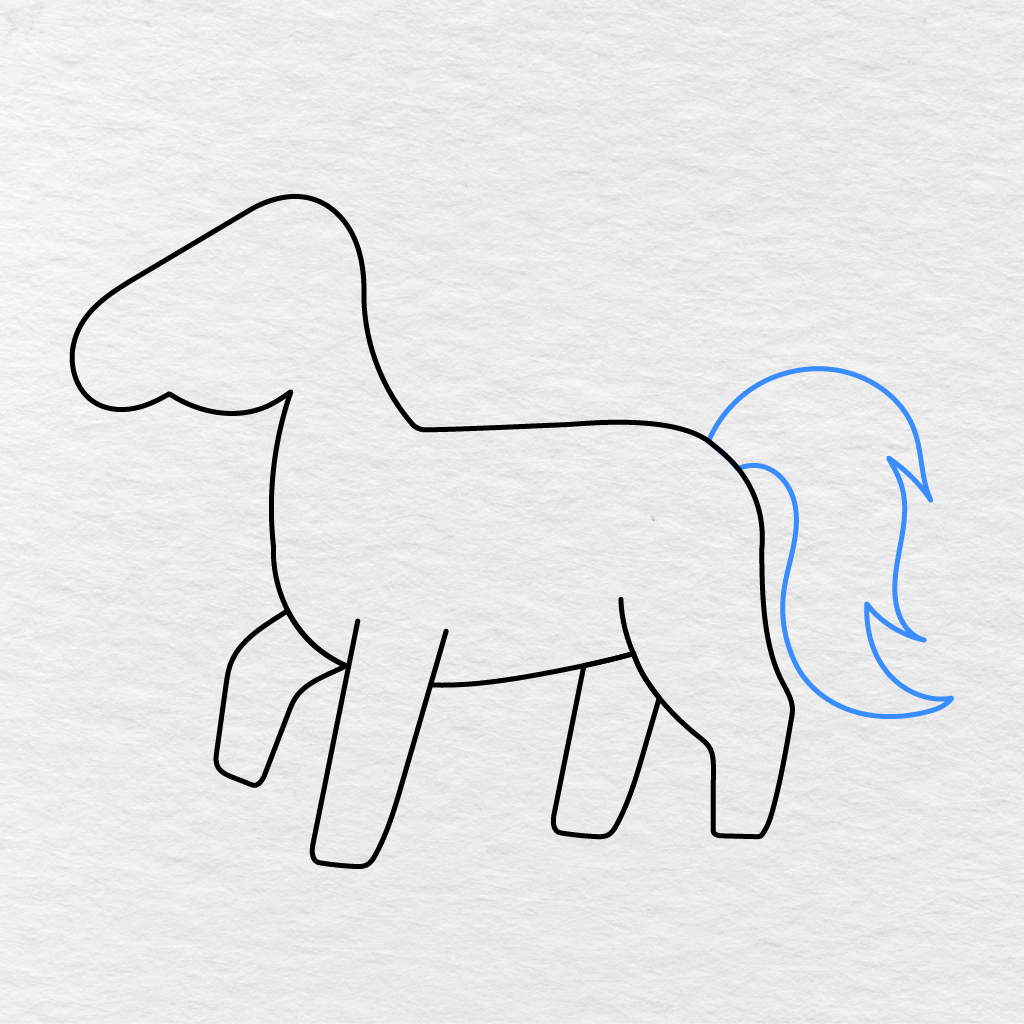
At the back end of the horse, we will add a big flowing tail. Start with a curved line that goes up and over the horse’s body before ending in a pointed section. Next, we will draw another curved line inside the tail to give it a more defined look.
Step 6: Add the Hooves
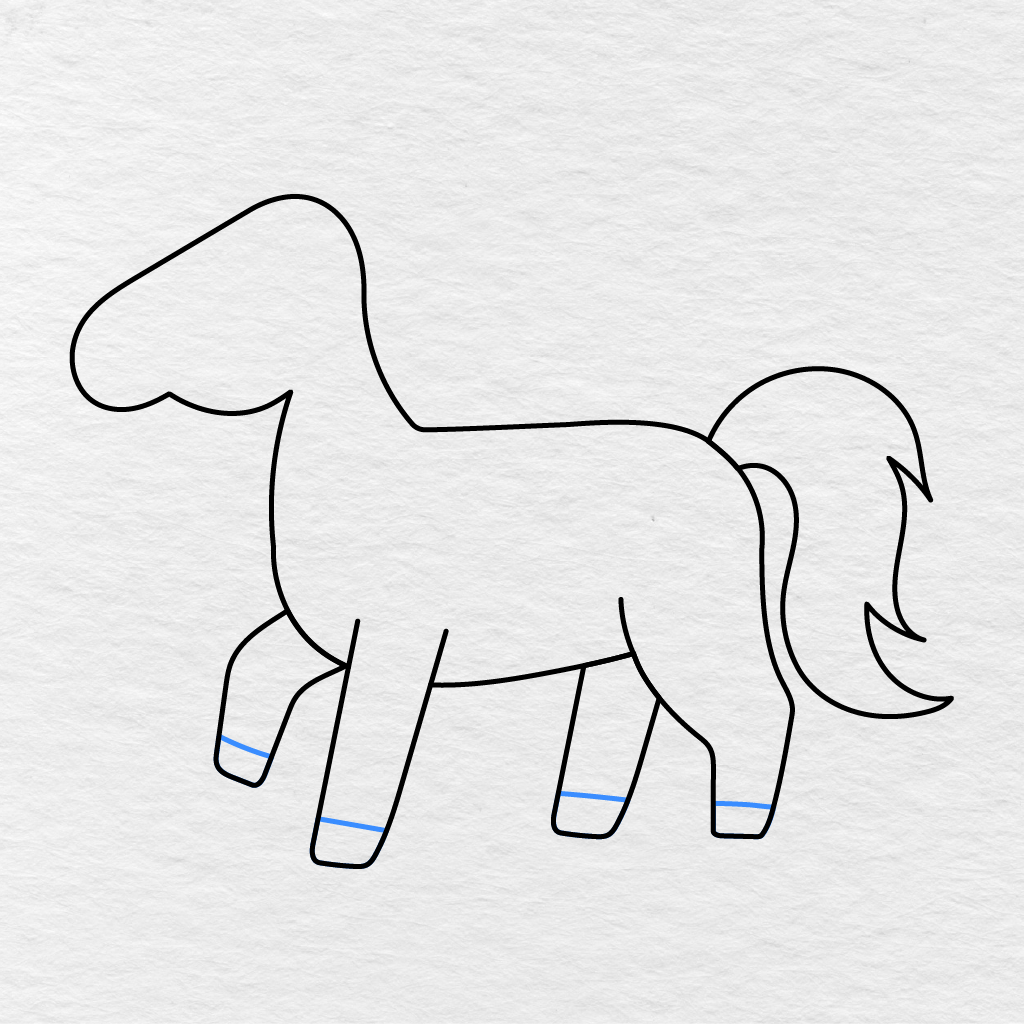
We will add some short lines near the lower part of each leg. All four lines will help to define the horse’s hooves and create yet another area to color.
Step 7: Draw the Muzzle and Nostril
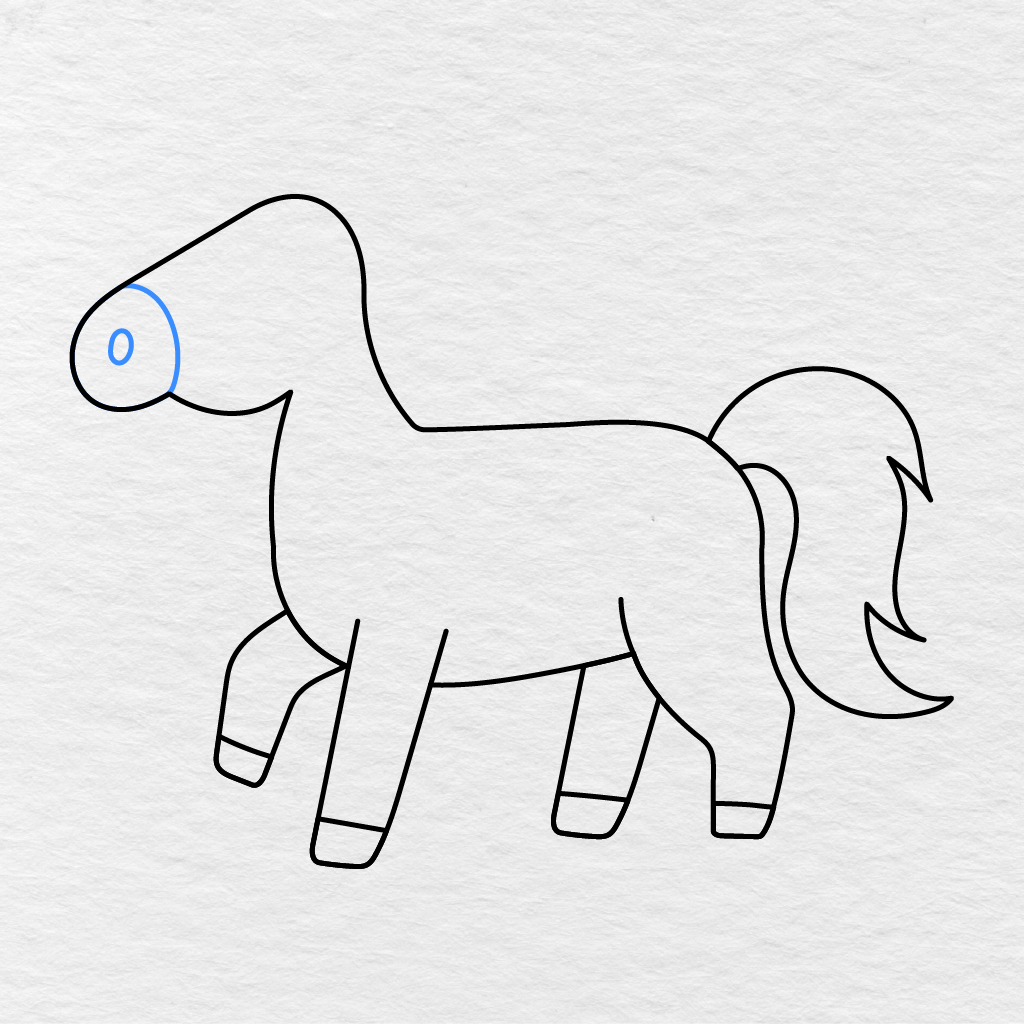
Let’s add some details to our horse’s face. We will start by adding a curved line across the front of the horse’s head to show the muzzle. Inside the muzzle, we will add a small oval shape for the nostril.
Step 8: Draw the Horse Eye
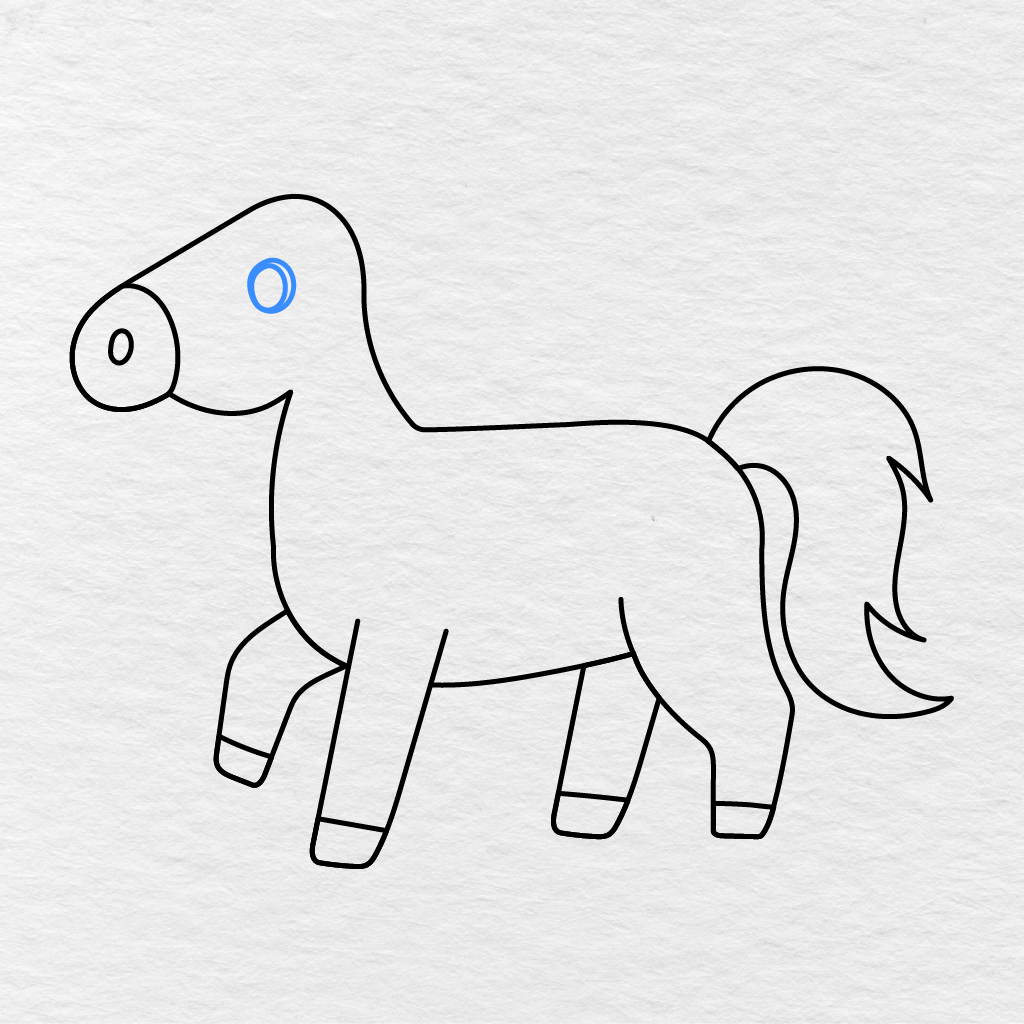
We will add another small oval shape for the horse’s eye just above the horse’s muzzle. Position it towards the top and middle of the horse’s head leaving enough space above the eye for the horse’s ear and mane.
Step 9: Add the Eye Details
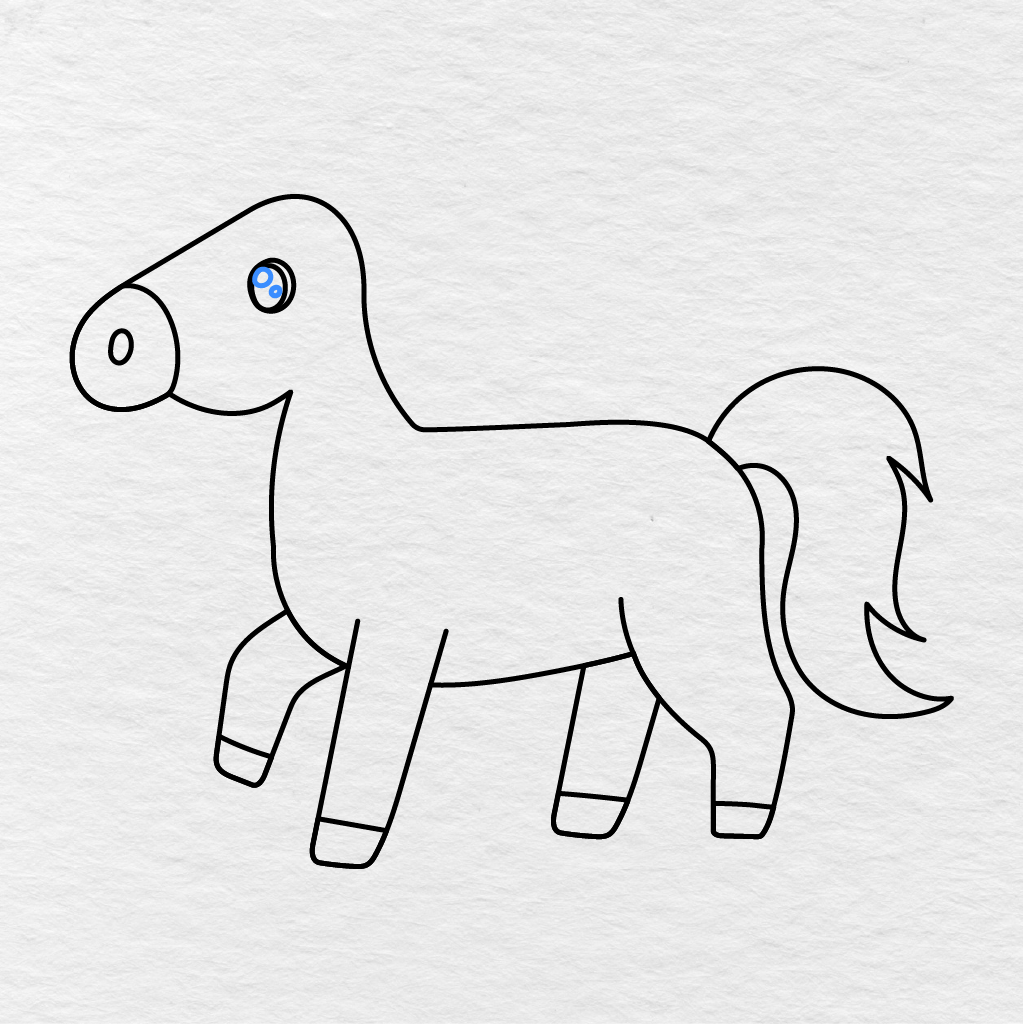
We will add a few more marks to the horse’s eye to give it more definition and make it look bright and expressive.
First, we will add two small circles inside the eye for the highlights. Then we will darken the eye around the circles leaving them white.
Step 10: Draw the Horse Ear
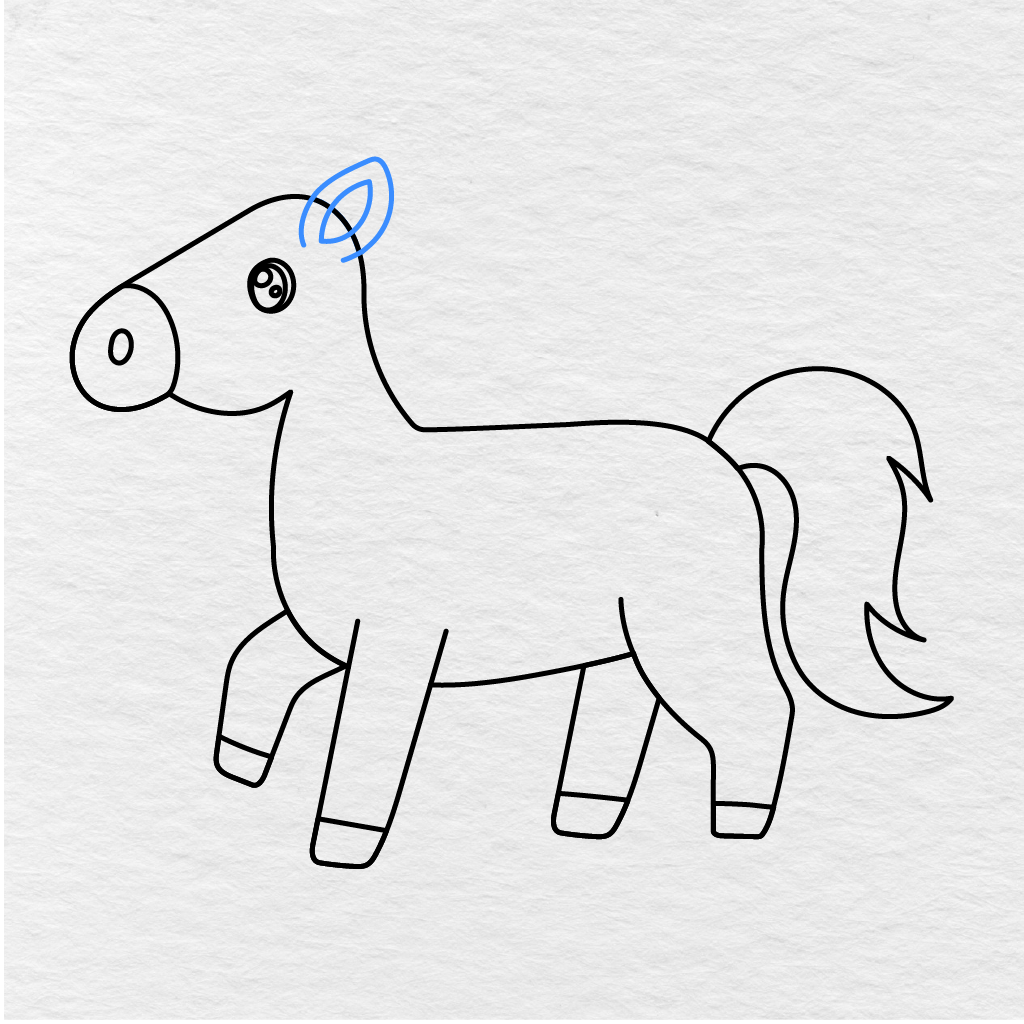
At the top of the horse’s head, we will add one pointed ear using two curved lines. We will add a smaller pointed shape inside the ear for the inner part of the ear.
Step 11: Add the Mane
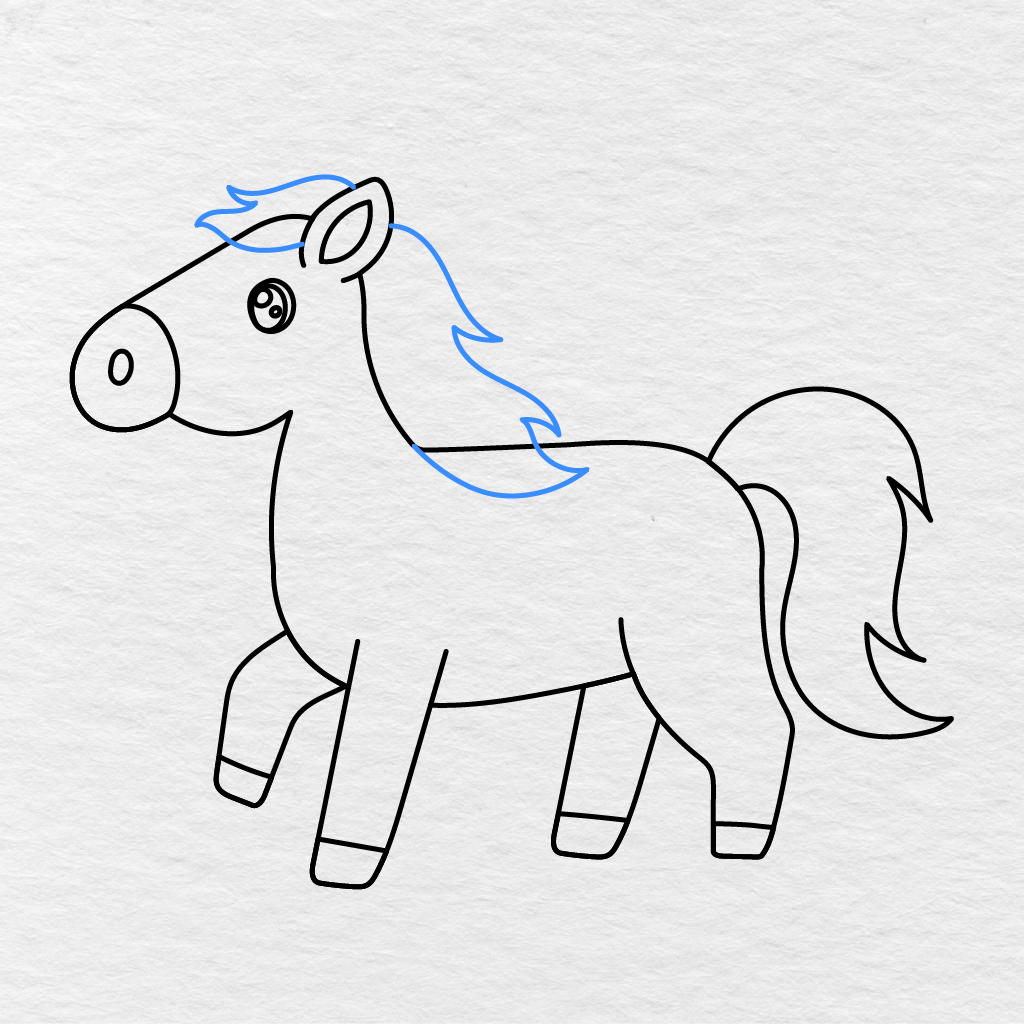
We will continue to add details to our horse drawing. Let’s add a flowing mane that starts at the top of the horse’s head.
Add a few pointed sections of hair just above the horse’s forehead. Let’s continue the mane around the back side of the horse’s ear and down the horse’s neck until it reaches the top part of the horse’s body.
Step 12: Draw the Mouth
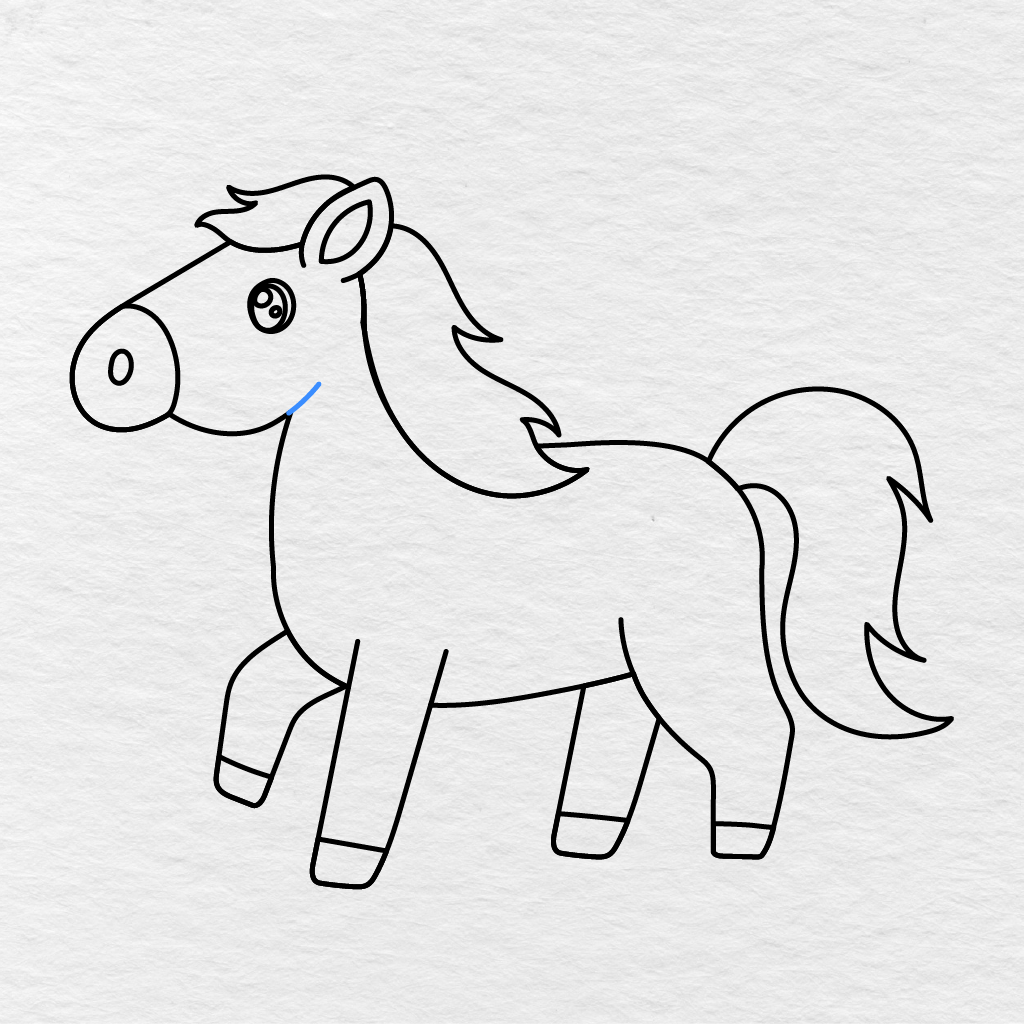
We will add one small and curved line at the bottom front side of the horse’s face. Once again, this small line will create a mouth for the horse and help to give it a friendly appearance.
Step 13: Color the Horse
Let’s add color to our cute horse drawing!
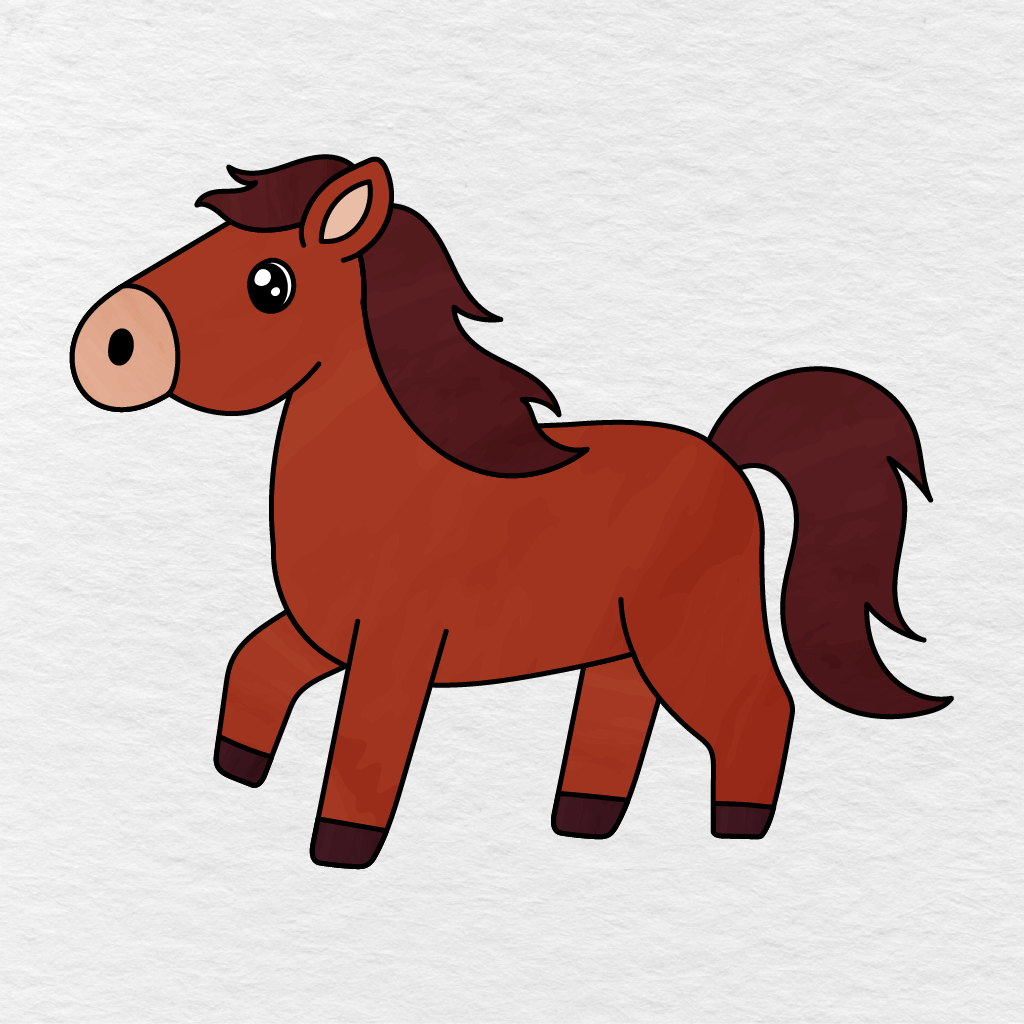
We colored the horse’s body and legs in reddish brown, the muzzle and the inside part of the horse’s ear are light peach, and the horse’s flowing mane and tail are dark burgundy. The horse’s hooves are very dark brown while the eye is black with two white highlights.
You can follow our design and use these colors or choose black, white, gray, tan, golden brown, or any other colors you would like.
Your easy horse drawing is done!
Printable Horse Drawing PDF
Below, you will find a link to a printable horse drawing PDF that you can use right now or save for later.
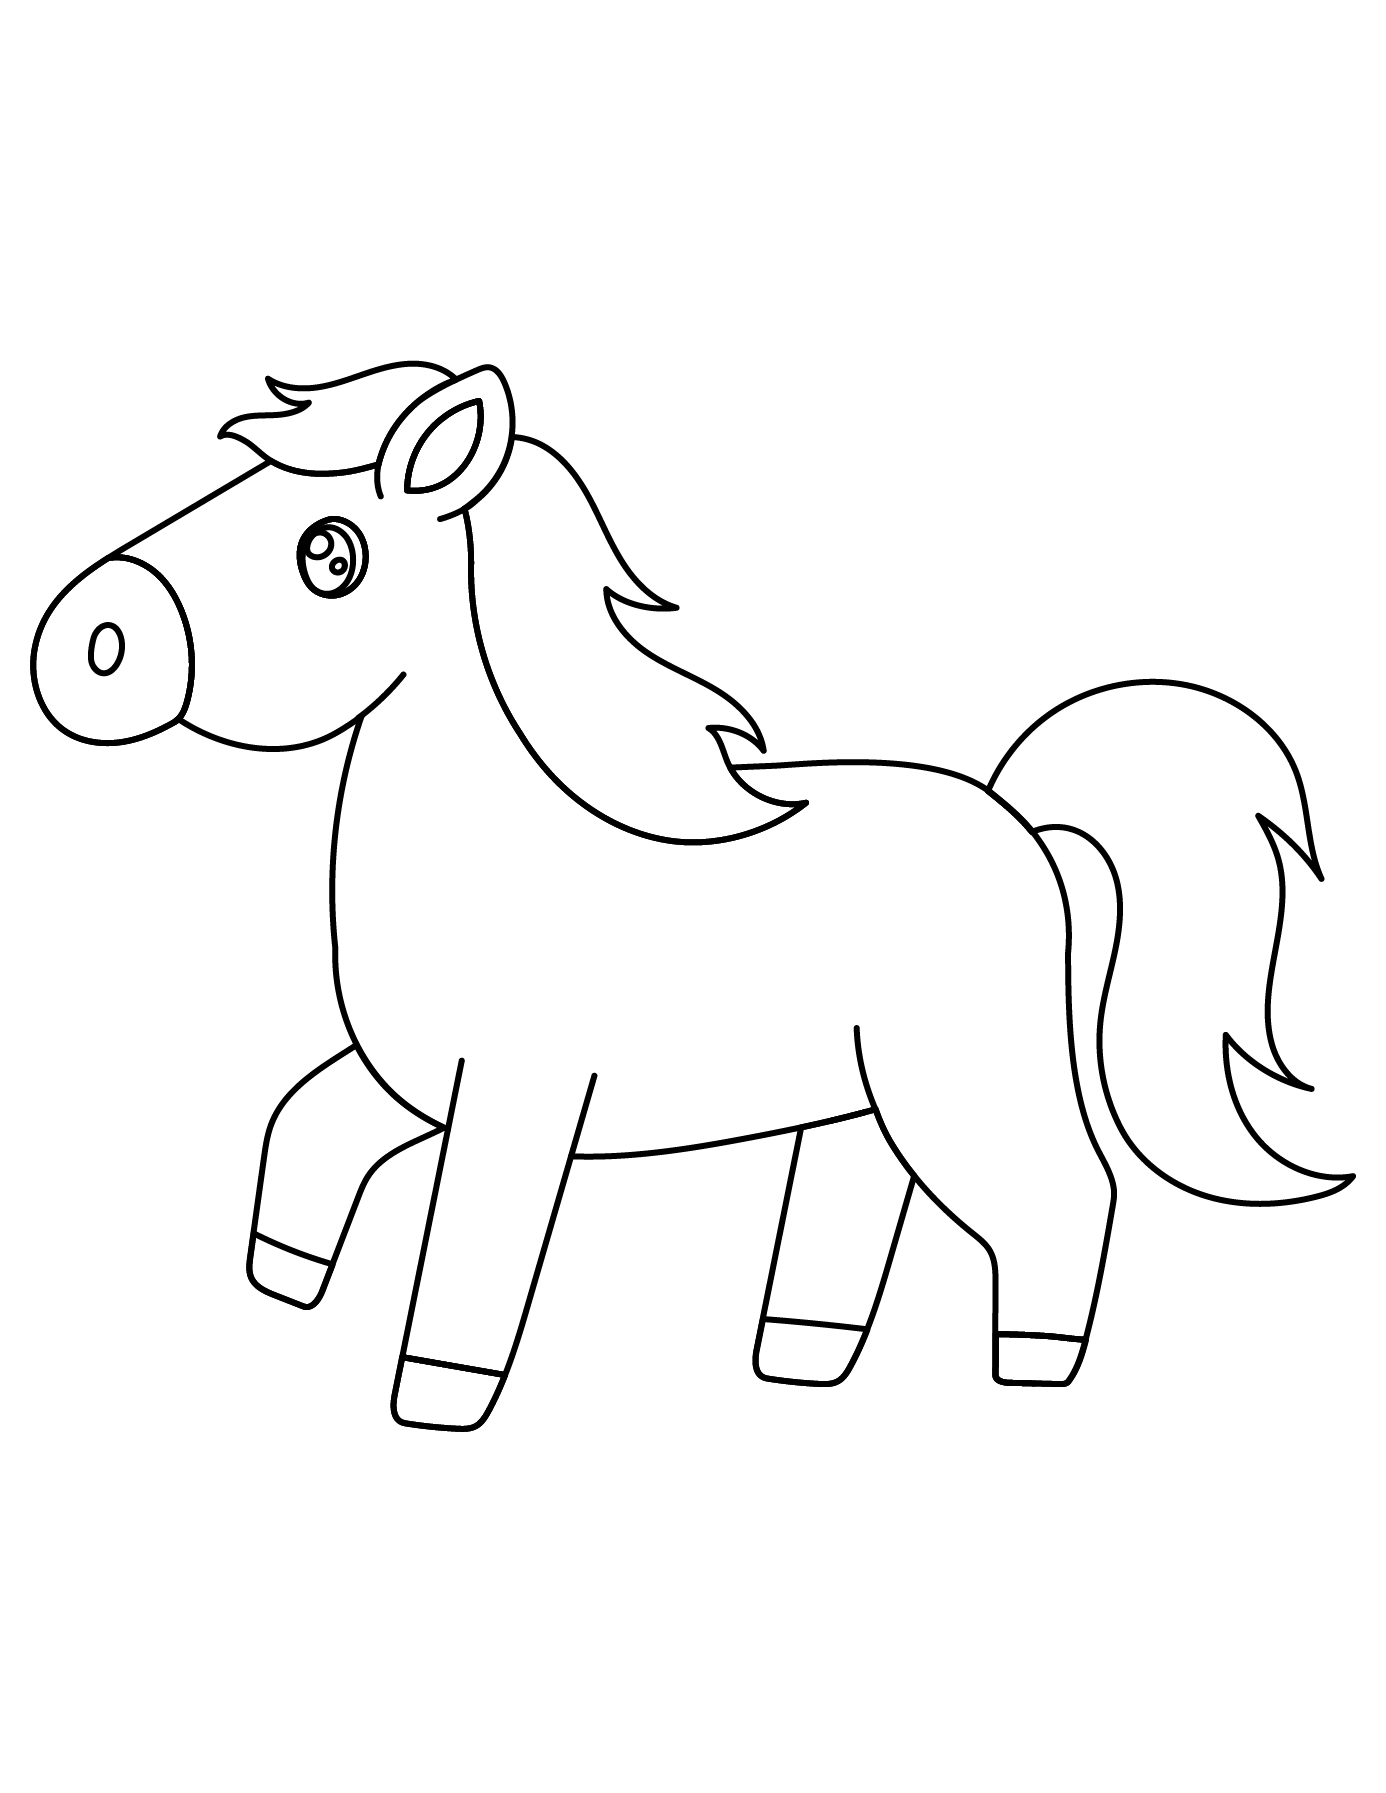
For more awesome activities involving these lovely creatures, make sure to visit our Horse Coloring Pages.
What colors did you choose for your horse? Tell us in the comments below and share this horse drawing tutorial with another parent, teacher, or friend.