How to Draw the Sun
The sun is the source of life on Earth, providing the heat and light that we need to survive and helping shape the seasons. It can be the reason why we seek shade on a hot summer day or why everything feels a little brighter on a winter morning when the sun peeks out from behind the clouds. In this step by step tutorial, you will learn how to draw the sun in six easy steps.
The sun drawing instructions have been created for kids, beginners, and anyone who wants to make a simple image without spending hours on one project or turning it into a major art piece. By following along with these steps you will have the option to spend a decent amount of time on each individual part of the drawing. Also, you will be able to see the final result and attempt to use it as a base for coloring your own image.
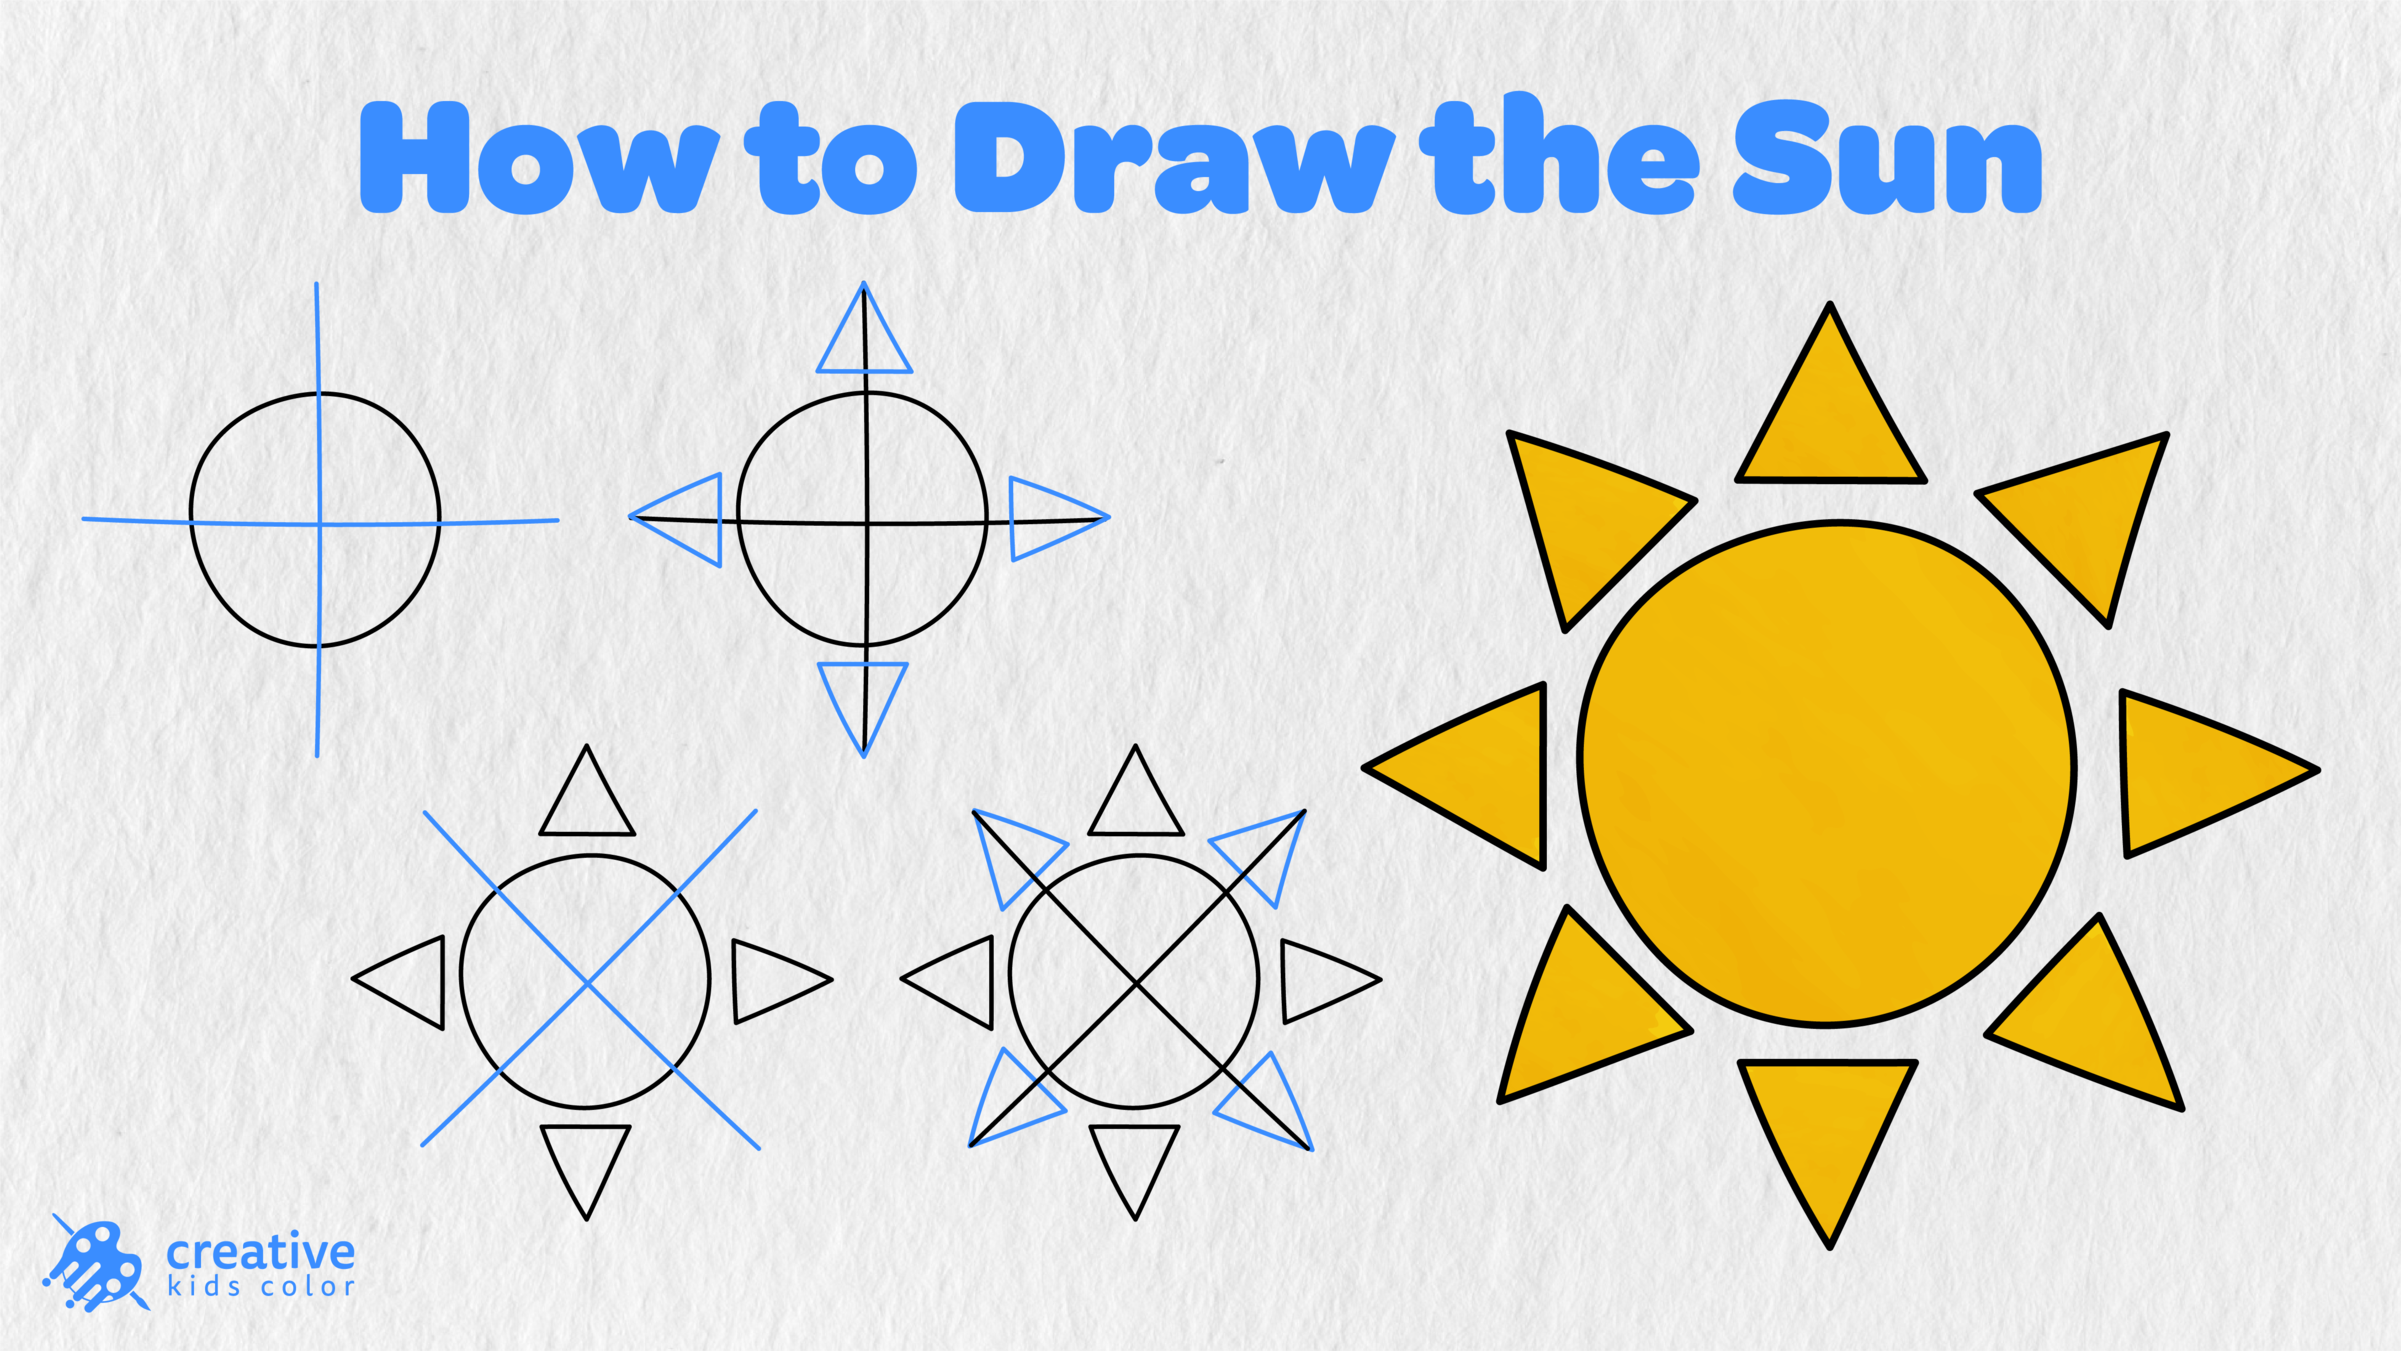
The image you will be making is a simple one that still looks very bright and colorful with all the rays surrounding the sun. Only a circle, a few triangles, and some guide lines are needed for this drawing that is easy to see. After the rays are placed around the main circle the image will be finished, as this small sun knows how to catch attention with its bright colors!
Easy Sun Drawing Step by Step
To begin with, you will need only a pencil, paper, and something to color. If you are going to draw this sun by hand, then it might be helpful to make some light lines for guides when you add the rays around the sun.
Step 1: Draw the Sun Circle

First things first, begin your easy sun drawing with creating a simple circle in the middle of the page. The circle is the basis for your future sun, so you need to leave enough space around it for the rays.
The circle does not have to be perfect since, eventually, you are going to add rays and color to it.
Step 2: Add the Guide Lines

Next, you need to add a vertical guide line and a horizontal guide line that will intersect at the center of your circle. They will act as aids for you while you add the first several rays to your sun.
Again, if you are going to use a pencil, then it might be helpful to make these lines light so that they are barely visible.
Step 3: Draw the First Rays
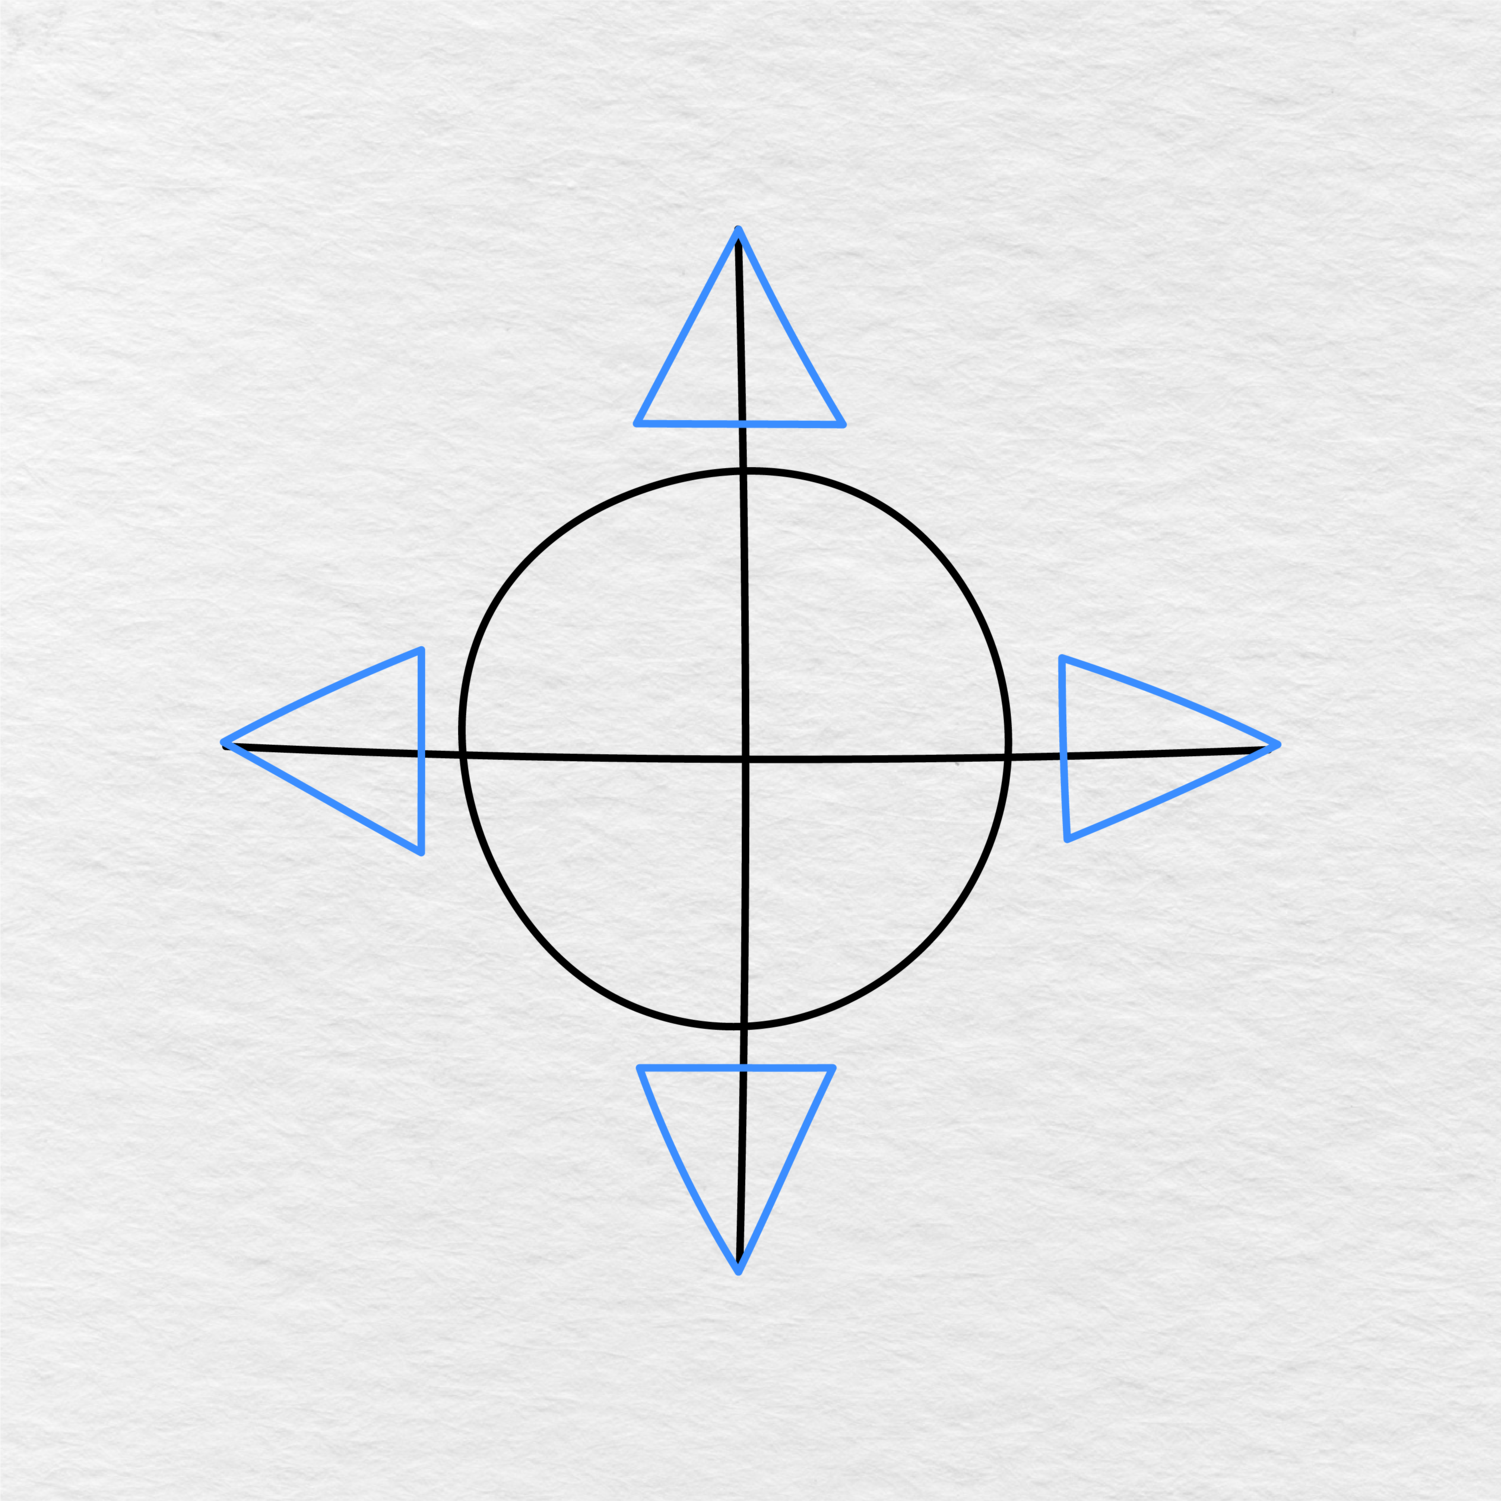
The next step is to actually add the rays to your sun drawing. Begin by adding four triangle rays to the top, bottom, left, and right of your circle.
Make sure that they are more or less the same size, although it does not have to be precise since, eventually, you are going to add more rays.
Step 4: Add Diagonal Guide Lines
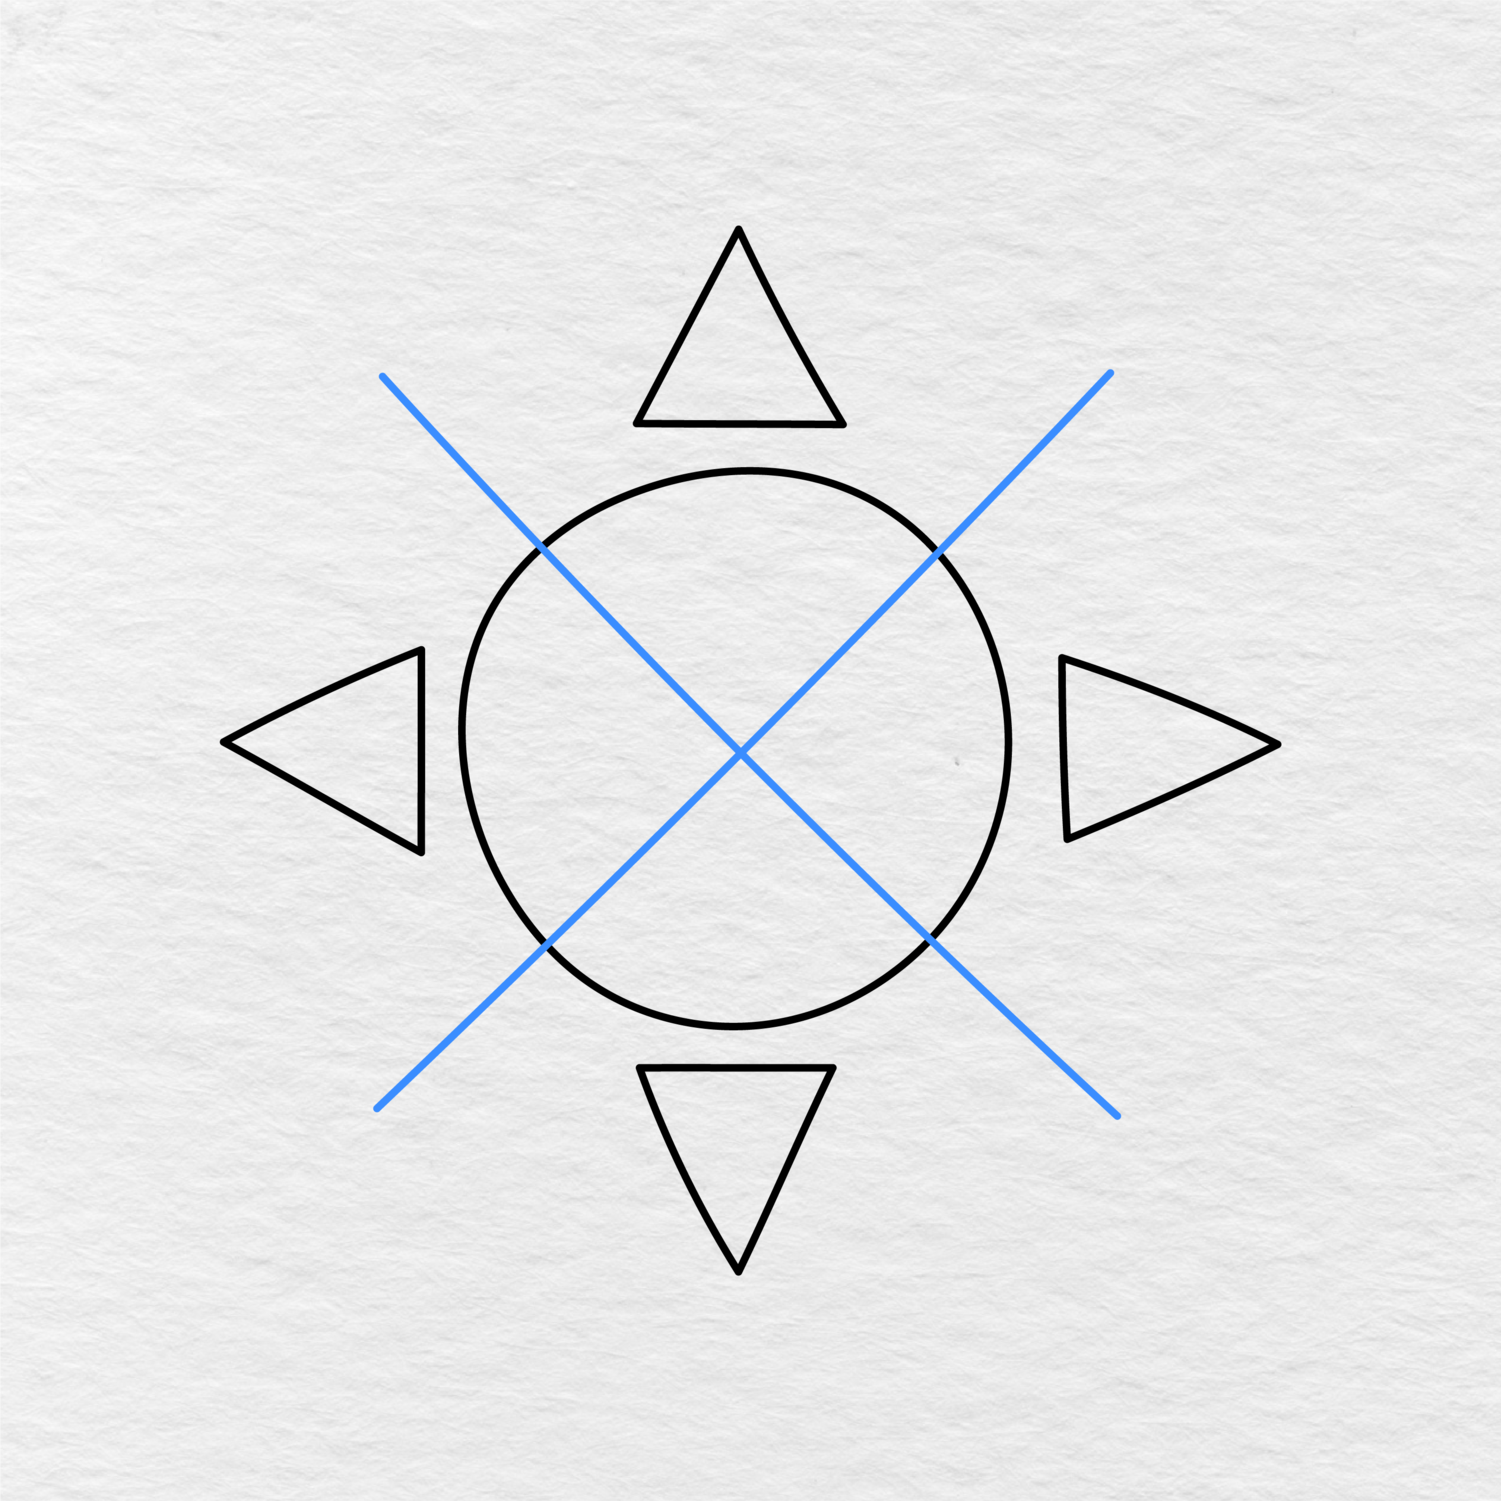
After you have added the first four rays, you need to add two more guide lines that intersect at the center of the circle at an angle. This way, you will get an X shape within your circle.
These guides will help you position the next four rays properly and make the image look better balanced.
Step 5: Add the Corner Rays

Now, you need to add four more triangle shaped rays to the remaining four sides. Once you have done this, your sun drawing should look complete.
As usual, you need to make sure that the rays are simple, so you should not try to make them too intricate or detailed. This is an easy sun drawing, after all.
Step 6: Color the Sun
The last step is to color your sun image. You can use the finished image below as a guide for coloring. Basically, you need to decide on the colors you want to use.

For instance, you may choose yellow for the circle and rays, or add a little orange if you want the sun to look warmer. Either way, after you add color, the easy sun drawing will be complete.
Printable Sun Drawing PDF
You can also download the sun image as a PDF and later color it as a printable coloring page. The image below shows the resulting drawing in black and white so that you can see it clearly.
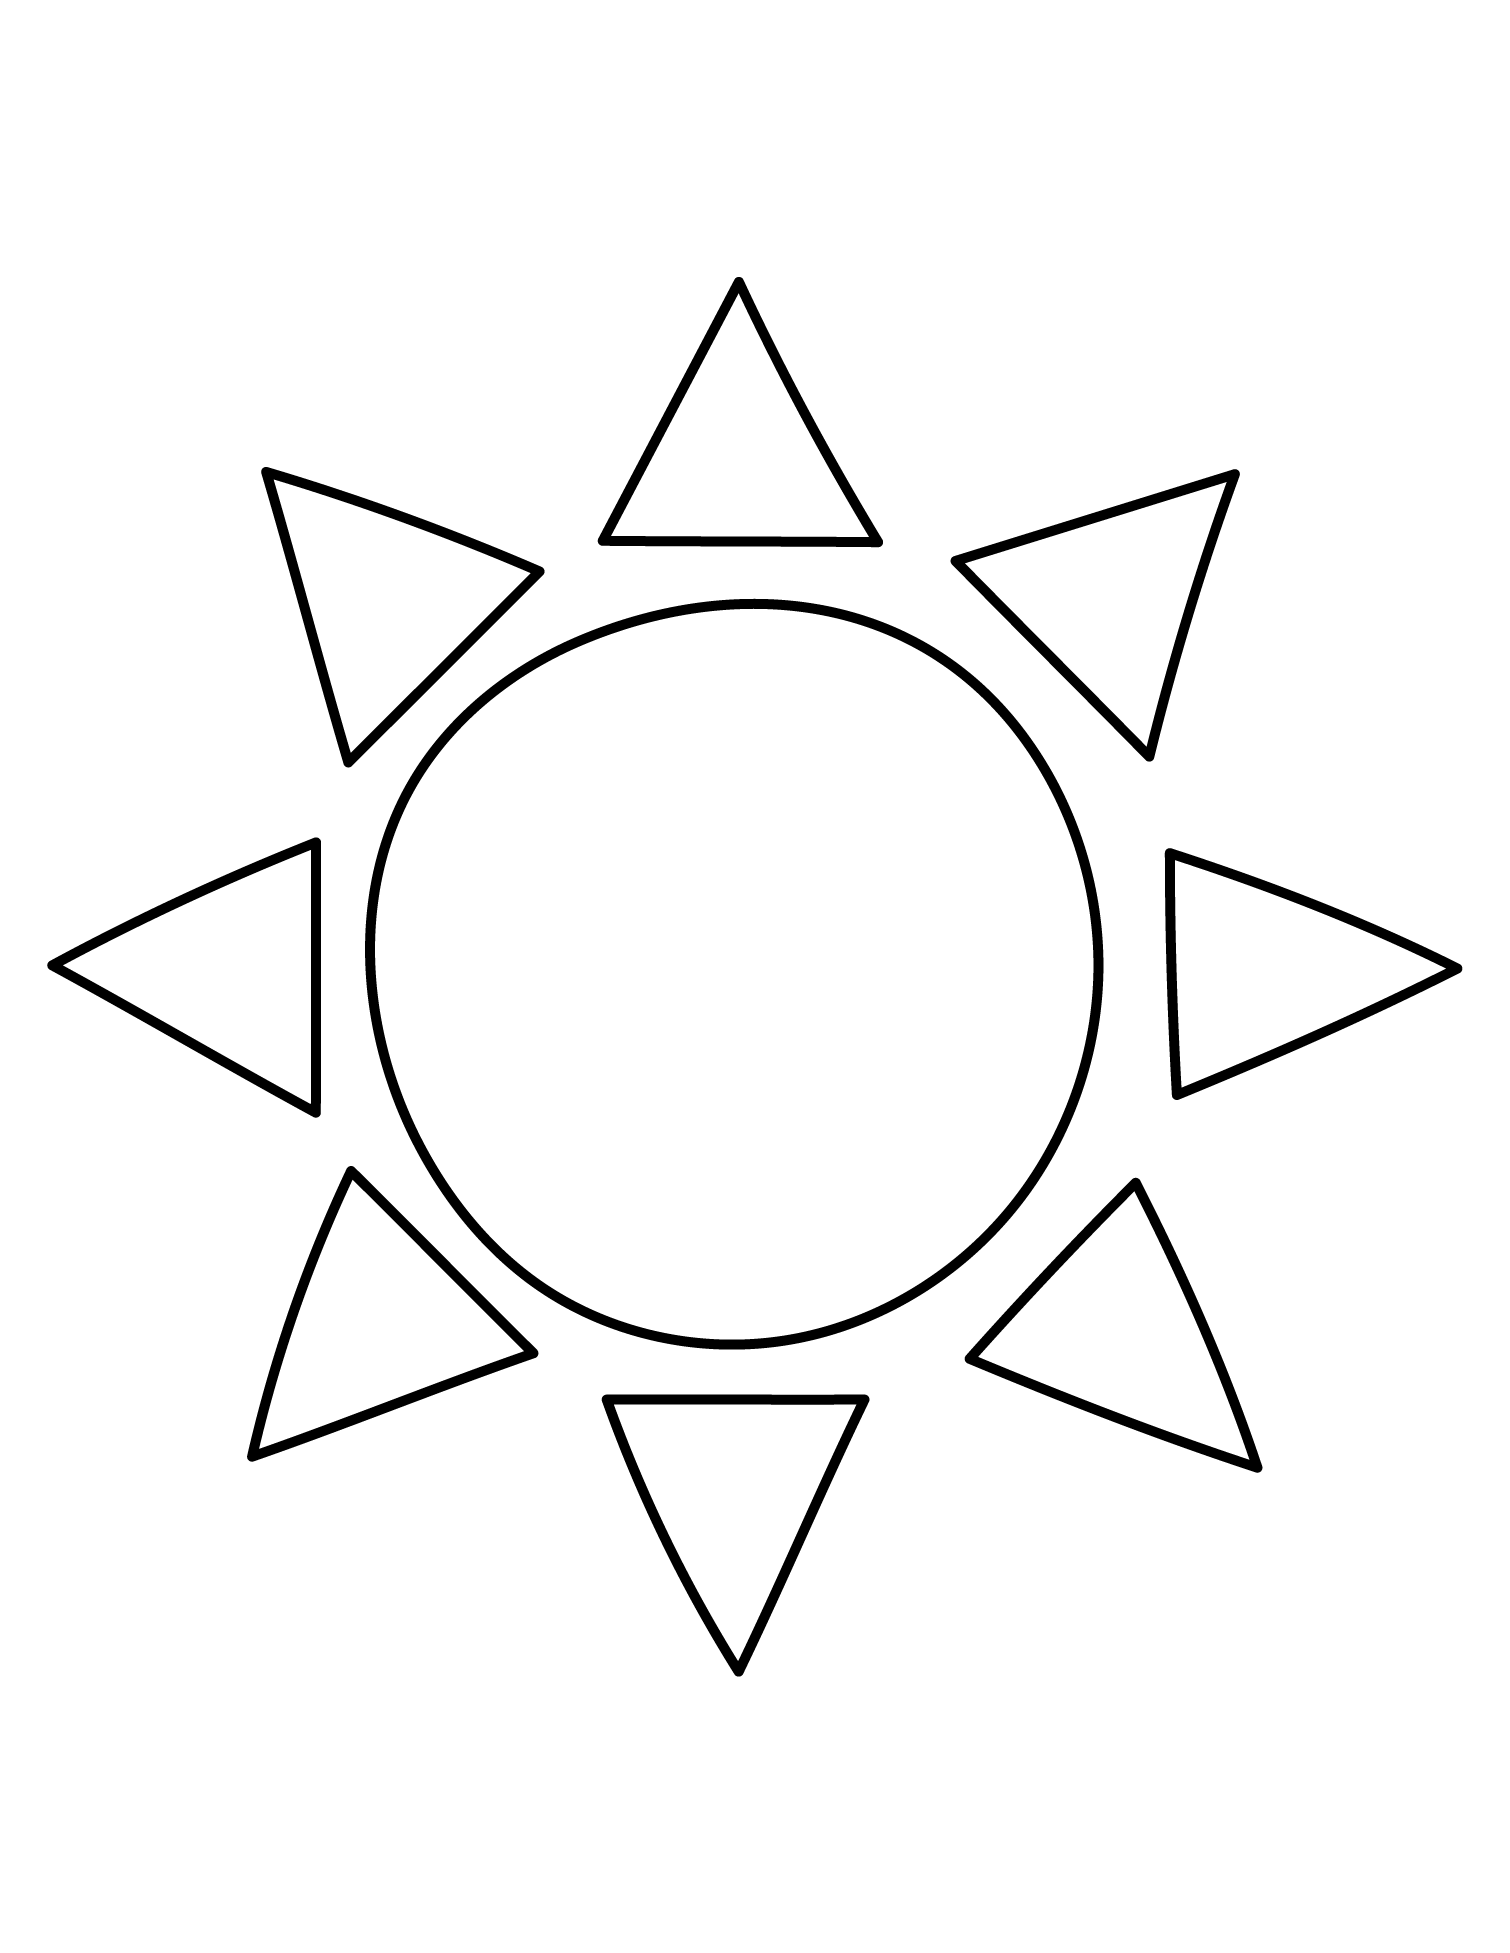
Additionally, it does not have any extra guide lines, so kids can print it and color it several times if they wish.
If you like these bright seasonal images, make sure to browse more coloring pages in our Summer Coloring Pages collection.
If your kids, students, or class enjoyed this sun drawing activity, let us know in the comments below. Sharing this page with another parent, teacher, or friend also helps us create more pages.