How to Draw a Turkey
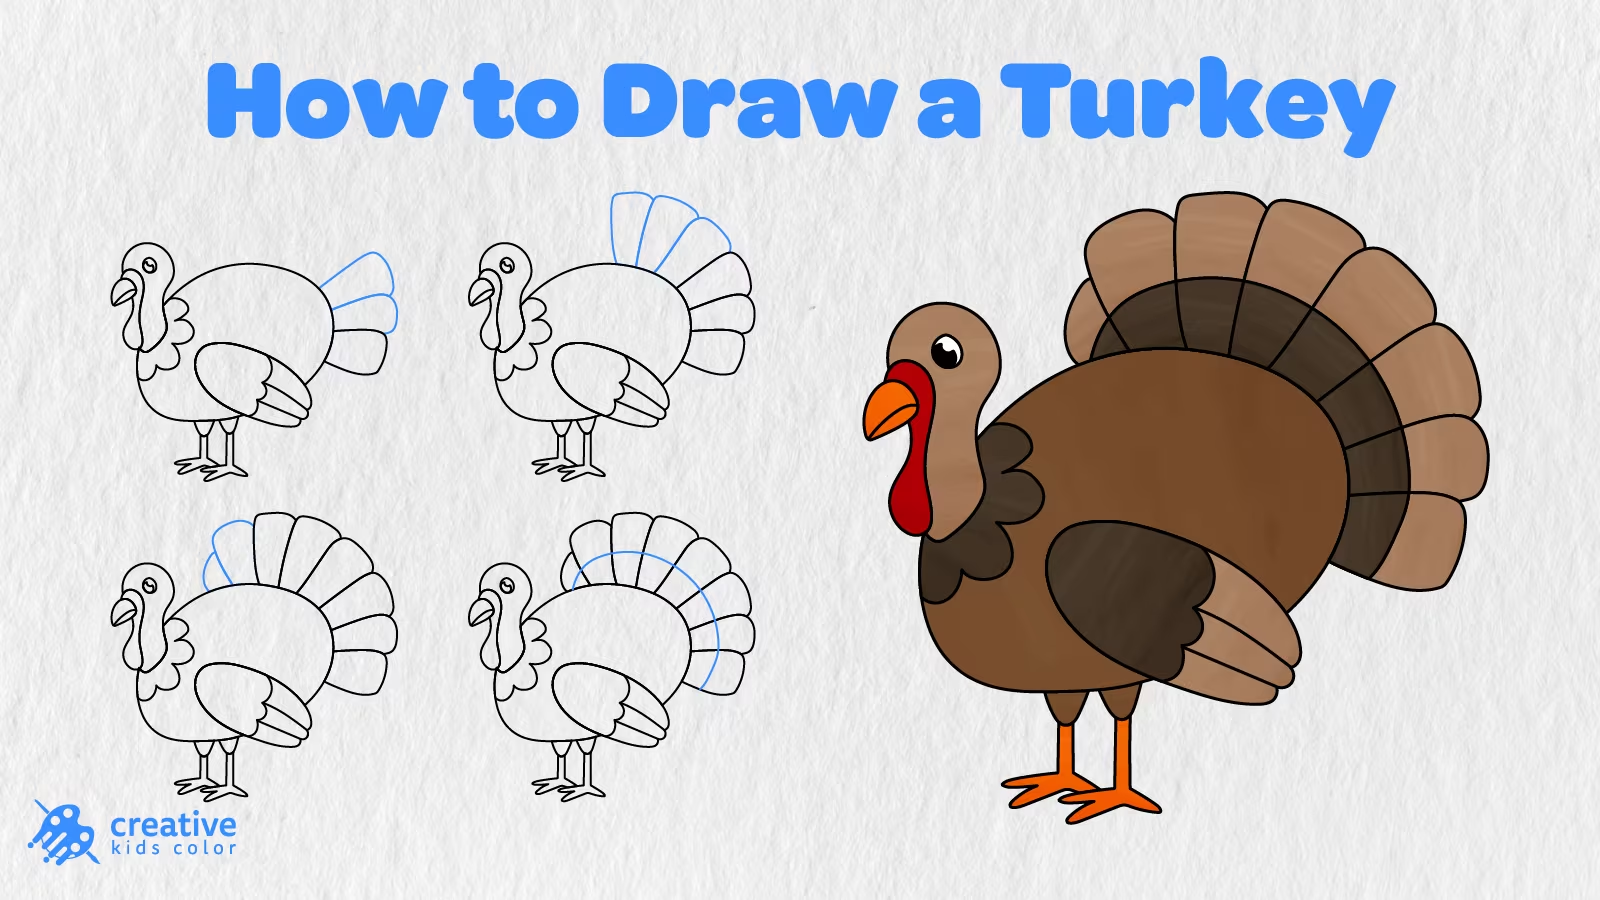
Turkeys are birds right at home on the farm or in autumn traditions. It’s easy to spot a turkey in children’s decorations, pictures, or classroom activities around the holidays. Let’s learn how to draw a turkey and make our own autumn animal!
On this easy turkey drawing page, there are 16 steps for kids and beginners to complete this fun fall drawing. We’ll begin with the body, head, neck, and wing, then add the legs, chest feathers, eye, beak, and wattle. We’ll finish our turkey drawing by adding the massive tail fan, feathers, other details, and colors.
The blue lines show how to add each part to our easy turkey drawing. All the simple shapes will come together to make this cute autumn animal with a big fan tail! Let’s go ahead and begin with our easy turkey drawing!
Easy Turkey Drawing Step by Step
First of all, let’s gather up some supplies for this easy turkey drawing. Have a pencil, paper, eraser, and coloring tools ready.
Let’s begin near the middle of the page, leaving lots of room on the left for the head and plenty of space on the right and above for the tail feathers of the turkey.
Here’s how to draw a turkey step by step. Let’s begin with the turkey body!
Step 1: Draw the Turkey Body

Let’s begin our easy turkey drawing with one big rounded oval for the turkey’s body shape.
Make sure the oval is a little wider in the center and let the lines curve in gently until they meet.
Step 2: Add the Head and Neck
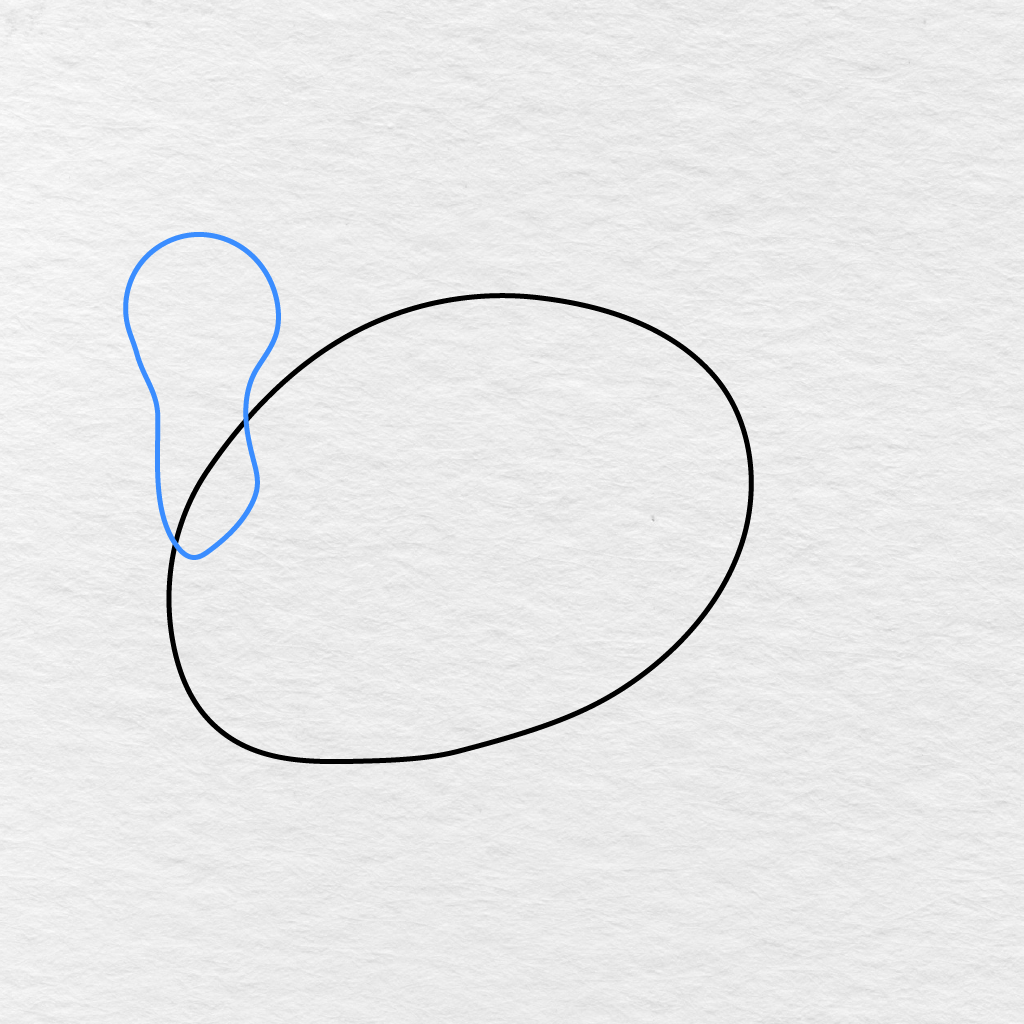
On the upper left side of the body, let’s add a long curved shape for the turkey’s head and neck area.
Keep the head rounded at the top, make the neck area narrower in the center, and widen it slightly where it connects to the body shape again.
Step 3: Draw the Turkey Wing
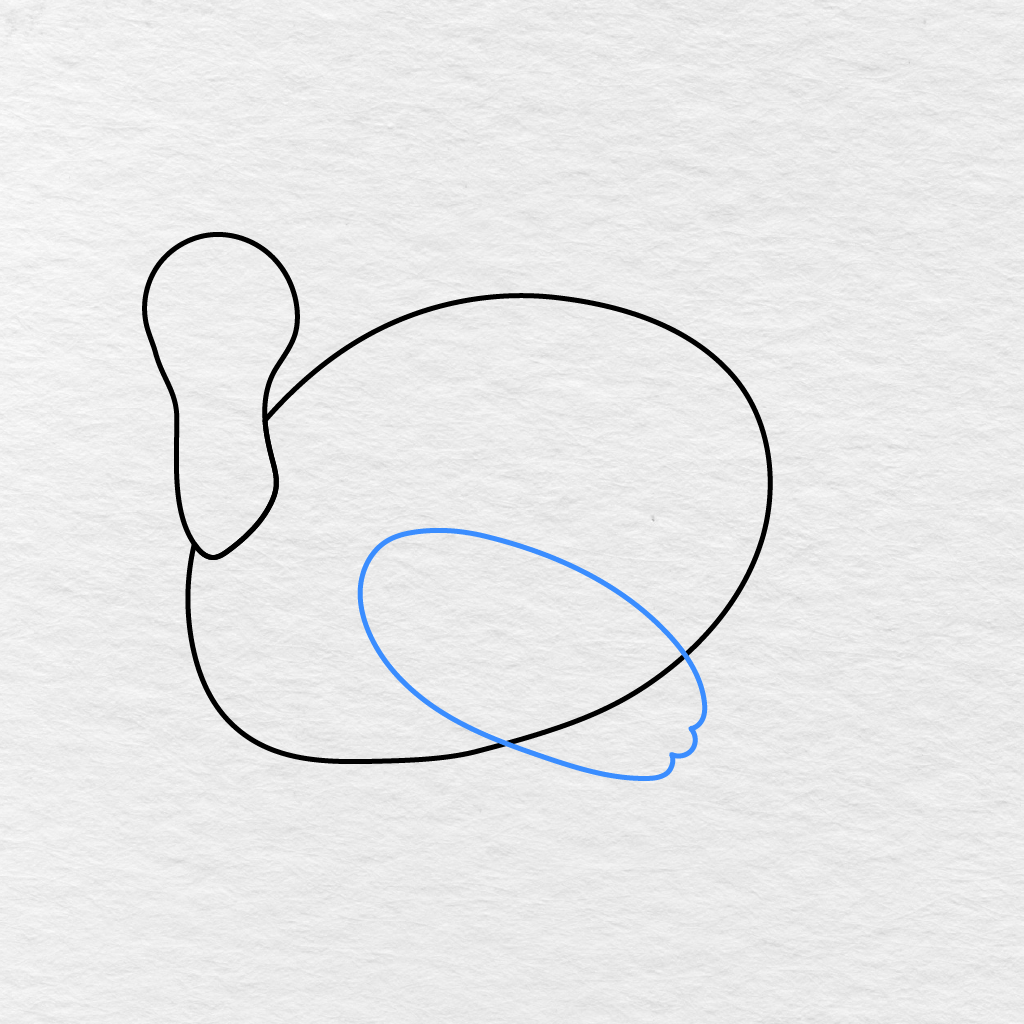
Inside the lower area of the turkey body, let’s make one large curved shape for the turkey’s wing.
Let the wing curve to the right and add two small rounded shapes at the end for the wing feathers.
Step 4: Add the Wing Feathers
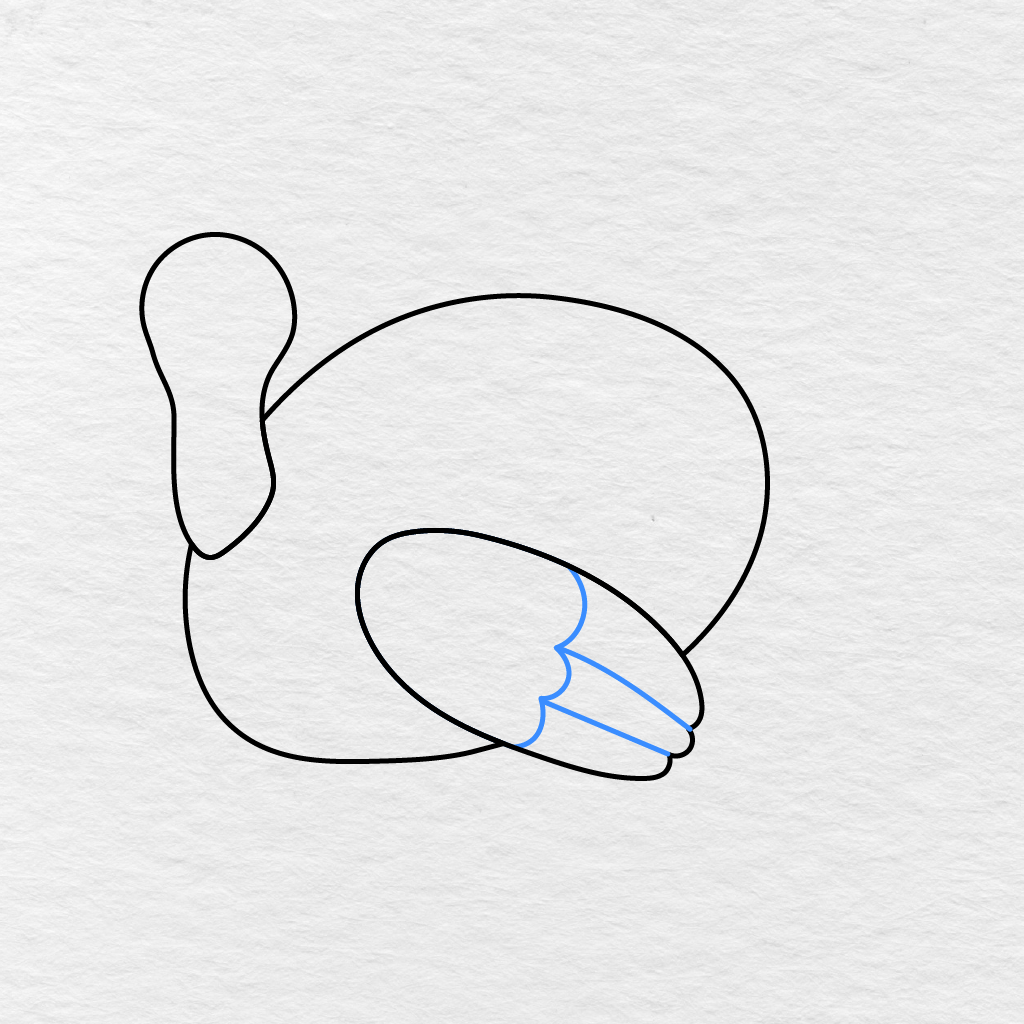
Let’s add two curved lines inside the turkey’s wing area.
The lines will divide the lower part of the turkey’s wing into three sections for the wing feathers.
Step 5: Draw the Upper Legs
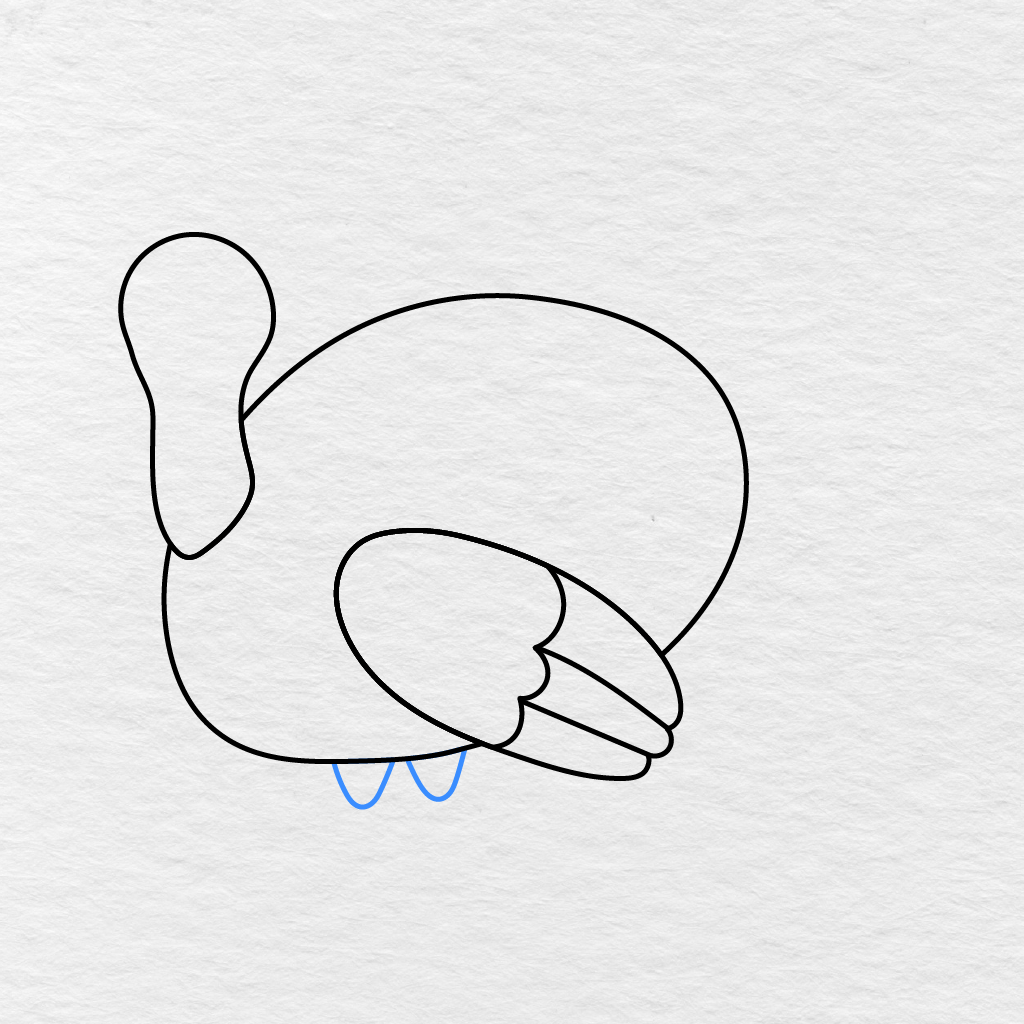
Underneath the turkey’s body, let’s add two short rounded shapes for the upper legs of the turkey.
Leave a little space between the two upper legs so we can see each lower leg area easily.
Step 6: Add the Legs and Feet
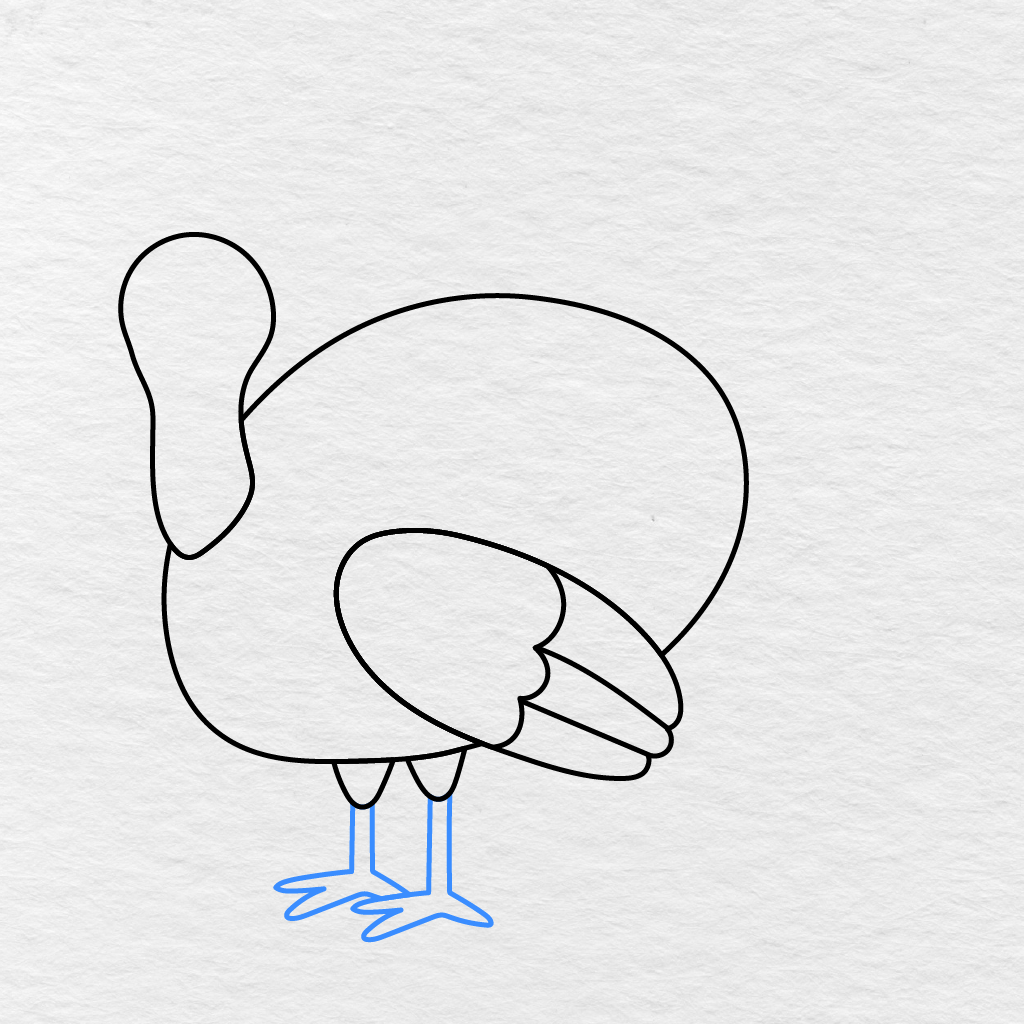
From each of the upper legs, let’s draw two straight lines going down the page for the turkey’s lower legs.
At the end of each lower leg, let’s make three long pointed toes for the turkey’s feet.
Step 7: Draw the Chest Feathers
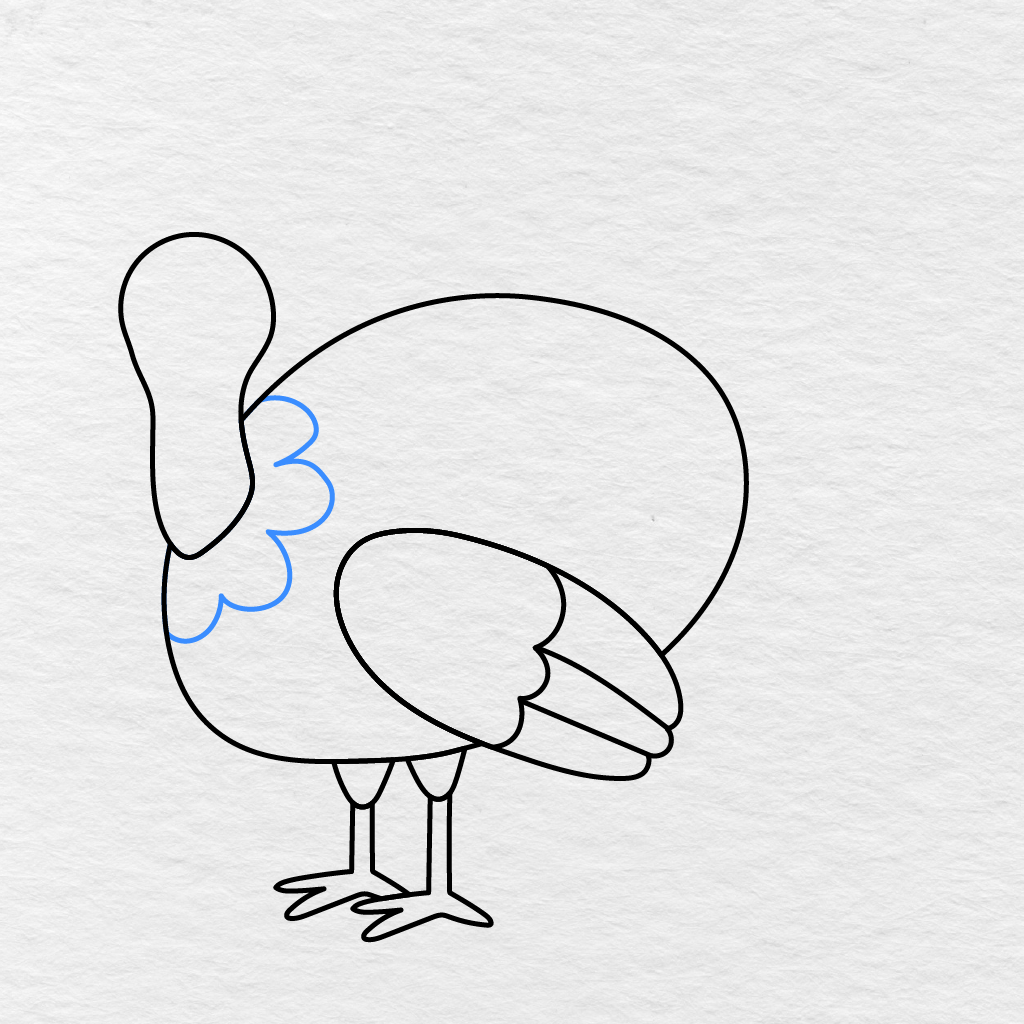
Between the turkey’s neck and body, let’s make a few connected rounded lines for the feathers along the turkey’s chest.
Step 8: Add the Turkey Eye
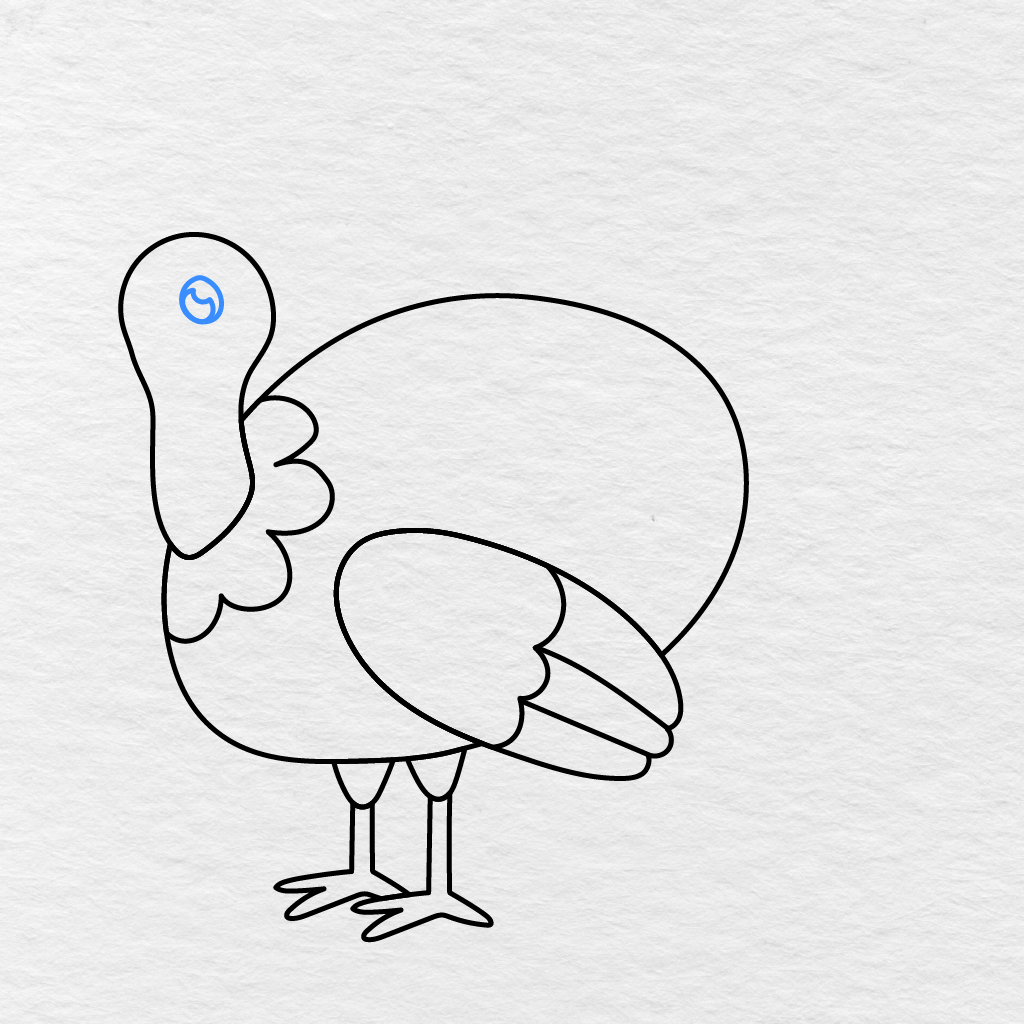
Near the top of the turkey’s head area, let’s add one small round shape for the turkey’s eye.
We’ll add two tiny shapes for the eye highlights, leaving them white for the coloring part of this easy turkey drawing activity.
Step 9: Draw the Beak
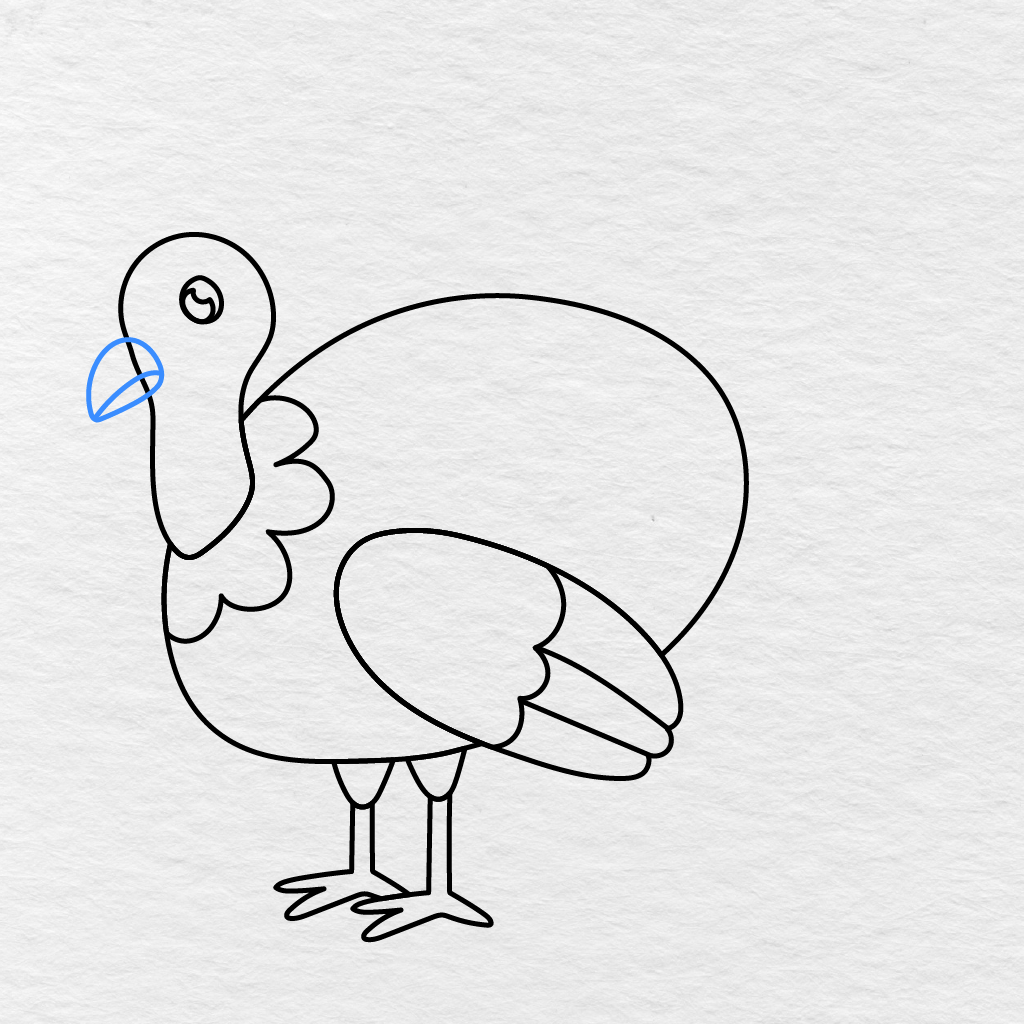
At the front of the turkey’s head, let’s add two curved shapes for the beak.
The upper part should be a little wider than the lower part of the beak.
Step 10: Add the Wattle
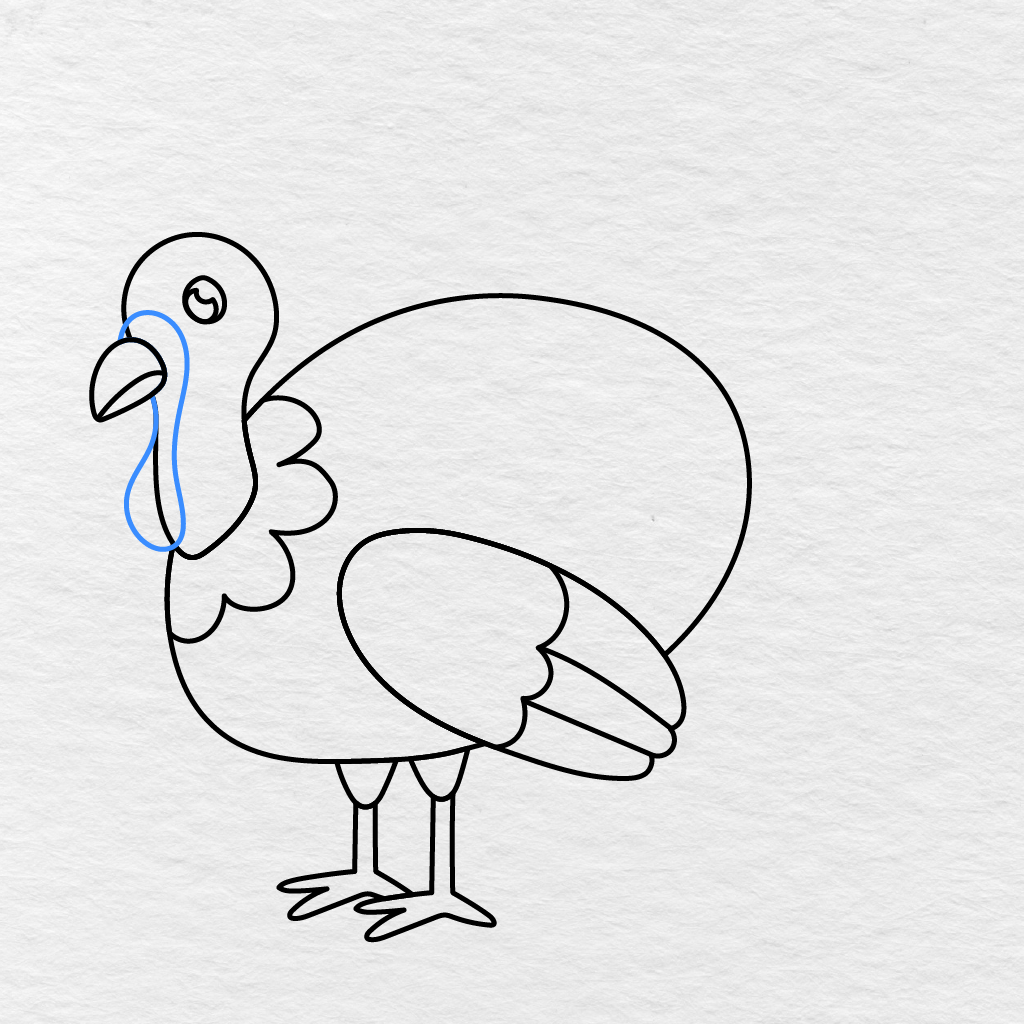
Starting from near the turkey’s beak, let’s add one long curved shape hanging down the front of the turkey’s neck area.
This will become the red wattle for the turkey.
Step 11: Draw the First Tail Feather
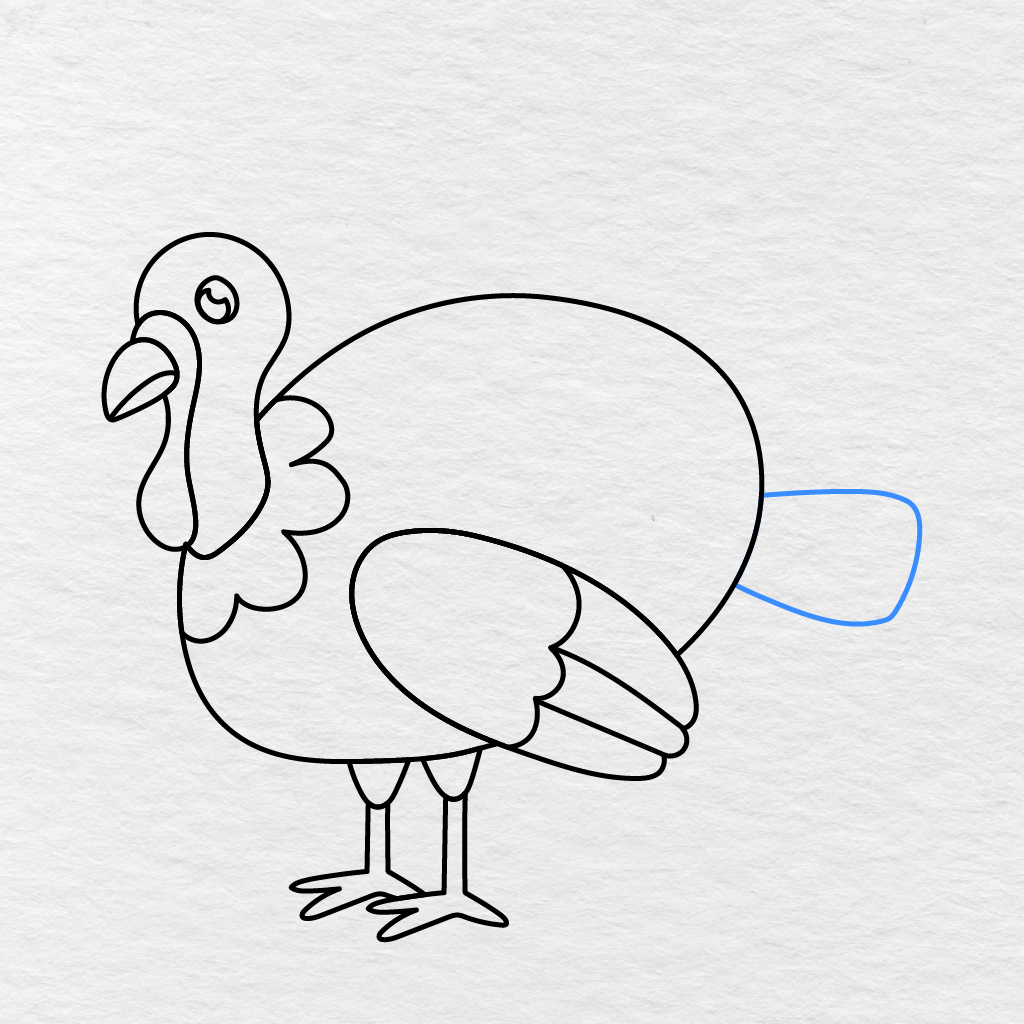
Behind the right side of the turkey’s body, let’s add one large rounded feather for the turkey’s tail.
Leave most of the tail feather sticking out from behind the turkey’s body.
Step 12: Add Two More Tail Feathers
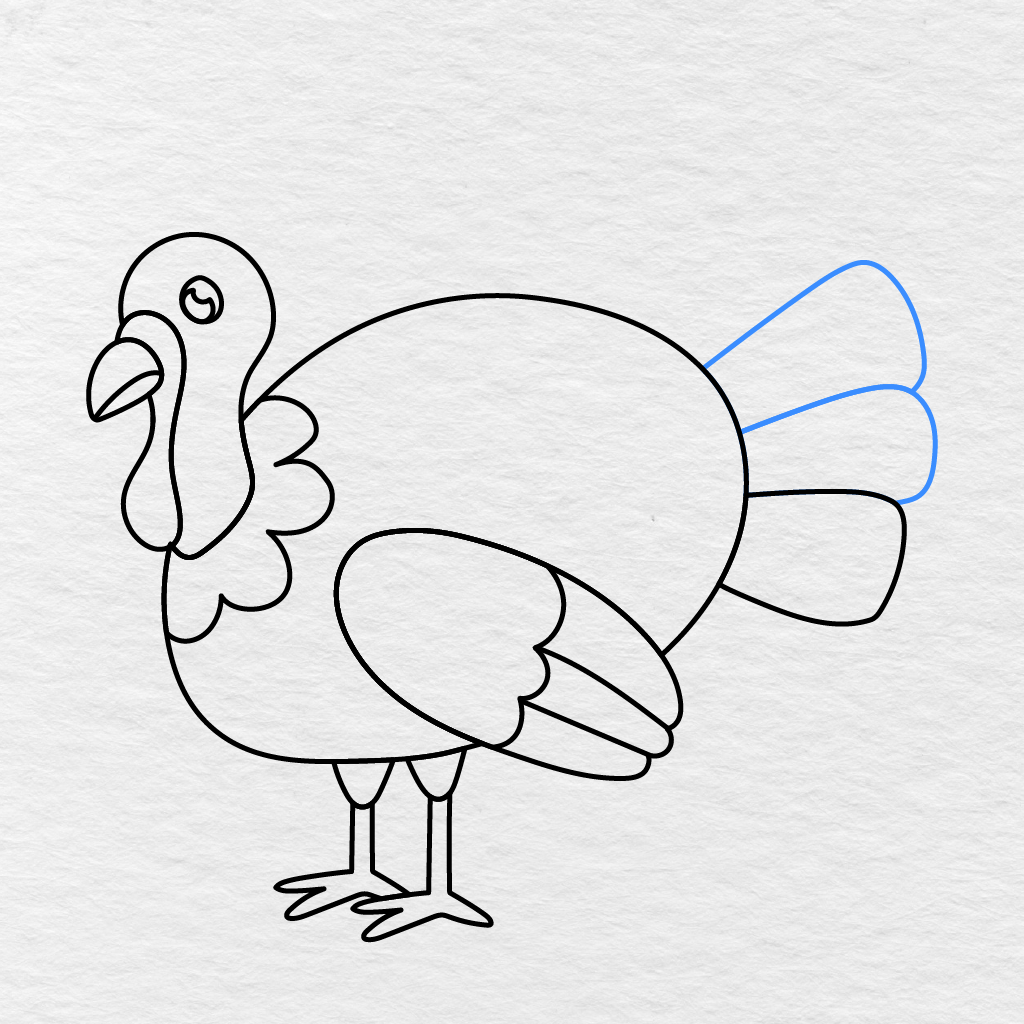
Let’s add two more rounded feathers just above the first tail feather.
Make sure these two are a little slanted so we can actually see the tail fan start to come together in this easy turkey drawing!
Step 13: Draw the Upper Tail Feathers
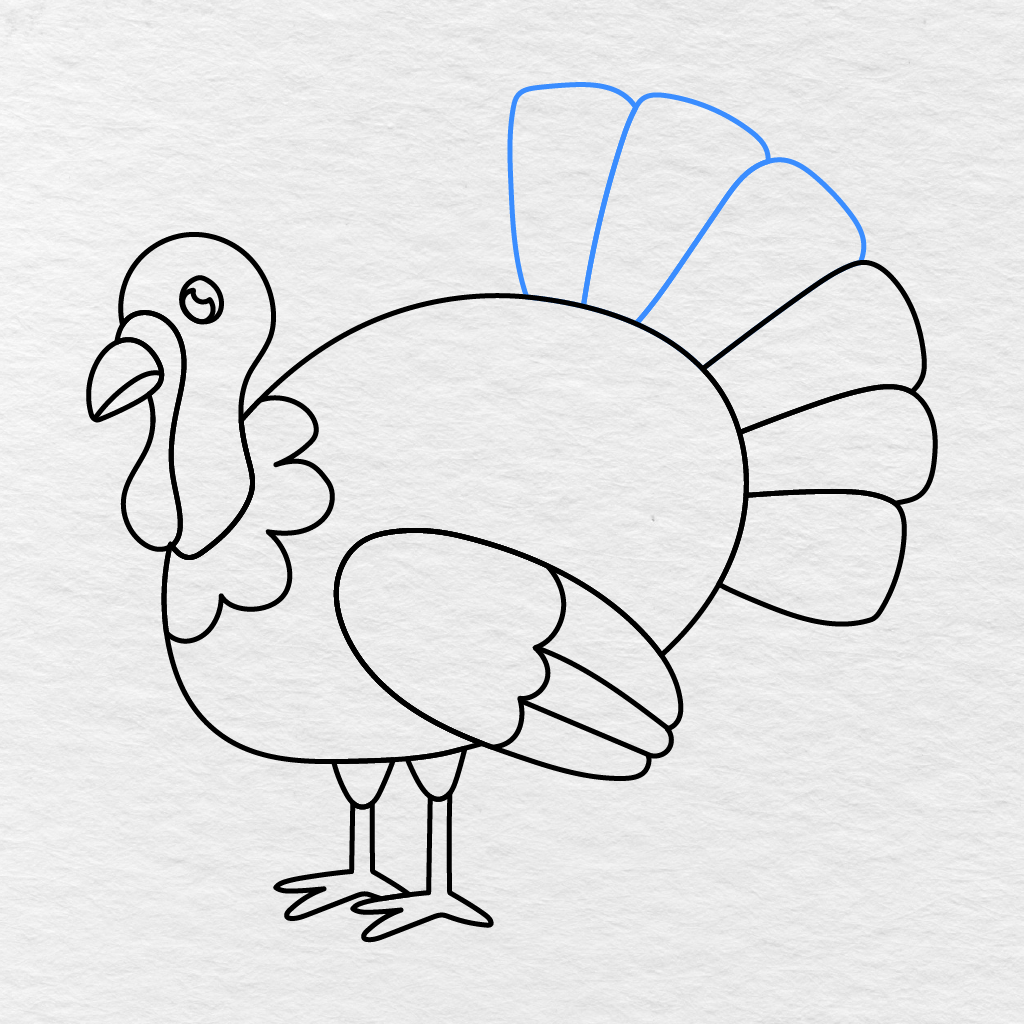
Now, let’s add three large feather shapes across the top of the turkey’s body for the upper tail feathers.
Each one should stick up and out from behind the turkey’s body in slightly different directions.
Step 14: Complete the Tail Fan
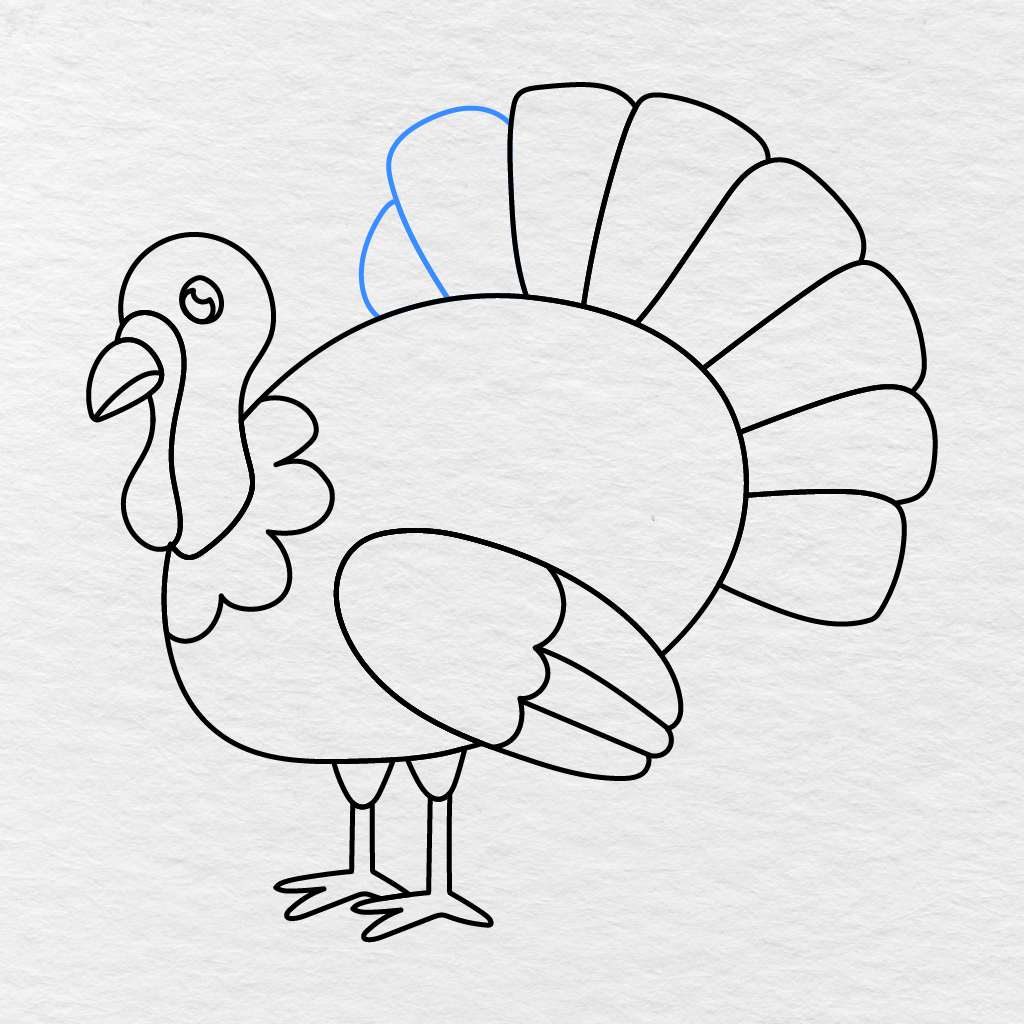
Let’s finish off the tail fan of the turkey by adding the other shapes behind the left side of the tail.
We’ll continue adding these rounded shapes until the tail fan looks full and complete across the turkey’s backside.
Step 15: Add the Tail Details
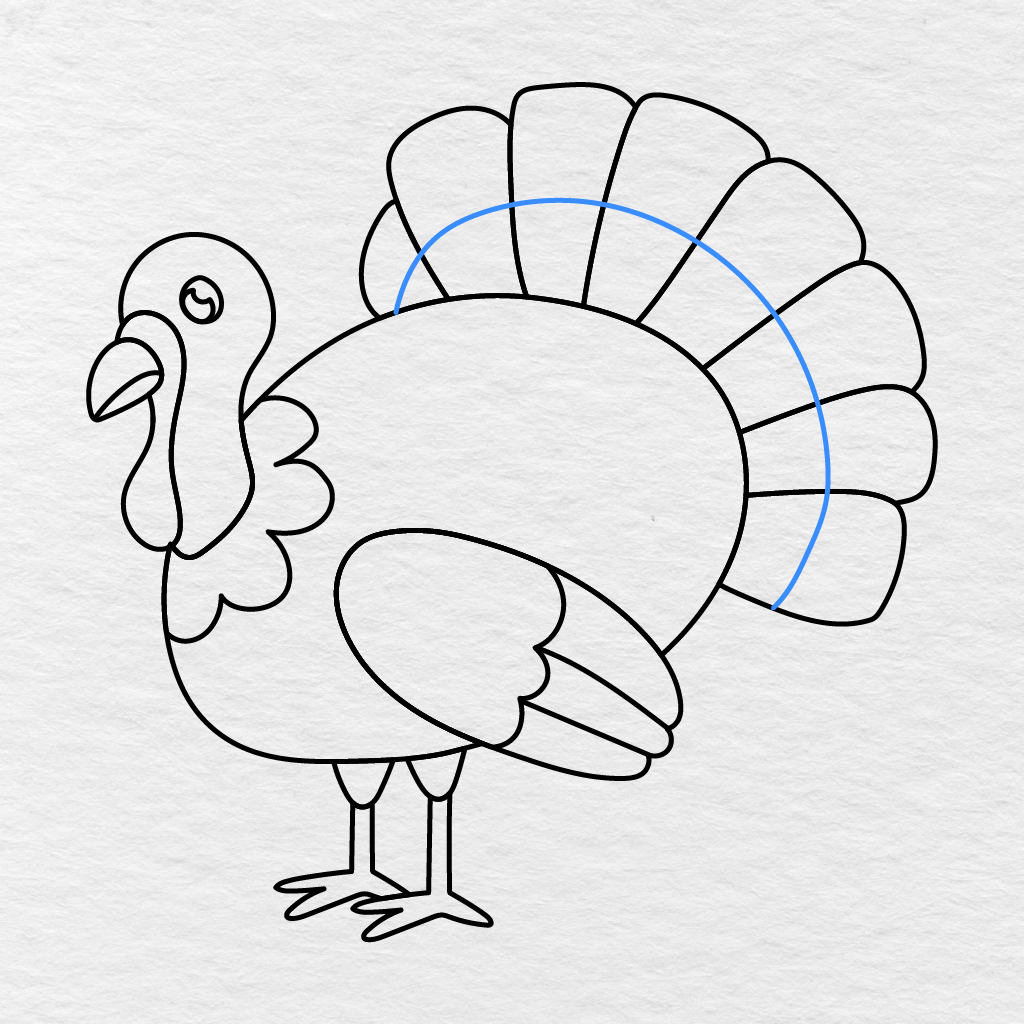
We’ll draw one big curved line across the tail feathers, following the natural curve of the tail fan.
It will help us separate the tail fan into the inner and outer sections of the turkey’s tail!
Step 16: Color the Turkey
The last thing for this easy turkey drawing is to color our completed turkey picture!
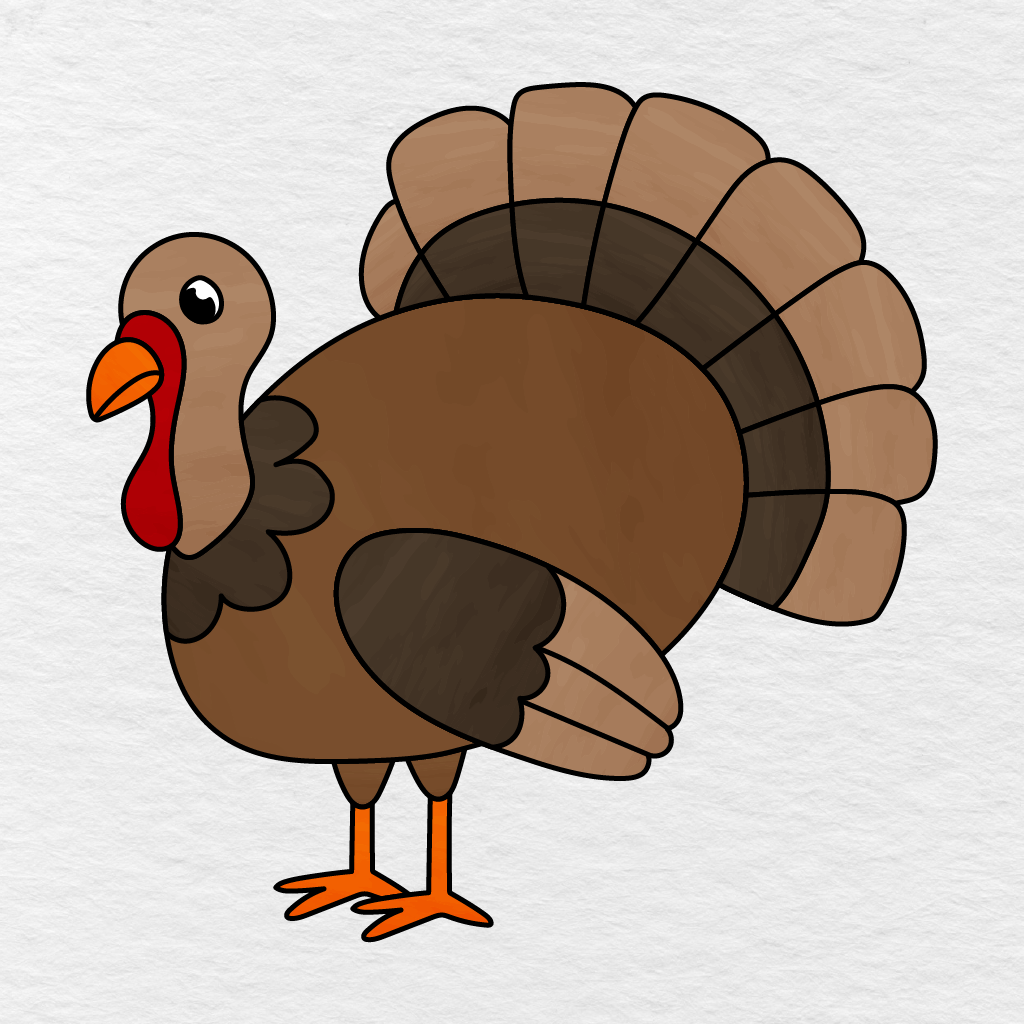
We used medium brown for the turkey’s body and a lighter brown for its head and neck. The wing and chest feathers are dark brown, while the tail has several light brown feathers on the outside and very dark ones on the inside.
The beak, legs, and feet are orange, while the wattle is red and the eye is black with white highlights. You can color within these guidelines or choose tan, golden brown, reddish brown, yellow, and other autumn colors for your turkey drawing!
Your easy turkey drawing is all set!
Printable Turkey Drawing PDF
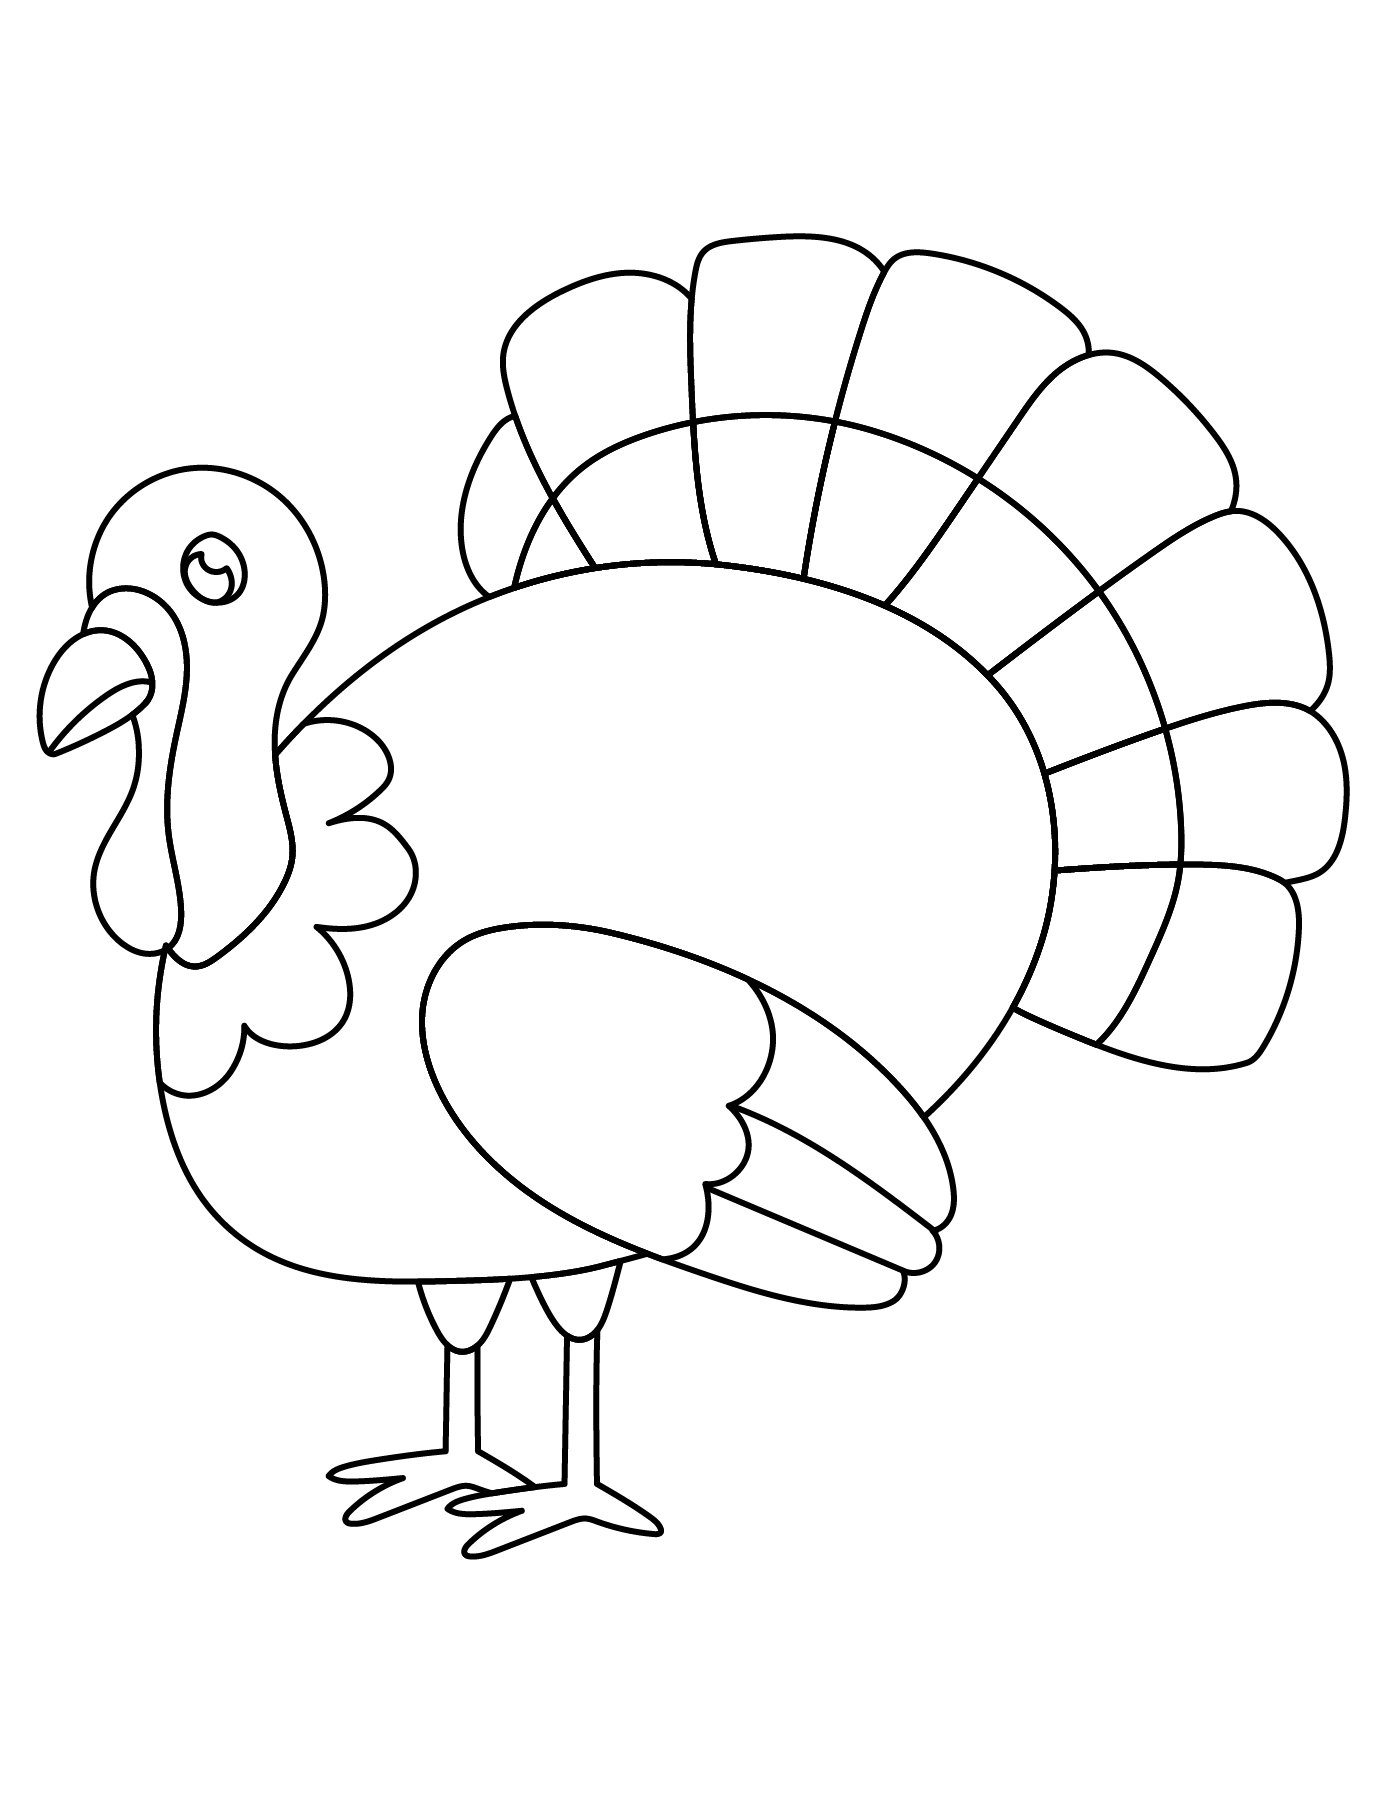
Below, you’ll find a printable turkey drawing PDF that you can use now or save for later.
If you’d like to try another seasonal activity that includes turkeys, pumpkins, pies, and other autumn items, make sure to check out our Thanksgiving Coloring Pages.
What colors did you choose for your turkey? Let us know in the comments below and make sure to share this turkey drawing tutorial with another parent, teacher, or friend!