How to Draw a Basketball
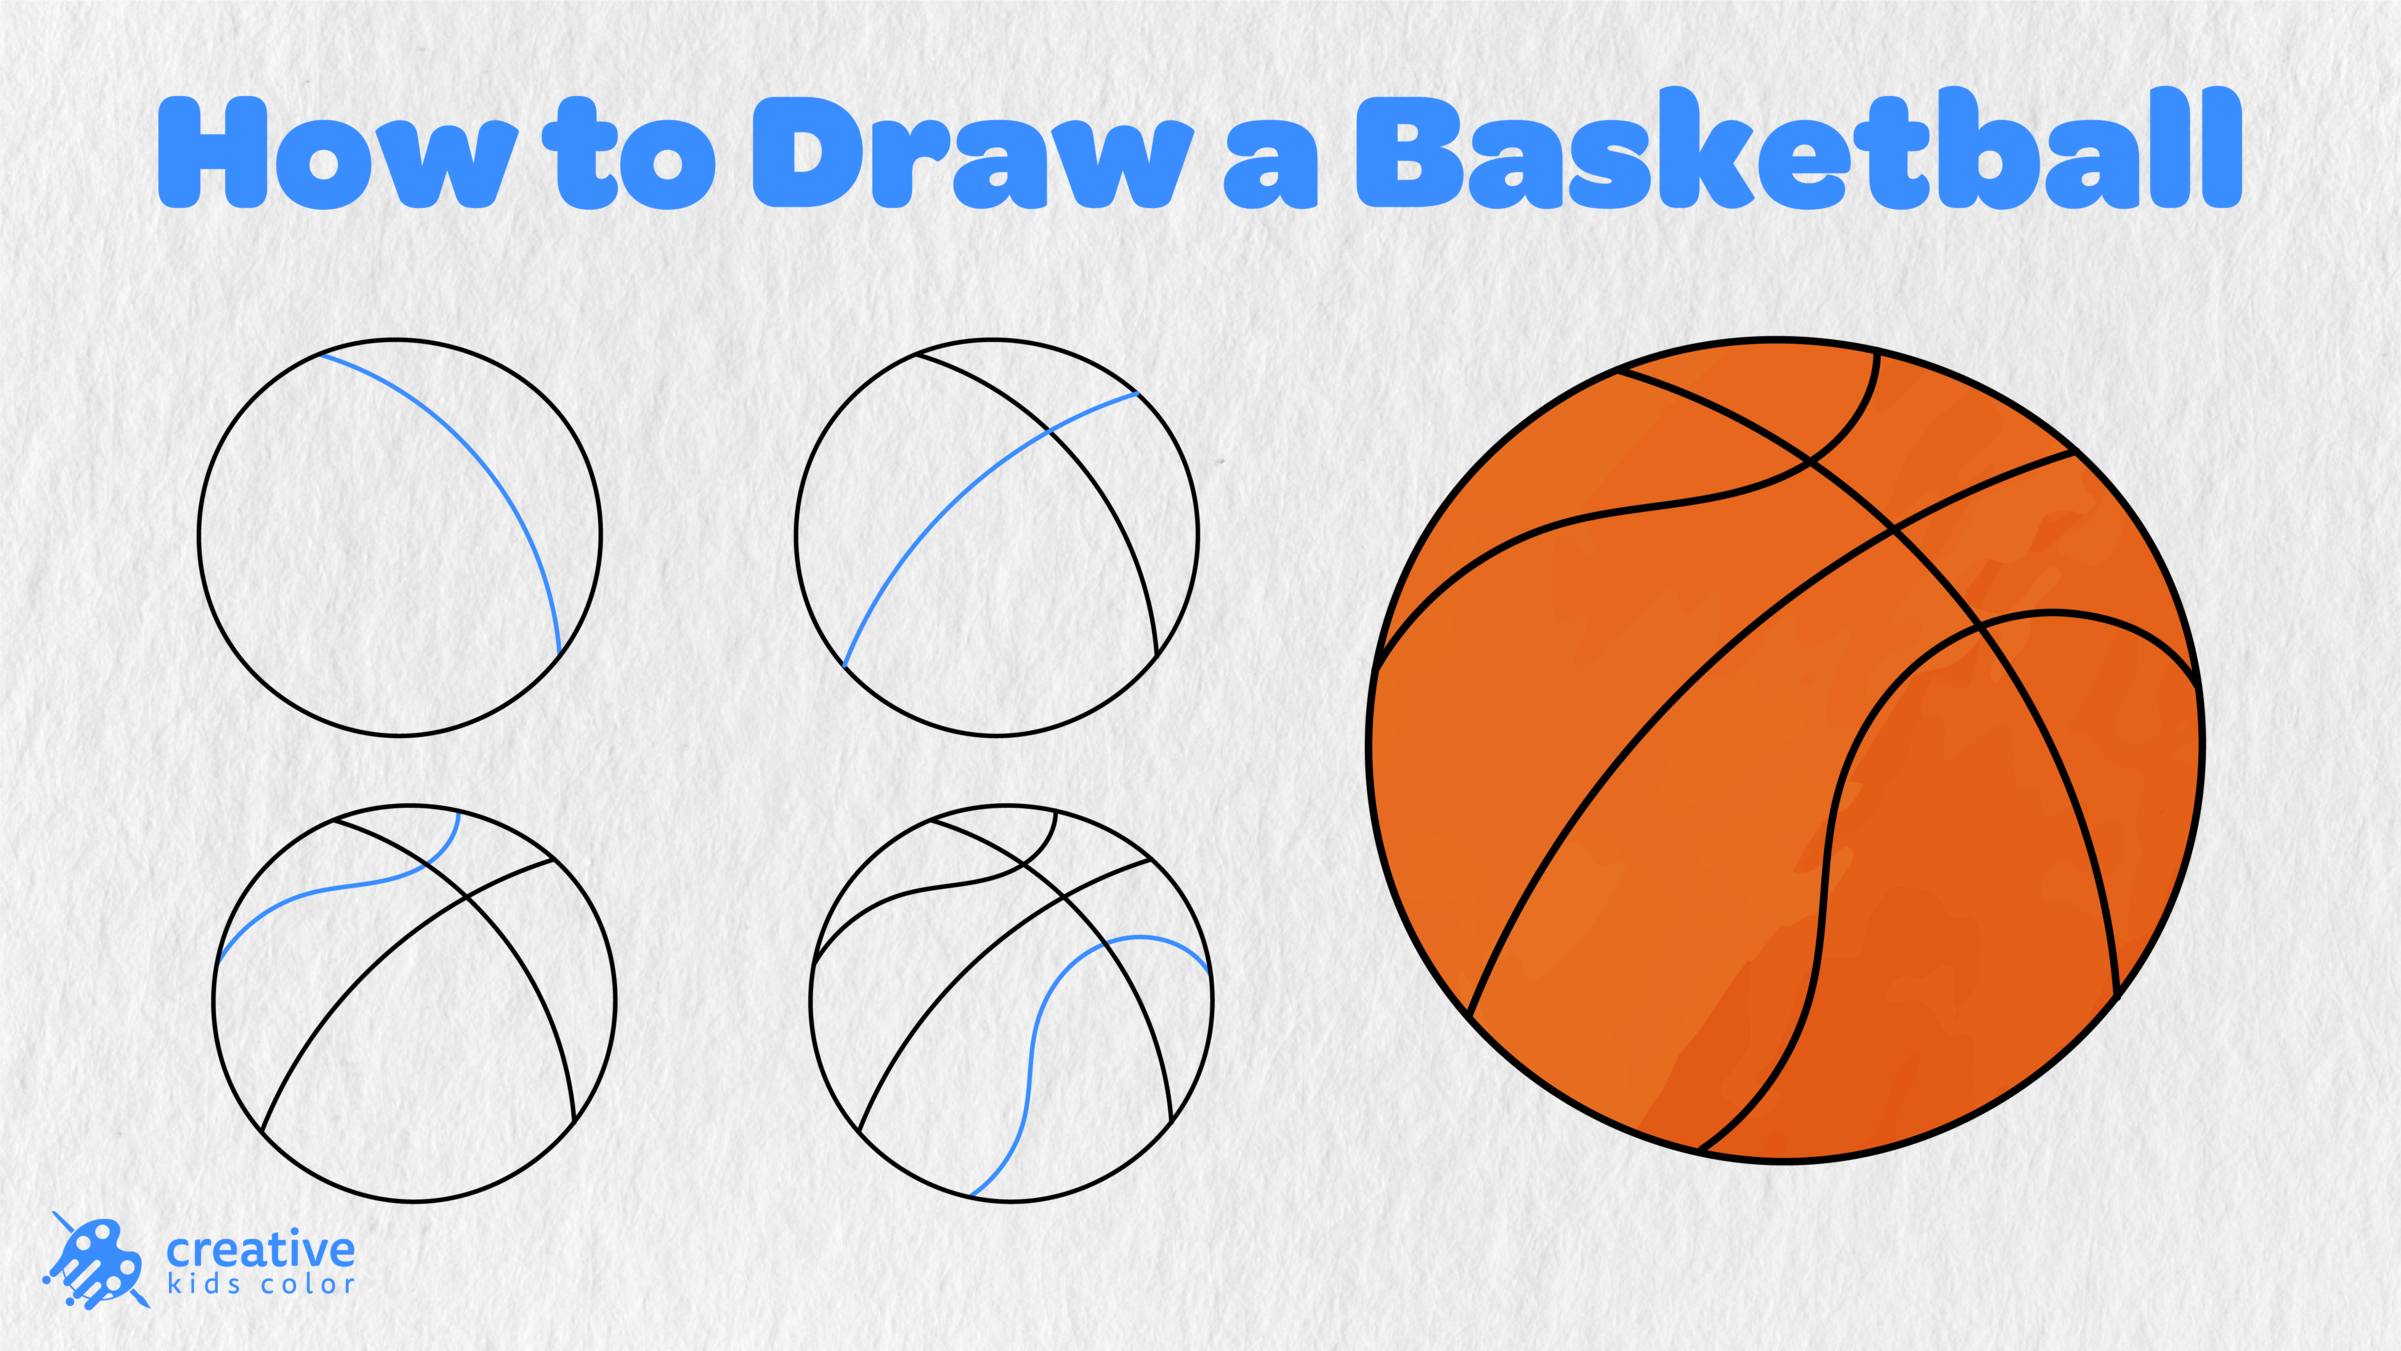
A plain circle can turn into a basketball with the addition of the standard curved lines that run along it. In this step by step guide you will learn how to draw a basketball by adding each line individually and then coloring the completed ball orange.
This step by step lesson is great for children and those new to drawing who want to make a simple sketch of a basketball without adding shading or other details. Just by following along with the images below you can use this completed drawing as a base for your own colored basketball artwork.
The basketball you can create from this tutorial will begin as a simple circle but will quickly become a sports ball with the addition of these curved lines. You may find that some of these lines are harder to add than the simple circle, but at least this ball will not escape from you while you are trying to add them.
Easy Basketball Drawing Step by Step
Gather your supplies before starting this activity. You will need a pencil, paper, eraser, and something to color with. It might help to draw the lines lightly at first especially when working on those curved lines so adjustments can be made to their shape before darkening them.
Step 1: Draw the Basketball Circle

Start by drawing a large circle in the center of your paper. This circle will be the outside border of your basketball so make sure to leave plenty of space around it and try to keep your circle as close to round as possible.
Your circle does not need to be perfect and you can always trace around a round object if you need a little help with making your circle rounder.
Step 2: Add the First Curved Line
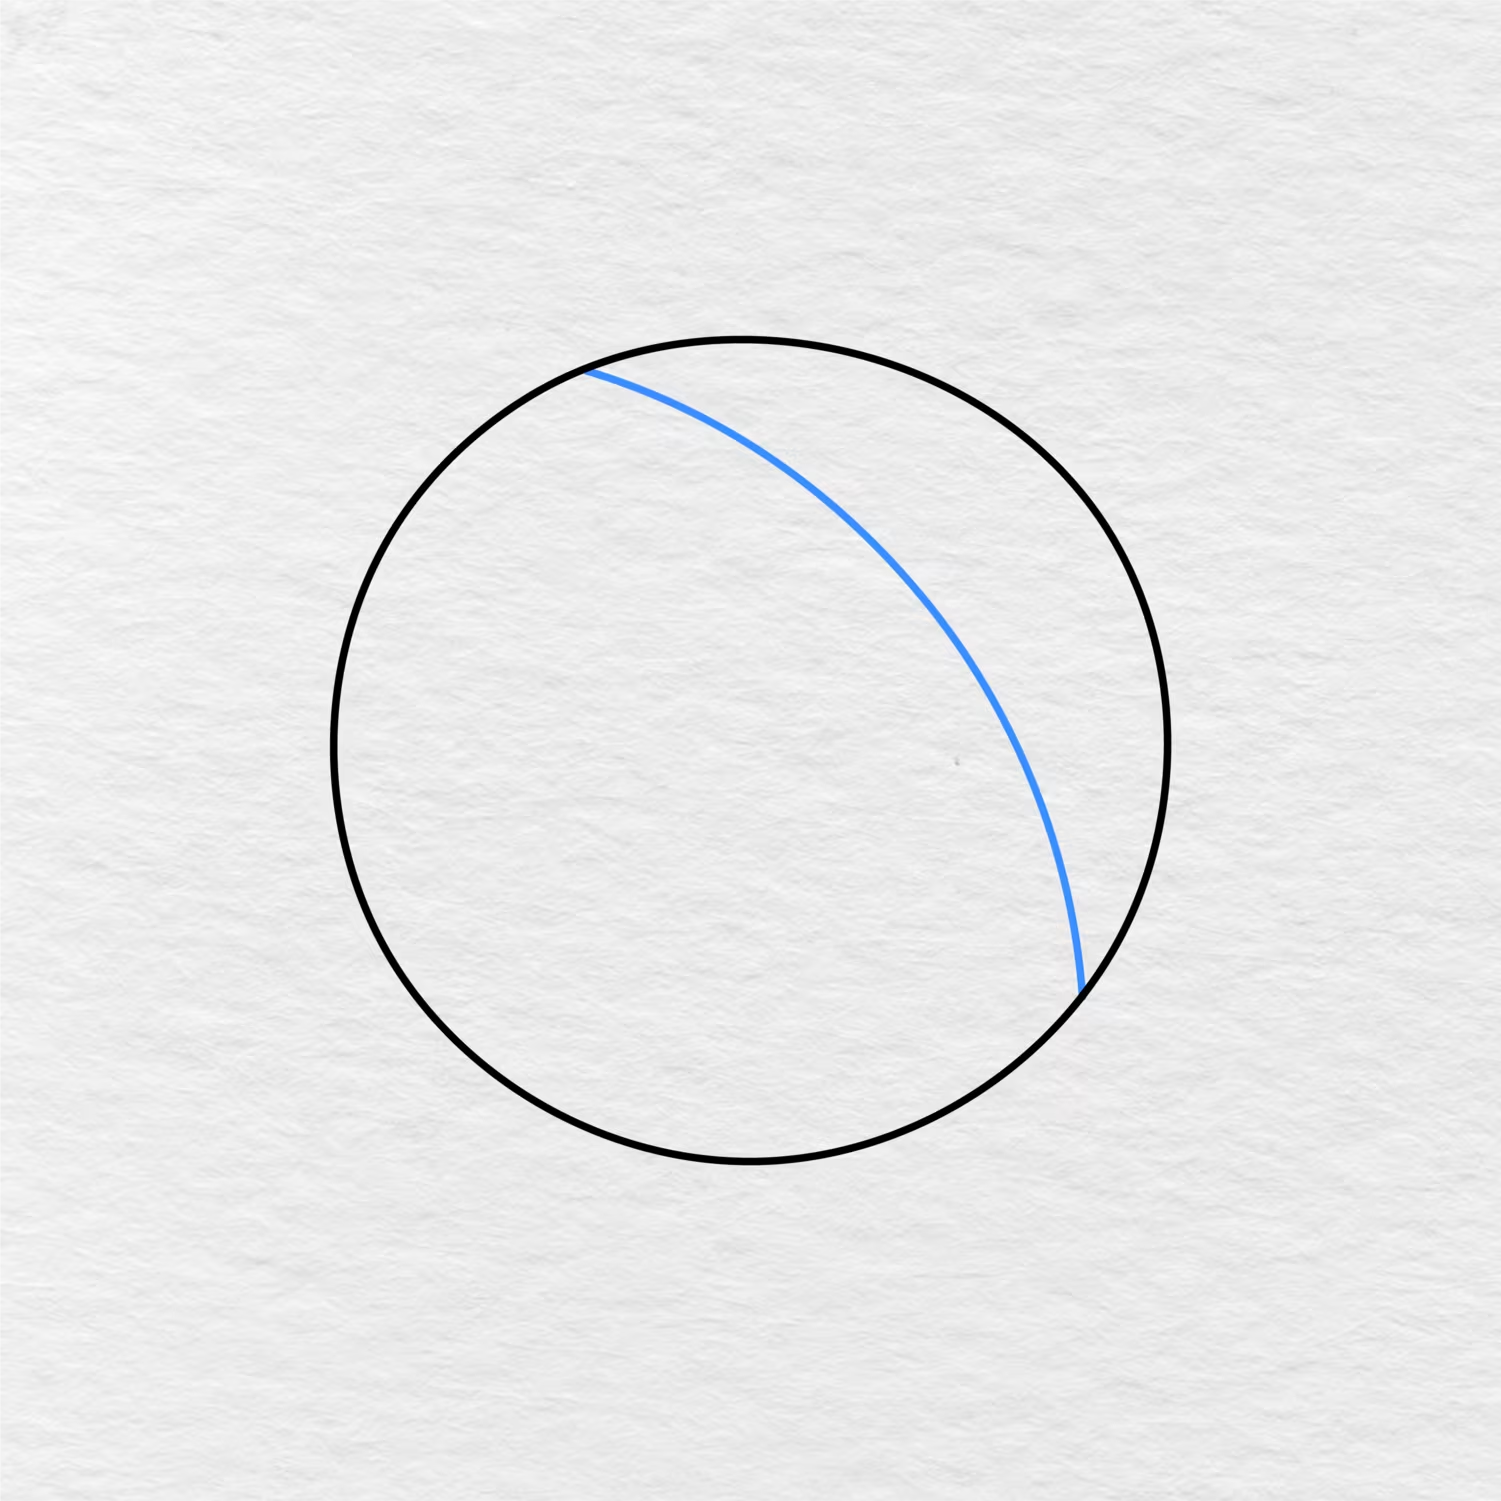
Draw a long curved line that starts near the top left of the circle and ends near the bottom right.
Make sure that the curve is smooth as it goes across the ball and this line will be the first one added inside your basketball. Just follow the image shown below for this part.
Step 3: Draw the Second Curved Line
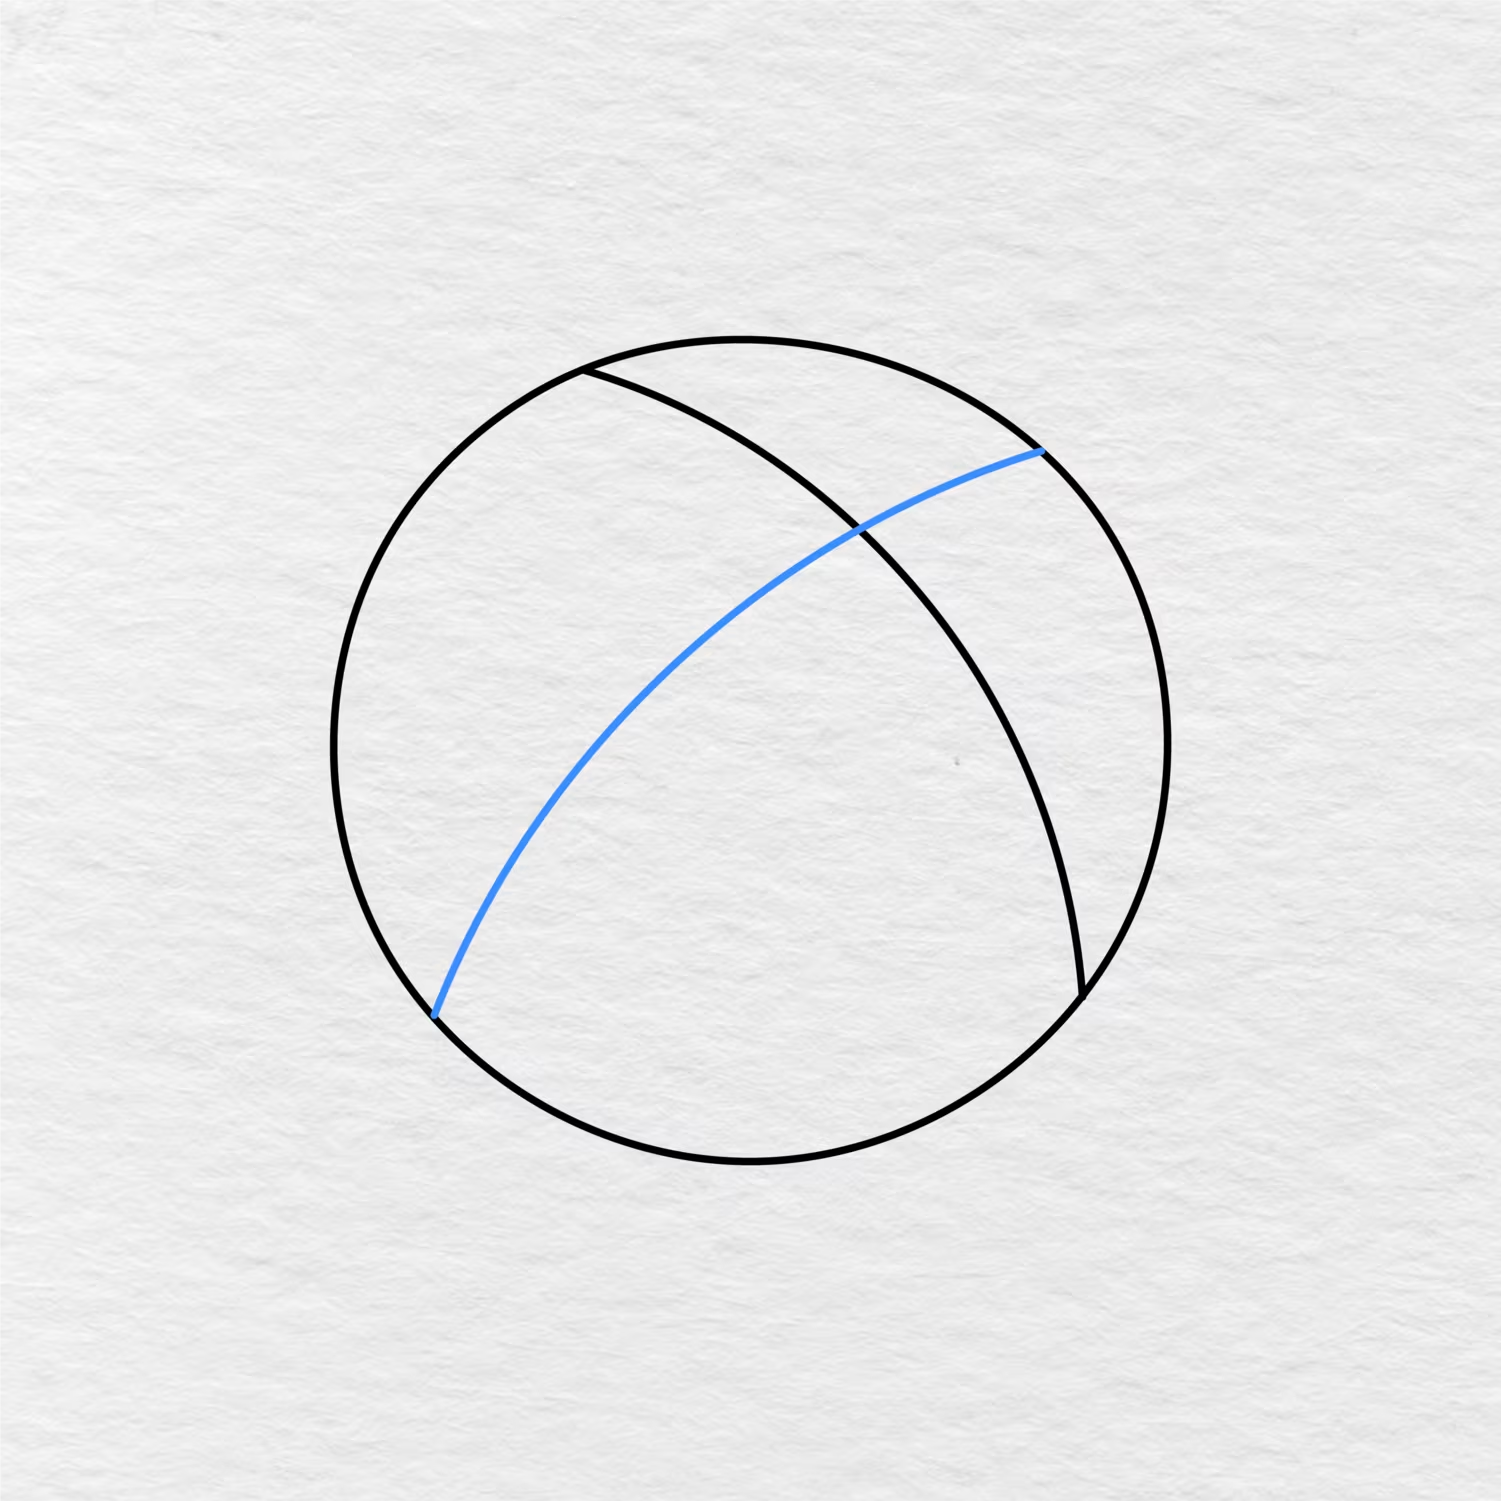
The second curved line should start near the bottom left of the circle and then go up towards the top right of the circle.
This second line should cross over the first line near the top middle of your basketball. Pay close attention to this step to make sure those lines are crossing correctly. Both of these lines should follow the image shown below.
Step 4: Add the Top Curved Line
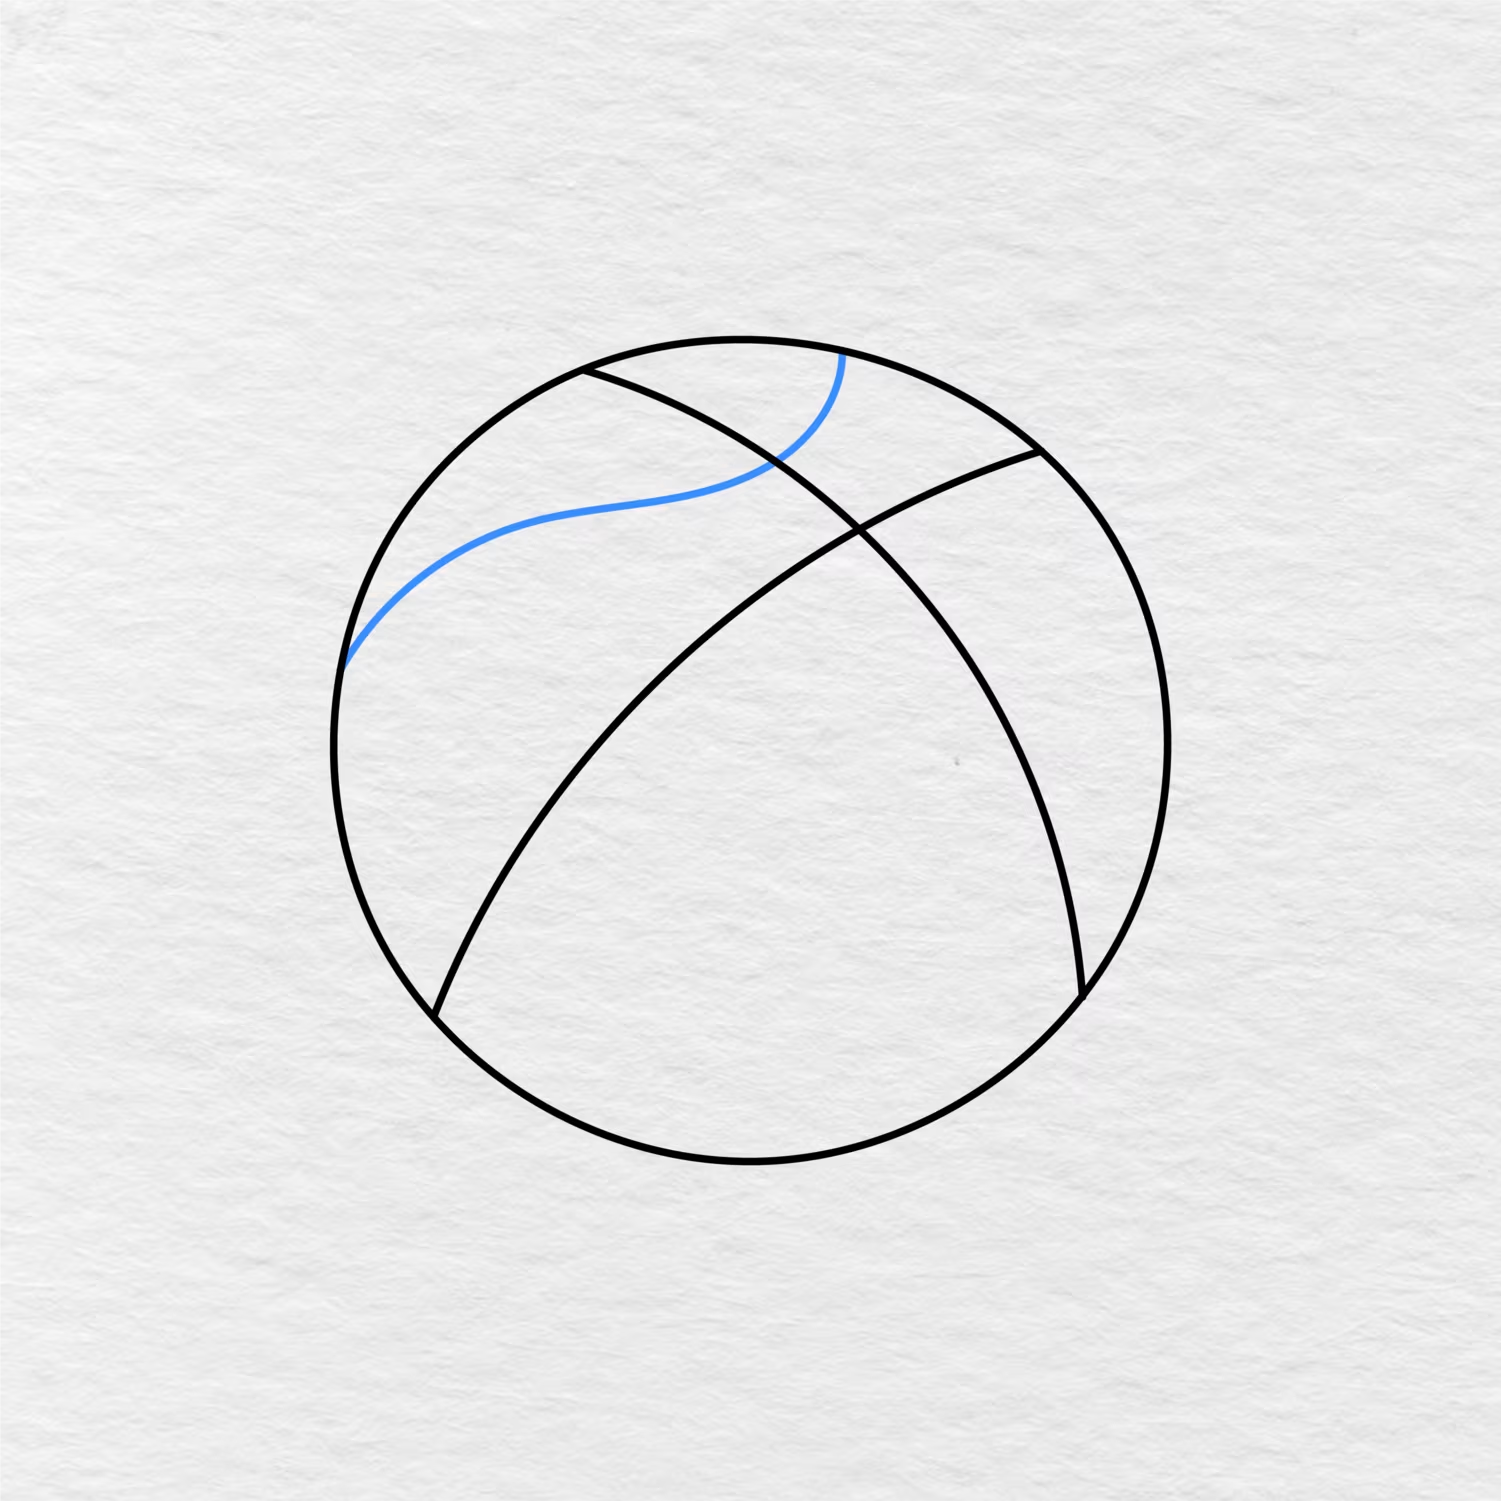
Draw a shorter curved line across the top of the basketball in a similar fashion to the other two curved lines.
This line should start near the left edge of your basketball and curve upwards before ending at the top edge of the circle. This line will be crossing over some of the previous lines as well and should follow the image shown below.
Step 5: Draw the Final Curved Line
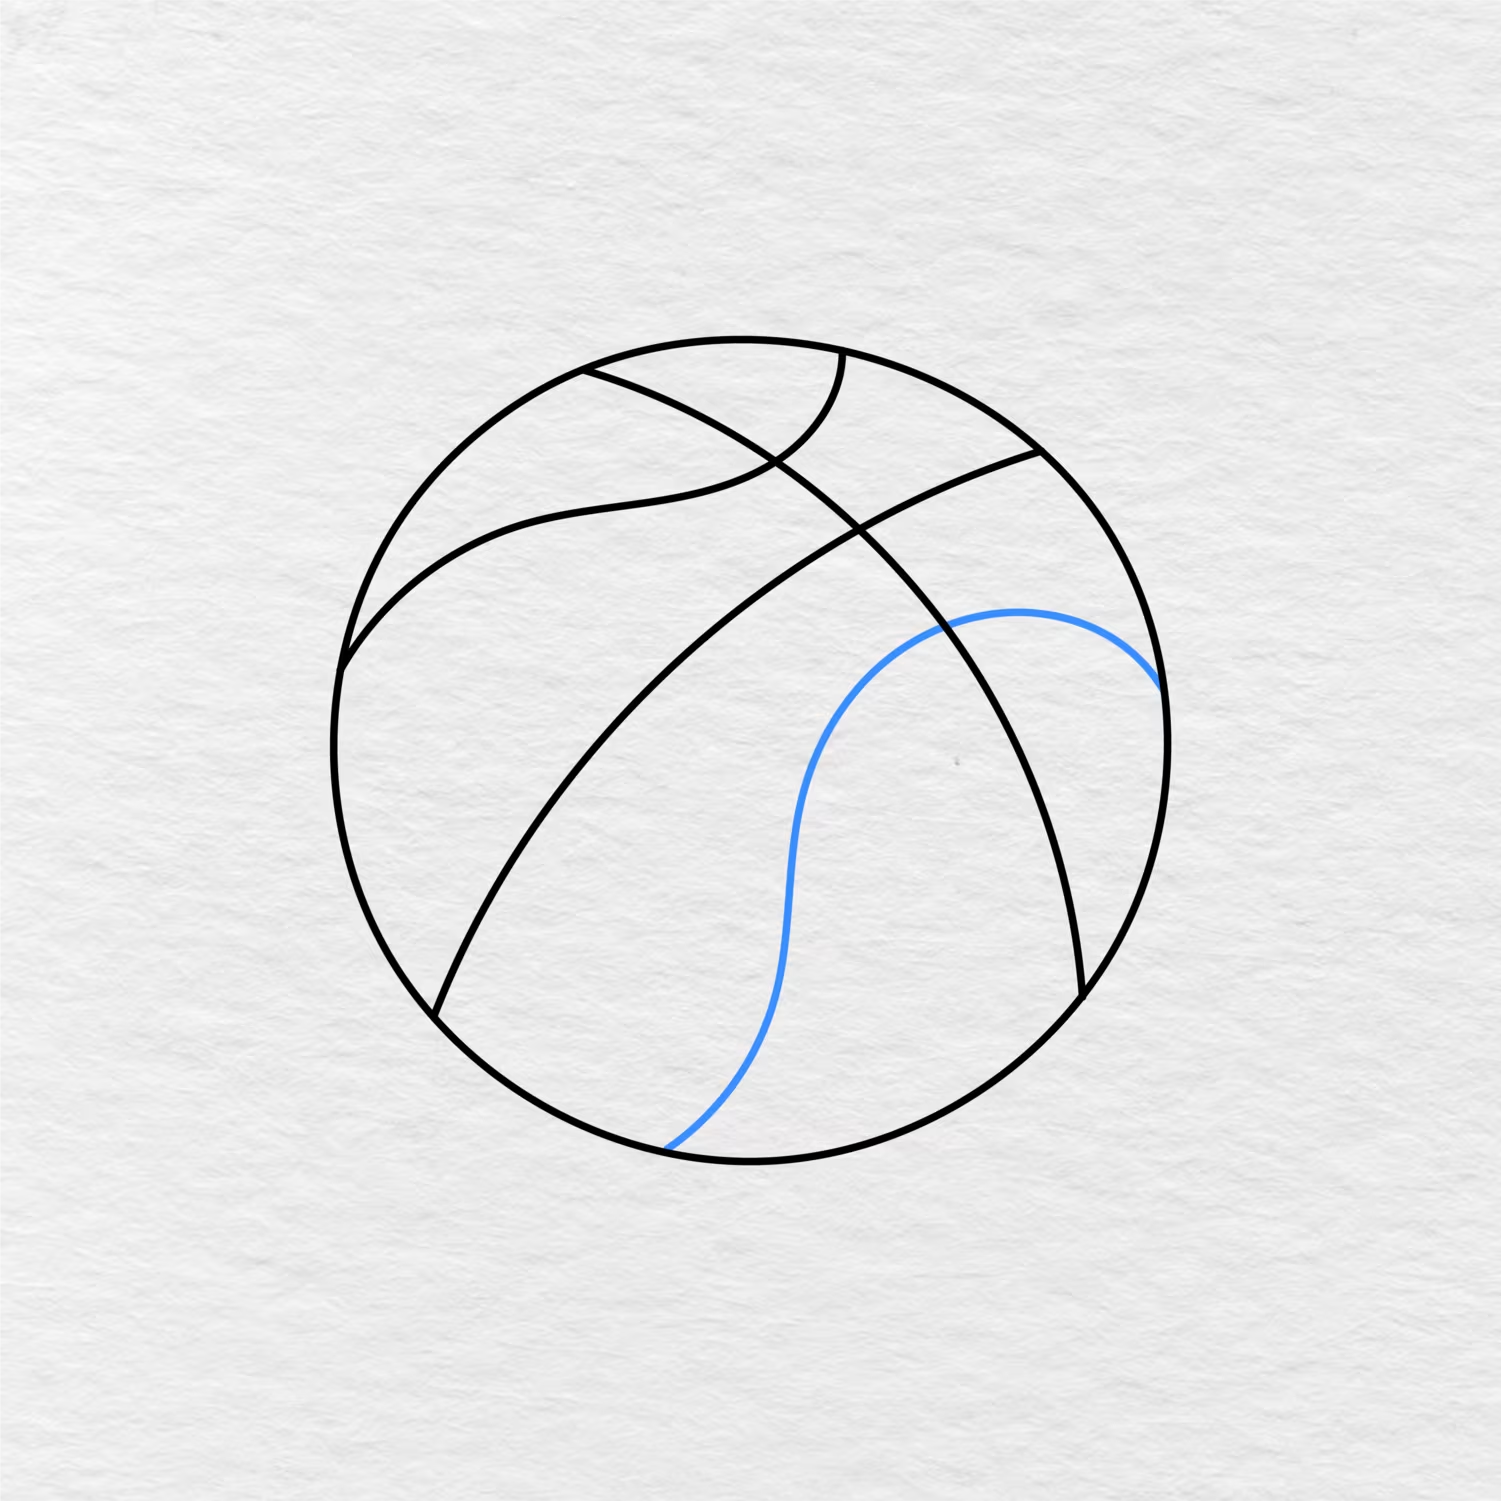
The last curved line should be on the right side of your basketball and should also follow the pattern that the previous lines have.
It should start near the bottom of the circle, curve upwards, and end at the right edge of your ball.
Once this last curved line is drawn your basketball is complete and you are ready to move on to the last step which is coloring your basketball.
Step 6: Color the Basketball
The final step is to color your basketball and you can follow the image shown below as your guide.
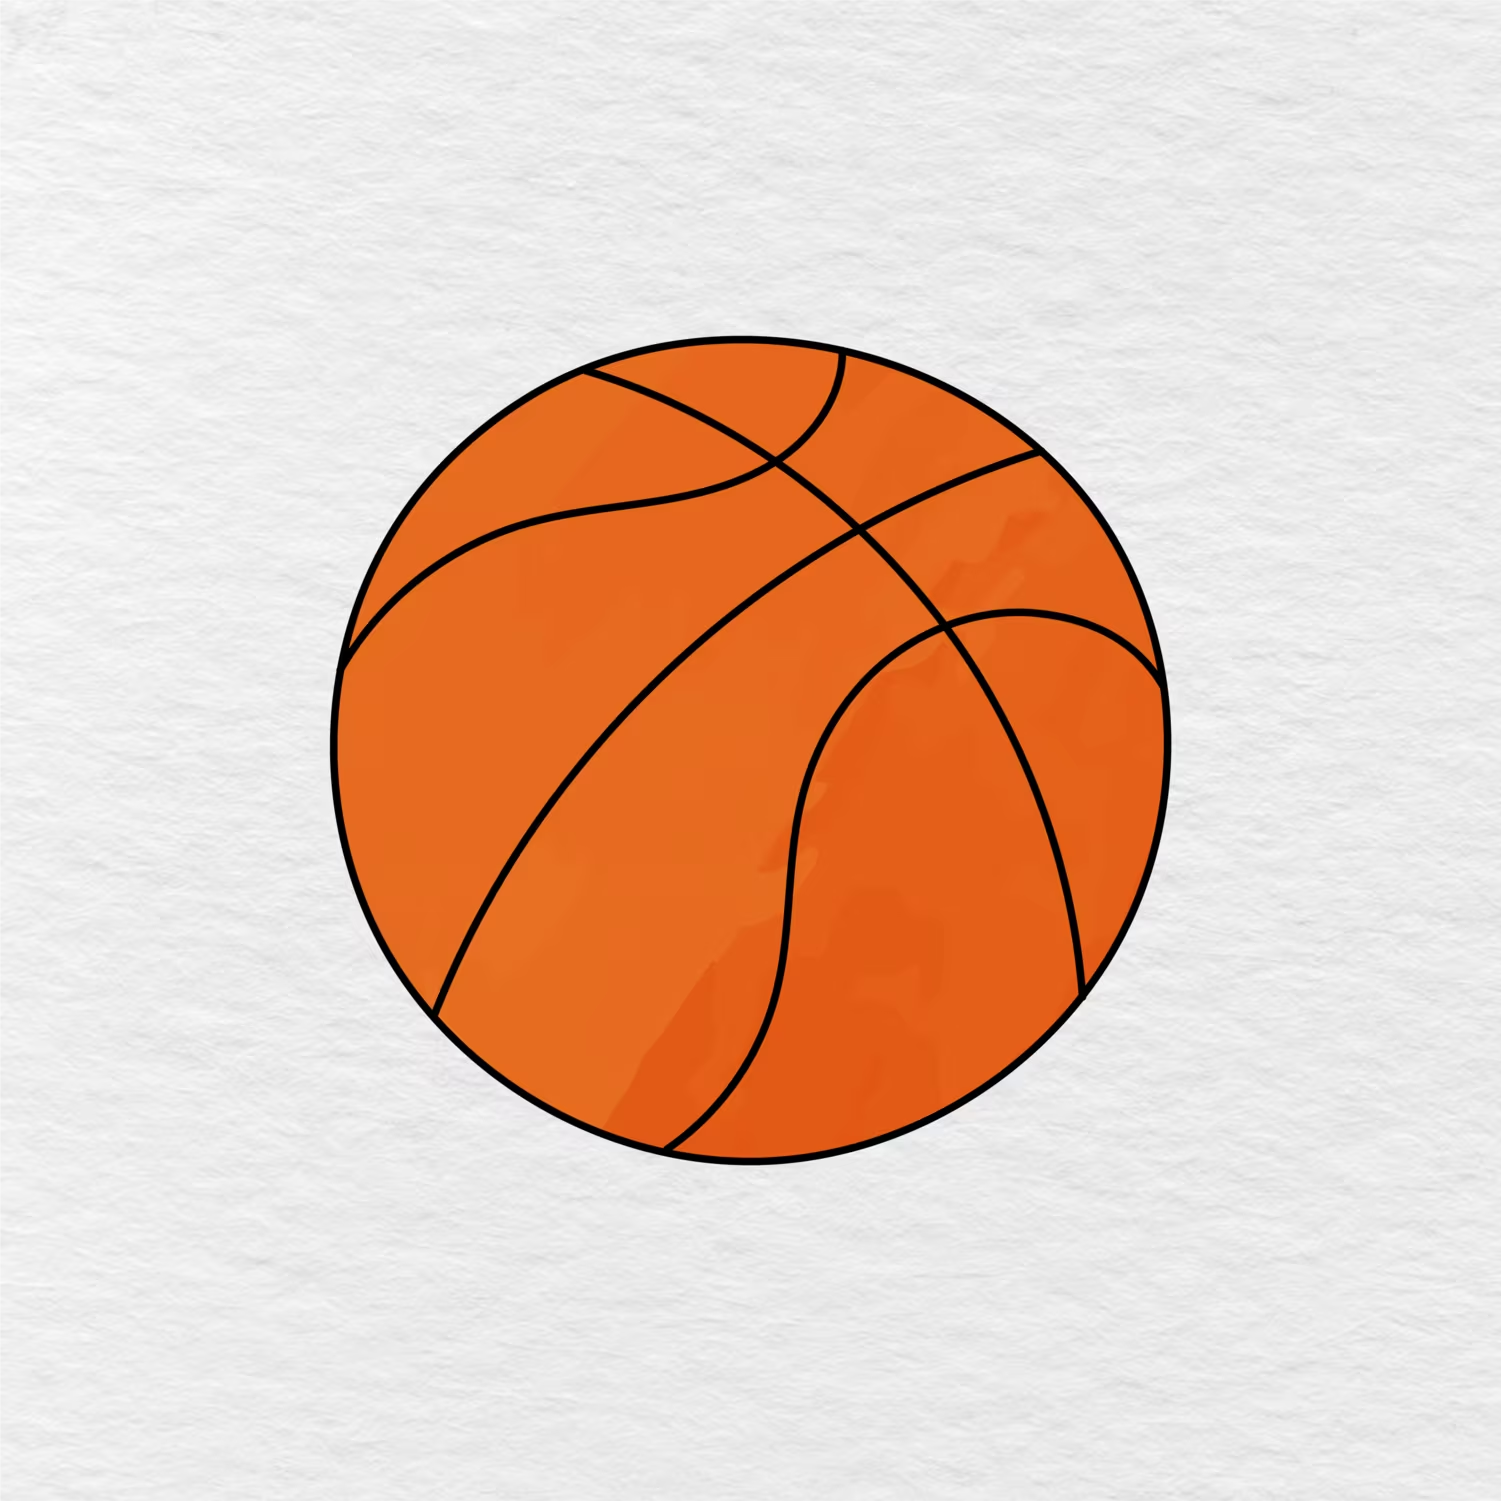
Color your whole ball in orange but make sure to leave those curved lines in black. Once your ball is colored in your easy basketball drawing is complete!
Printable Basketball Drawing PDF
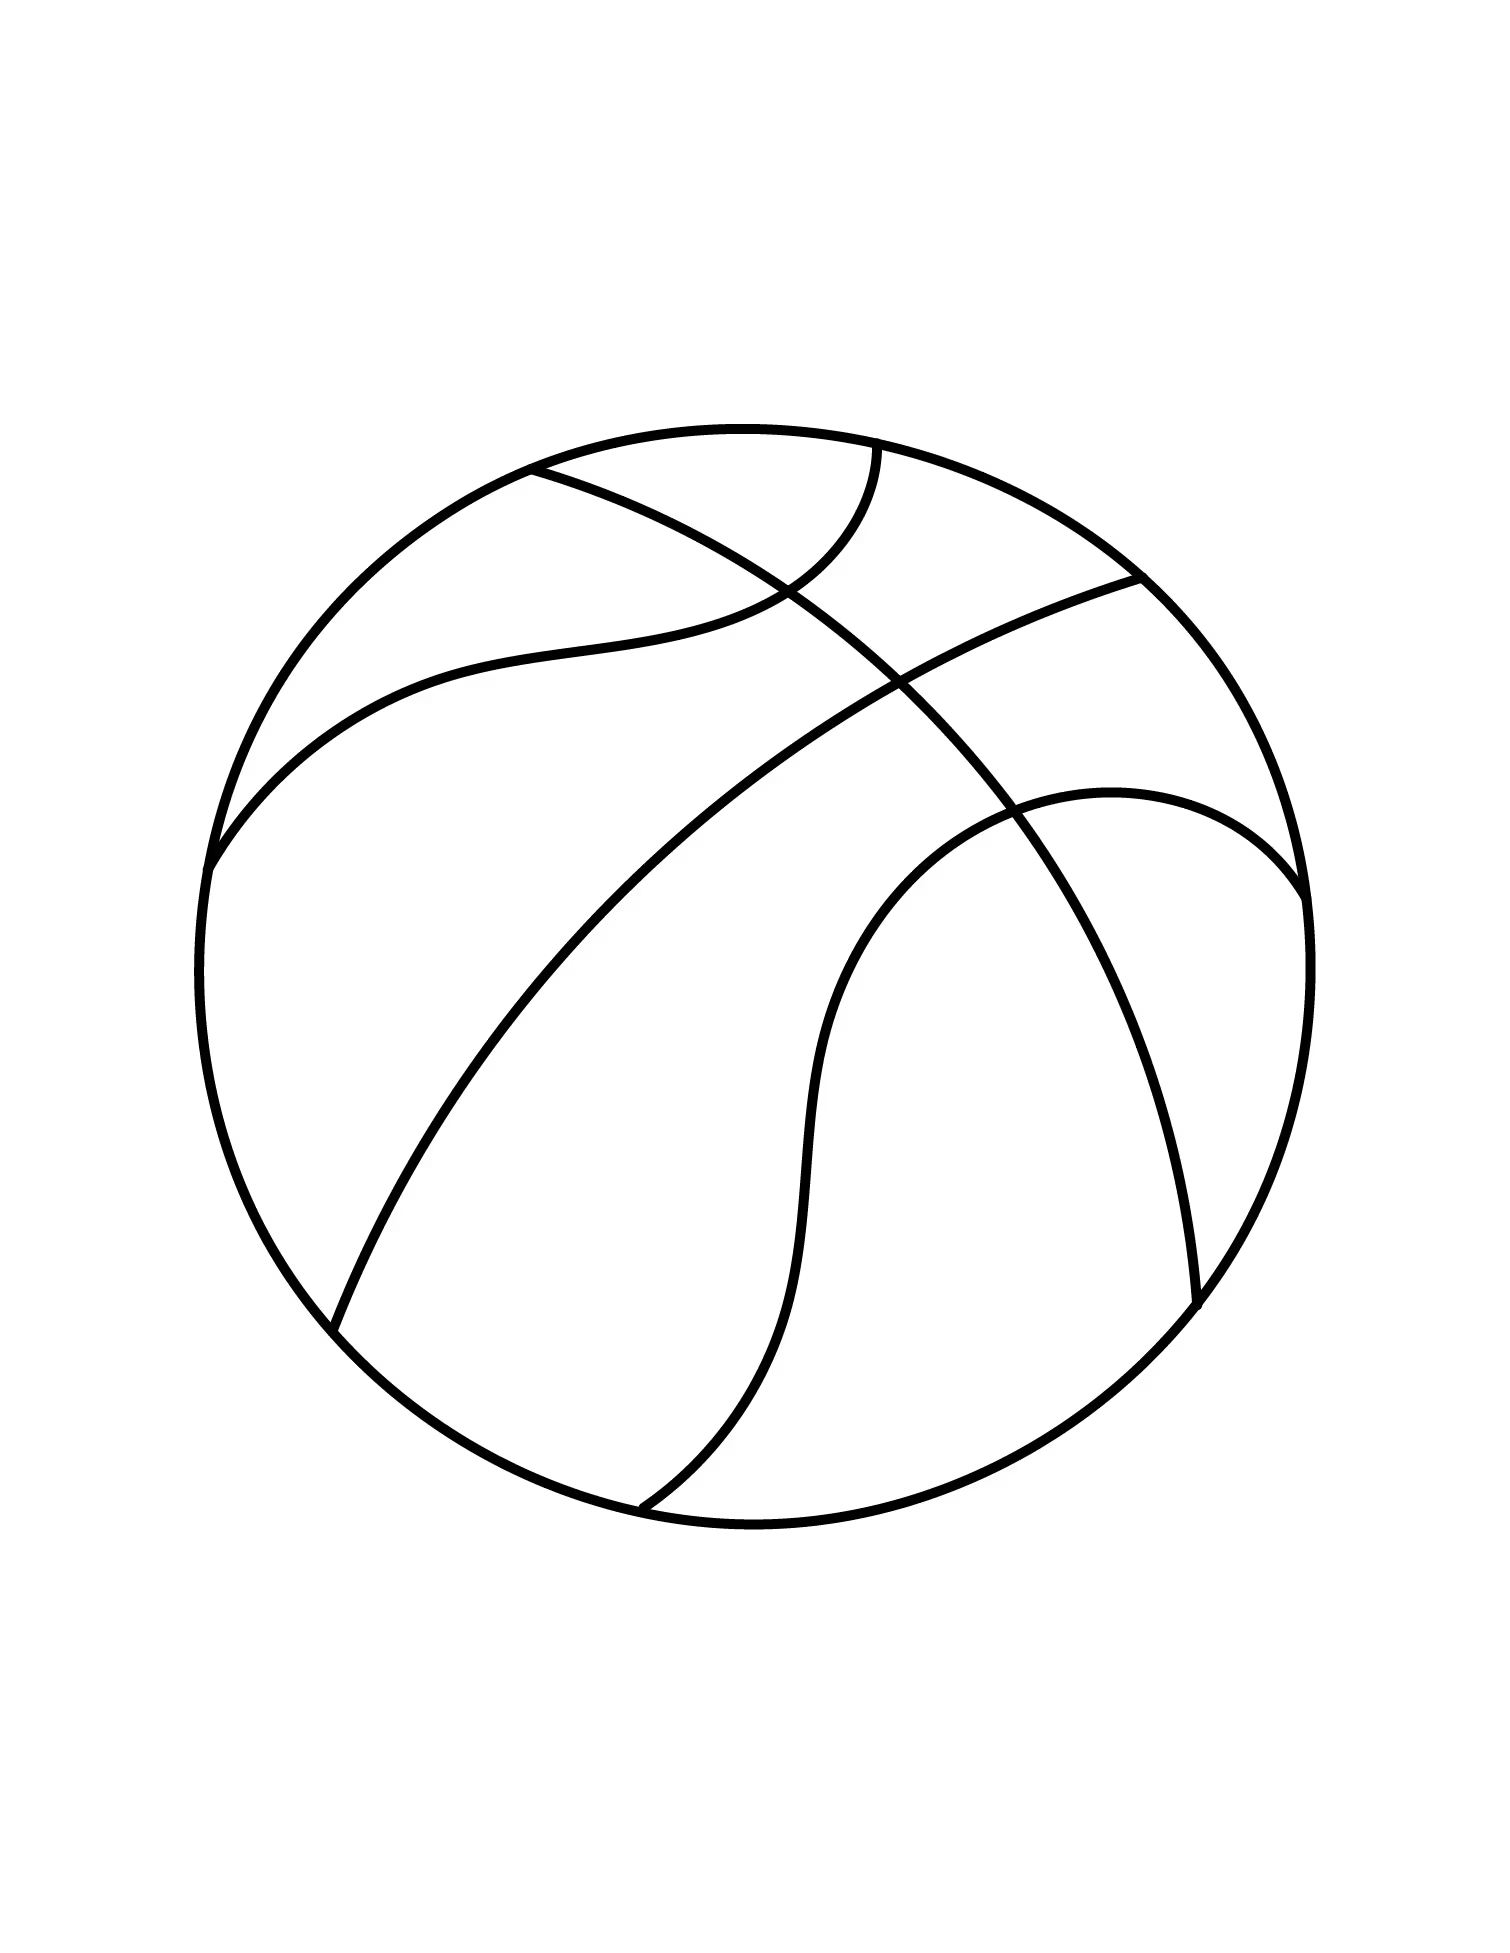
You can now print off this completed basketball drawing as a PDF and color it in as well.
The image shown below has not been colored in and can be printed off to use as a coloring page or as a guide for kids when they want to try this basketball drawing again.
Let us know in the comments below if your kids, students, or class enjoyed this basketball drawing activity. You can also share this page with another parent, teacher, or friend to help us provide more great content like this.