How to Draw a Mountain
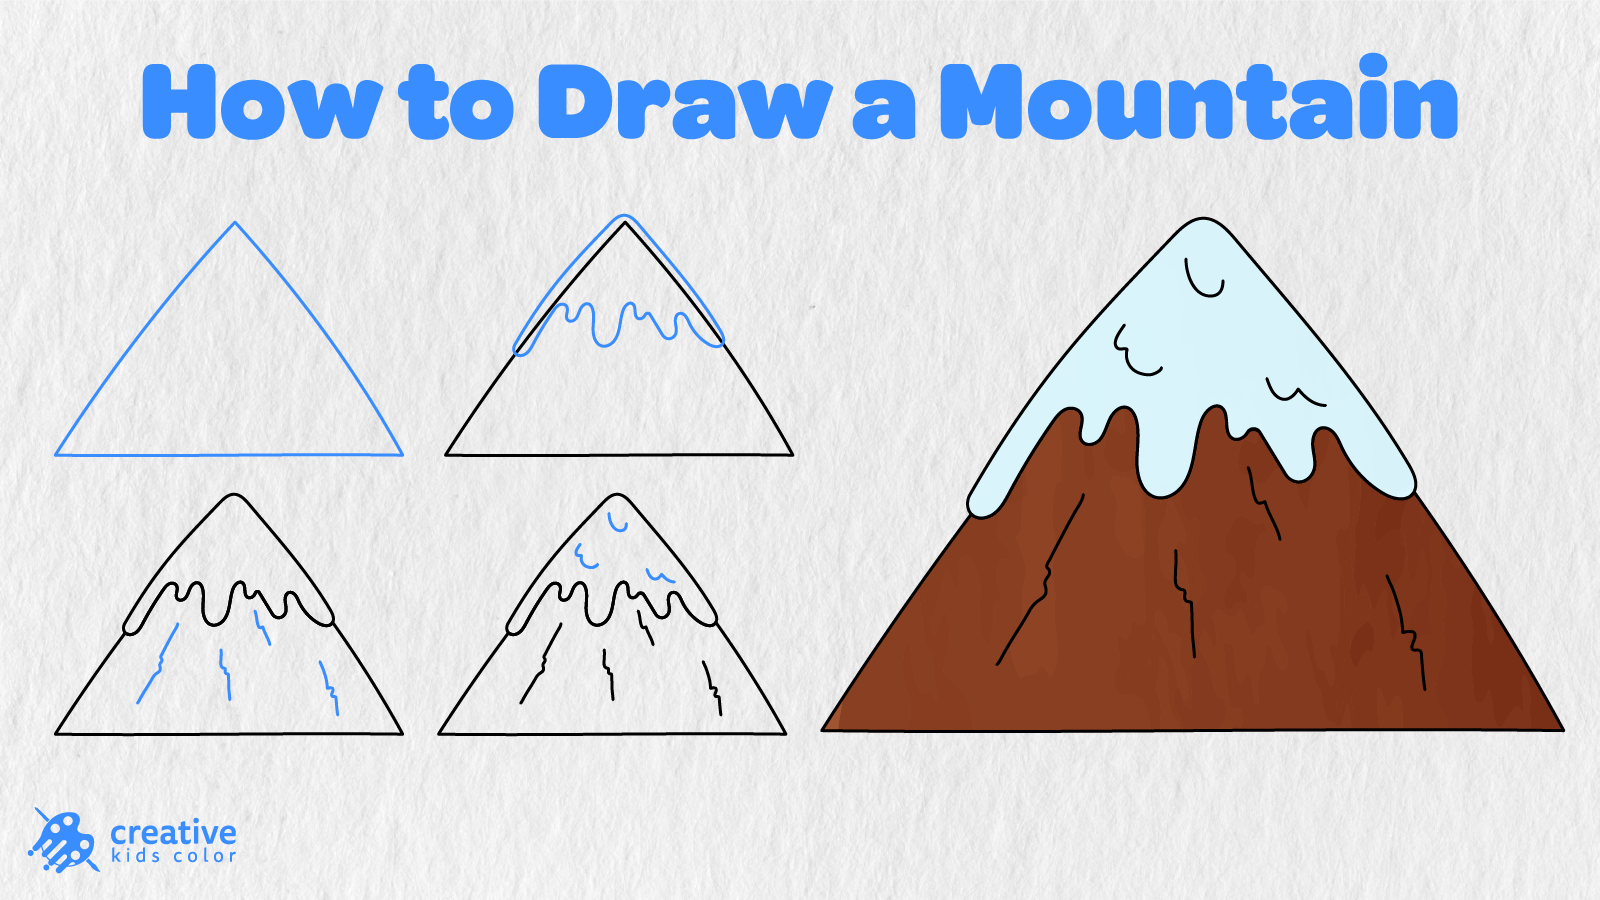
Mountains are things that can be seen from far away. Whether they are in the background of a city, passed by in a vehicle on a journey, or shown as a simple image on a page, mountains of various sizes and shapes appear to tower over the environment. On paper, they can start as something just as simple as one basic triangle. In this step by step tutorial, you will learn how to draw a mountain in 5 easy steps.
This mountain drawing for kids and beginners is very straightforward, as you will see a progression from a large triangle to adding the snow, rock lines, and other small details, and then finishing it off with color.
What makes it so fun is seeing how a simple triangle can come to life and appear to almost pop right off the page when you add the snow cap and rock lines. With just a few added touches, you have a nice clean little mountain peak without too much of a surrounding area such as a forest, sky, or hiking trail.
Easy Mountain Drawing Step by Step
First, make sure you have your art supplies close by such as a pencil, paper, eraser, and coloring tools.
The lines in blue in the images below will show you what to add in each step.
Step 1: Draw the Large Triangle Mountain Outline
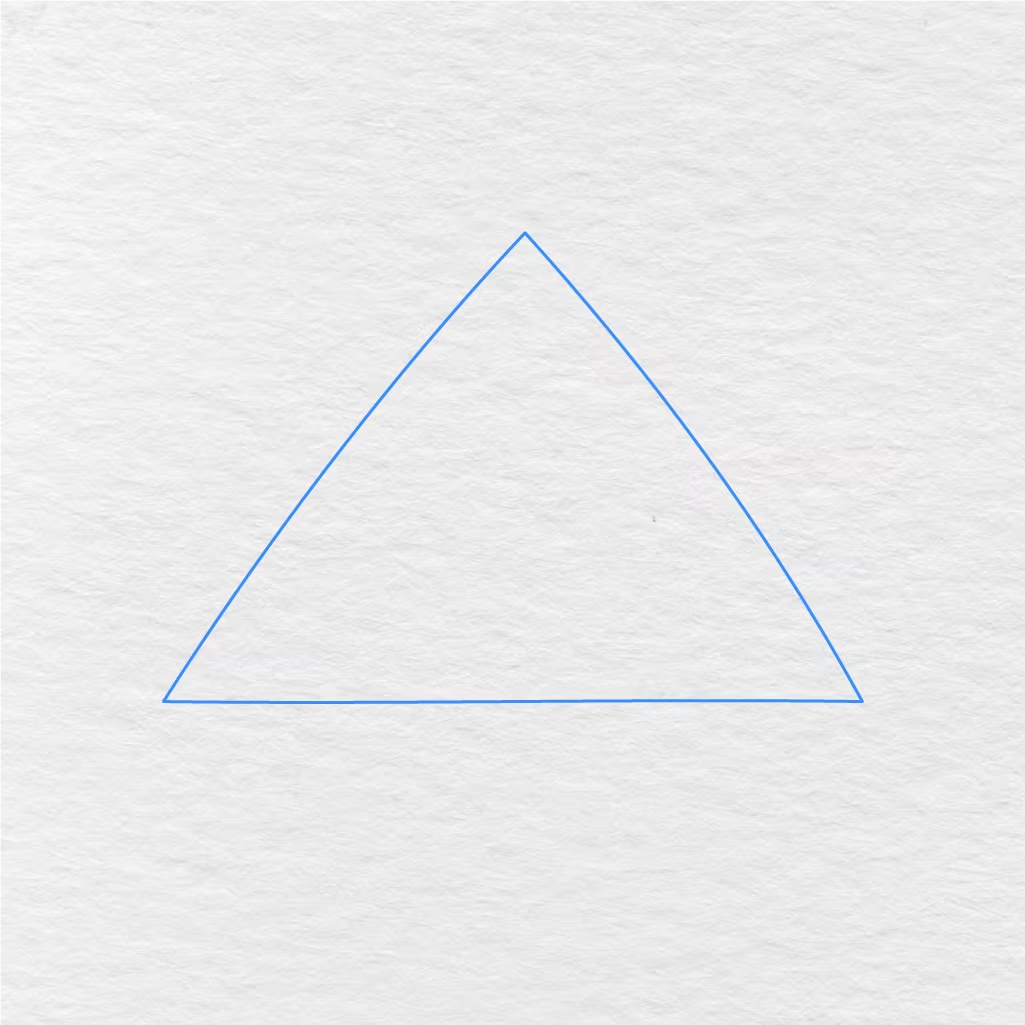
The first thing you need to do is draw a basic large triangle in the middle of the page. Make sure to leave the bottom of the triangle a bit wide and the tip in the middle rounded, as seen in the image below.
This basic triangle will serve as the main structure of your mountain.
Step 2: Add the Snowy Peak
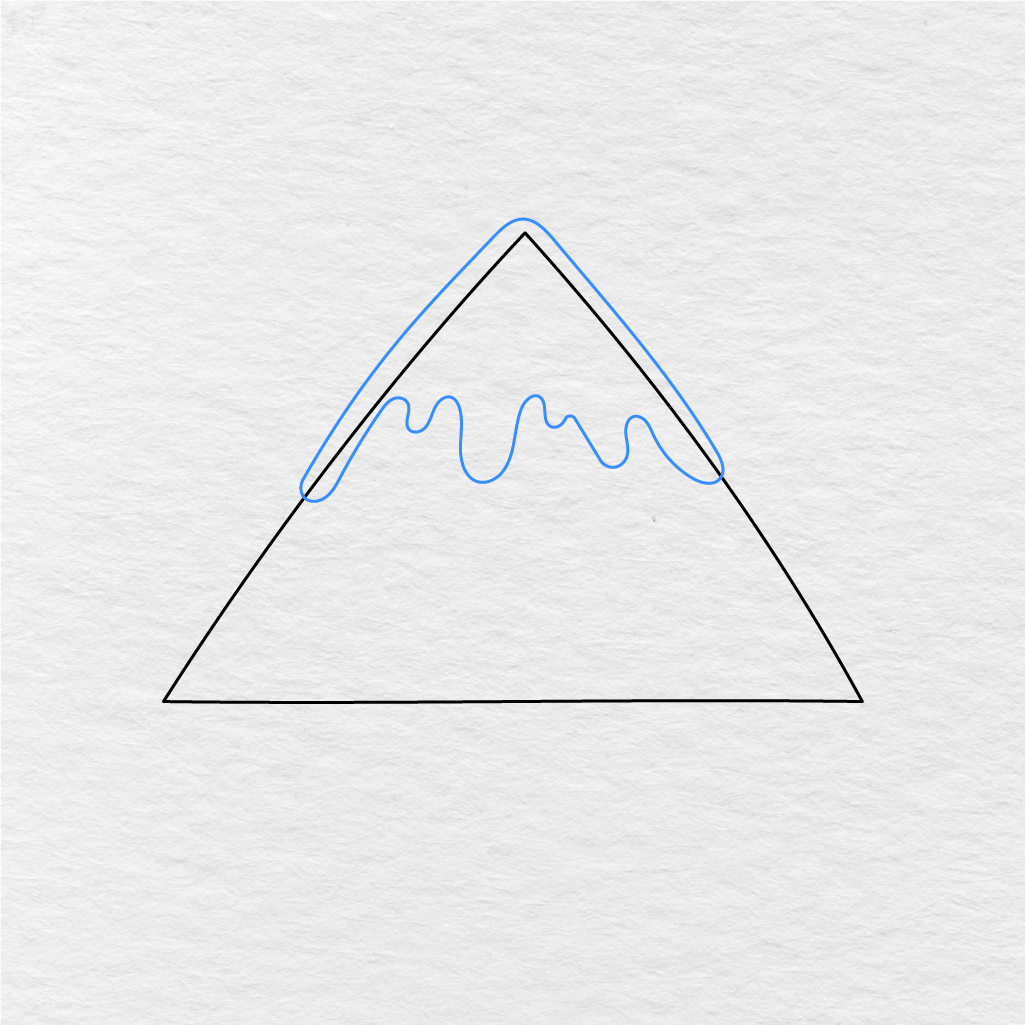
The image below shows you how to add the snowy top to your mountain. Simply follow the lines of the triangle and add a wavy line across the mountain to make the bottom of the snow.
Adding this wavy line to the snow helps give the mountain more depth rather than a simple flat top mountain.
Step 3: Draw the Rock Lines
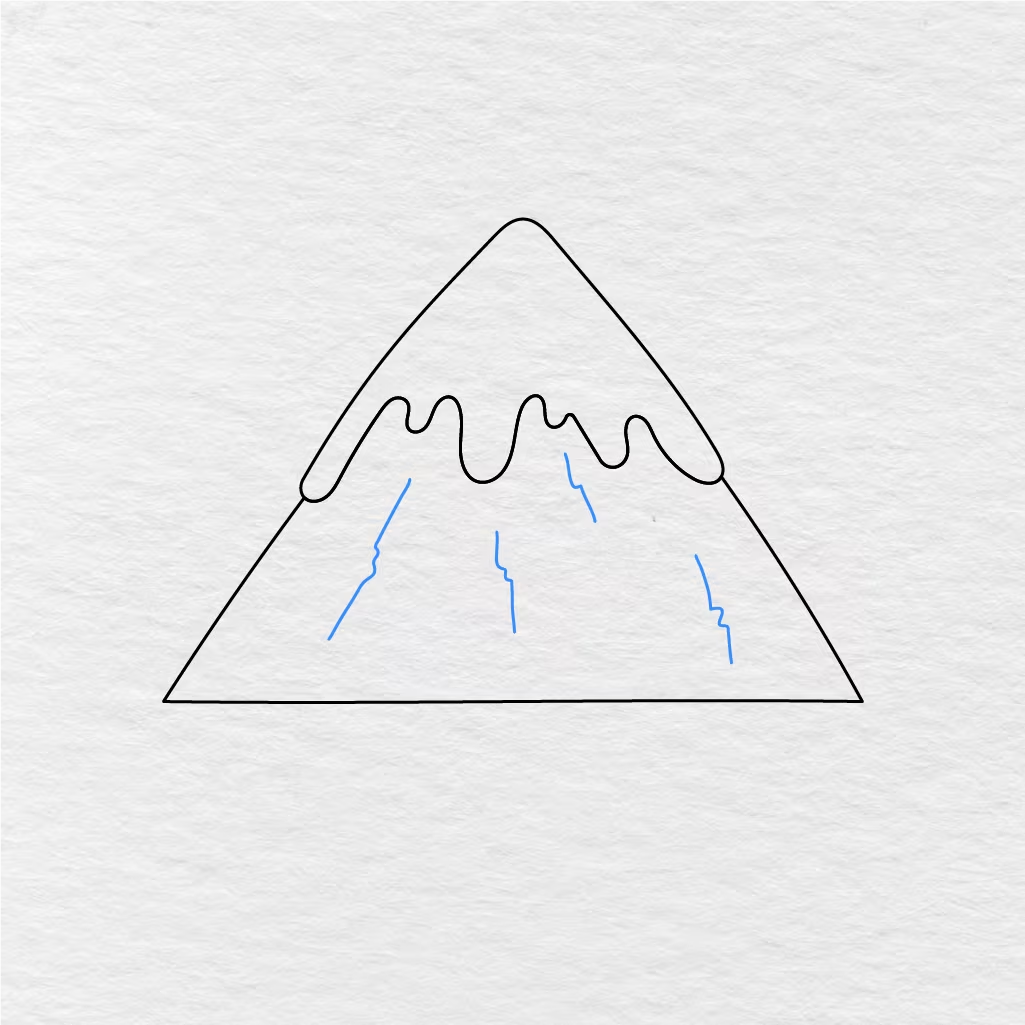
The next thing to do is add a few thin rock lines to the mountain. Simply draw some lines that go down the mountain from the snow, using wavy lines like in the image below.
This helps give the mountain some rocky detail without being too hard to draw.
Step 4: Add the Snow Details
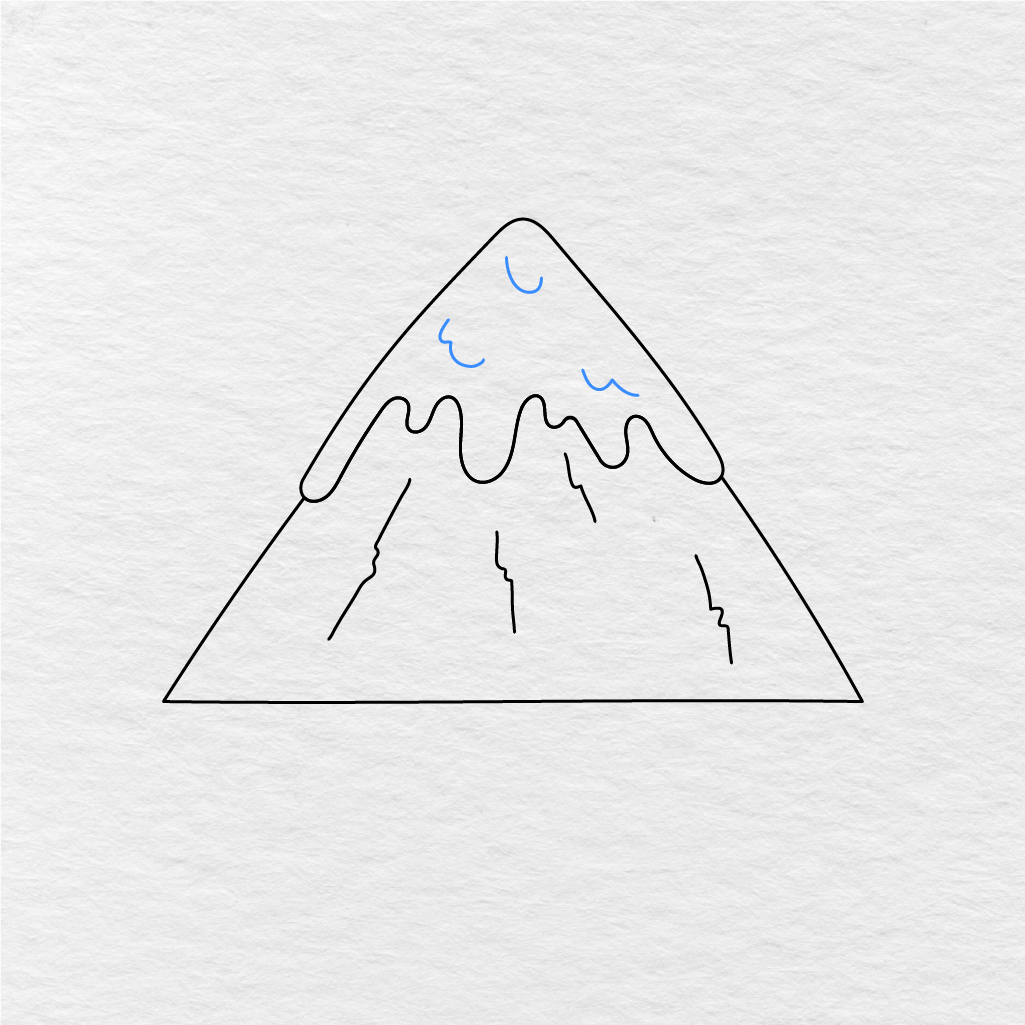
Now add a few curved details in the snow of your mountain. Simply draw some tiny curved lines in the center top area and along the sides of the snow area, as seen in the image below.
These little details add a nice touch to the snow before moving on to the coloring step.
Step 5: Color the Mountain
Using the image below as a reference, you can now color your mountain. The main body of the mountain in our example is brown, and the snow is a very light blue.
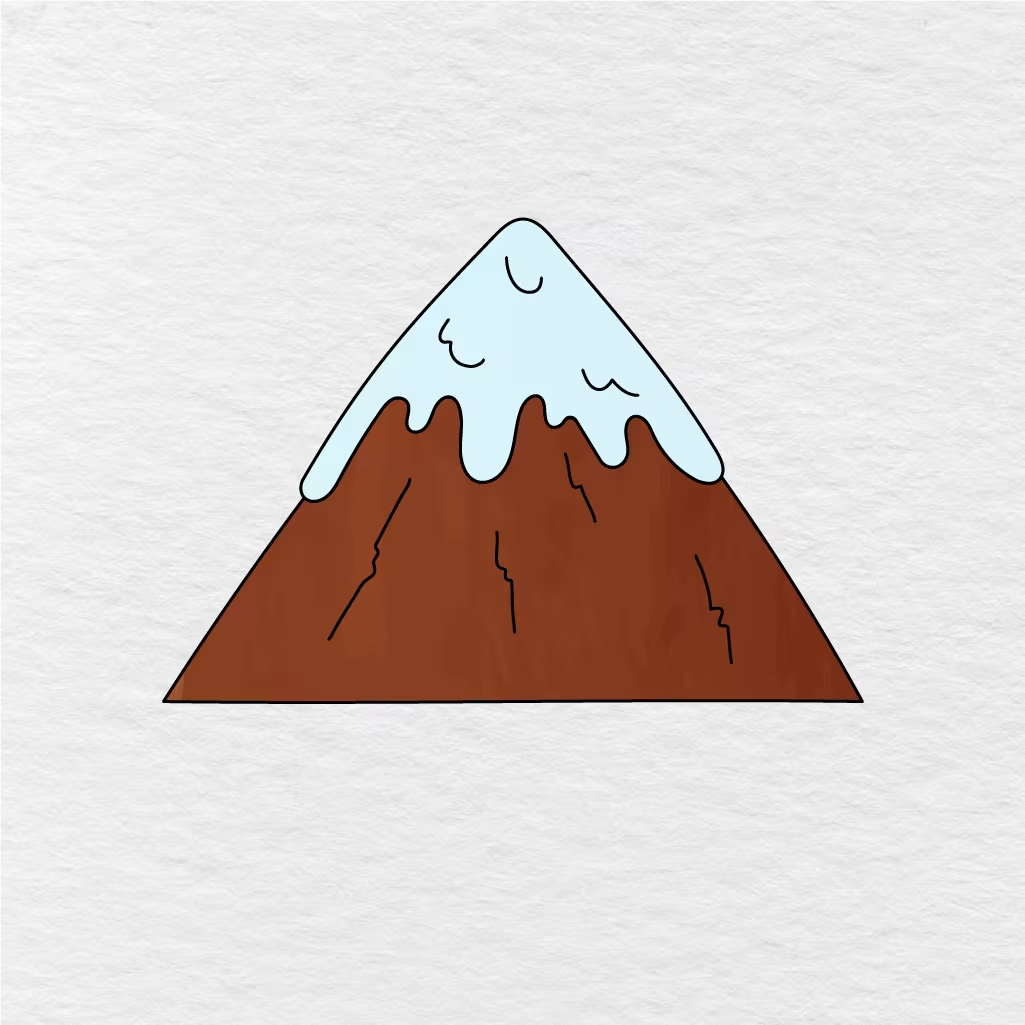
Once you have finished coloring, your easy mountain drawing is complete!
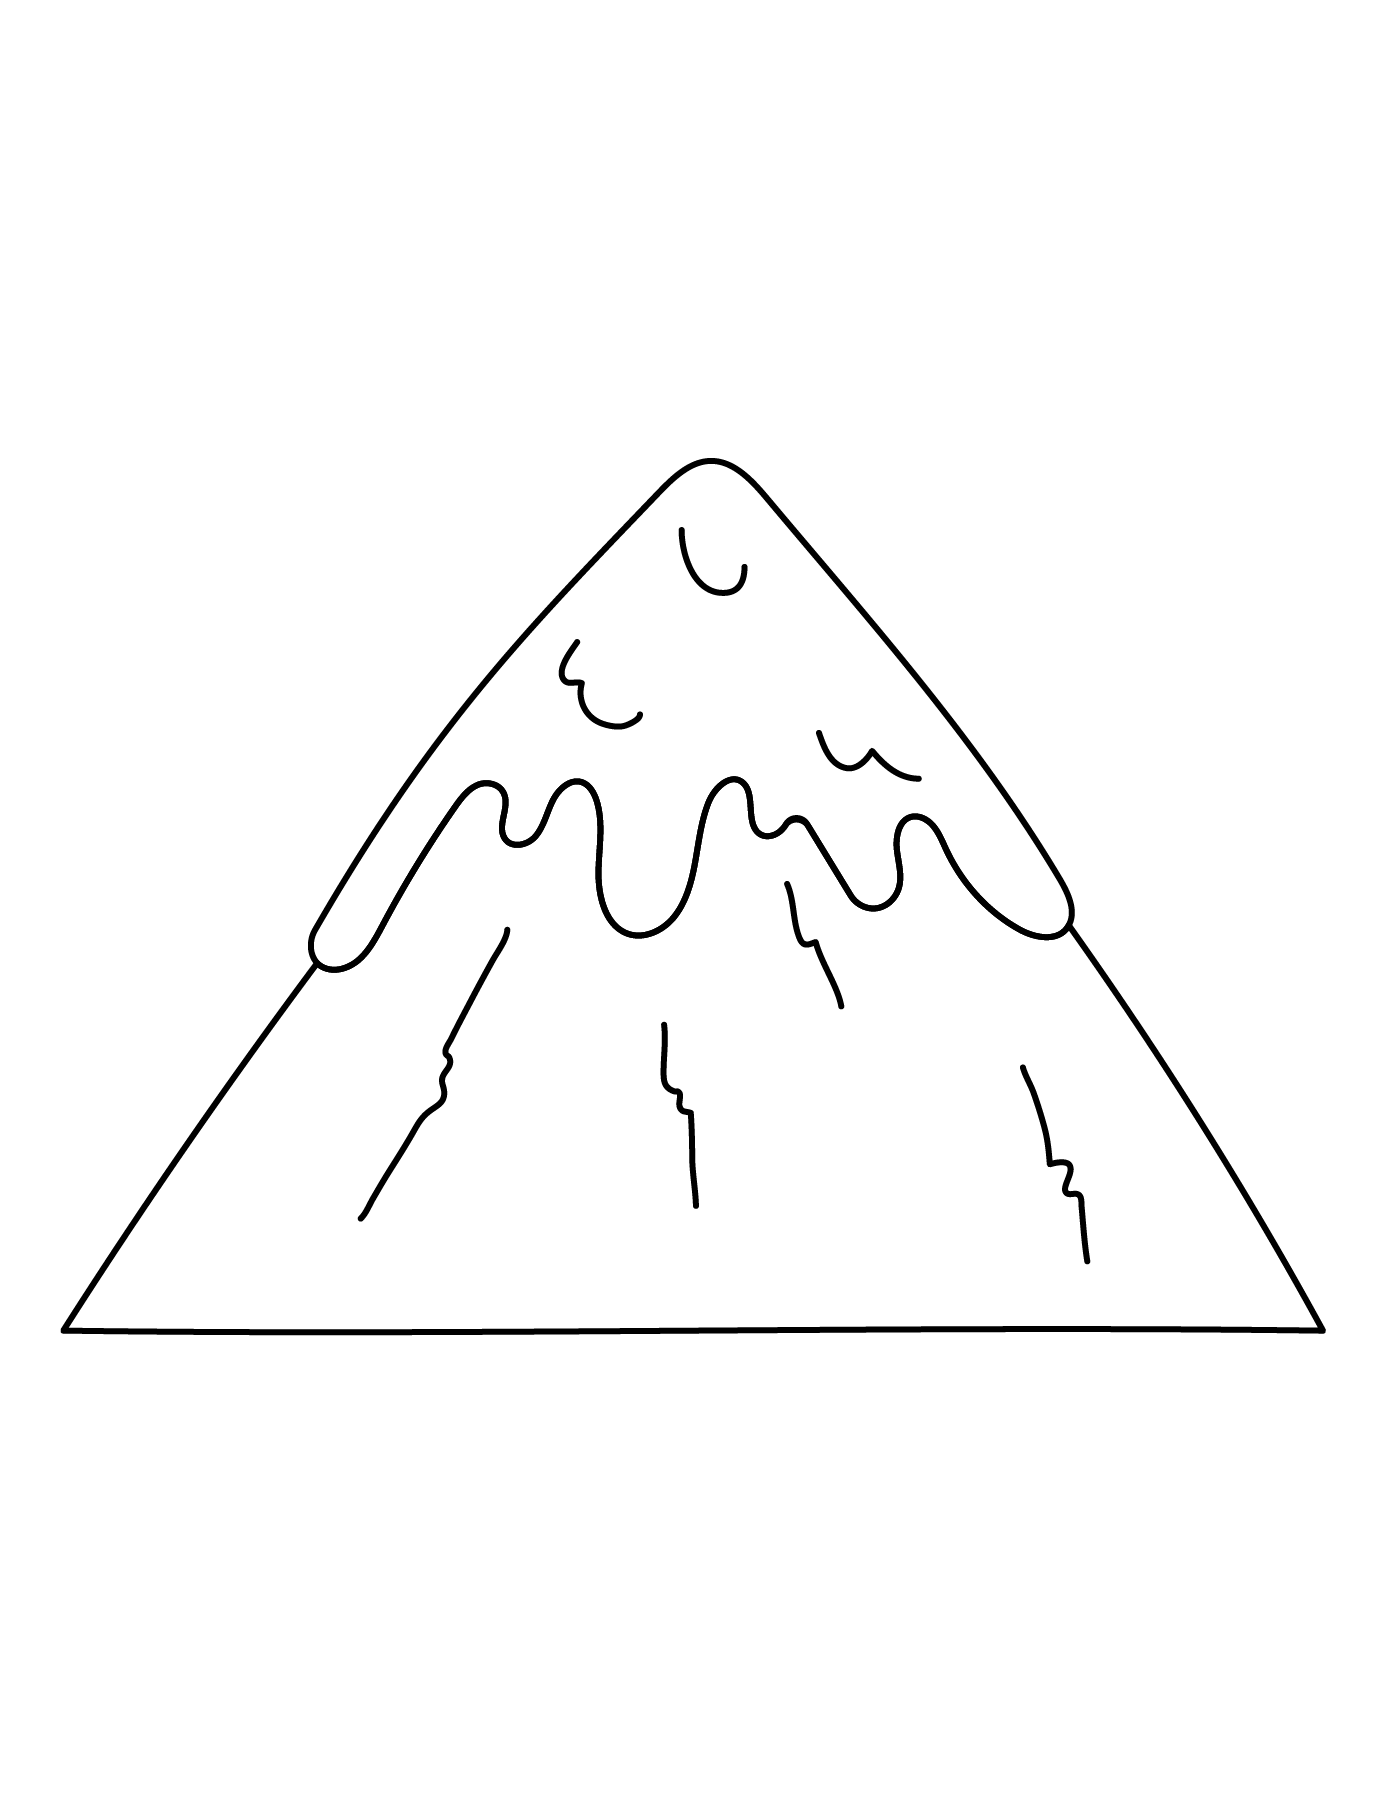
Printable Mountain Drawing PDF
If you would like to print this mountain drawing tutorial as a PDF and color it in, you can do so using the image below. It’s a kid friendly mountain activity for children, and they can print it out, color it in, and use it as a guide for drawing mountains anytime they’d like in the future.
If you enjoyed this easy mountain drawing activity, make sure to let us know in the comments below! We also encourage you to share this page with another parent, teacher, or a friend.