How to Draw a Fish
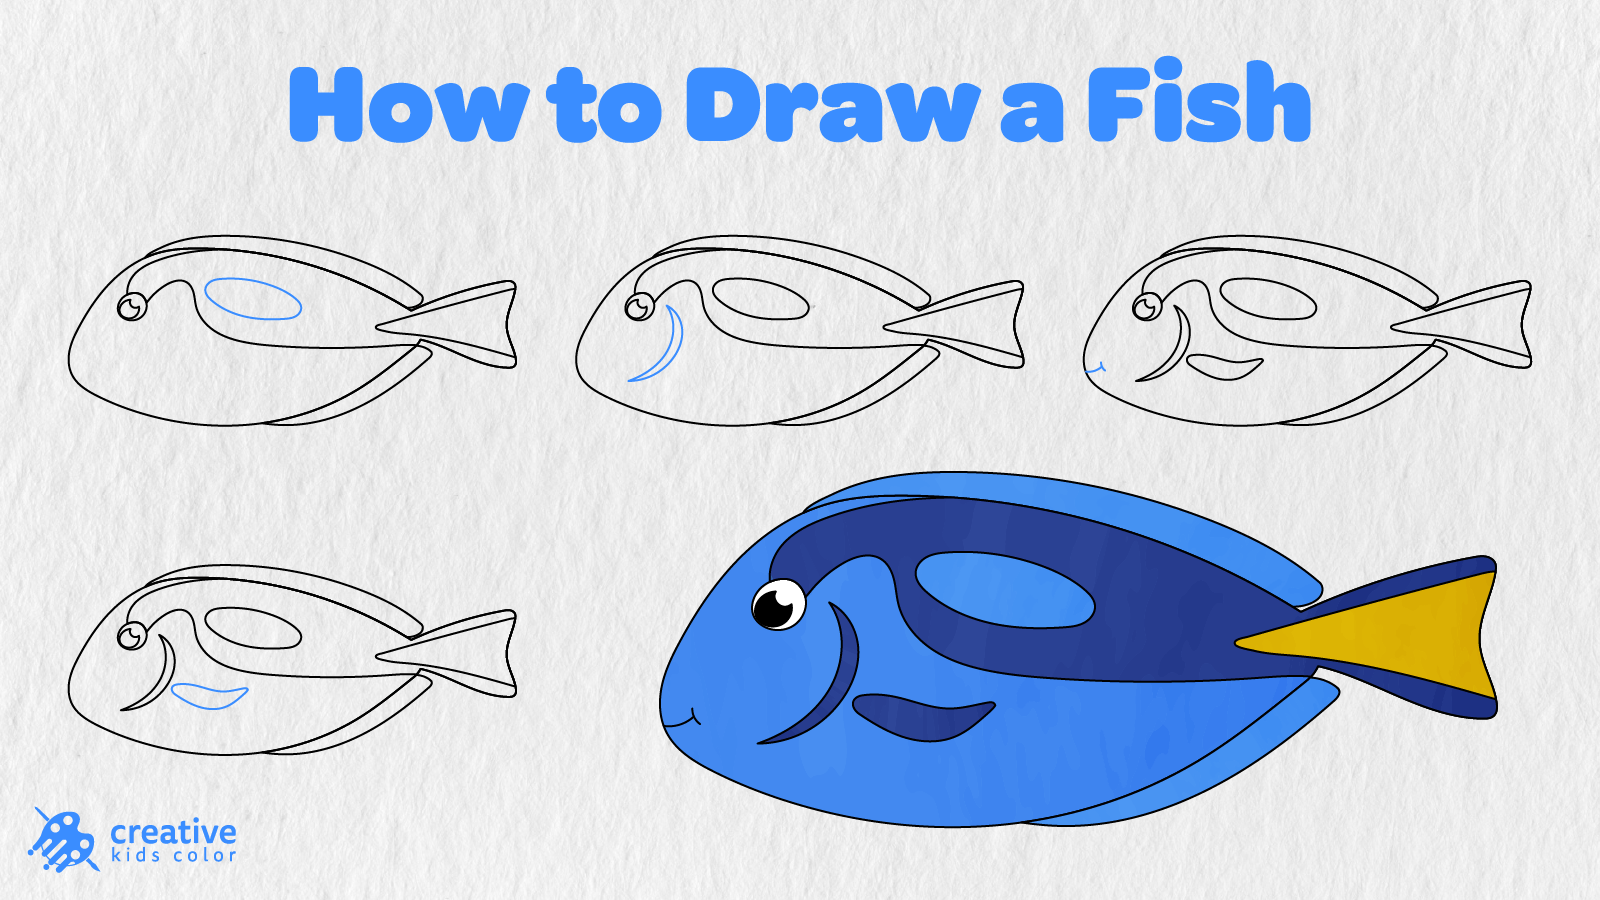
Fish inhabit almost all of the world’s bodies of water. They live in vast oceans, rivers, lakes, and ponds, while some are kept in people’s aquariums or served as food. Today, we drew a friendly fish from the side view with a rounded body, a pointed tail, long fins, a big eye, and some simple patterns on the body.
Kids and newcomers to drawing will have a great opportunity to learn how to draw a fish step by step in 12 easy stages. We started our fish drawing from the body and tail, added the upper and lower fins, an eye, and some body patterns. After that, we got to the gill, a side fin, and a mouth and colored our fish in at the end.
Take a closer look at the blue lines. They indicate what should be added in each step. Following the instructions, you will do all the listed actions and get to the last stage with the fish drawing ready to be colored.
Easy Fish Drawing Step by Step
To draw a fish, you will need a pencil, paper, an eraser, and colored markers or pencils. Place the paper in front of you and start drawing near the middle of the page, leaving enough space on the right for the tail.
Let’s begin with the first step.
Step 1: Draw the Body Outline

Draw a long rounded shape for the body of the fish.
The front of the fish should be wide, and the back part of the body should gradually taper.
Step 2: Add the Tail
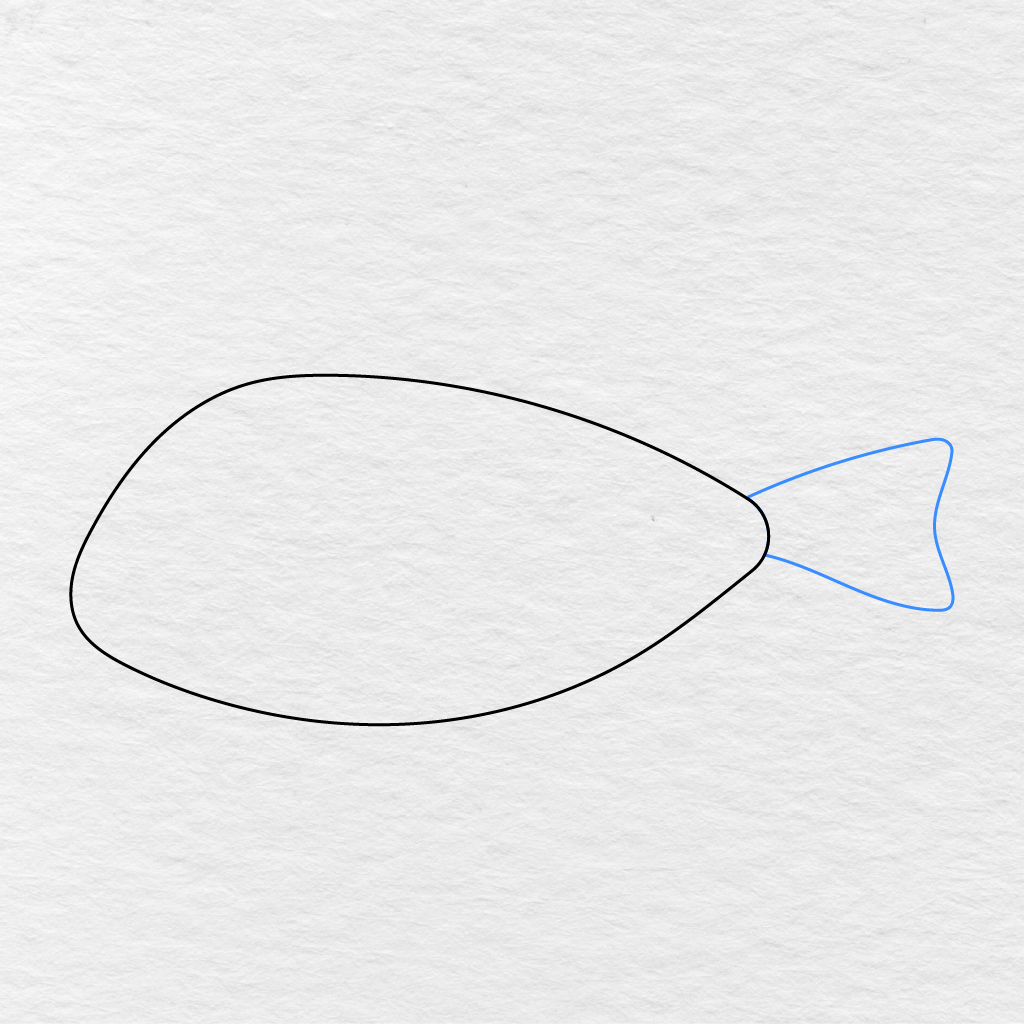
At the narrow end of the fish body, draw a wide tail.
Extend two lines from the narrow end of the body to the sides and connect them with inward curving lines. These lines will give the tail a pointed look.
Step 3: Draw the Top Fin
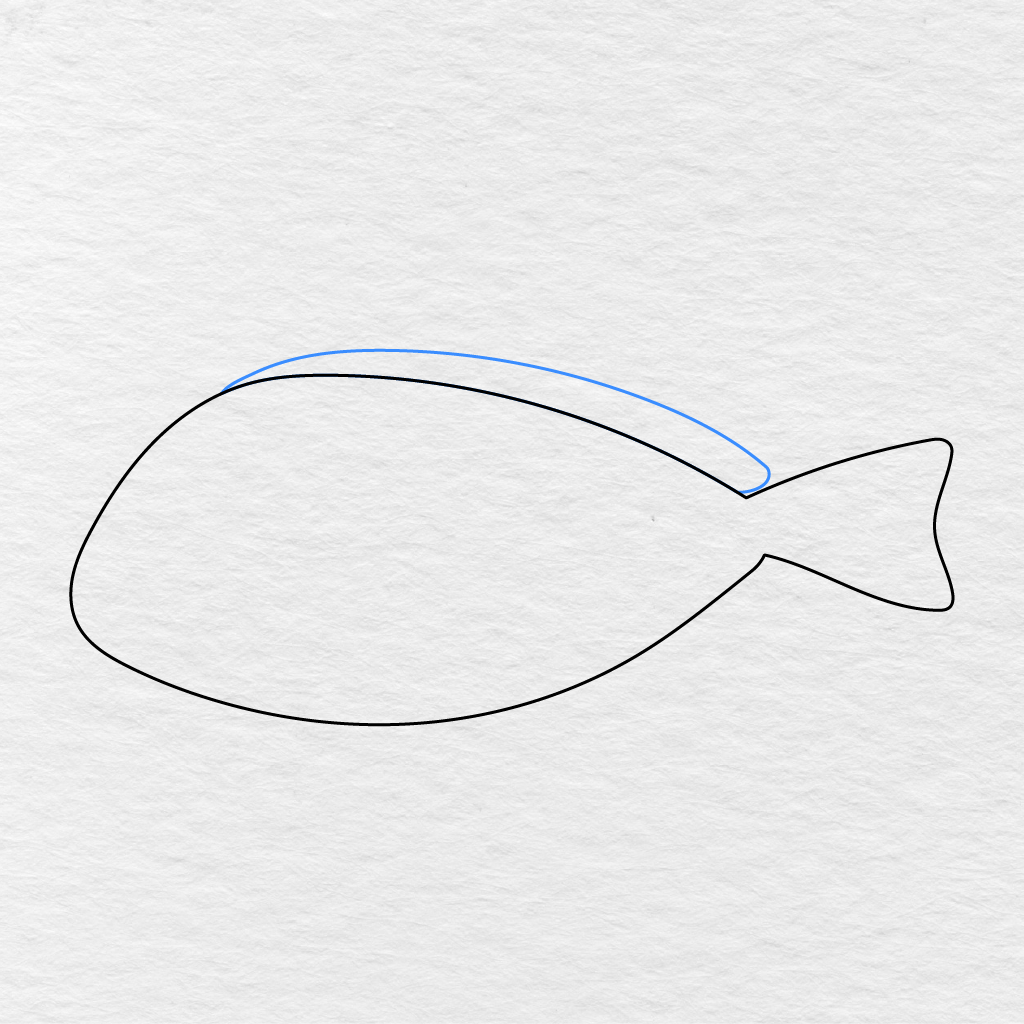
Draw a long, curved line for the top fin of the fish.
Start the line from the front upper part of the fish body and lead it to the tail. Make sure the second line follows the fish’s body and connects to its first line, closing the top fin.
Step 4: Add the Bottom Fin
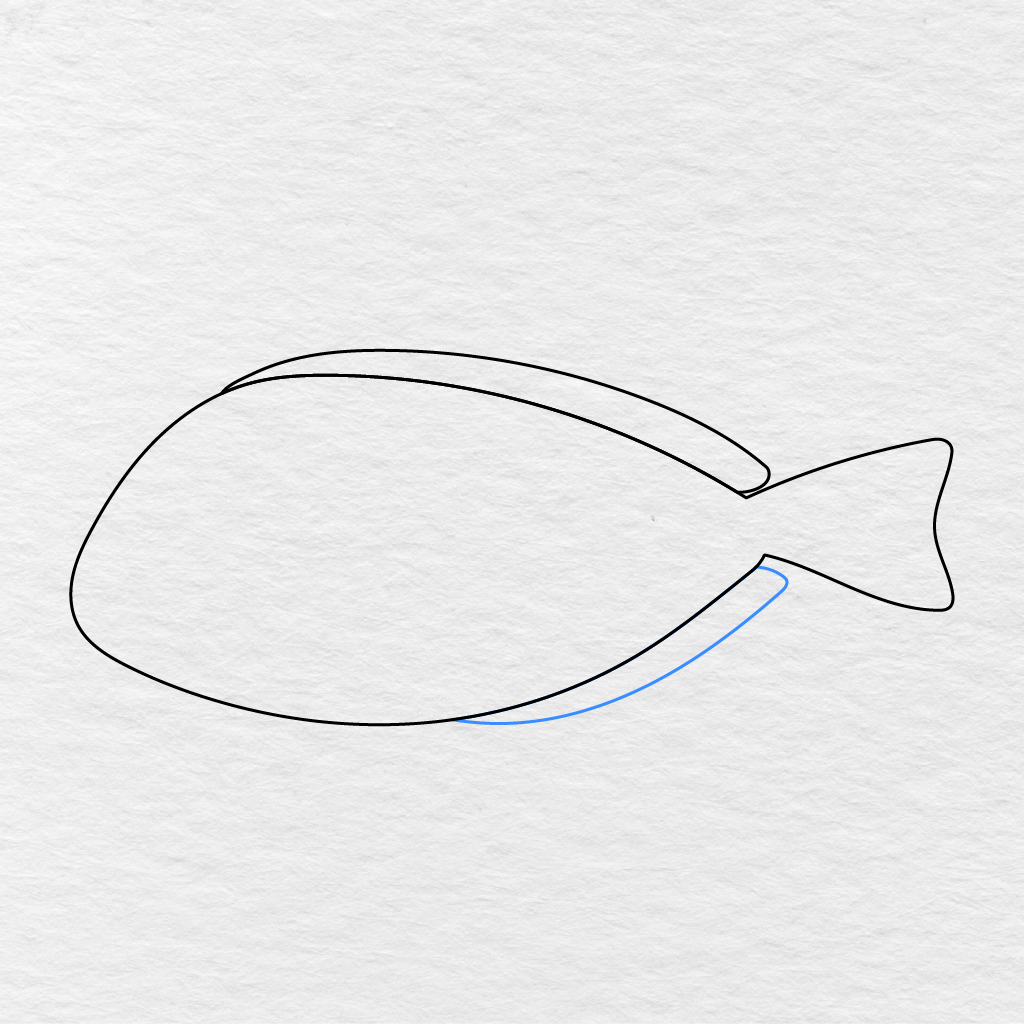
Draw another long, curved line for the bottom fin of the fish.
The line should start at the middle part of the fish’s lower body and come down to the lower part of the tail. The bottom fin is usually shorter than the top one, so pay attention to the size. Close the bottom fin with a line that follows the fish’s body and connects to the second line.
Step 5: Draw the Eye
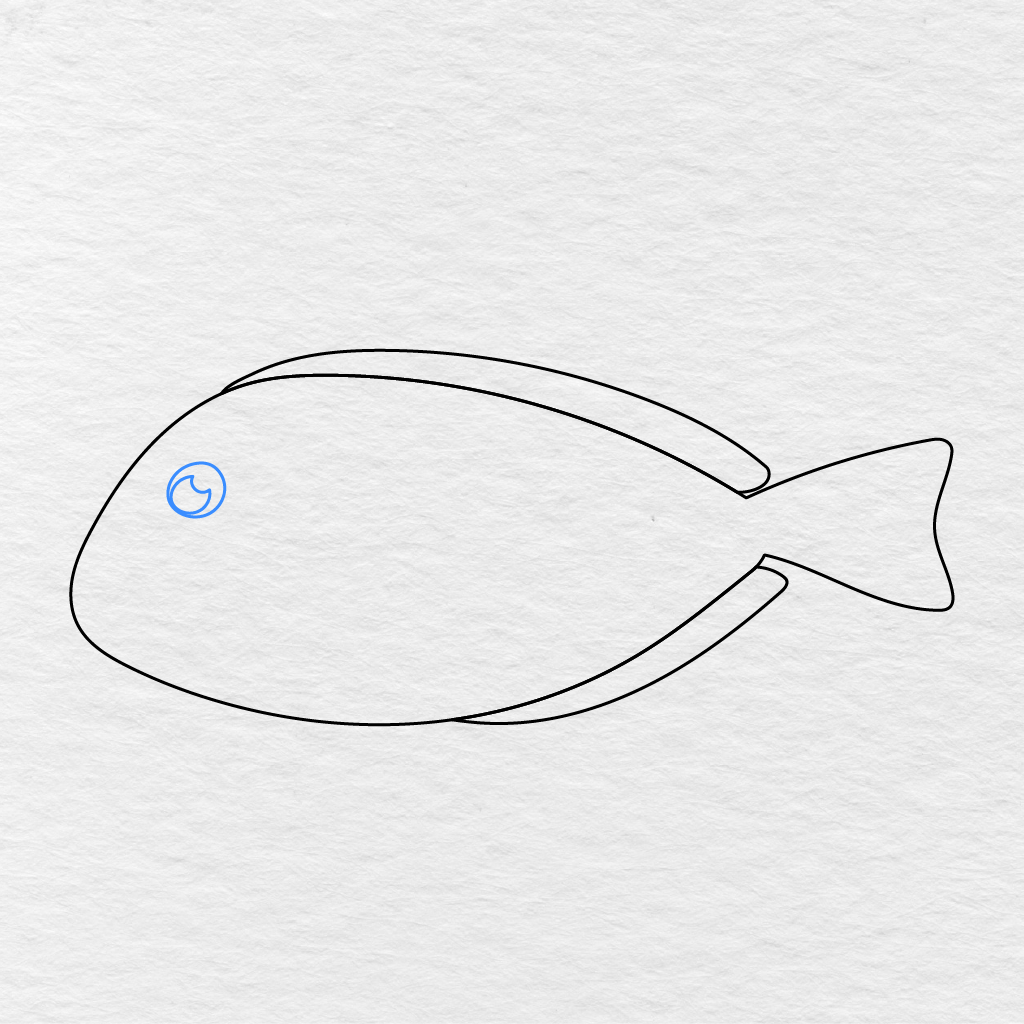
Draw a circle near the front part of the fish for its eye.
Make sure to leave a small white space at the top to give the eye a glowing look. Inside the drawn circle, add a smaller curved shape to create the dark part of the eye.
Step 6: Add the Upper Body Pattern
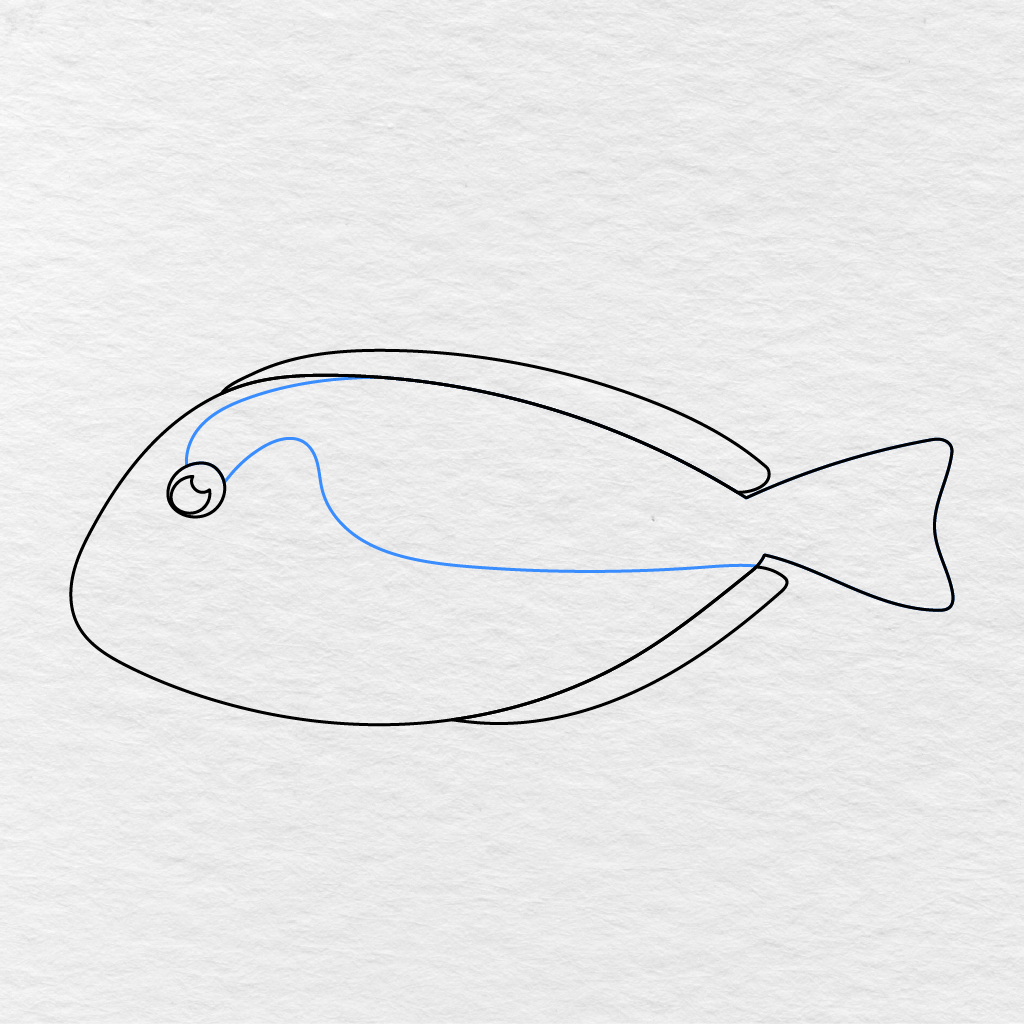
Draw a long line curving downwards for the upper body pattern.
Start drawing from the eye area, curve the line downwards, and finish at the base of the tail. This long line will divide the body into halves, with the top one being the big pattern of the fish.
Step 7: Add the Tail Detail
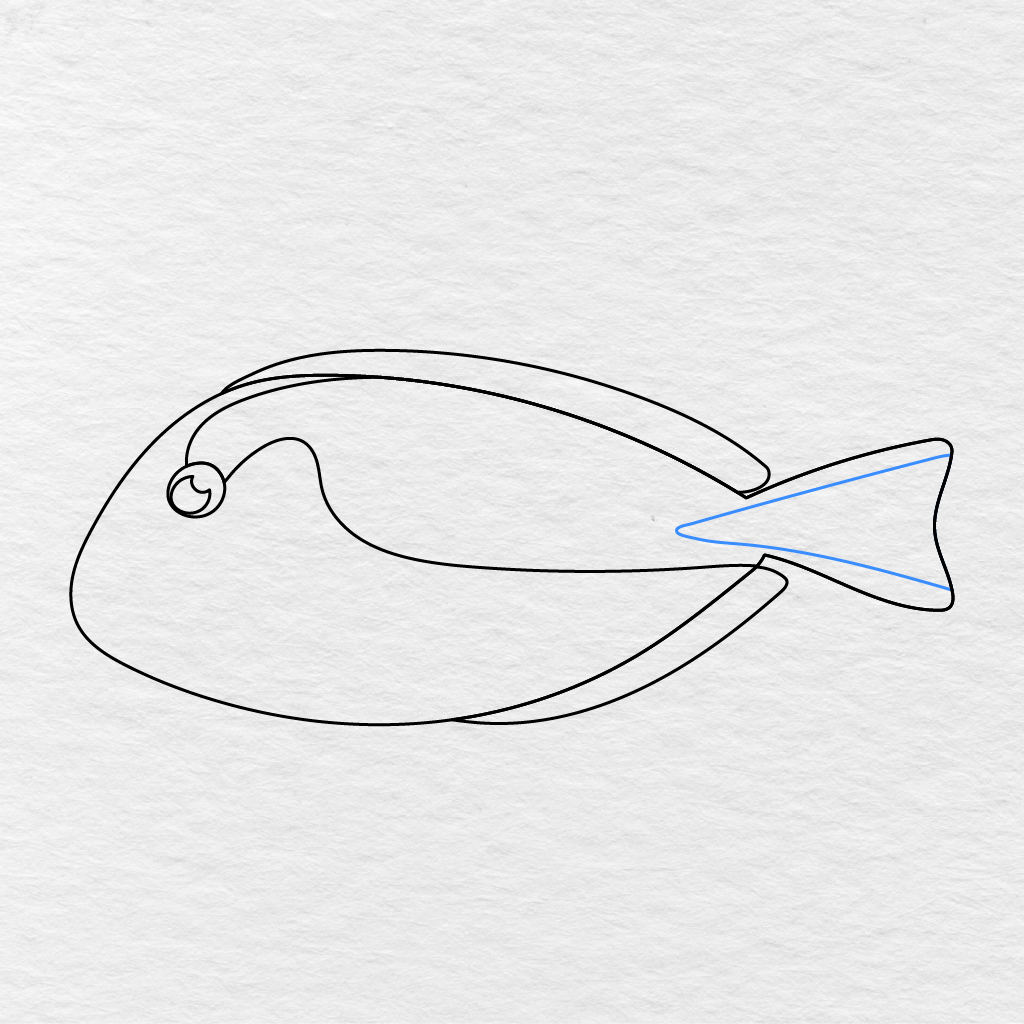
Inside the tail, draw another pointed shape.
Follow the lines of the tail, leaving a narrow strip around the edges. Make sure that this detail is within the tail area.
Step 8: Draw the Oval Body Detail
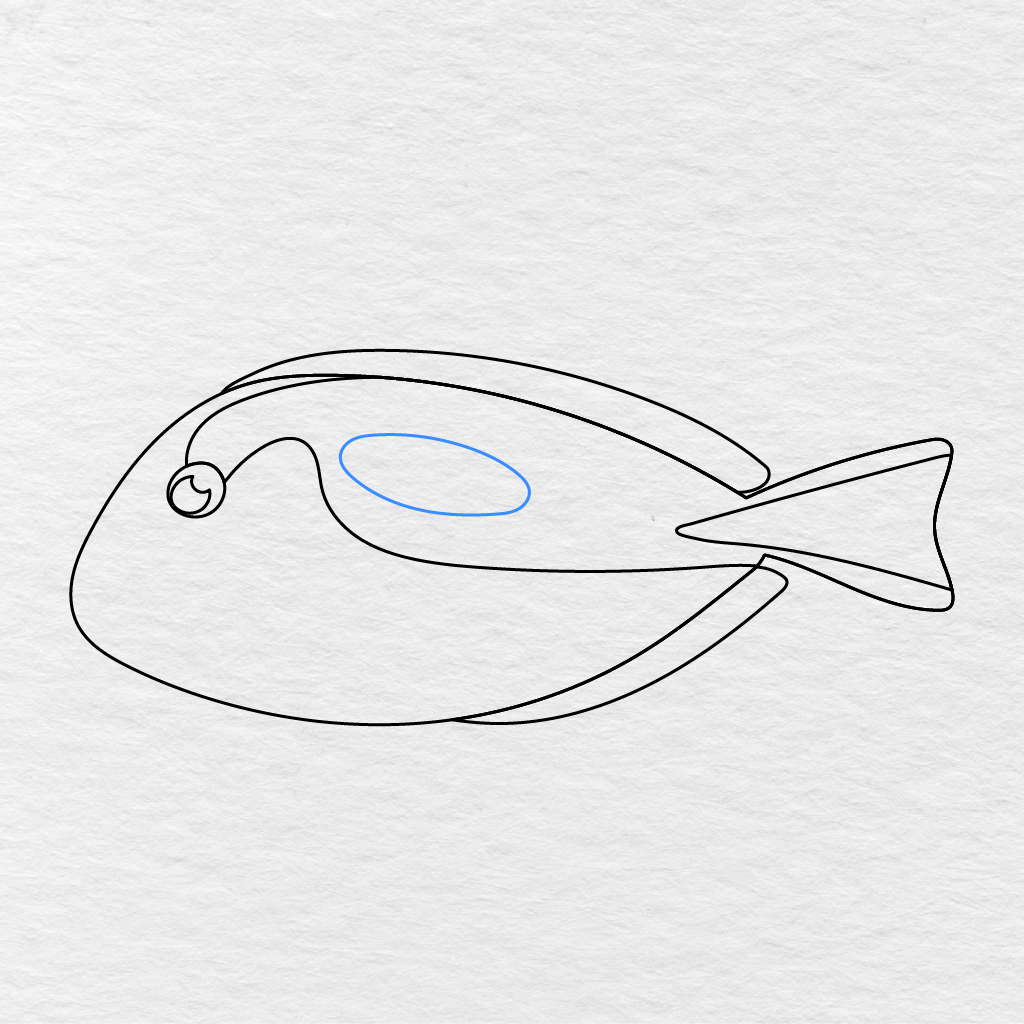
Draw a large oval within the top half of the fish body.
Make sure that the drawn oval is below the top fin and that the whole figure fits within the big pattern.
Step 9: Draw the Gill
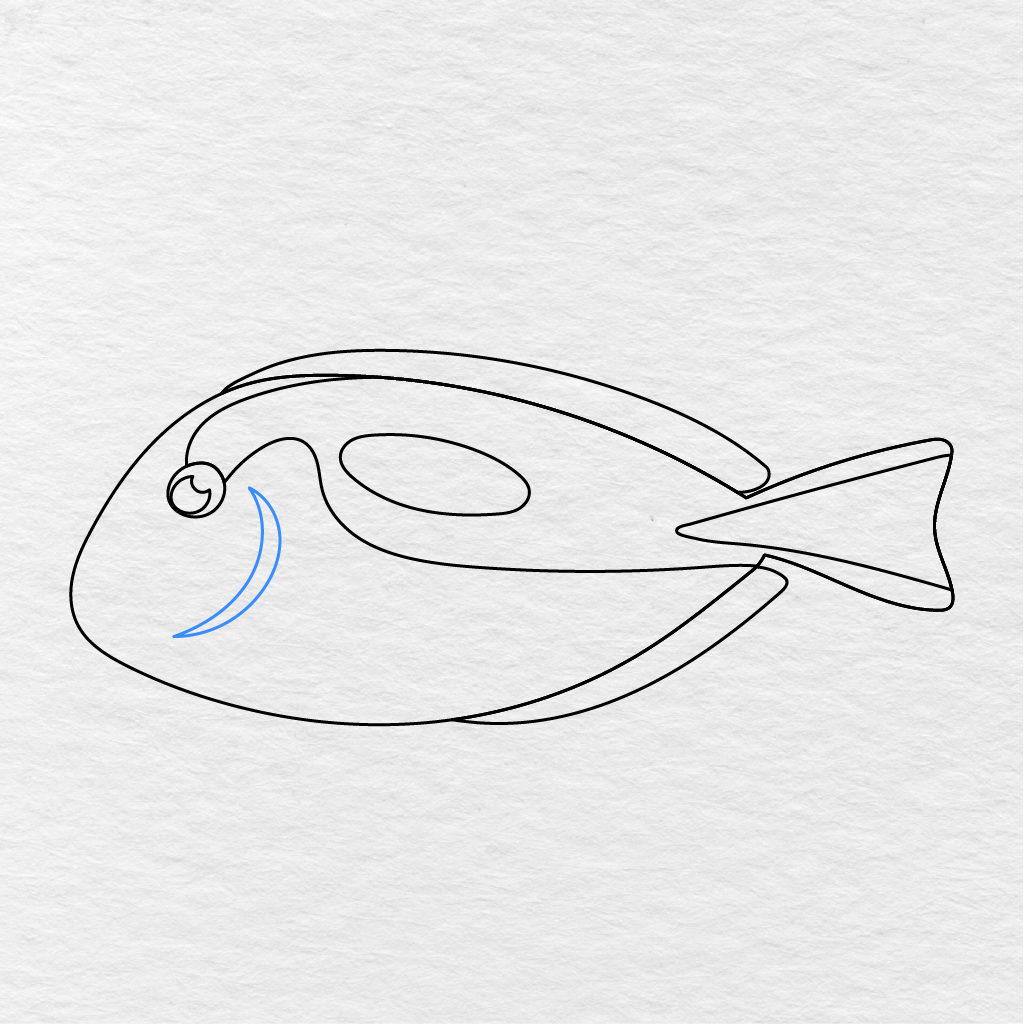
Draw a long curved shape behind the fish eye for the gill.
Attach the gill to the body of the fish, making sure to lead both sides of the shape down to the lower part of the head.
Step 10: Add the Side Fin
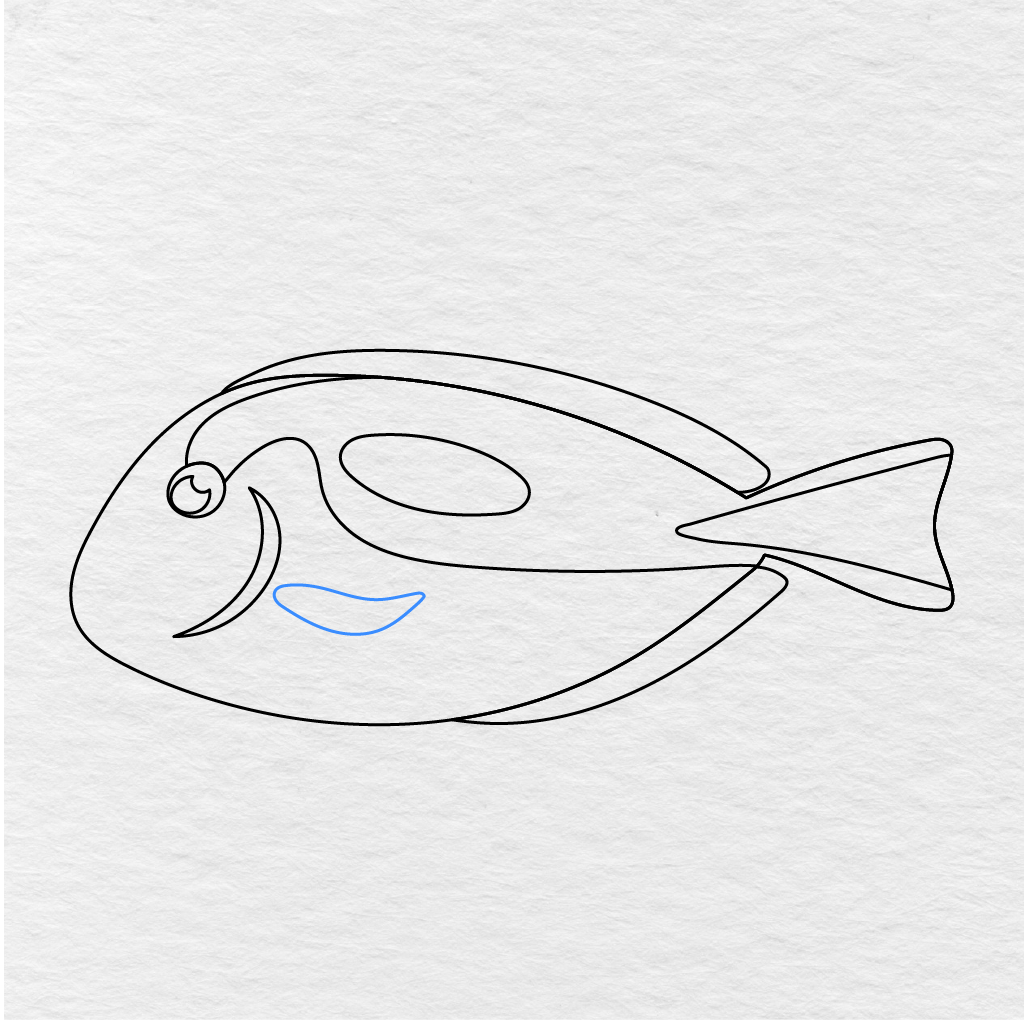
Draw a small curved shape below the gill for the side fin.
Give the side fin a pointed end and make sure that the lower part of it curves back towards the body of the fish.
Step 11: Draw the Mouth
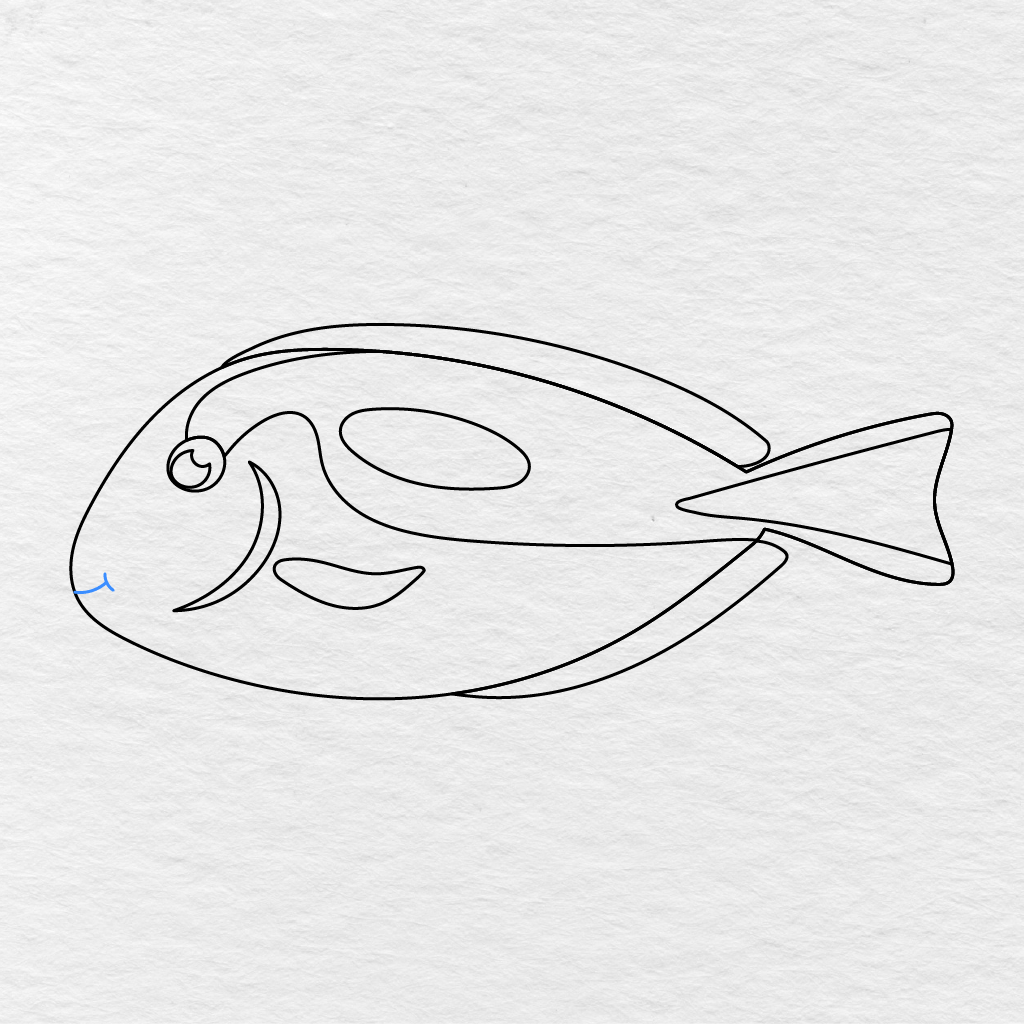
At the front part of the fish head, add a small curve for the mouth.
Once again, make sure to keep the curve small, and try to lift its end upwards to give the fish a friendly look.
Step 12: Color the Fish
It is that time to color your fish!
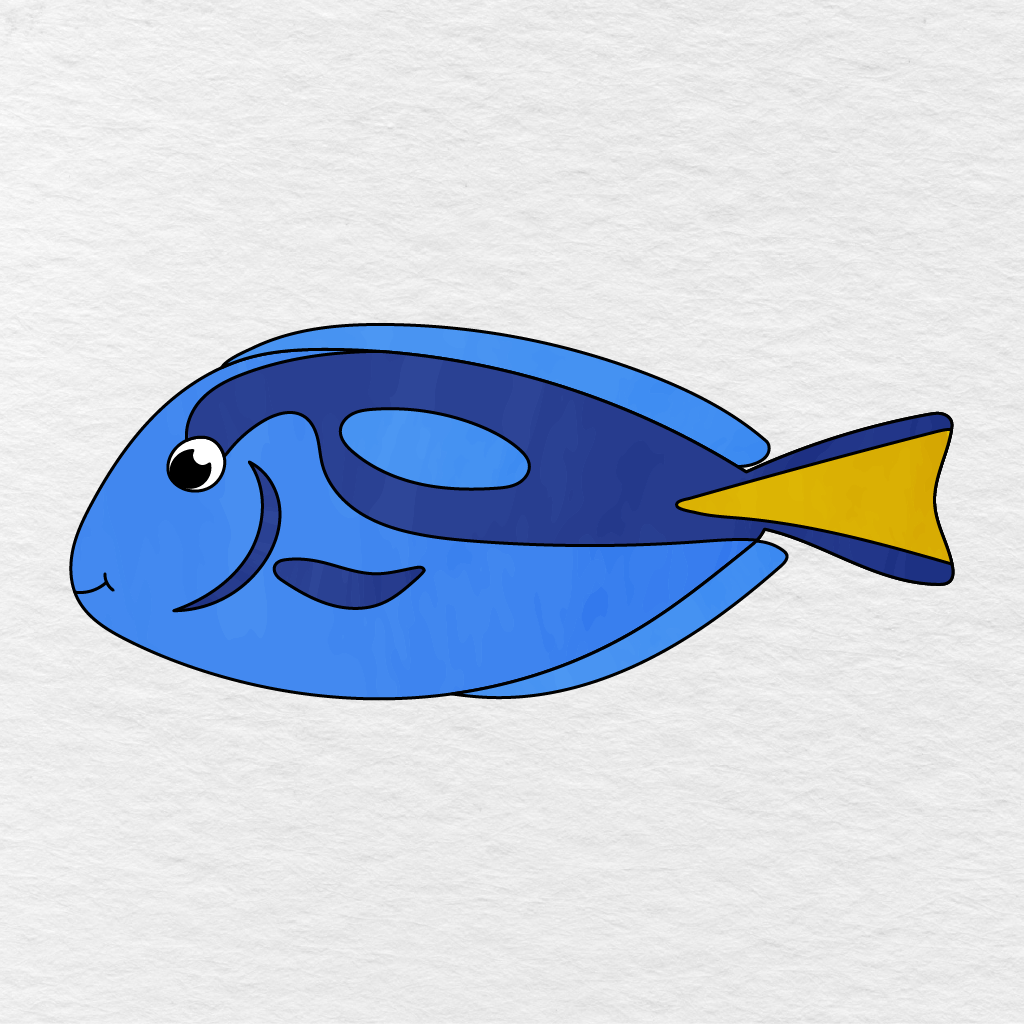
We colored the entire fish body in bright blue. We added darker blue to the upper body pattern and the side fin. We filled the middle of the tail with yellow and used dark blue along the edge for a striped effect. We also added black and white colors to the eye.
Of course, you can choose any colors you like, for example, orange, green, purple, pink, etc., and get a unique fish illustration with a distinct character.
Your easy fish drawing is done!
Printable Fish Drawing PDF
Below, you can find a link to a printable fish drawing PDF that you can use now or save for future use. The finished drawing consists of a rounded fish body, pointed tail, long upper and lower fins, a big eye, curved gill, side fin, and some simple body patterns.
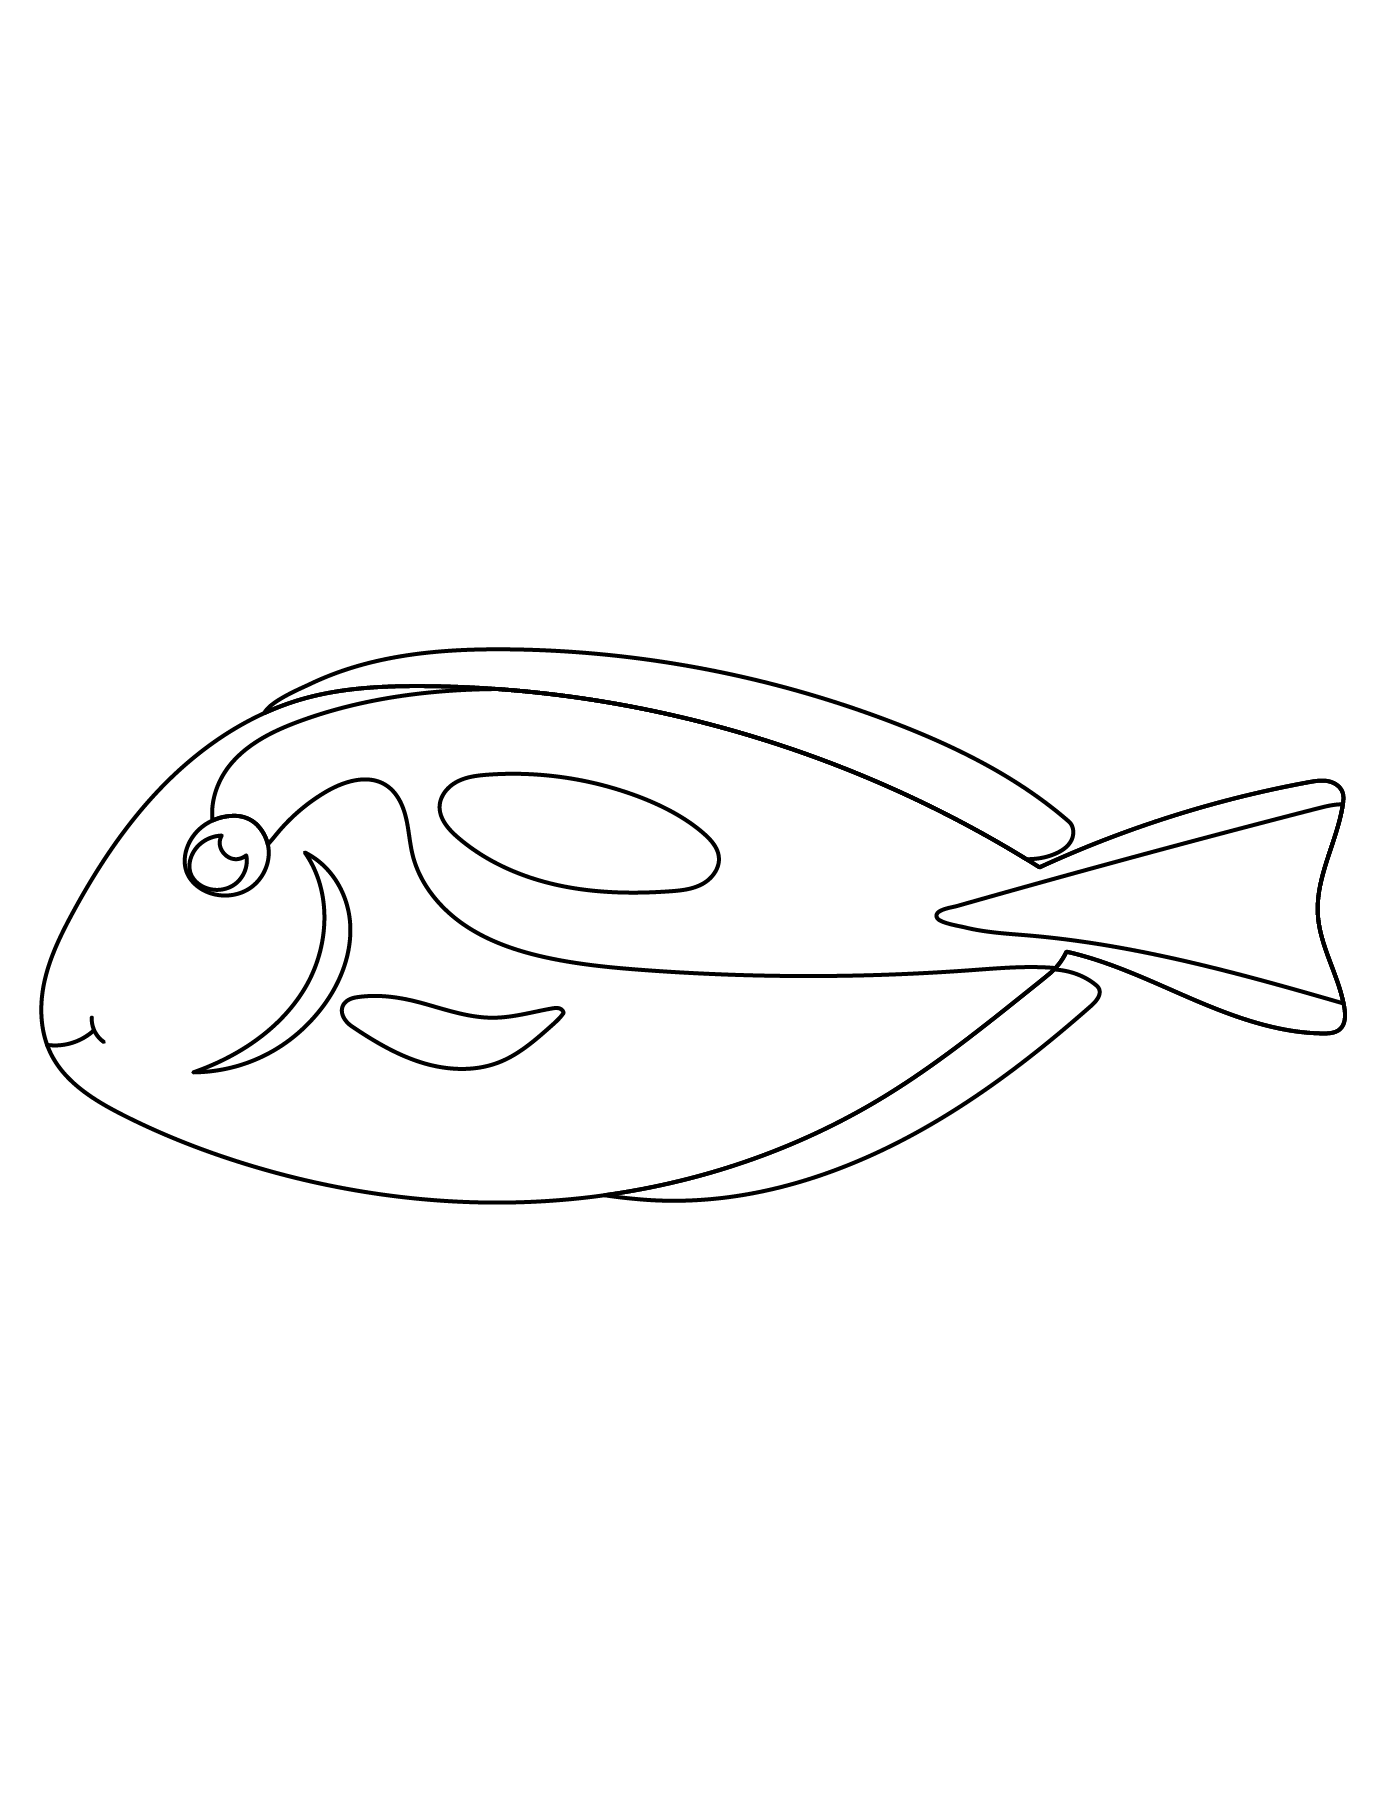
Check out our Fish Coloring Pages to get another fun printable activity filled with various underwater residents.
What colors have you chosen for your fish? Tell us about that in the comments below and share this fish drawing tutorial with another fish enthusiast, parent, teacher, or friend!