How to Draw an Owl
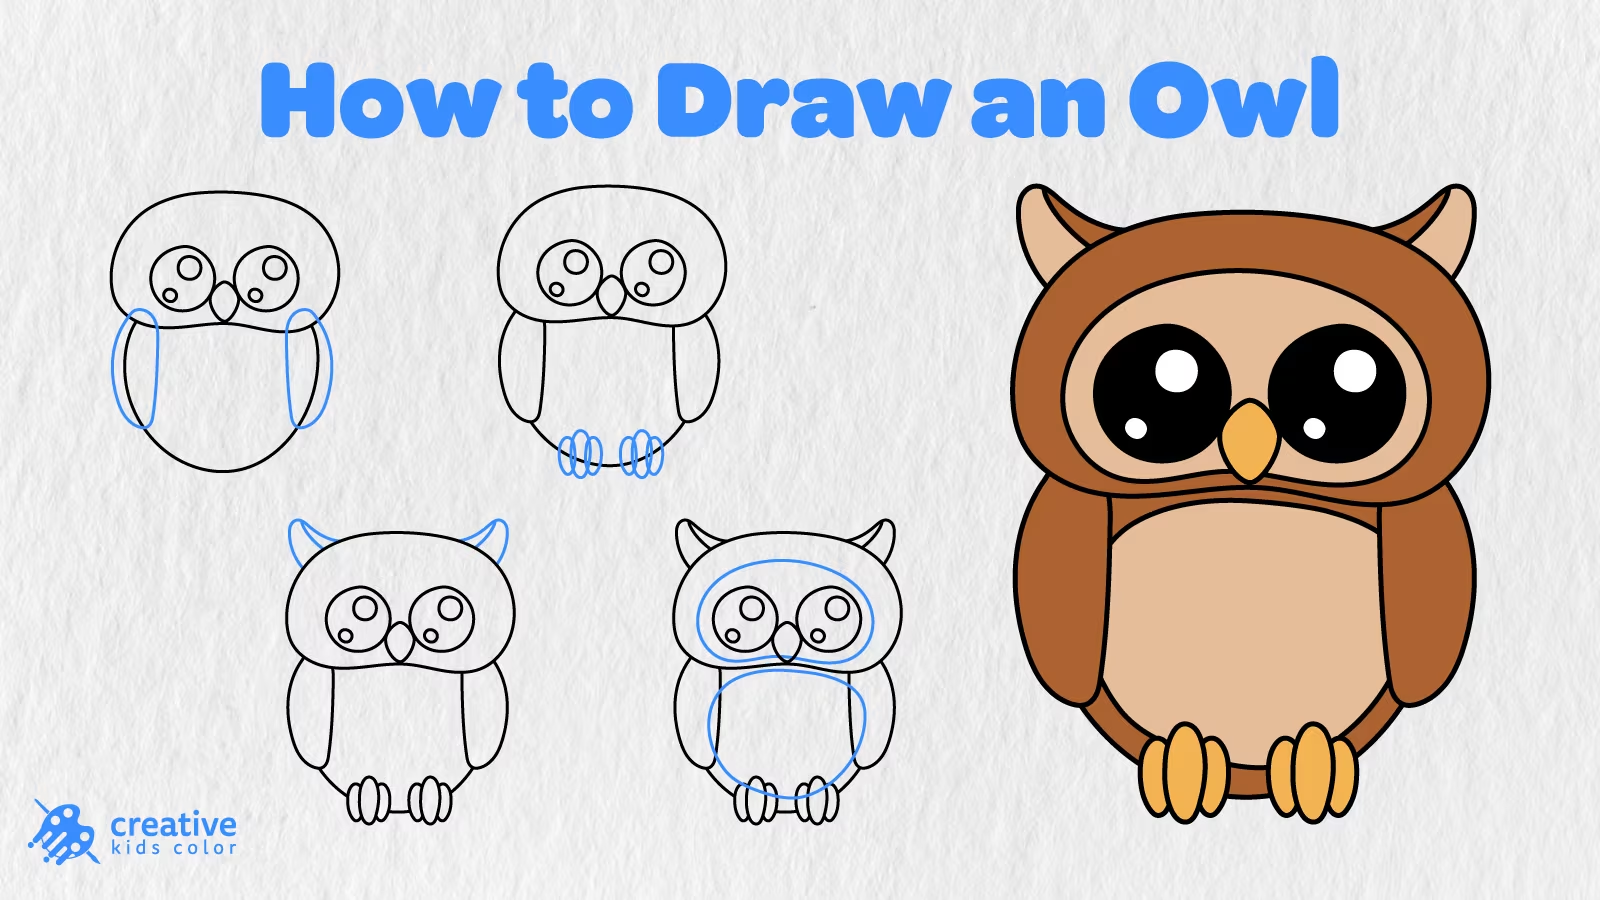
Owls have a distinctive appearance, making them easily recognizable from the large round eyes to the little feather points on the top of their heads. Usually associated with night, silent flight, and storybook wisdom, these adorable birds make the perfect cartoon to add to your collection. In this step by step tutorial, you will learn how to draw an owl in 10 easy steps.
Throughout this tutorial, we have created a drawing for kids and beginners. We will be learning how to add the basic head, body, beak, eyes, wings, and feet for our owl in steps before we finish with the face details, belly details, and color in the coloring step.
Due to the use of mostly rounded shapes, our drawing will be simple yet cute! Once we have added the large round eyes, little beak, and little feet, our owl will be ready to watch silently from the page with its large eyes!
Easy Owl Drawing Step by Step
Gather your supplies before beginning, you will need a pencil, paper, eraser, and coloring tools.
The blue lines in the images below show what you need to add in each step.
Step 1: Draw the Owl Head

Begin by drawing a large rounded head shape near the top of the page. The head should be big and rounded along the edge like the shape below.
This will be the base of the owl’s face, so we will want to leave room at the bottom for the body.
Step 2: Add the Owl Body
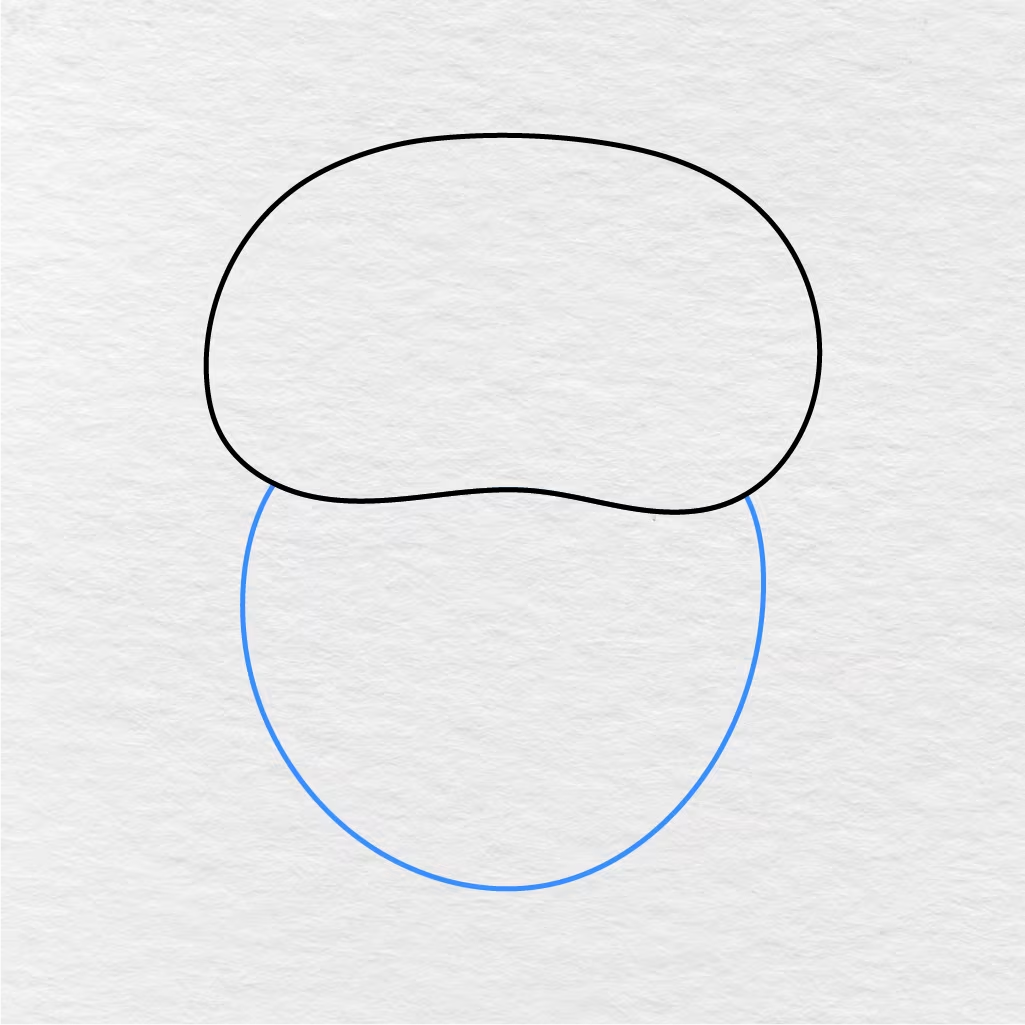
Continue by drawing a large rounded body shape underneath the head. The body should begin at the bottom of the head and extend down towards the bottom of the page.
Your owl should now have a simple head and body structure.
Step 3: Draw the Beak
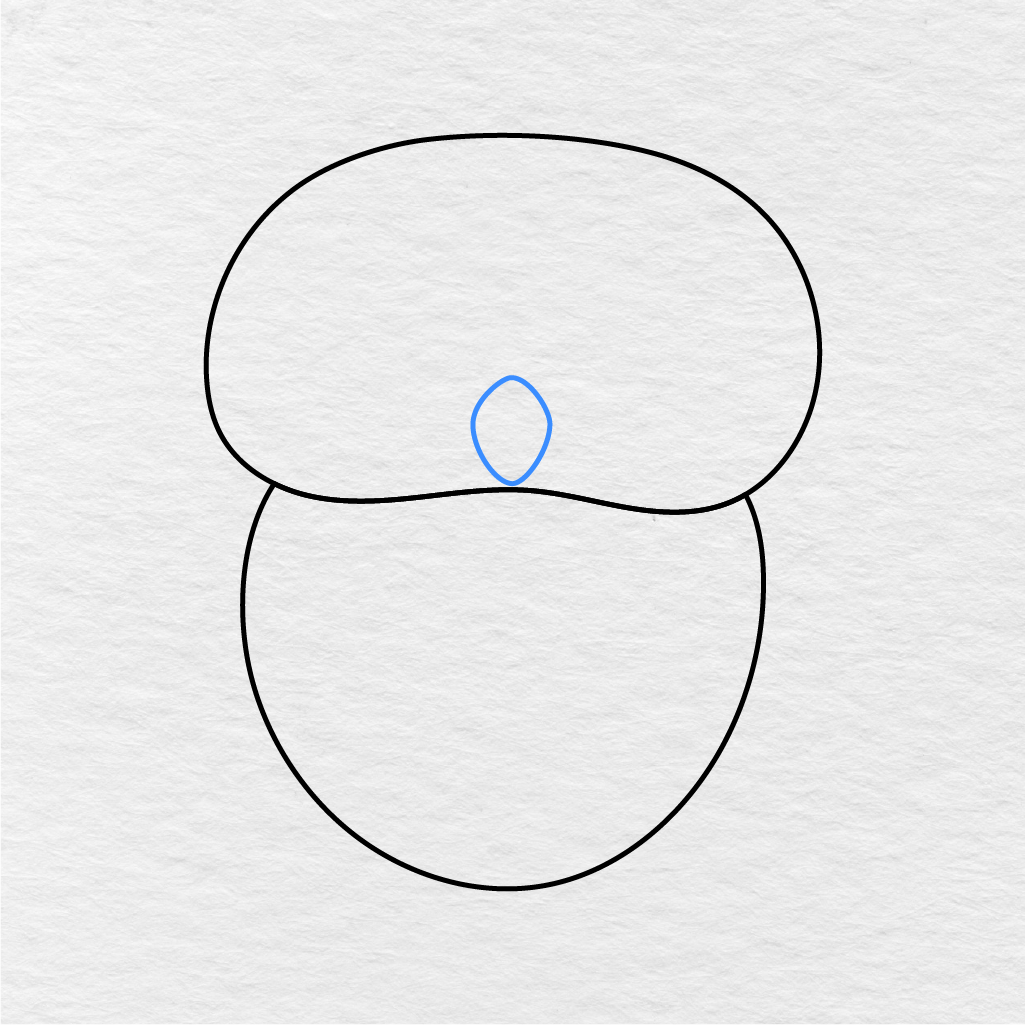
We will next add a small beak in the center of the face. It will be small and in between the two eyes that we will add next.
The beak serves to help break up the roundness of the owl’s face.
Step 4: Add the Owl Eyes
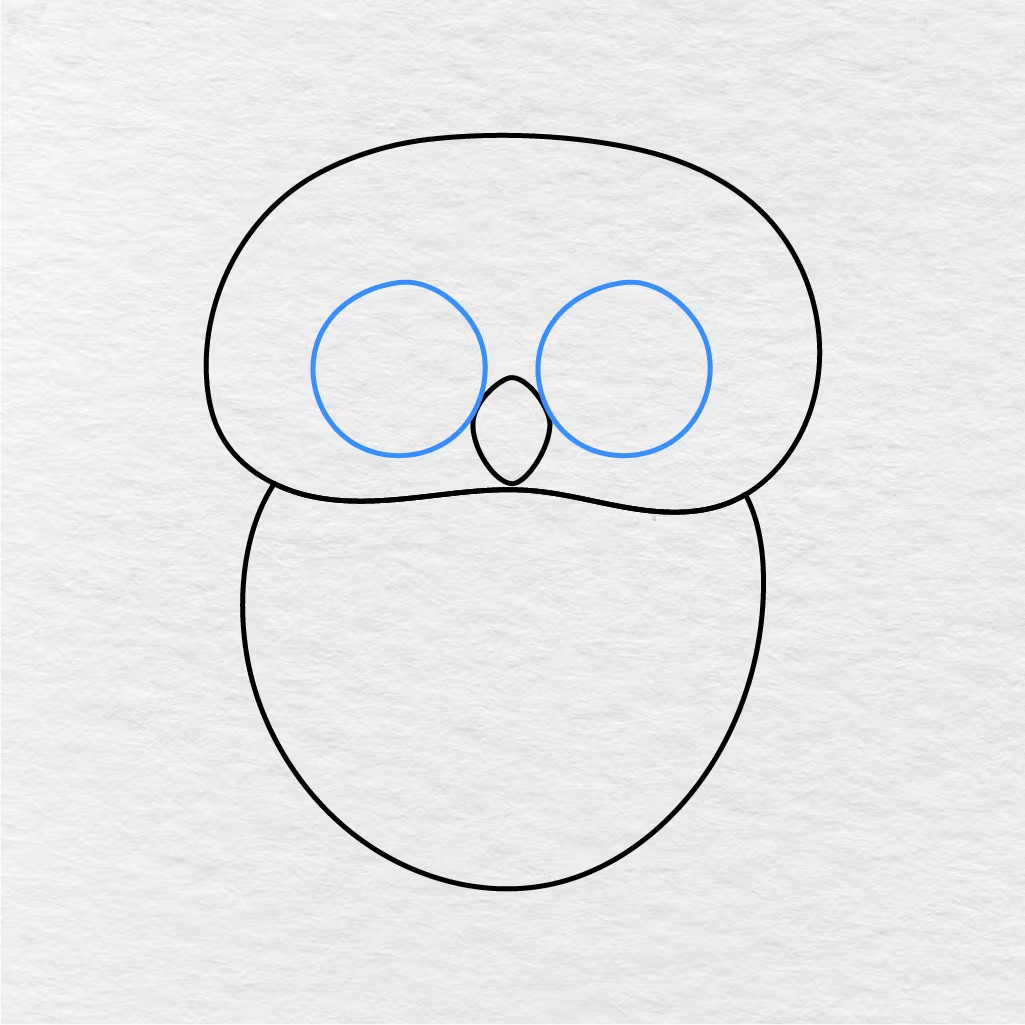
Now we will add the owl’s eyes. Draw two large round circles on the sides of the beak for the eyes, making sure to keep the eye sizes rather similar to one another.
The eyes should be large so they can stand out once we add the color to the face.
Step 5: Add the Eye Highlights
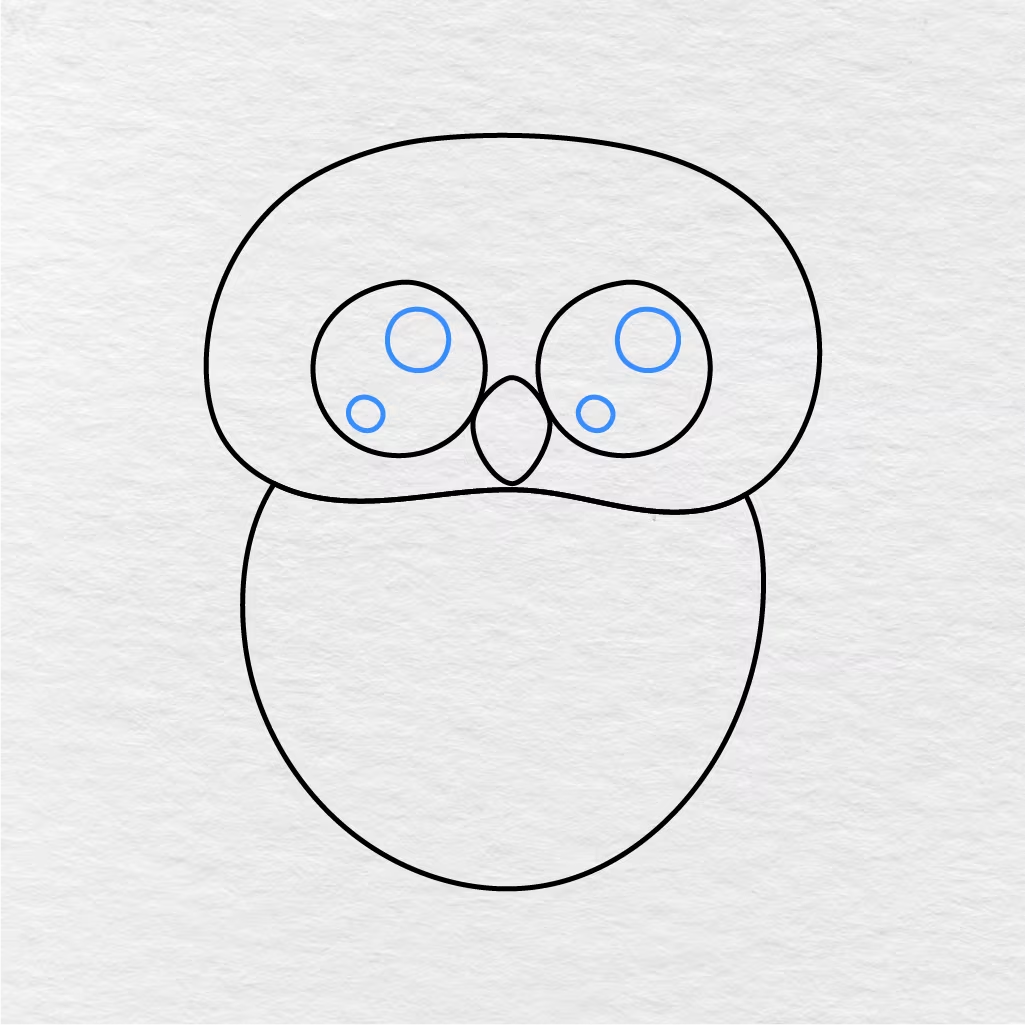
Draw two small circles inside each of the eyes. Add a larger circle on the top portion of the eye and a smaller circle on the bottom portion of the eye.
These are the eye highlights and they will help give the eyes depth and make them stand out when we add the color.
Step 6: Draw the Wings
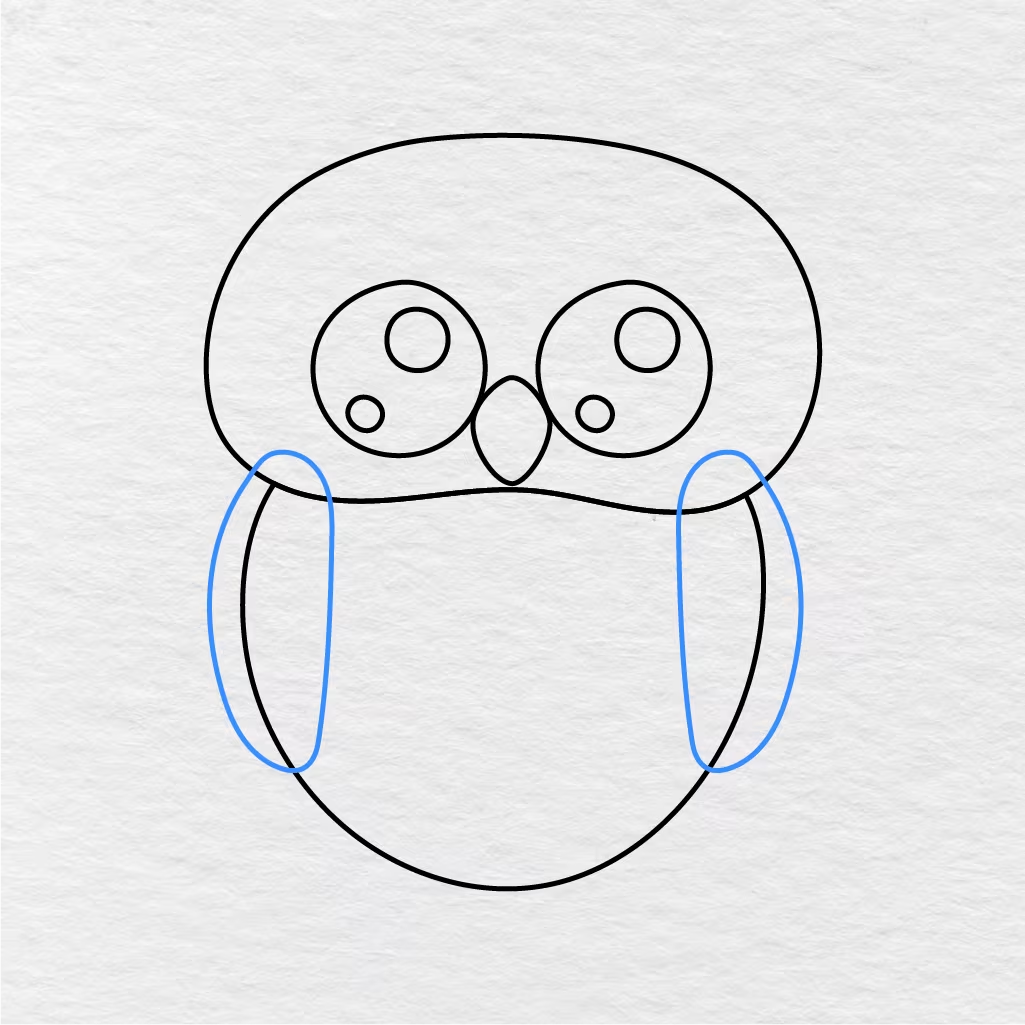
Next we will add the owl’s wings. Make sure to add one long rounded wing on either side of the owl’s body just like the ones shown below. The wings should extend down from the side of the head, following along the sides of the body.
The rounded shape of the wings helps the owl to be easily recognizable.
Step 7: Add the Feet
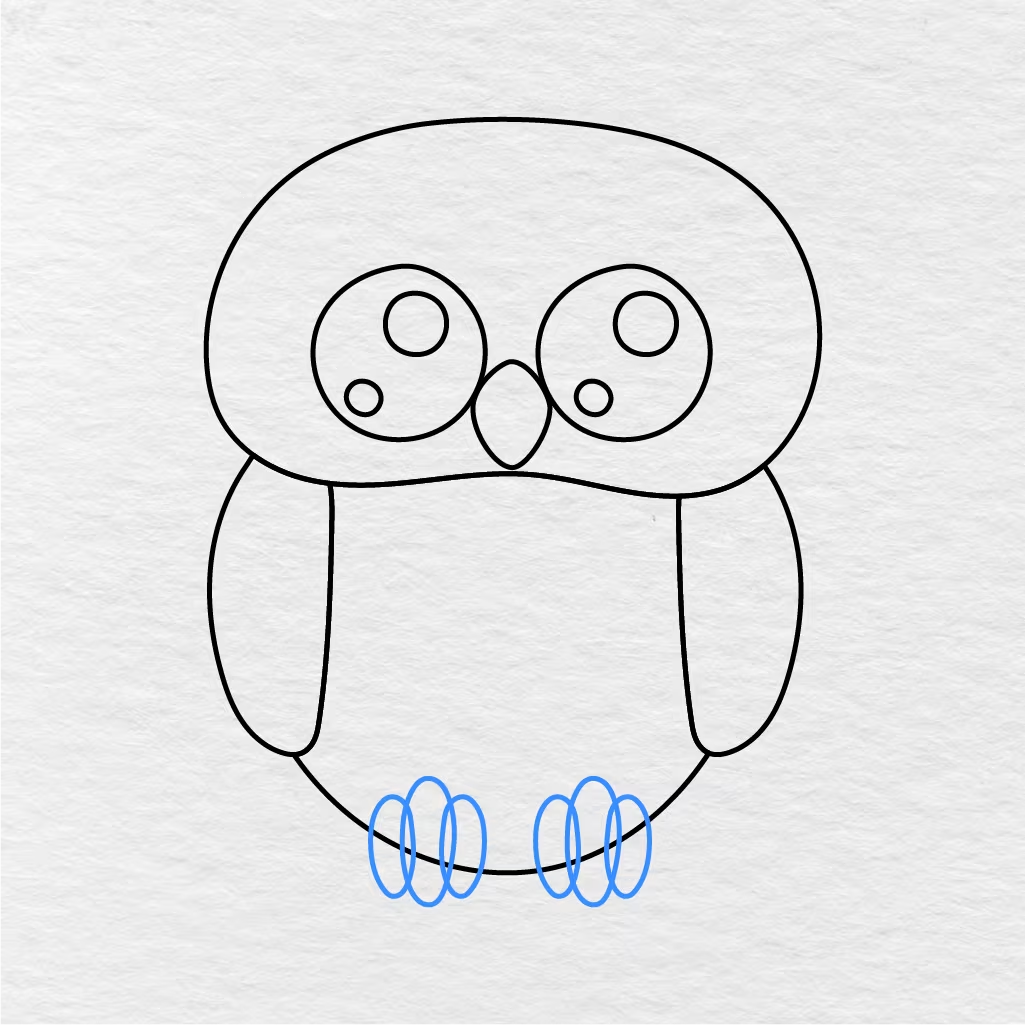
Draw the feet by adding three small oval toes on each foot at the bottom of the body. Make sure the feet are drawn near the center like the ones shown below.
Although the feet are small, they will help give the owl a finished appearance.
Step 8: Draw the Top Feathers
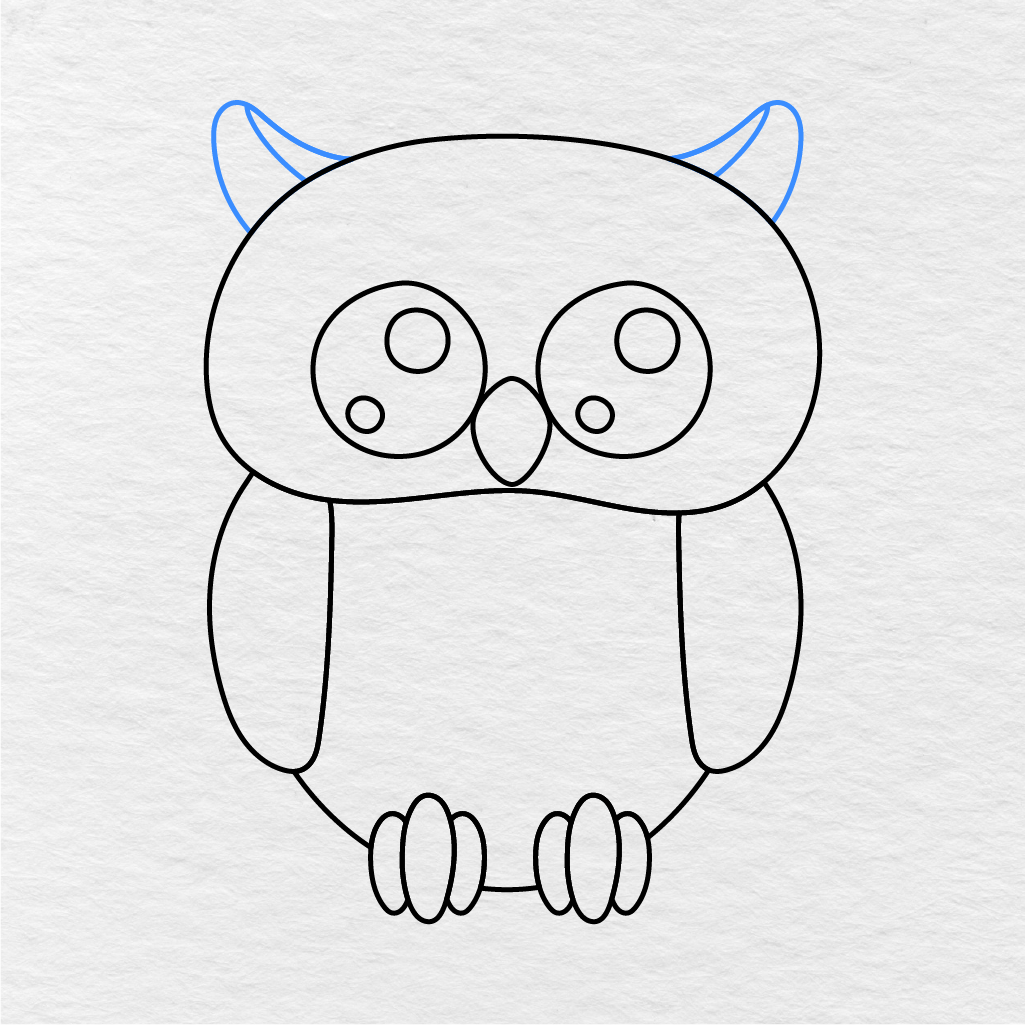
Now we will add the top feathers. Make sure to draw the feathers on the top of the owl’s head just like the ones shown below. Make sure there are two feather shapes, one on the left side and one on the right side of the owl.
The top feathers help to make the owl more recognizable without making it too complicated.
Step 9: Add the Face and Belly Details
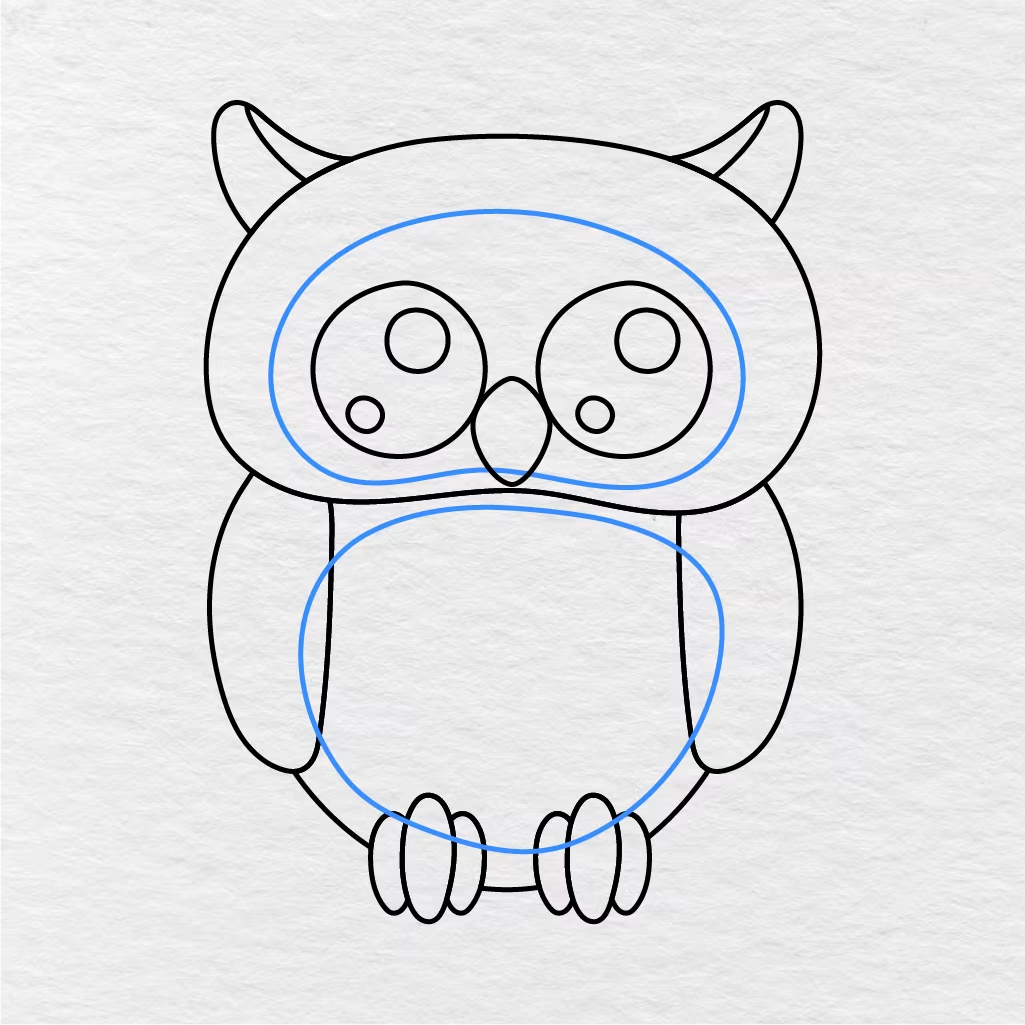
Draw a large rounded face shape around the eyes and beak area. Then draw a rounded belly shape at the bottom of the owl’s body just like the ones shown below.
The large rounded face and belly shapes help to outline the owl’s facial features and body structure, and prepare the drawing for coloring.
Step 10: Color the Owl
Using the image shown below as an example, color your owl according to the colors you would like. For our owl, the outer feathers are brown, the face and belly areas are light tan, the beak and feet are orange, and the eyes are black with white highlights.
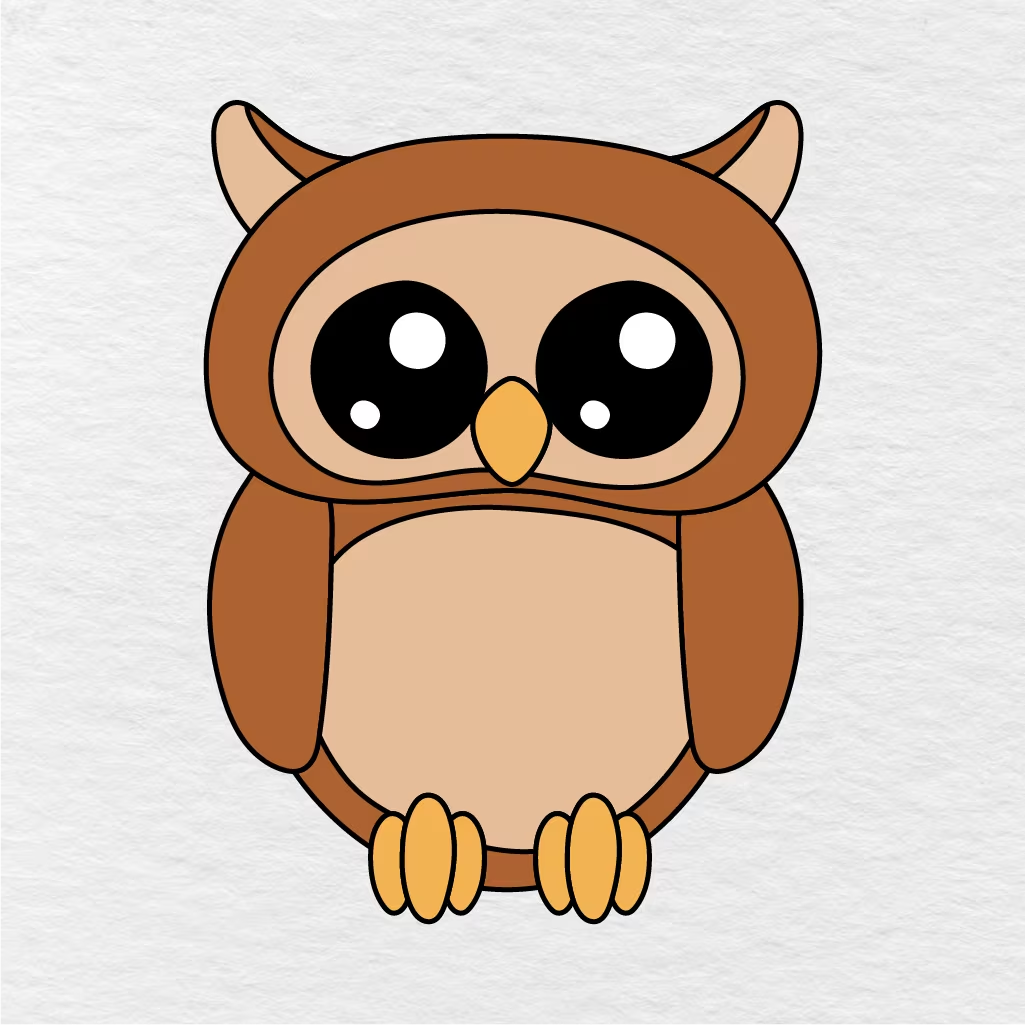
Choose the colors you would like to color your owl with and enjoy finishing up your easy owl drawing!
Printable Owl Drawing PDF
If you would like to print this drawing as a PDF and color it in, you may do so using the image shown below. This is a kid friendly drawing as well, and children can print the drawing, color it in, and use it as a reference when they want to try drawing an owl themselves.
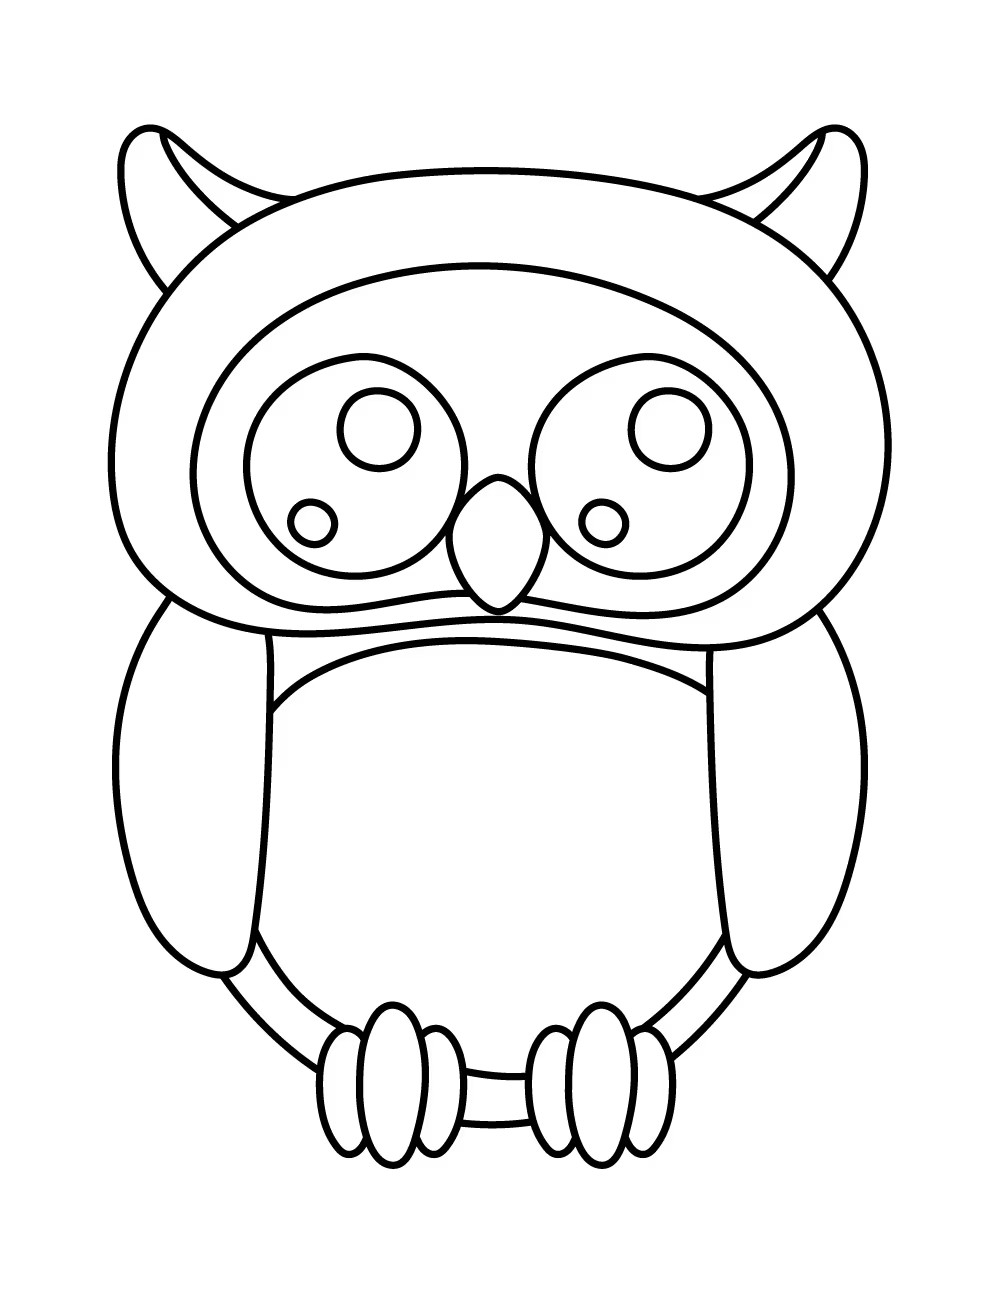
If you enjoyed this simple owl drawing activity, make sure to let us know in the comments below! Feel free to share with another parent, teacher, or friend as well!