How to Draw a Dolphin
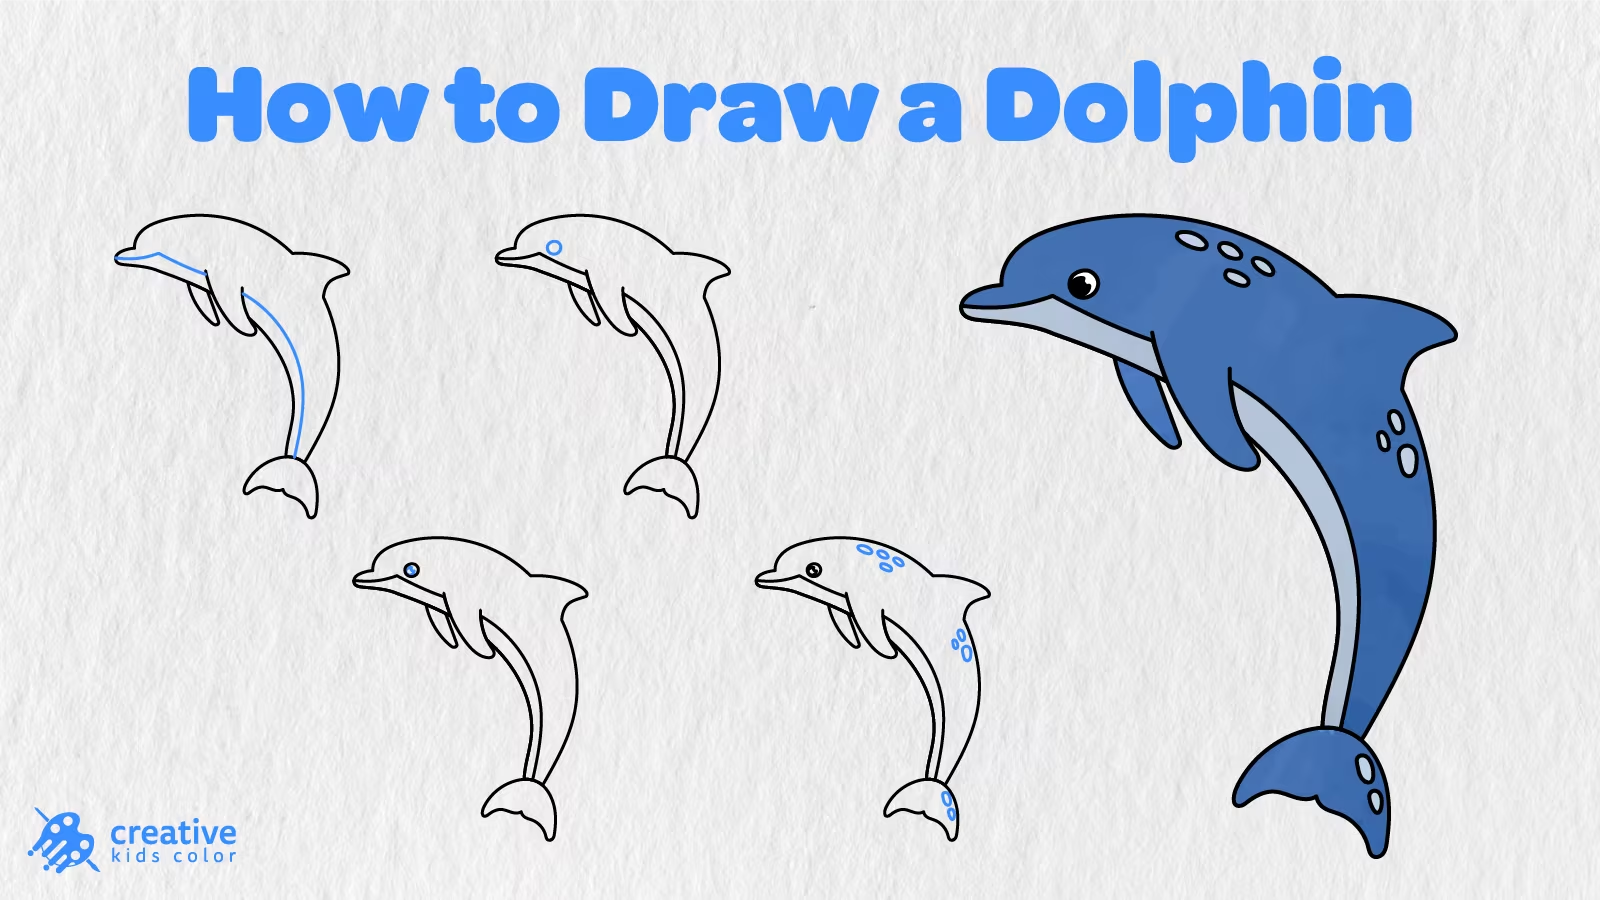
Kids know dolphins! They see them in ocean books, at the aquarium, and even in videos where dolphins jump out of the water. They are interesting sea animals, but more than that, this cute animal with its flowing curves makes a great easy drawing activity. In this step by step tutorial, you will learn how to draw a dolphin in 9 easy steps.
This dolphin art activity is perfect for kids and beginners. We start with the simple body shape and then add the mouth, fins, tail, belly line, eye, eye detail, and a few simple marks before adding color.
All of these easy to follow steps come together to create a nice, neat, kid friendly dolphin drawing. Just look at how nicely this dolphin turns out with all that blue color, the light belly, the pretty marks, and the cute little eye!
Easy Dolphin Drawing Step by Step
Make sure to have your drawing supplies out and ready to go before starting this fun activity.
The blue lines show you what to draw in each step. So let’s get started!
Step 1: Draw the Dolphin Body Shape

We are going to start out with the simple body shape of our dolphin. Draw a long flowing curve that is rounded on the top and flares out as it goes down.
This simple curve will make up most of the body of our leaping dolphin.
Step 2: Add the Mouth
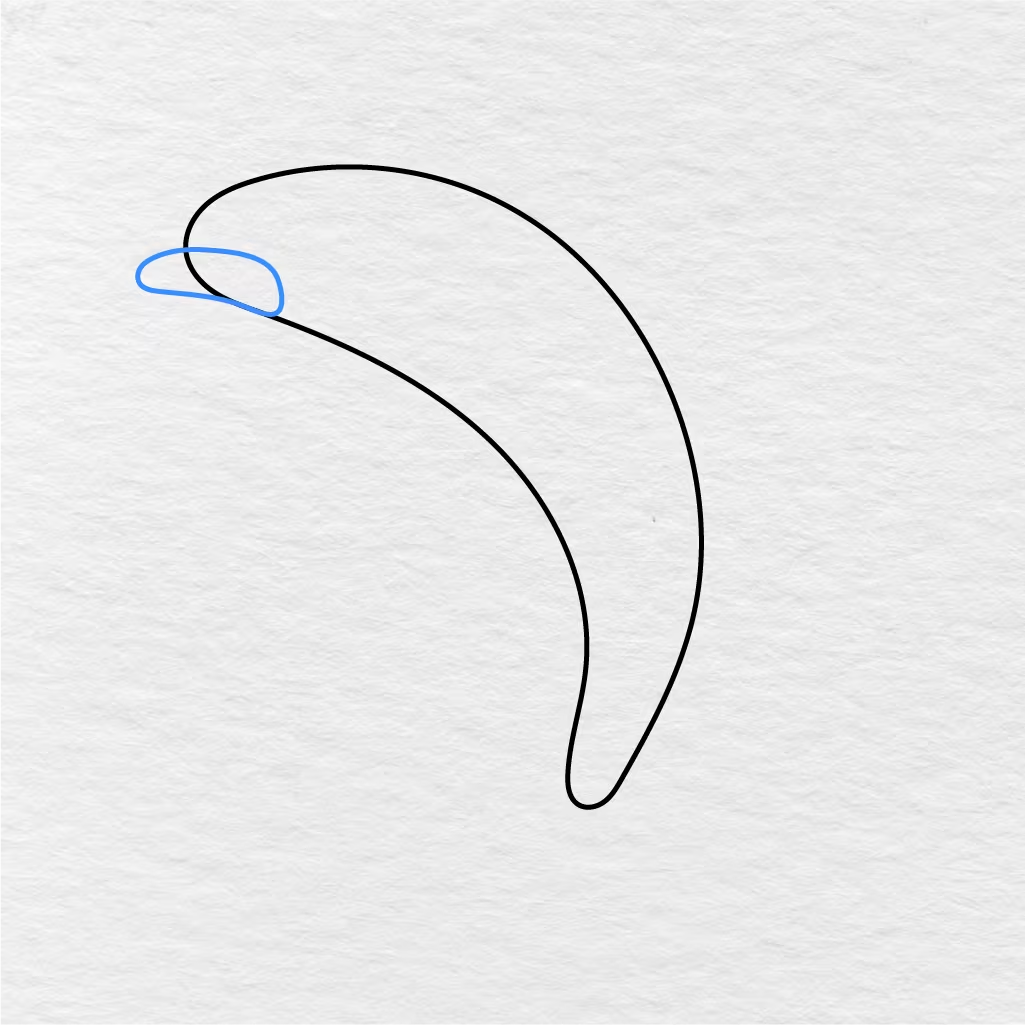
In this second step, we are going to add the dolphin’s mouth. We will start by adding a rounded snout and then adding a curve at the bottom of it to make the mouth.
Be sure to keep this part pretty rounded and flowing.
Step 3: Draw the Fins
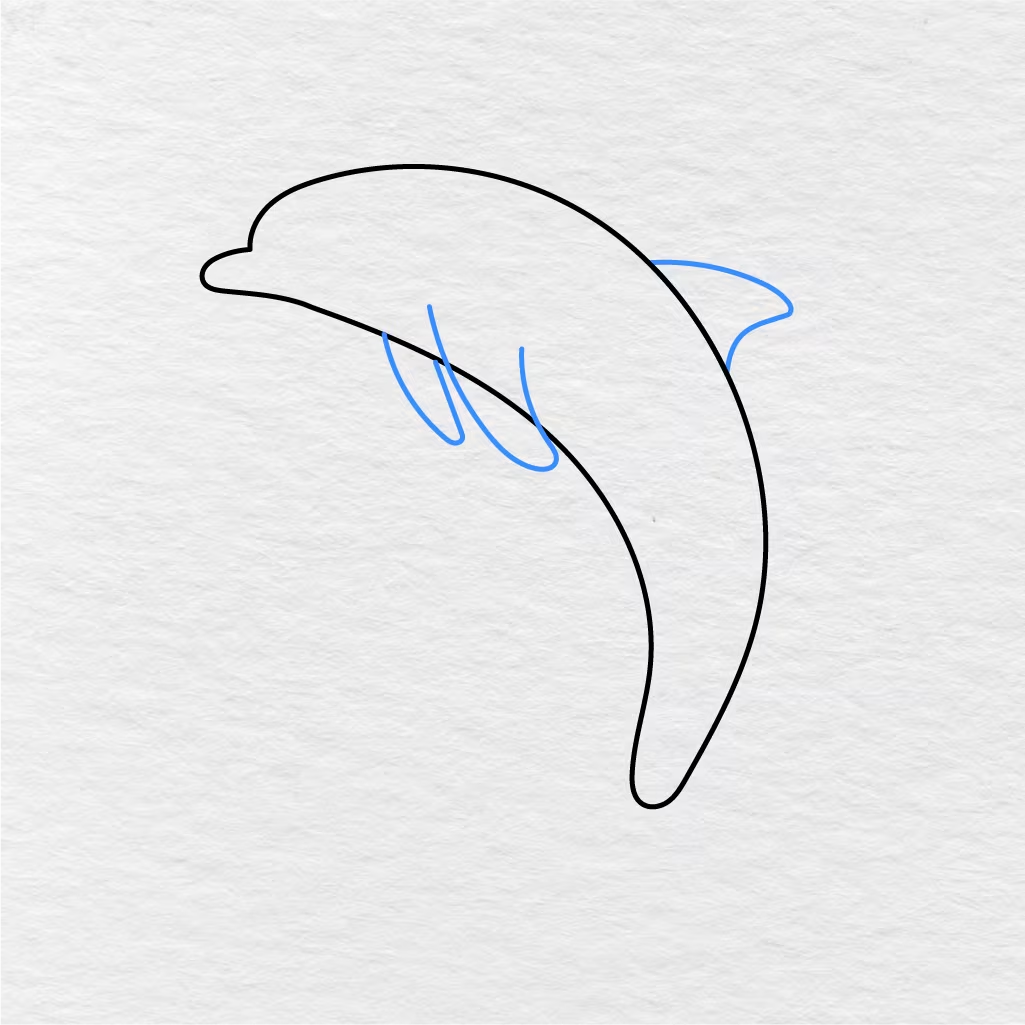
Next, add a dorsal fin and then a couple of flippers to the sides of the dolphin’s body.
These will help give our dolphin some definition.
Step 4: Add the Tail
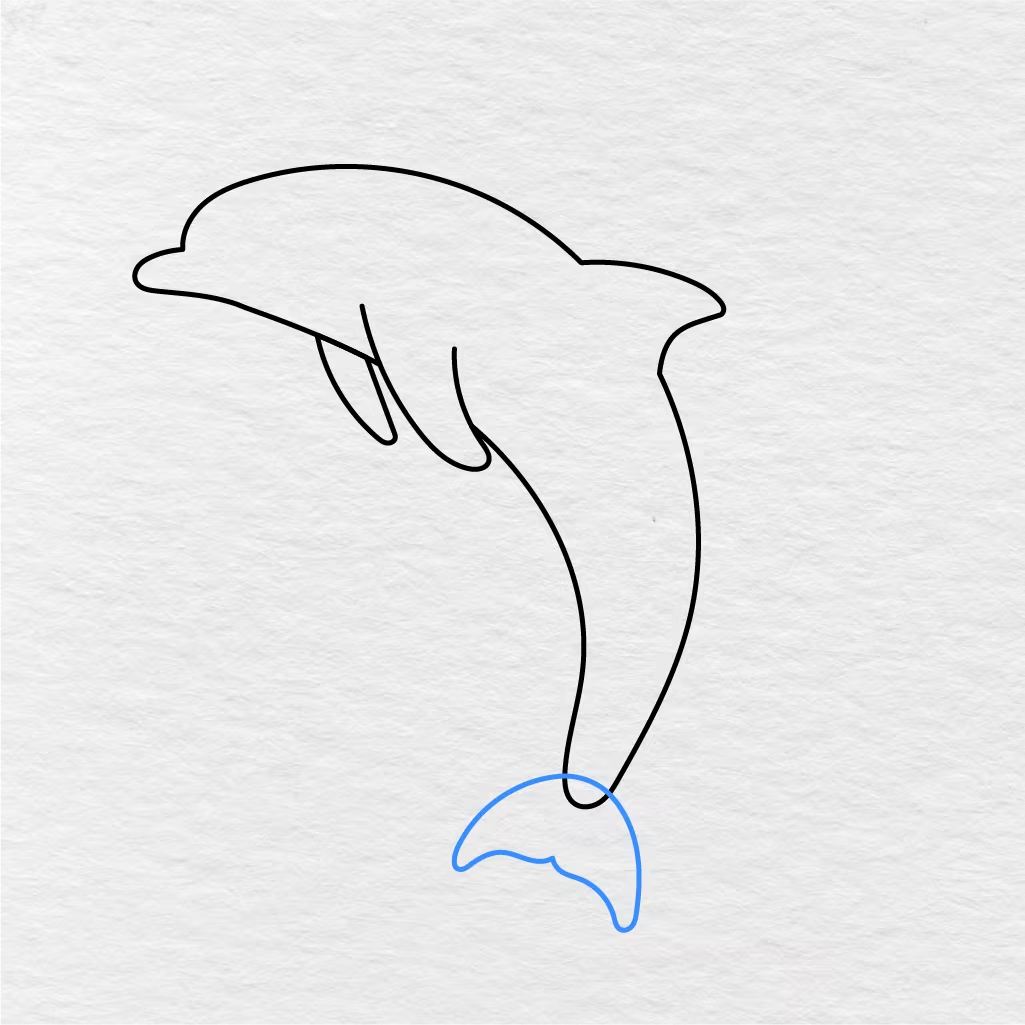
At the end of the dolphin’s body, add a curved tail just like in the picture below. Make sure to round out both ends just a bit.
This will give our dolphin character and finish off the body shape.
Step 5: Add the Belly Line
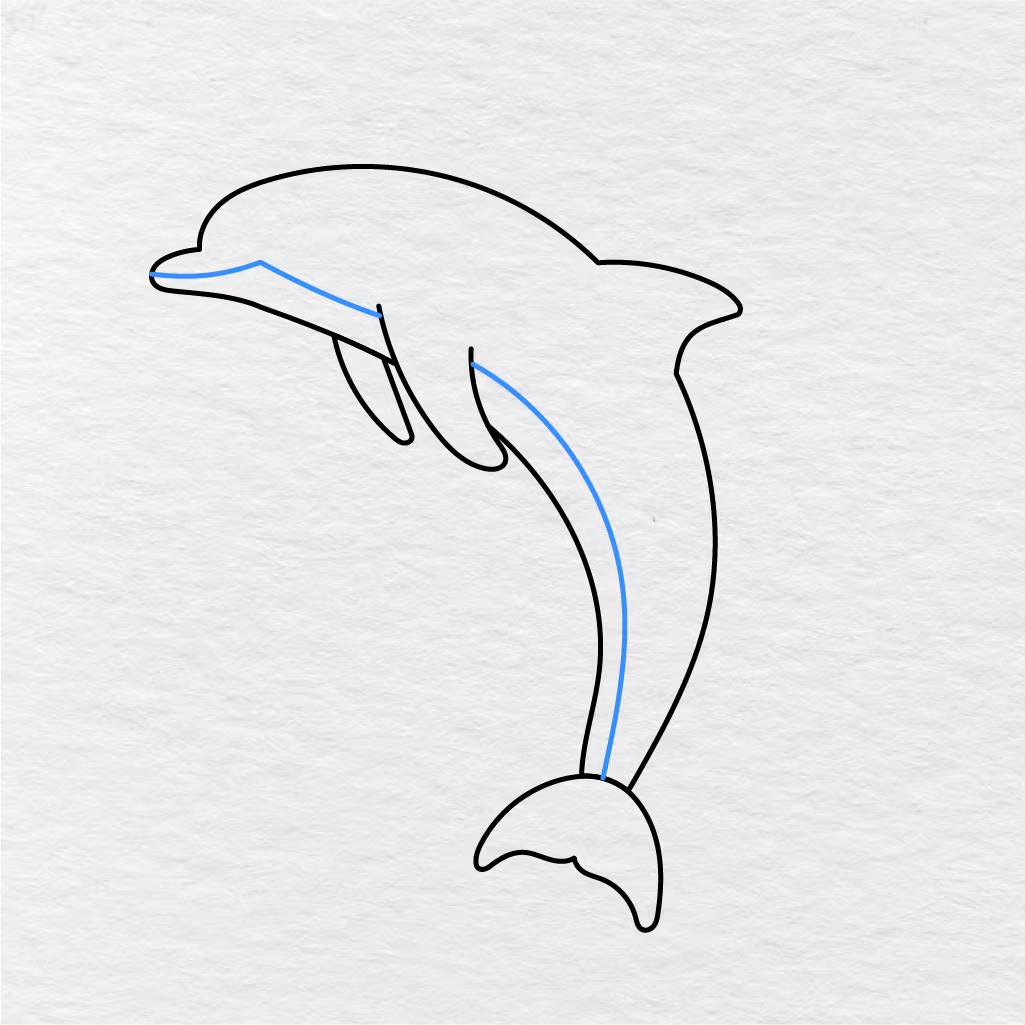
Draw a long flowing line that goes from the dolphin’s mouth down toward the tail. This will form the light colored belly of the dolphin.
This line helps define the belly area and gives the dolphin’s body some nice detail.
Step 6: Draw the Eye
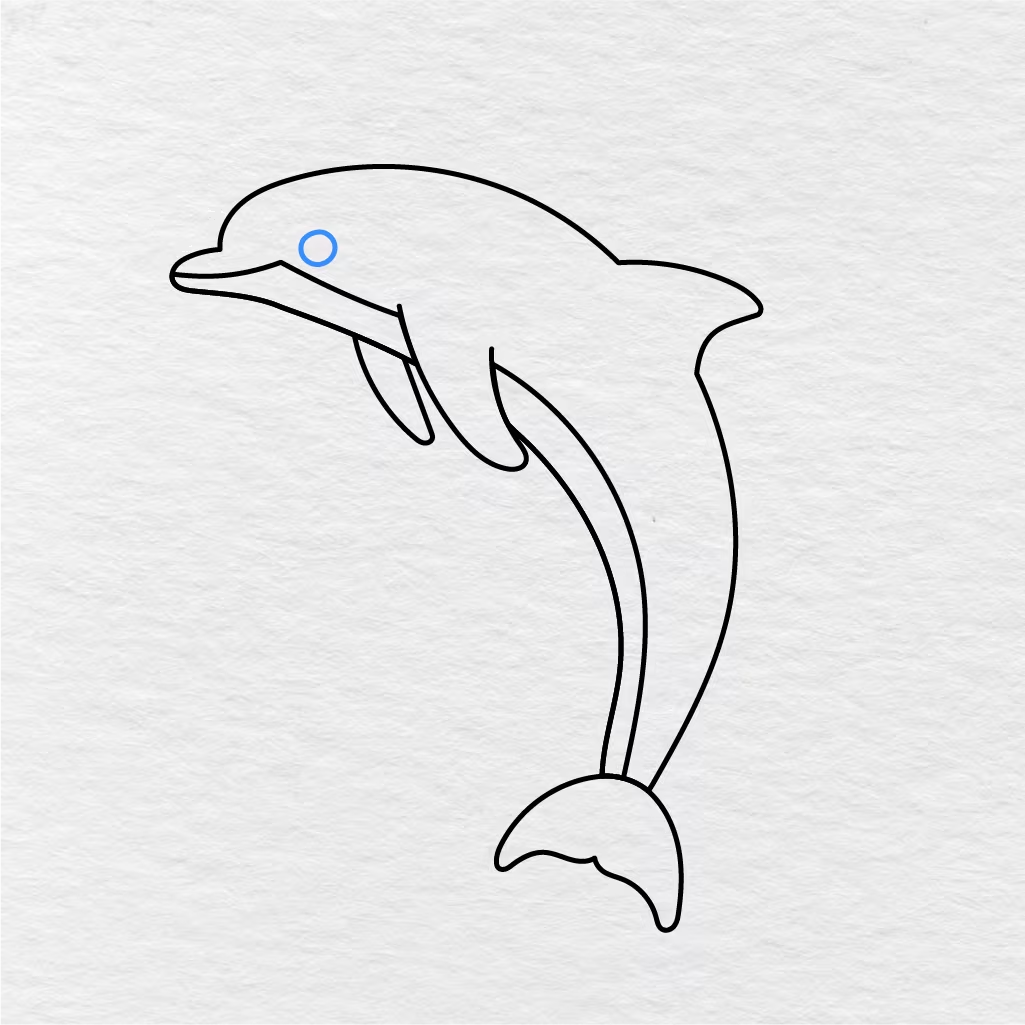
Add an eye at the front top area of the dolphin’s head.
This is such a small step, but it already helps give our dolphin a friendly face.
Step 7: Add the Eye Detail
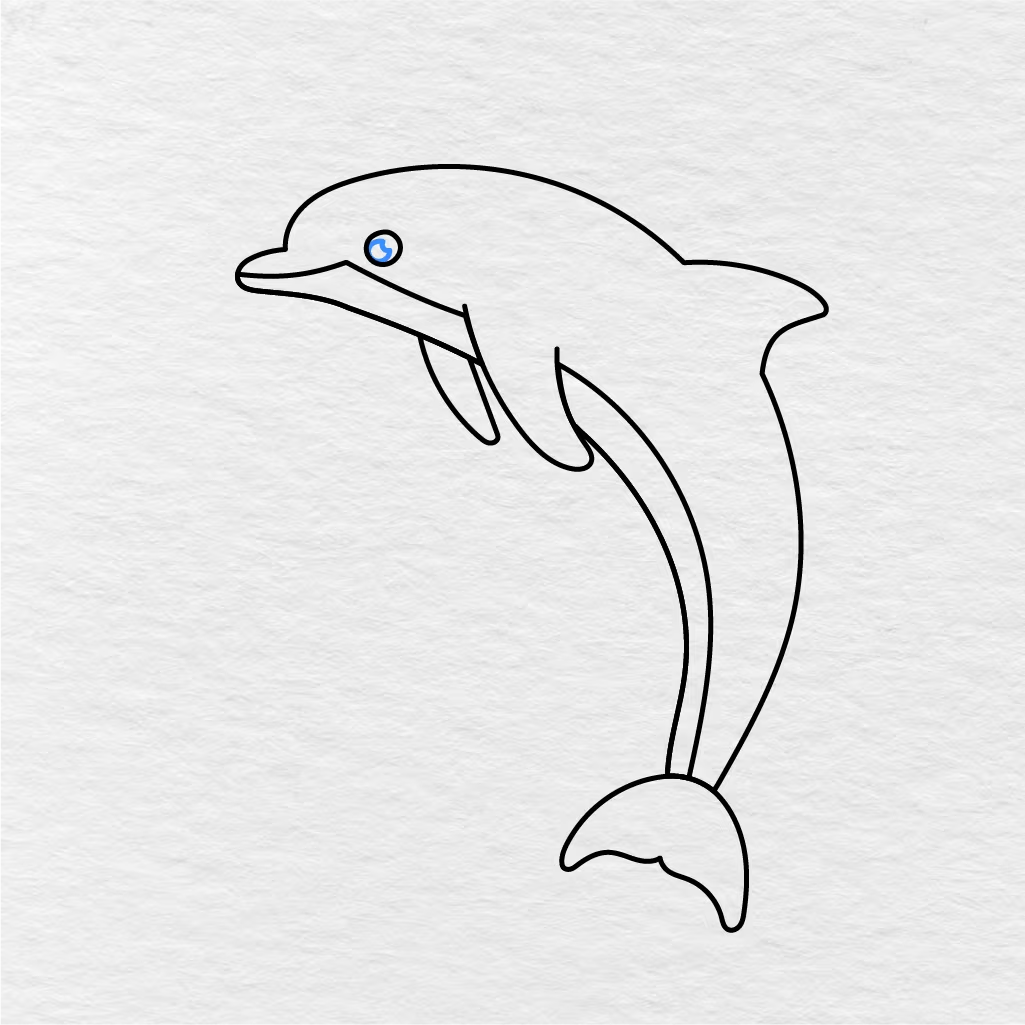
Now add the inner eye detail to make the eye look more complete.
This little detail gives the dolphin more character and makes the face look much cuter.
Step 8: Add the Body Markings
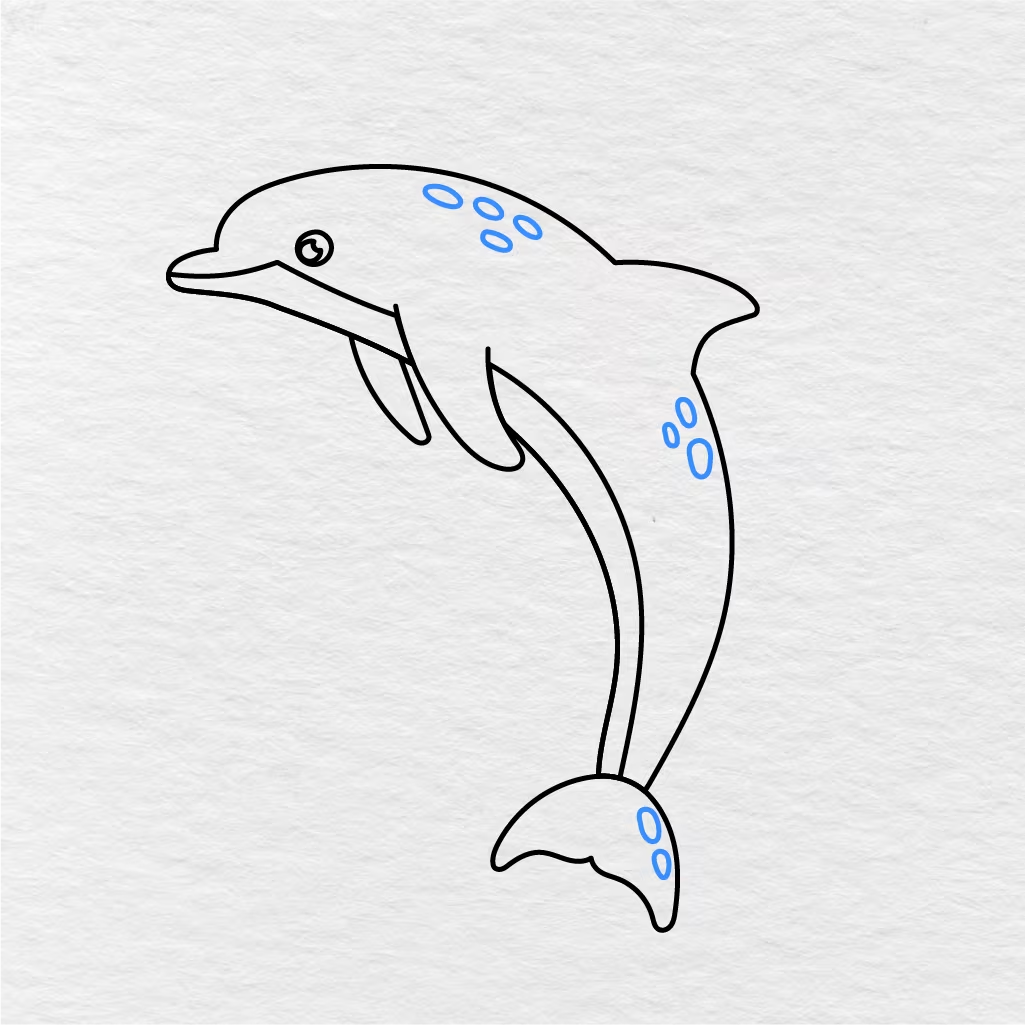
In this fun step, you are going to add a few oval shaped marks to the dolphin’s upper back, along the side, and onto the tail.
This is a nice touch that adds a little something extra to the drawing without making it too hard.
Step 9: Color the Dolphin
Using the drawing below as a guide, color your dolphin. You can use blue for the body and a lighter shade for the belly. The eye can be colored black with a little white on it, and the few marks can also be colored light to stand out.
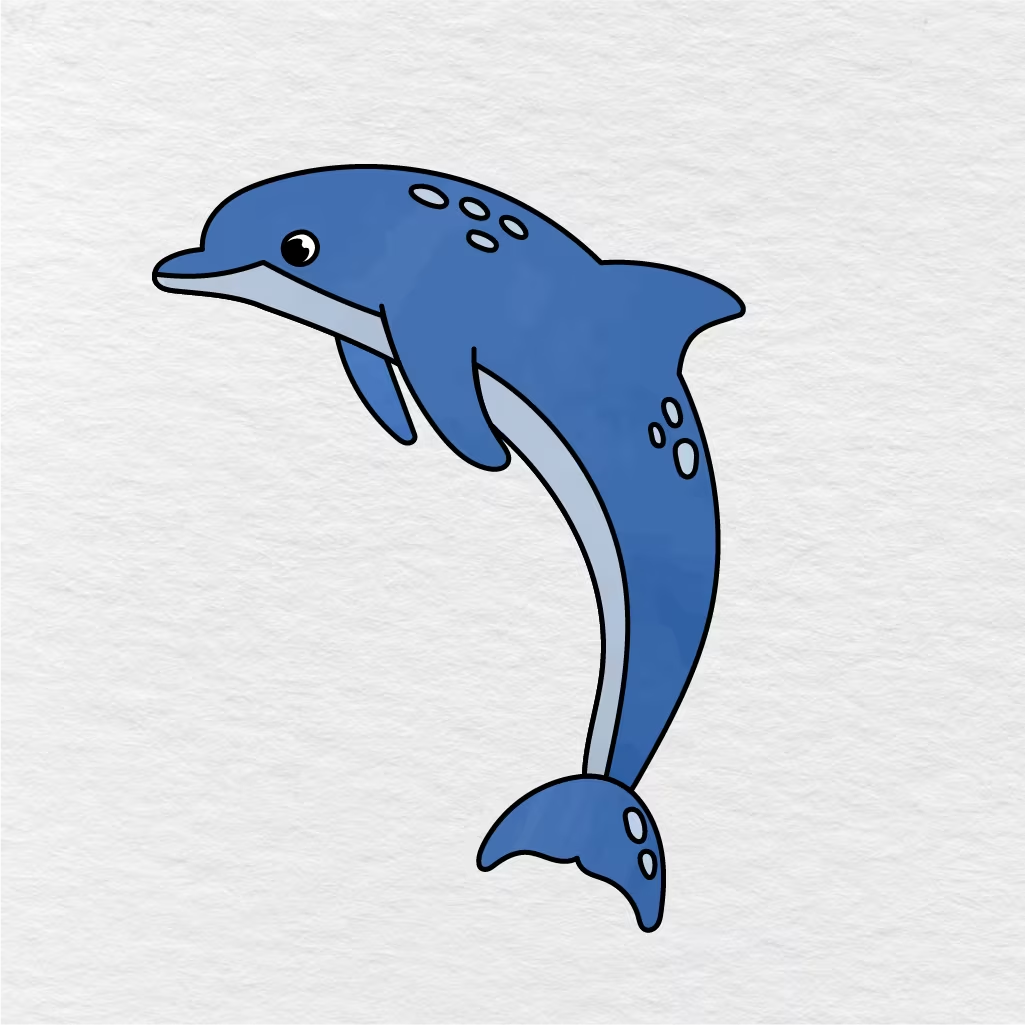
Your easy dolphin drawing is now complete!
Printable Dolphin Drawing PDF
If you want to print this fun drawing activity as a PDF and color it in, you can use the image below. This printable is a kid friendly dolphin drawing activity that kids can do over and over again.
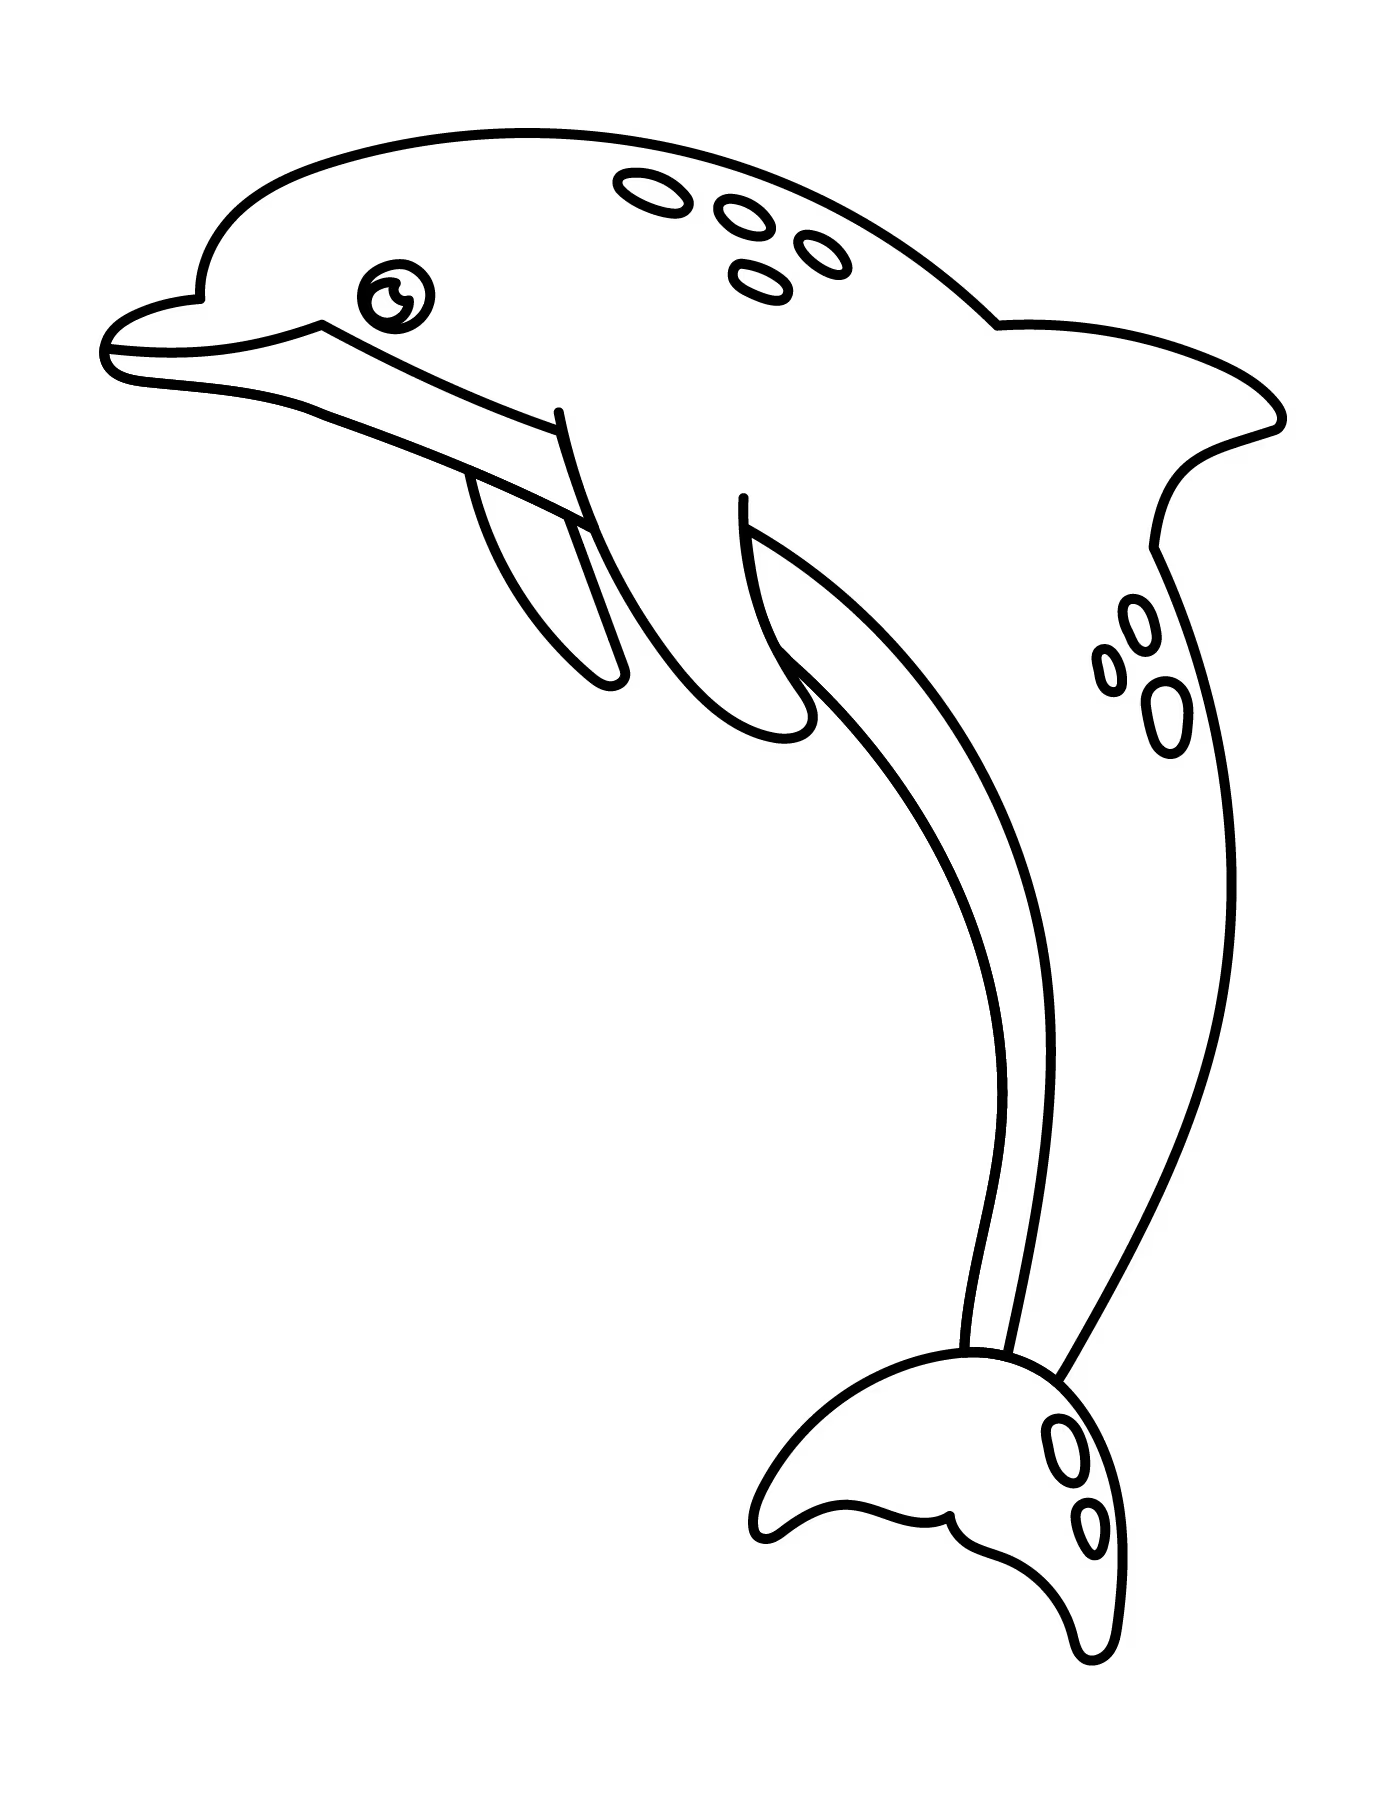
For more dolphin themed pictures to color, you can also visit our Dolphin Coloring Pages collection.
If you liked this easy dolphin drawing activity, be sure to let us know down below in the comments section. You can also share this page with another parent, teacher, or friend!