How to Draw a Shark
Sharks are the first marine animals that come to mind when you imagine the deep ocean. While a fin protruding from the water may make for an intimidating movie monster, many sharks are apex predators that play an essential role in maintaining healthy oceanic environments.
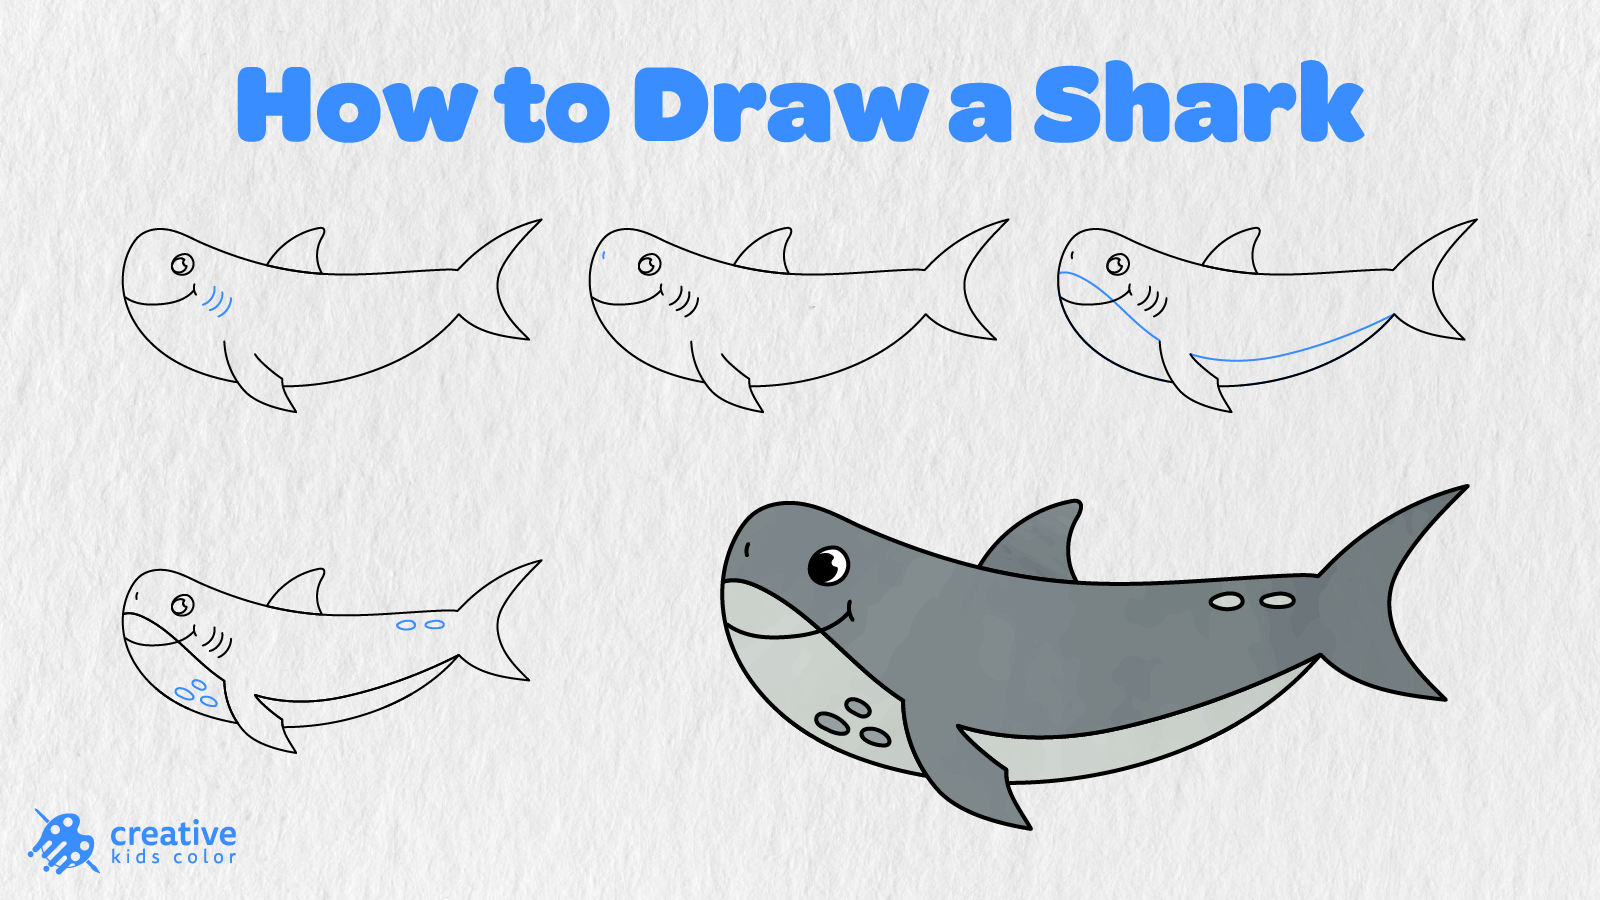
On this page, we have turned this famous ocean dweller into a fun drawing guide. Kids and beginning drawers will have a blast learning how to draw a shark with this step by step tutorial, which has been divided into 11 easy to follow stages. Starting with the body and moving on to the tail, we will add the fins, face features, gills, and underbelly to finish the shark drawing.
The blue lines on each image show what needs to be drawn in that step. If you follow along with the pictures in order, you will transform the simple curved shape from Step 1 into a beautiful shark drawing that you can color in.
Easy Shark Drawing Step by Step
To begin this easy shark drawing, you will need a pencil, paper, an eraser, and coloring tools. Start working on your shark at the center of the page, leaving ample space to the right for the shark’s tail.
Step 1: Draw the Body Outline

Begin by drawing one long curved shape that will form the shark’s body.
Make sure to make the front part wide and round to resemble the shark’s head, and make the shape more tapered at the back end of the shark’s body.
Step 2: Add the Tail
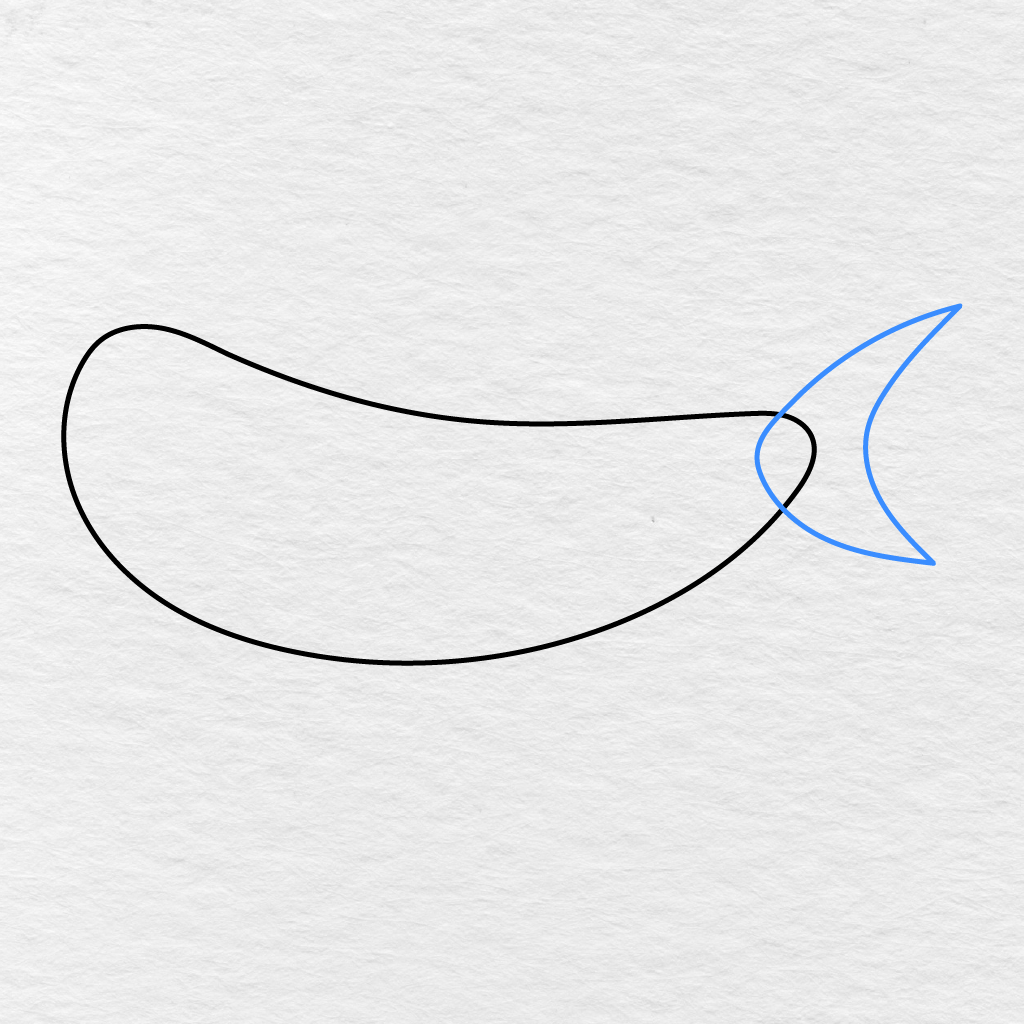
At the back end of the shark’s body, you should add a large tail.
Make sure to add one point above and one point below the tail and connect the ends with a long curve that dips inwards.
Step 3: Draw the Dorsal Fin
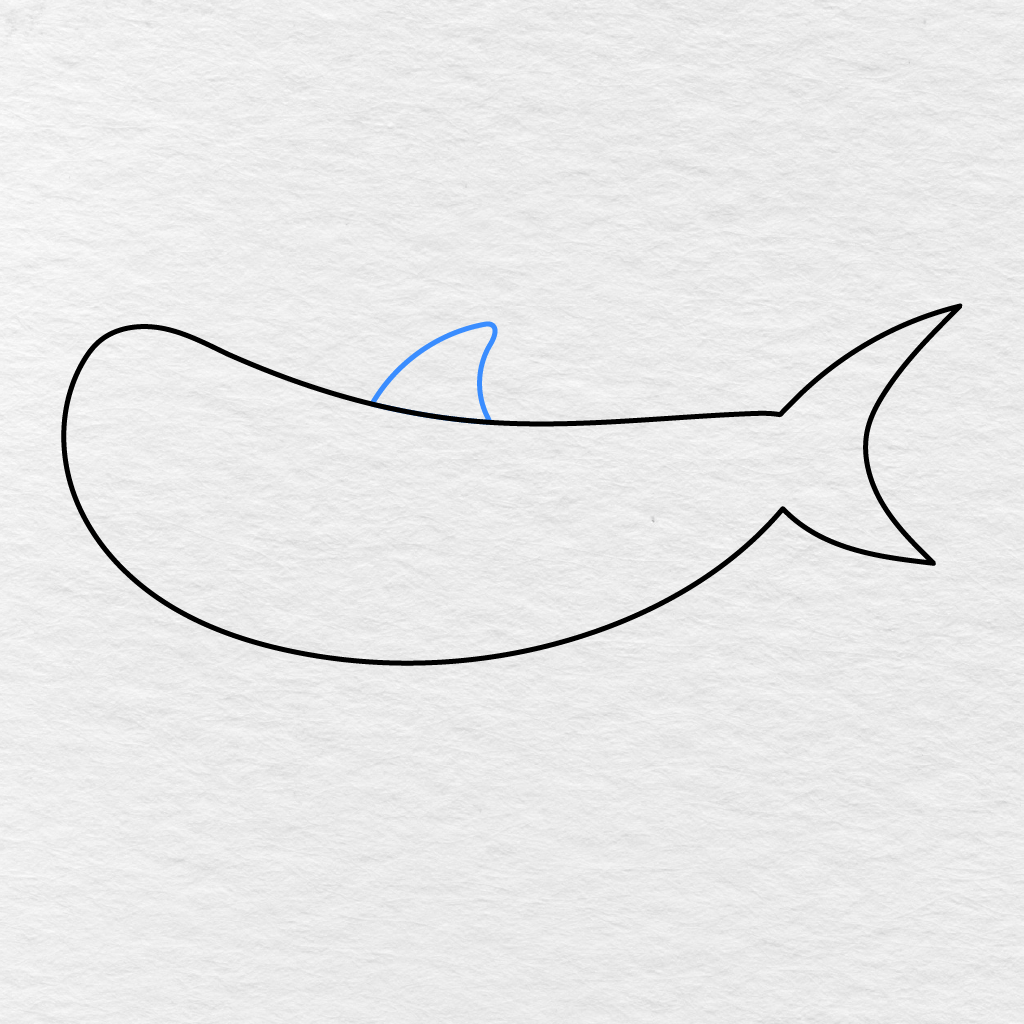
You should add one curved triangular fin on the upper part of the shark’s body.
The dorsal fin should start at the middle part of the shark’s back, curve up to form a point, and connect back to the body with another curved line.
Step 4: Add the Front Fin
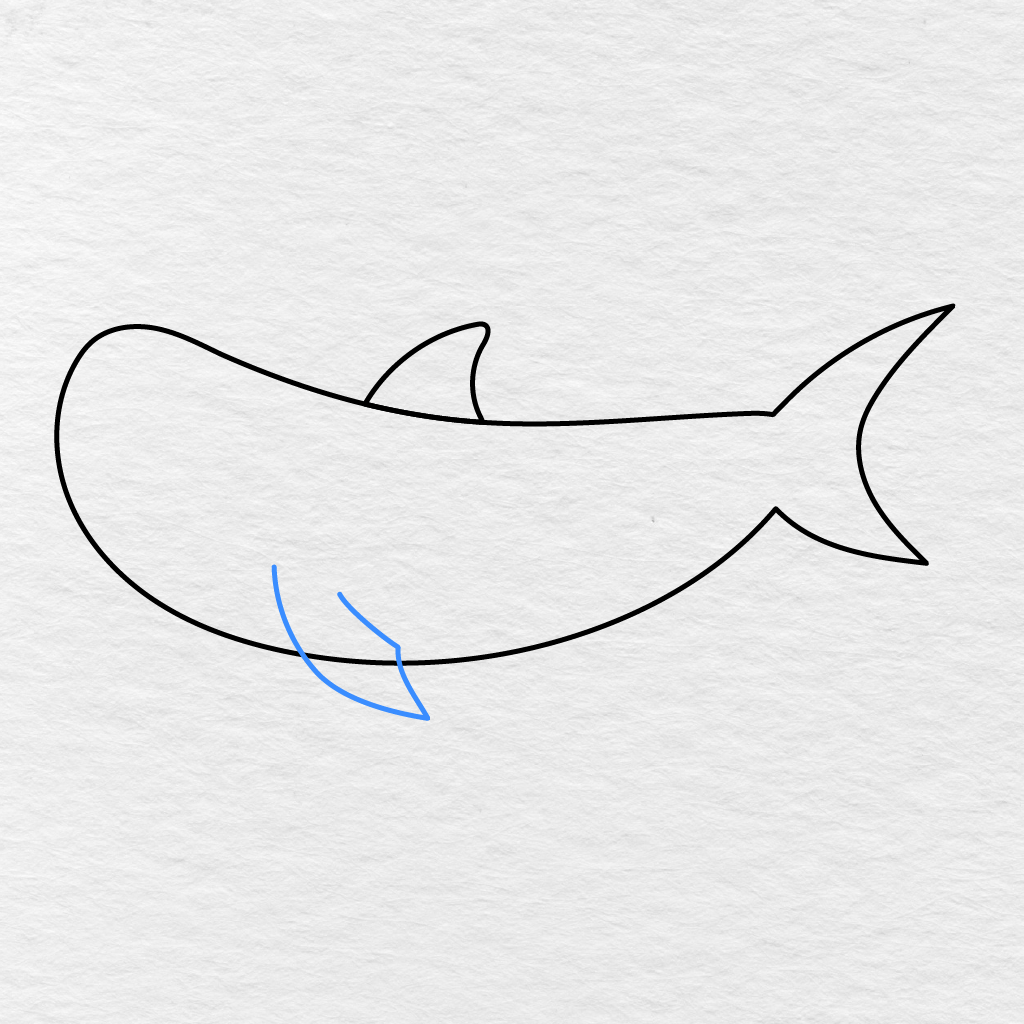
On the lower front part of the shark’s body, draw one large front fin with two curved lines.
Make sure that you make the fin wide and let it extend downwards to a point.
Step 5: Draw the Eye
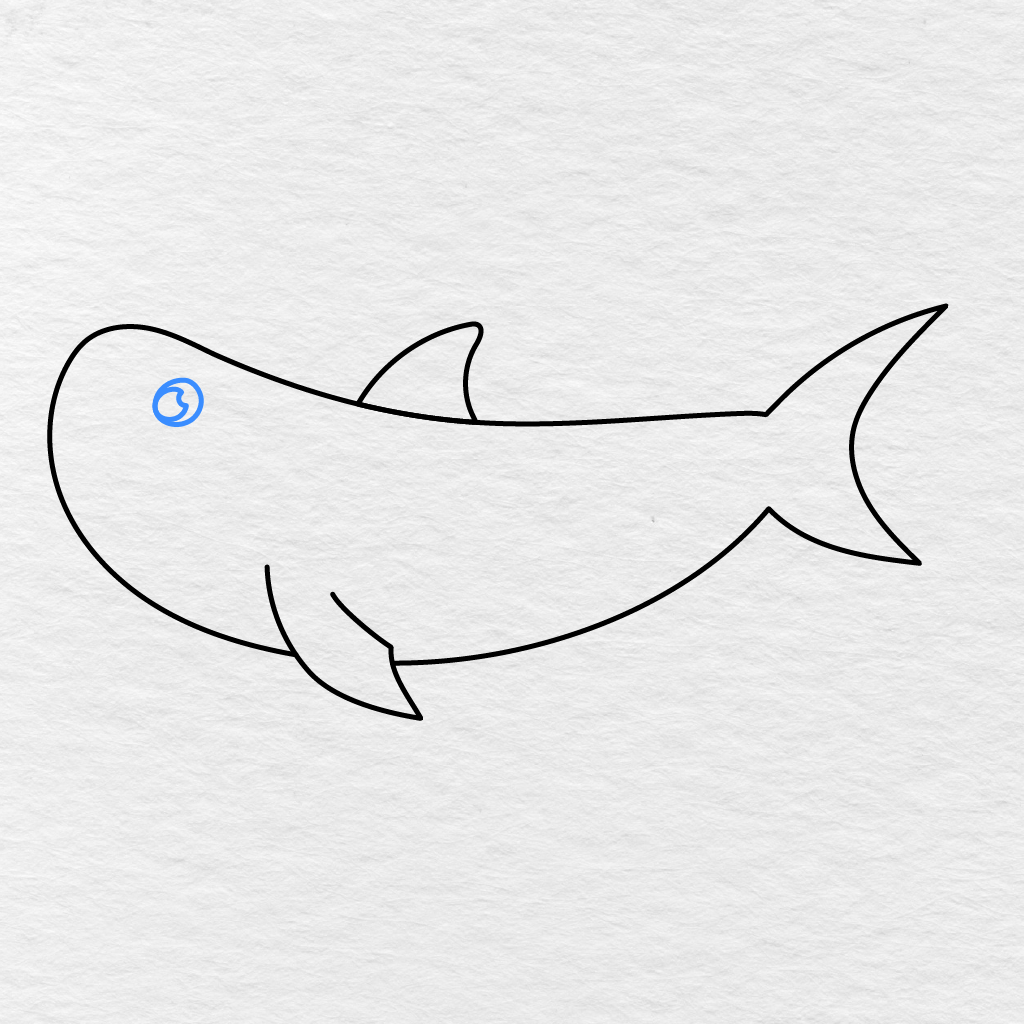
On the front part of the shark’s head, draw one rounded eye.
Inside the eye, you should add another small curved line to show the eye shape and leave some space to indicate the eye’s white part.
Step 6: Add the Mouth
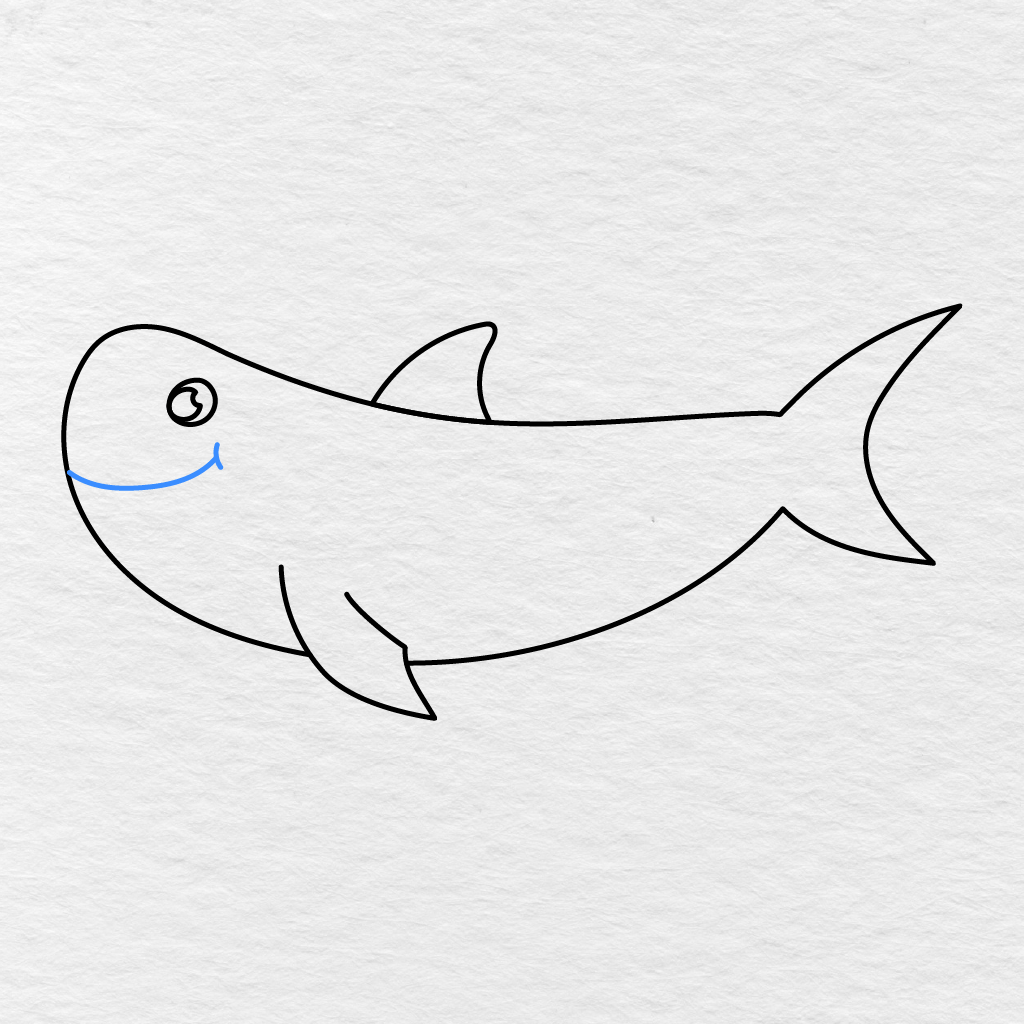
Draw a long curved line near the front part of the shark’s head to indicate the shark’s mouth.
Make sure to start at the front rounded part of the shark’s snout and curve the line upwards at the end to give the shark a smiling appearance.
Step 7: Draw the Gills
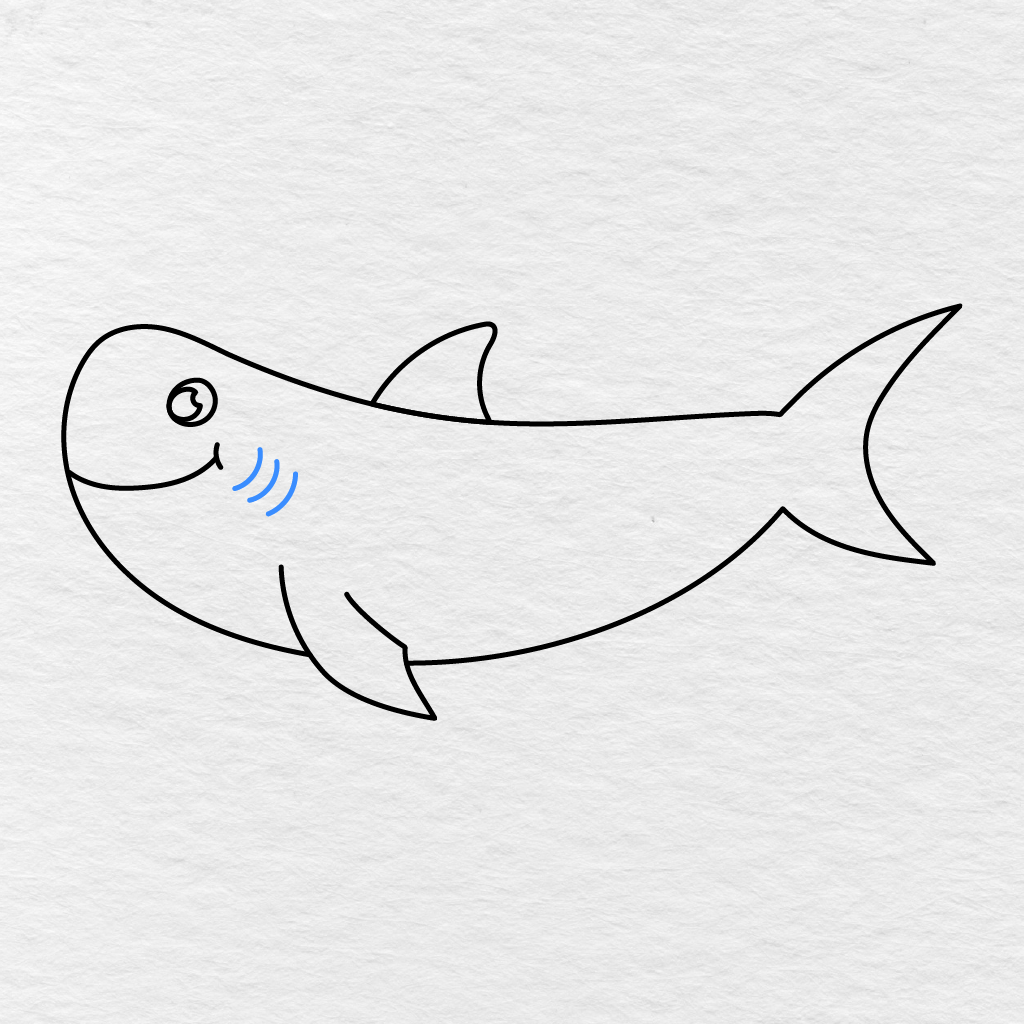
Right behind the shark’s mouth, add three short curved lines to show the shark’s gills.
Make sure to keep the gill openings close to one another and make each subsequent one longer than the previous one.
Step 8: Add the Nostril
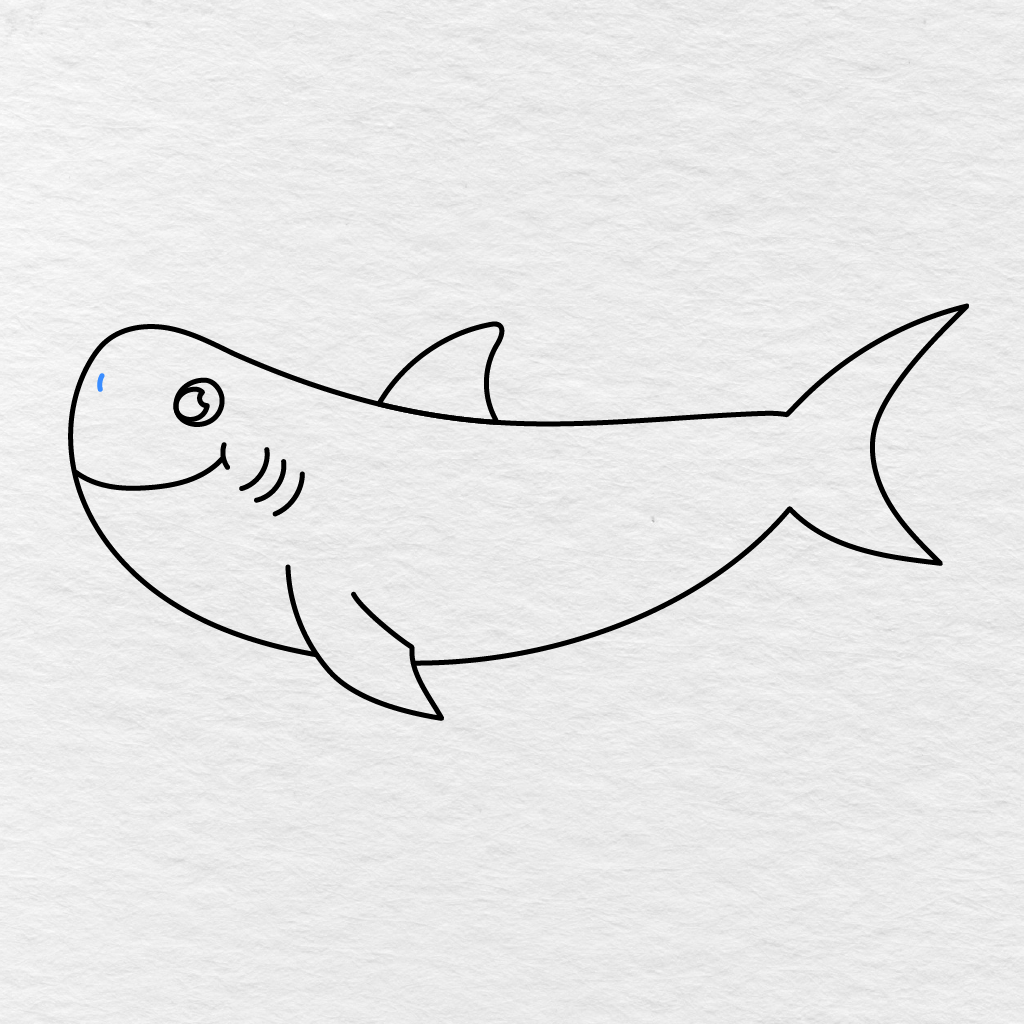
At the upper front part of the shark’s snout, add one short curved line to depict the shark’s nostril.
Make sure to keep the feature small and place it just above the shark’s mouth opening.
Step 9: Add the Underbelly Details
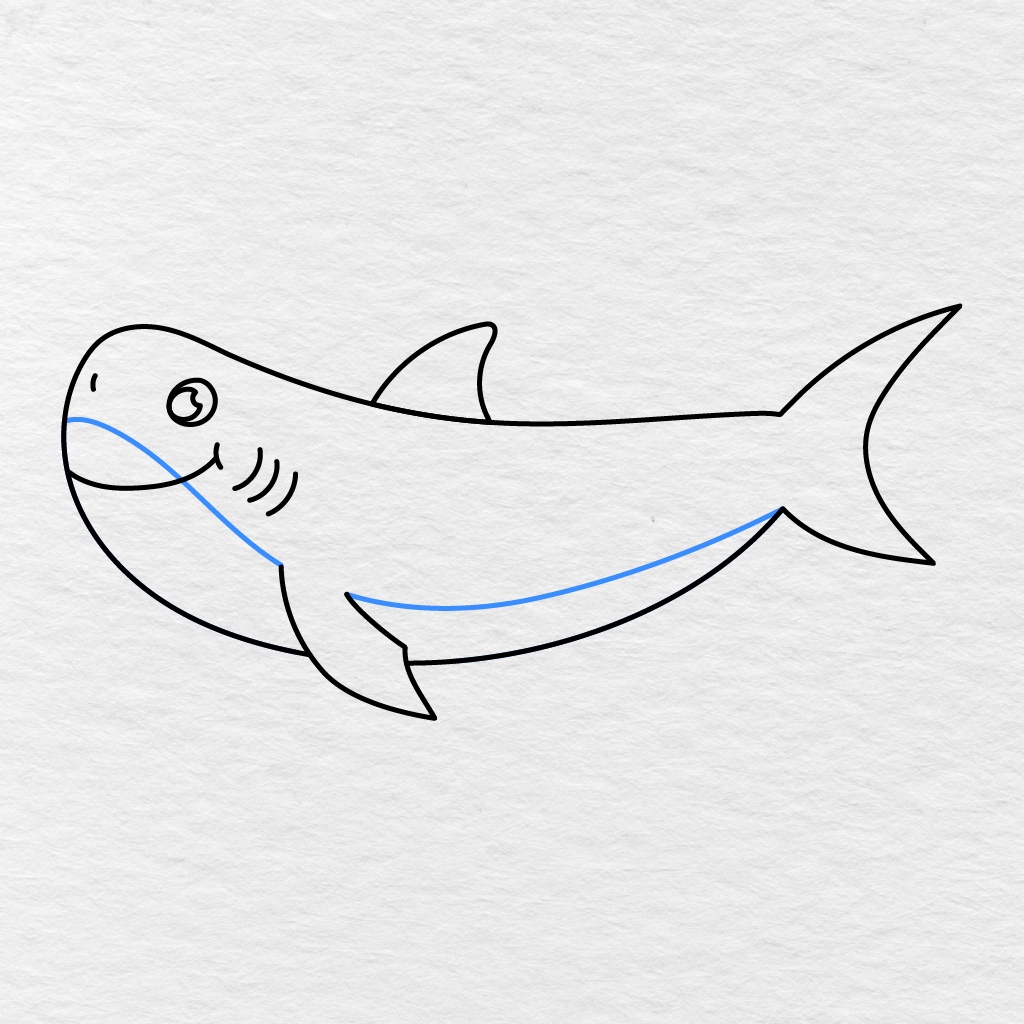
Draw two long curved lines that will help you distinguish the shark’s underbelly from the main body.
The first line should start at the front part of the shark’s snout and go down towards the front fin. The second line should start at the back end of the front fin and go down towards the tail’s beginning.
Step 10: Add Body Spots
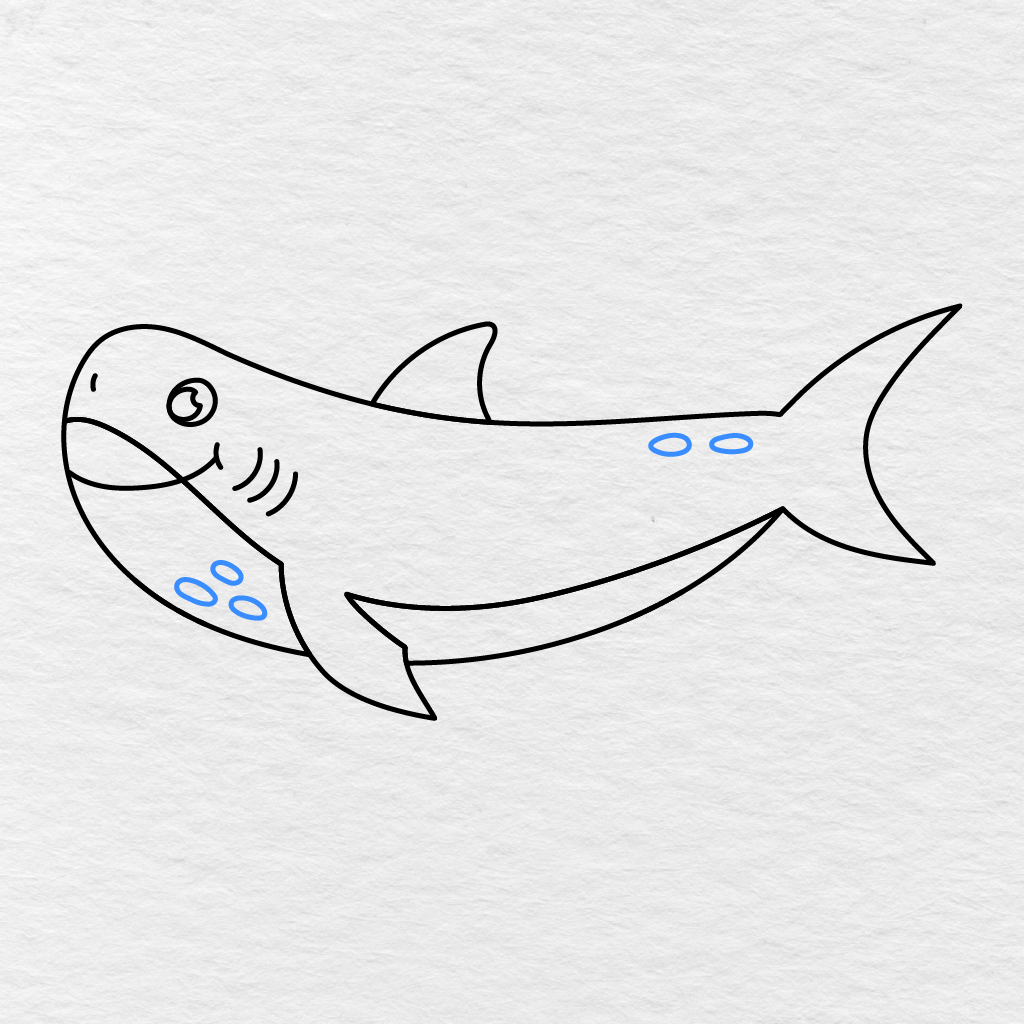
You should add three small oval shaped spots near the front part of the shark’s underbelly.
On the upper part of the body, closer to the tail, you should add two more oval shaped spots.
Step 11: Color the Shark
Now that you have added all the necessary details to your shark drawing, it is time to color it in.
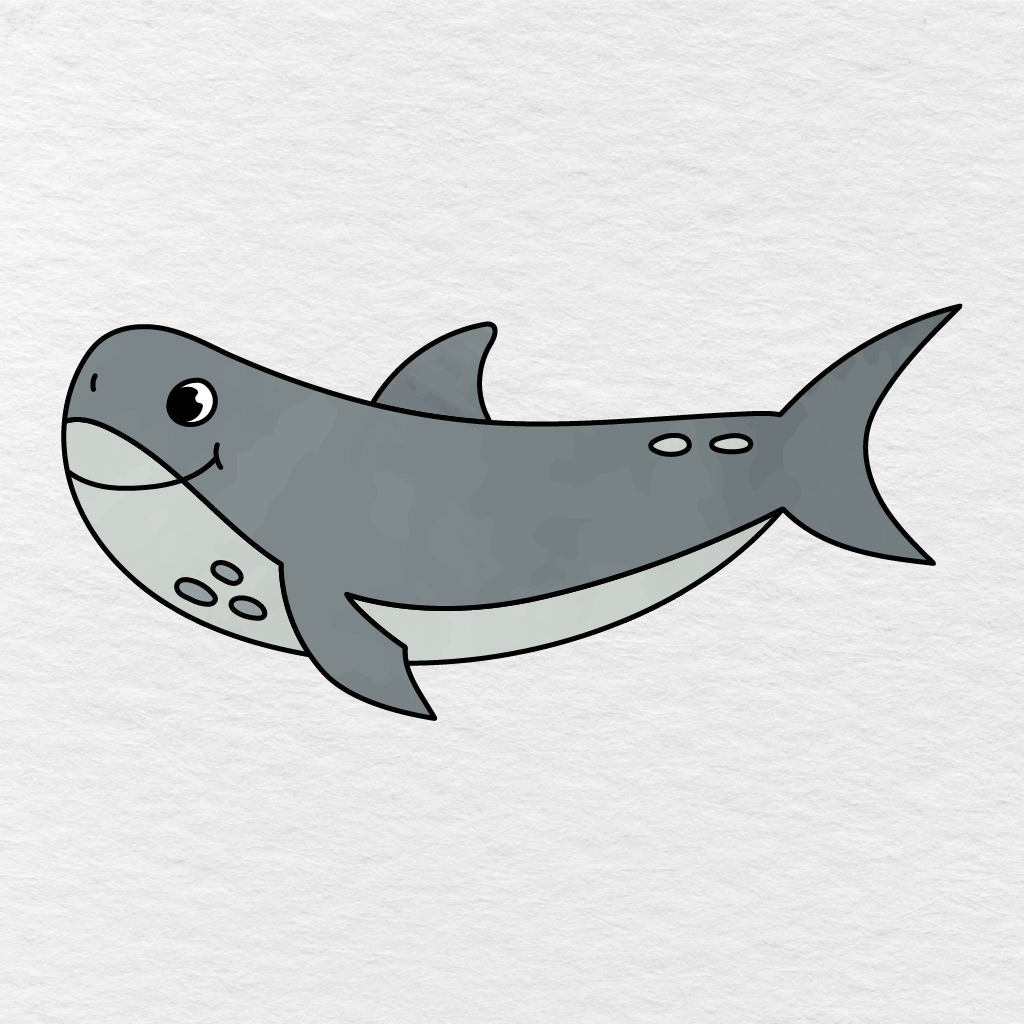
We have used medium gray to color the upper part of the shark’s body and the fins. We have used a light gray to color the shark’s underbelly and the oval shaped spots. The eye has been colored in black with a small white spot to indicate the eye’s highlight.
You can use the same color combination or go with darker or lighter shades of blue, gray, brown, green, or any other colors you may like.
Your easy shark drawing is now complete.
Printable Shark Drawing PDF
Below, you will find a printable shark drawing PDF that you can use now or save for later.
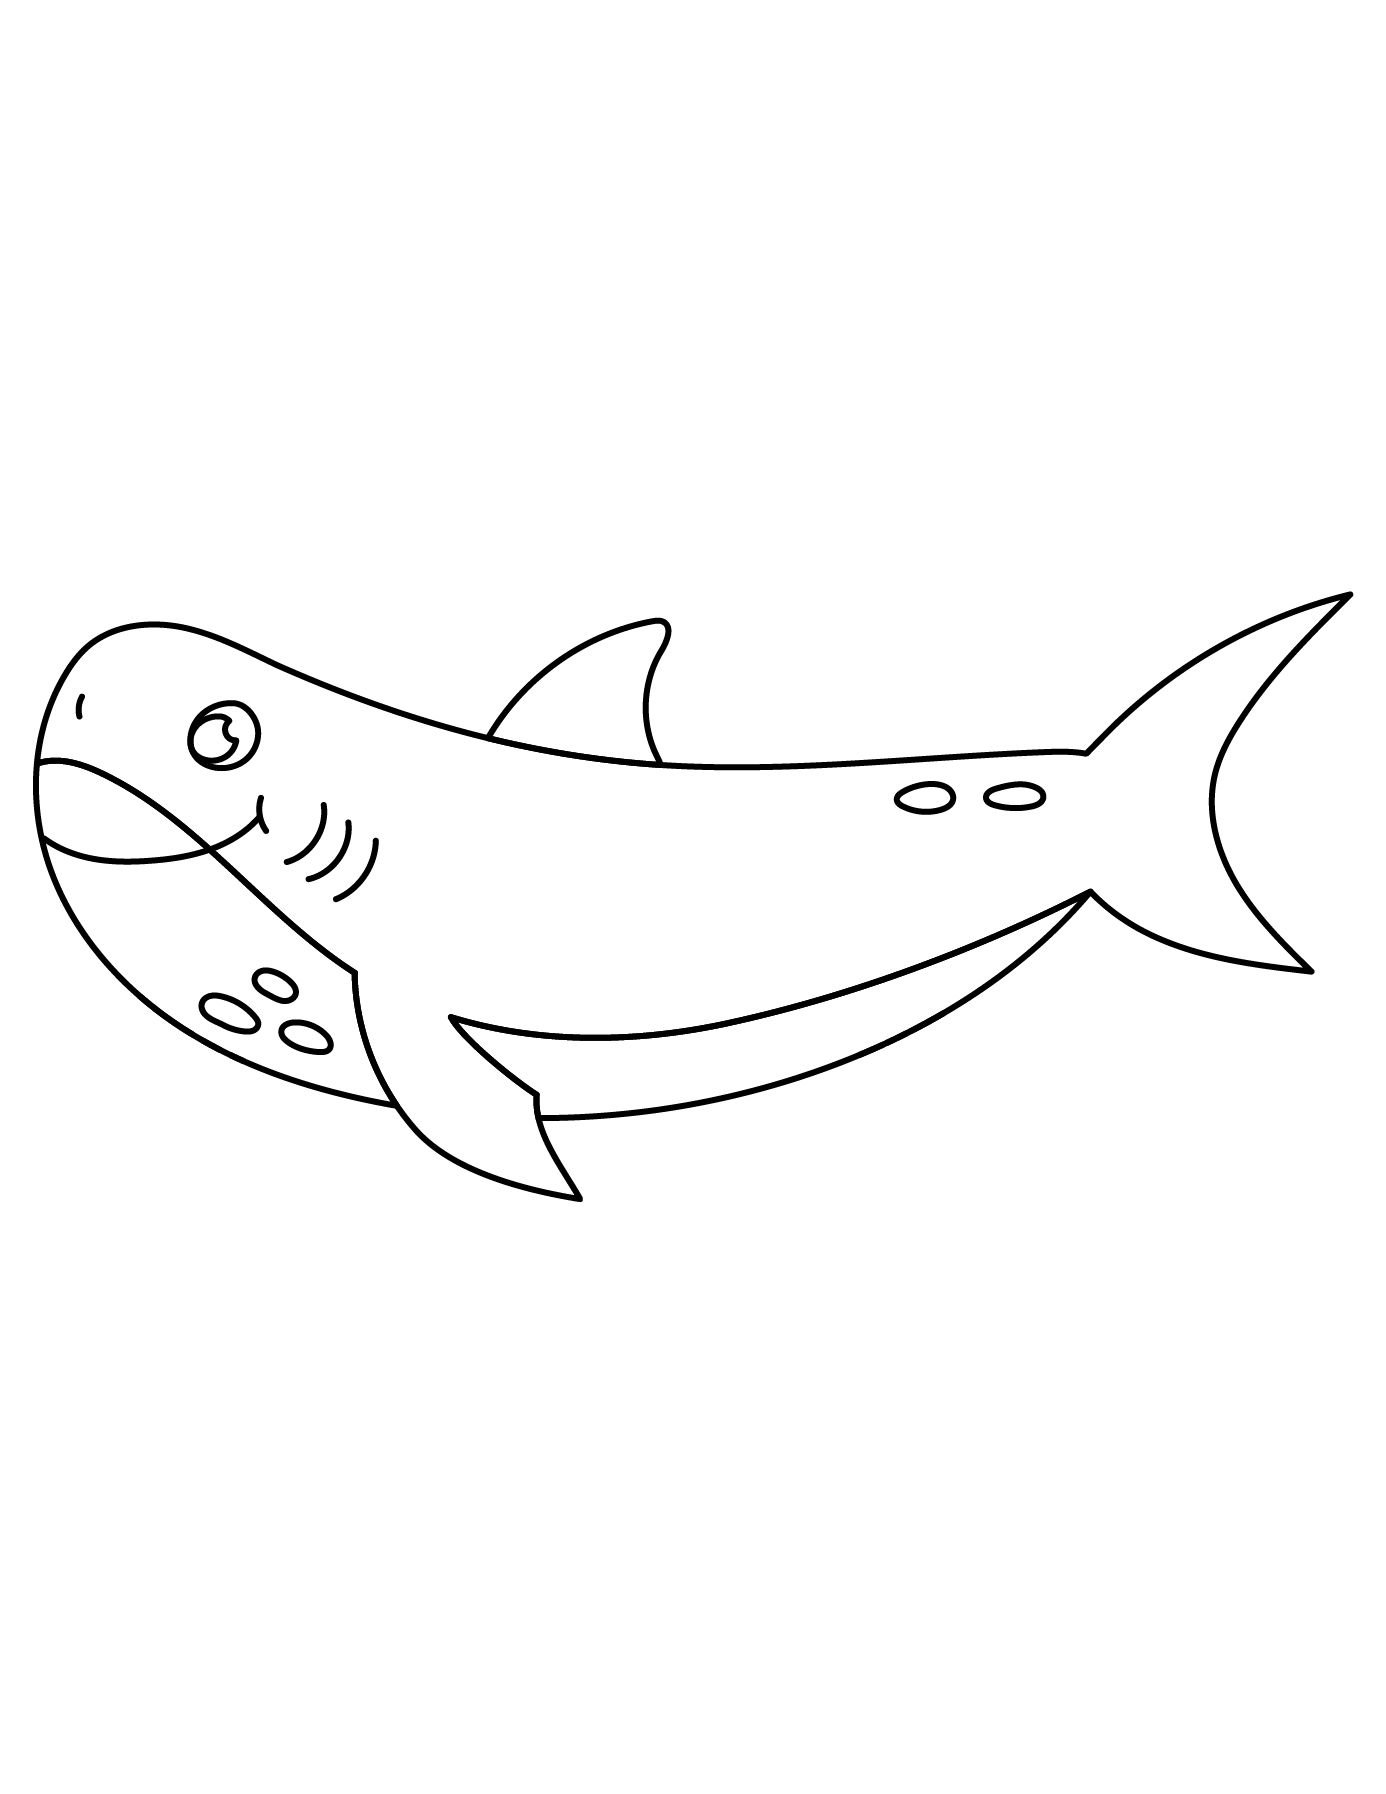
If you are looking for another printable activity that involves coloring various underwater animals, make sure to check out our Fish Coloring Pages.
What colors have you chosen for your shark? Let us know in the comments below, and don’t forget to share this page with another parent, teacher, or kid who is eager to learn how to draw a shark!