How to Draw an Eye
Eyes are amazing! We use them to see people, colors, movements, and so many other things. Eyes can also make drawings come to life by showing emotion on a face. Let’s learn how to draw an eye, so kids can practice their art skills on such a great subject.
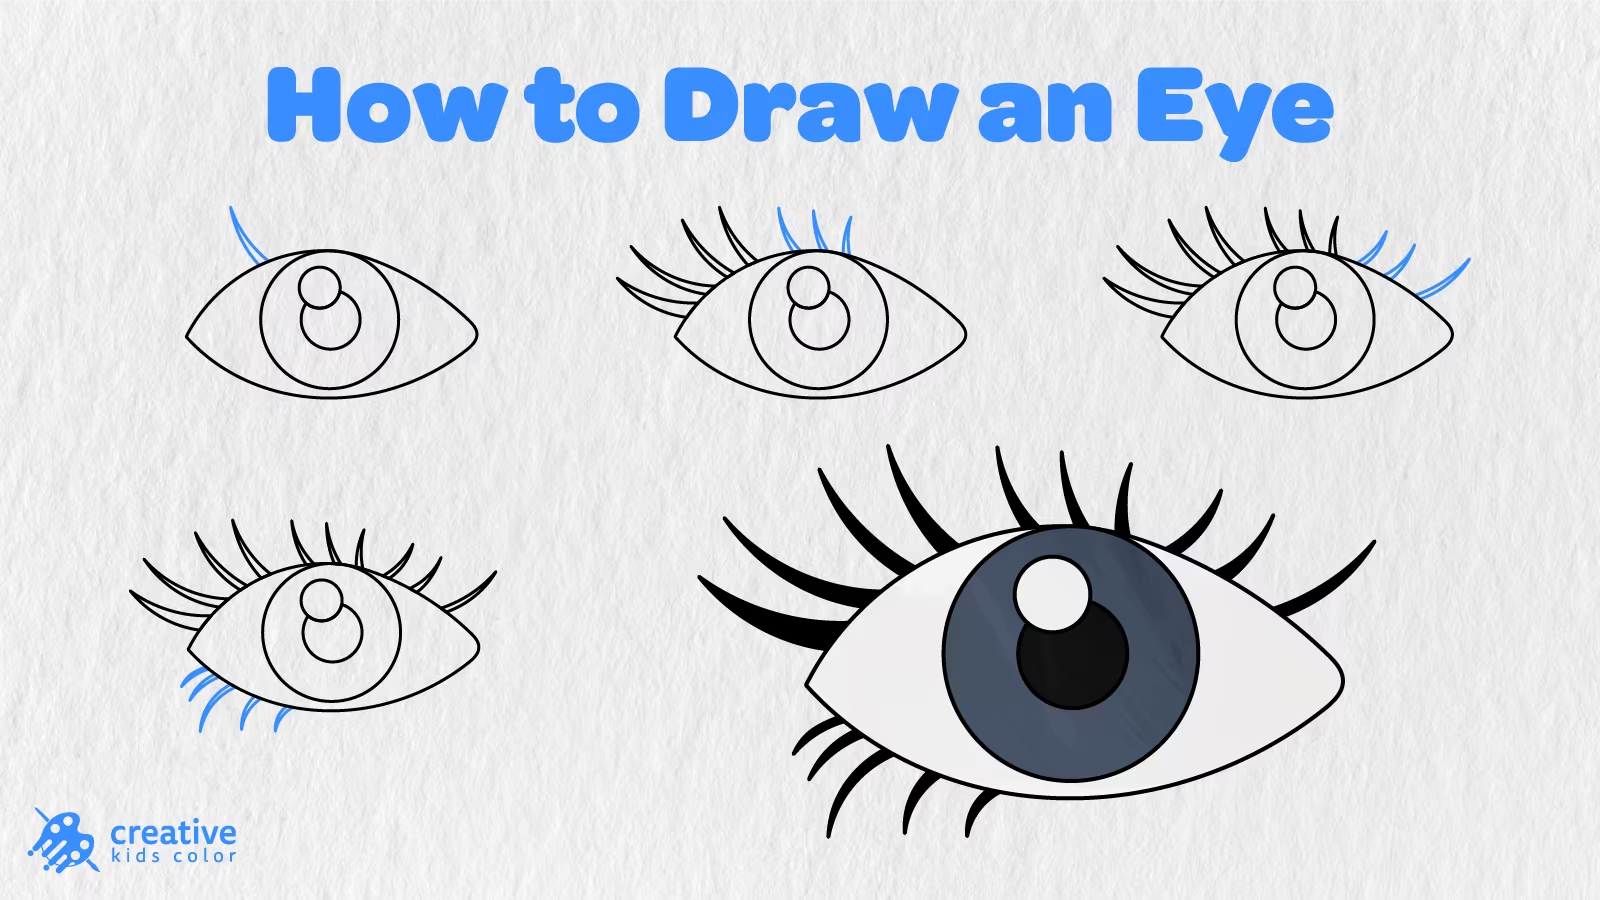
On this page, we have eye drawing instructions made up of 9 easy steps for kids and beginners. We will be drawing our eye from the outside in, adding the iris, pupil, highlight, upper and lower eyelashes, and colors.
The blue lines show what we have drawn in each picture. Simply follow along with each step, and soon the simple eye outline from Step 1 will turn into a complete drawing.
Easy Eye Drawing Step by Step
To start our easy eye drawing, you will need a pencil, paper, an eraser, and coloring supplies. Begin by drawing near the middle of the paper, leaving room at the top and bottom to draw the eyelashes.
Step 1: Draw the Eye Outline
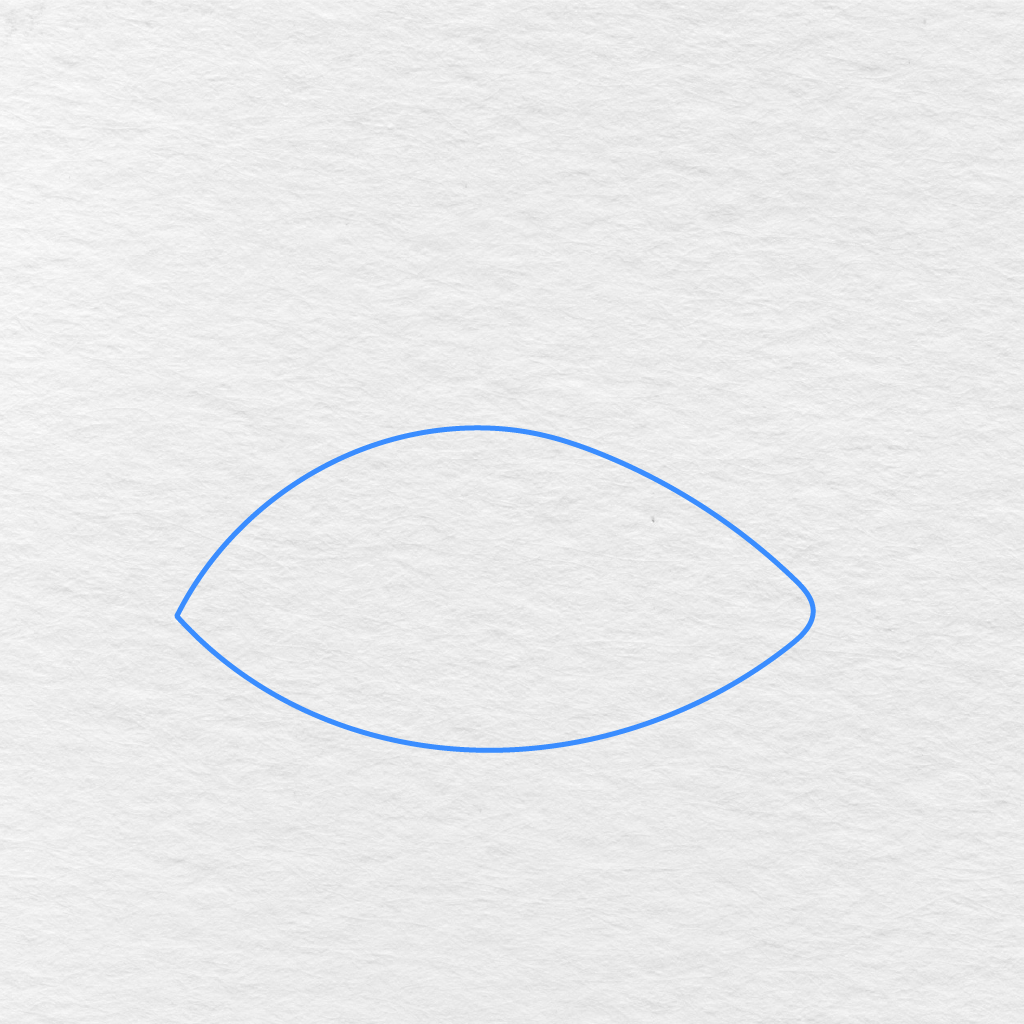
Begin by drawing an eye shape with 2 long curved lines.
The first long curved line will be the upper part of the eye, and the second curved line will be the lower part of the eye. Connect both ends of these lines to make an eye shape with a point on the left and right sides.
Step 2: Draw the Iris
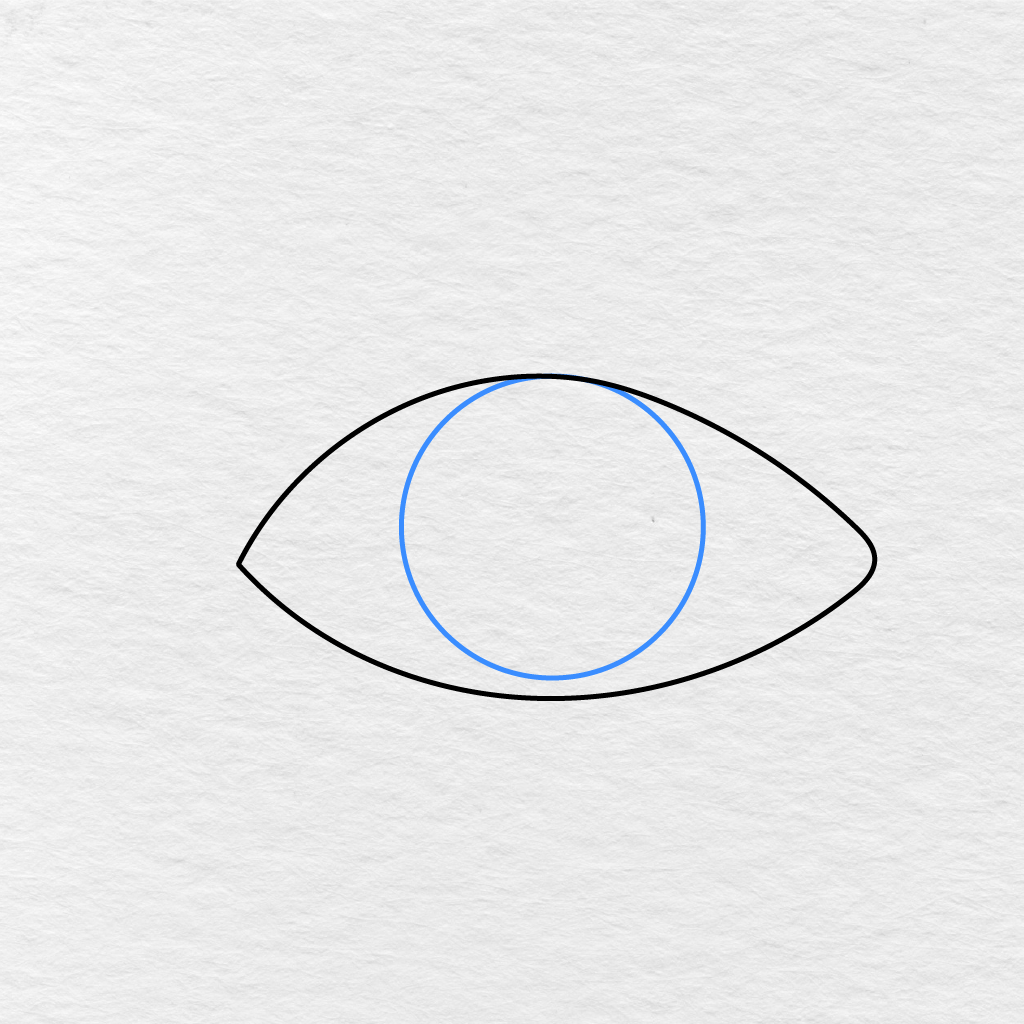
Within the outline of the eye, draw 1 large circle for the iris.
Make sure the top and bottom of the iris circle touch the top and bottom of the eye outline.
Step 3: Add the Pupil
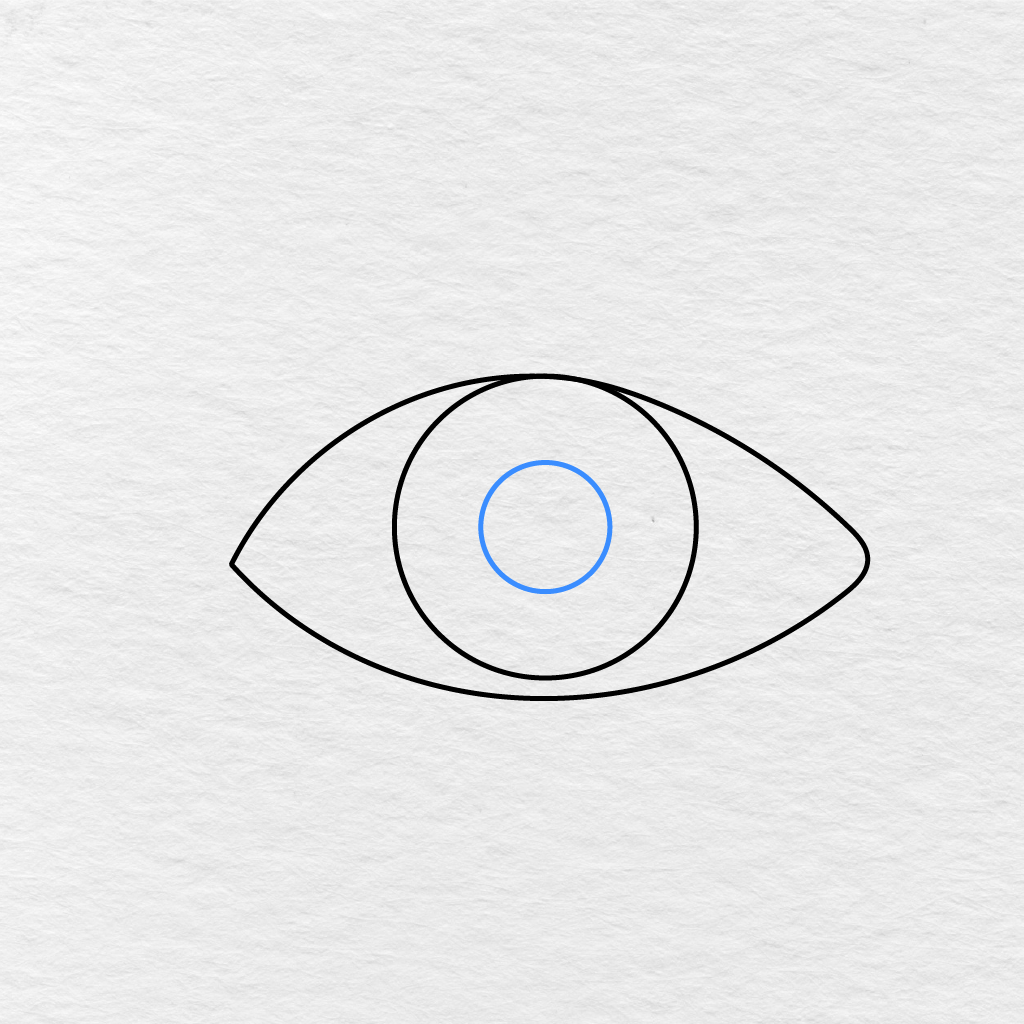
Within the iris, draw a smaller circle for the pupil.
Again, make sure to leave space around the pupil for the colored part of the eye.
Step 4: Draw the Eye Highlight
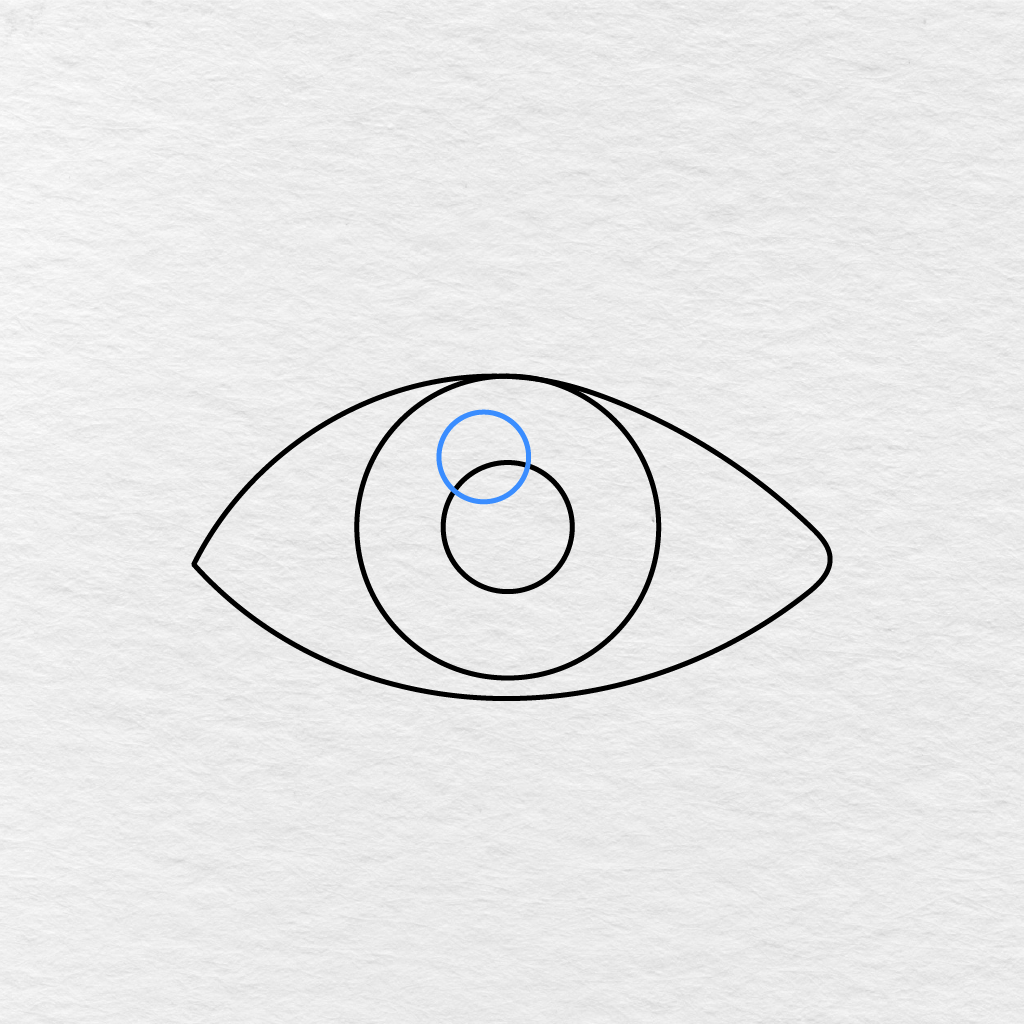
Draw a small circle inside the upper part of the pupil for the eye highlight.
Step 5: Add the Left Upper Eyelashes
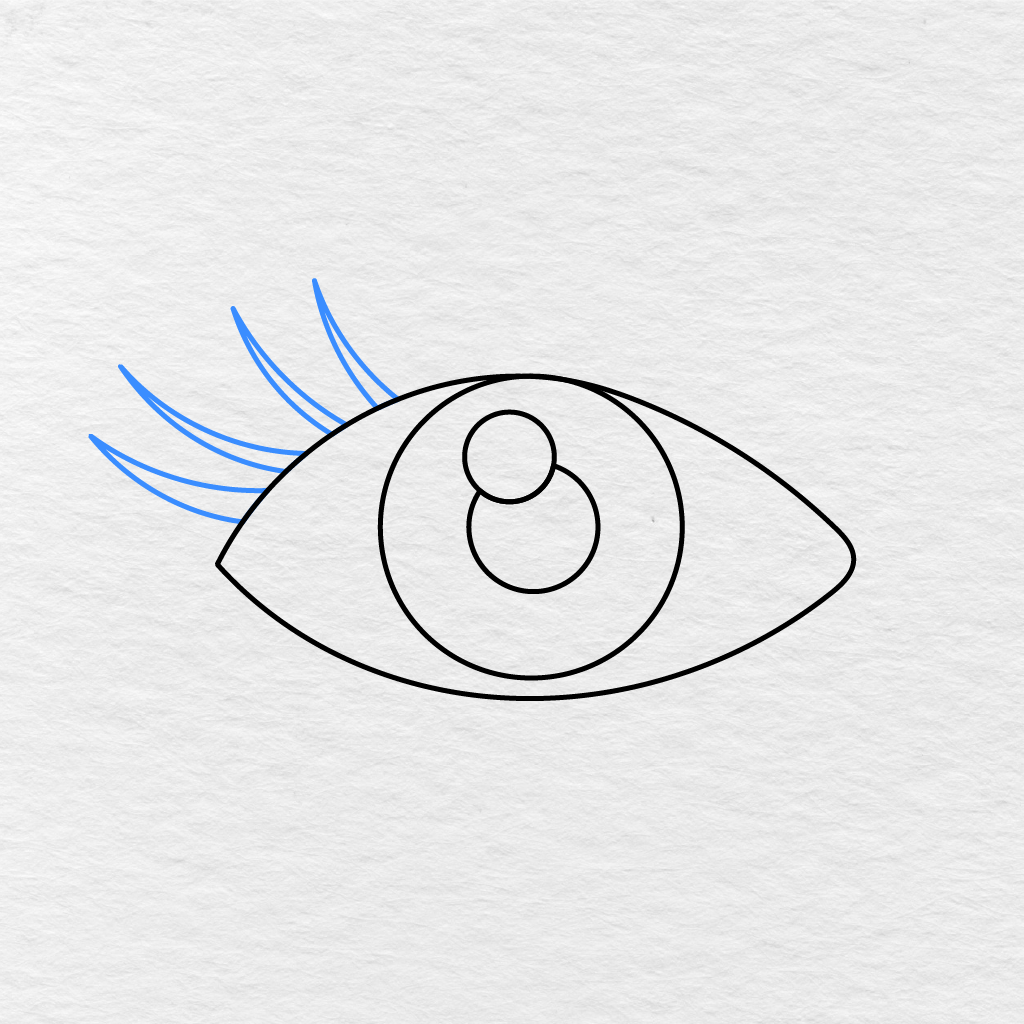
We will be adding eyelashes to the top of the left side of the eye. With long curved lines, starting at the middle of the left side of the eye, draw 4 pointed eyelashes above the eye.
Make sure each eyelash curves up and away from the eye shape.
Step 6: Draw the Middle Upper Eyelashes
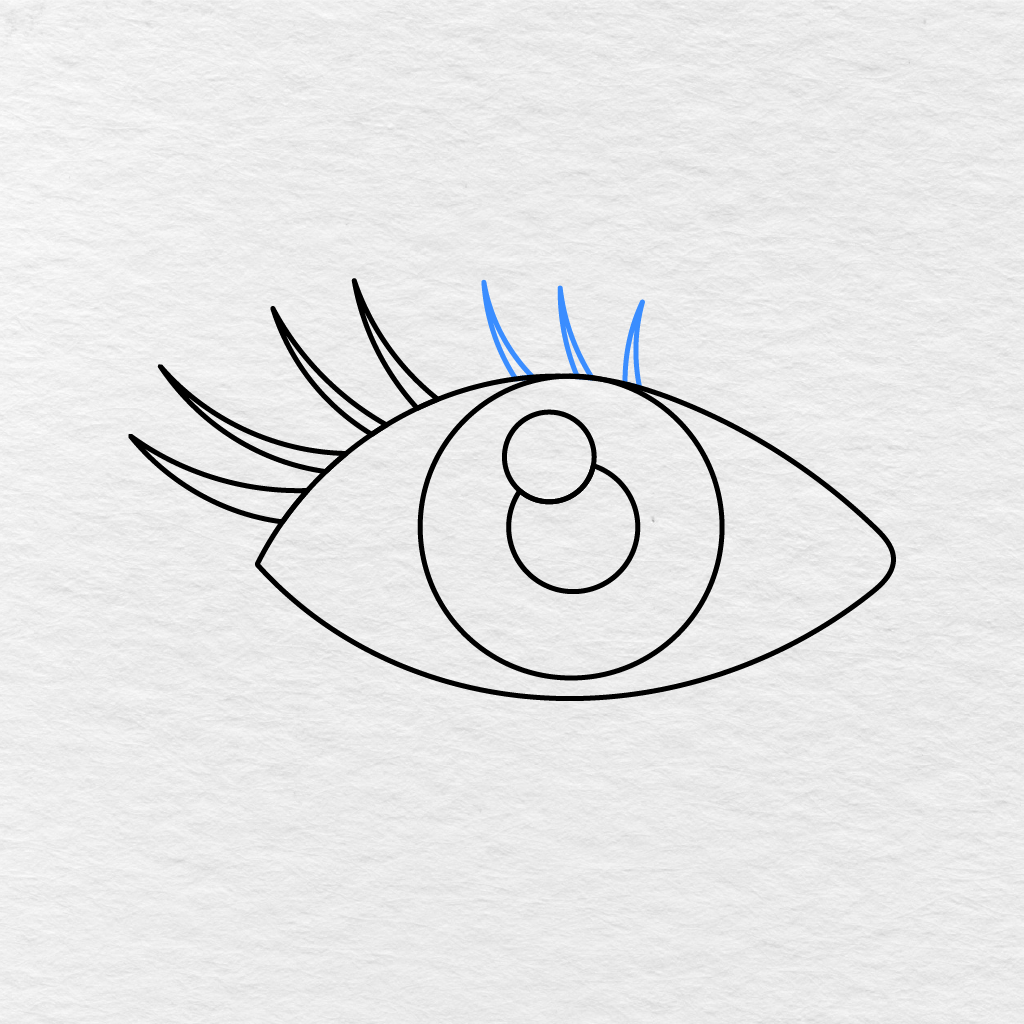
Draw 3 more pointed eyelashes in the middle of the top of the eye.
For each eyelash, draw 2 curved lines that connect at the pointed end.
Step 7: Add the Right Upper Eyelashes
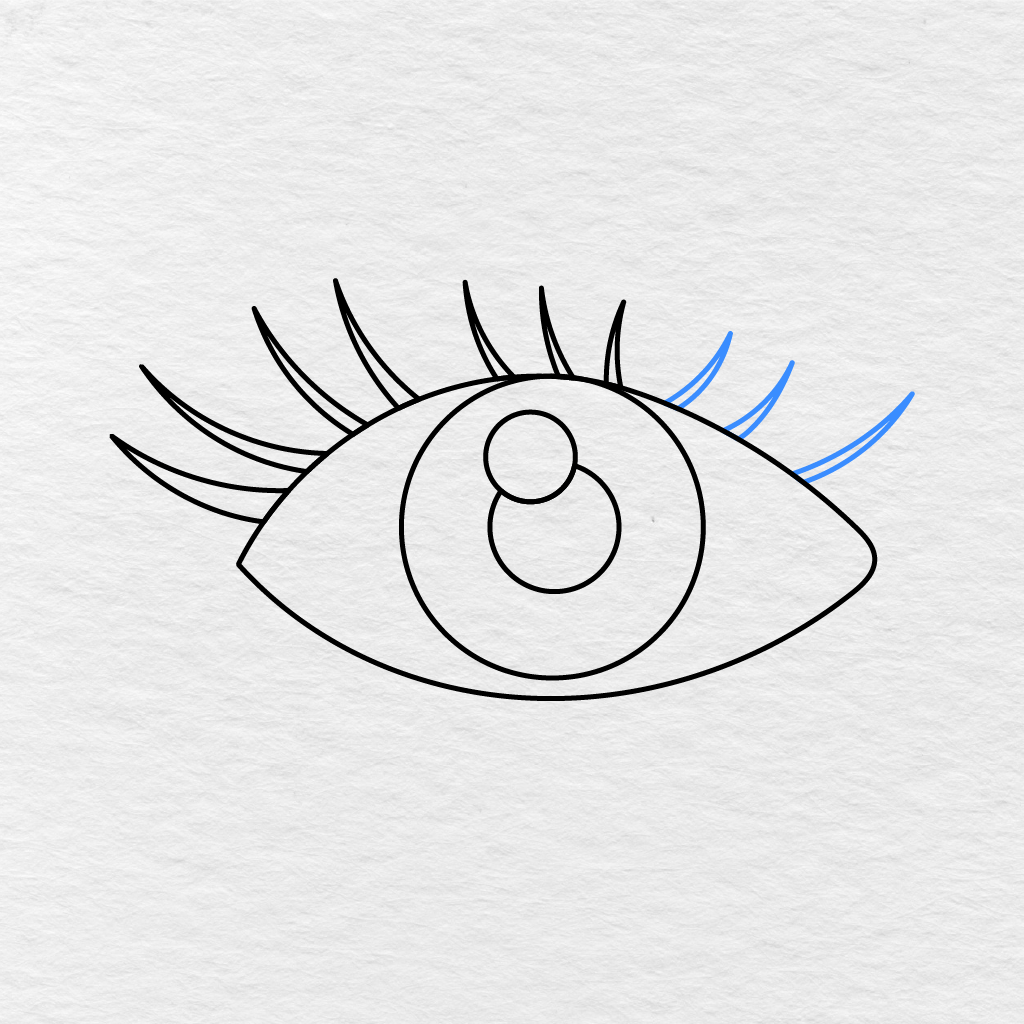
Draw 3 more curved eyelashes on the right side of the eye.
Again, try to vary the length and direction of these eyelashes, so they are not all the same size or direction. These eyelashes should curve along the top outline of the eye shape.
Step 8: Draw the Lower Eyelashes
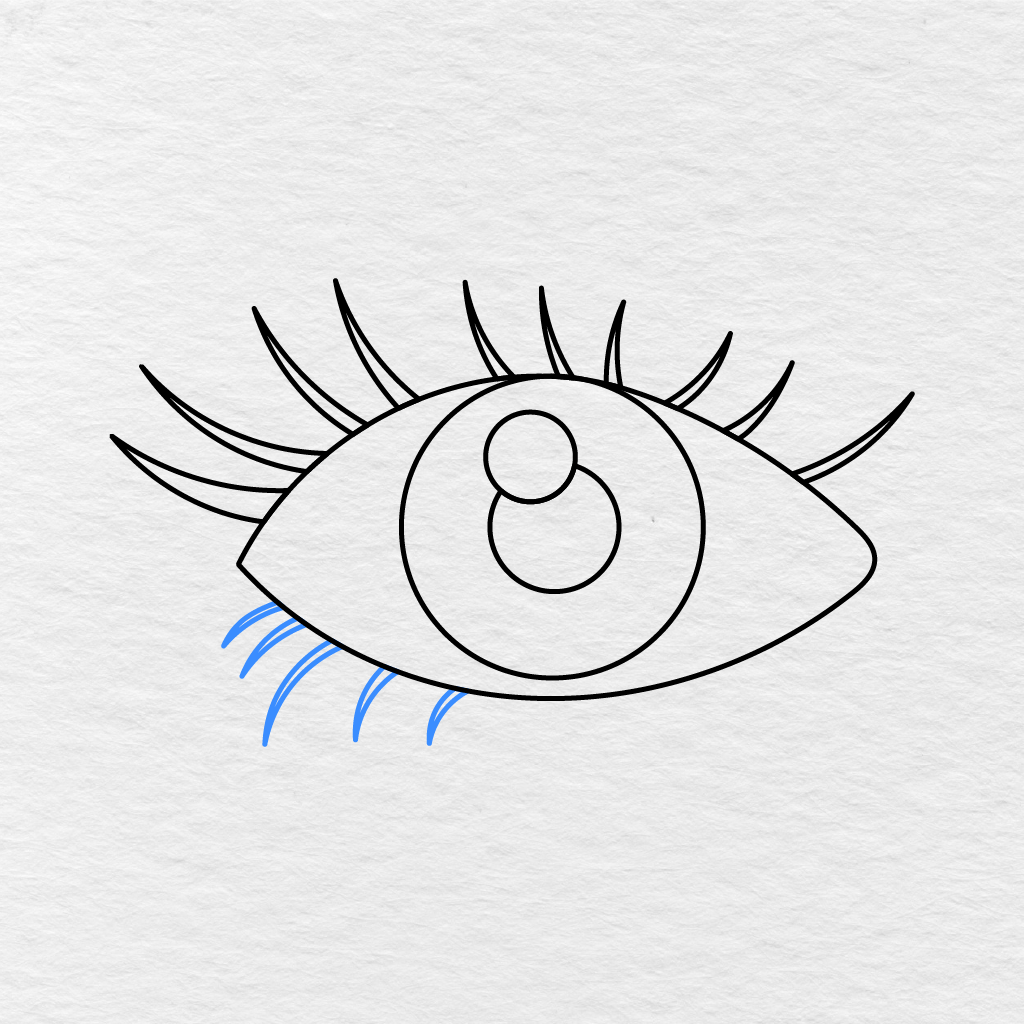
Now, we will be adding lower eyelashes to the lower left side of the eye. Draw 4 curved eyelashes pointing down and away from the eye. Make sure to leave some space between each eyelash.
Step 9: Color the Eye
Now it’s time to color our completed eye drawing.
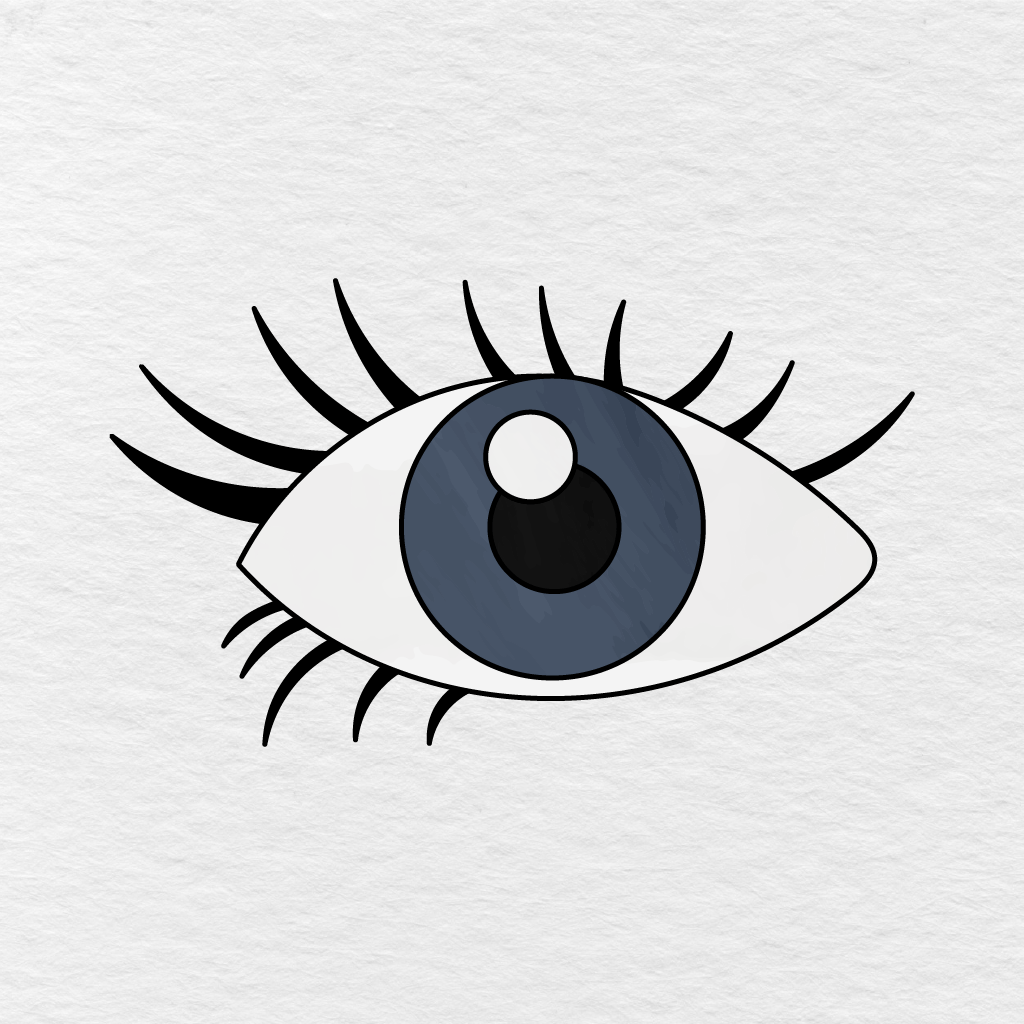
We colored our iris dark blue gray, and the pupil black with a white highlight. The rest of the eye is white, and all the eyelashes are black. You can follow our example, or color the iris brown, blue, green, hazel, purple, or any other color you would like.
Your easy eye drawing is complete!
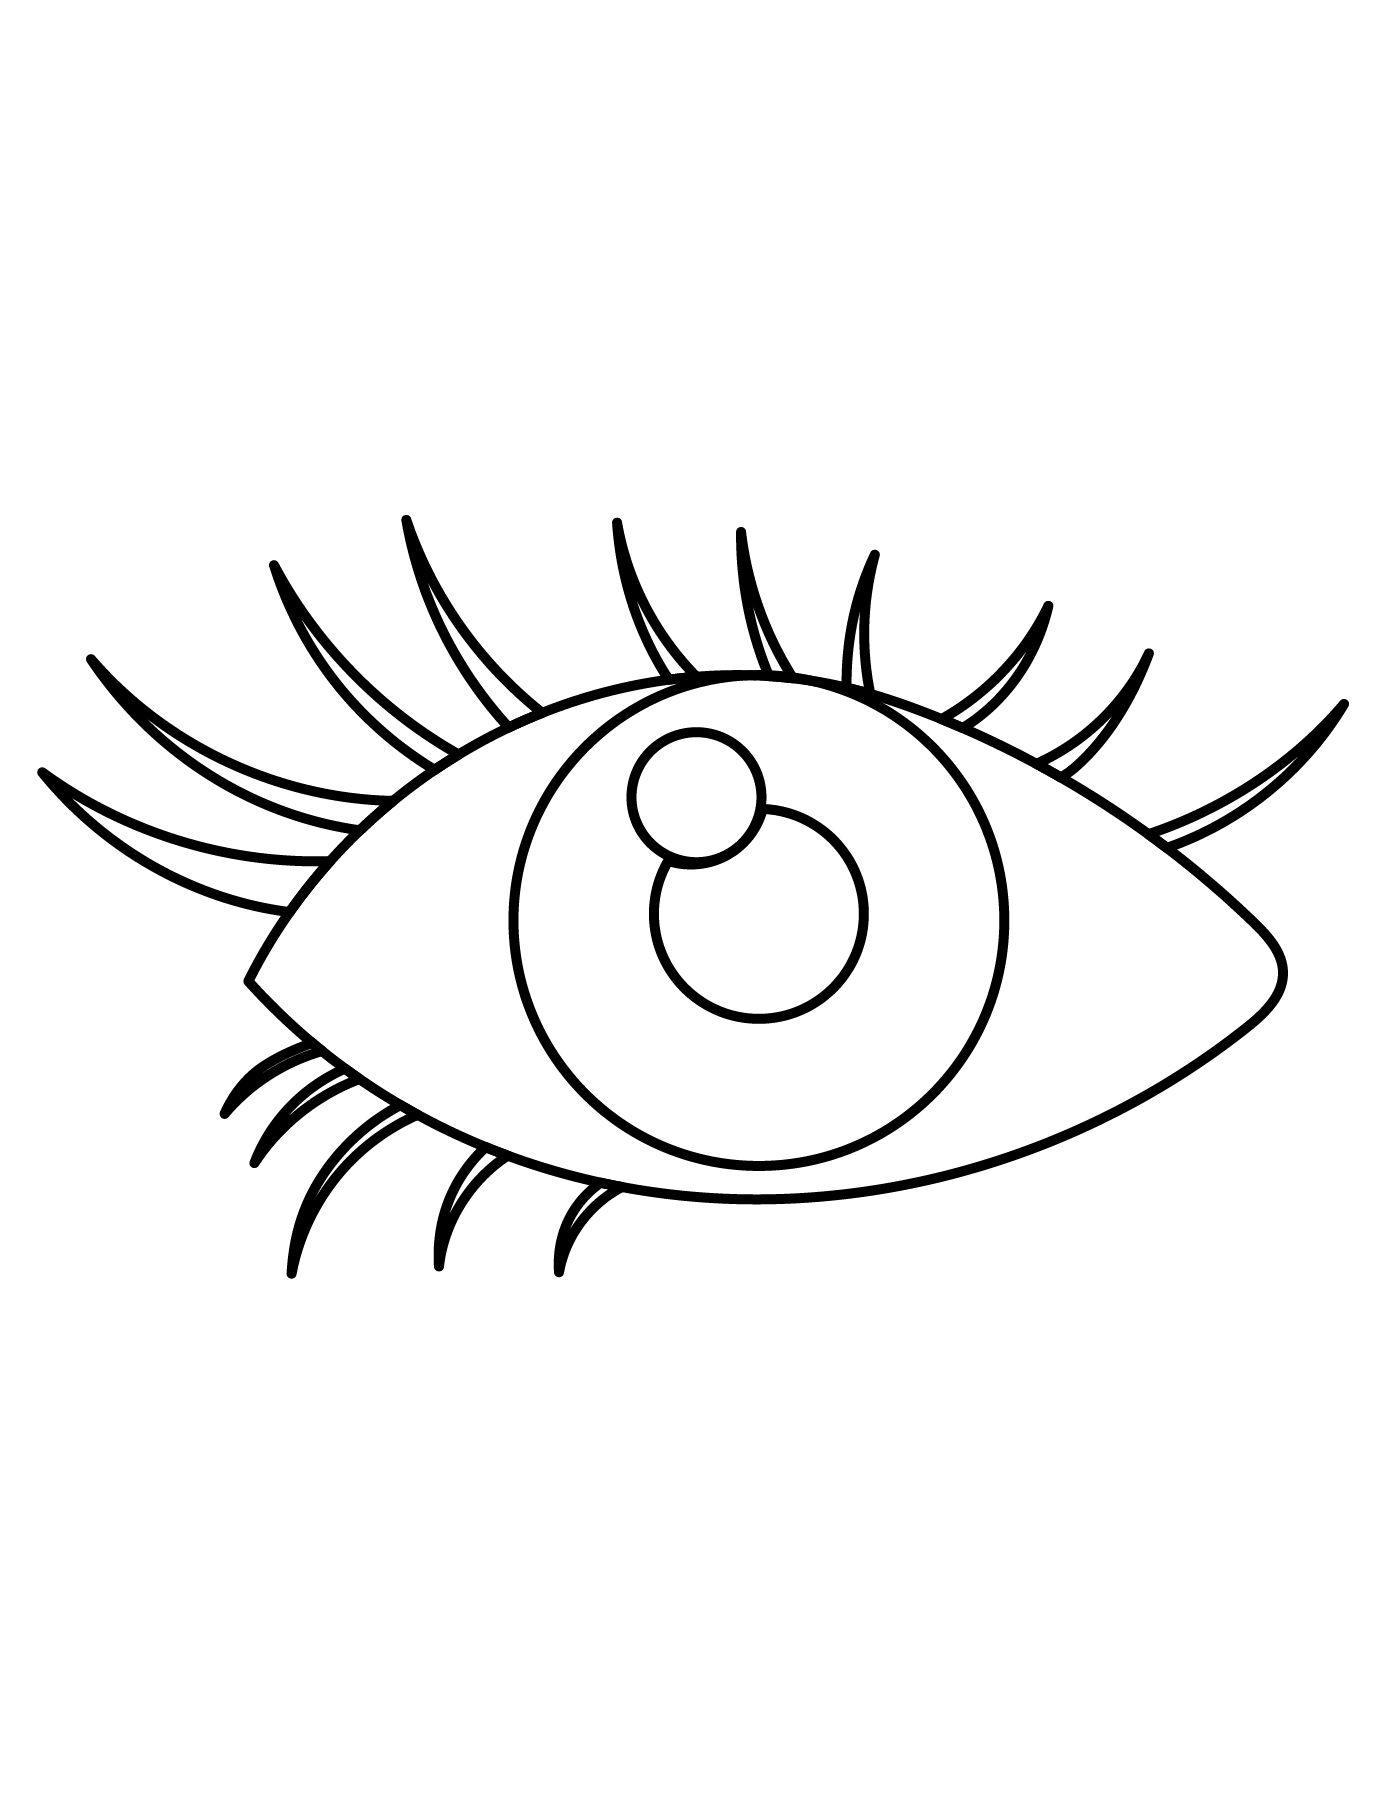
Printable Eye Drawing PDF
Below, you will find our printable eye drawing PDF that you can use right now or save for later.
If you would like another fun printable worksheet to go along with your eye drawing, make sure to check out our All About Me Worksheets.
What color did you choose for your eye drawing? Make sure to tell us in the comments below, and share this eye drawing guide with another parent, teacher, or friend.