How to Draw a Bear
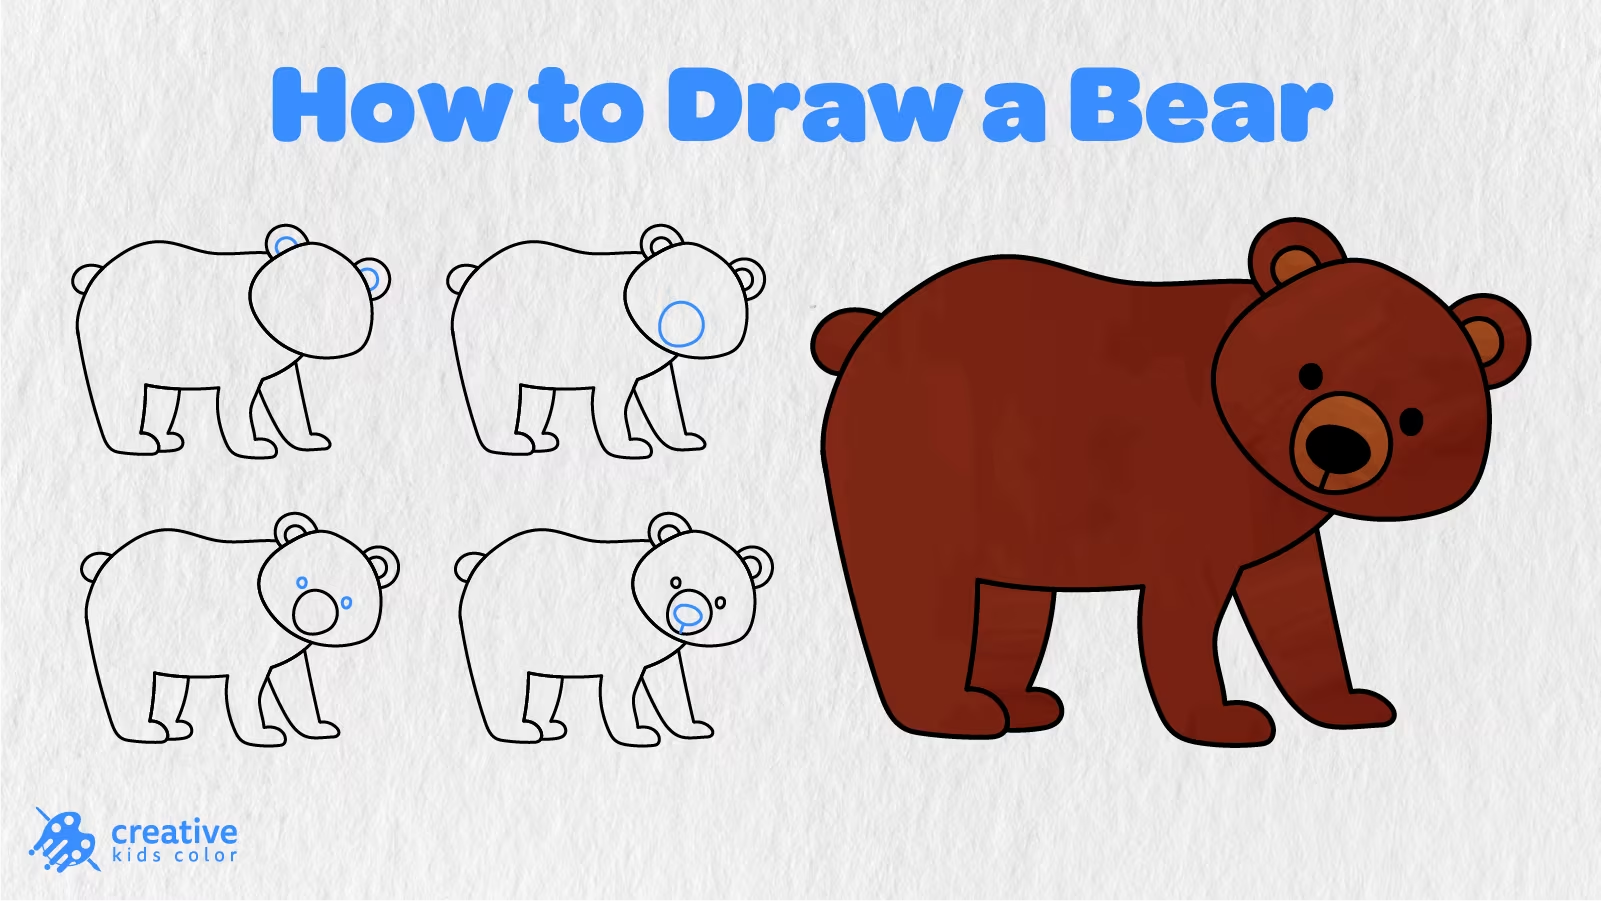
Bears can appear intimidating in the wild, but they are portrayed more innocently in stories, children’s shows and teddy bears. Their plump ears, big bodies, small tails and sweet faces make them a fun animal to draw without having to worry too much about intricate details. In this step by step tutorial you’ll learn how to draw a bear in 9 easy steps.
This bear drawing is perfect for kids and beginners, as you’ll only need to follow simple instructions to add the bear body, head, ears and face. You’ll also learn how to finalize your animal art by adding the nose, mouth and coloring.
Although this drawing can seem big at first due to the bear’s body and head, much of it is made of simple curved and rounded lines. After adding the little ears, eyes and nose, this intimidating looking bear is ready to appear in your children’s storybook!
Easy Bear Drawing Step by Step
Before you begin, make sure you have a pencil, paper, eraser and coloring tools.
The blue lines in the images below indicate the lines you should add in each step.
Step 1: Draw the Bear Body

Begin by adding simple rounded lines that form a big body. Create curves on the bear back and make the left side of the body a bit broader and rounded.
For now, add the big outlines of the bear body so you can leave enough room on the right for the bear head and front legs.
Step 2: Add the Bear Head and Main Legs
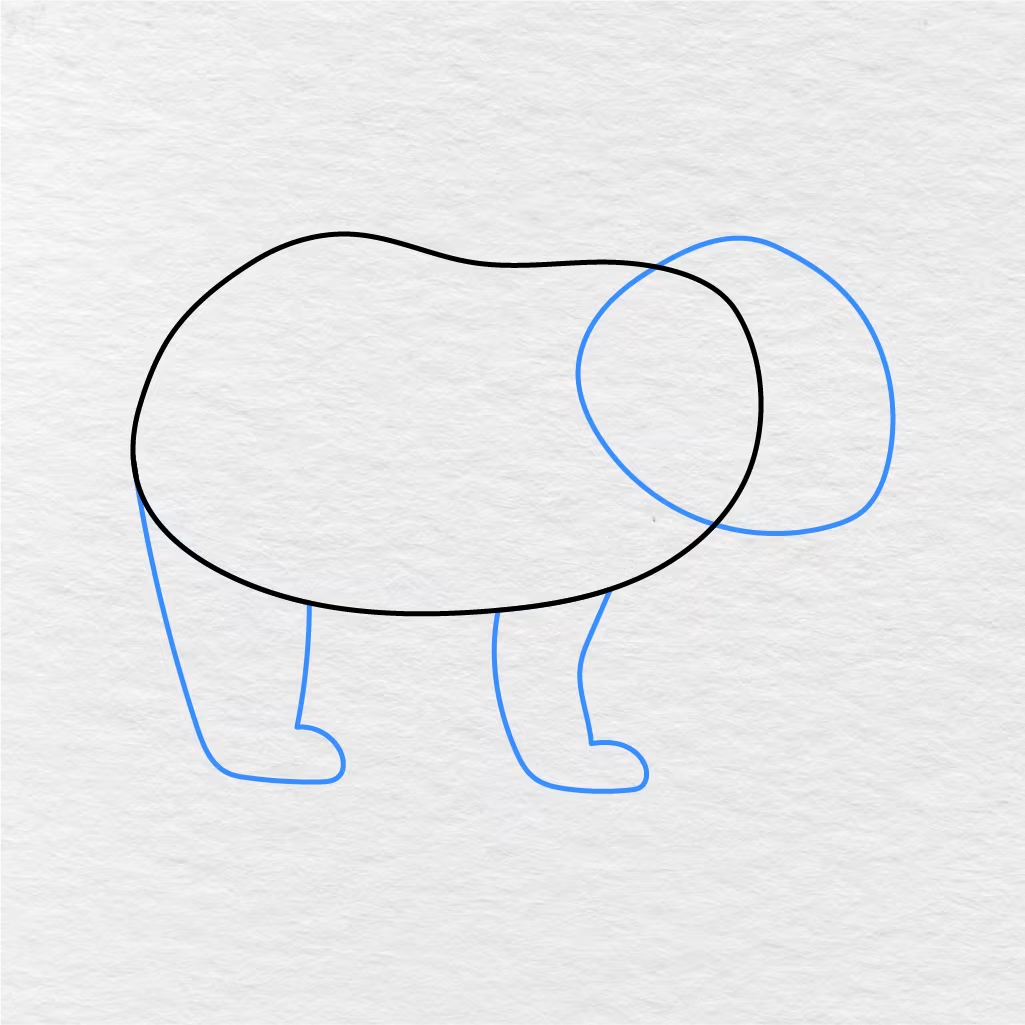
Add a big rounded bear head on the right side of the body. Then use rounded lines again to add the main leg shapes at the bottom of the body.
Once again, don’t forget to leave enough space for the front legs and make the bear head slightly slanted.
Step 3: Draw the Tail and Extra Legs
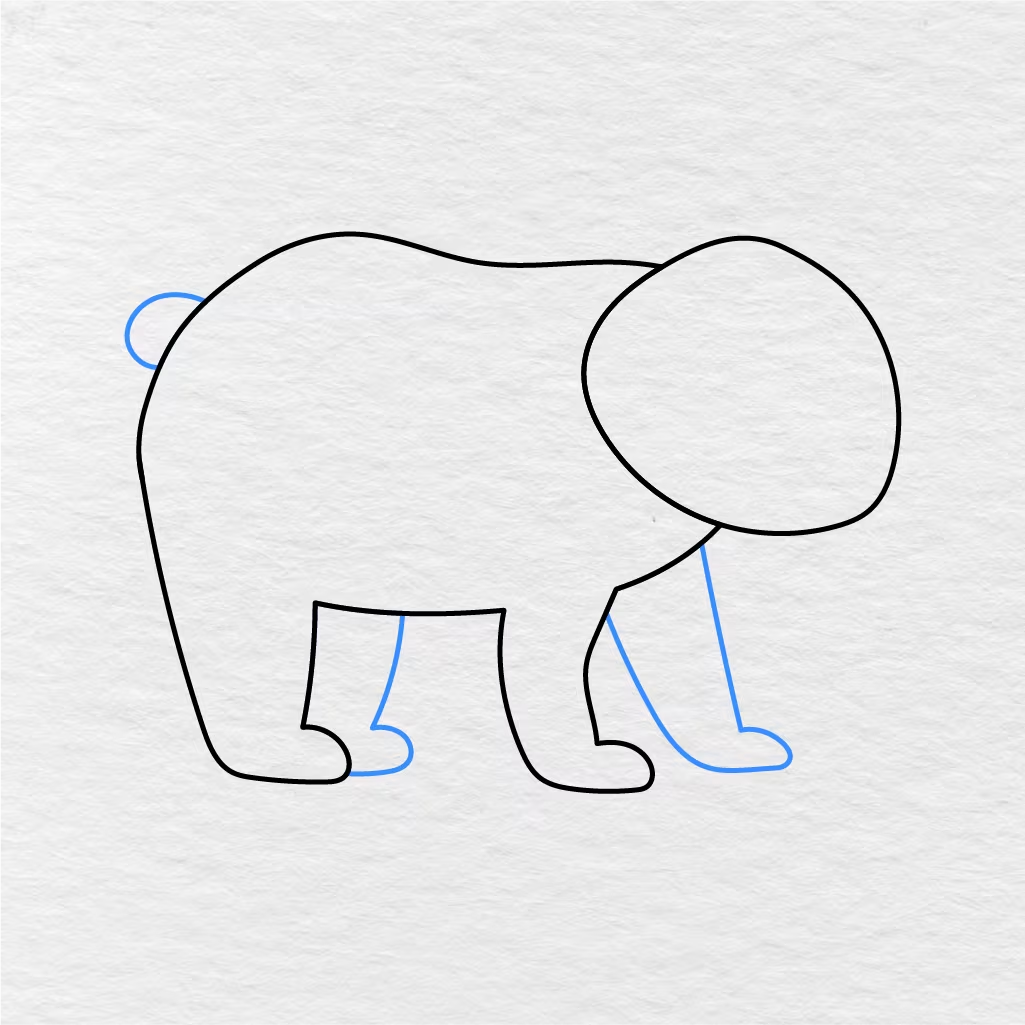
Add a small rounded tail at the end of the bear body. Then add extra leg lines to make the front, back and middle legs more visible.
The bear tail and extra leg lines are important to define the whole bear figure and help it stand out.
Step 4: Add the Bear Ears
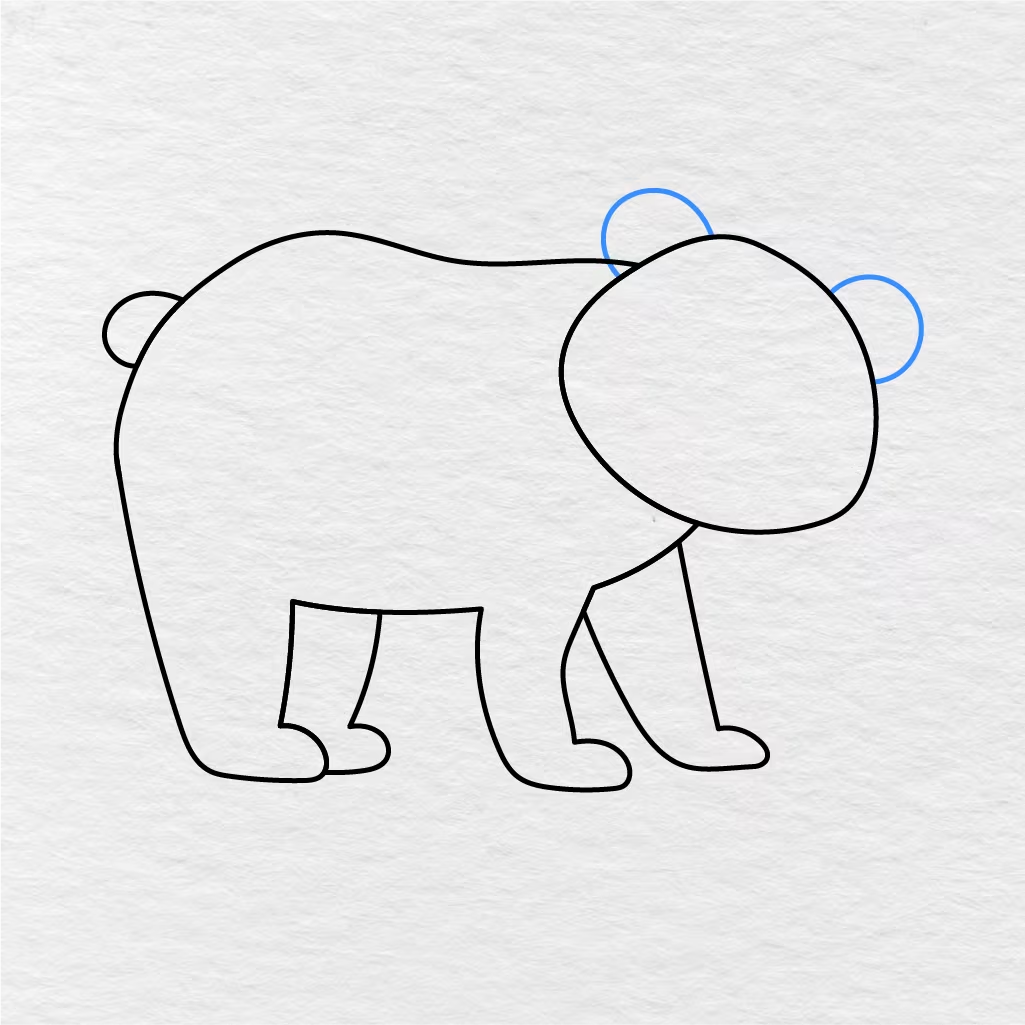
Add two rounded ear shapes to the bear’s head. Add one ear on the top of the head and another ear on the far side of the head.
Although the bear ears are just simple rounded or oval shapes, they will help define the whole bear figure.
Step 5: Add the Inner Ear Shapes
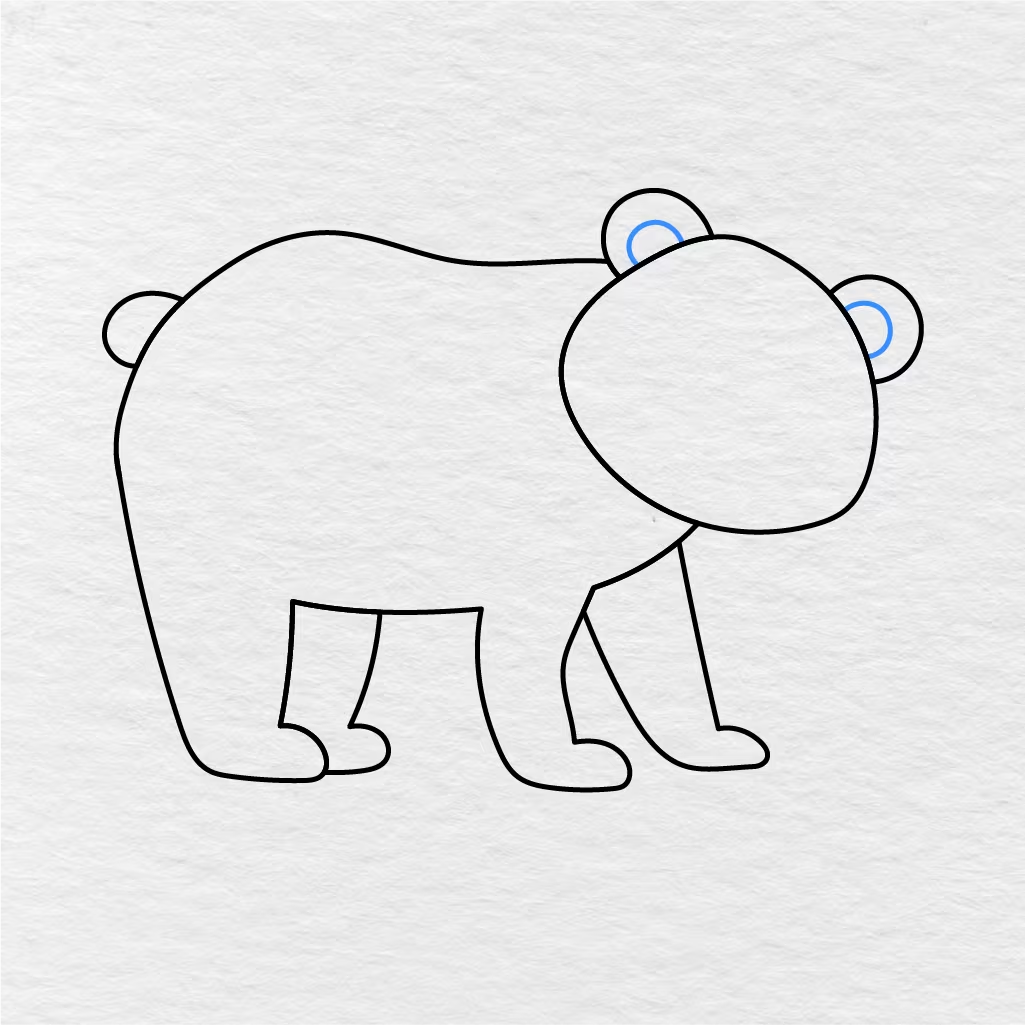
Now, add smaller rounded or oval shapes inside the two ears on the head to create the inner ear details.
Step 6: Add the Muzzle
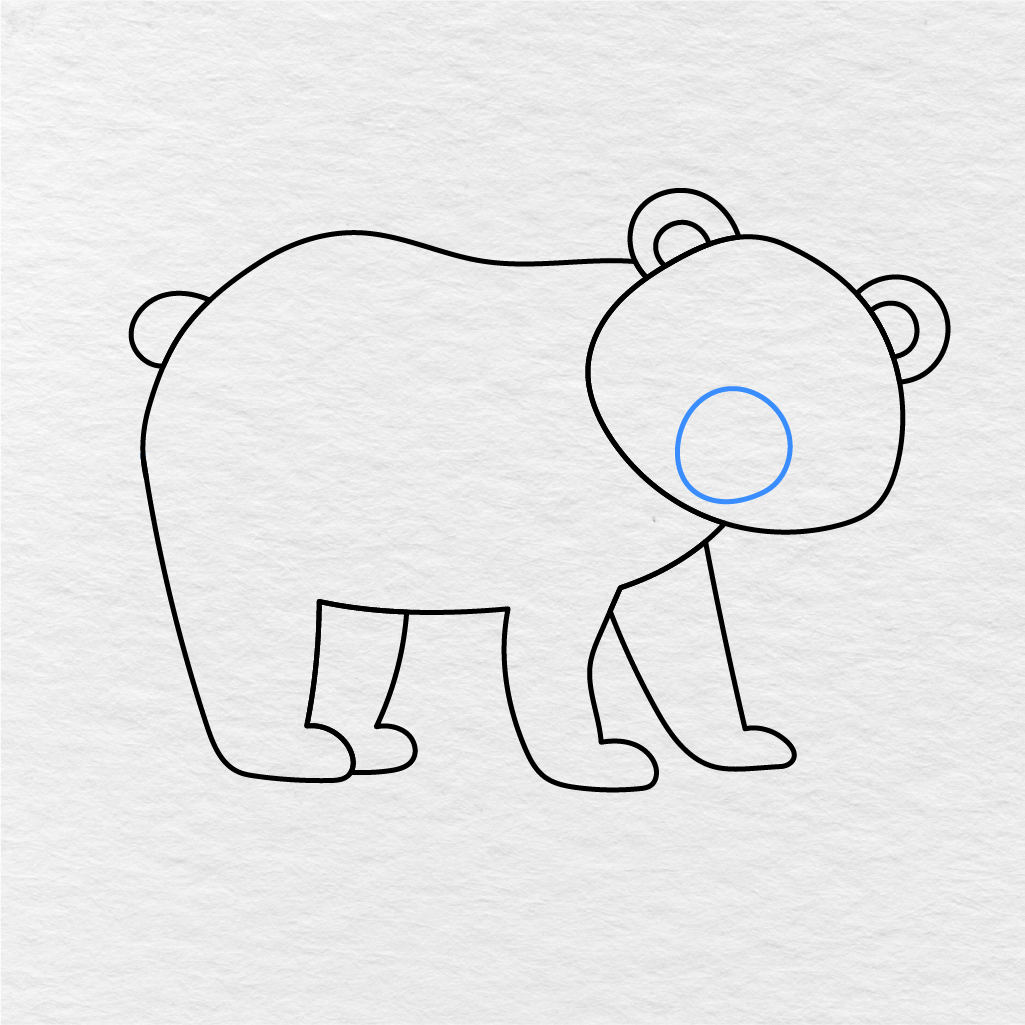
Add a rounded muzzle shape at the bottom part of the head to define this part of the face and prepare it for the next steps.
Step 7: Add the Eyes
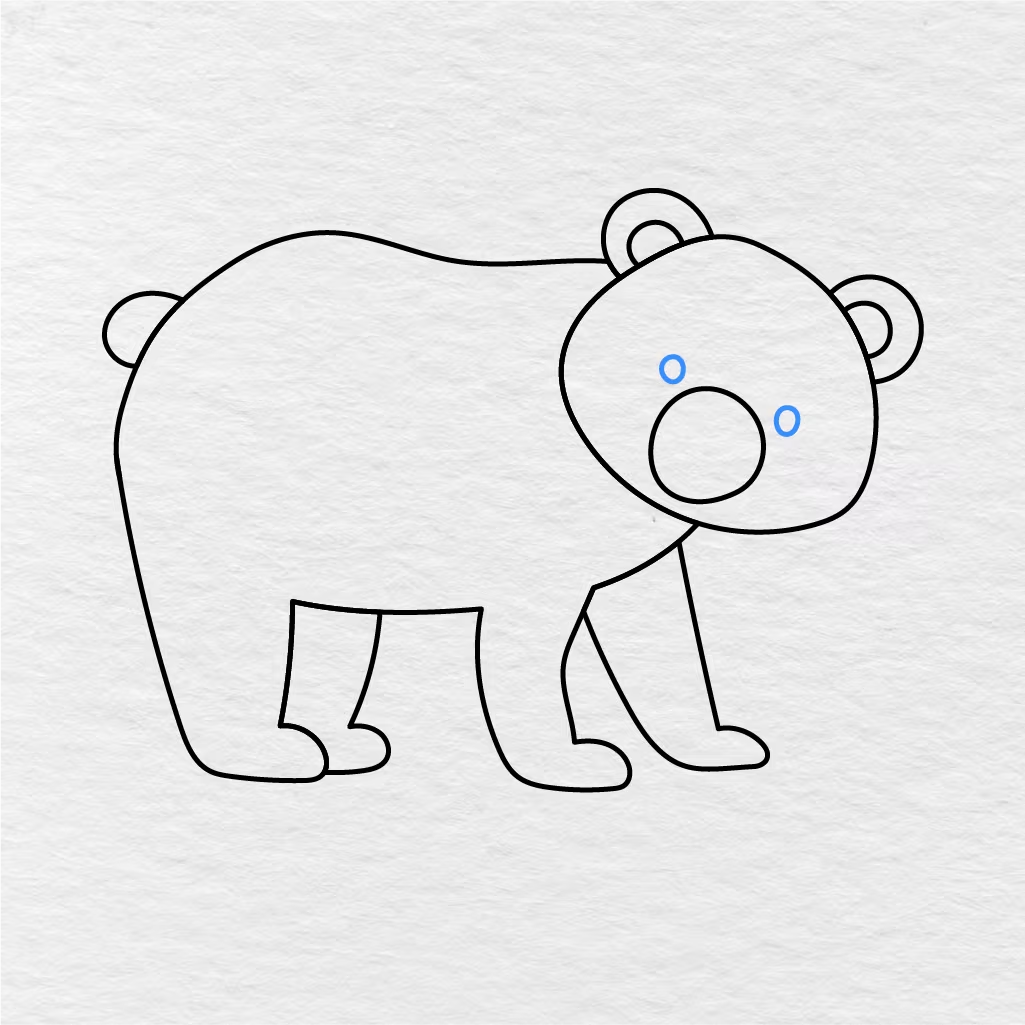
Add two small oval shapes for the bear eyes. Add one eye above the small muzzle you’ve added in the previous step and another eye to the side of it.
Although the eyes are small, they are an important part of the bear’s face. Make sure you add simple, visible oval shapes.
Step 8: Add the Bear Nose and Mouth
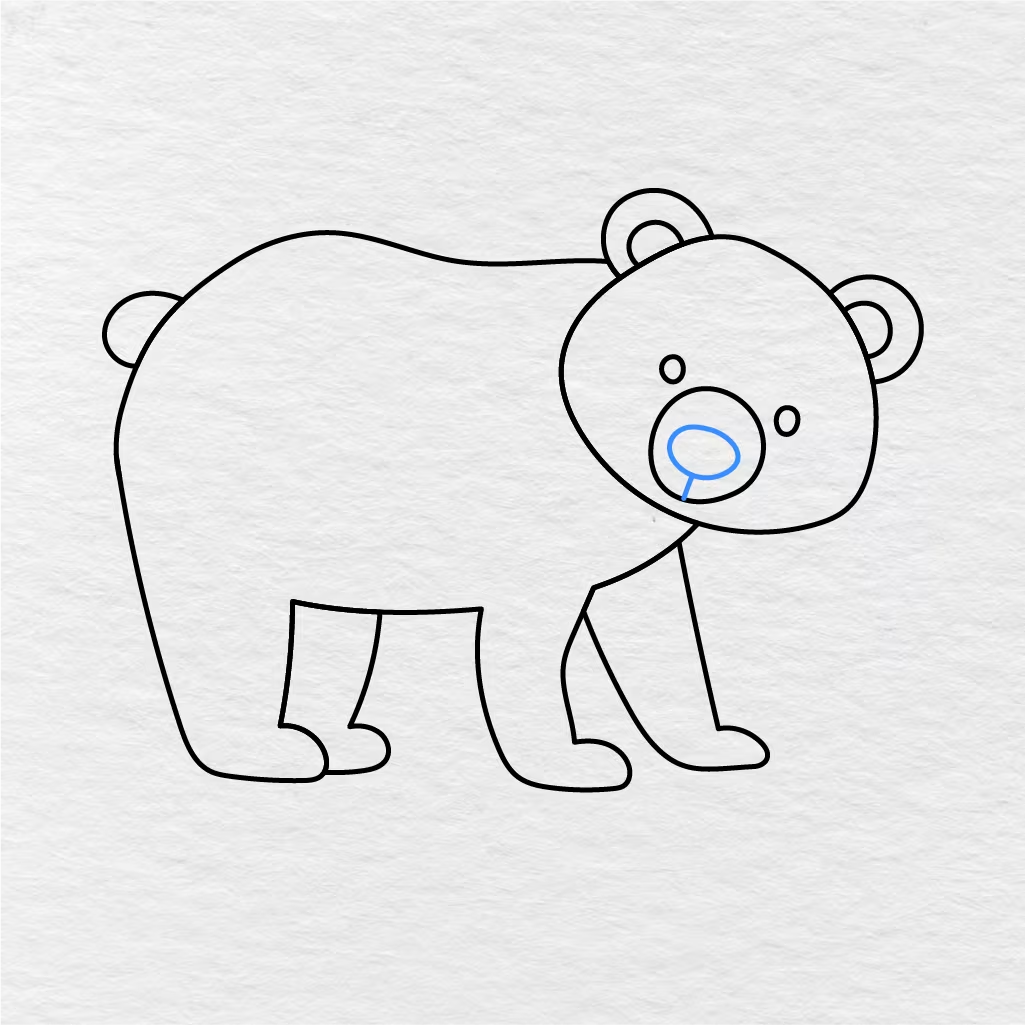
Add an oval bear nose inside the muzzle you’ve created in step 6. Then add a small line at the bottom of the oval to finish the bear mouth.
The bear face is now complete and you can begin to color the drawing. Step 9 is to color your bear.
Step 9: Color the Bear
Use the image below as an example and color your bear with the coloring tools you’ve selected.
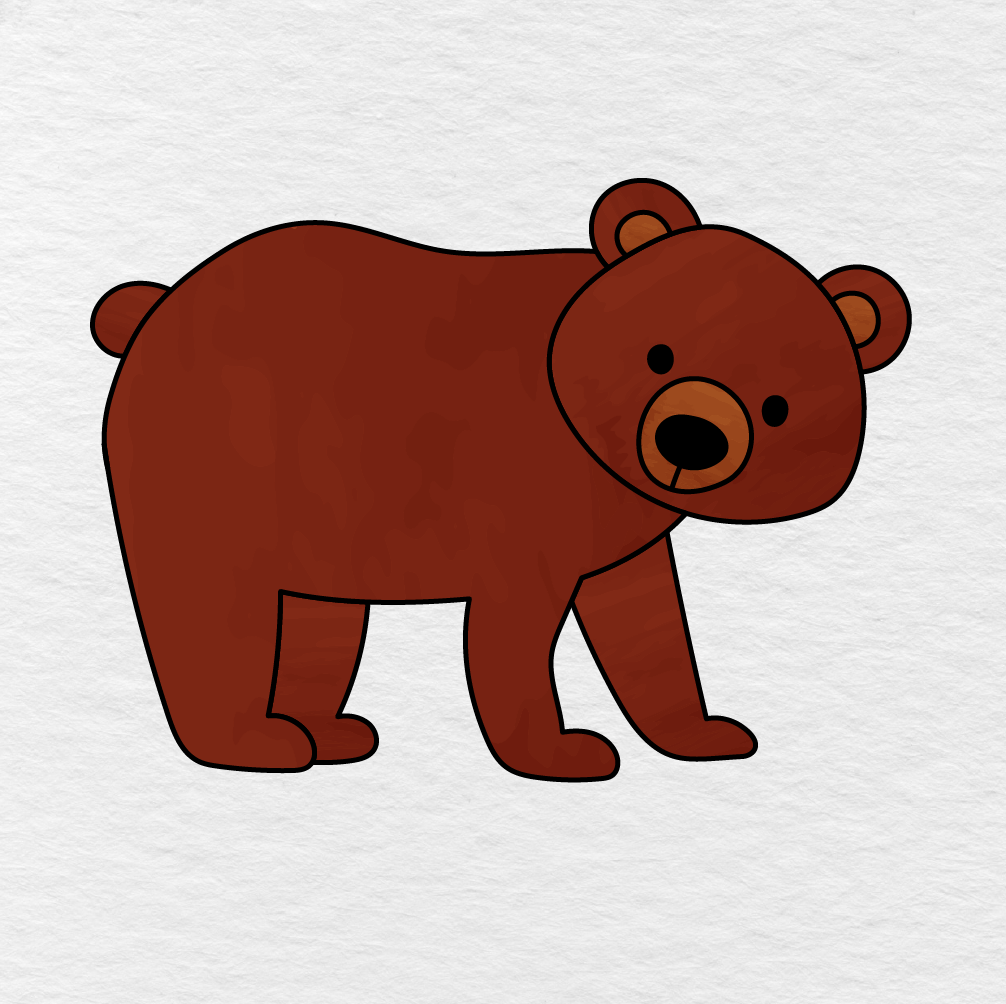
In our example, we’ve used dark brown for the bear body, light brown for the muzzle and inner ears. We’ve also used black color for the eyes and nose. You can choose to use different colors, shades or even make the bear drawing appear lighter.
Now that you’ve colored your bear, your easy bear drawing is complete.
Printable Bear Drawing PDF
You can also print the bear drawing below as a PDF file and complete it as a coloring page.
The image below shows the bear without the added colors, so you can print it for your kids, students or friends. They can color it in and use it as a reference for their own easy bear drawings.
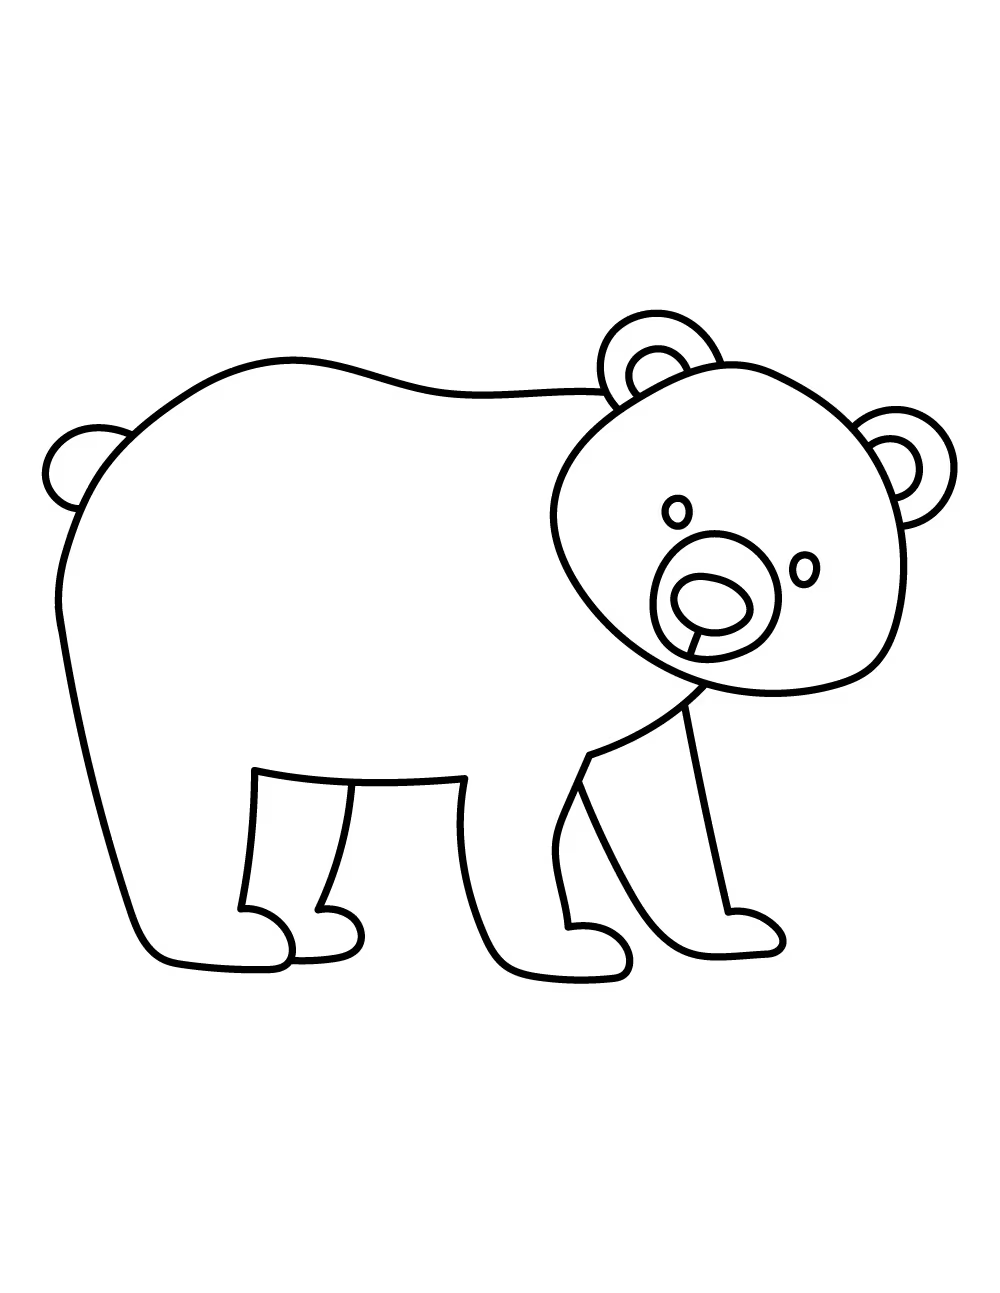
Let us know in the comments below if you and your kids or students enjoyed this activity. Don’t forget to share this page with another parent, teacher or friend!