How to Draw a Wolf
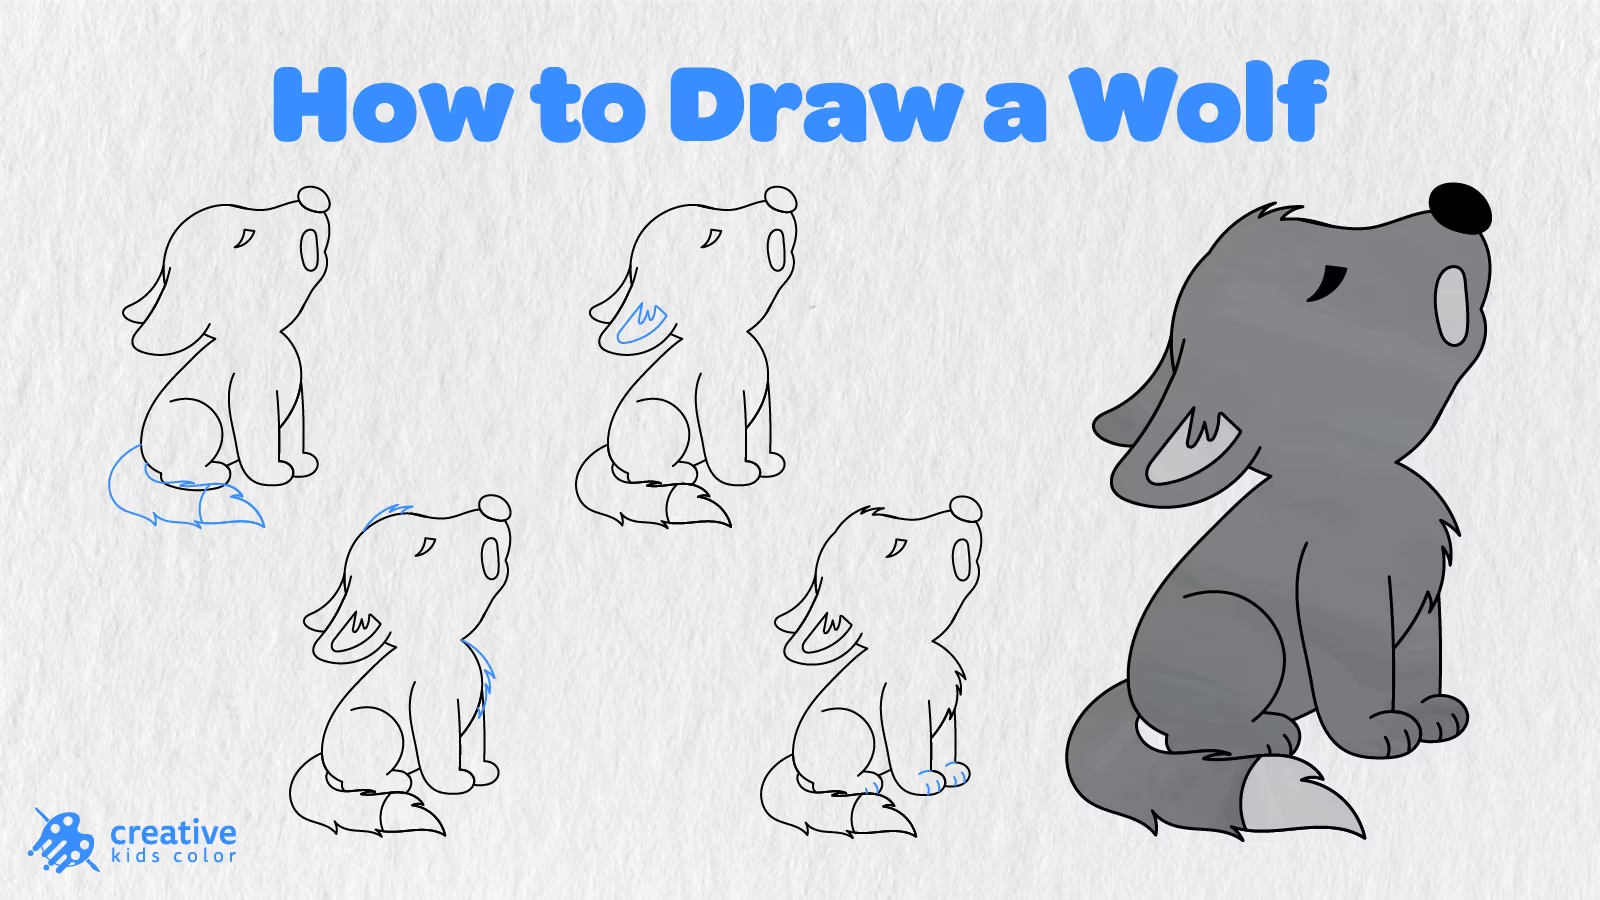
Wolves are an amazing part of the wilderness ecosystem. They travel in packs and howl to one another. The howl of the wolf is a sound that many people associate with the animal. In this tutorial, you will learn how to draw a wolf in 11 easy steps.
This easy how to draw a wolf guide is designed for kids and beginners. We will begin with two large guide shapes and build the legs, head, snout, ears, face, tail, fur, paws, and color.
Our wolf is sitting and howling as if calling to the pack. Work with the blue lines in each image and you will see that the basic circles and shapes become a wolf drawing step by step.
Easy Wolf Drawing Step by Step
Grab a pencil, paper, eraser, and coloring tools. The first guide shapes should be light because we will erase them as the wolf begins to take shape.
Step 1: Draw the Head and Body Shapes
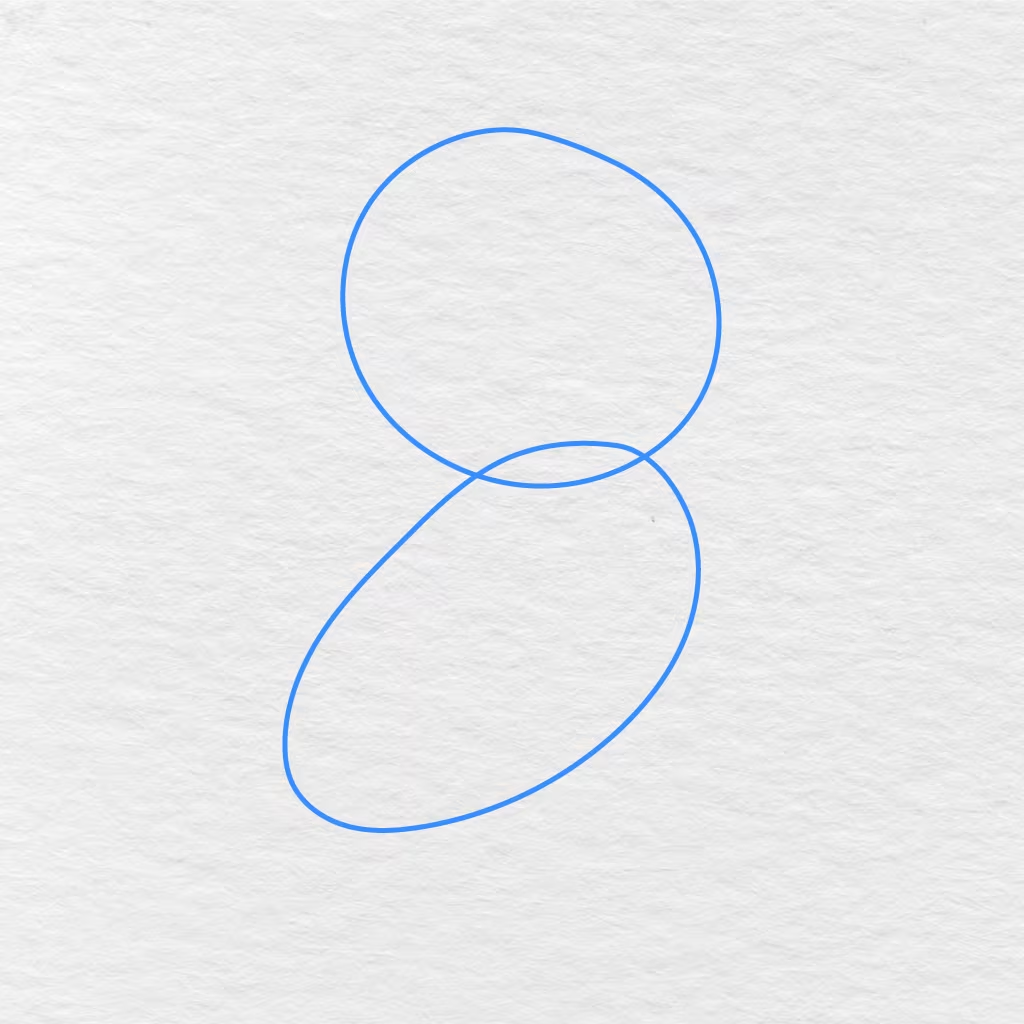
We will begin by drawing a large circle for the head of the wolf.
Underneath the head, we will add a long, tilted oval for the body. The two shapes should overlap slightly in the neck area.
Step 2: Add the Front Legs
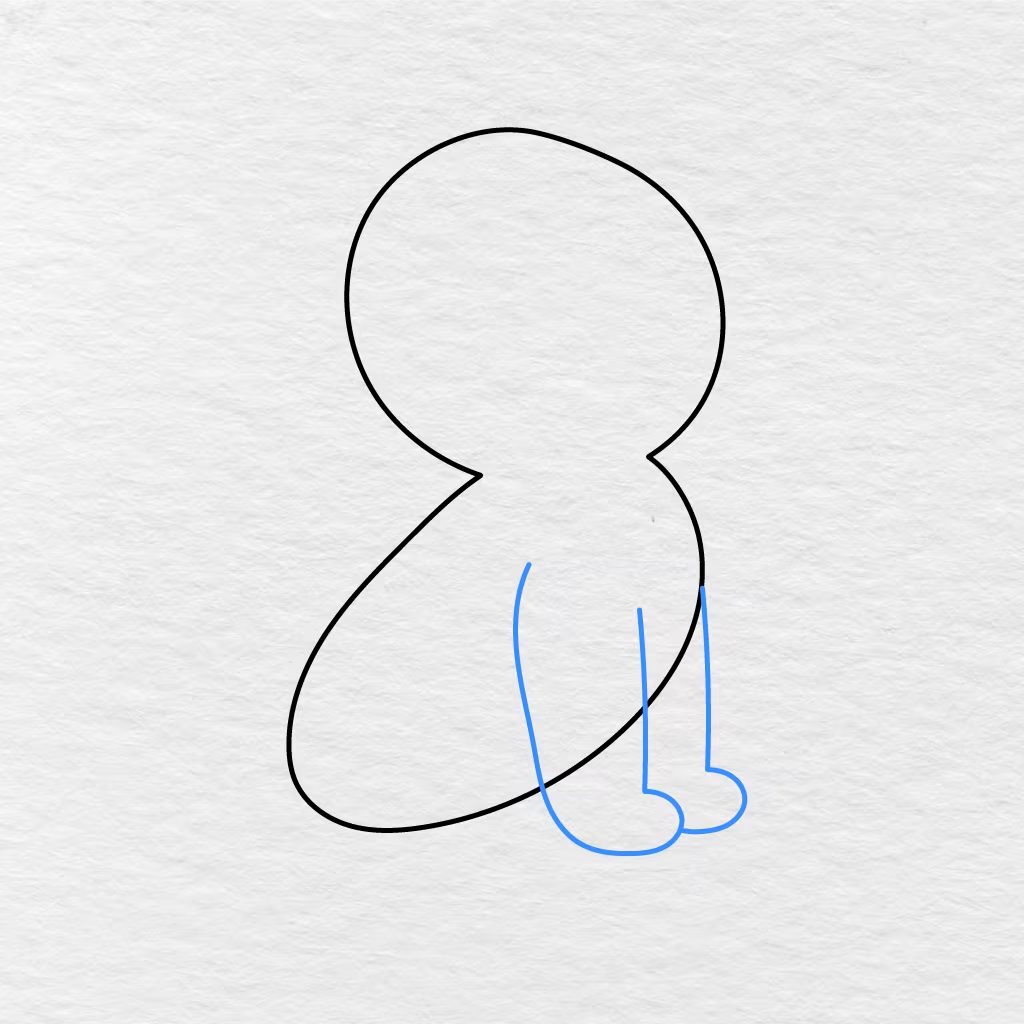
Draw two long front legs on the lower right side of the wolf’s body.
The front legs should extend downward and end with small rounded paws. One leg is placed in front of the other.
Step 3: Draw the Hind Leg and Paw
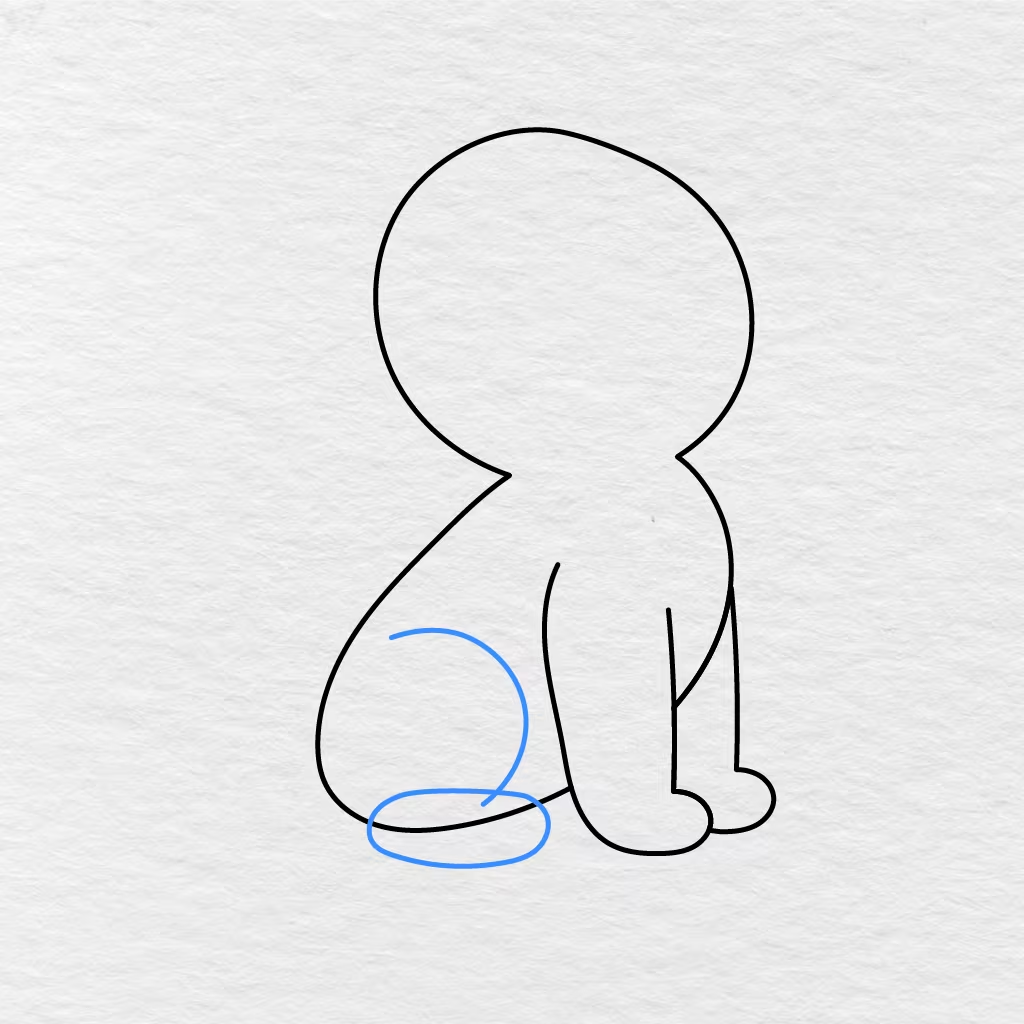
On the lower left side of the wolf’s body, we will add a large rounded shape for the bent hind leg.
Underneath it, we will add a flat oval for the back paw. The shapes can overlap one another because the extra lines will be erased later.
Step 4: Shape the Head and Snout
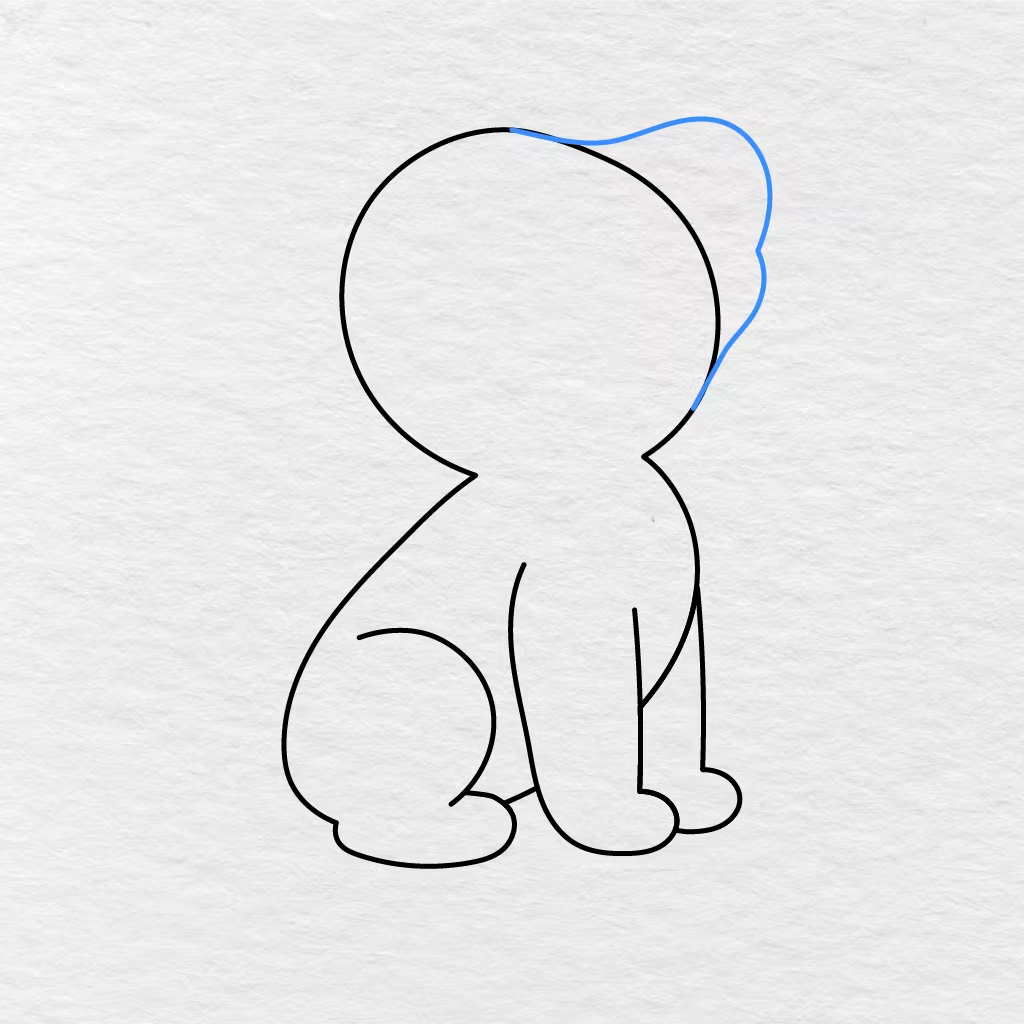
Now, we will begin shaping the round head guide into the profile of the wolf.
Draw a slightly uneven line across the top of the head and continue it forward into the raised snout. Bring the line down towards the neck following the blue section in the image.
Erase the extra section of the round head guide after completing the new line.
Step 5: Add the Ears
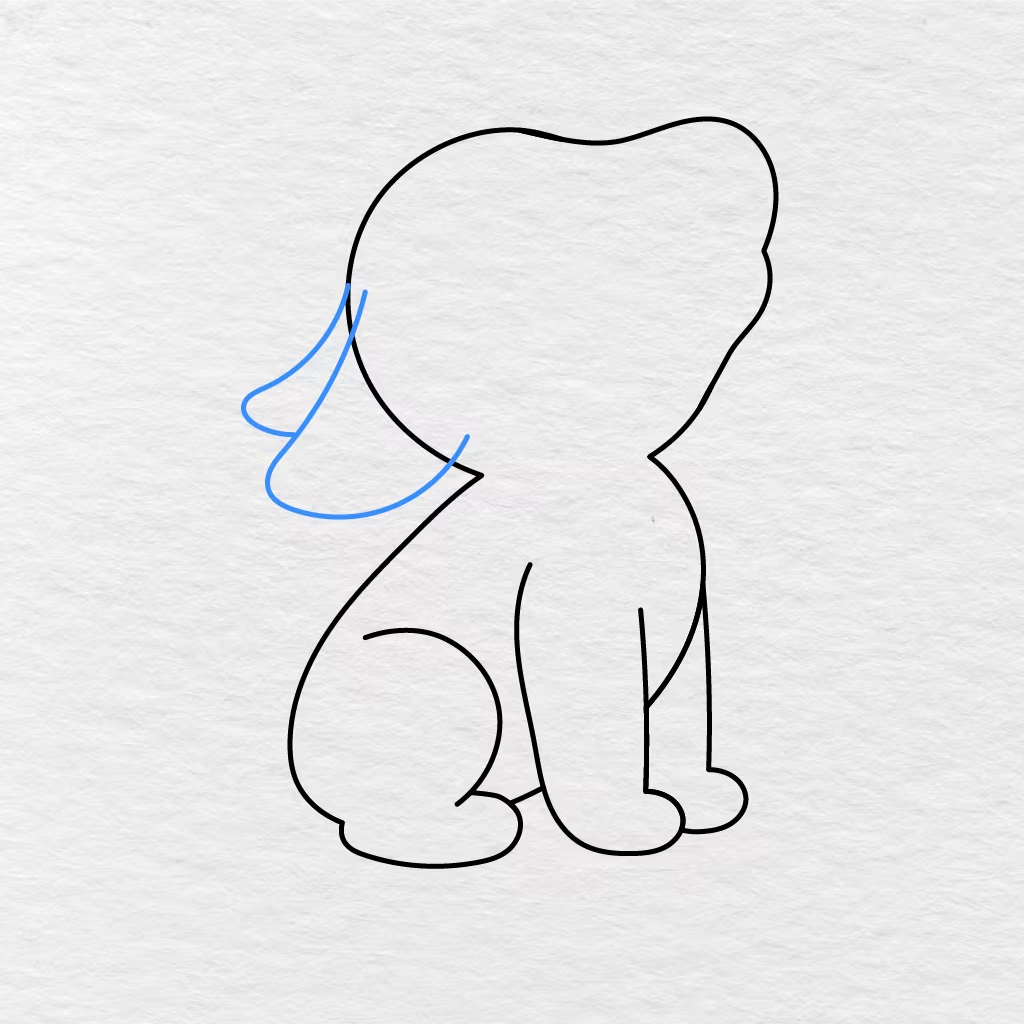
Draw two ears that extend backward from the left side of the wolf’s head.
The ears should be long and curved with pointed ends. One ear is placed slightly behind the other and should be drawn a little smaller.
Step 6: Draw the Facial Features
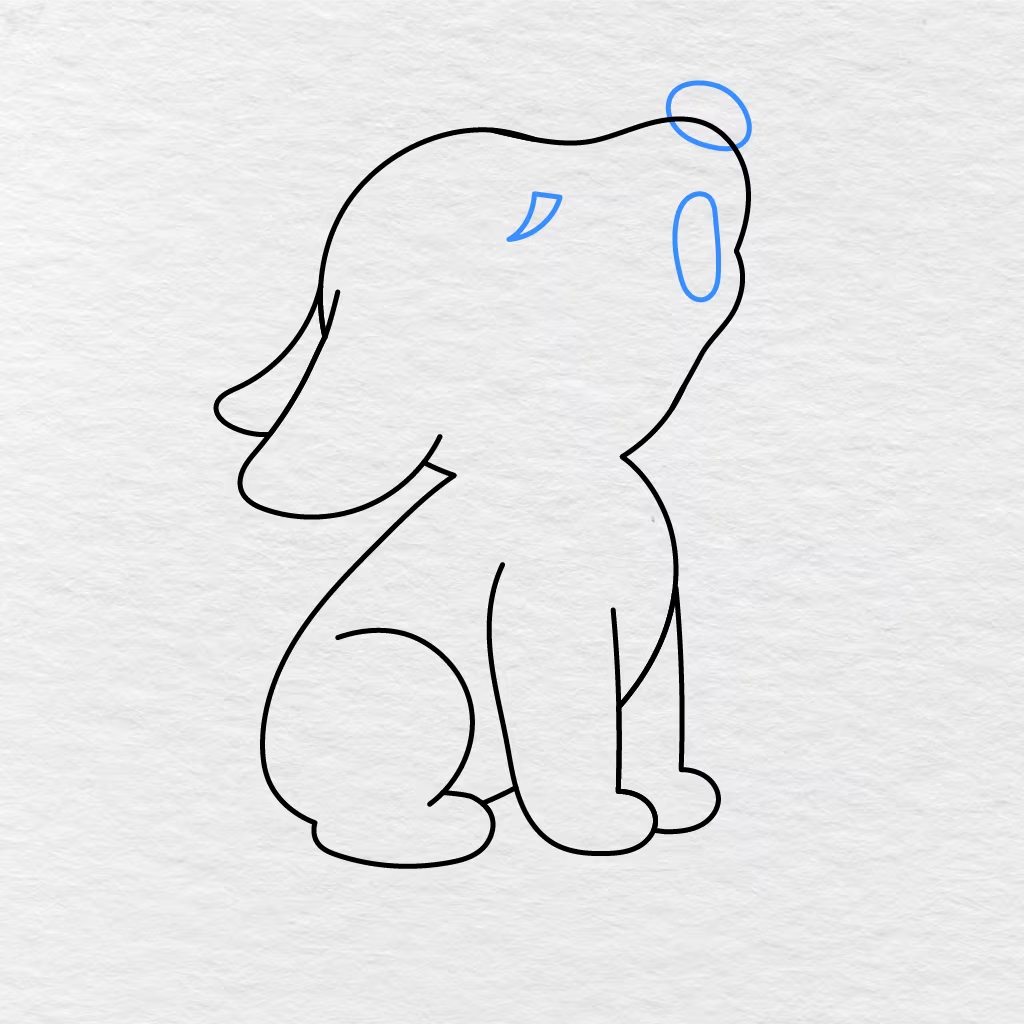
Add an oval nose at the raised snout of the wolf’s head.
Draw a small curved shape for the closed eye and a long oval for the open mouth. These facial features will help give the wolf its howling expression.
Step 7: Add the Tail
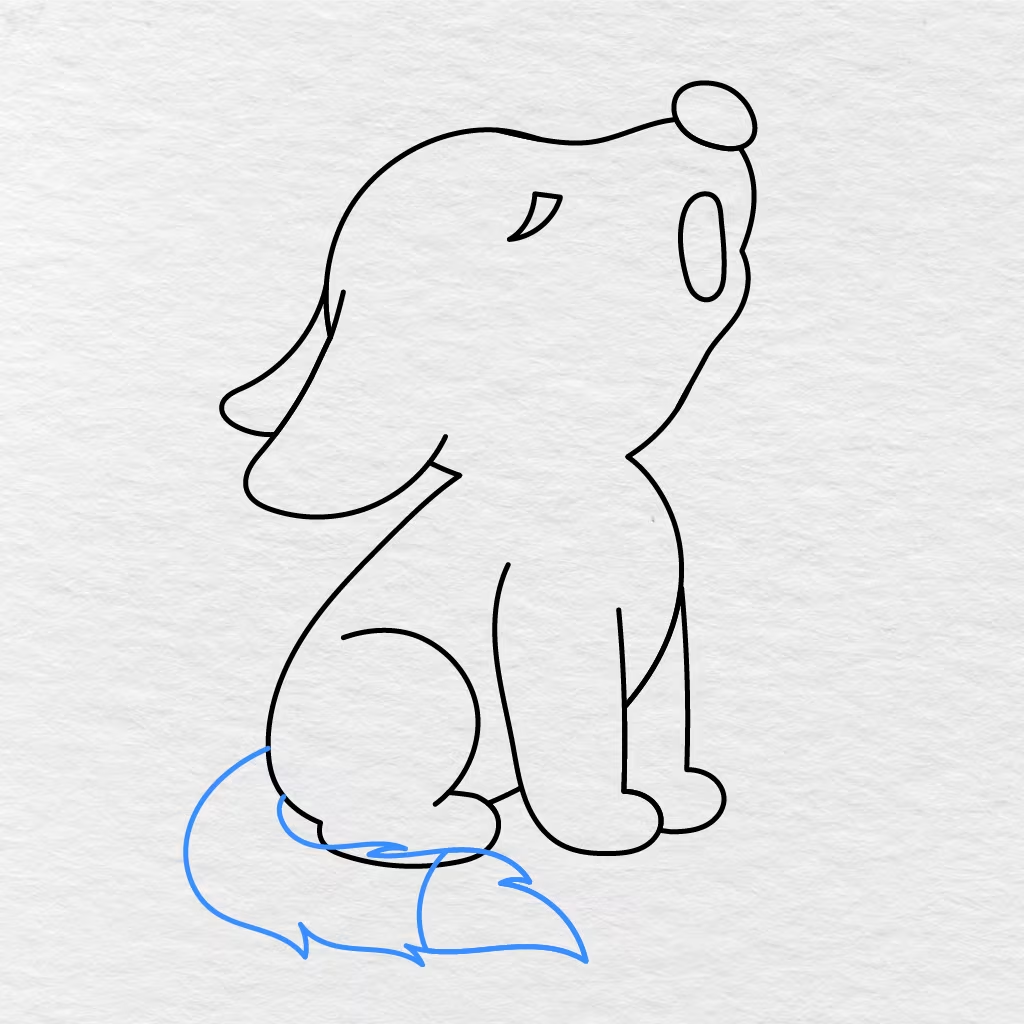
Draw a large bushy tail behind the hind leg of the wolf.
The tail should begin at the back of the body, curve to the left, and then sweep forward along the ground. Finish with a wide pointed tip at the end of the tail.
Step 8: Draw the Inner Ear
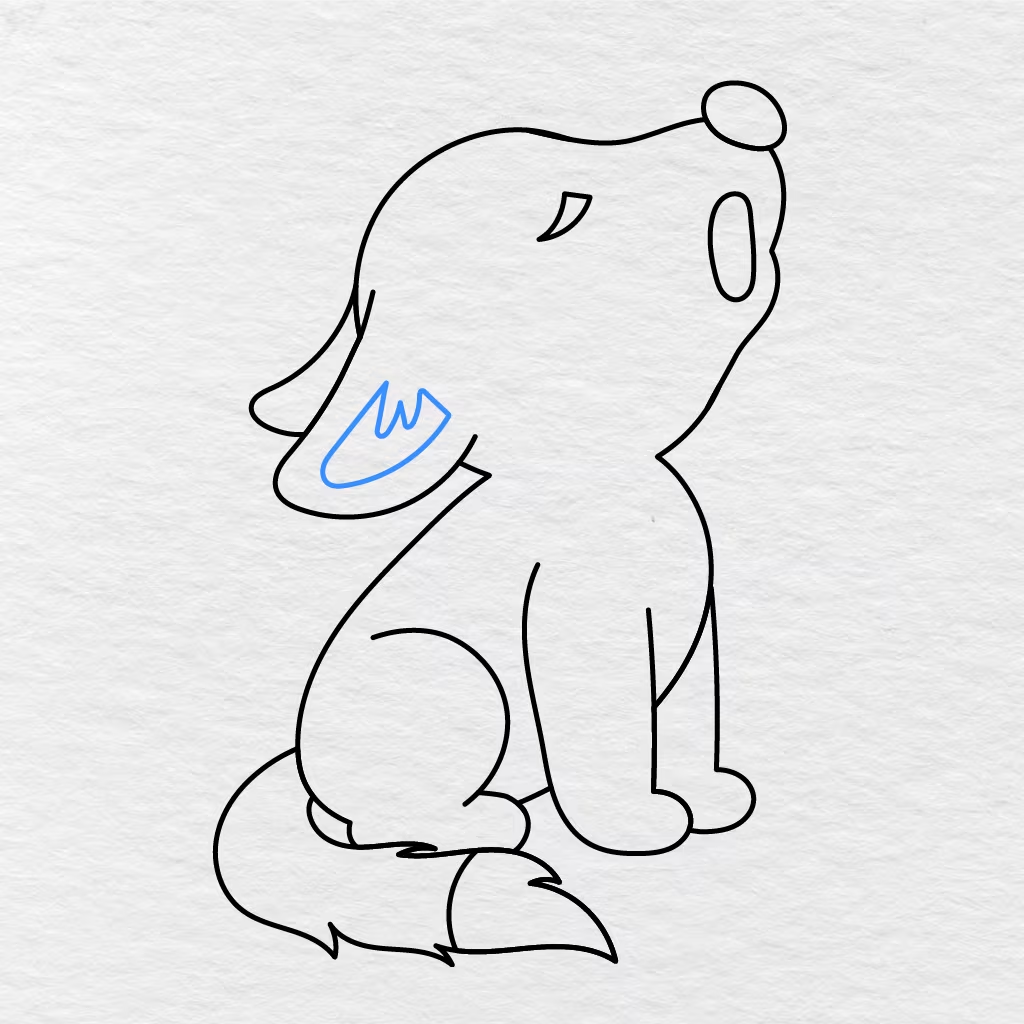
Draw a smaller shape inside the front ear of the wolf.
Follow the curve of the front ear and use a few pointed lines near the top to suggest the inner ear fur.
Step 9: Add the Fur Details
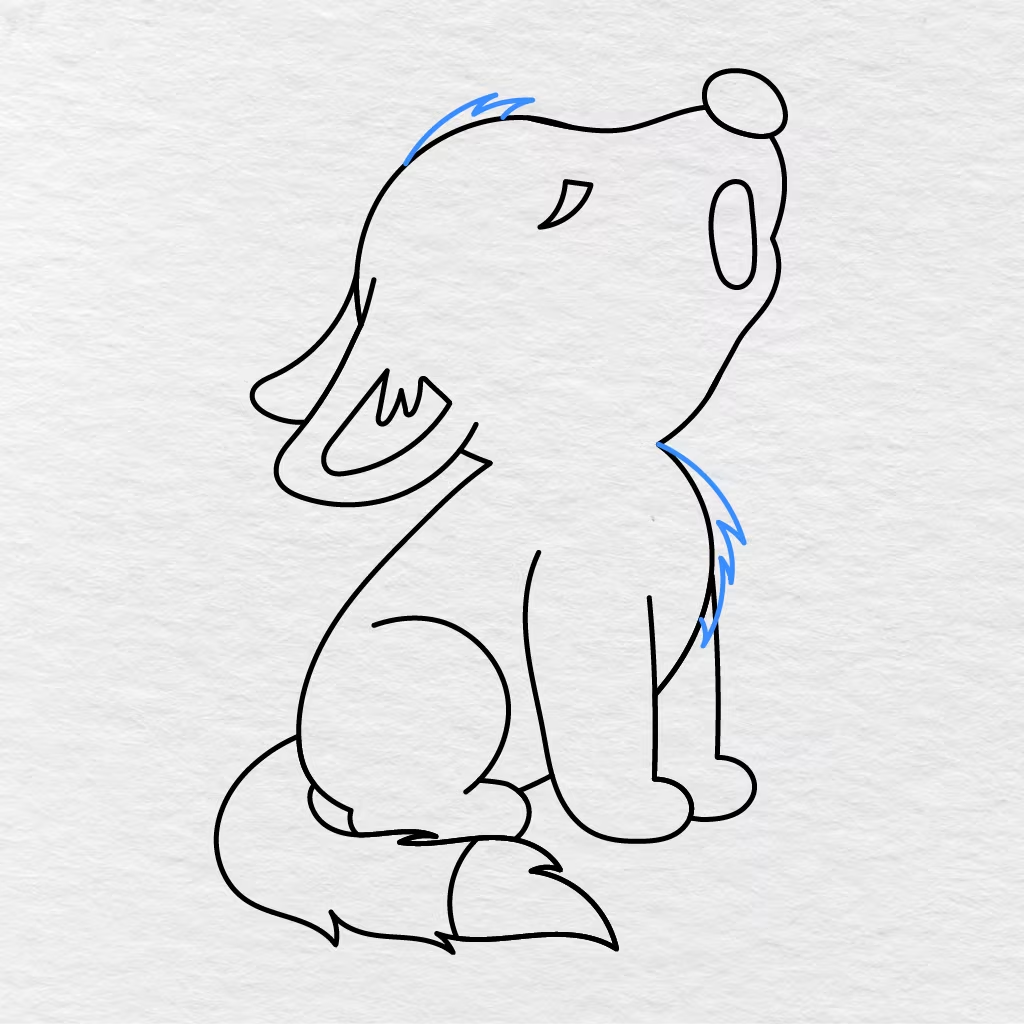
Draw a few short pointed tufts of fur along the top of the wolf’s head.
Add more pointed tufts of fur along the chest and lower neck area. The small breaks in the line help suggest a thicker coat of fur without adding too many details.
Step 10: Draw the Toes
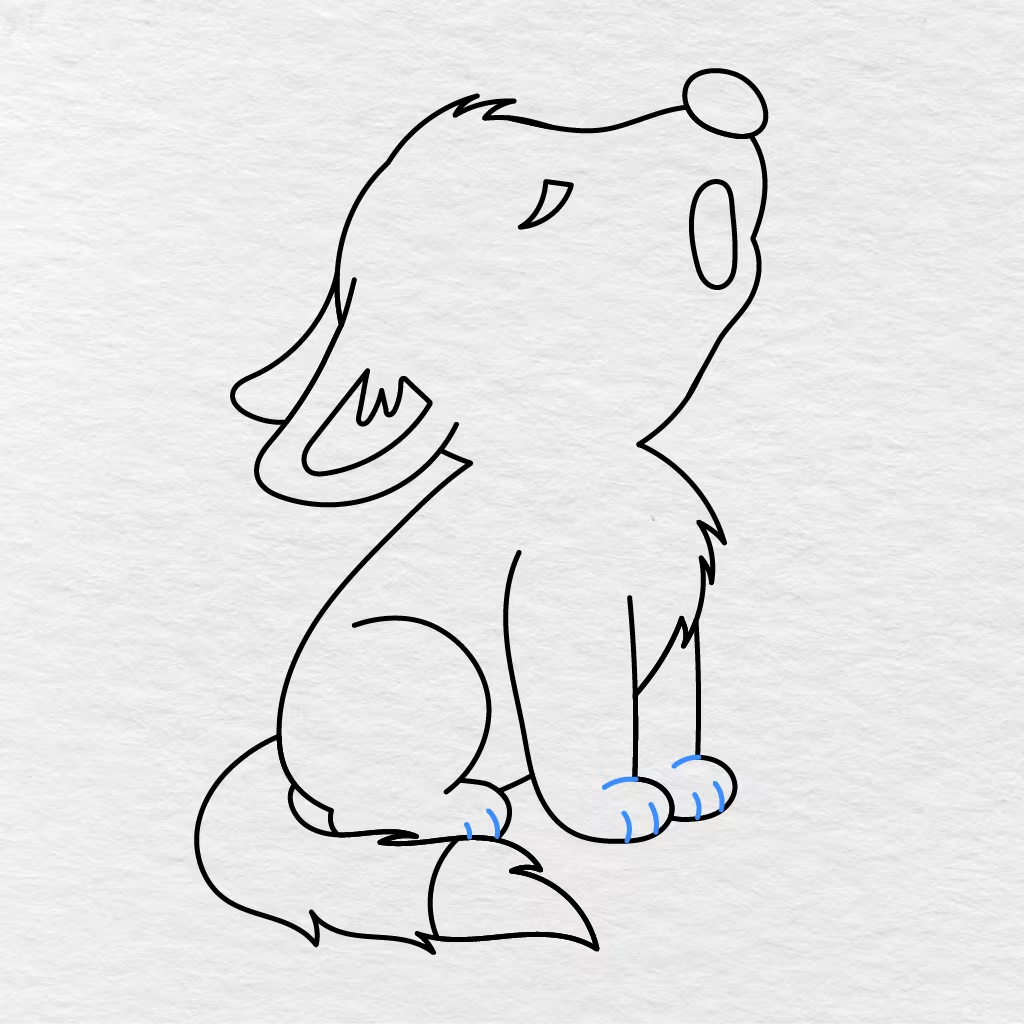
Add a few short curved lines to the visible paws of the wolf.
The lines should be placed on the two front paws and the back paw to suggest individual toes.
Step 11: Color the Wolf
Now it is time to color the completed wolf drawing.
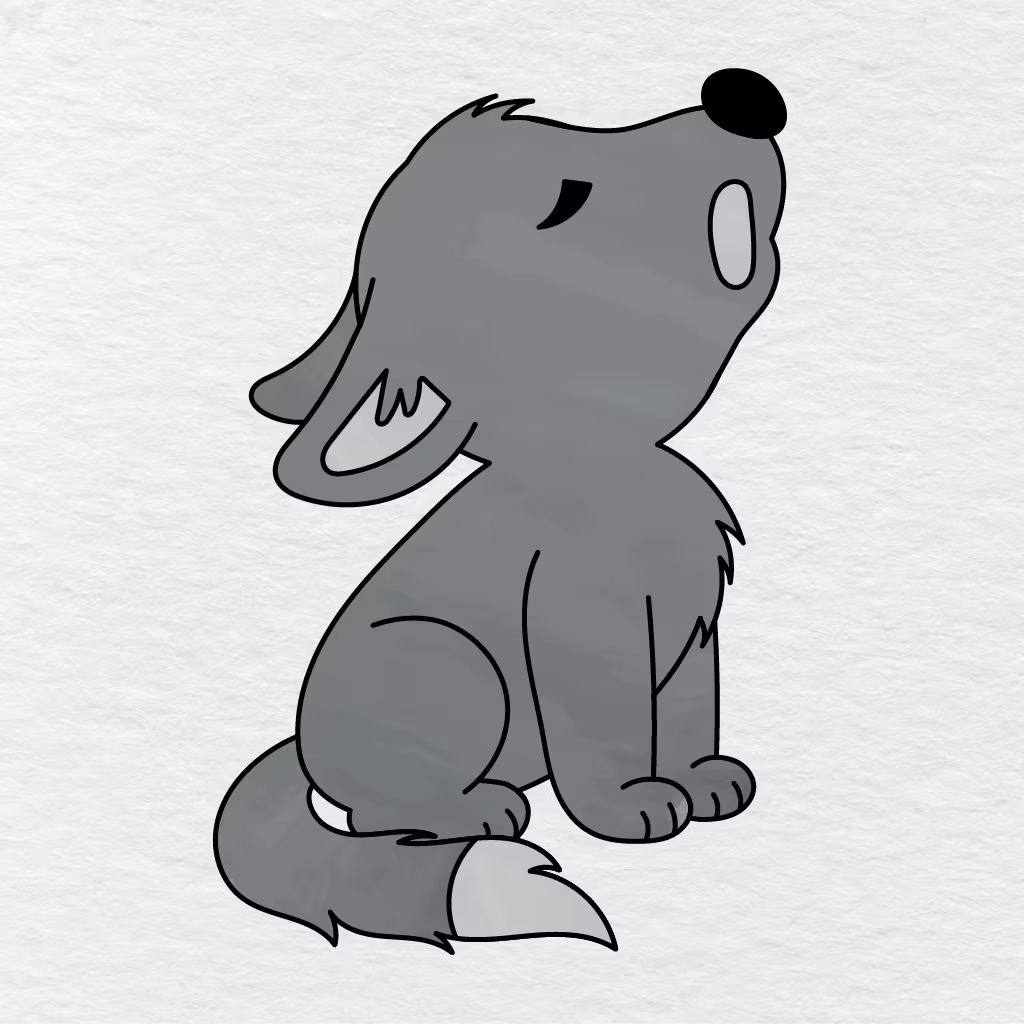
We colored the body of the wolf gray and the tail darker gray. The inside of the front ear, the mouth, and the tip of the tail are light gray. The nose and the closed eye are black.
You can use the colors we used or you can make your own brown, white, and black wolf or even a colorful fantasy wolf of your own imagination.
Your howling wolf drawing is now complete!
Printable Wolf Drawing PDF
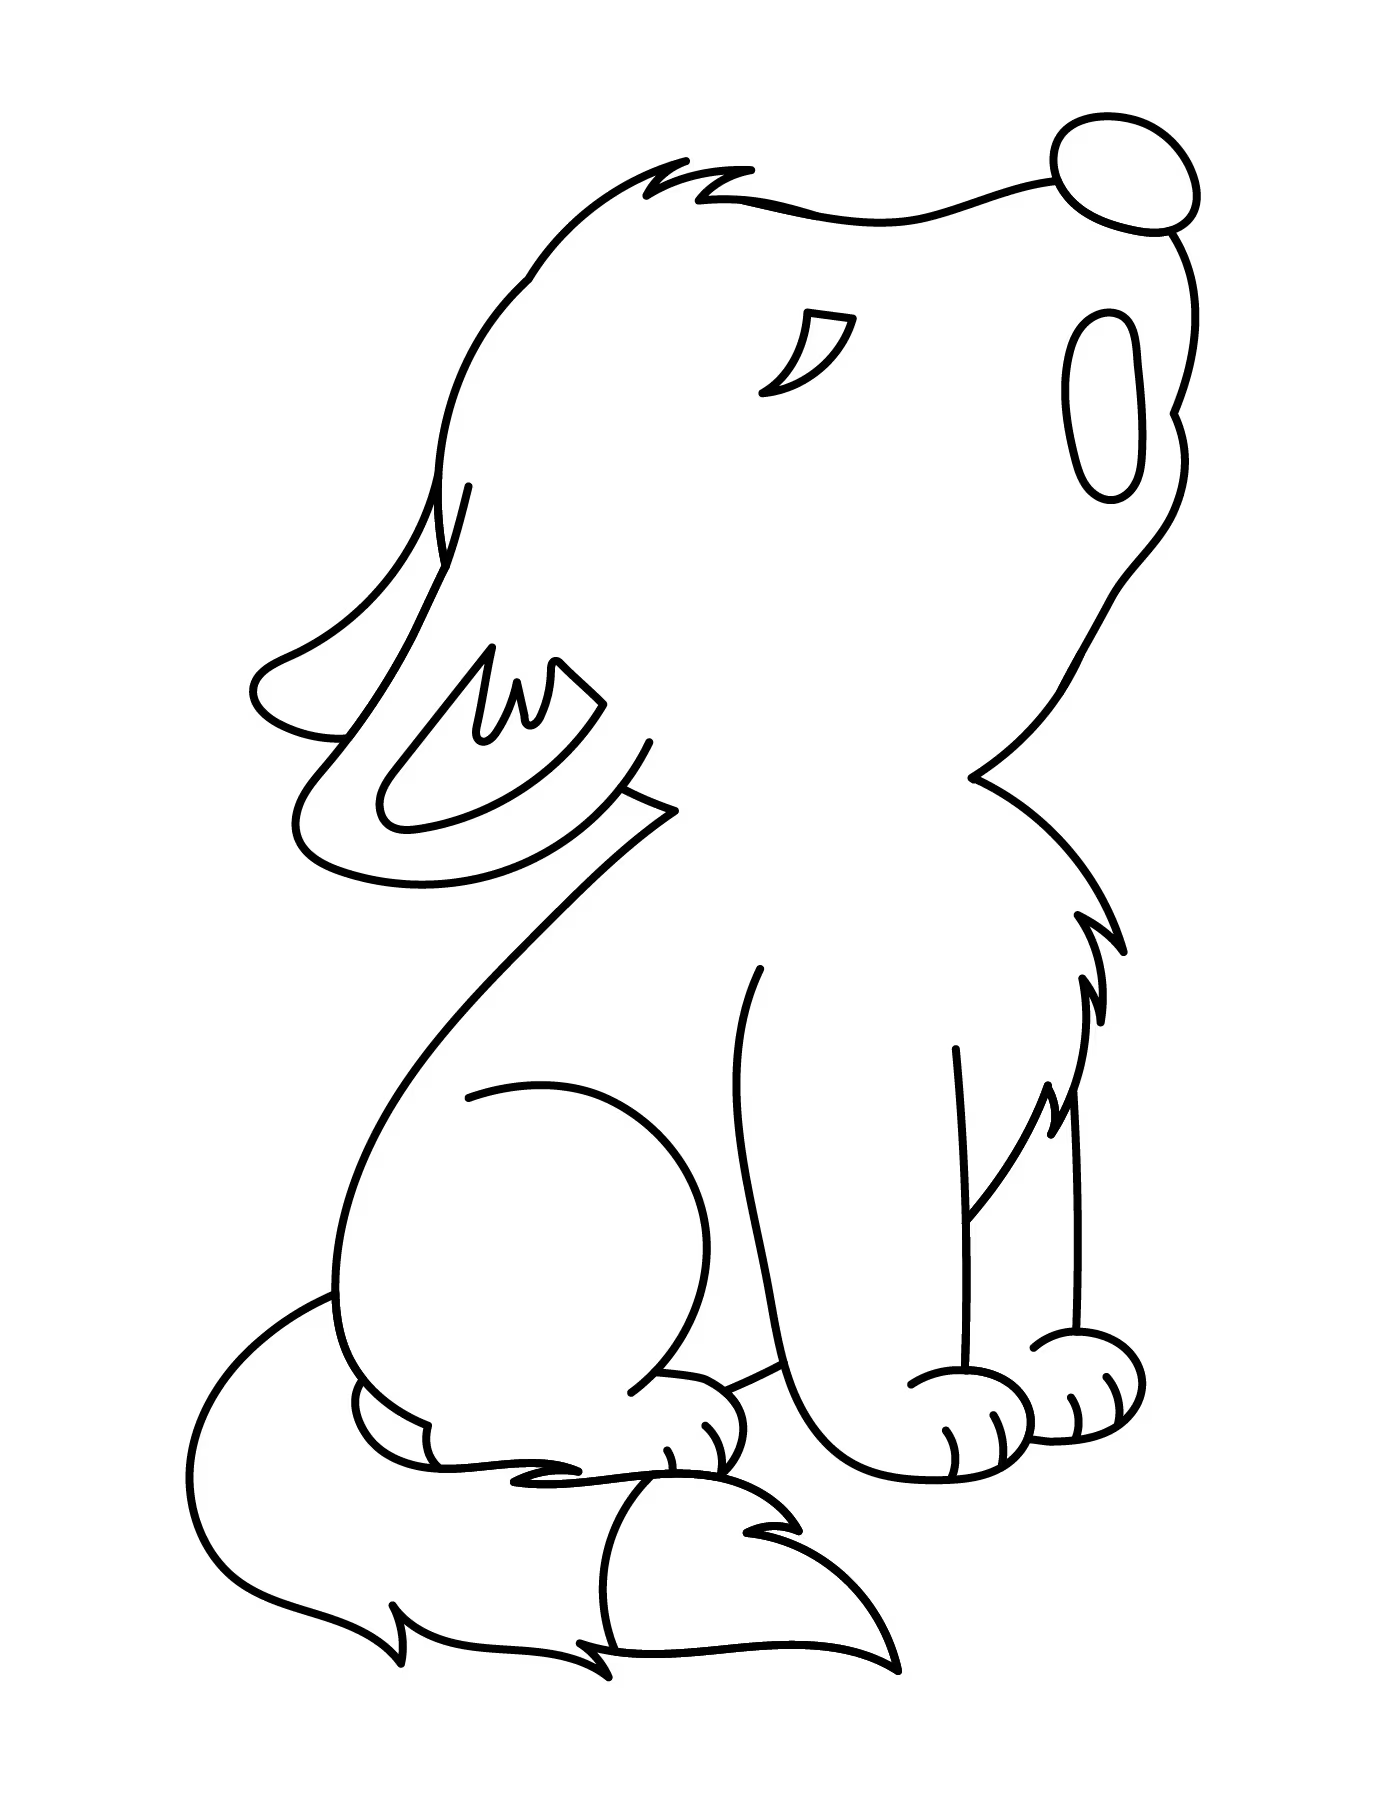
We have a printable wolf drawing PDF below that you can color or use for reference the next time you want to try this easy how to draw a wolf tutorial. The completed outline includes the ears, facial features, tail, fur, paws, and toes from the tutorial.
For another woodland animal, you can also try our easy how to draw a fox step by step tutorial.
Did you color your wolf drawing gray or did you go with a completely different color scheme? Let us know in the comments below and share this wolf drawing tutorial with another parent, teacher, or friend.