How to Draw Hello Kitty
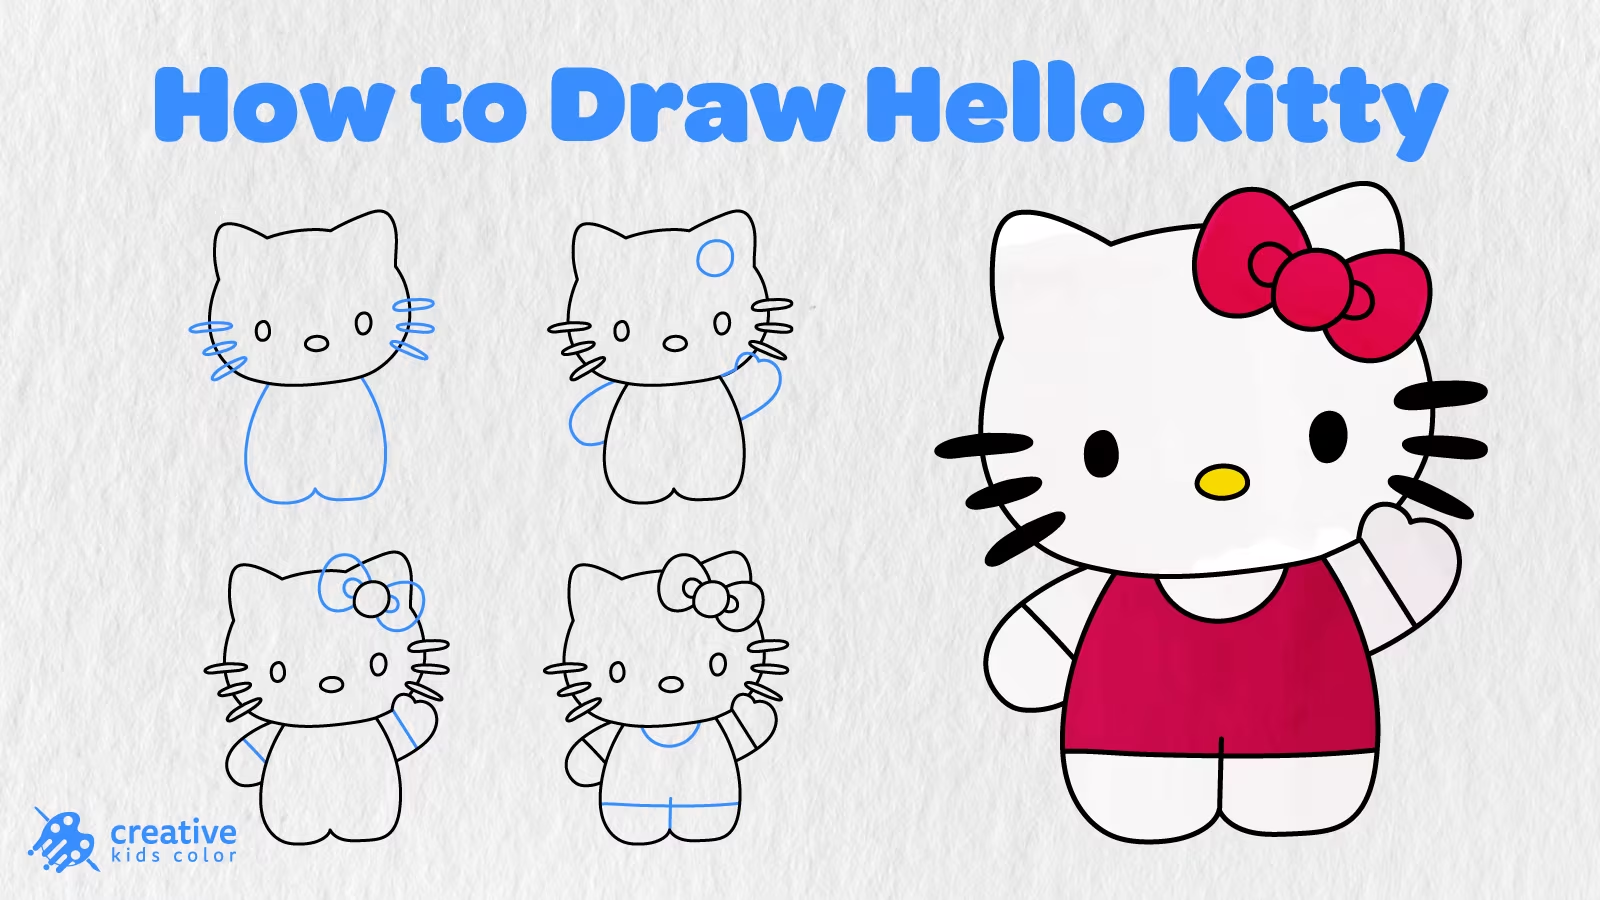
With her round face, tiny whiskers, and signature bow, Hello Kitty is one of those characters that is both easy to recognize and fun to draw. In this step by step guide, you will learn how to draw Hello Kitty by starting with the head and gradually adding the ears, face, body, arms, outfit, and color.
This step by step guide will enable kids to draw Hello Kitty without using complex details and shading techniques. All you have to do is follow each step and use the final image as a drawing guide if you decide to add colors.
The drawing process starts by simply using one rounded oval shape. However, other familiar features such as ears, whiskers, bow, and outfit are gradually added. It is worth noting that her bow might be one of the most prominent features, but is not that difficult to achieve.
Easy Hello Kitty Drawing Step by Step
Before following the tutorial below, make sure to have a pencil, paper, eraser, and coloring tools on hand. First shapes need to be drawn in light pencil so that they can be easily erased and adjusted.
Step 1: Draw the Head Shape

The first step is to draw a wide rounded oval in the middle of the paper. The oval should be slightly flat at the bottom, with enough room above it for the ears.
Step 2: Add the Ears, Eyes, and Nose
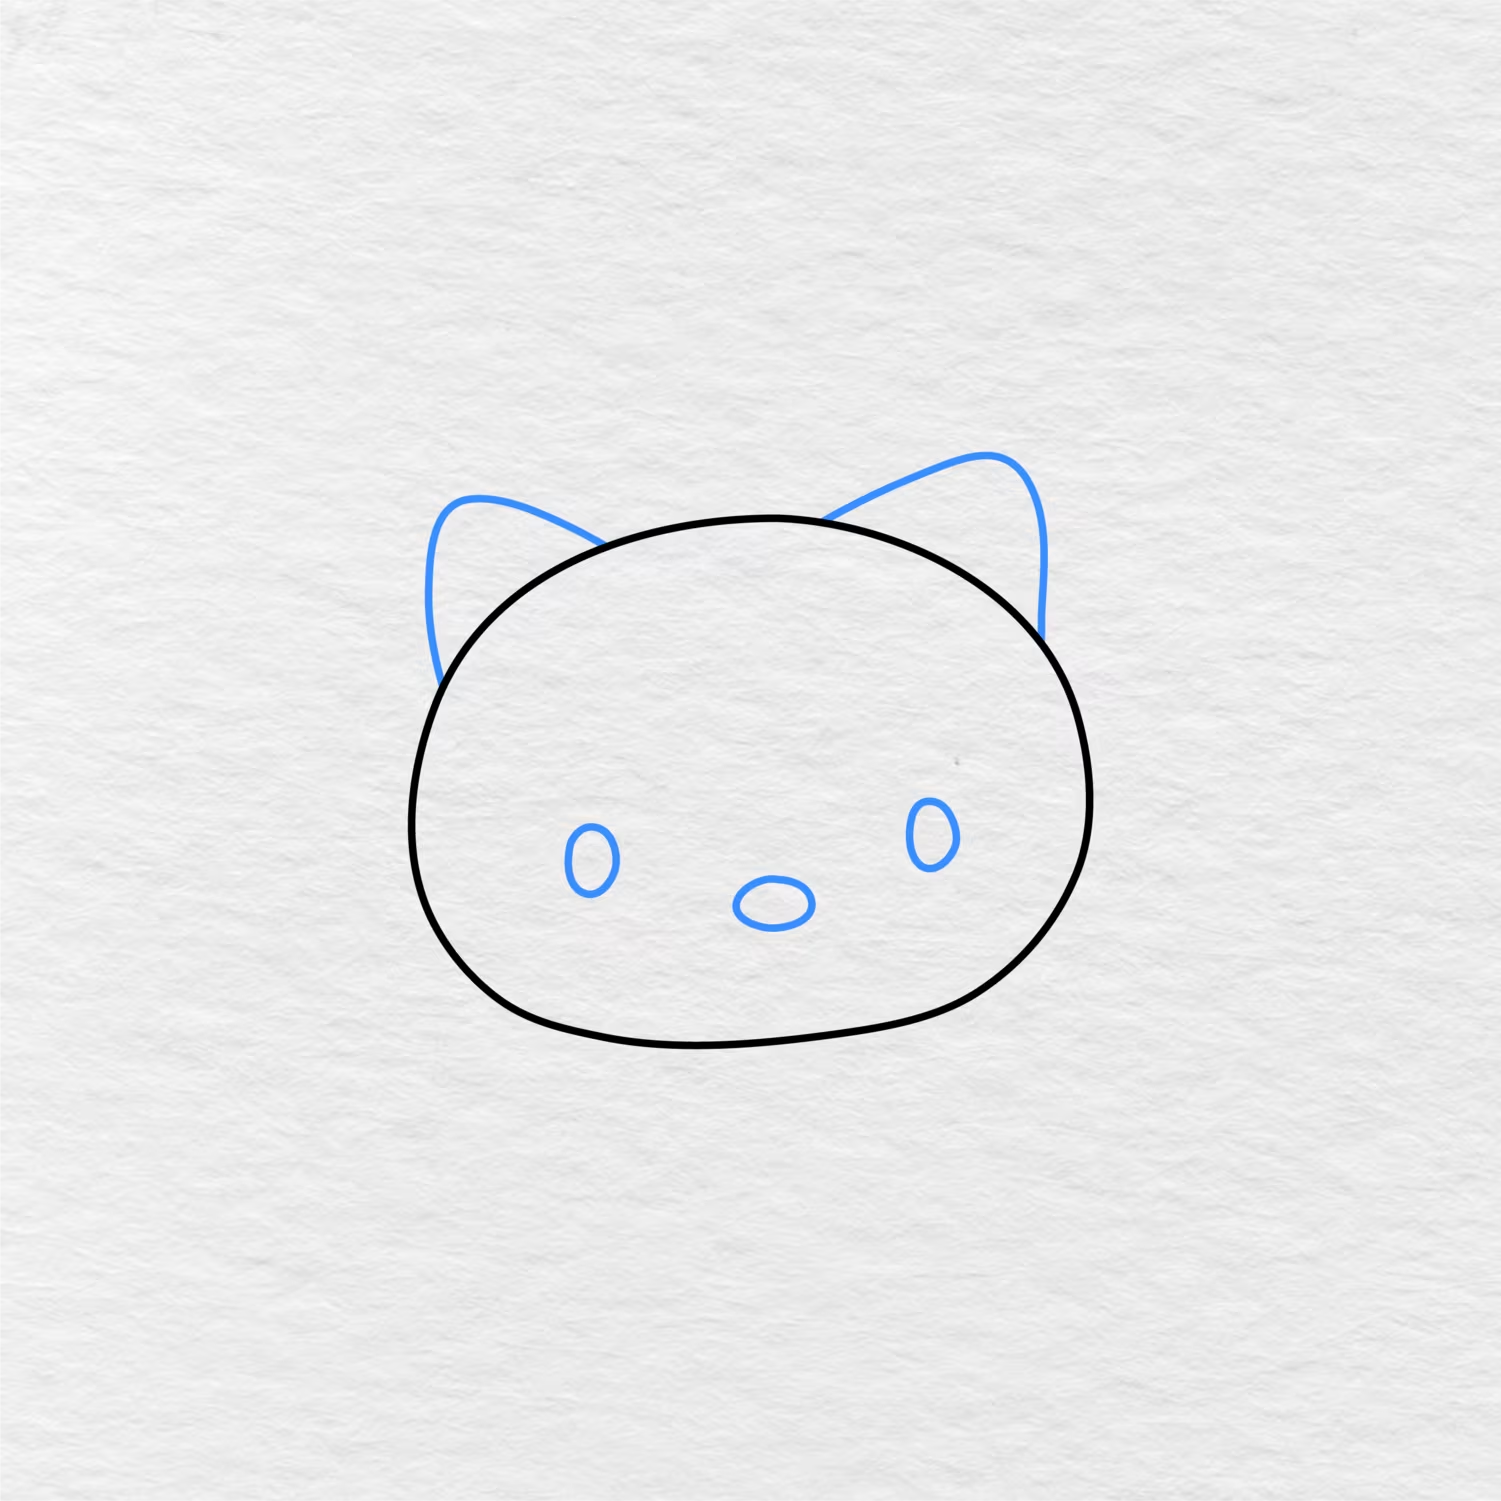
The next step is to add ears on the top part of the head. Two rounded triangle shapes need to be added on either side of the head.
The eyes and nose can be added using two small vertical ovals and one small horizontal oval in the middle.
Step 3: Draw the Whiskers and Body
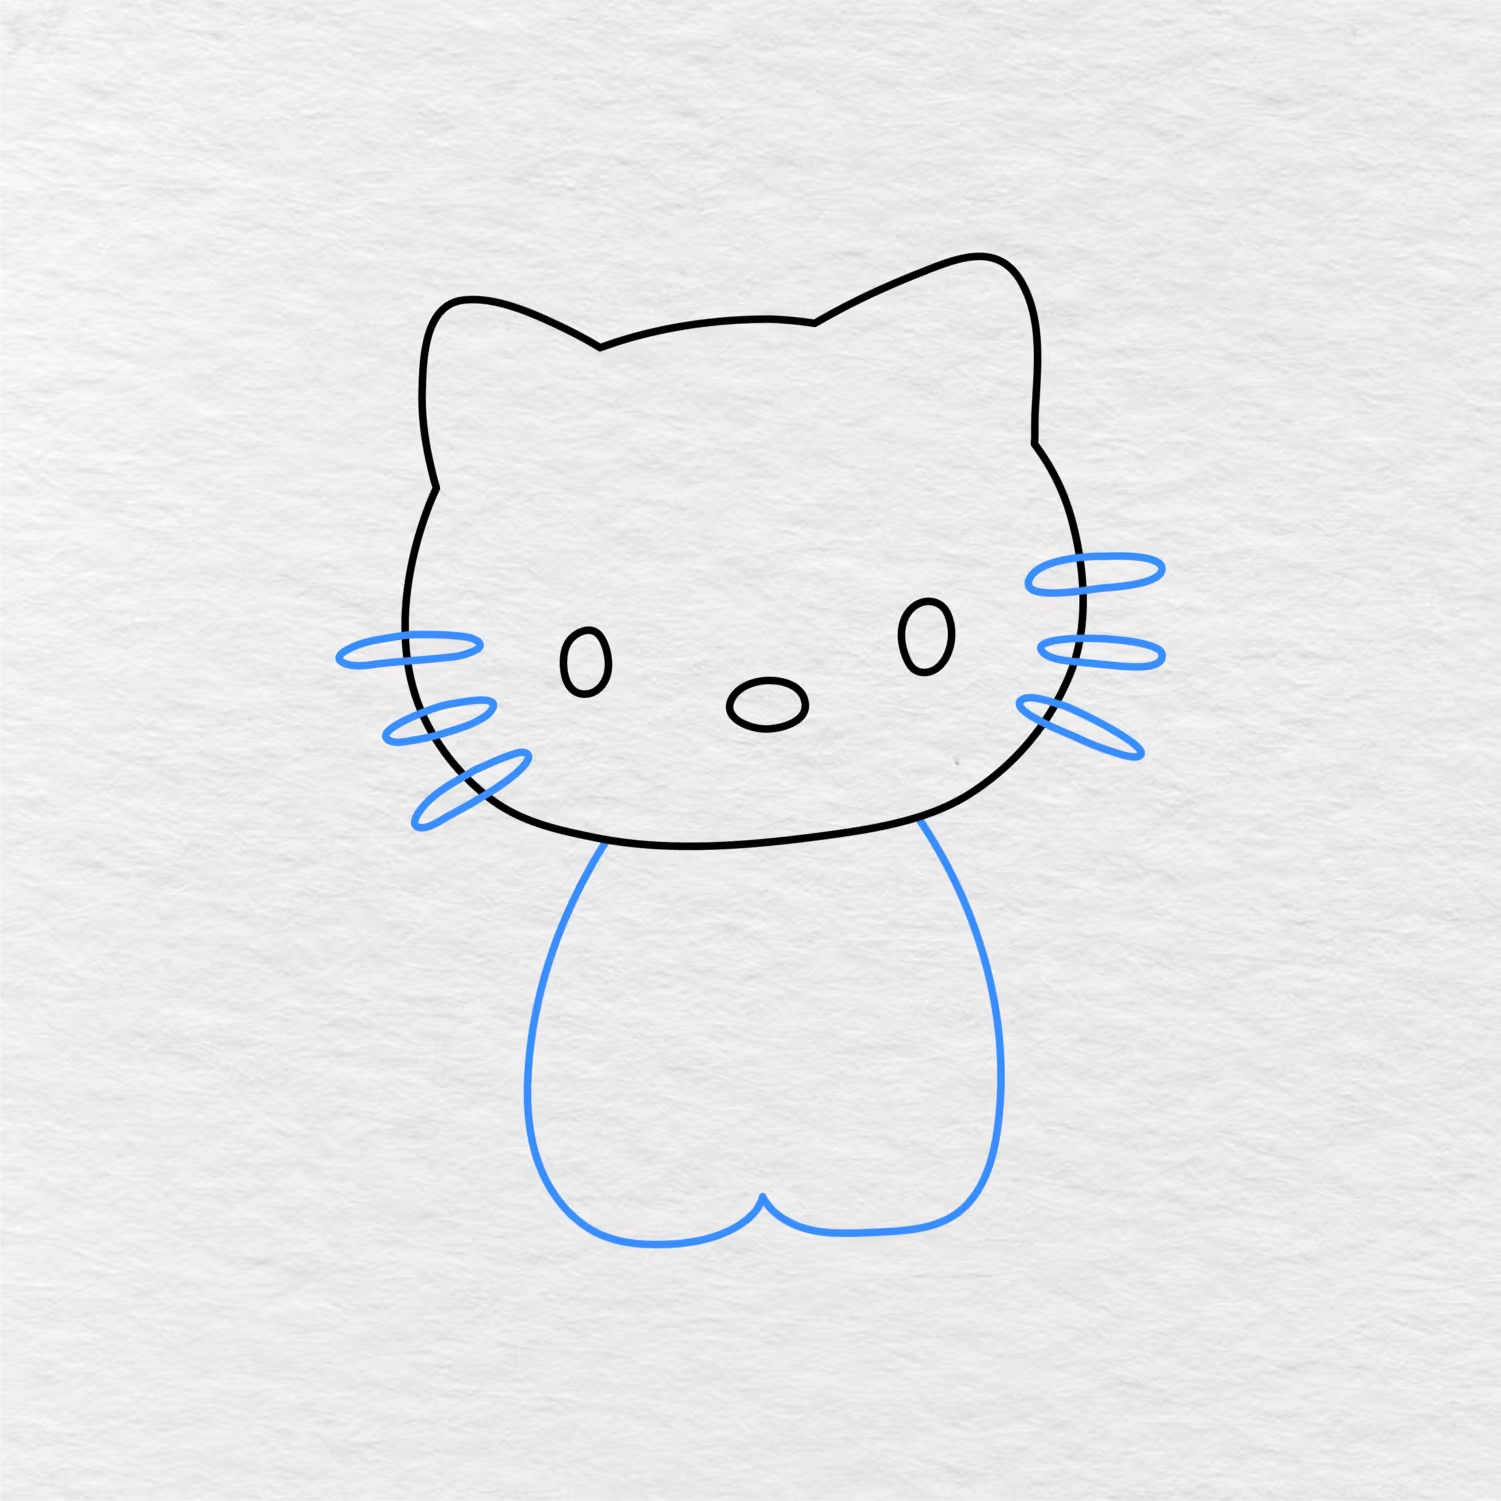
Three whiskers need to be added on either side of the face. The whiskers should be short and slightly curved so that they stick out from the face.
The body is then added at the bottom of the head using curved lines and a rounded shape. The middle part of the body curve should be slightly indented to indicate the legs.
Step 4: Add the Arms and Bow Center
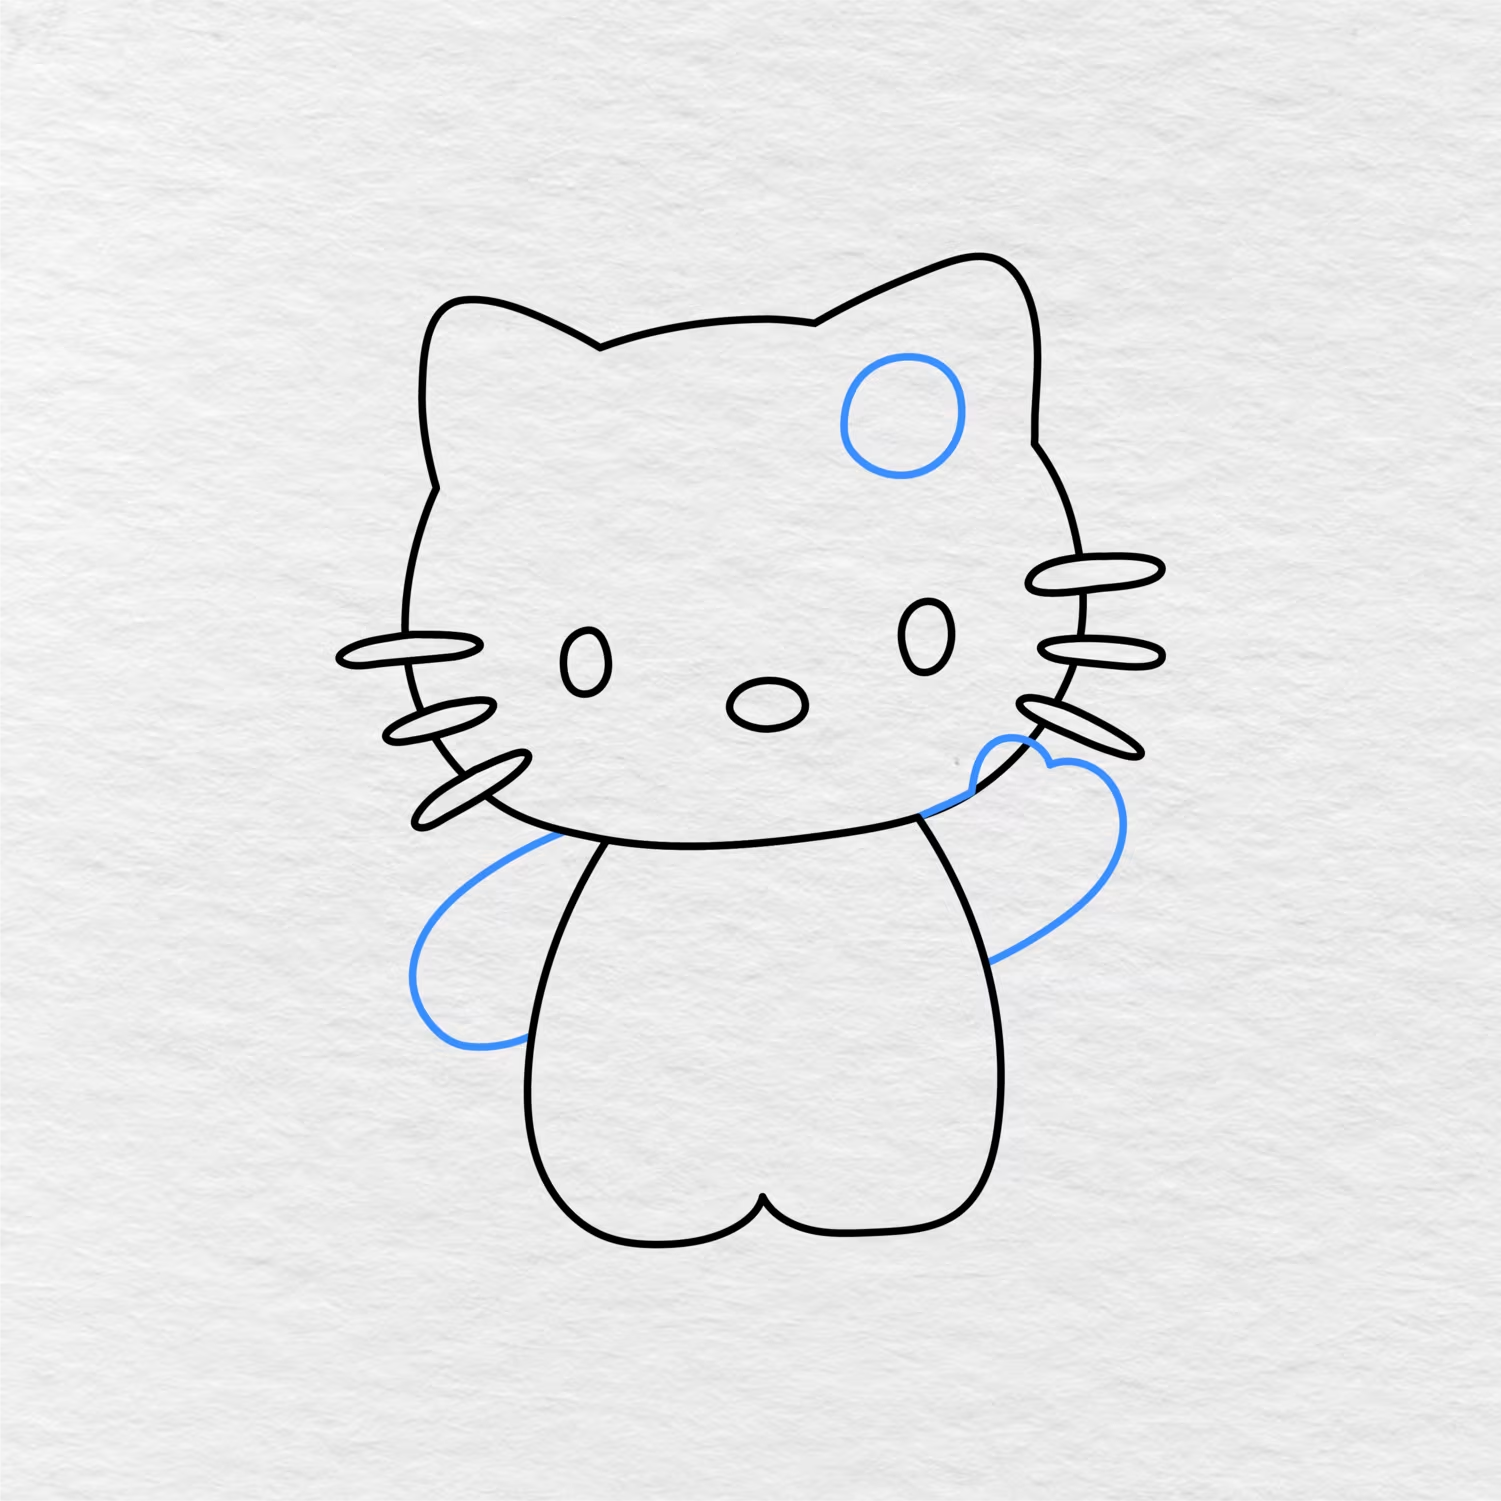
One rounded arm is then added on either side of the body. The arm on the right should be drawn in a raised position using a curved line. A circle should also be added on the upper right part of the head to indicate the bow center.
Step 5: Complete the Bow and Add Sleeves
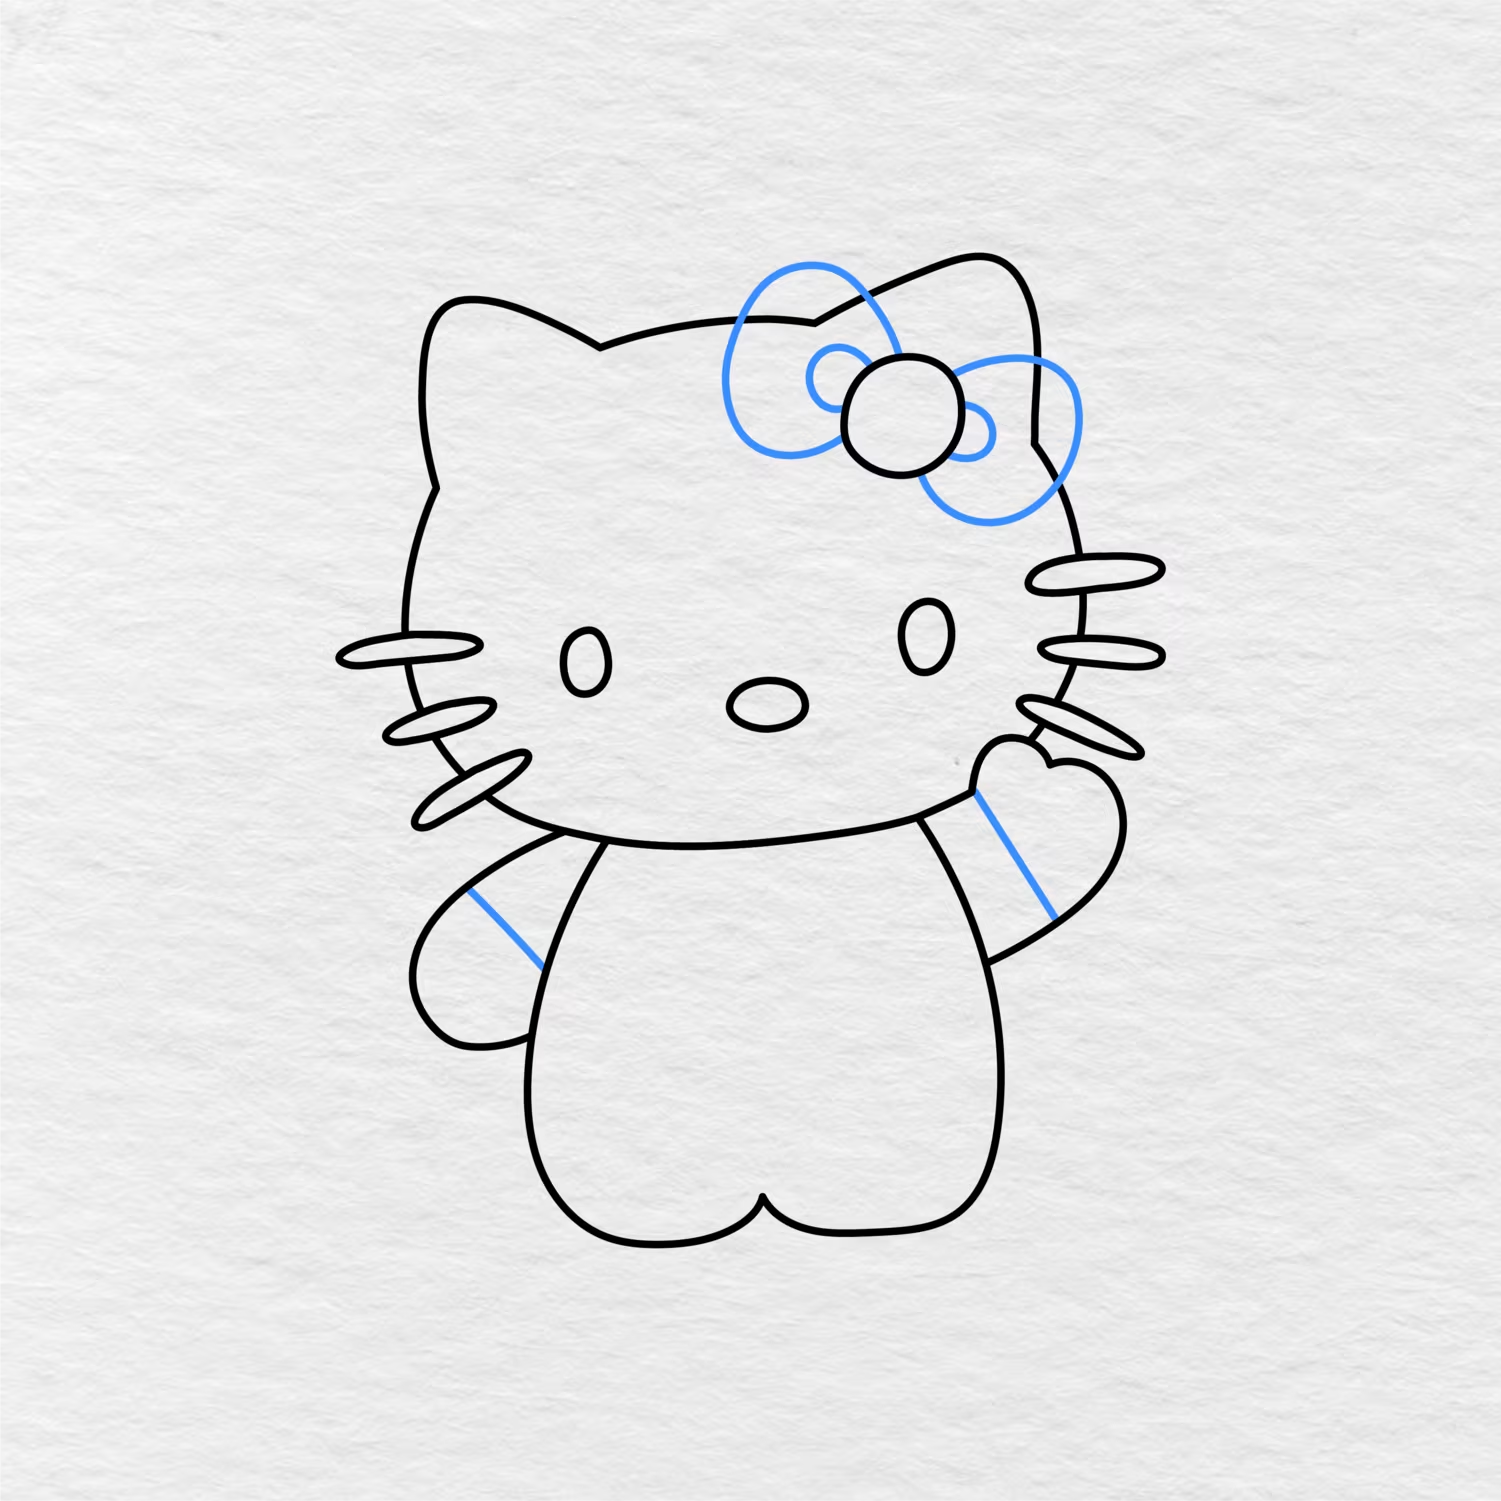
The two large loops of the bow are then added by drawing two rounded lines on either side of the bow center. Two smaller rounded lines are then added close to the bow center to indicate the folds of the bow.
The sleeves are then added by simply drawing short lines on the arms.
Step 6: Add the Collar and Outfit Details
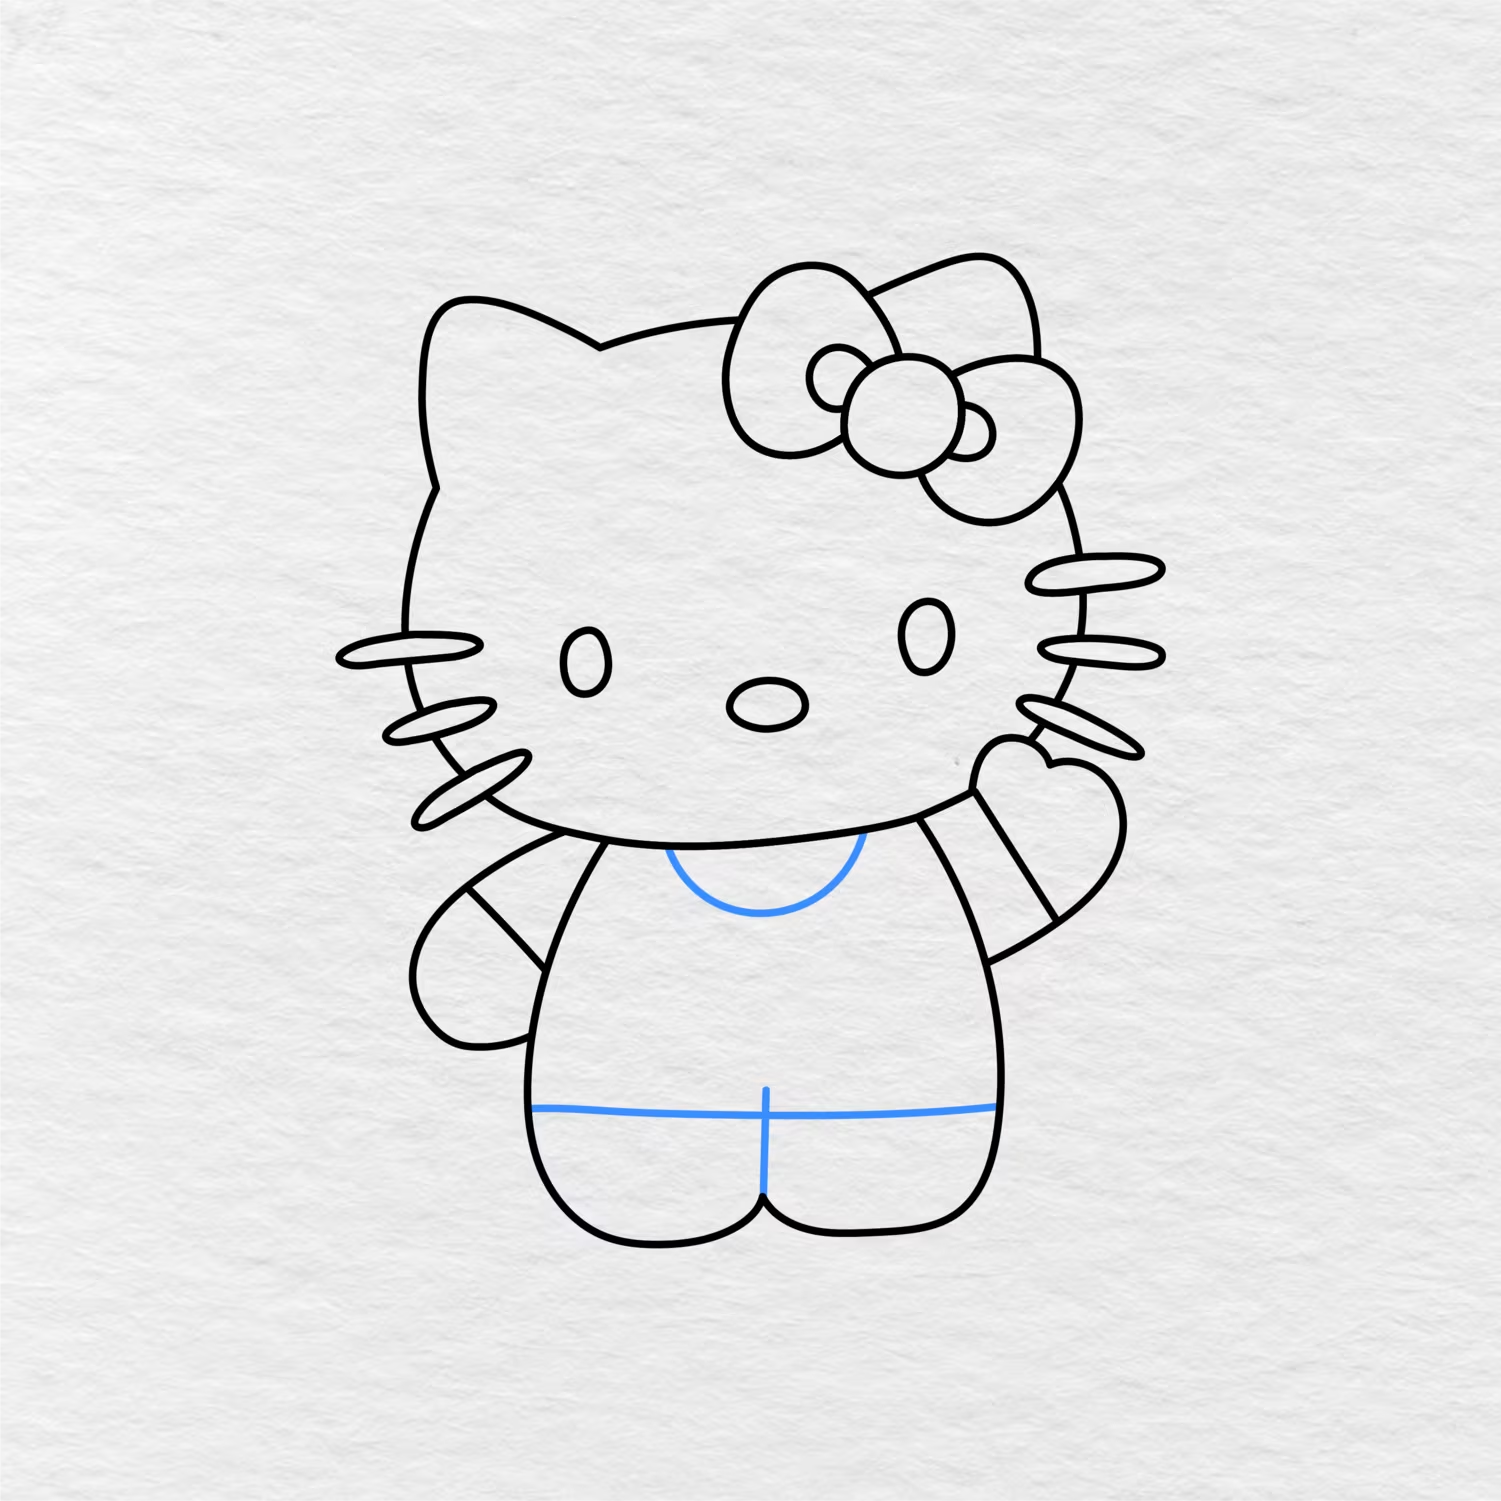
A rounded collar is then added just below the head in the middle of the two arms.
A horizontal line is then drawn at the lower part of the body and another vertical line is added in the middle. These lines complete the other details of the outfit.
Step 7: Color Hello Kitty
The final step is to add color to your Hello Kitty drawing. The image below can be used as a reference. The bow and top should be colored in pink or red, while the nose should be yellow.
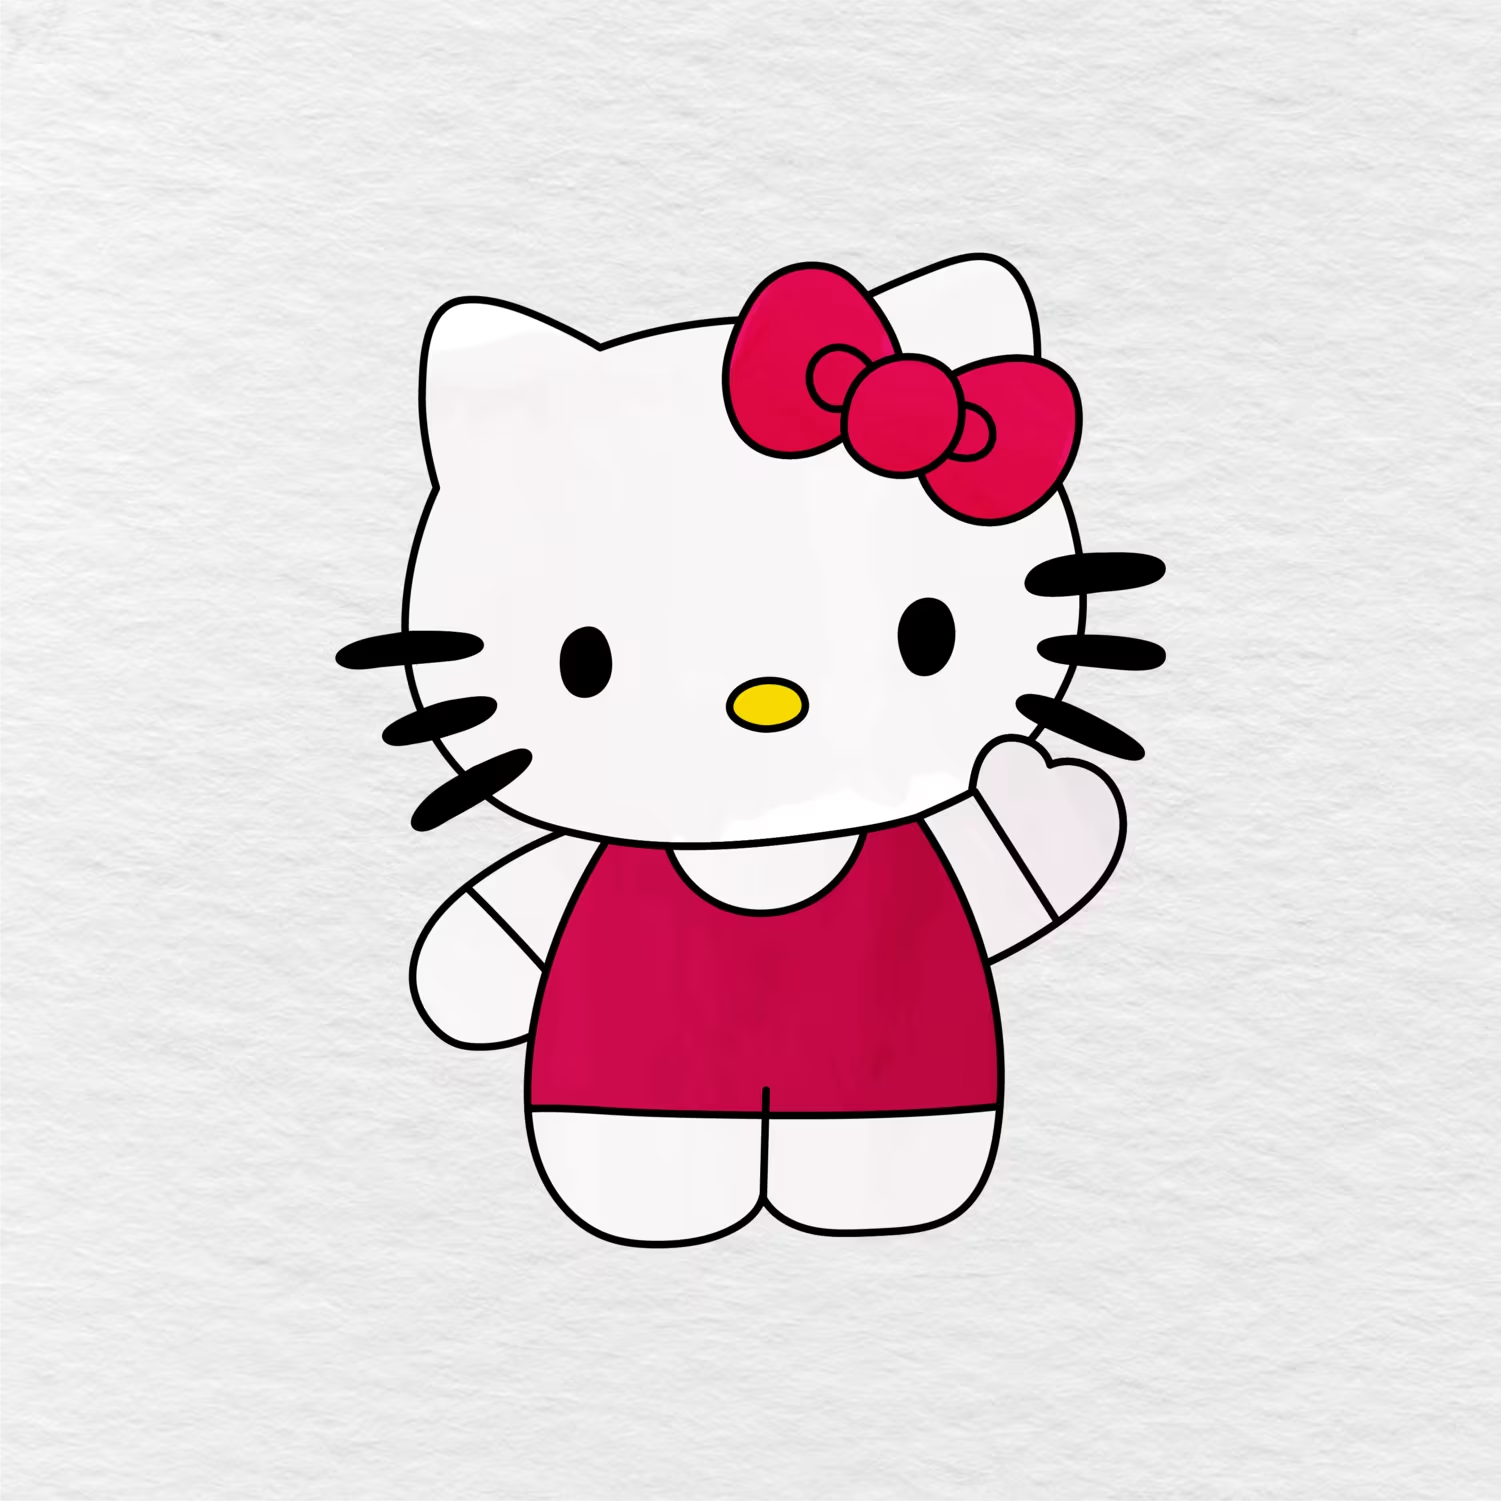
The face, arms, collar, and lower body should be left white, while the eyes and whiskers should be black. The final image is now complete.
Printable Hello Kitty Drawing PDF
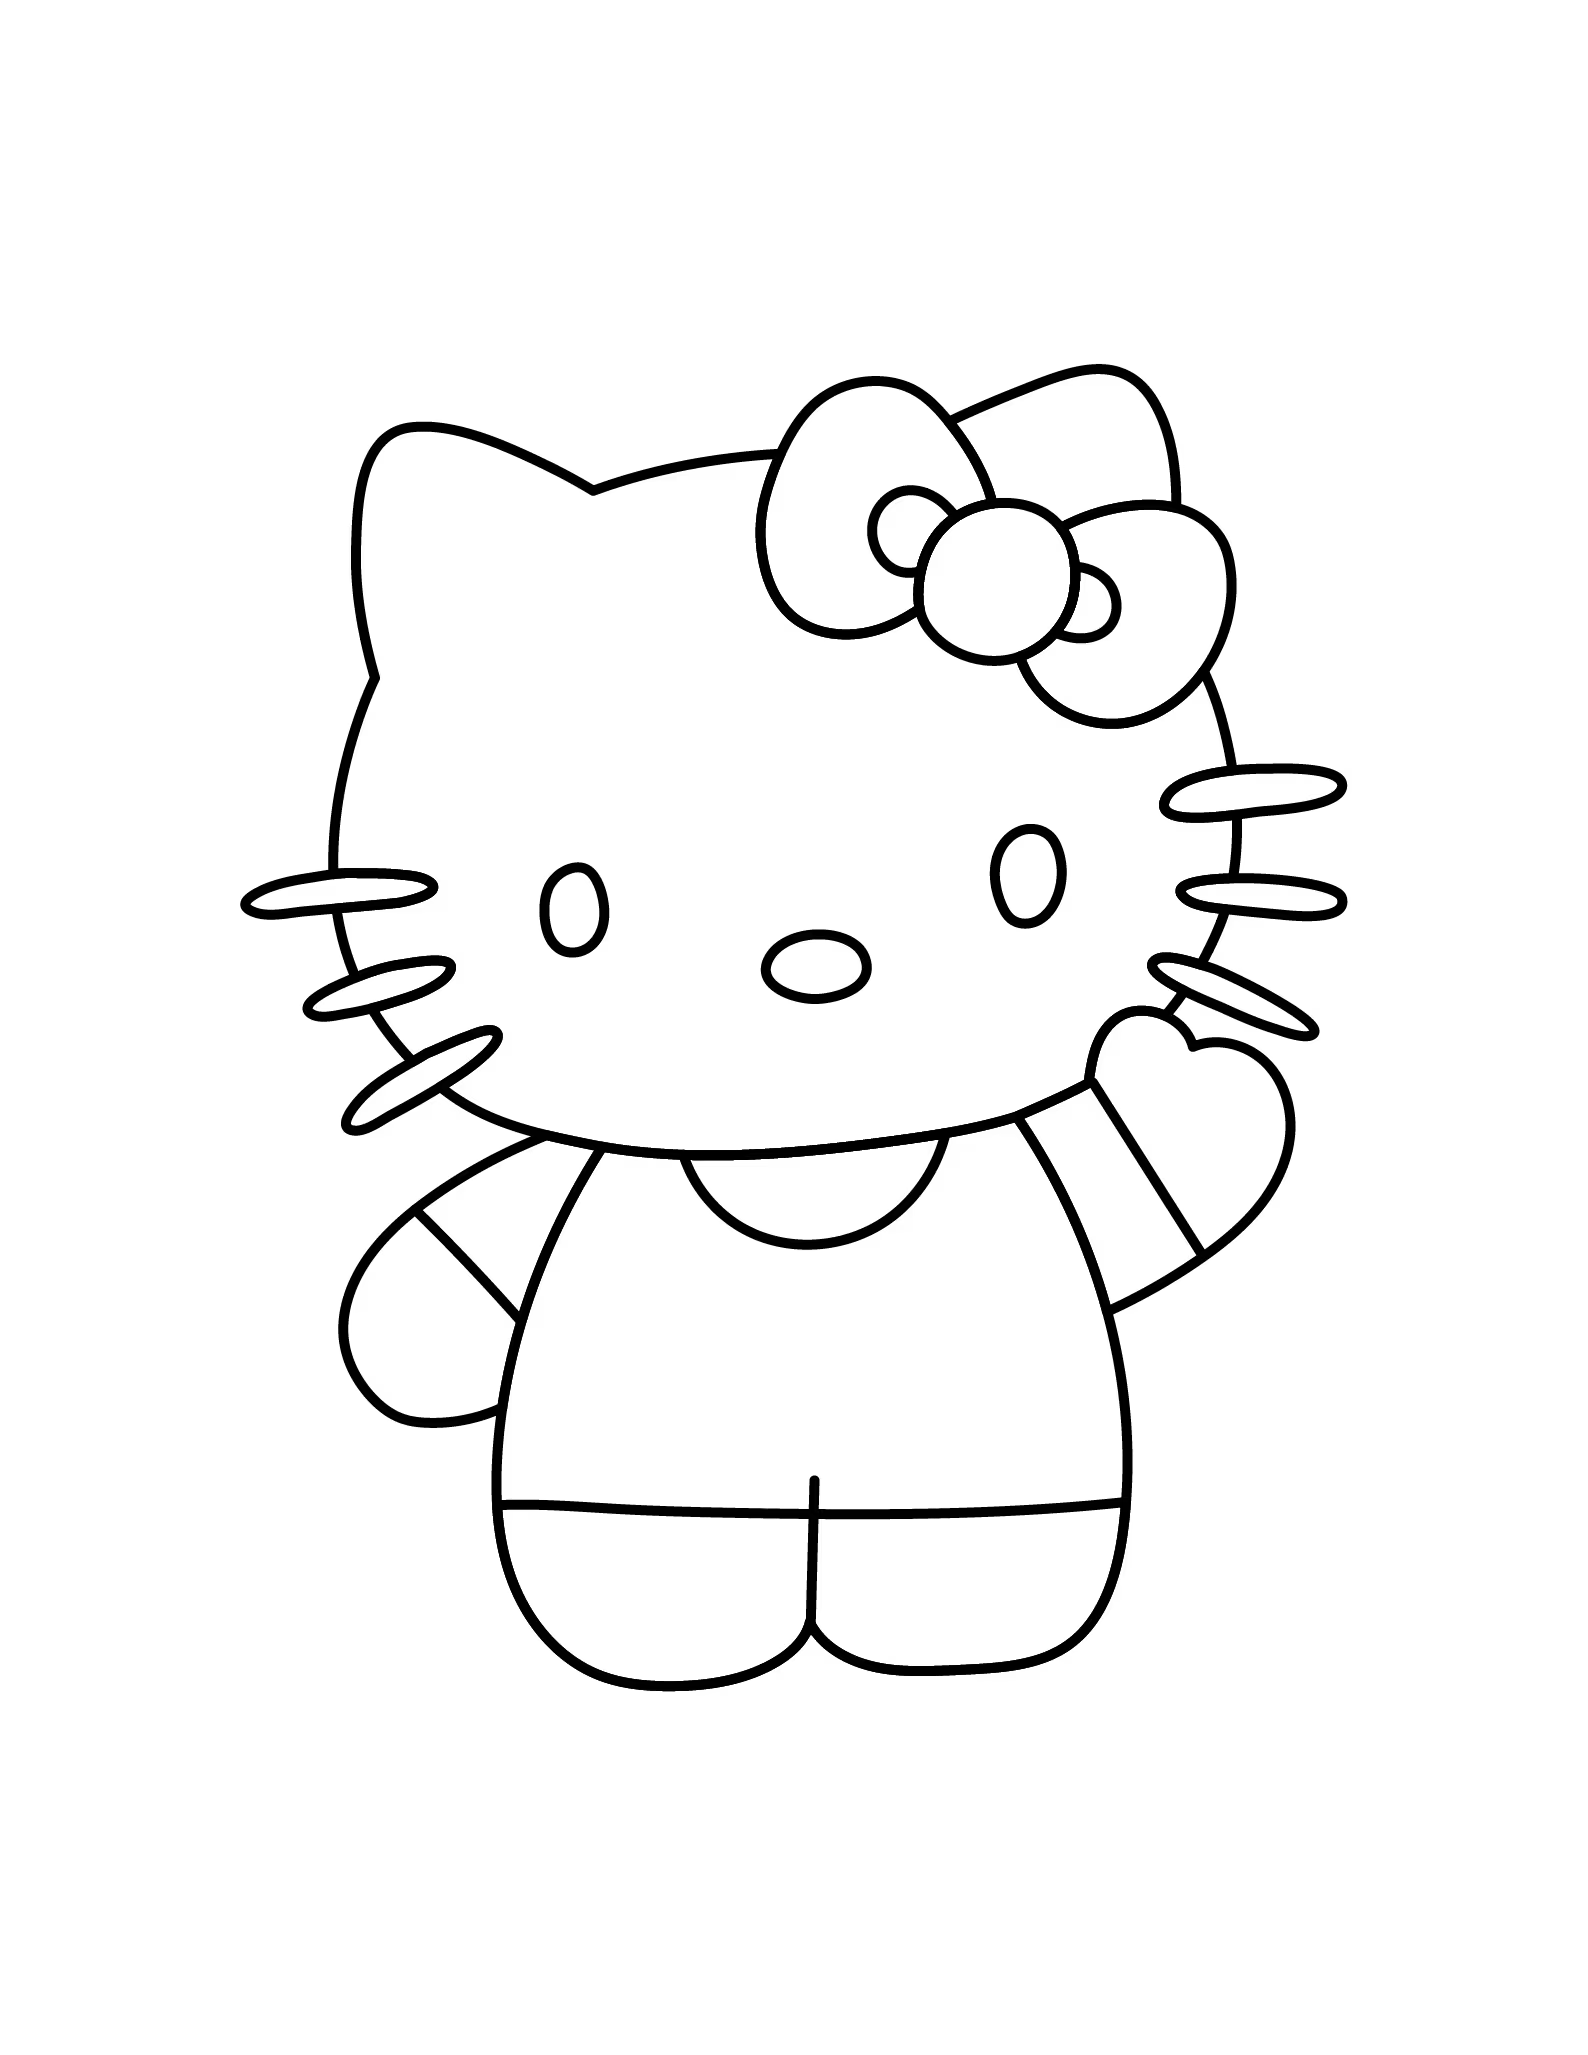
You can also download the completed Hello Kitty image below in a printable PDF format and use it as a coloring page.
The image below shows a completed Hello Kitty drawing that is ready to be printed and colored. As a result, kids can use it as a coloring sheet every time they want to practice drawing.
For more pictures of this character to color, you can also visit our Hello Kitty Coloring Pages collection.
If your kids, students, or class enjoyed this Hello Kitty drawing activity, make sure to let us know in the comment section below. In the meantime, feel free to share this page with a parent, teacher, or friend that you think would appreciate the idea.