How to Draw a Dog
Dogs are very curious animals. They can be companions and assist people on farms. They help humans by doing work for them and can even know when to come and help people with emotional troubles. Dogs are also a large part of people’s daily lives, so they can be very interesting to draw.
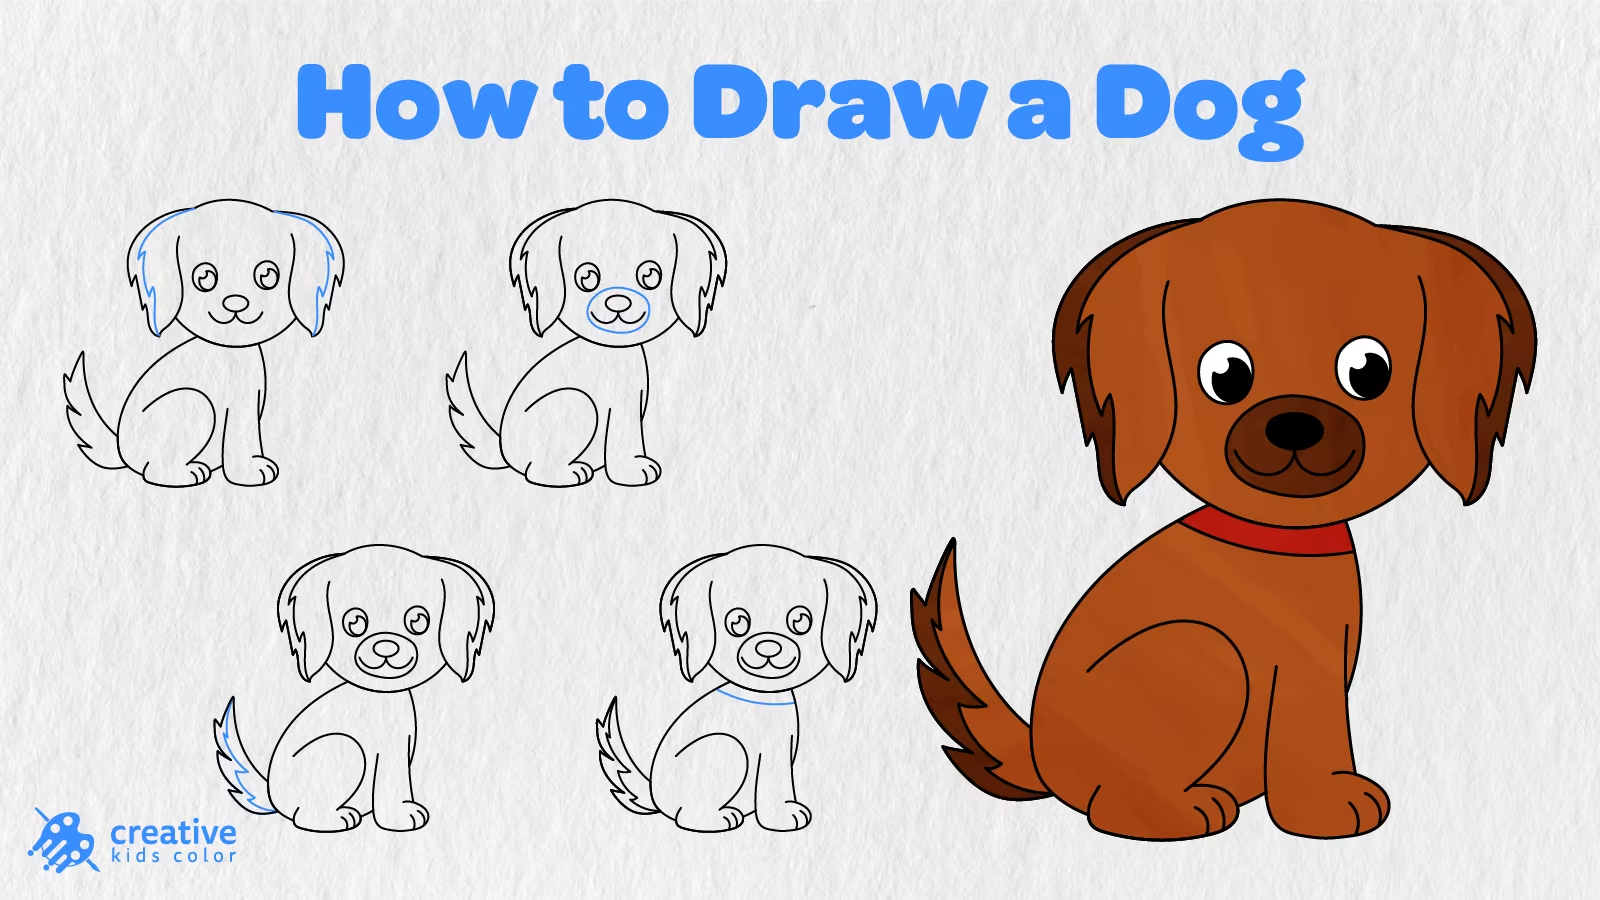
In this tutorial, kids and beginners will learn how to draw a dog in 13 easy steps. We will be using one large circle and one tilted oval for the dog’s head and body and then will add the floppy ears, rounded paws, a fluffy tail, eyes, nose and mouth, and collar.
Even though the dog can appear to be detailed, most of this drawing uses big rounded shapes and long curved lines with only a few details made using short lines or marks. Once you begin following the blue lines, all you have to do is add one new detail at a time.
Easy Dog Drawing Step by Step
The only things you will need to complete this dog drawing activity include a pencil, paper, eraser, and coloring tools such as crayons or colored pencils. You may want to make sure you draw the first two shapes lightly, as they will also be used as guidelines for the rest of your drawing.
Step 1: Draw the Head and Body Shapes
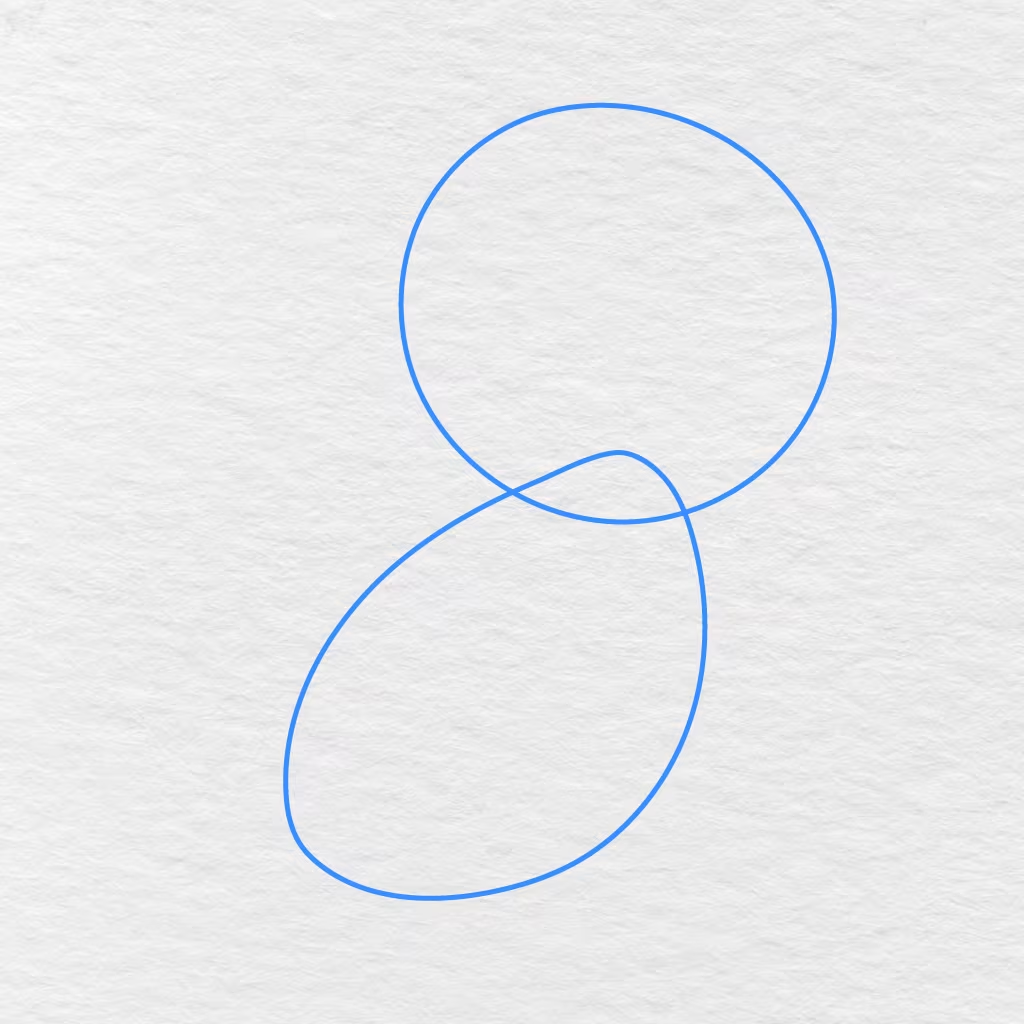
Let’s begin by drawing one big circle for our dog’s head.
We will be adding a long oval underneath the first shape for our dog’s body. We will be tilting the second shape to the right, making sure the top part of the oval overlaps the bottom part of the first shape.
Step 2: Add the Ears
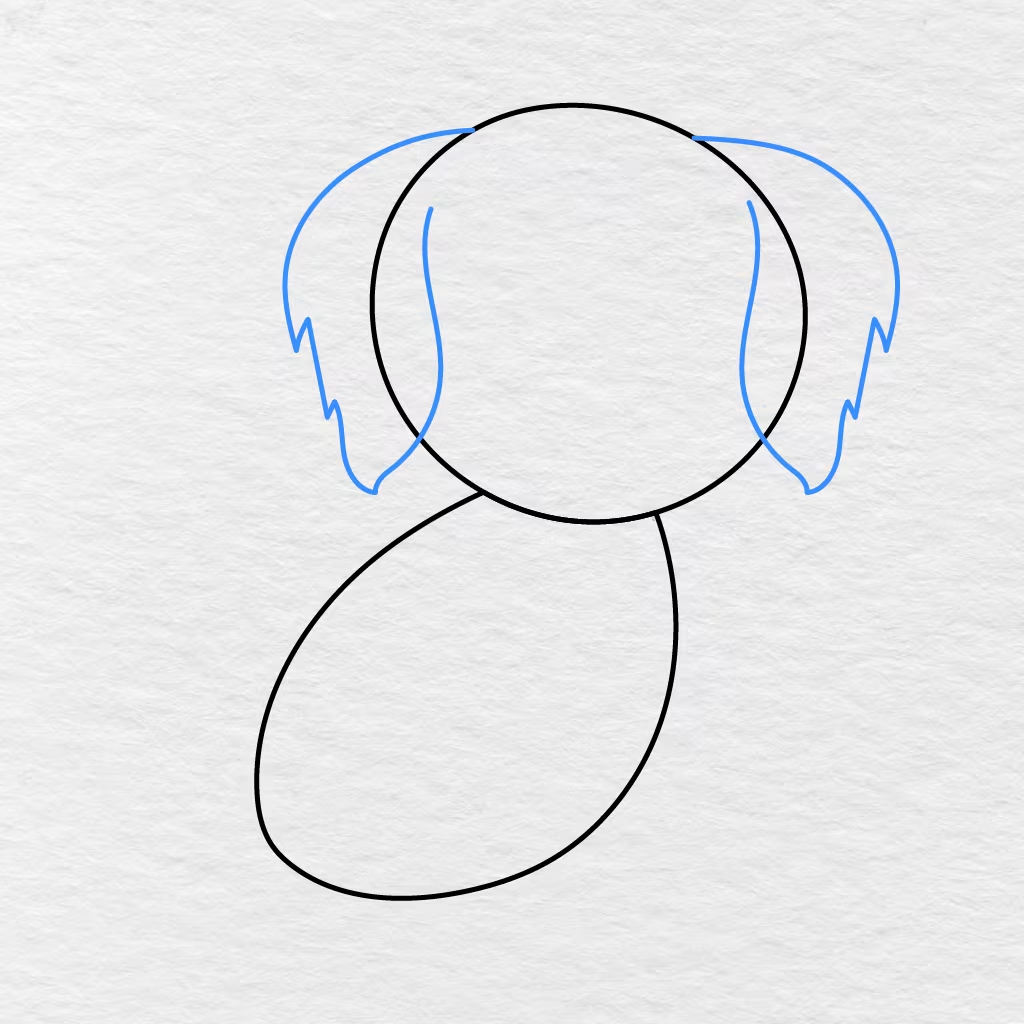
We will be adding one long floppy ear on both sides of the dog’s head.
We will also be adding a few points on the outside part of the ears for the fluffy ends.
Step 3: Draw the Hind Leg and Paw
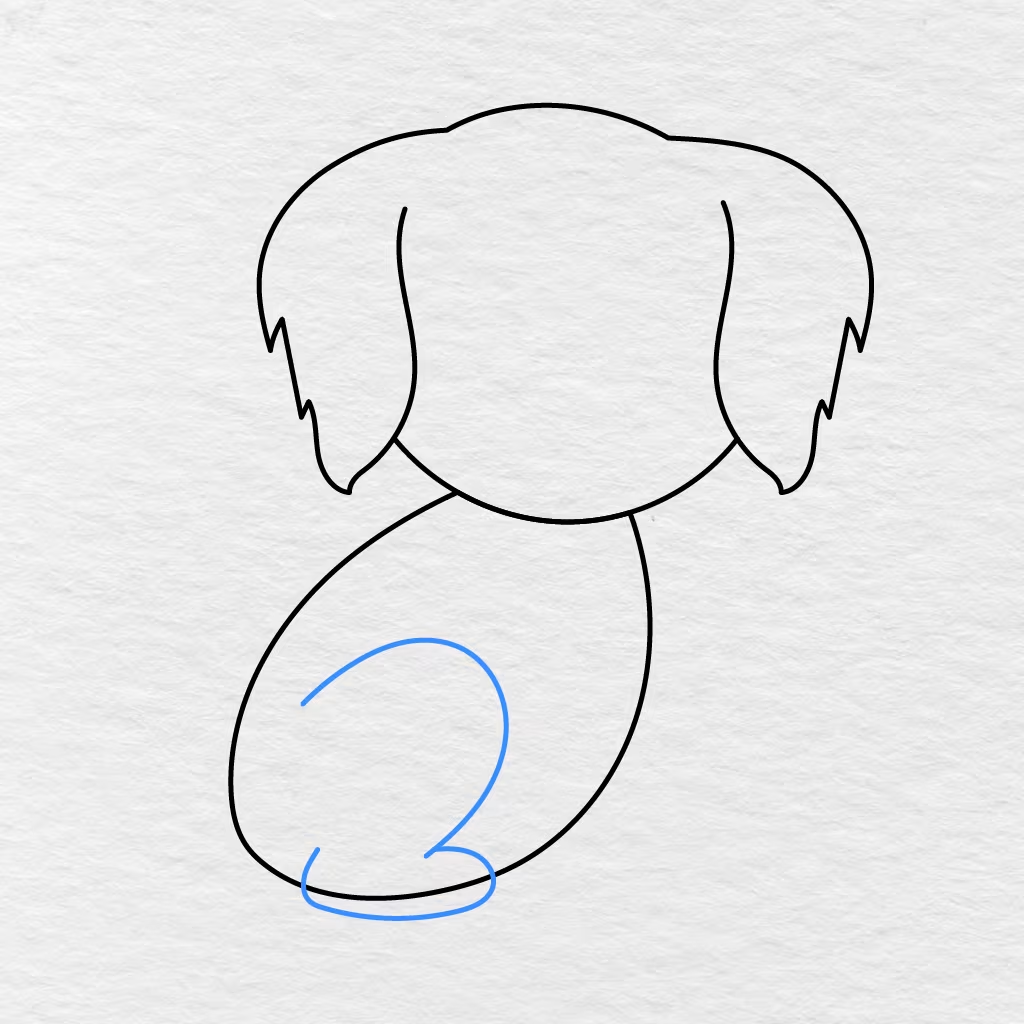
Inside the lower left part of the dog’s body, add a big sweeping line.
As you reach the bottom part, round the line upward to create the hind leg and wide paw of the dog.
Step 4: Draw the Front Leg and Paw
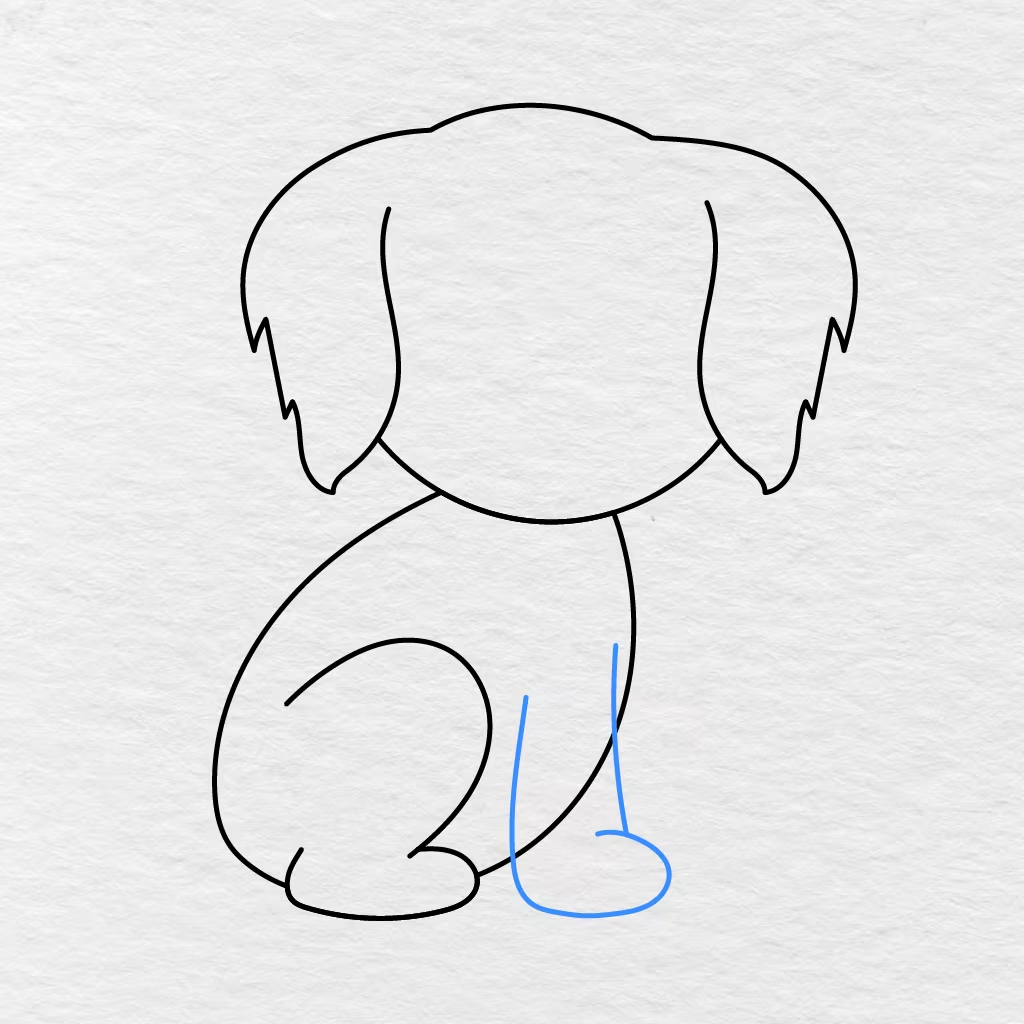
From the right side of the dog’s body, draw a long line downward.
Beside the first line, add a shorter line and connect their ends with a large rounded line to create the front leg and front paw of the dog.
Step 5: Draw the Tail
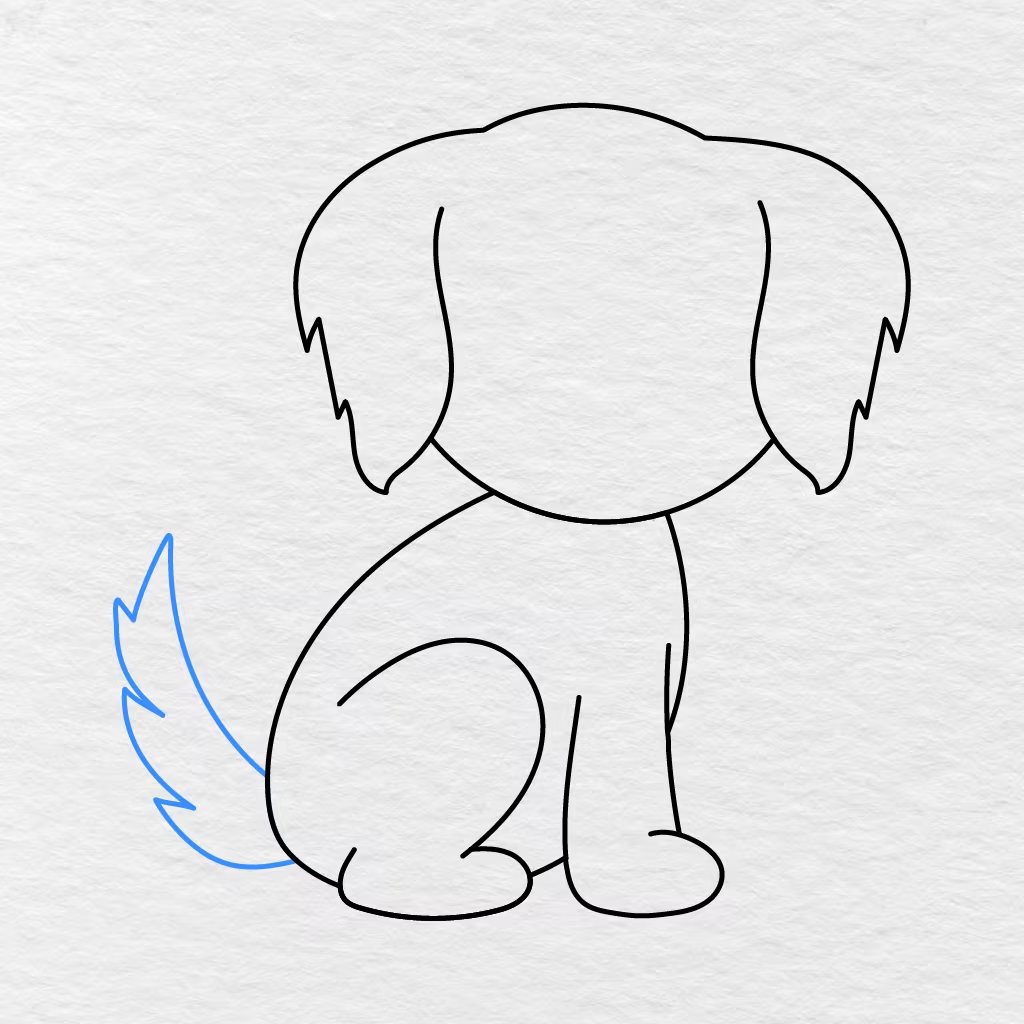
We will be adding a long furry tail on the left side of the dog’s body.
From the left part of the dog’s lower back, begin to draw the tail, making sure it sweeps outward and upward. To finish this part, we can also add a few points along the edges of the tail.
Step 6: Add the Eyes
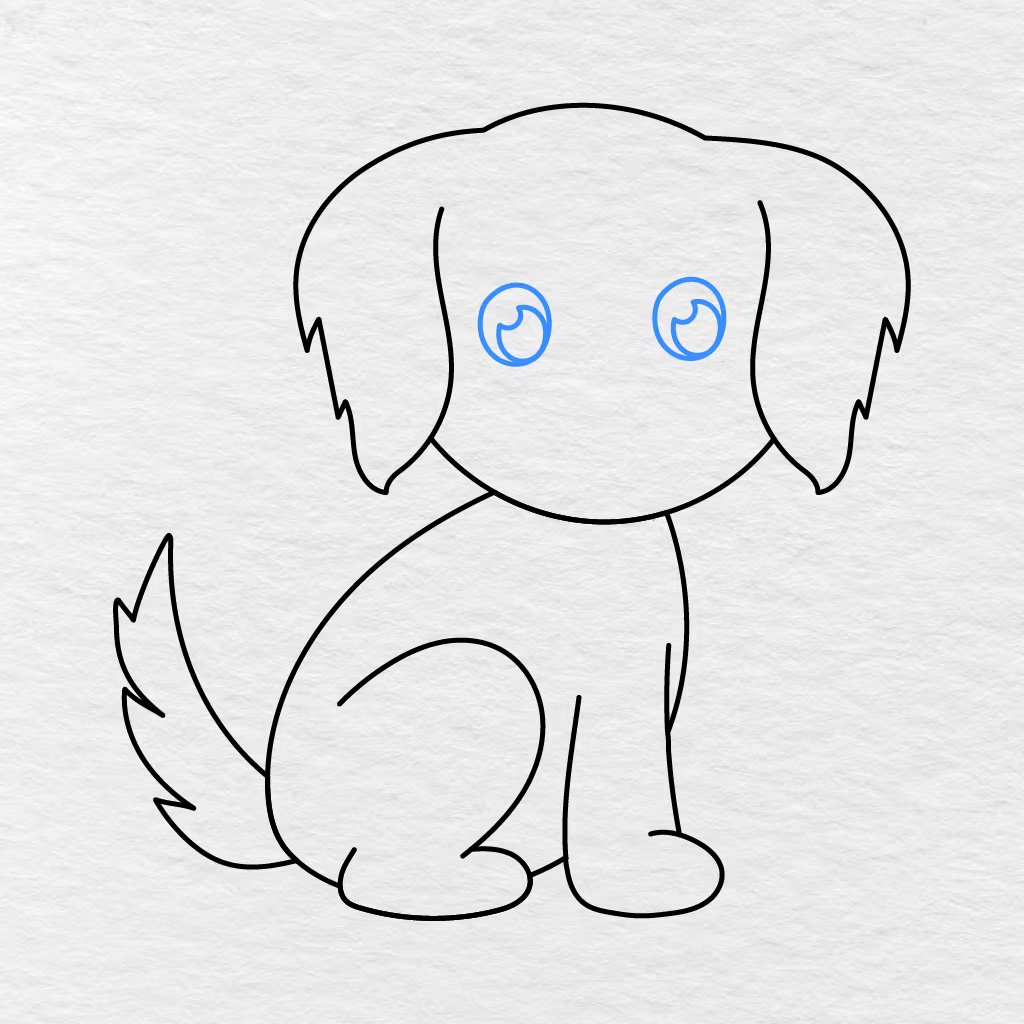
Inside the top part of the dog’s head, add two big round eyes.
Inside each eye, draw a small round shape, leaving some space at the top part. The two white spaces will give us highlights for the dog’s eyes.
Step 7: Draw the Nose and Mouth
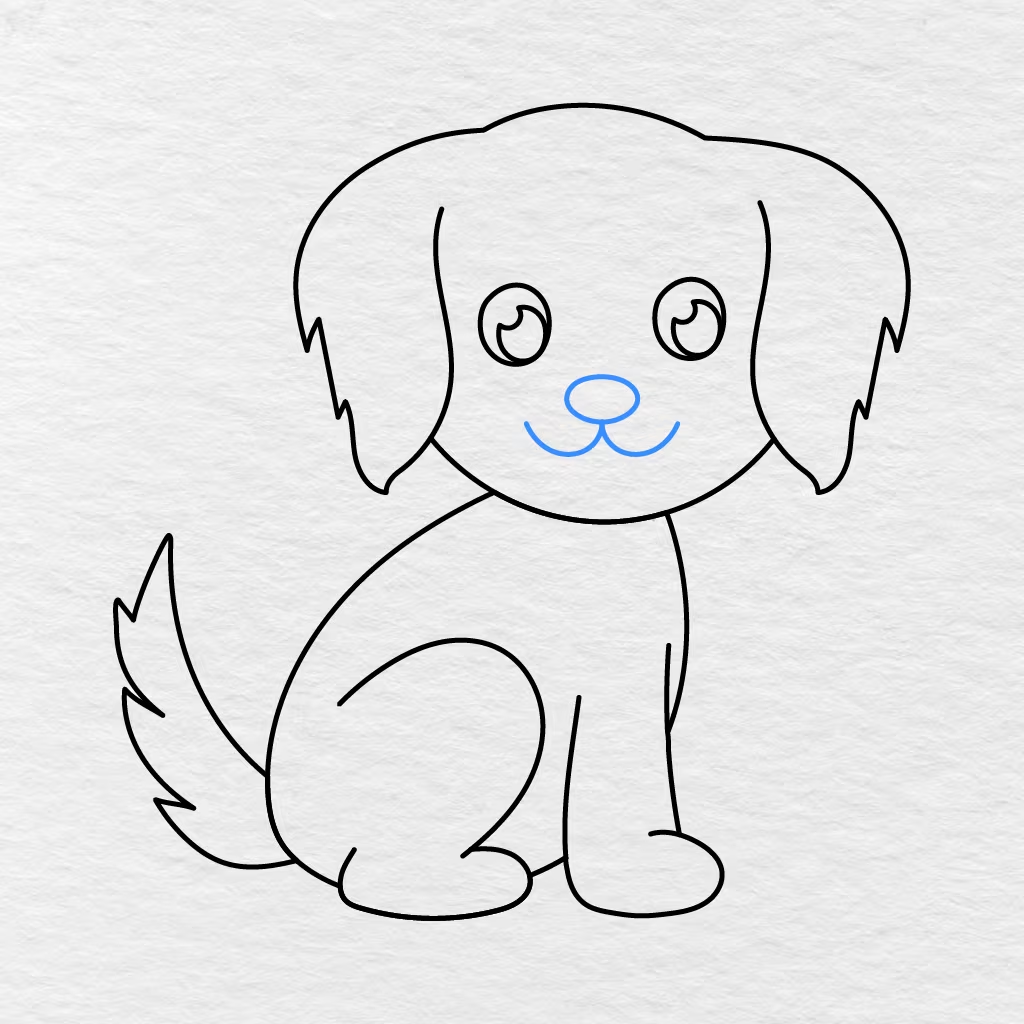
Right below the dog’s eyes, add a small horizontal oval for the dog’s nose.
From the bottom part of the oval, add two curved lines that will go outward and away from each other to create the dog’s smiling mouth.
Step 8: Add the Toes
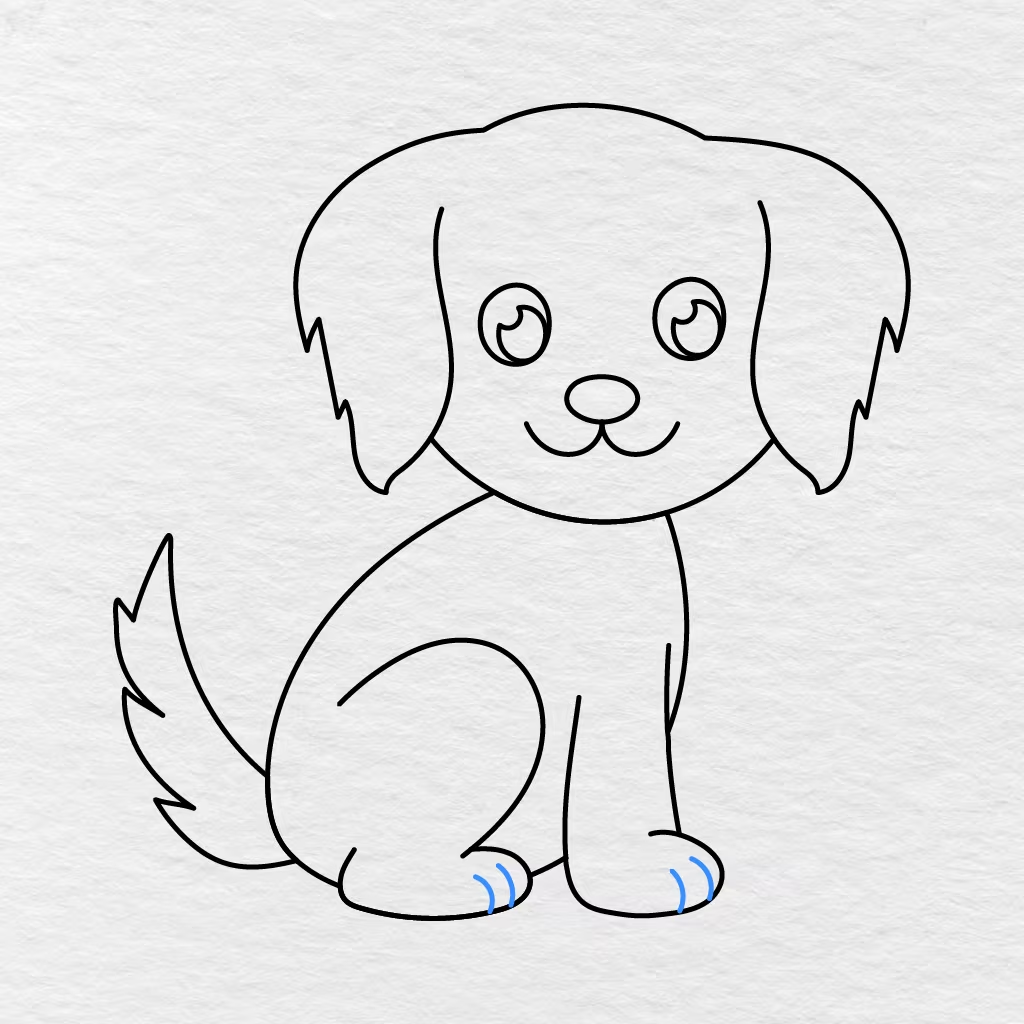
To add the toes to the dog’s paws, we will be using four short curved lines.
We will be adding two small curved lines to the front paw and two more to the hind paw, making sure to leave some space between them.
Step 9: Add the Ear Details
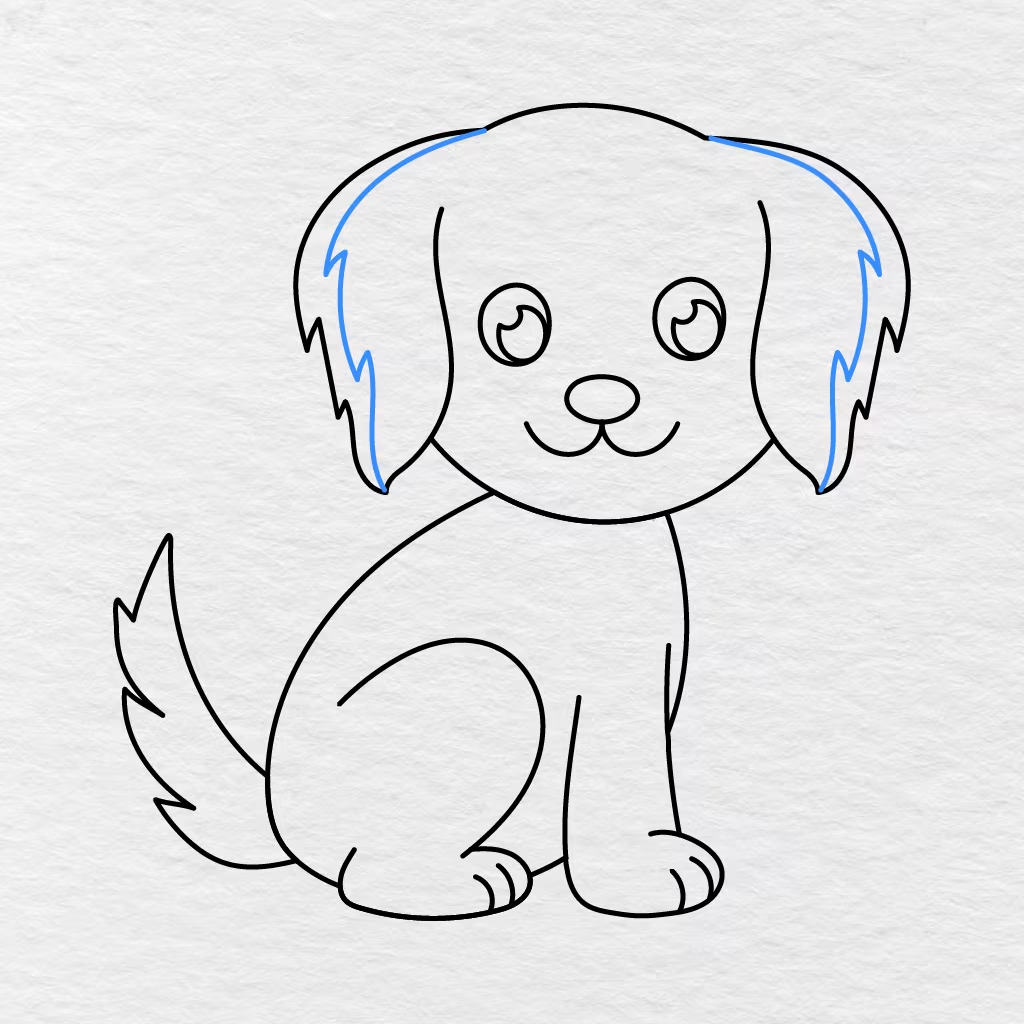
Around the outside part of each ear, add one long furry line.
We will be adding the same marks as we did for the first ear outlines, leaving some space between the two lines as we reach their ends.
Step 10: Draw the Muzzle Outline
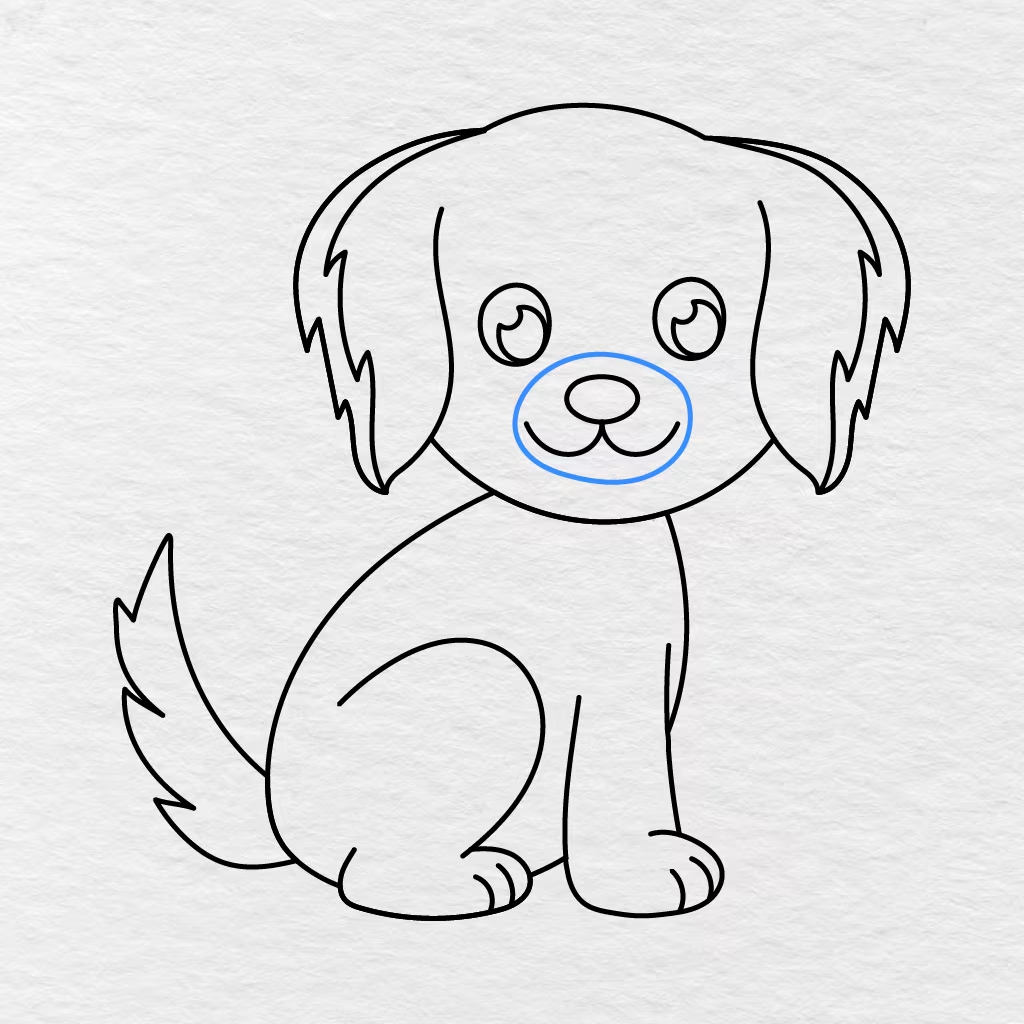
Next, we will be adding one large oval around the dog’s nose and mouth.
Make sure to leave the dog’s nose and smiling mouth at the center part of the new oval. This large oval shape shows us the outline of the dog’s muzzle on the front part of its face.
Step 11: Add the Tail Details
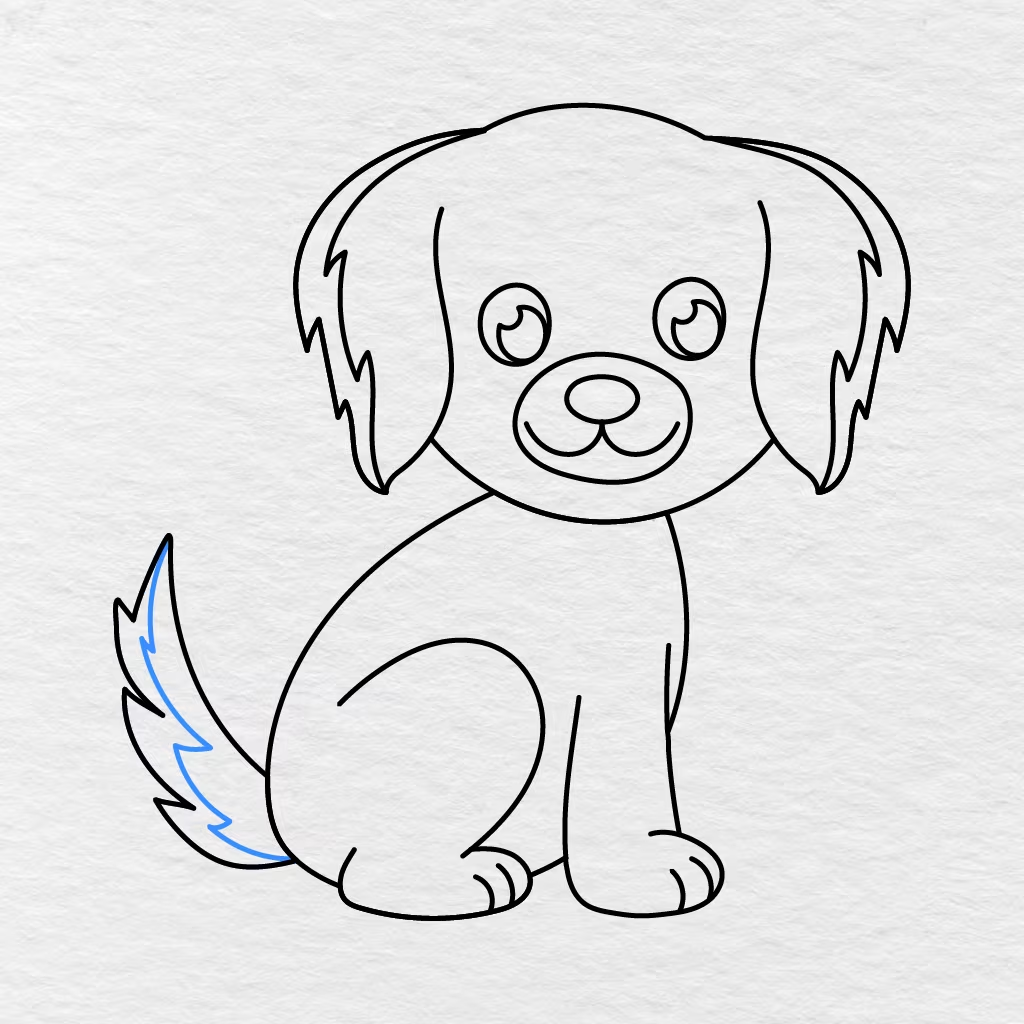
Inside the tail, we will be adding one more pointy line.
Make sure to follow the same pattern as we did for the outside part of the tail and add a few small tufts between the lines.
Step 12: Draw the Collar
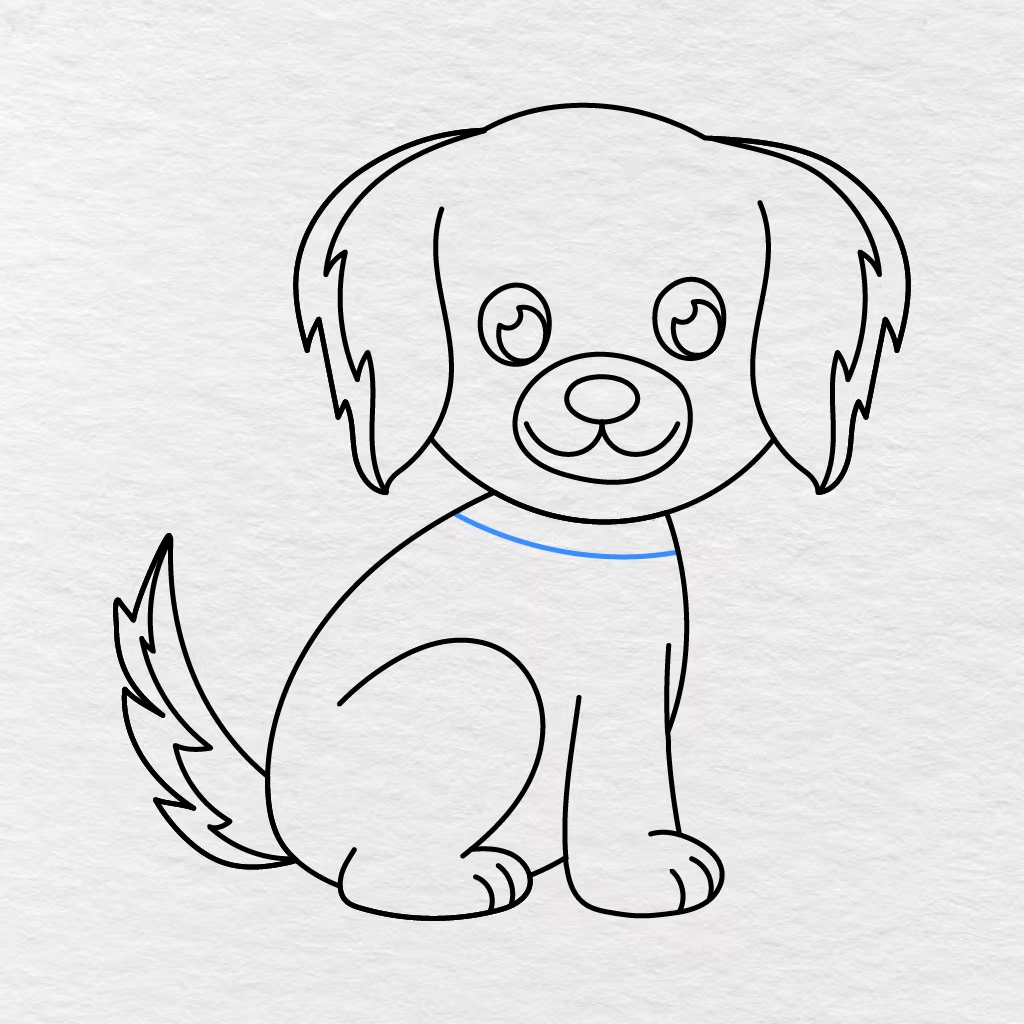
Right below the dog’s head, we will be adding a long sweeping line.
Make sure to begin the next line on the left part of the dog’s neck and follow it to the right side. The bottom part of the dog’s head and the new line we just added will give us the shape of the dog’s collar.
Step 13: Color the Dog
Finally, it is time to color our dog!
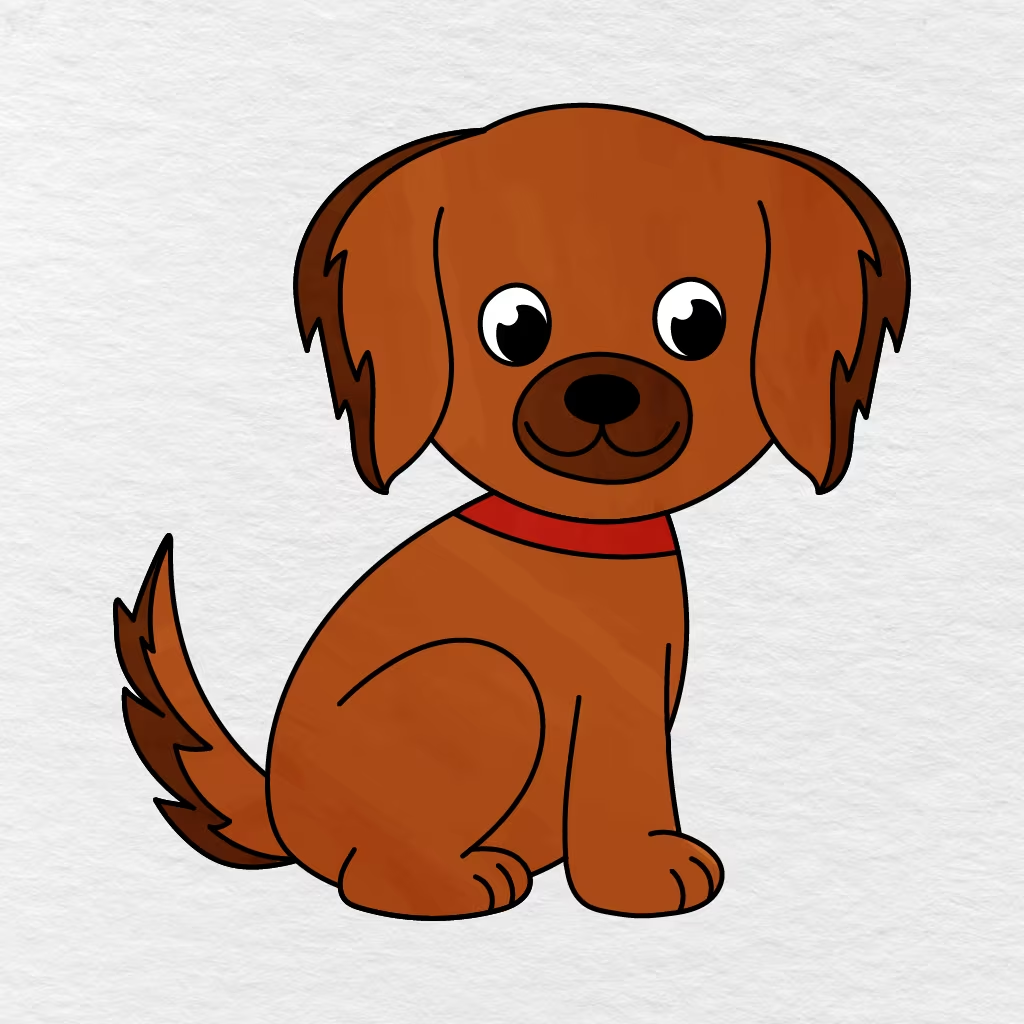
We colored the head and body of the dog using warm brown colors, darker brown for the dog’s muzzle, ears, and tail, black for the dog’s nose and eye centers, white for the eye highlights, and red for the dog’s collar.
You may want to stick to brown colors, but you could also choose golden, cream, gray, black, white, or a spotted pattern.
Your easy dog drawing is now complete!
Printable Dog Drawing PDF
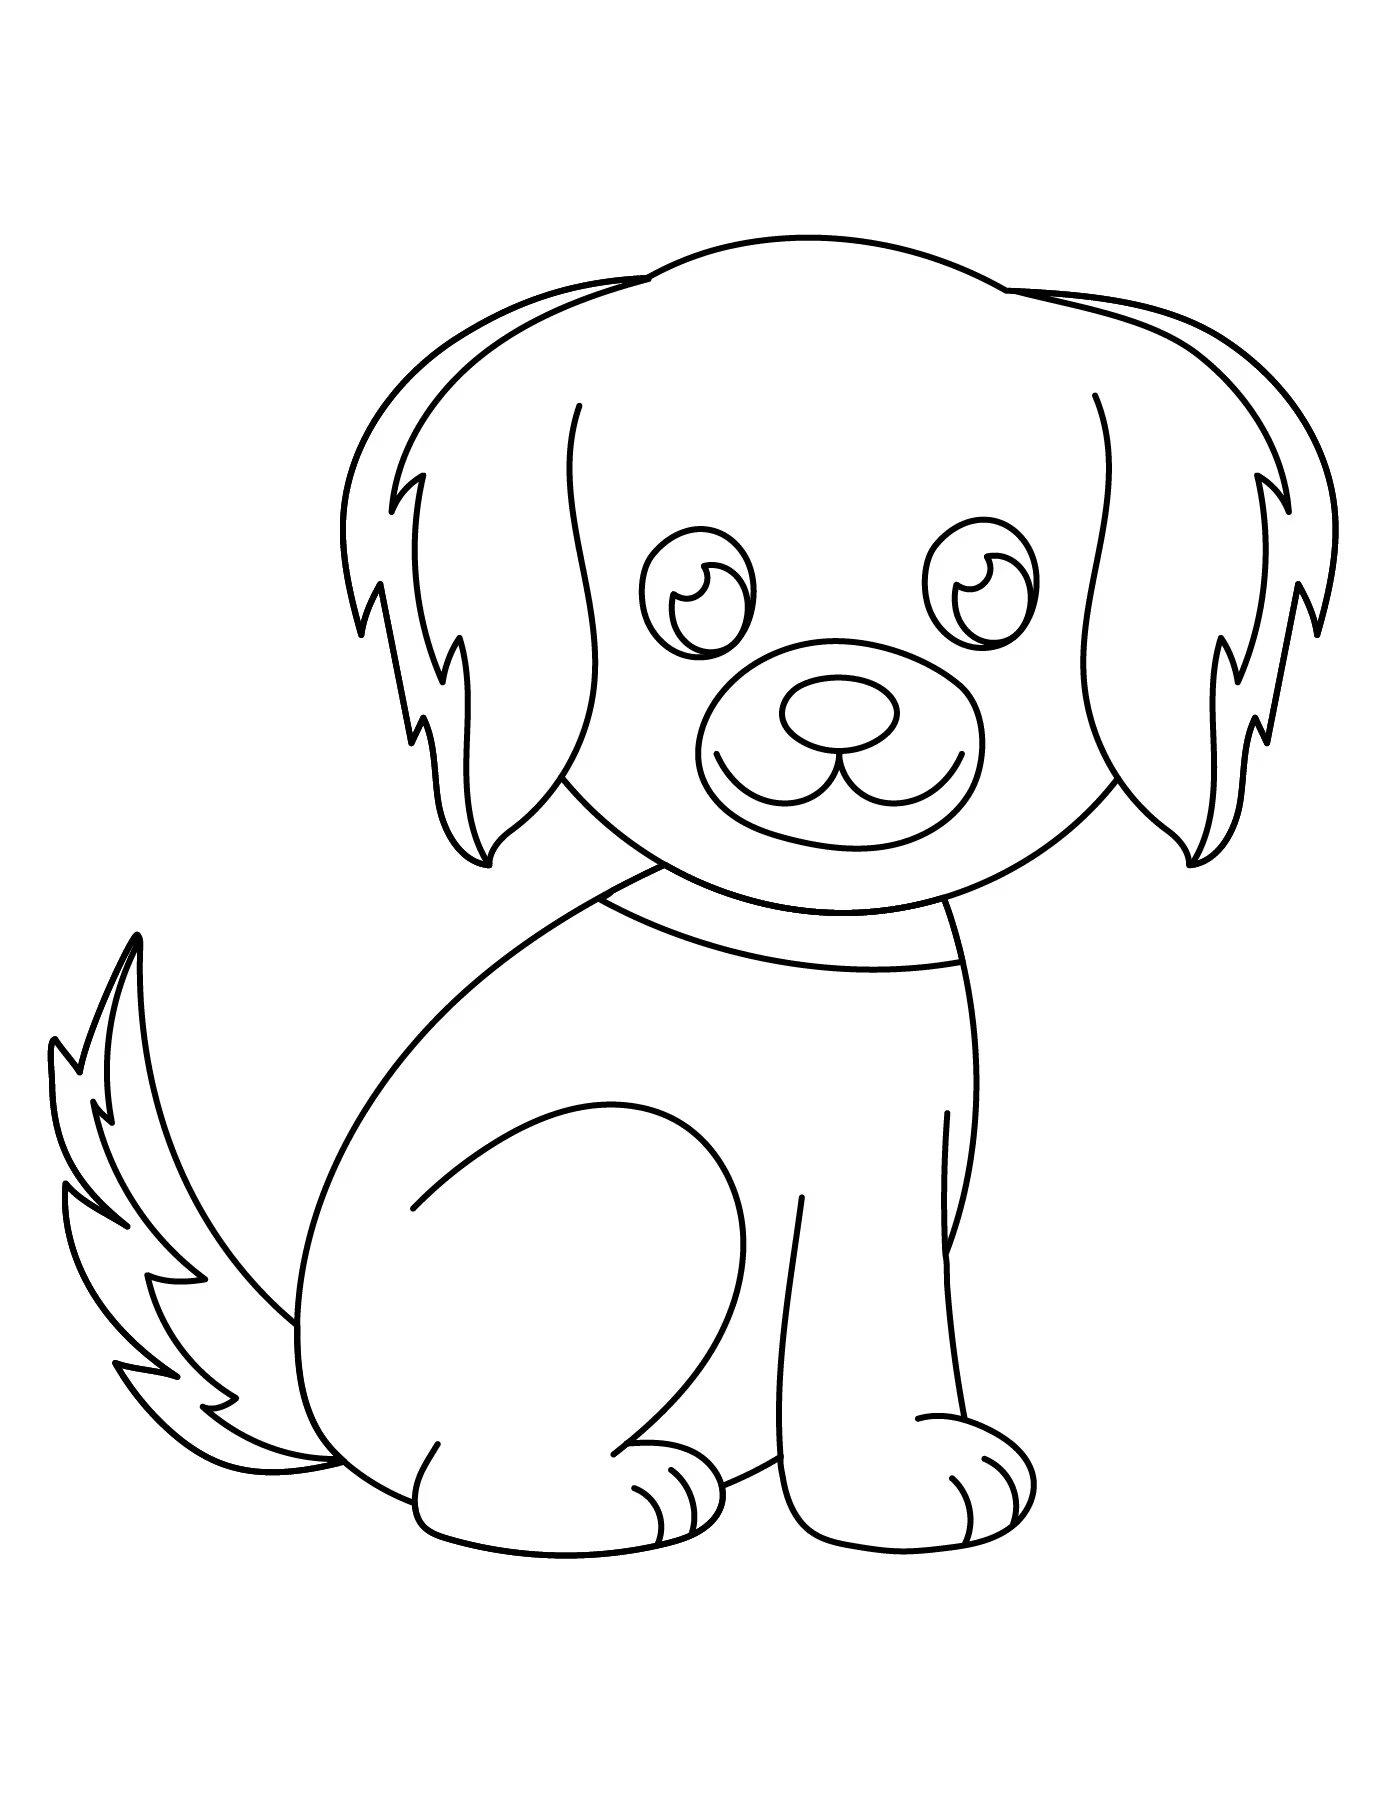
Below you will find a link to a printable dog drawing PDF that you can use today or save for another day when you need a quick dog drawing activity. The completed outline includes the dog’s floppy ears, big eyes, rounded muzzle, legs, paws, tail, and collar as shown in our tutorial.
If you would like a similar activity with this cute pet, make sure to check out our Dog Coloring Pages.
Did you color your dog brown or did you choose different colors for its coat? Make sure to share your dog drawing with us in the comments below and share this tutorial with another parent, teacher, or friend!