How to Draw a Frog
You can’t help but notice frogs practically everywhere they occur. In and around ponds, gardens, and other wetlands, these lovely creatures are sure to serenade you during the night. The fascinating transformation from a humble tadpole to a fully grown frog also makes them one of the coolest animals for kids to learn about. They even serve an important role in the ecosystem, keeping the numbers of insects in check, so they well deserve their reputation as nature’s pest control agents.
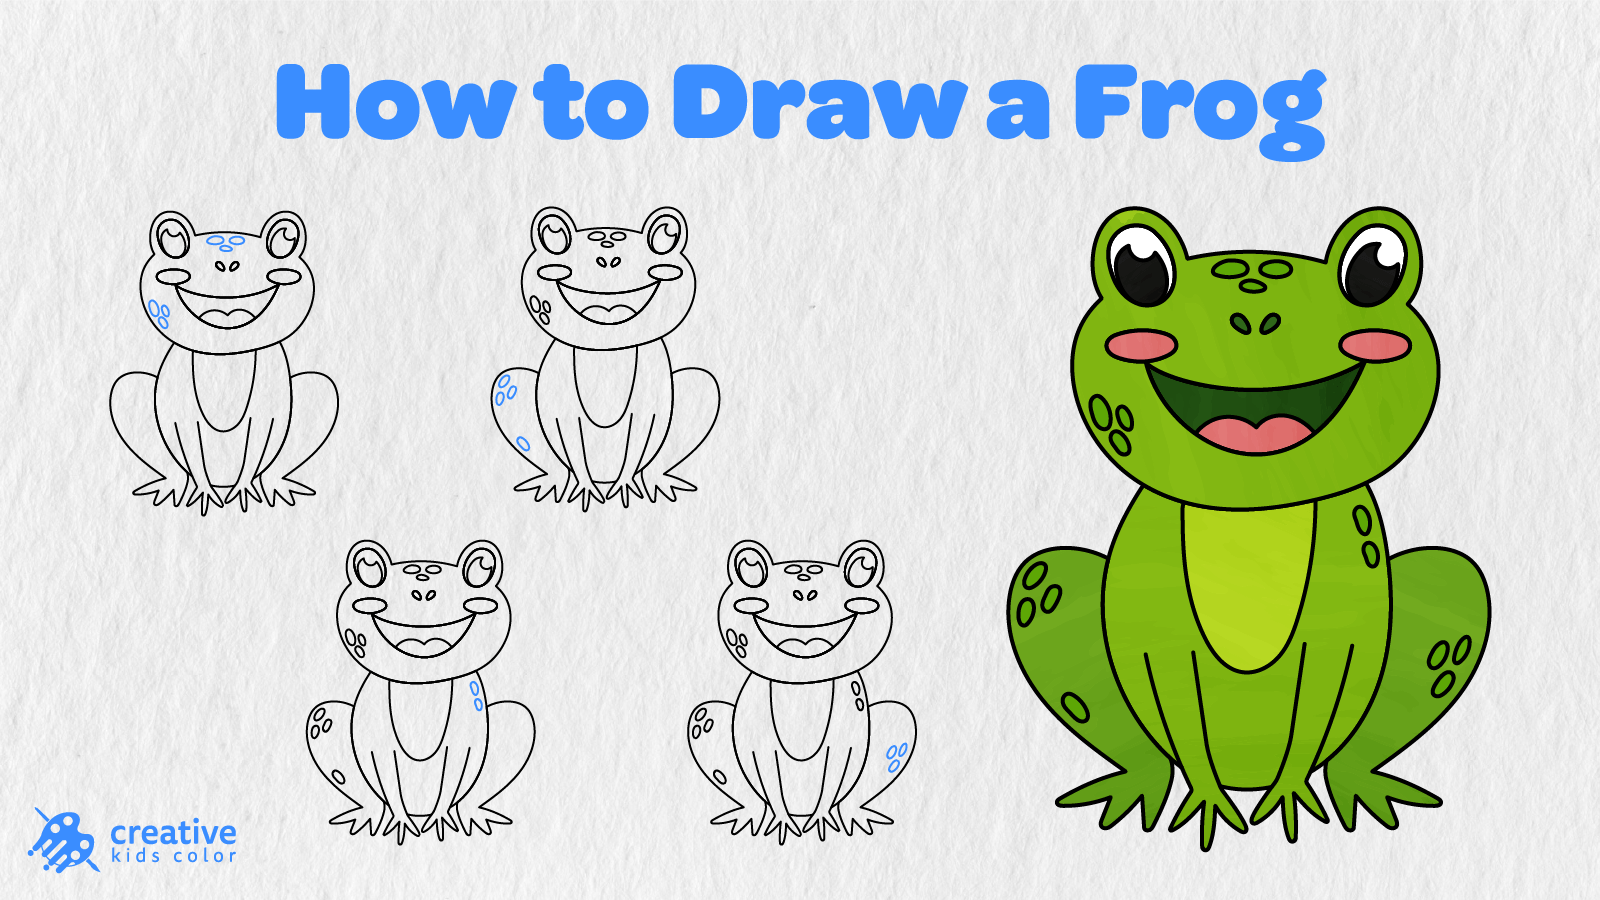
On this page, we’ve taken this common pond visitor and turned it into a fun printable drawing guide. Kids and beginners can learn how to draw a frog with this easy 16 step tutorial, starting from some basic oval guidelines and working all the way to the finishing touches on the frog’s eyes and spotted pattern.
The blue lines in the pictures below indicate the order in which we added each part to ours, so simply follow along with the pictures and you’ll turn those two basic ovals from Step 1 into a fully formed frog of your own that you can color in!
Easy Frog Drawing Step by Step
You will need a pencil, paper, an eraser, and coloring utensils for this activity. Make sure to leave some space on the page for the frog’s hind legs as you start drawing.
Step 1: Draw the Head and Body Guides

With your pencil, draw two large overlapping ovals to act as guides for your drawing.
Make the top oval wide and horizontal to serve as the frog’s head. The bottom oval, however, should be vertical to act as the body.
Step 2: Draw the Head and Eye Bumps
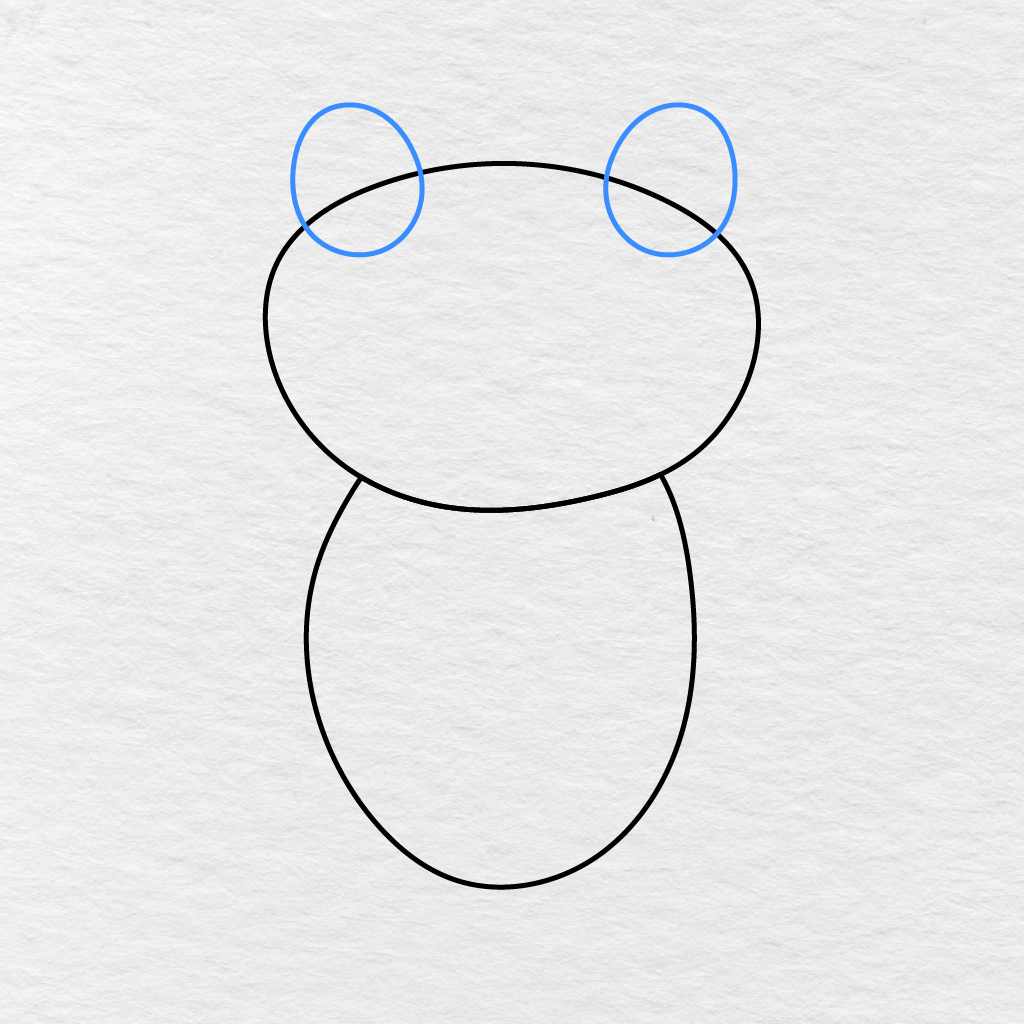
Use the top oval as a guide for the head and add two bumps at the top corners for the eyes.
Connect both bumps with a short curve to form the top of the head. Next, draw a large curve underneath for the bottom of the head.
Step 3: Add the Hind Legs and Feet
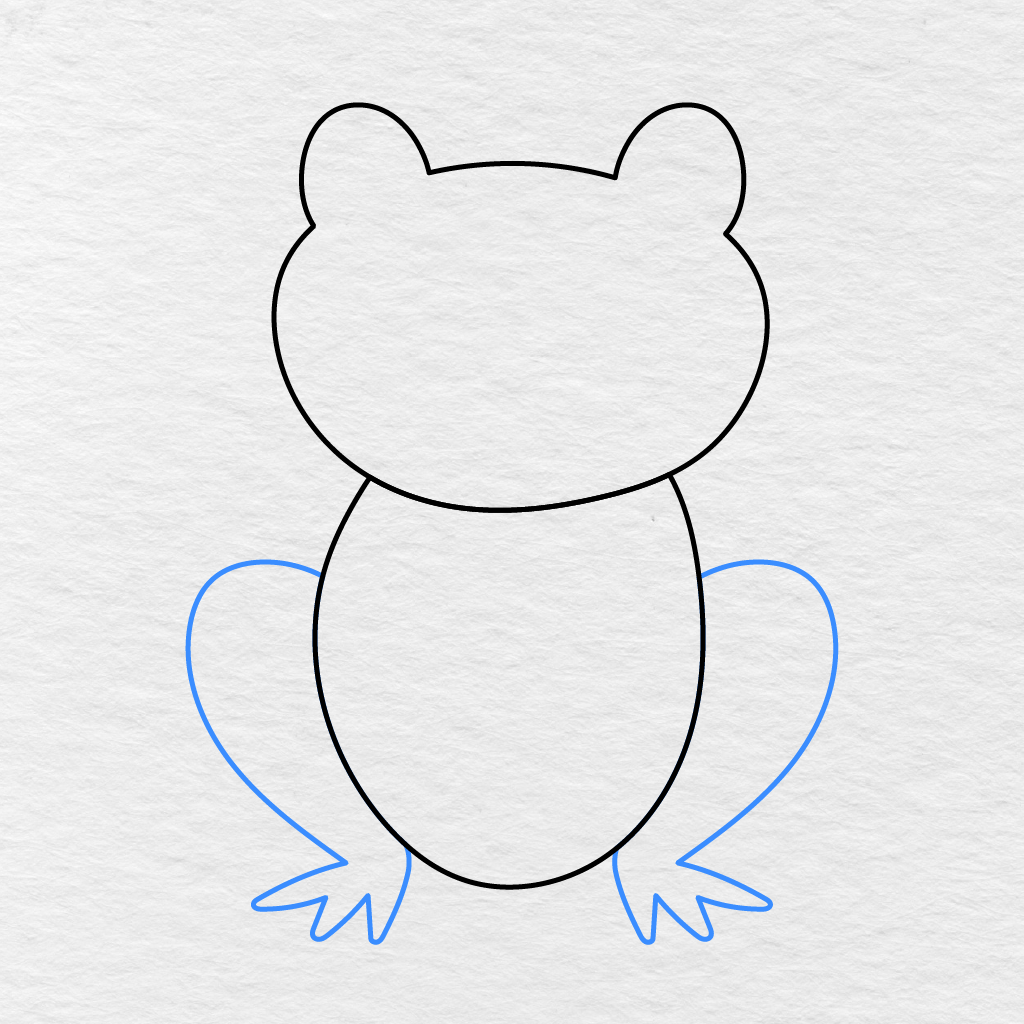
Draw a large rounded hind leg on both sides of the body.
Make sure to bring the lower part of each leg towards the center before adding several pointed toes at the end to form the frog’s wide feet.
Step 4: Draw the Front Legs and Feet
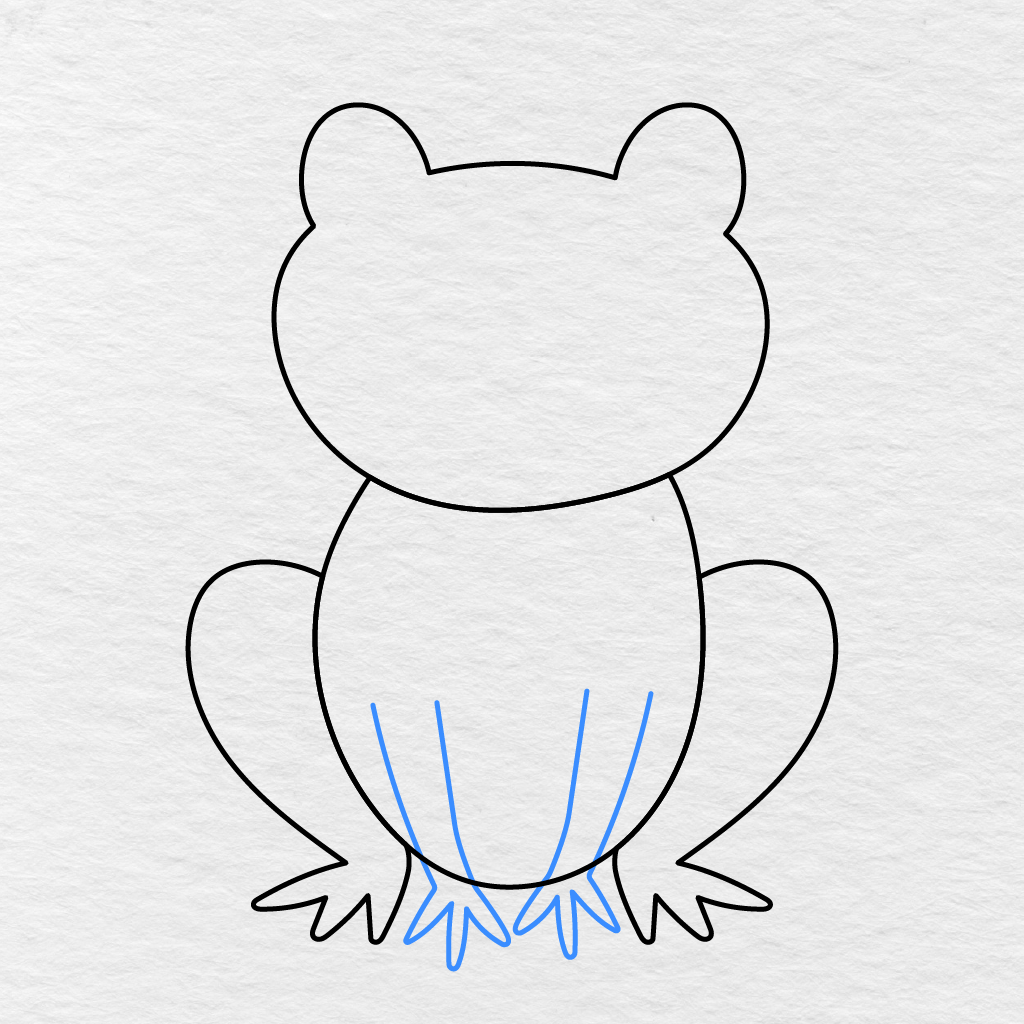
Draw two long curving lines at the front of the body for the front legs.
Simply extend the lines downwards and add more pointed toes to them before moving on to the next step.
Step 5: Add the Eye Outlines
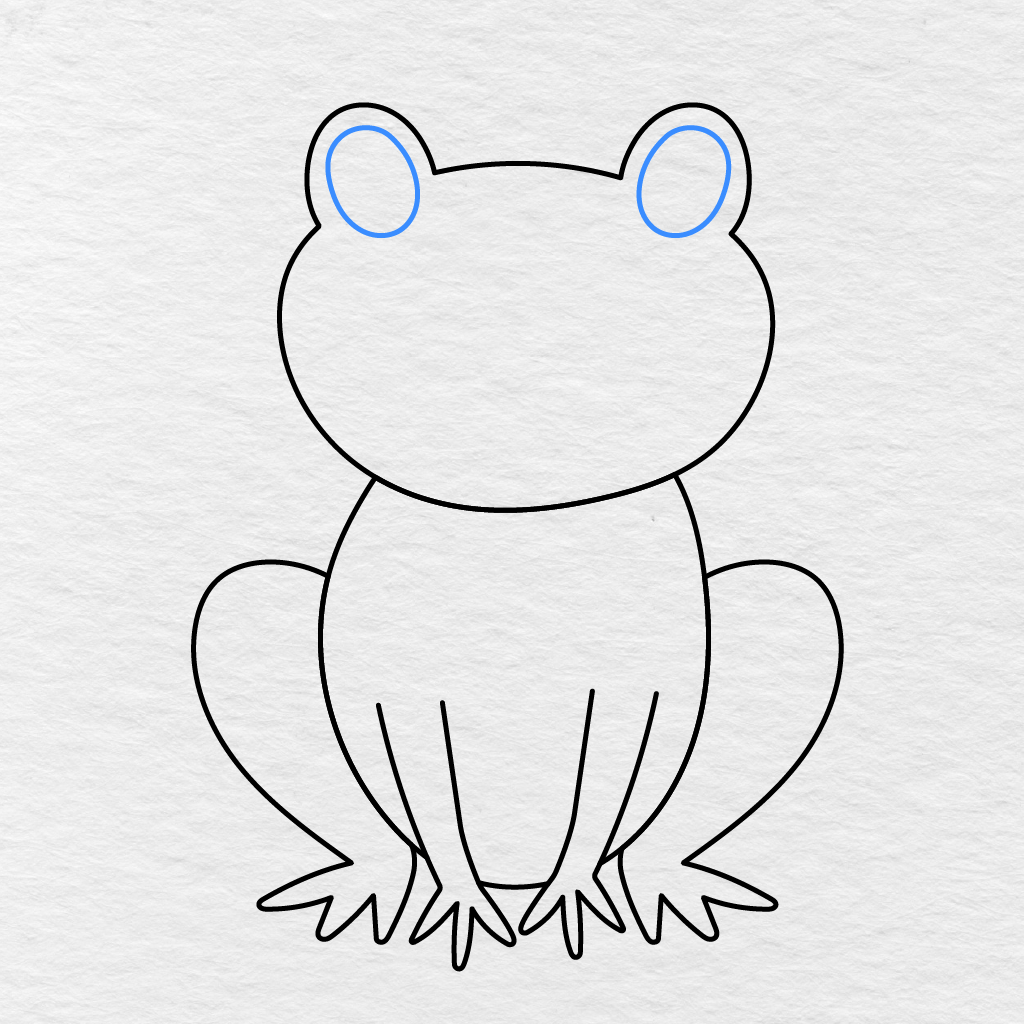
Use the two bumps at the top of the head as guides for the eyes.
Add a large oval in each bump, making sure to leave some space between the outer edges and the bump itself.
Step 6: Draw the Eye Details
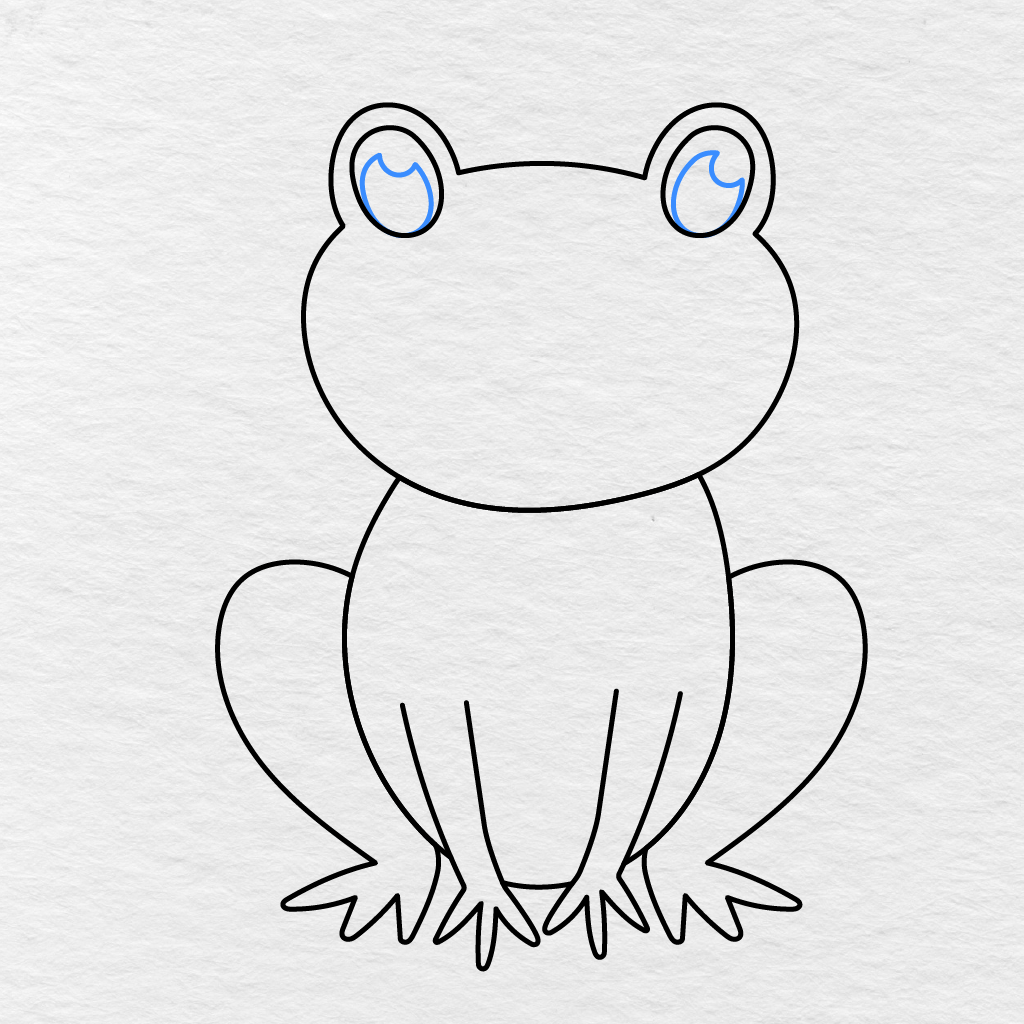
Add a curved shape inside each eye to add some detail.
Make sure to leave some space at the top of each shape since they will act as highlights when coloring the eyes.
Step 7: Add the Nostrils
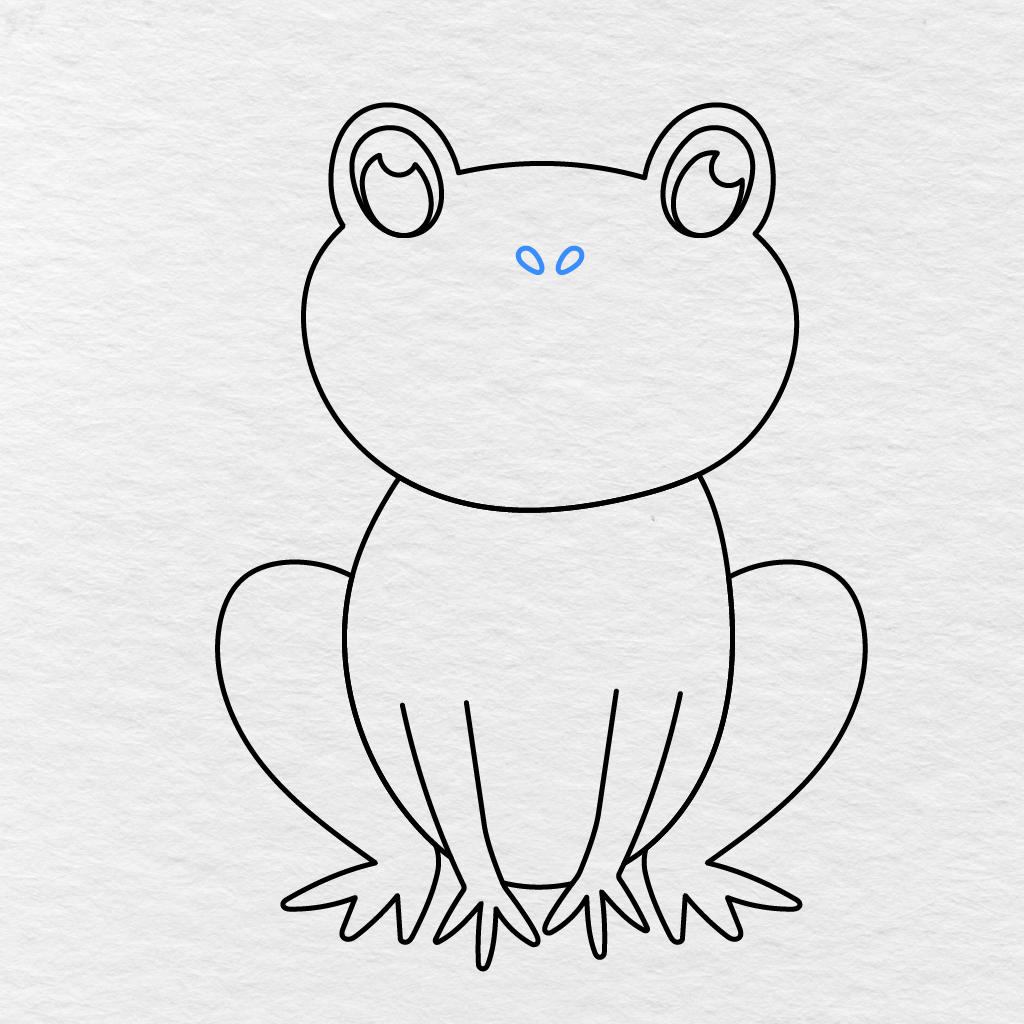
Draw two small tilted ovals near the middle of the head for the nostrils.
Make sure to leave some space between the two nostrils and angle them slightly away from each other.
Step 8: Draw the Cheeks
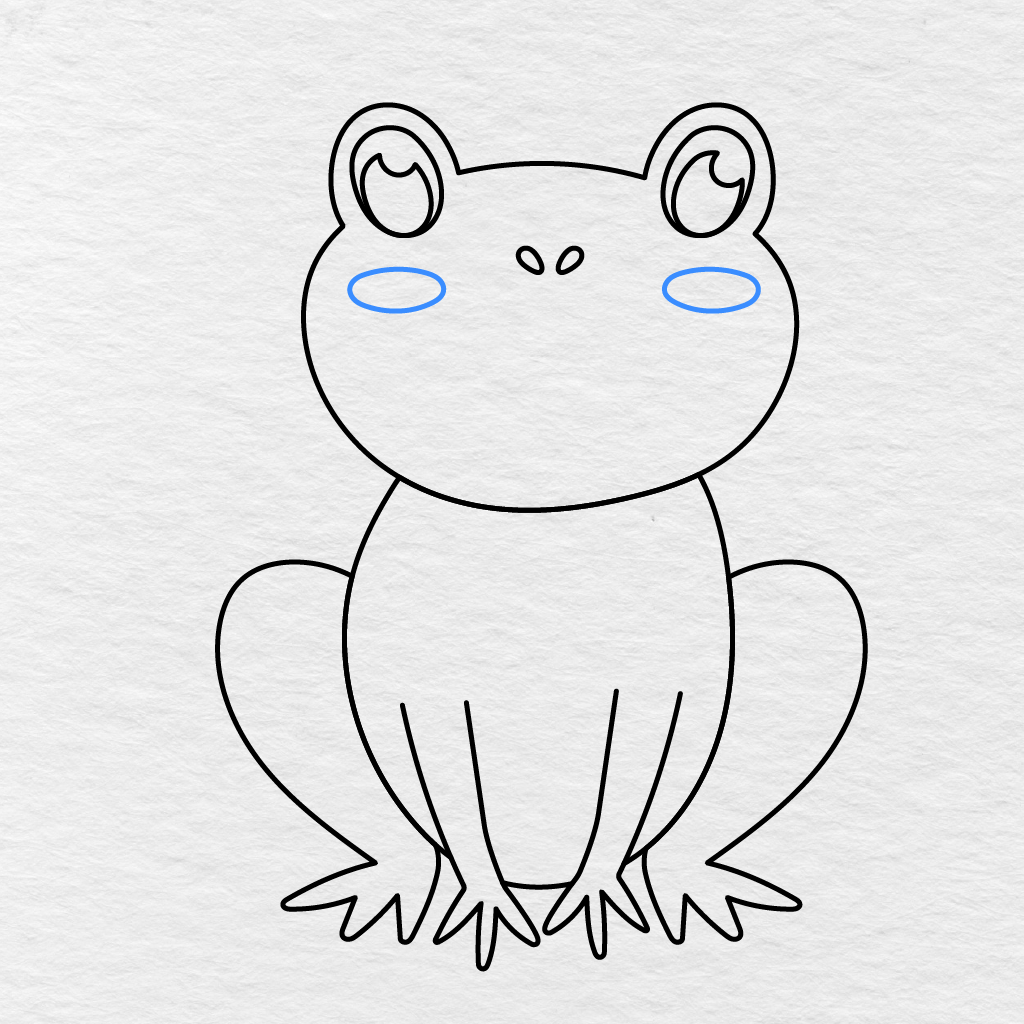
Draw a horizontal oval on both sides of the head for the cheeks.
Make sure to position them below the eyes and at roughly the same height.
Step 9: Draw the Mouth
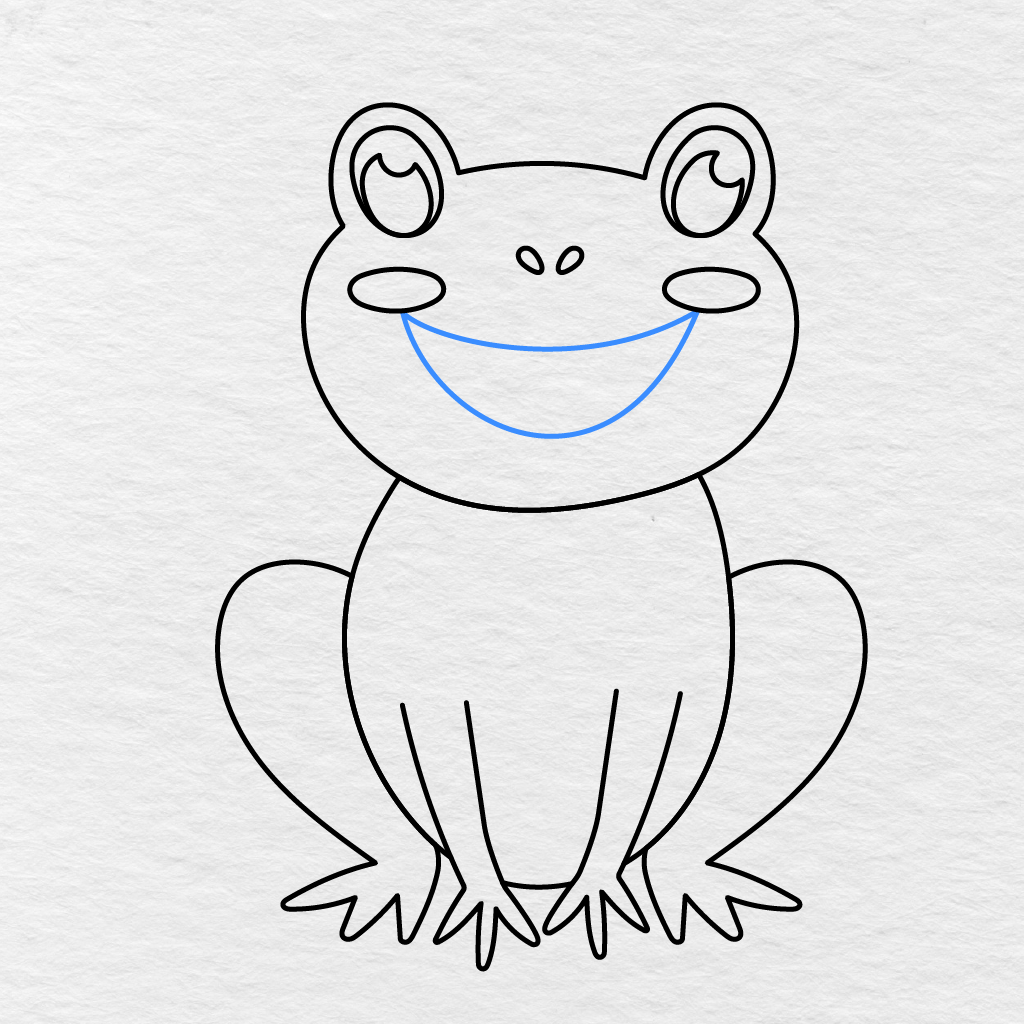
Draw a large smile between the two cheeks for the mouth.
Start by adding a wide curve that runs between the two cheeks before adding another curve underneath to give it shape.
Step 10: Add the Tongue
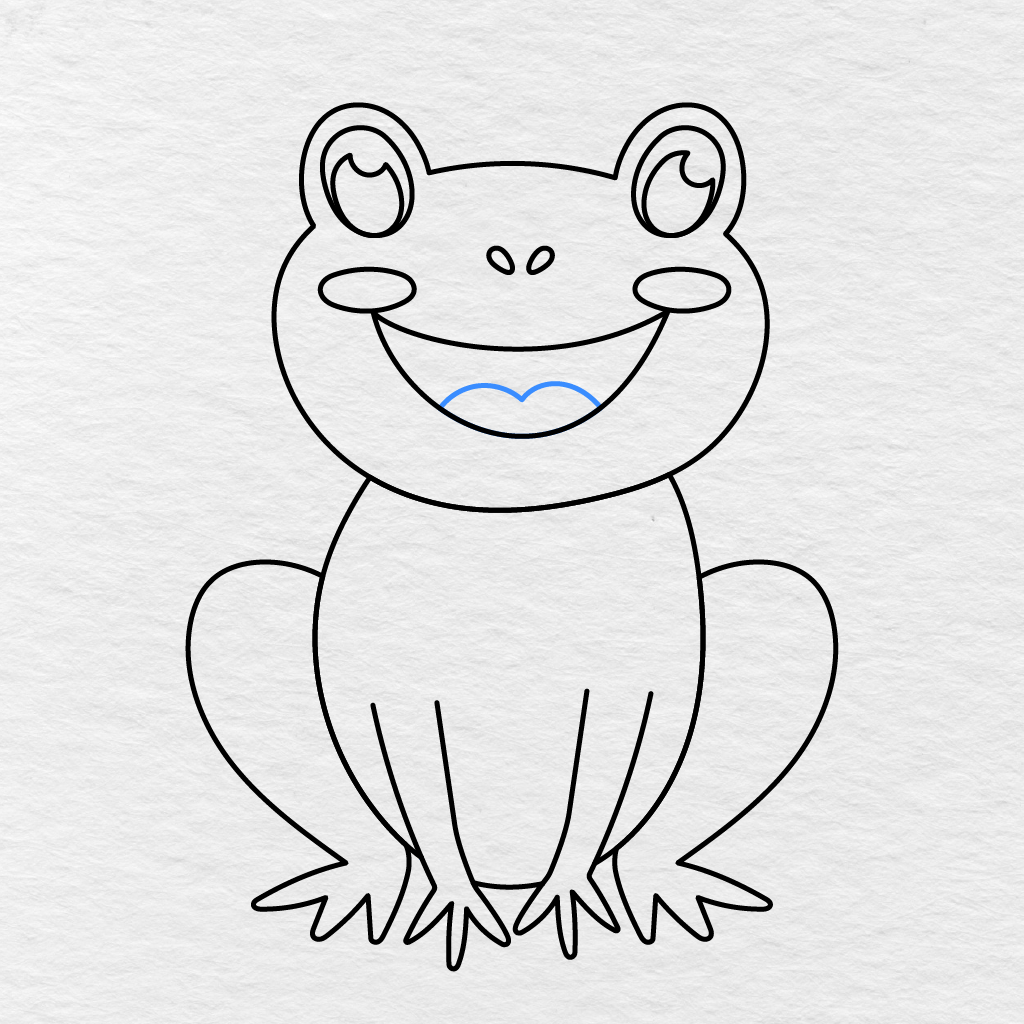
Add a rounded tongue inside the lower part of the mouth.
Use two connected curves to give the top part of the tongue shape and detail.
Step 11: Draw the Belly
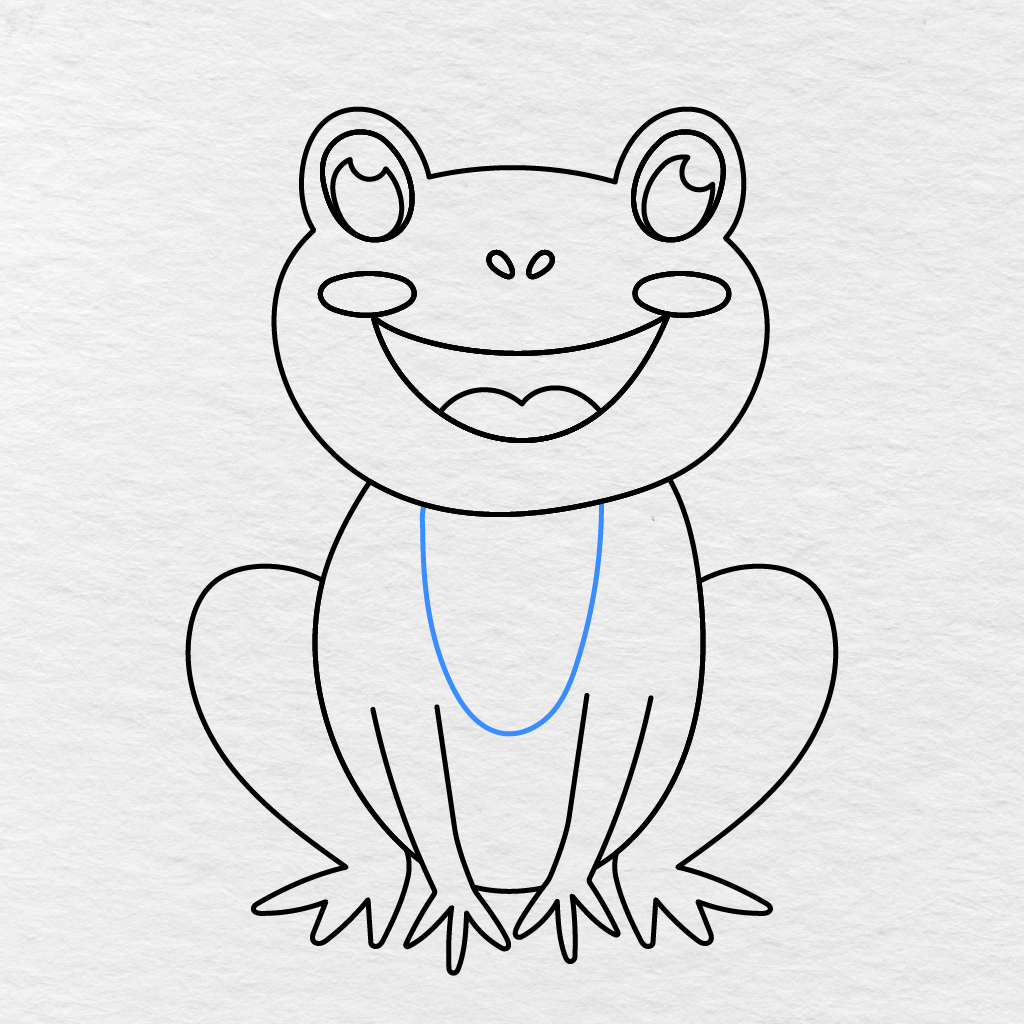
Draw a long rounded shape between the two hind legs for the belly.
Start drawing underneath the head before curving both ends downwards until they meet near the lower part of the body.
Step 12: Add the Head and Face Spots
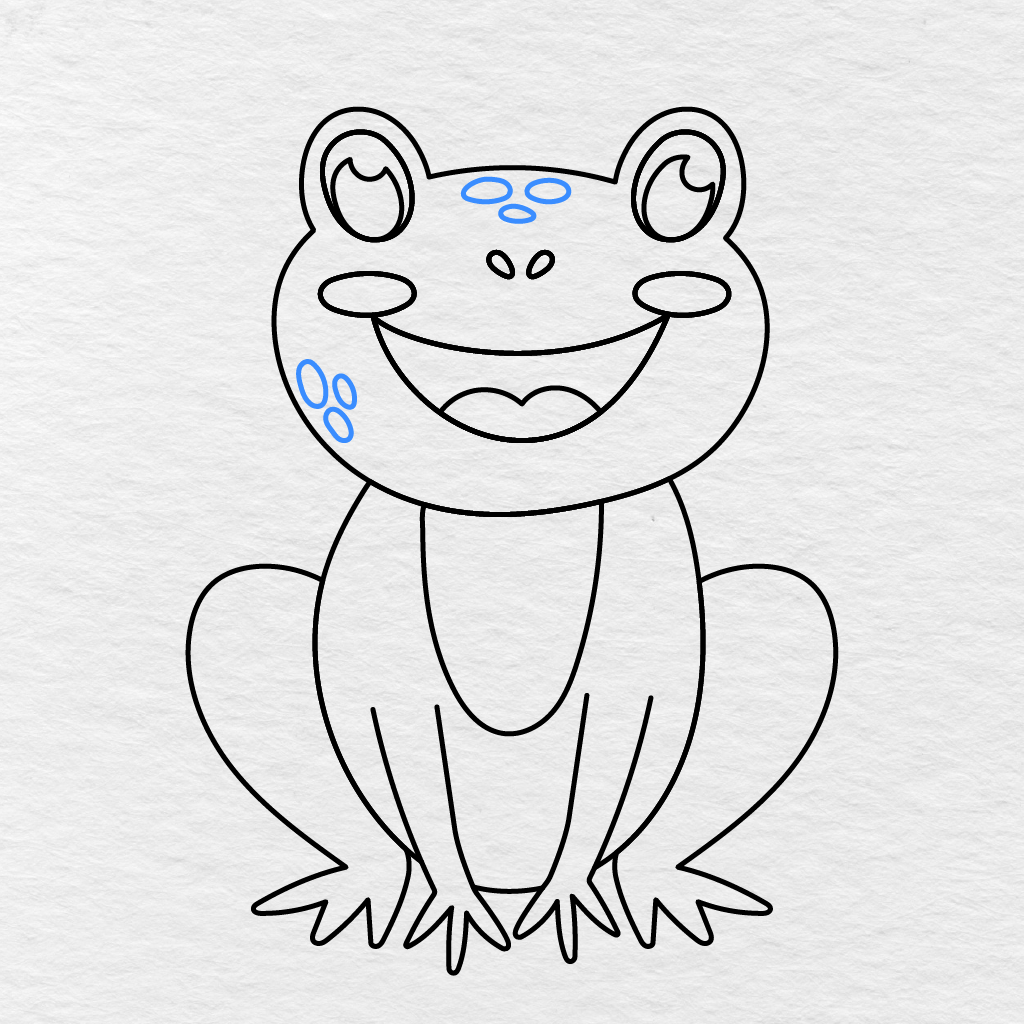
Draw three small oval shaped spots across the frog’s forehead.
Add three more spots on the left side of the face, making sure to make some of them a little bigger than the others.
Step 13: Add the Left Leg Spots
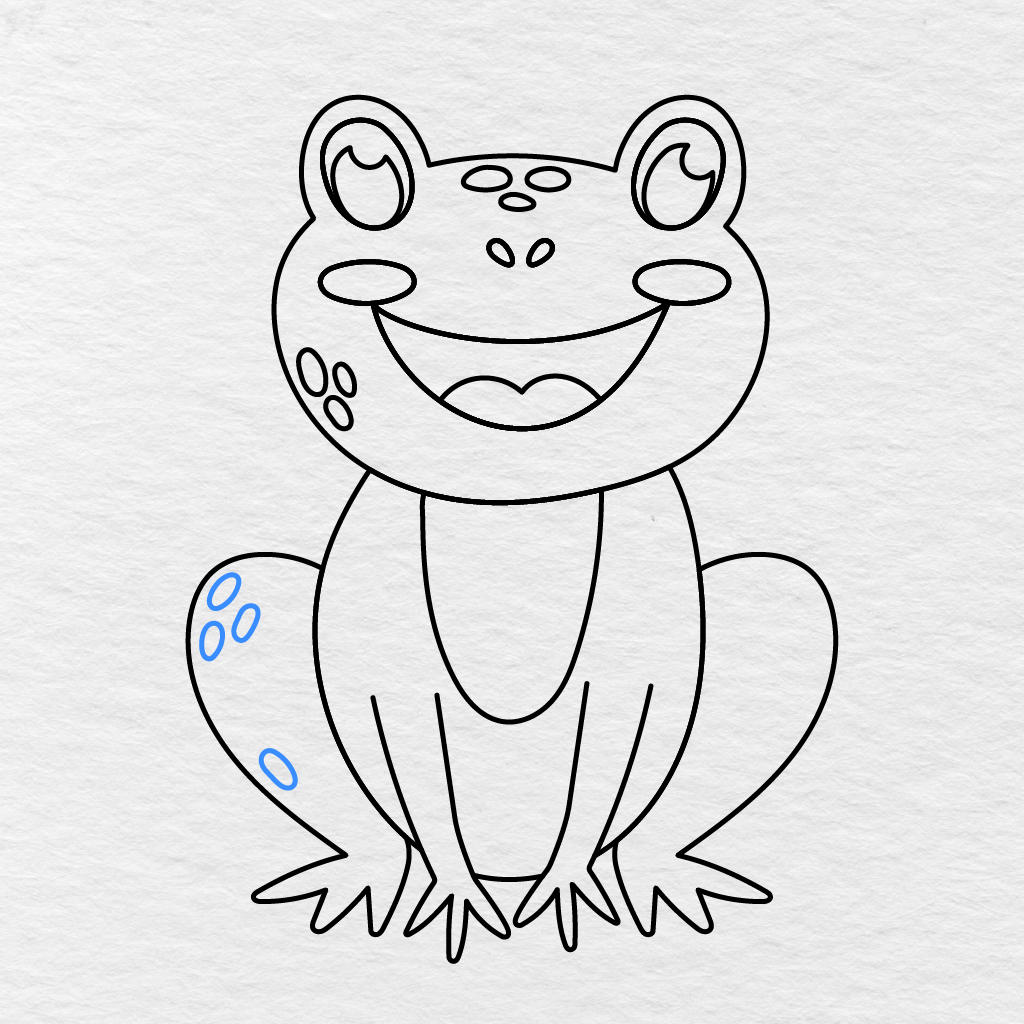
Draw three small oval shaped spots along the left hind leg near the top.
Add another longer oval shaped spot lower down along the same leg.
Step 14: Add the Right Body Spots
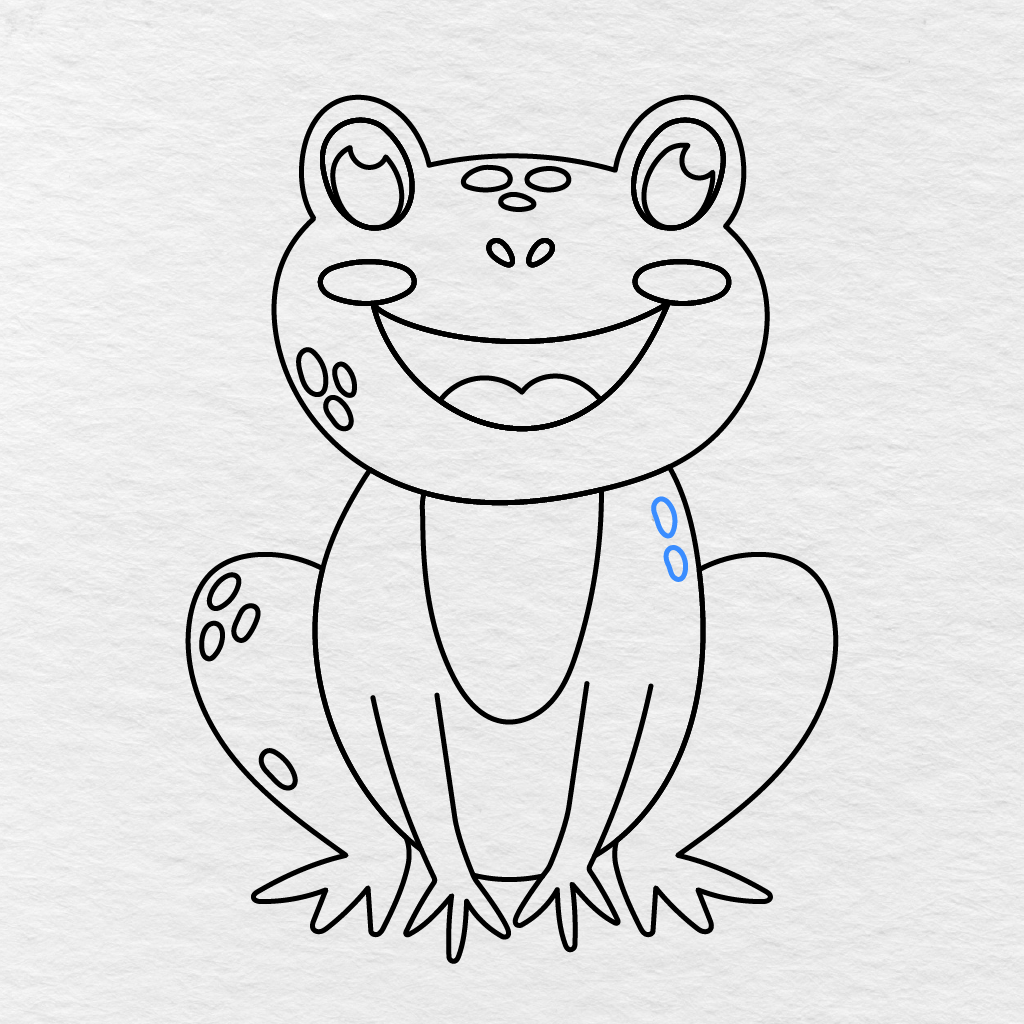
Draw two small oval shaped spots along the right side of the body.
Make sure you draw one above the other while keeping them all contained within the body.
Step 15: Add the Right Leg Spots
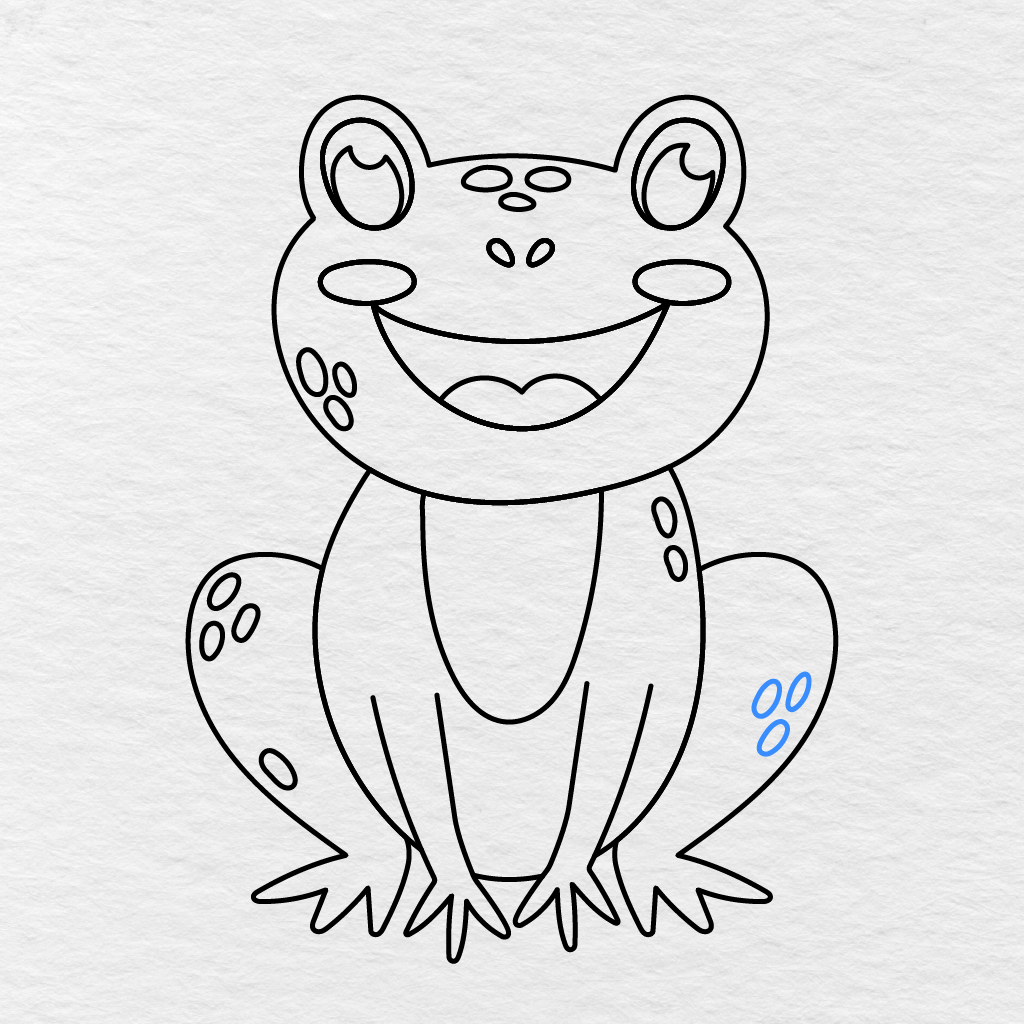
Draw three more oval shaped spots along the right hind leg, just like on the left side.
Make sure to keep them close together and near the outer edge of the leg.
Step 16: Color the Frog
You can now add some color to your finished frog drawing!
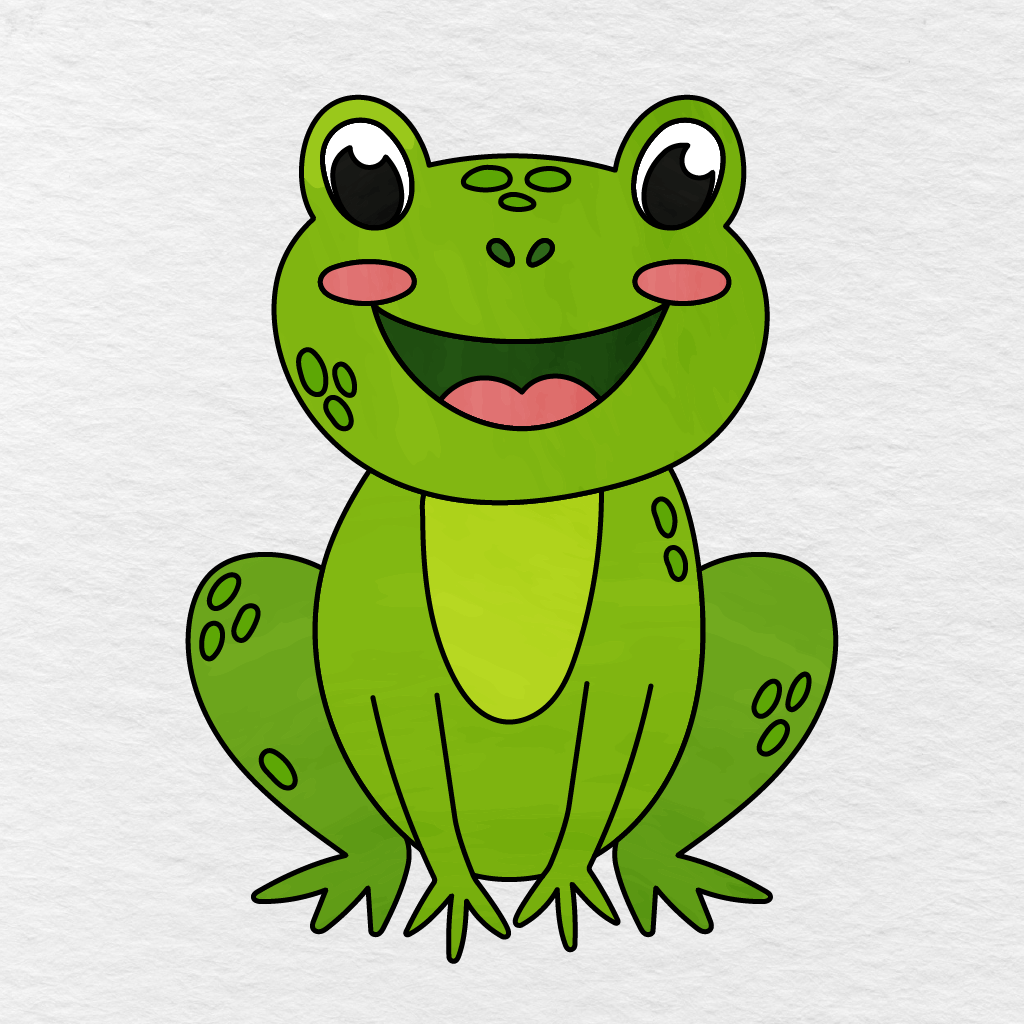
We used a vibrant yellow green color for the head and body and a lighter green color for the belly. The hind legs were colored using a darker shade of green, while the cheeks and the tongue were colored pink. We colored the inside of the mouth dark green as well, while the eyes were colored black and white.
You can use similar colors or go wild by using yellow, blue, brown, orange, or any other colors you like.
Your easy frog drawing is complete!
Printable Frog Drawing PDF
Download the printable frog drawing PDF below.
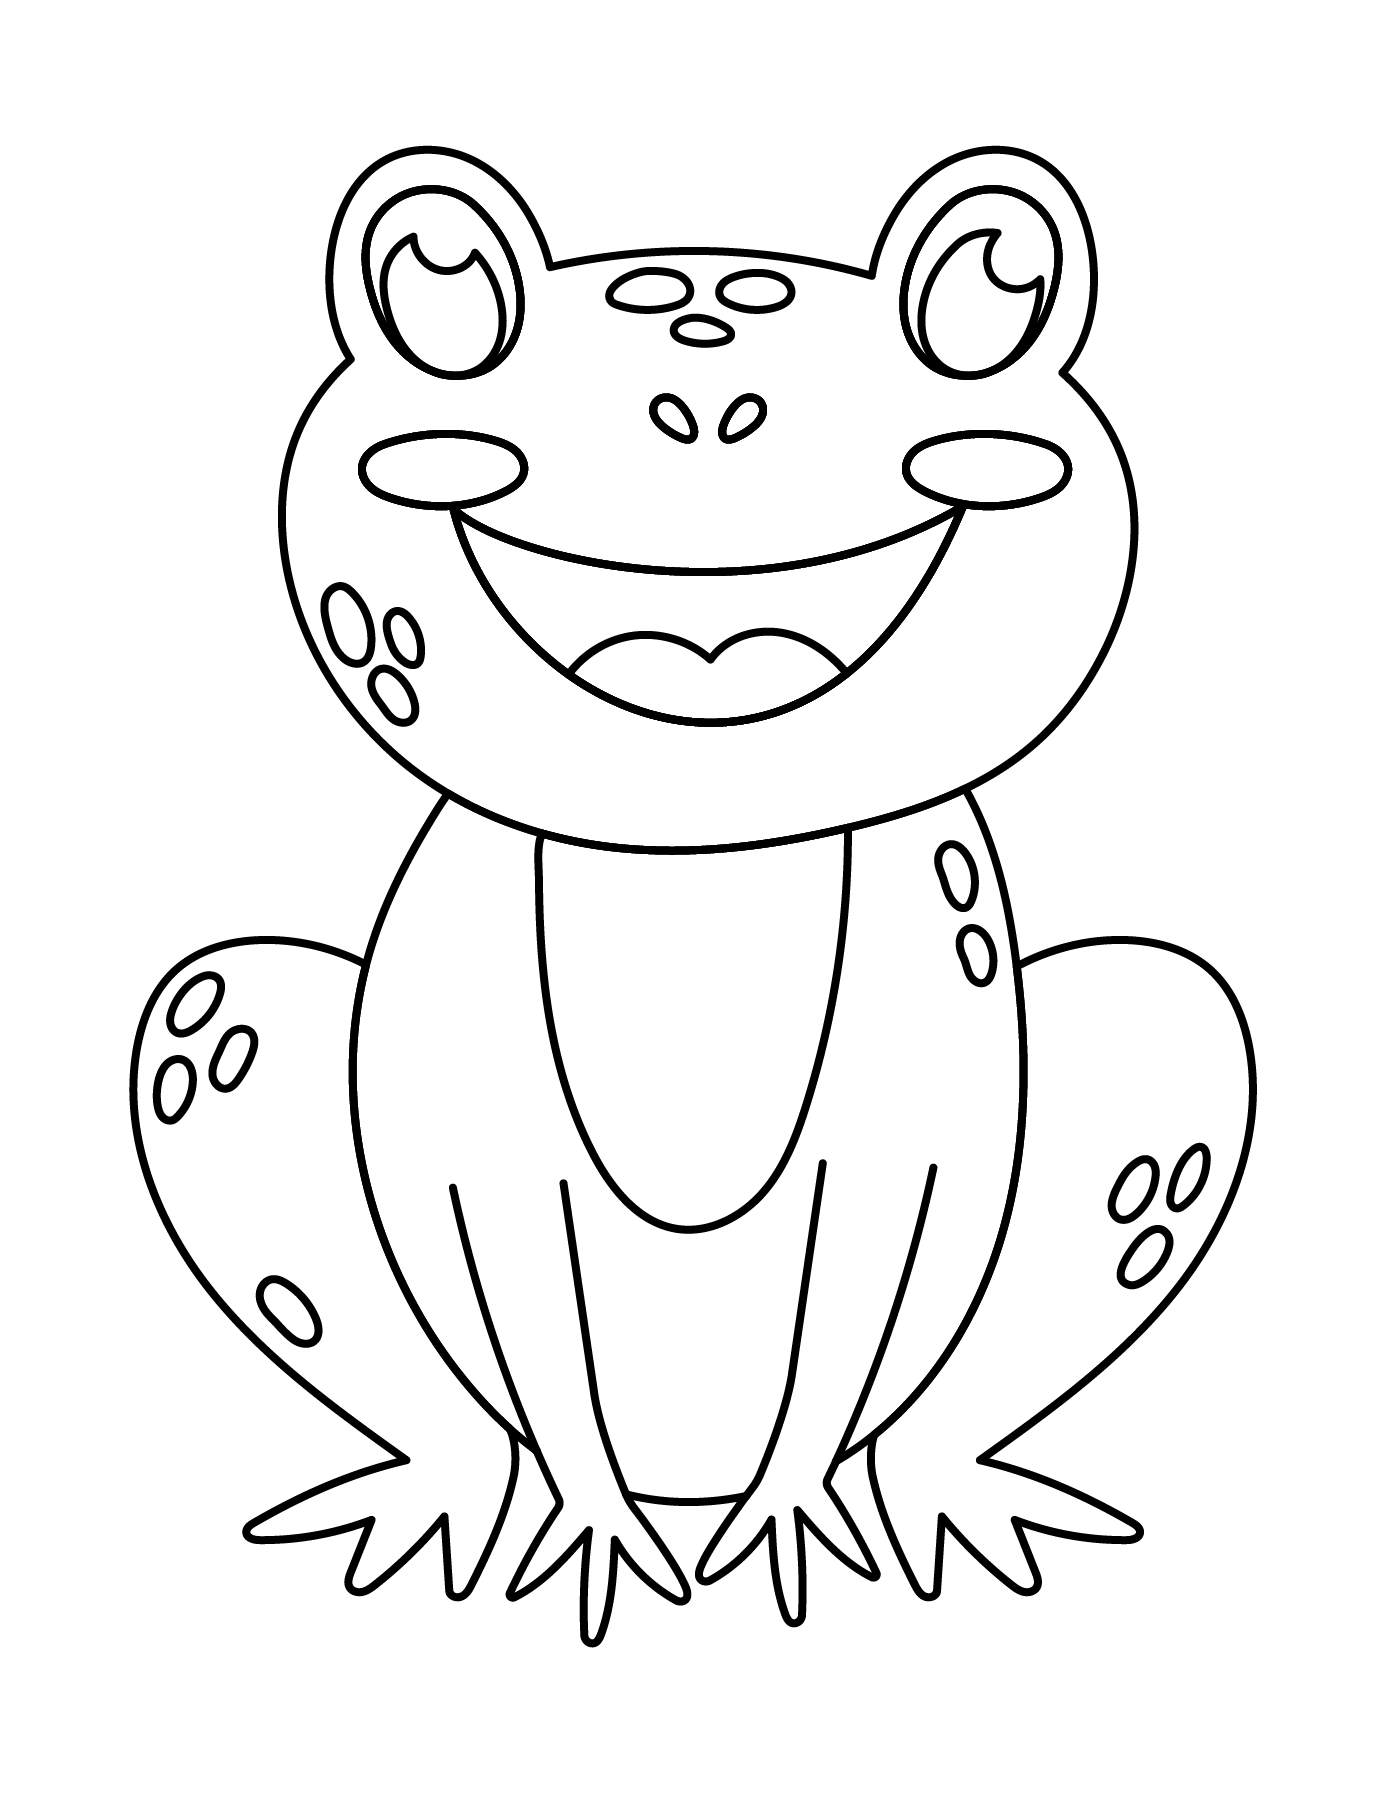
You can use it right away or save it for later, as the finished outline is already included. It features the wide eyes, smiling mouth, rounded body, strong legs and wide feet, long belly, and small oval shaped spots we added in this tutorial.
For more printable activities featuring animals, make sure to check out our Animal Coloring Pages.
What colors did you choose for your frog drawing? Make sure to share it in the comments below and don’t forget to share this guide with another parent or teacher as well!