How to Draw a Beach
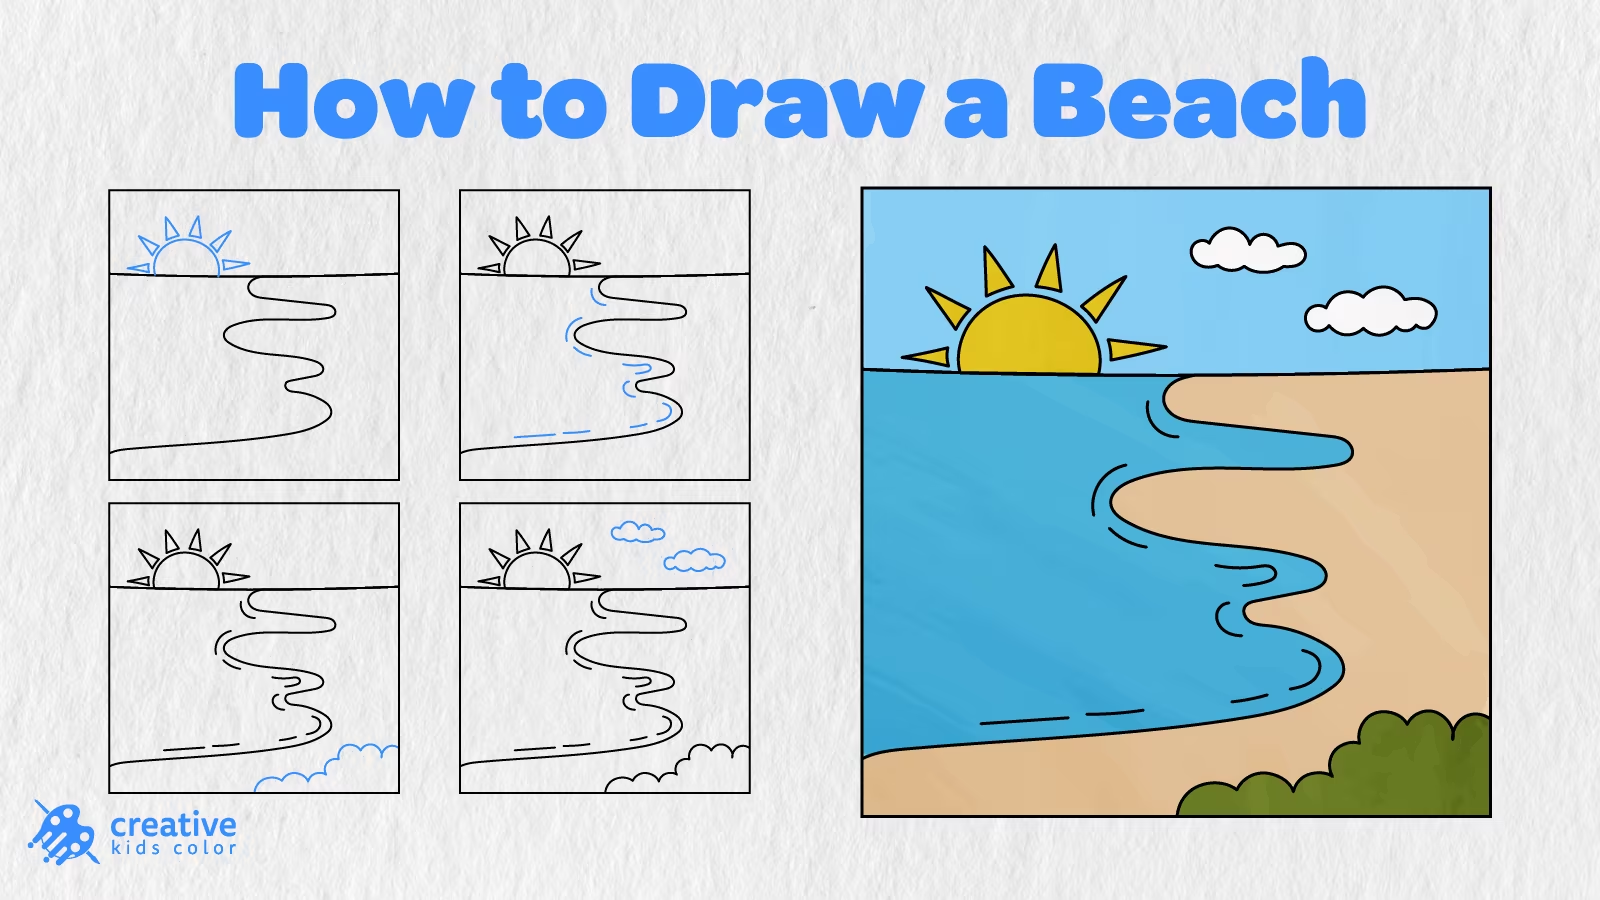
A beach is one of the first things that comes to mind when we think of summer days, sea breezes, sand, and some time off. It is a place to swim, stroll along the water’s edge, watch the sunset, and admire the beauty of the ocean’s waves. In this step by step tutorial, you will learn how to draw a beach in 7 easy steps.
This beach drawing guide is perfect for kids and beginners. You’ll start by drawing a simple horizon line, and then add the shoreline, sun, water details, bushes, and clouds.
The tutorial leads you through the process of turning a simple sketch into a full color beach scene, step by step. Once the sun, blue water, sandy beach, white clouds, and green bushes are added, your page will look like a bright summer beach, without having to use a ton of time and energy to draw every tiny detail.
Easy Beach Drawing Step by Step
You’ll need to have some drawing tools close by before you begin, such as a pencil, paper, eraser, and coloring tools.
The blue lines that you see below show the elements that you need to add as you work through the tutorial.
Step 1: Draw the Horizon Line

Start by drawing a long horizontal line as shown below. This will be the horizon line, and it will divide the sky from the beach and water.
You can make the line as straight as you want, but it does not have to be perfect.
Step 2: Add the Shoreline
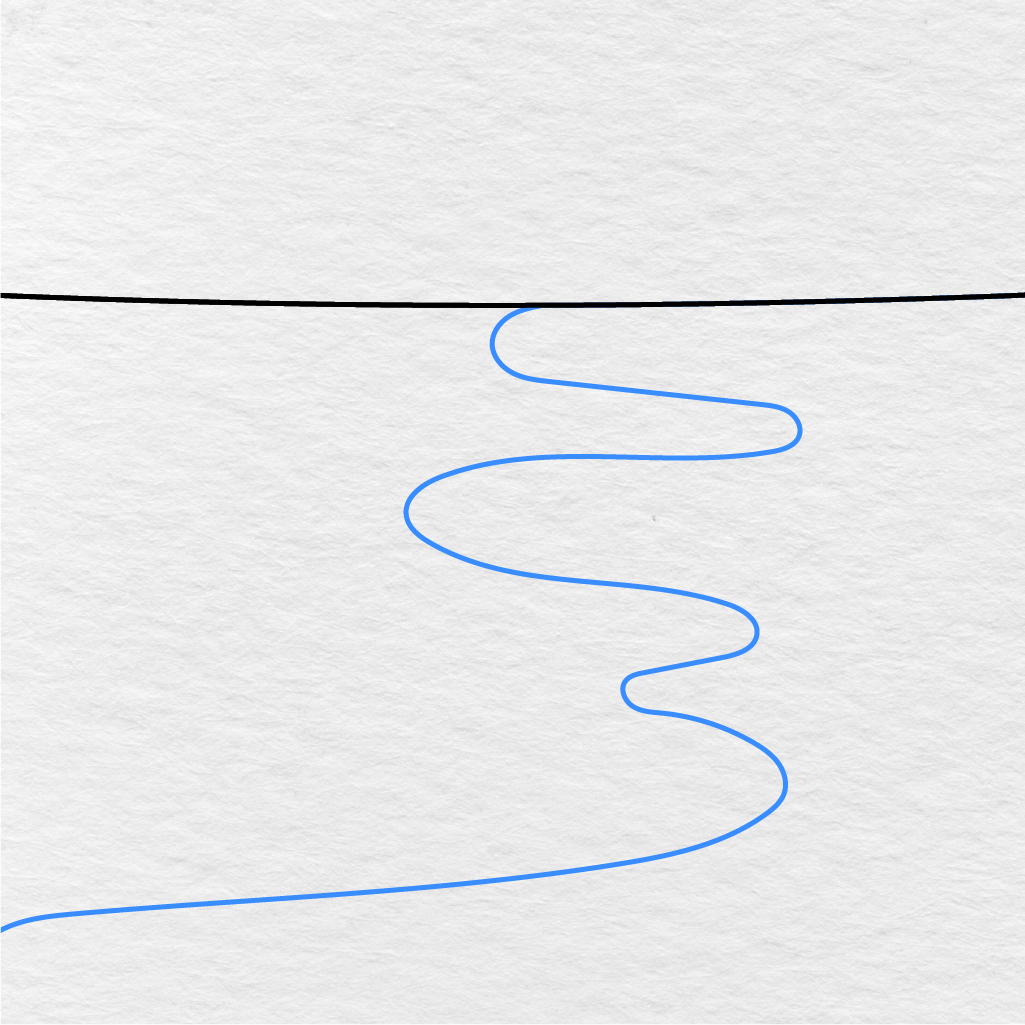
Now, draw a long curving shoreline coming down from the horizon as shown below. Again, make the line as curvy as you’d like.
This line helps show where the water meets the sand.
Step 3: Draw the Sun
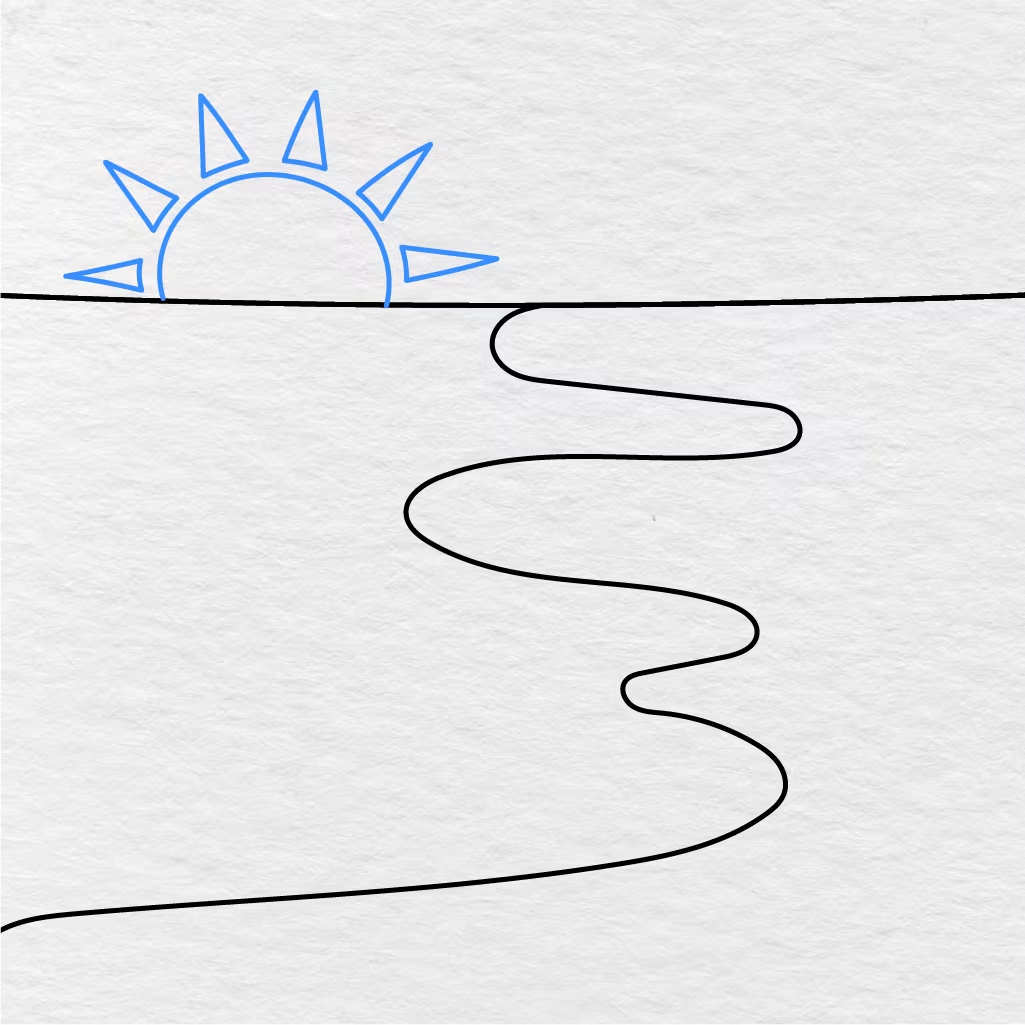
We’ll draw the sun near the left side of the horizon line. Add a half circle on the horizon line, and then add triangle shaped rays around the top of the sun, as shown below.
This will add a nice warm look to our beach.
Step 4: Add the Water Details
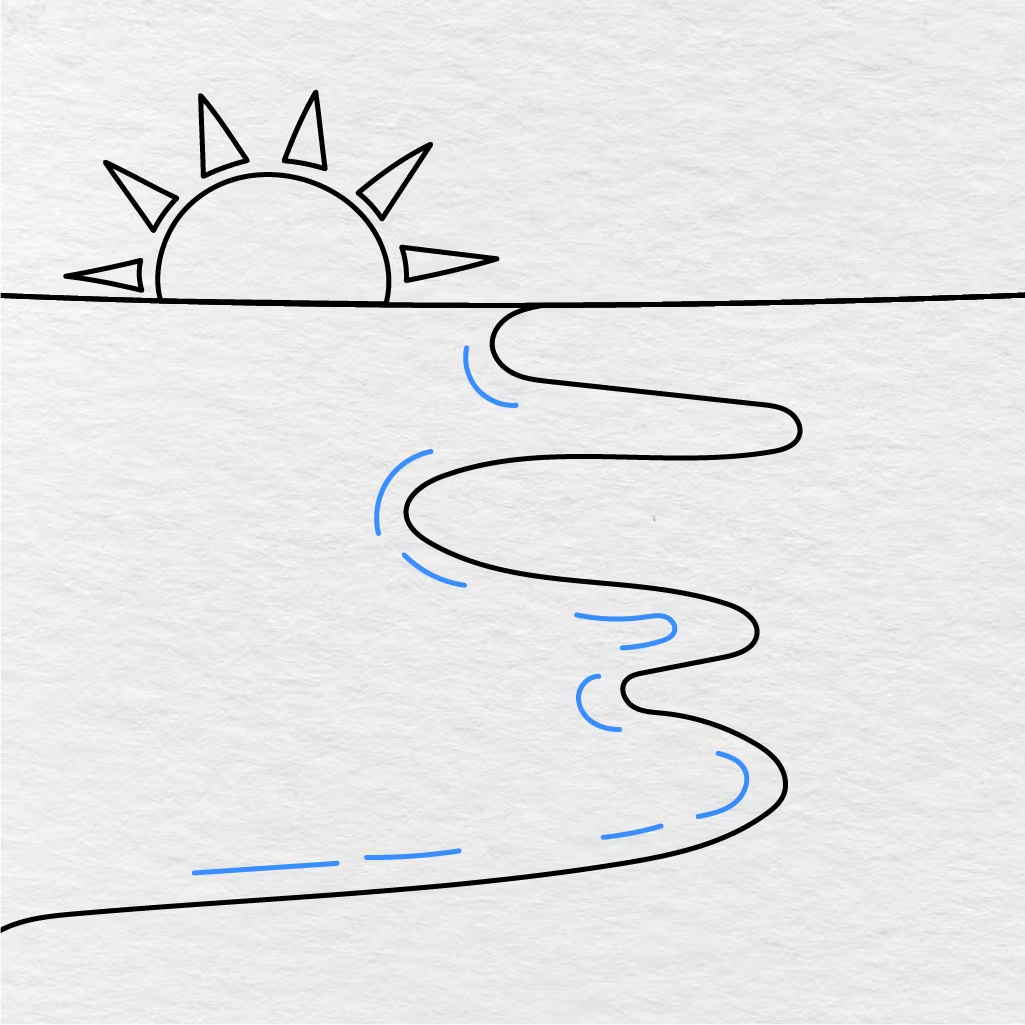
We need to add some curved lines to suggest that the water is flowing over the beach, as shown below. Simply draw a couple of wavy lines along the edge of the water and a few more near the bottom of the water.
These little lines help the water look like it is moving gently along the sand.
Step 5: Draw the Bushes
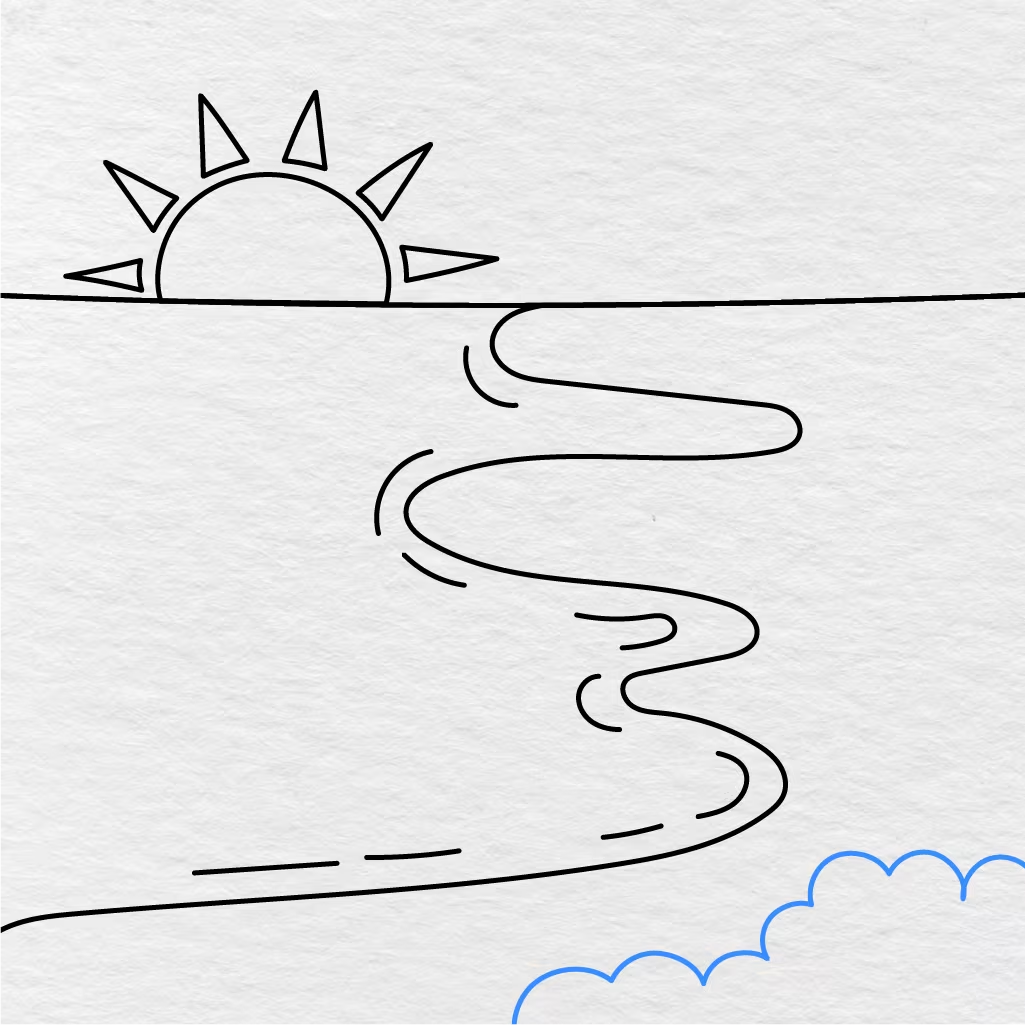
Let’s move to the bottom right corner of the page and draw in some bushes. Again, we’ll use some round bumps to suggest the tops of the bushes, as shown below.
This will give the front corner of our beach a nice touch of depth.
Step 6: Add the Clouds
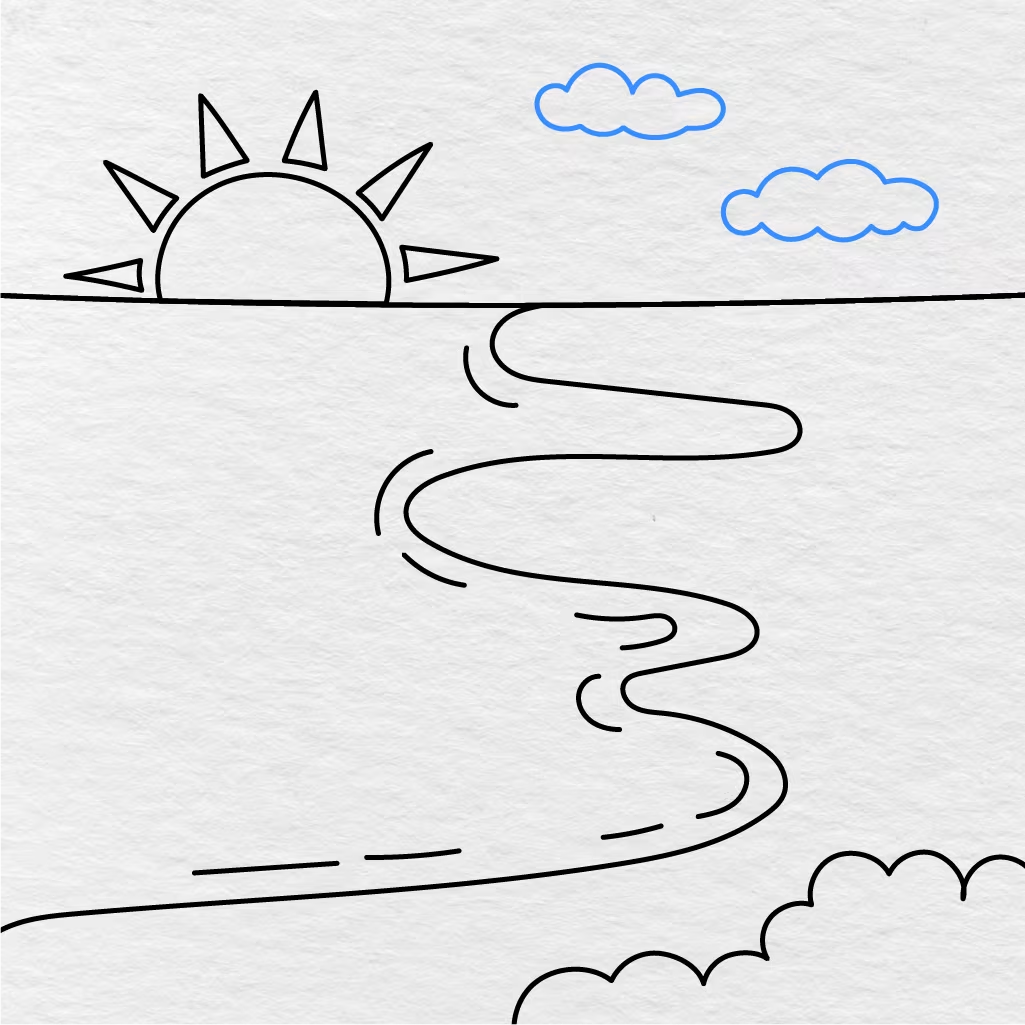
Let’s finish off the sketch by adding two small clouds, as shown below. Once again, we’ll use some round bumps to suggest the clouds. Add one near the middle of the top of the picture, and the other near the upper right corner.
This will add some nice detail to the sky without crowding the picture.
Step 7: Color the Beach
Using the image shown below as a guide, color in your beach drawing. In our version of this picture, we’ve used light blue for the sky, blue for the water, tan for the sand, yellow for the sun, white for the clouds, and green for the bushes.
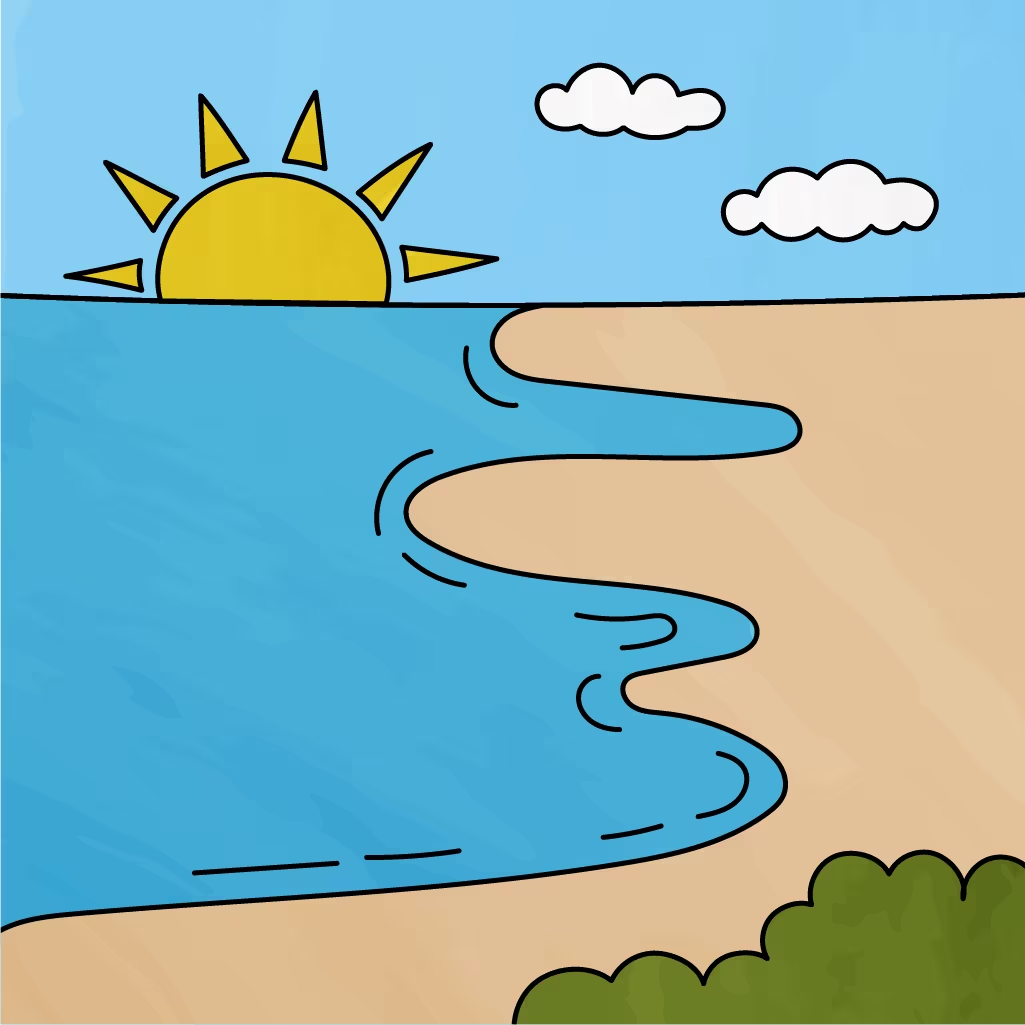
Of course, you can use any colors that you’d like! Once your picture is colored, your easy beach drawing is complete!
Printable Beach Drawing PDF
If you’d like to print out this drawing as a PDF and color it in, you can use the image shown below. This is a fun beach drawing activity for kids, and they can print it out, color it in, and save it for future reference when they want to try and draw a beach themselves.
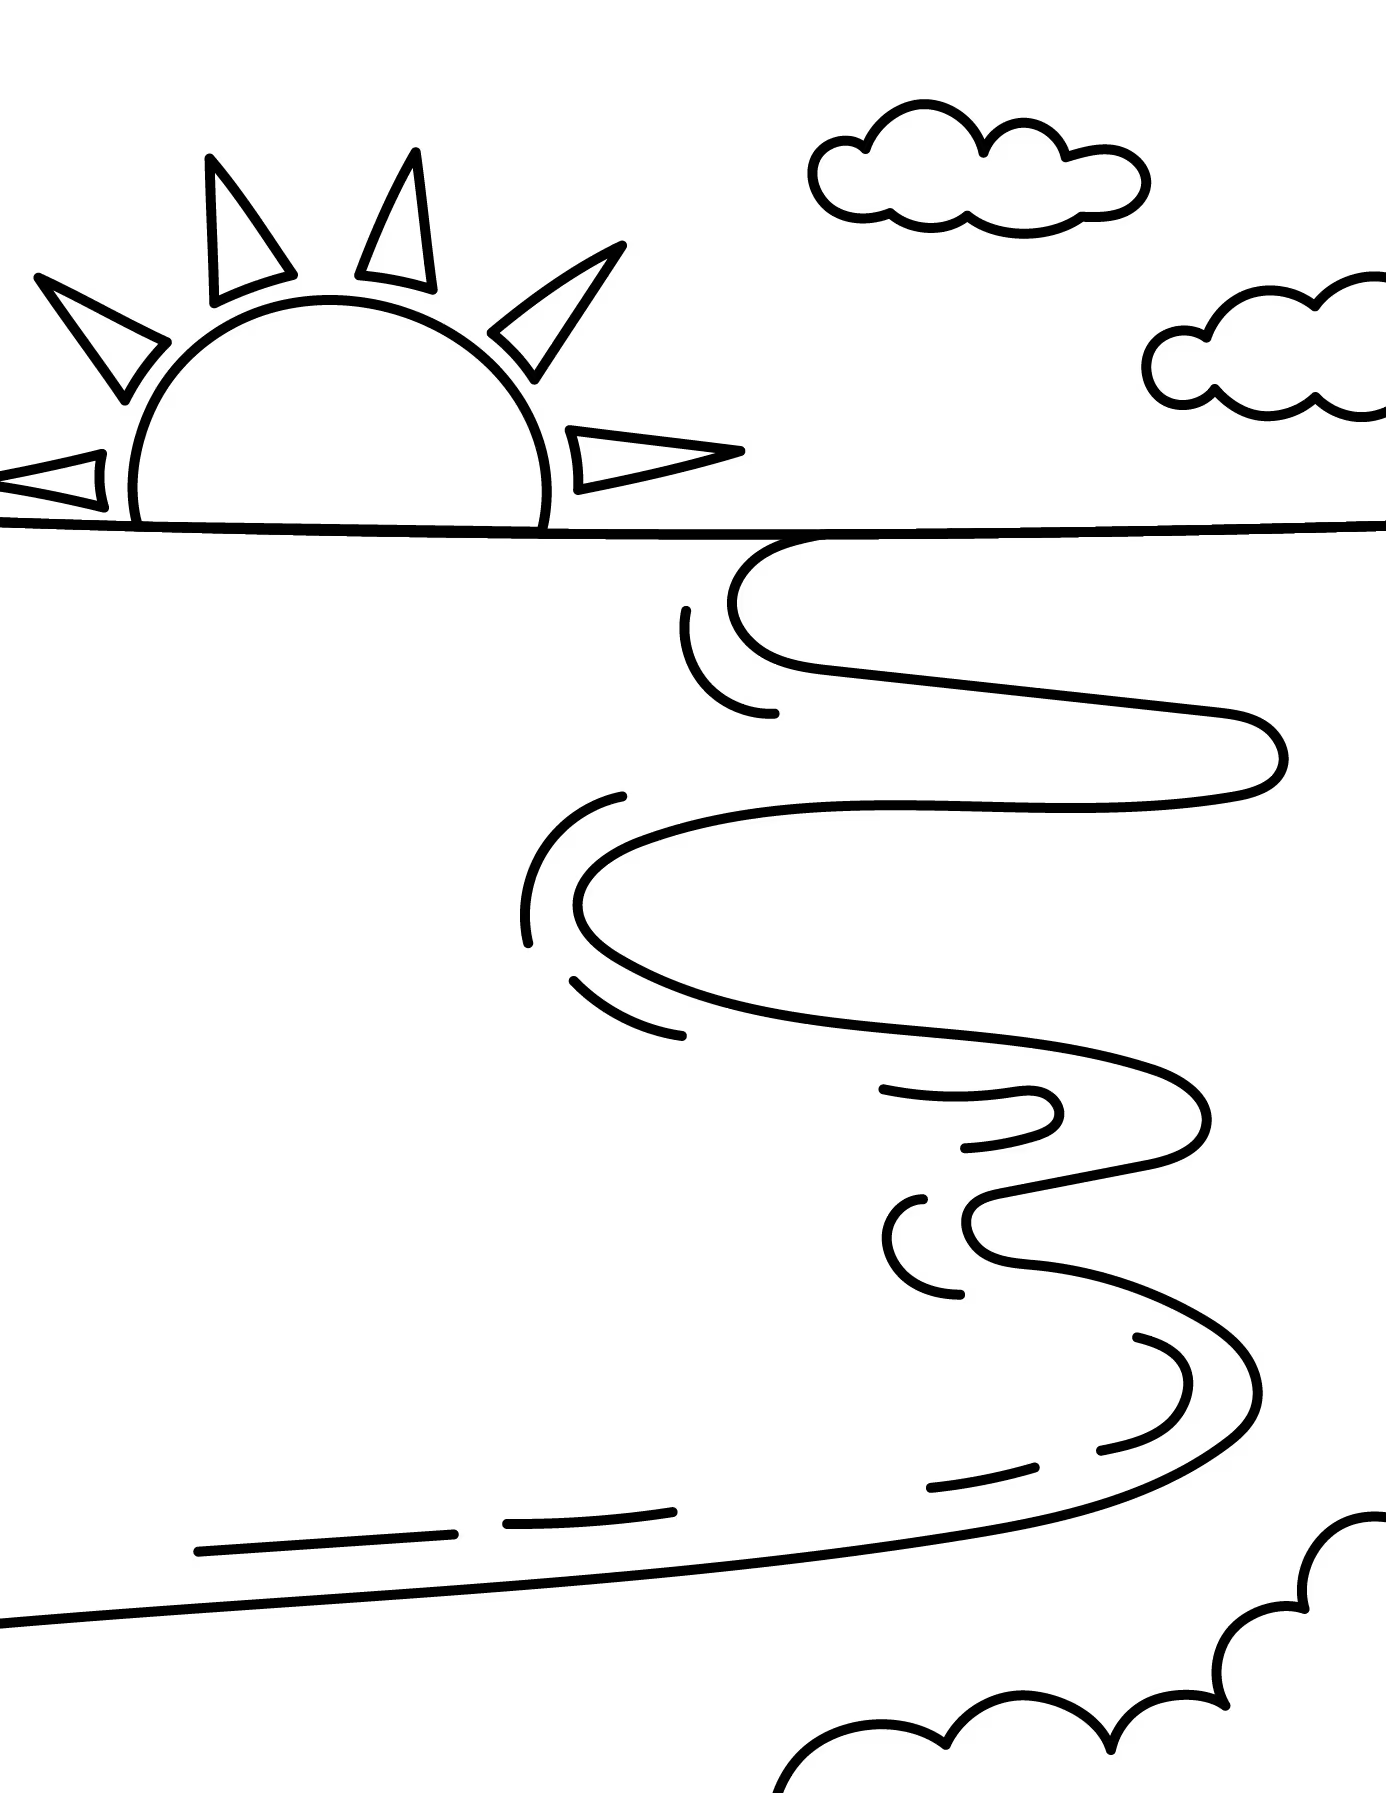
If you enjoyed this easy beach drawing activity, make sure to let us know in the comments below. You can also share this page with another parent, teacher, or friend!