How to Draw a Skull
Skulls can be scary and intimidating, but they can also be the awesome bony framework that protects your brain too. Kids know about skulls from school science class, spooky pirate flags, Day of the Dead decorations, and Halloween art projects! Learning how to draw a skull can also be a fun way for kids to explore this familiar shape.
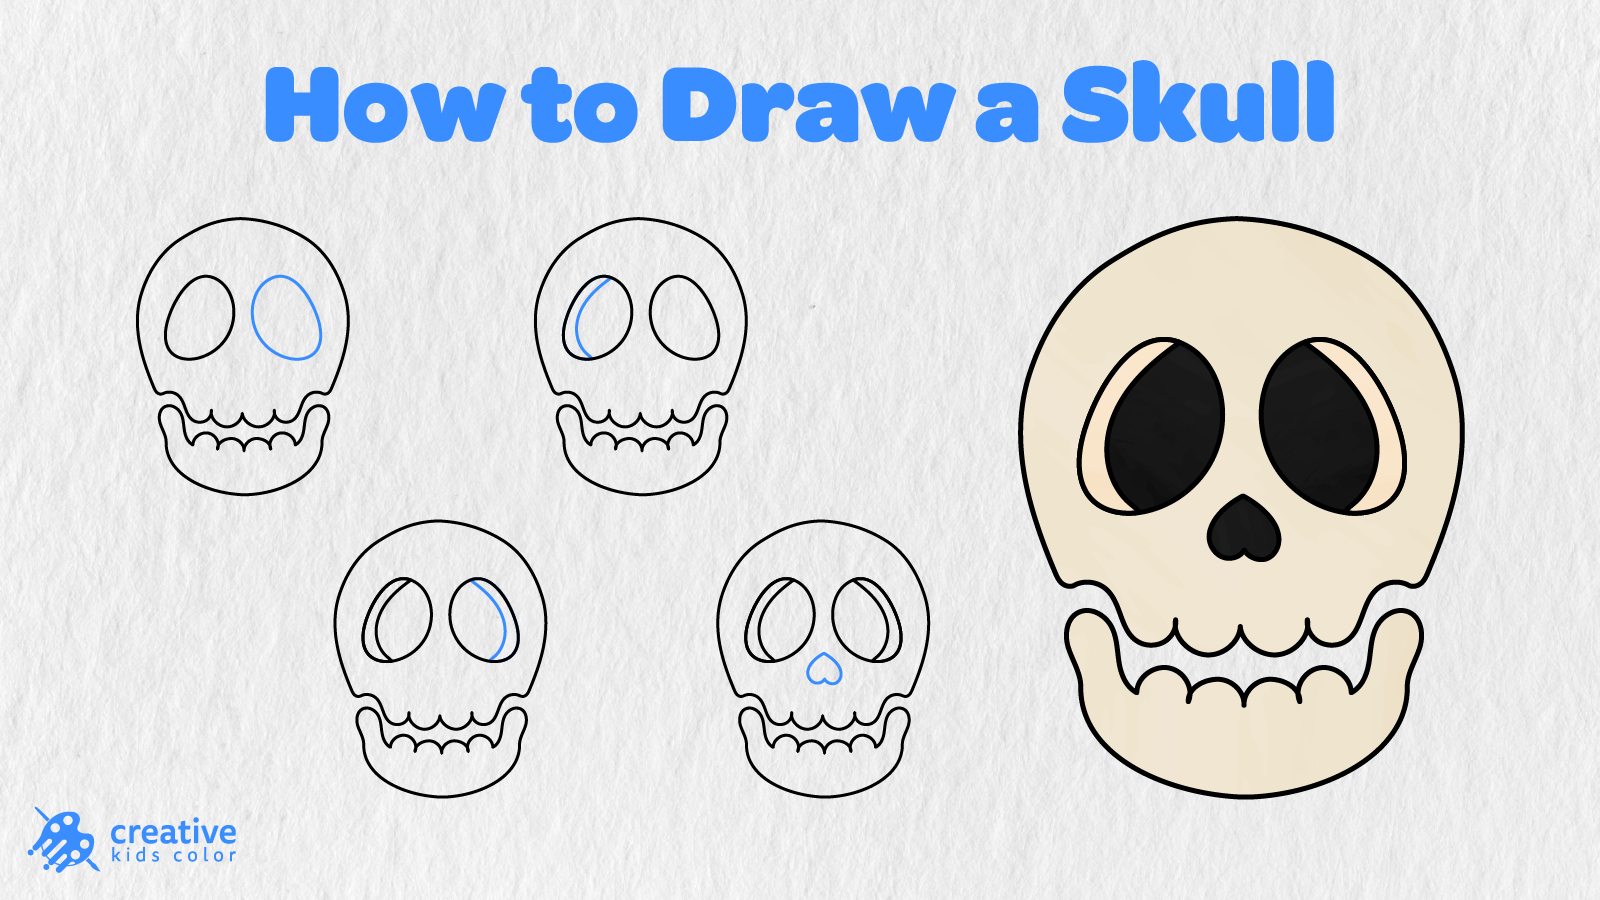
On this page, we’ve turned this familiar skull shape into a simple drawing guide. Kids can have fun learning how to draw a skull in 8 easy steps, beginning with the main outline and working their way to the eye sockets, nose, and colors.
The blue lines in each picture indicate what to draw next. Simply follow along with the step by step images, and your rounded outline from Step 1 will transform into a completed skull drawing that is ready for coloring!
Easy Skull Drawing Step by Step
For this easy skull drawing project, you will need a pencil, paper, an eraser, and coloring tools. Begin your drawing near the center of the page, leaving some room at the bottom to draw the lower jaw.
Step 1: Draw the Skull Outline
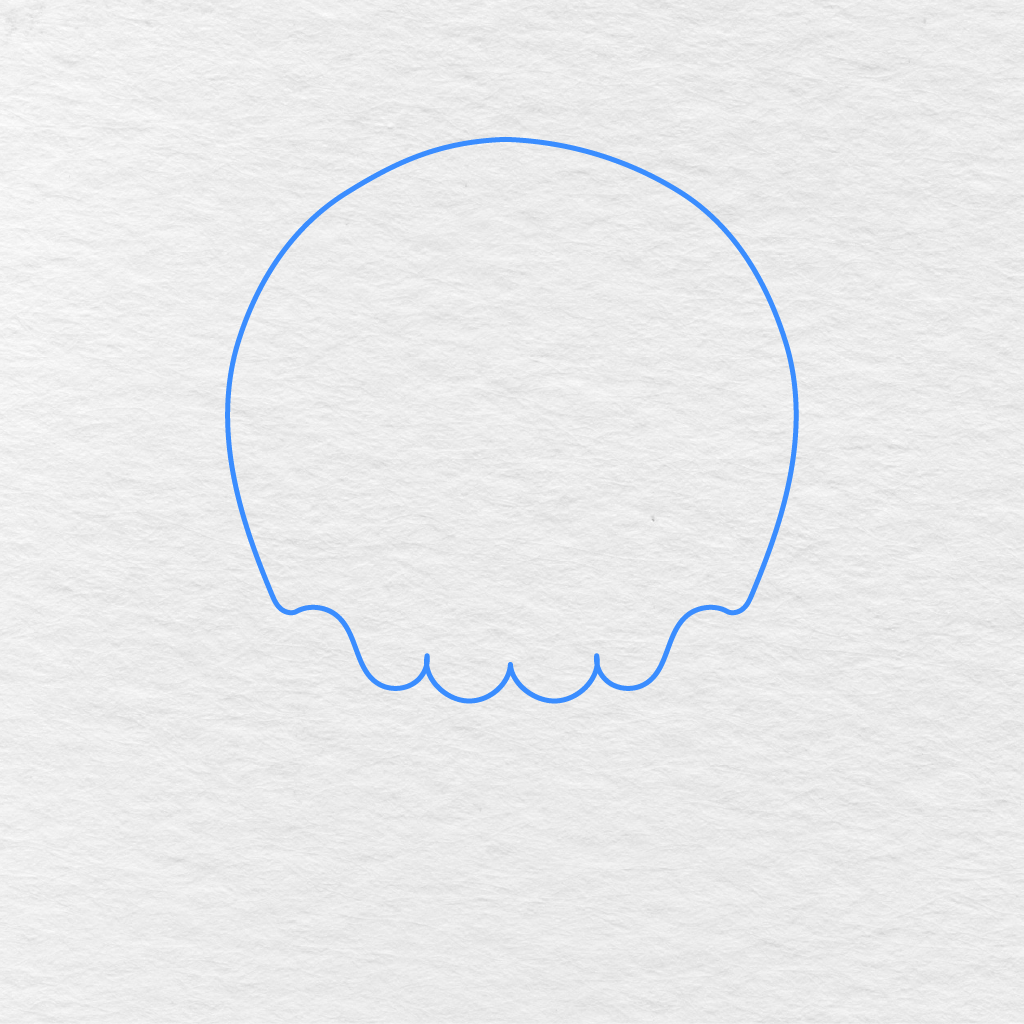
Start by drawing a big round shape for your skull’s top part.
Curve the line along the top and sides, and add four small rounded curves along the lower edge.
Step 2: Add the Jaw
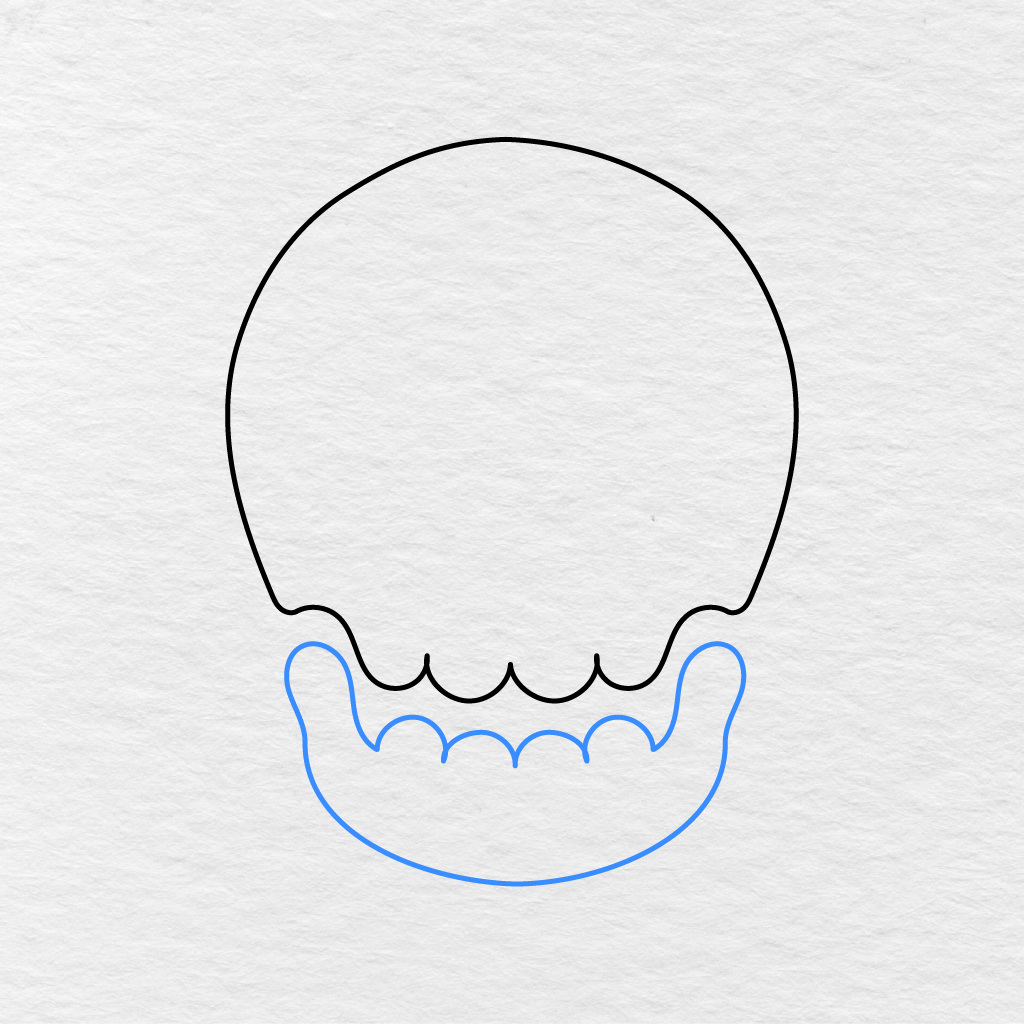
Under your skull, draw a big curved shape for your jaw.
Begin at one lower side of your skull, curve your jaw line down and around, then up on the other side. Add four rounded lines along the jaw’s upper edge.
Step 3: Draw the Left Eye Socket
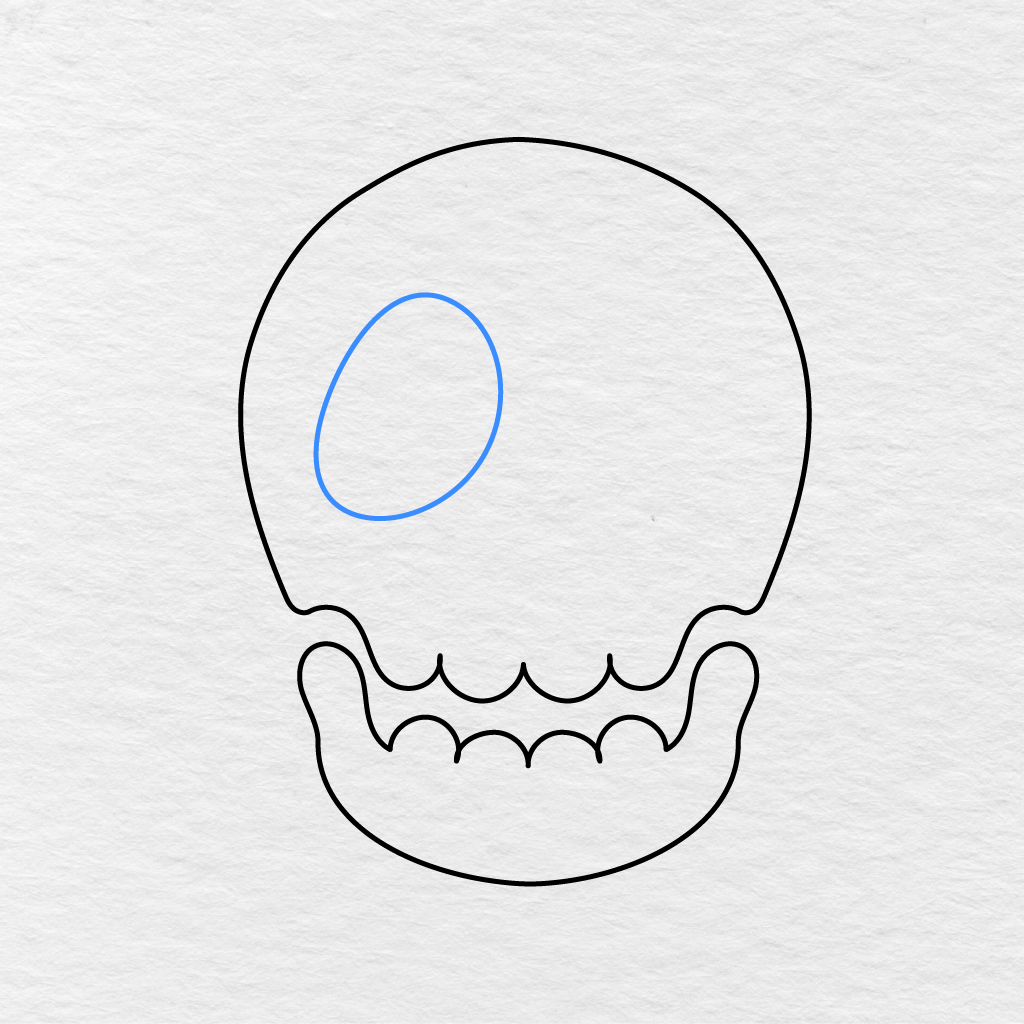
Inside your skull, on the left side, draw one large oval shape for your left eye socket.
Make sure the left eye socket is tilted a little and fits inside your skull’s outline.
Step 4: Add the Right Eye Socket
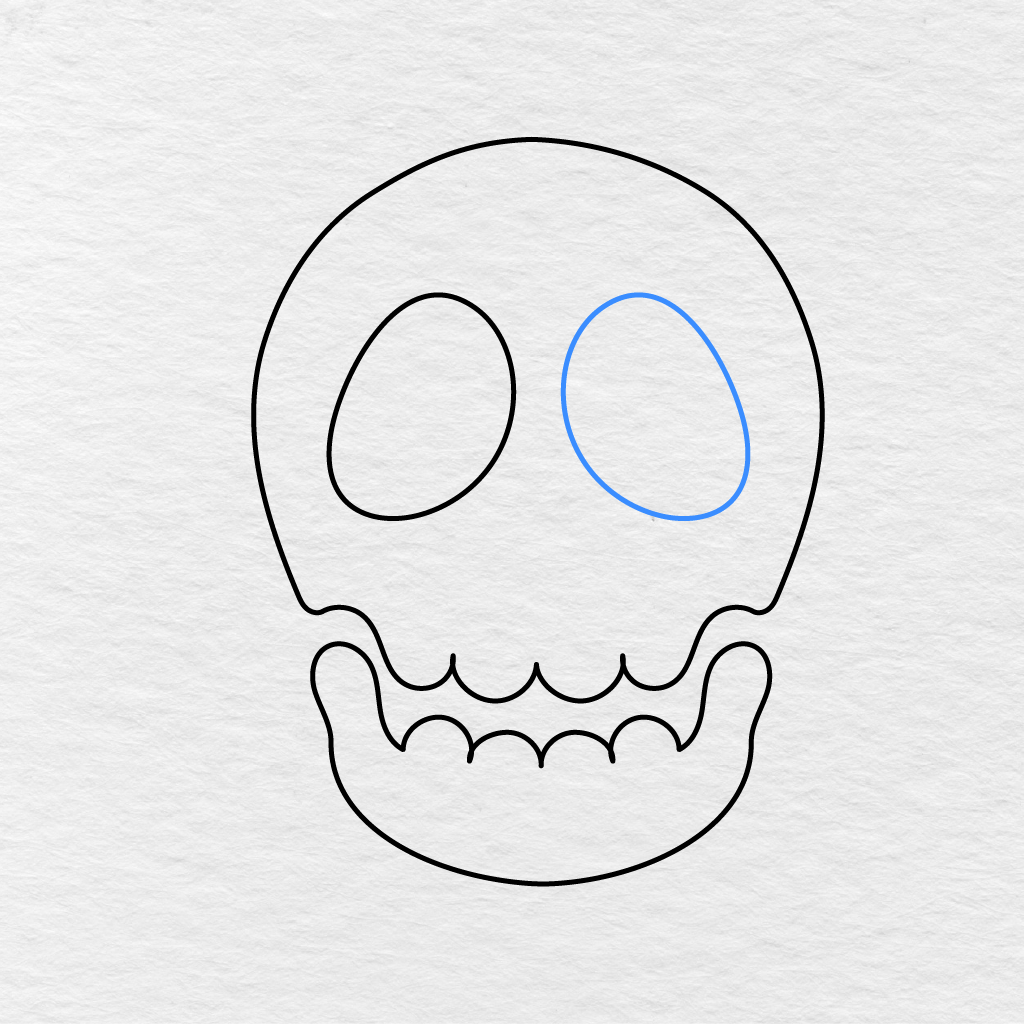
Add another oval eye socket on the right side of your skull.
Try to make your right eye socket about the same size as the left one and place them at roughly the same height.
Step 5: Add the Left Eye Socket Detail
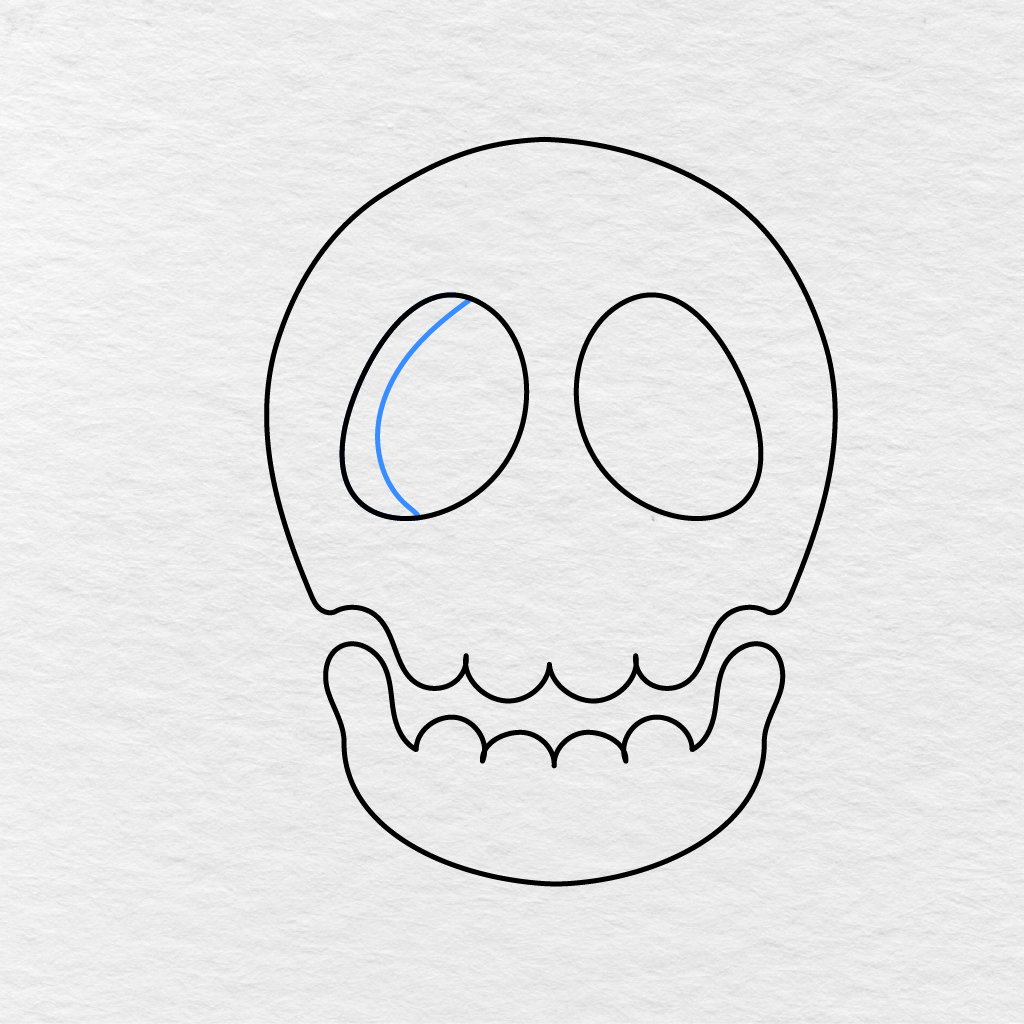
Within your left eye socket, draw a long curved line, following the socket’s outer curve and leaving a tiny space between the two lines.
Step 6: Add the Right Eye Socket Detail
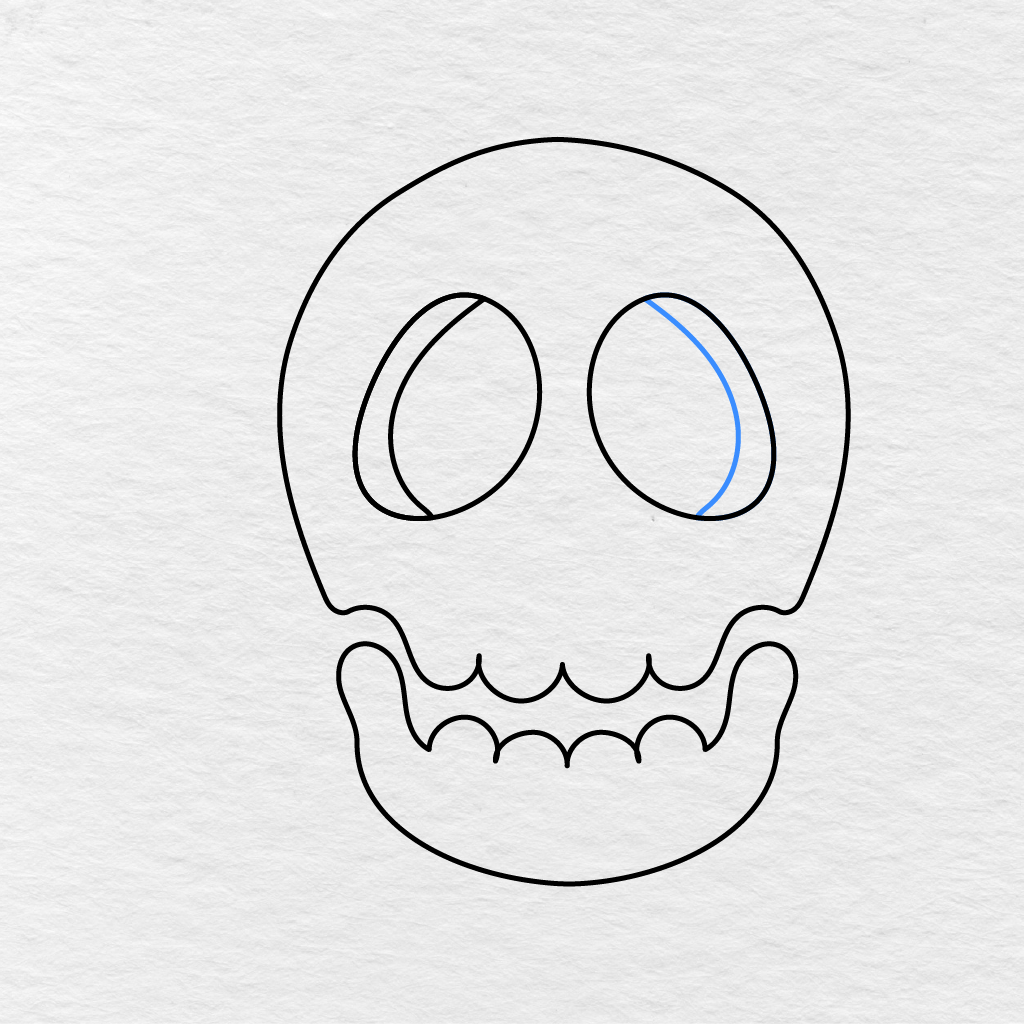
Do the same thing within your right eye socket.
Step 7: Draw the Nose
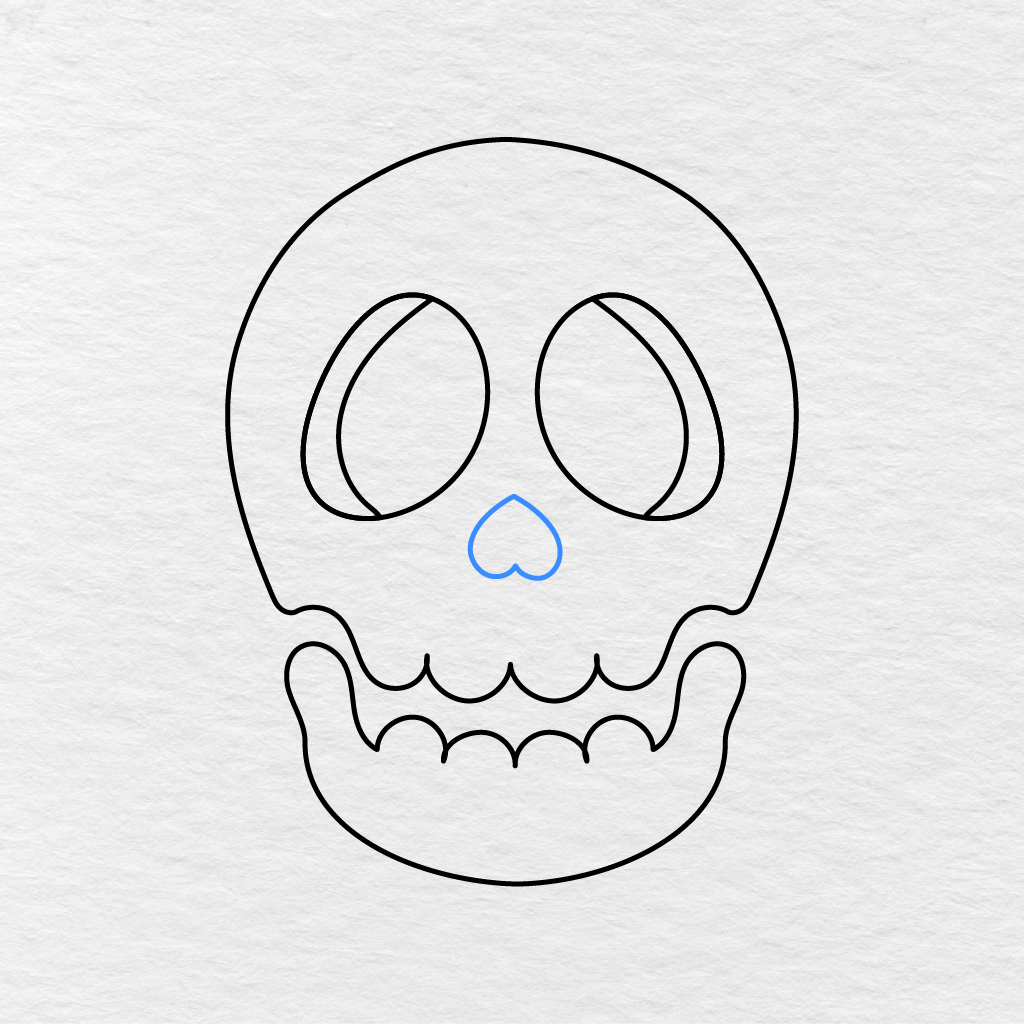
Between your eye sockets, add a small upside down heart shape for your nose.
Make sure the heart is positioned near the lower middle part of your skull, and the two ends are facing down.
Step 8: Color the Skull
It is time to add colors to your completed skull drawing project.
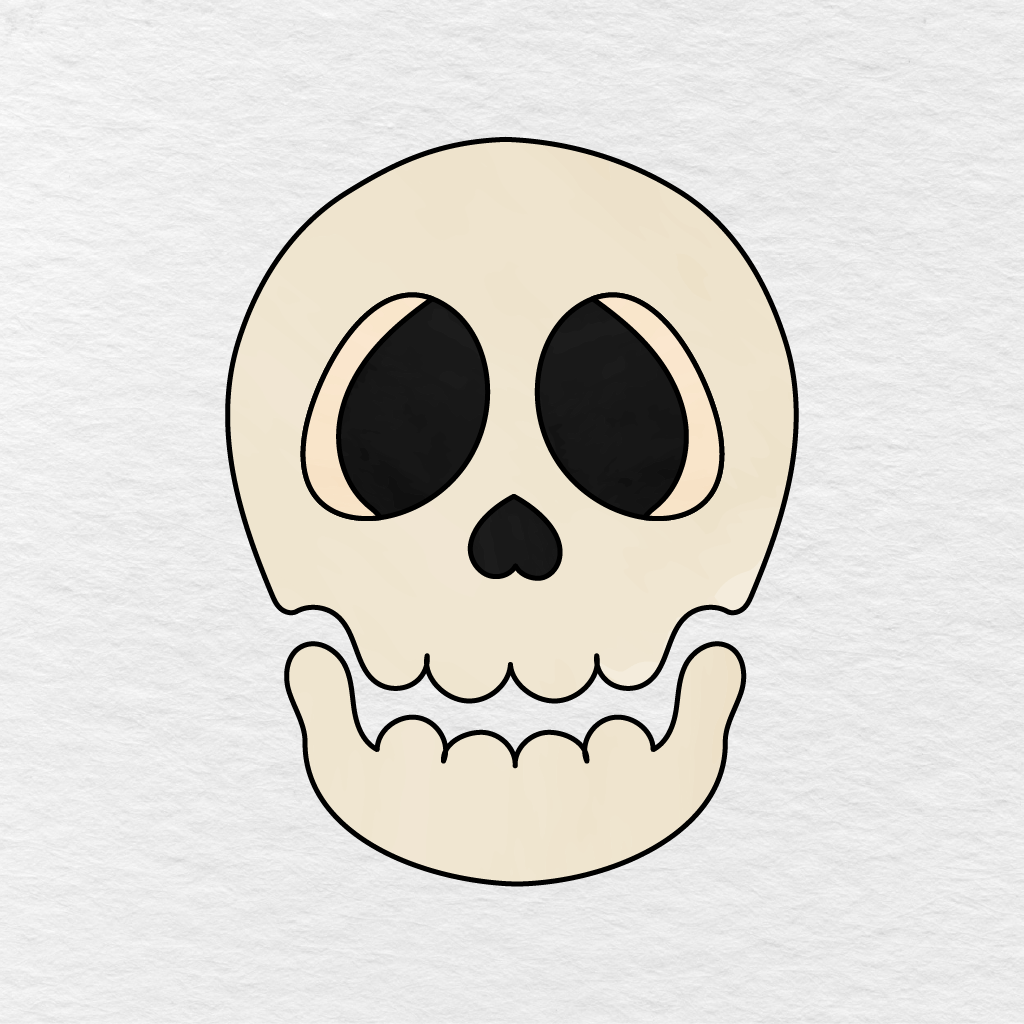
We have used a light cream color for the skull and lower jaw parts, and pale peach for the narrow areas around the eye sockets. The inside of the eye sockets and the nose are colored black. You can choose other colors too! Try using white, gray, light brown, yellow, and more.
Your easy skull drawing is complete!
Printable Skull Drawing PDF
Below, you will find a printable skull drawing PDF that you can download and use right away or save for later.
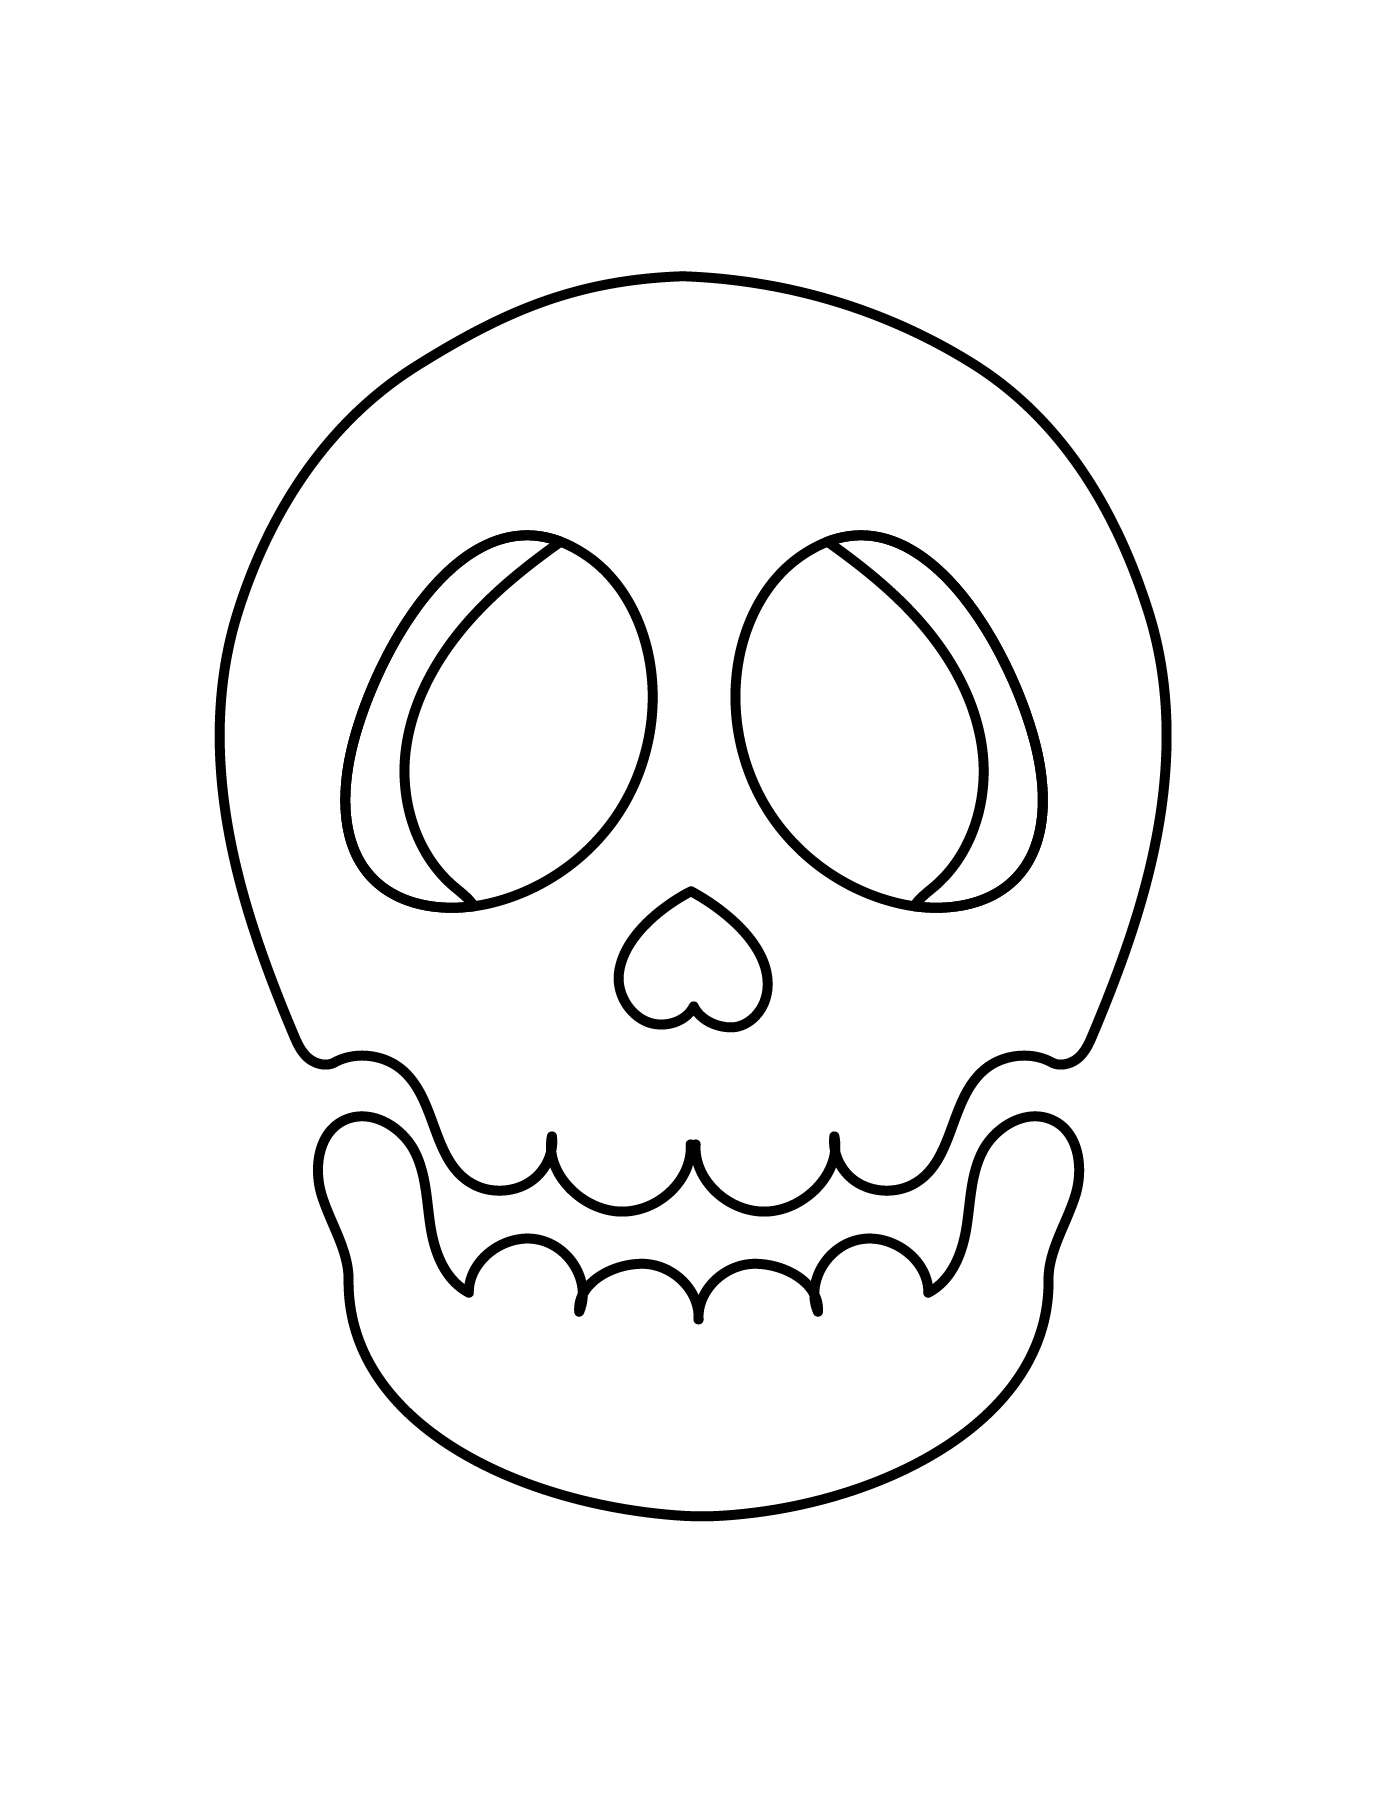
For another fun activity, be sure to check out our Halloween Coloring Pages too.
What colors did you choose for your skull drawing? Tell us in the comments below and share this skull drawing guide with another parent, teacher, or friend!