How to Draw a Monkey
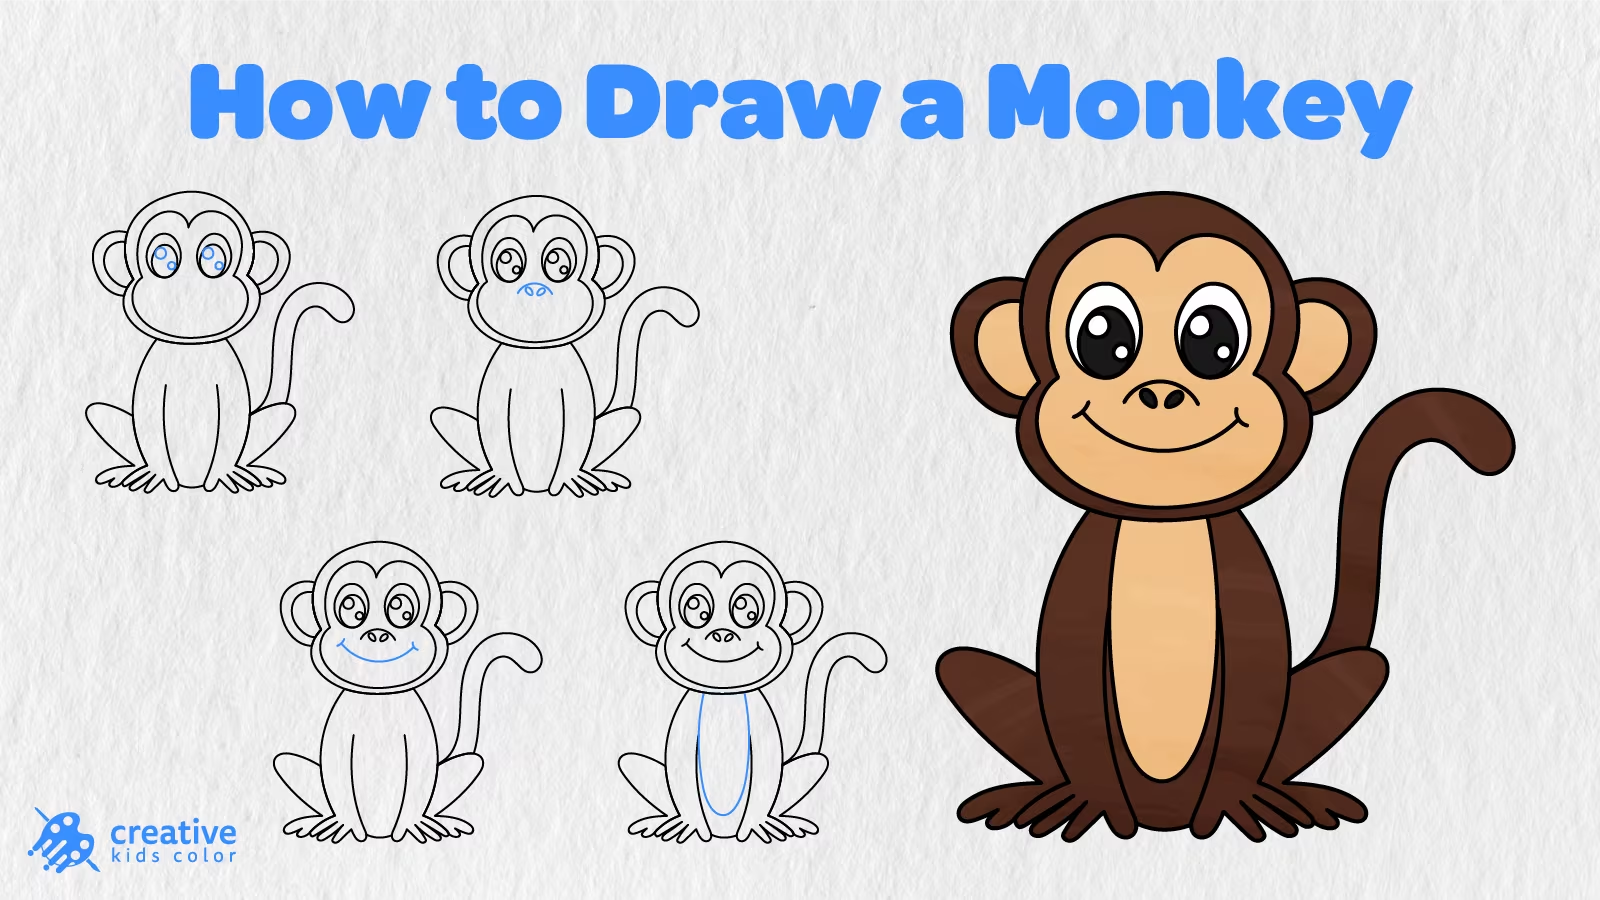
Monkeys are mischievous animals that can be found in many parts of the world. Kids meet them during their zoo visits, read about them in storybooks, and imagine them in jungles. Monkeys’ nice faces, long tails, and mischievous attitudes are easy to imagine and even easier to draw! Today, we will learn how to draw a monkey and create a sketch that would look lovely in any kid’s art corner.
On the page below, there are 14 simple steps showing how to draw a monkey for kids and beginners. First, we will add monkey guidelines made of two basic shapes. Then, we will outline the monkey’s head, add ears, draw the face, body, arms, legs, and feet, and finish our sketch by adding a tail. After that, we will add details like eyes, nose, mouth, and the belly. Finally, we will color our monkey drawing.
The blue lines on the pictures below indicate the lines that we need to add in that step. All other lines are the ones that we did in previous steps. So, the initial two shapes will become our monkey’s head guidelines. Next, let’s create the monkey’s head and ears.
Easy Monkey Drawing Step by Step
To begin our easy monkey drawing, get a pencil, paper, an eraser, and your favorite coloring tools. First, make sure to leave enough space at the bottom of the page for the monkey’s body and on the right for the monkey’s tail.
Let’s begin our easy monkey drawing by creating the monkey’s head guidelines.
Step 1: Draw the Monkey Head Guidelines

Let’s start by creating two simple guidelines for our monkey’s head.
First, sketch a big round shape close to the top of the page. Then, make another wide oval guideline across the lower part of the first one.
Step 2: Draw the Monkey Head Outline and Ears
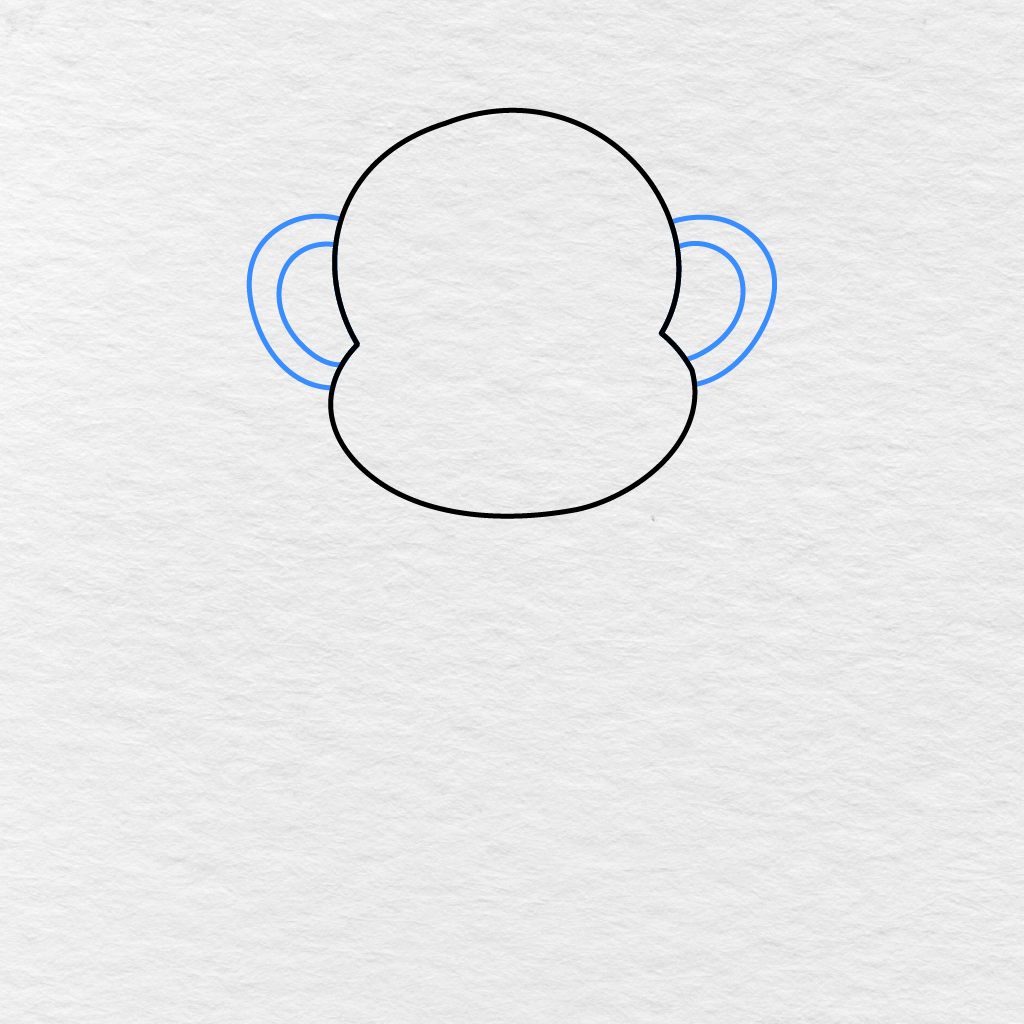
Now, let’s use the guidelines that we created in Step 1 and outline our future monkey’s head with nice round lines.
Then, add big round ears to the sides of our monkey’s head. Make sure to add oval shaped lines inside the monkey’s ears as well.
Step 3: Add the Face Outline
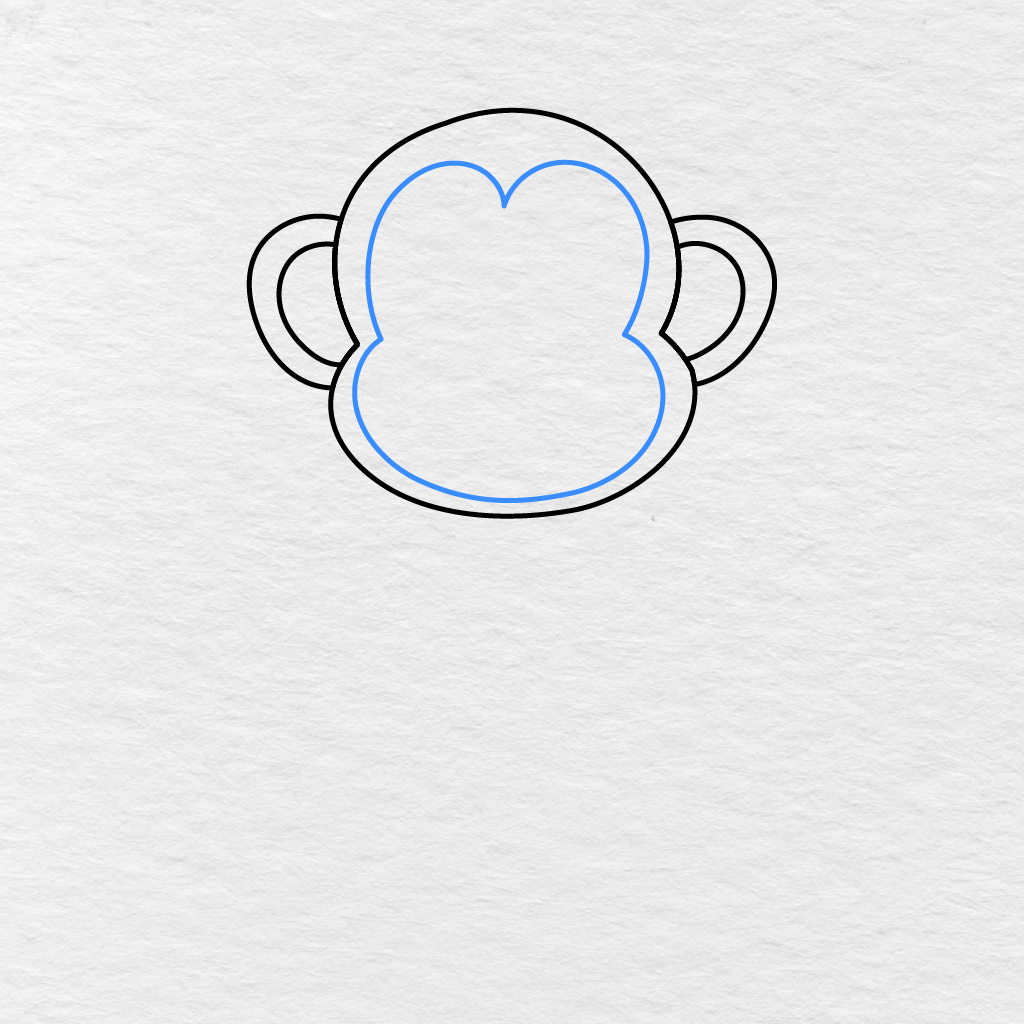
Inside the monkey’s head, let’s sketch a big curved outline for the monkey’s face.
Start the face outline with two rounded lines that meet in a small point at the top and make sure to continue the lines down to the monkey’s cheeks. Finally, connect the lines in the middle at the bottom of the face.
Step 4: Draw the Body and Arms
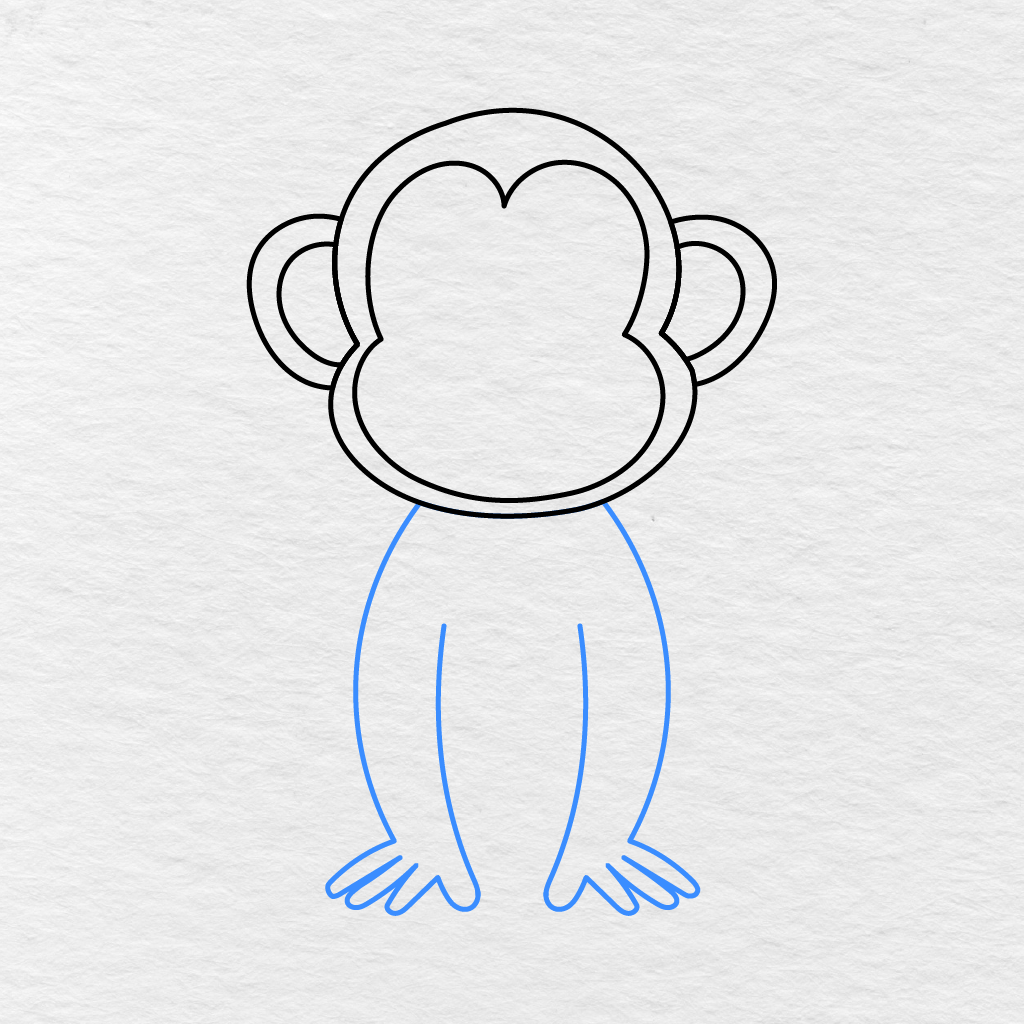
Below the monkey’s head, let’s draw the round body of the monkey.
At the sides of the monkey’s body, let’s make sure to continue the lines down to the monkey’s hands with round fingers. Finally, add one long curved line on each side of the monkey’s body to separate the monkey’s arms from the center of its body.
Step 5: Add the Lower Body Line
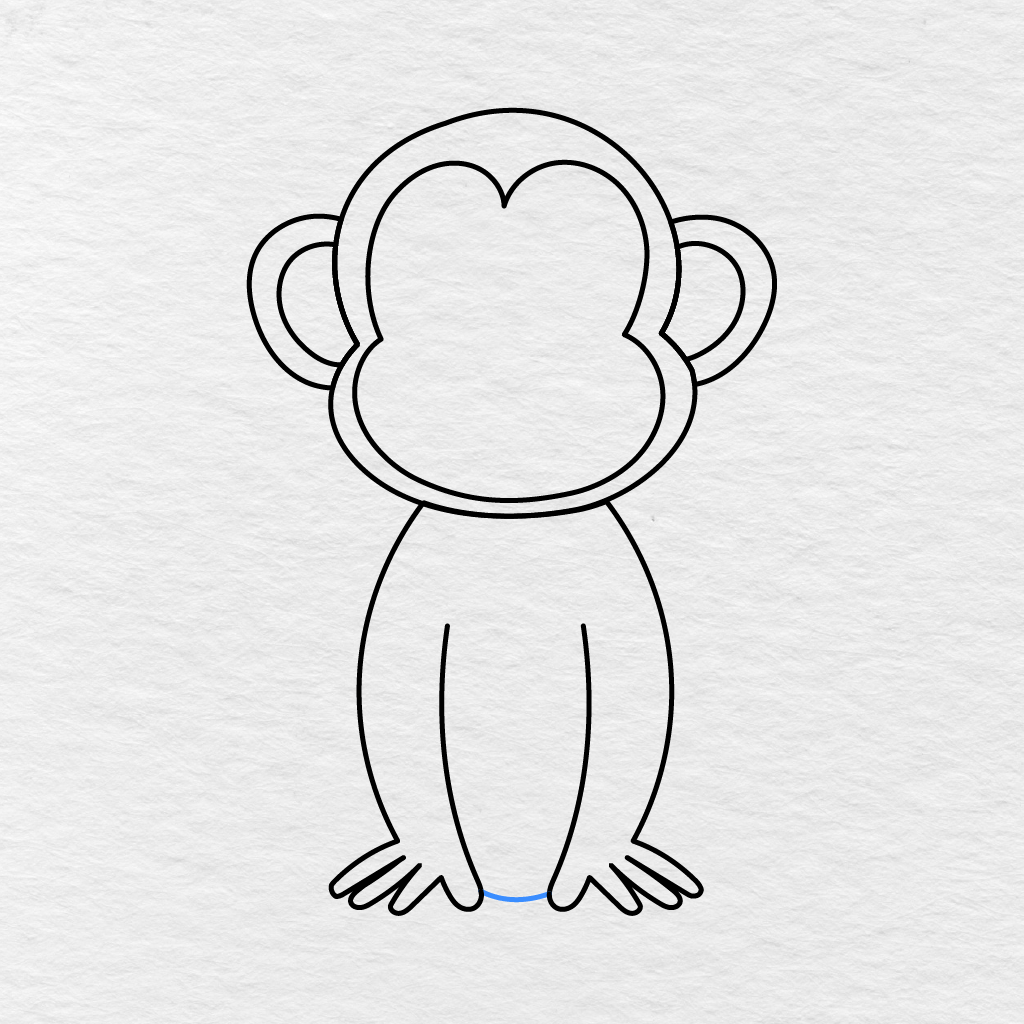
In the middle between the monkey’s arms, let’s draw a short curved line that would represent the monkey’s lower body.
Step 6: Draw the Legs and Feet
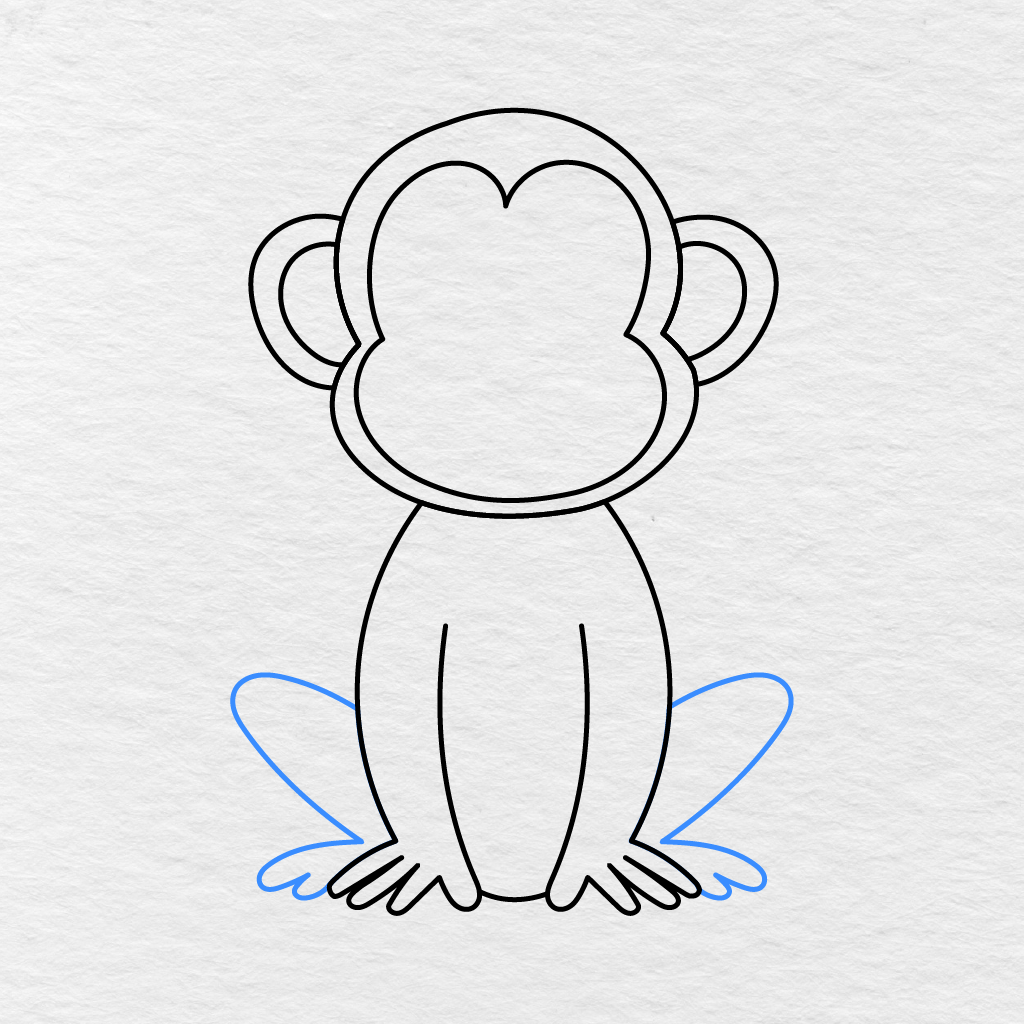
On each side of the monkey’s body, let’s add a big bent shape that represents the monkey’s legs.
Then, continue the lines to form the monkey’s legs and feet. At the ends of the monkey’s feet, add several round lines for the monkey’s toes.
Step 7: Add the Tail
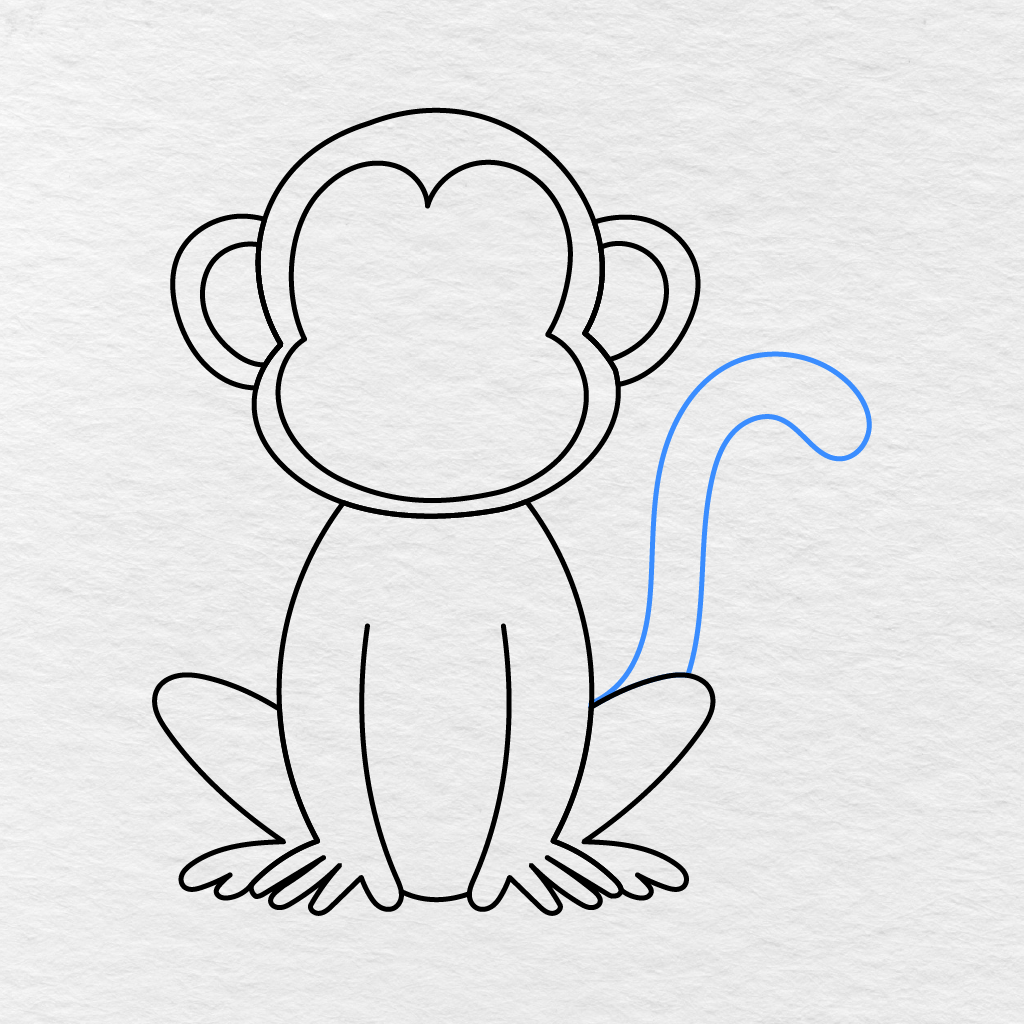
At the right side of the monkey’s body, let’s add a long tail.
Make sure to continue the tail line up and then curve it back toward the monkey’s body. The monkey’s tail should have a hook like shape at its end.
Step 8: Draw the Eye Outlines
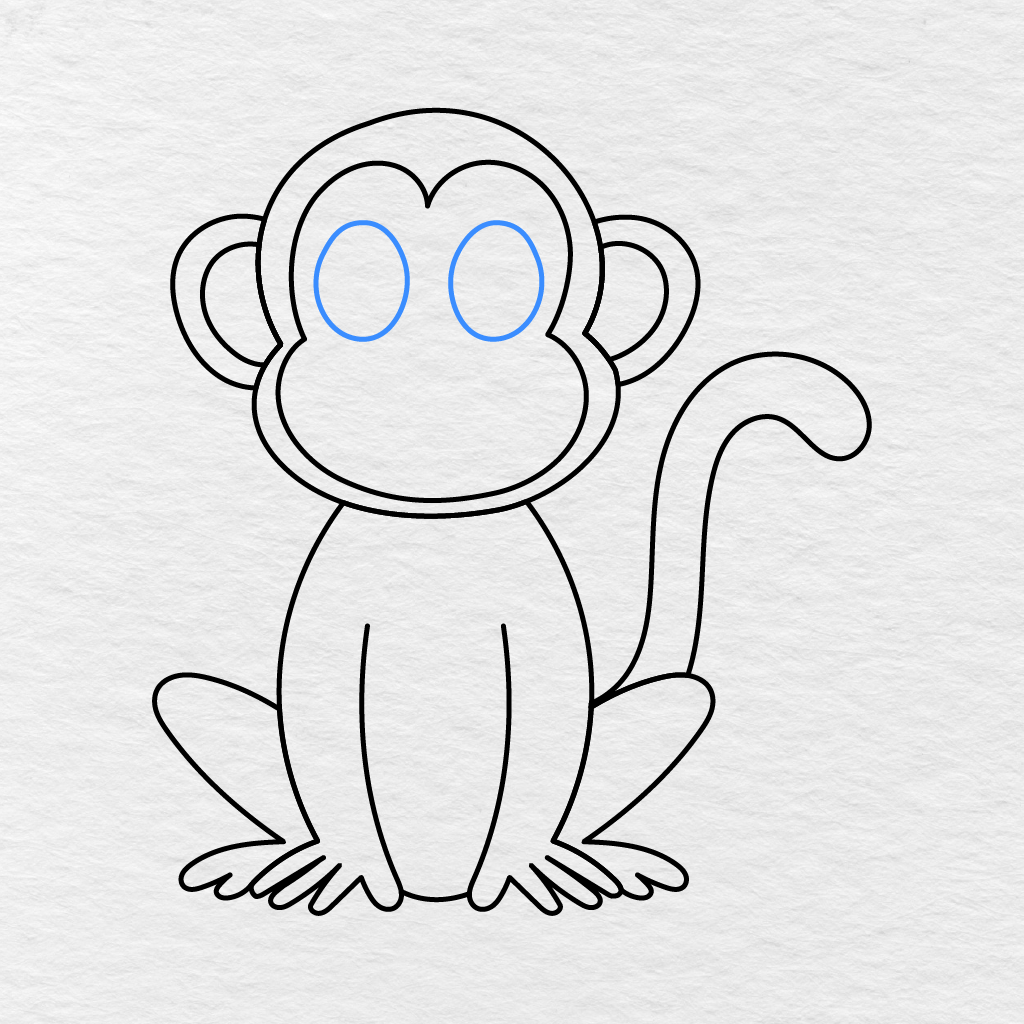
At the top of the monkey’s face, let’s add two large oval shaped lines that would represent the monkey’s eyes.
Make sure to leave enough space between the monkey’s eyes and try to keep their sizes the same.
Step 9: Add the Pupils
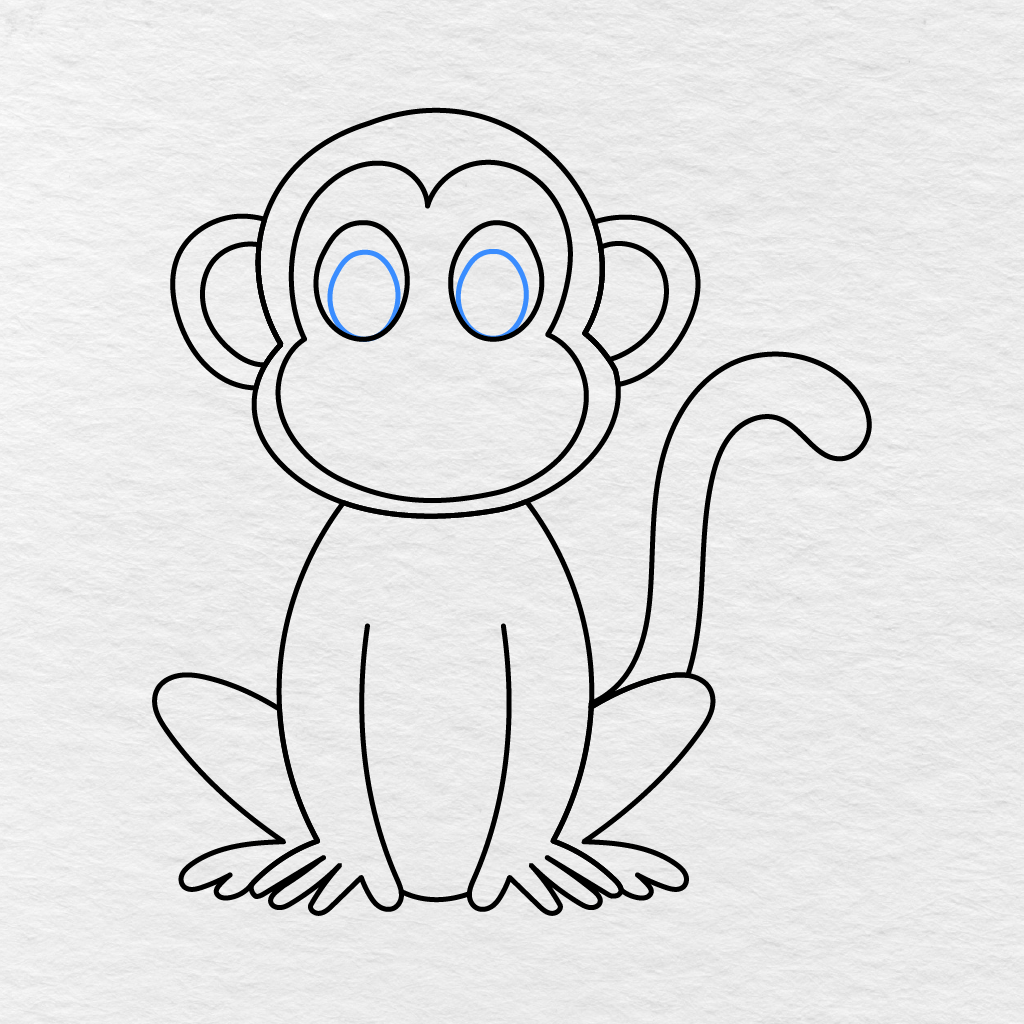
Inside the monkey’s eyes, let’s add oval shaped pupils.
Make sure to keep the monkey’s pupils in the lower middle part of its eye outlines.
Step 10: Add the Eye Highlights
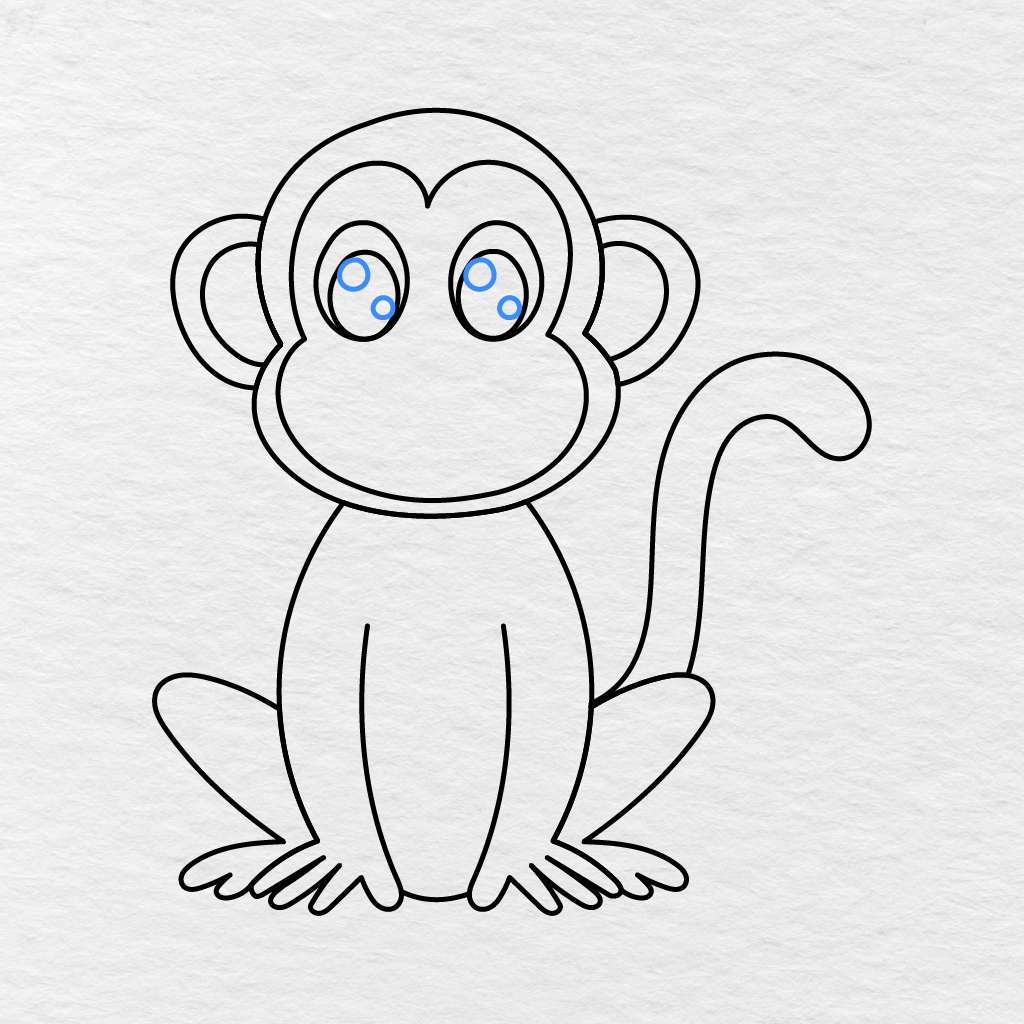
Inside the monkey’s pupils, draw two small circles for eye highlights.
Make sure to add one bigger circle at the top and one smaller circle at the bottom of the monkey’s pupils.
Step 11: Draw the Nose
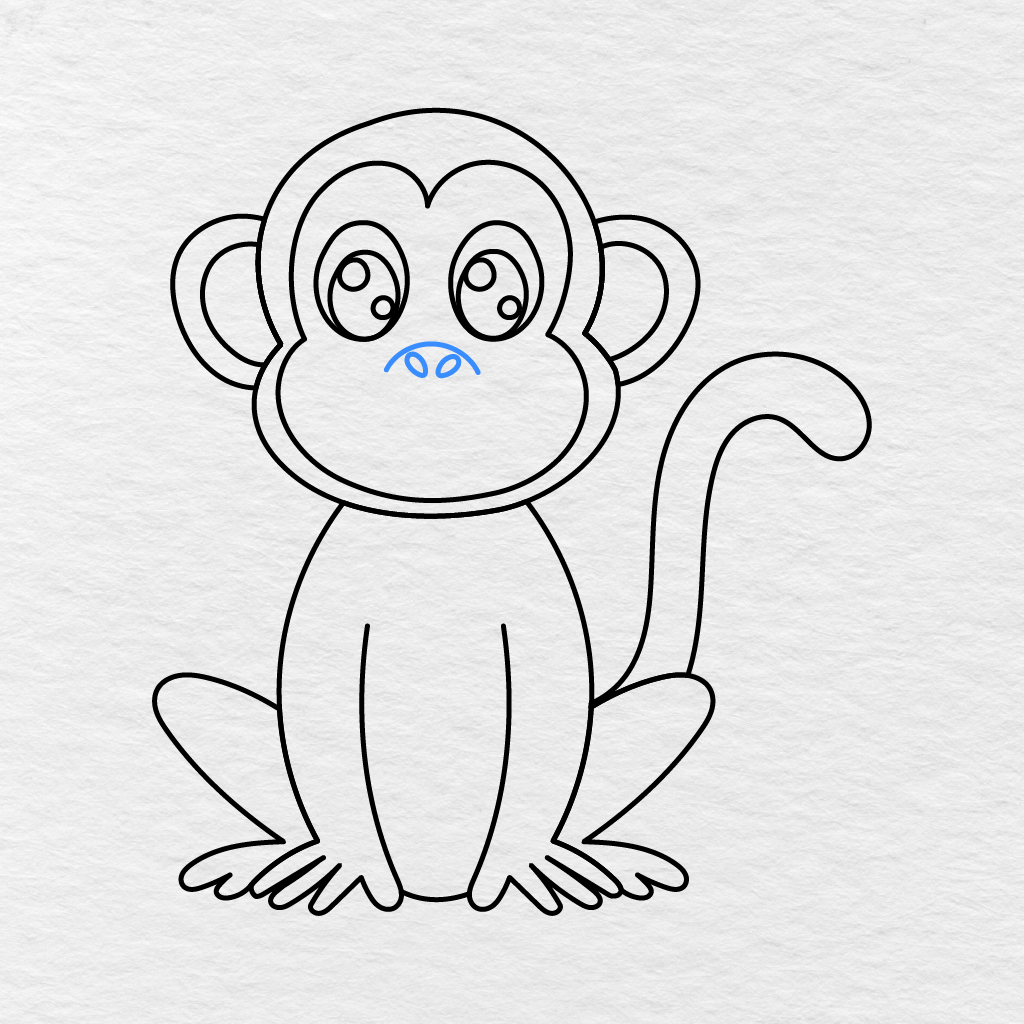
Between the monkey’s eyes, let’s add a small curved line for the monkey’s nose.
Below the monkey’s nose line, add two small oval shaped lines for the monkey’s nostrils.
Step 12: Draw the Mouth
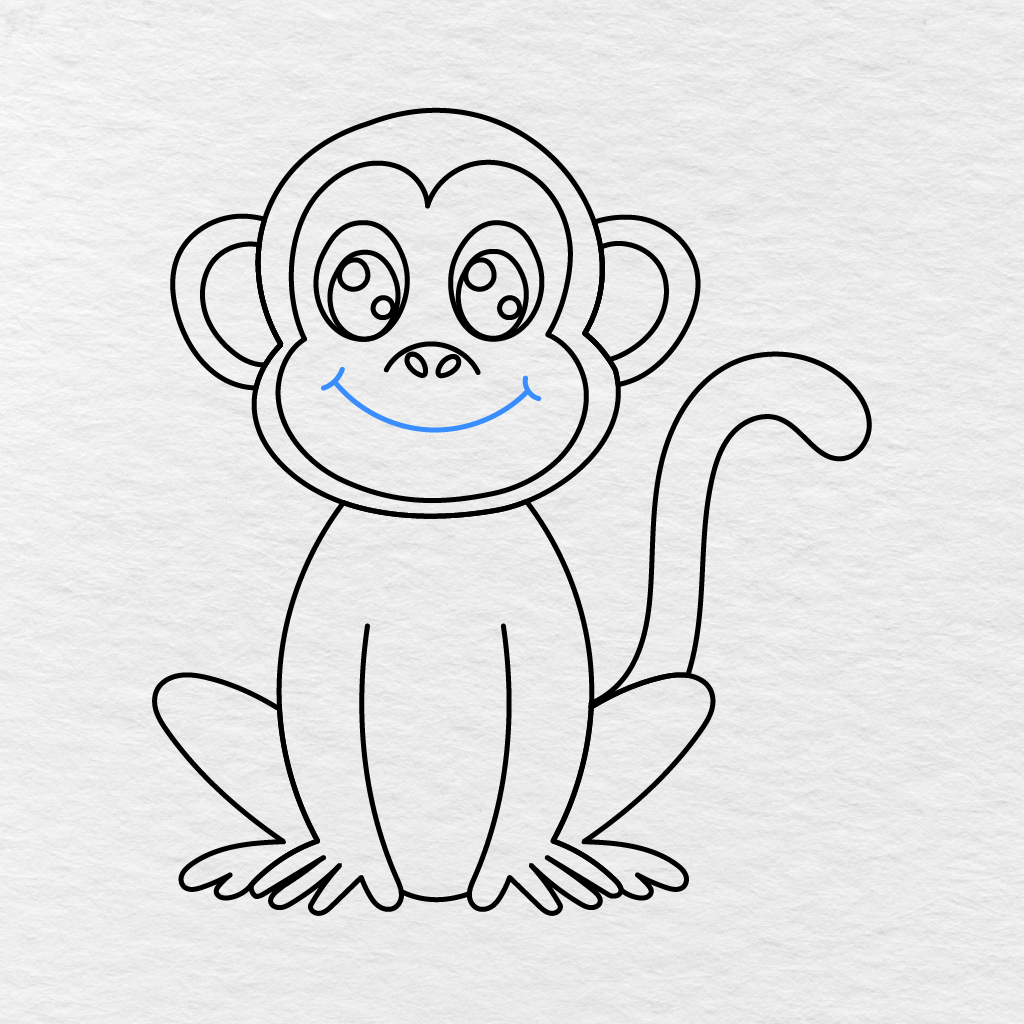
Let’s add a nice smile to our monkey. For this, let’s draw a long curved line at the bottom of the monkey’s face. Then, add a small round line at each end of the monkey’s smile.
Step 13: Add the Belly
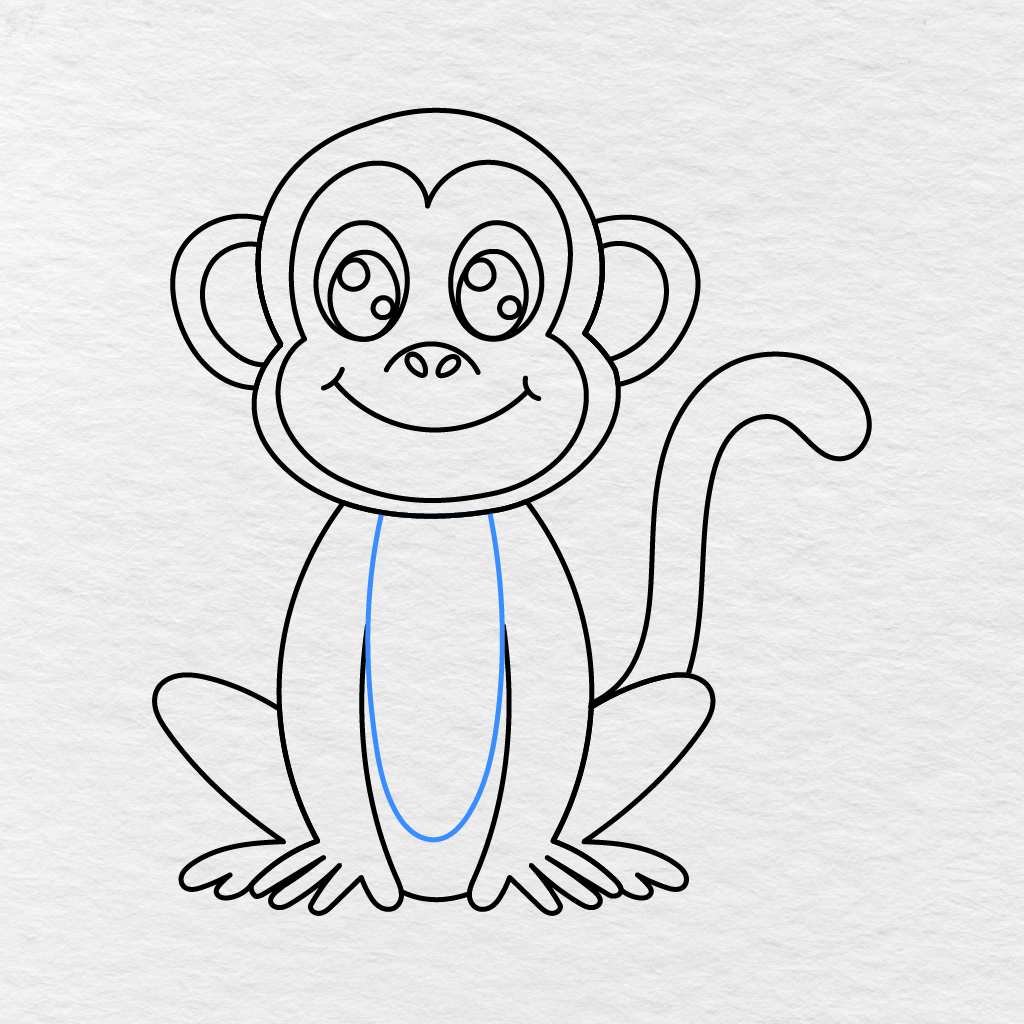
Inside the monkey’s body, let’s add a long oval shaped line for the monkey’s stomach.
Make sure to continue the monkey’s belly line down inside the body and finish the lines at the center of the monkey’s lower body part.
Step 14: Color the Monkey
It is time to add colors to our monkey!
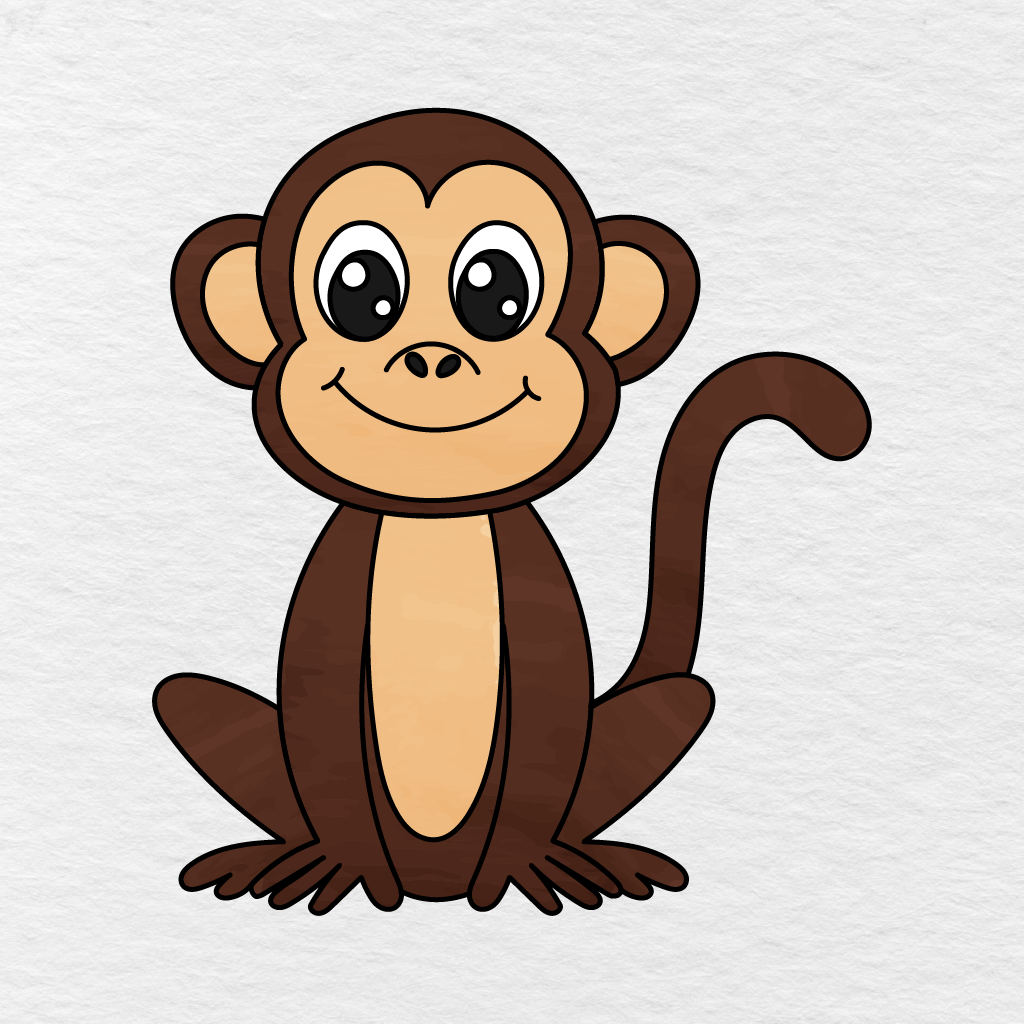
We colored the monkey’s head, body, arms, legs, and tail in dark brown. We colored its face, the inside of the monkey’s ears, and the monkey’s belly in light tan. The pupils and nostrils are black, while the eye highlights are white.
However, you may choose light brown, dark brown, tan, gray, golden brown, or any other colors that you like!
You have finished!
Printable Monkey Drawing PDF
Below, you can find a printable PDF of the monkey drawing that you just created. You may want to print it now or save it on your device for later.
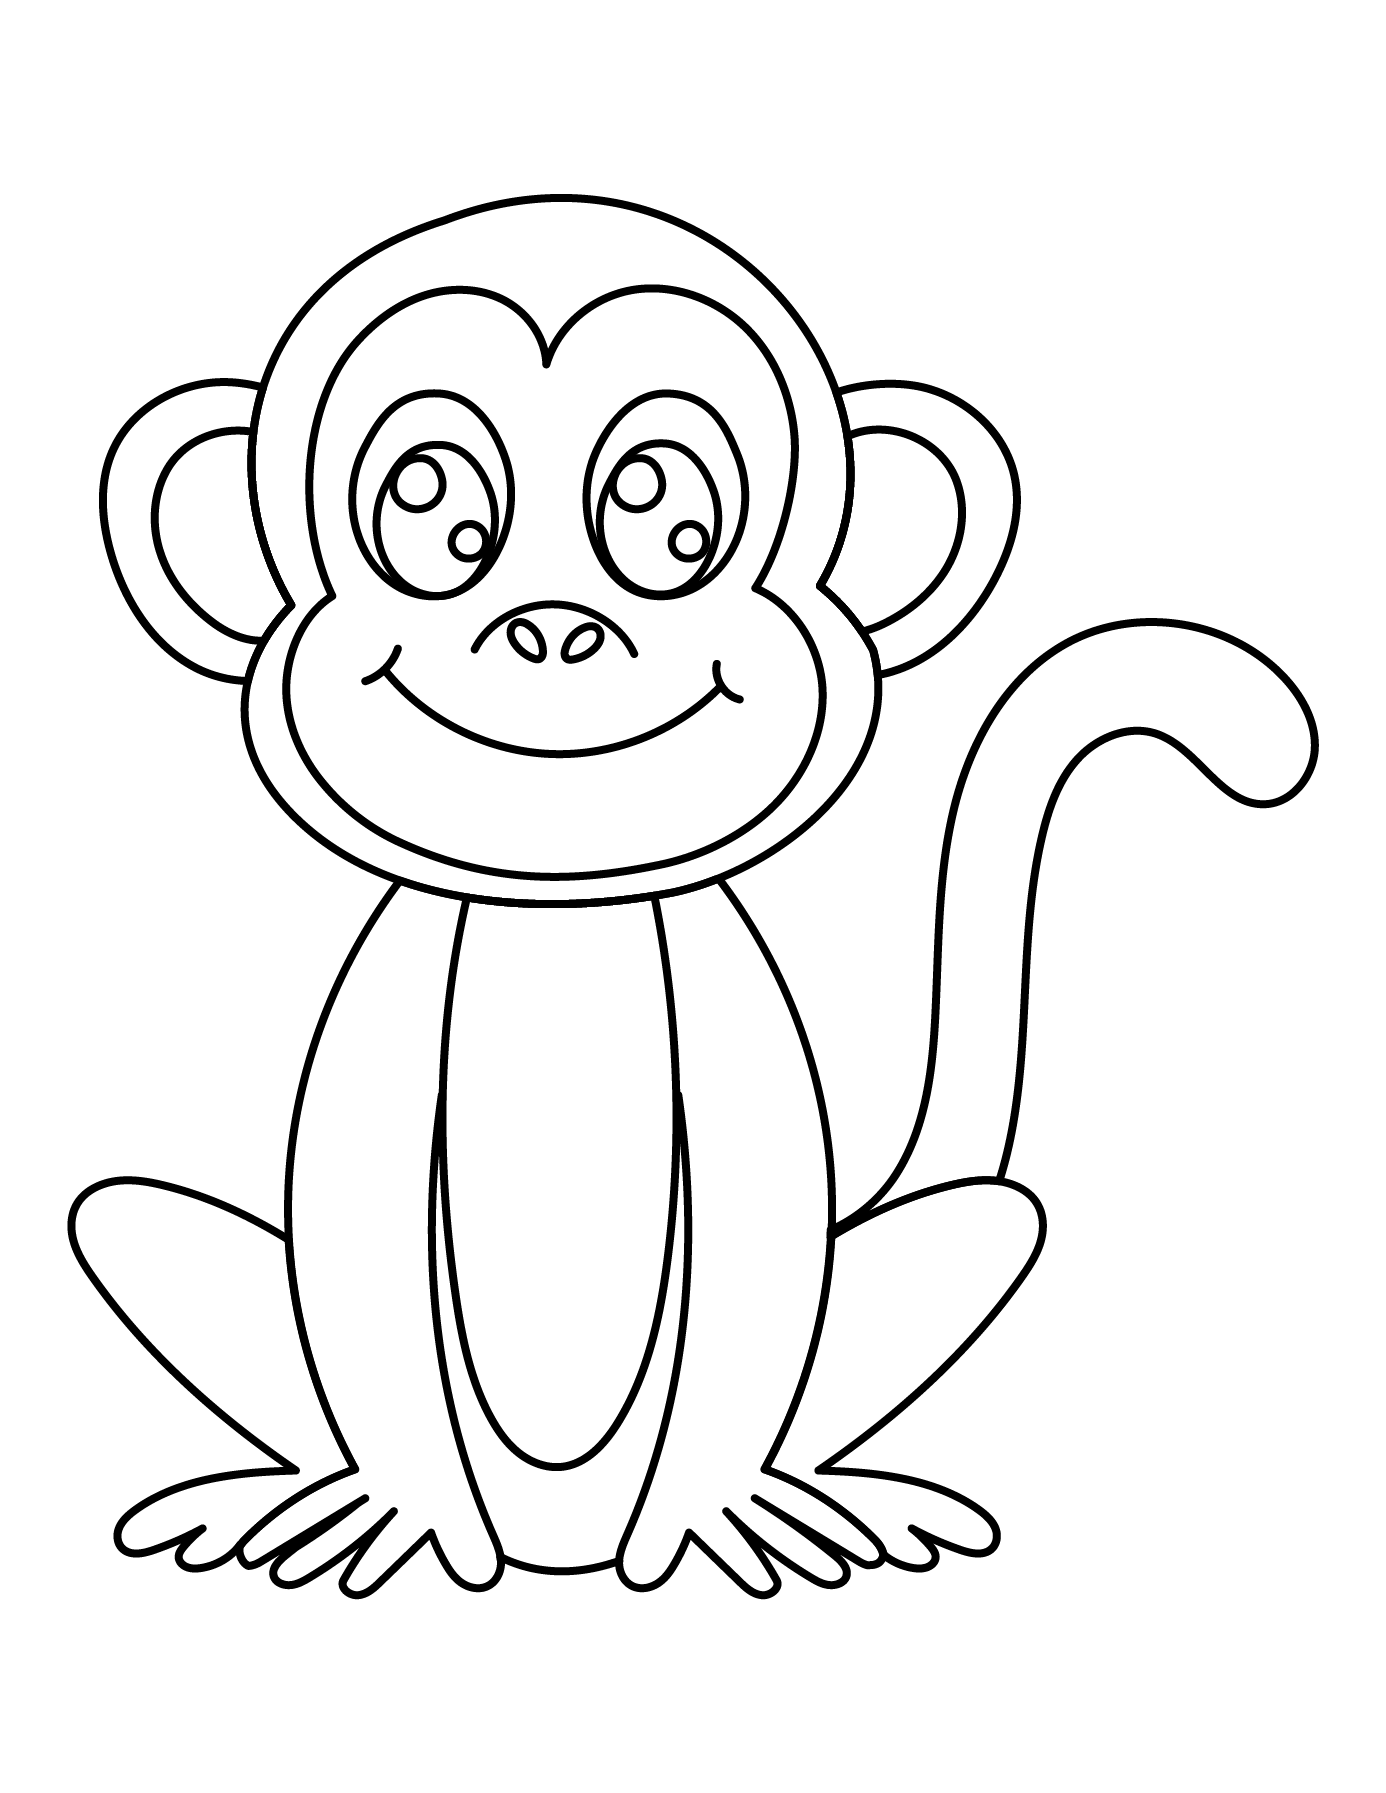
If you liked our monkey drawing tutorial, make sure to check out our Monkey Coloring Pages as well!
What colors did you choose for your monkey? Let us know in the comments below and share our monkey drawing tutorial with another parent, teacher, or friend!