How to Draw a Butterfly
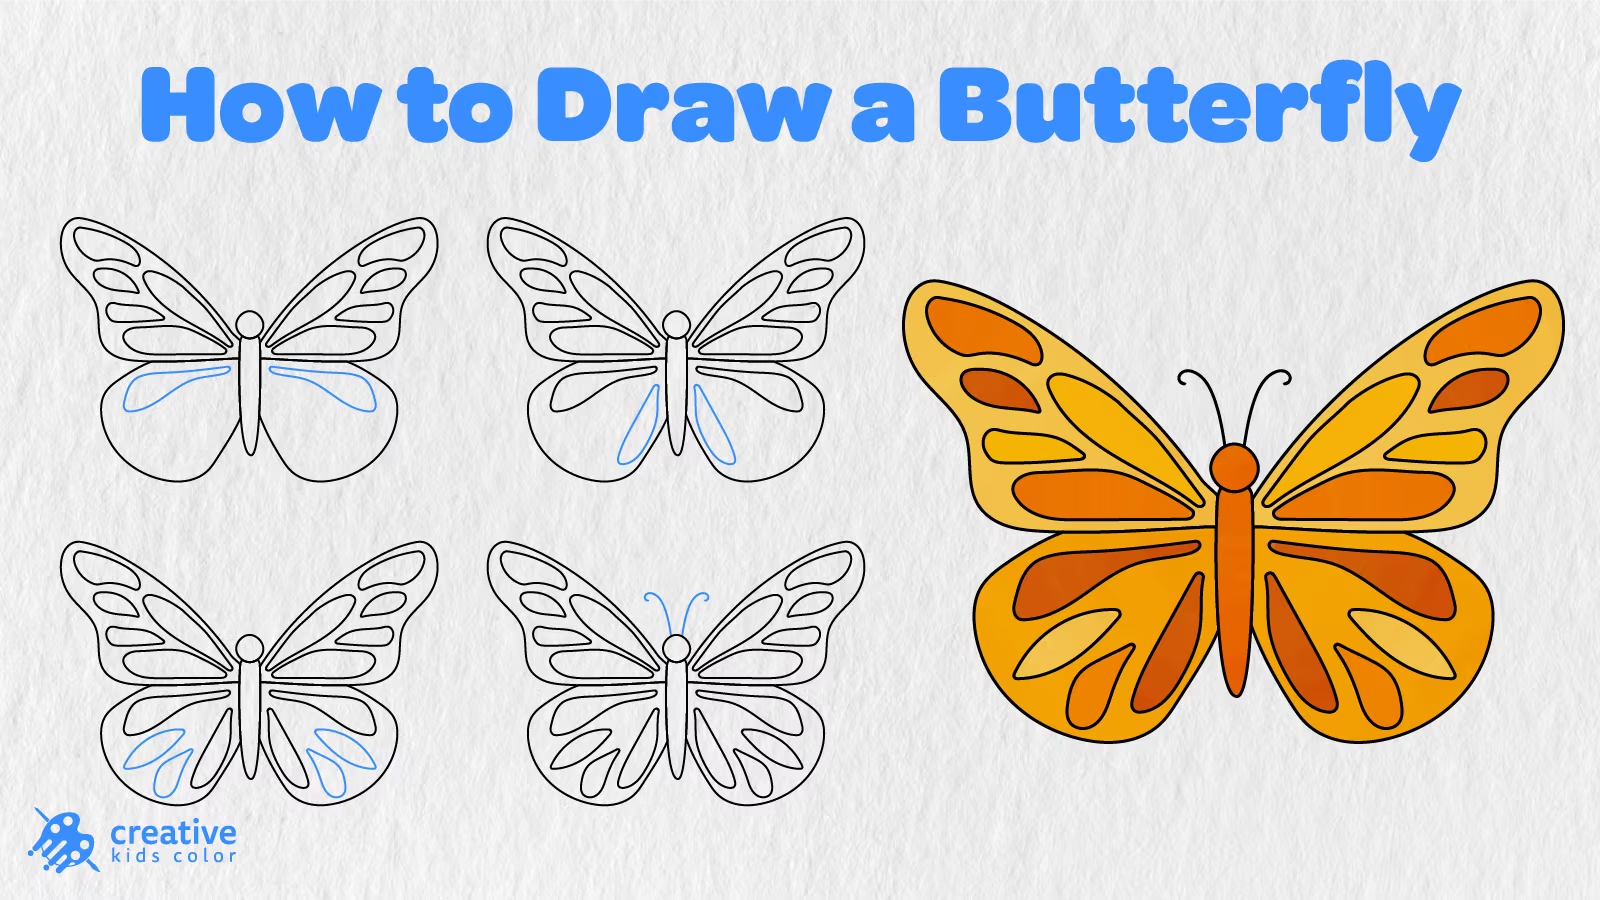
Butterflies add beauty and charm to any garden, but they also serve an essential purpose. As these creatures flutter from flower to flower, they help the plants reproduce by transferring pollen from one to another.
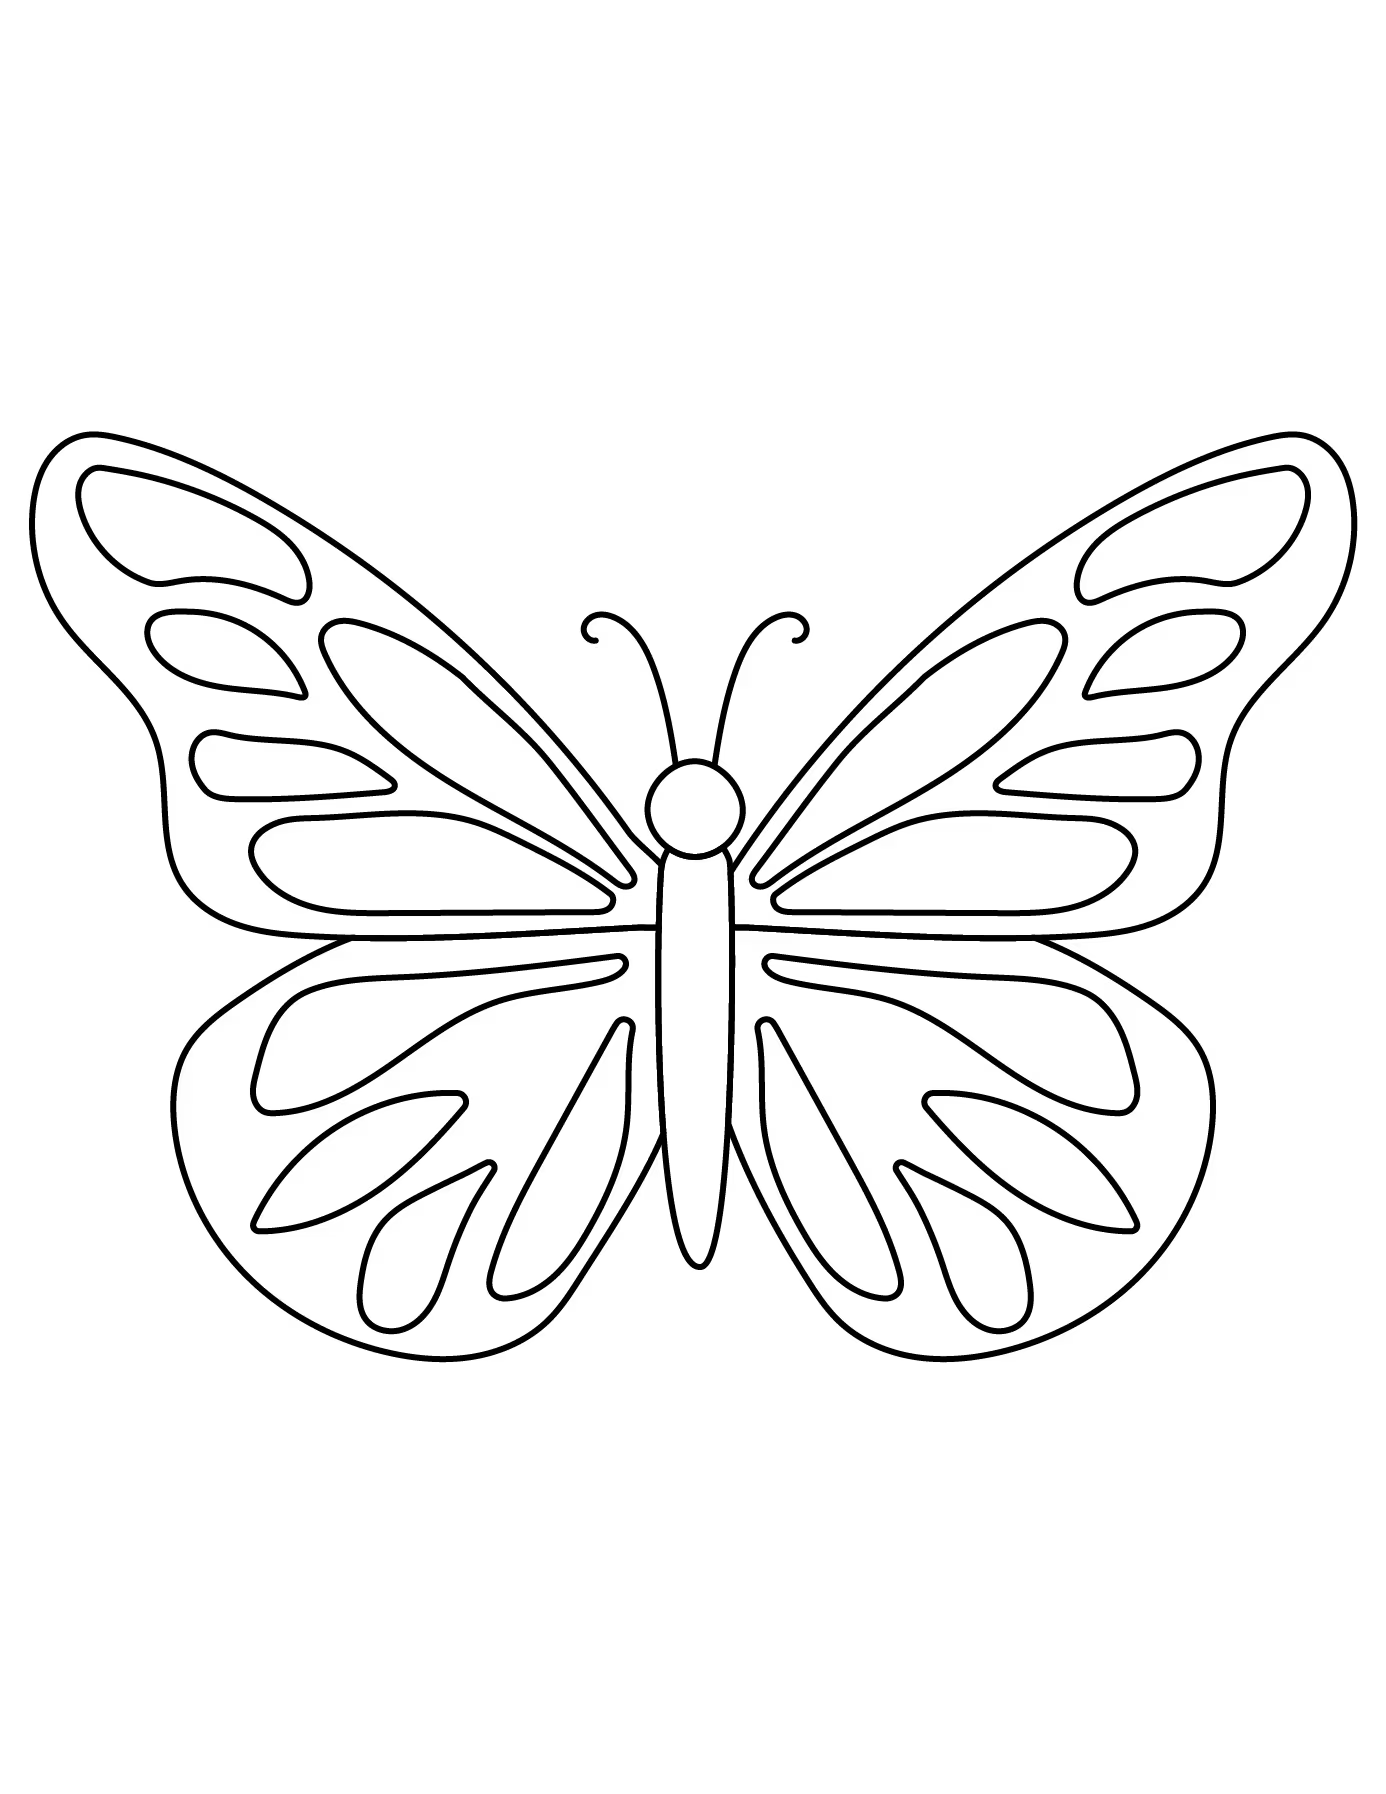
For this tutorial, we have drawn a front facing butterfly with four large wings, a slender body, curled antennae and repeating rounded patterns on each of its wings. In this tutorial, kids and beginners alike will learn how to draw a butterfly in 13 easy steps. We will begin with the head and body and add all four wings before completing the patterns on each. We will then add the antennae and color the butterfly.
All images in this step by step tutorial should be followed in the order shown. Simply begin with the first step and follow the blue lines in the images provided until you have reached the end.
Easy Butterfly Drawing Step by Step
For this easy butterfly drawing, you will need a pencil, paper, an eraser and coloring materials. When beginning this drawing, make sure to place the head and body somewhere near the center of the page. This will leave enough room to add the large wings on either side.
Step 1: Draw the Head and Body
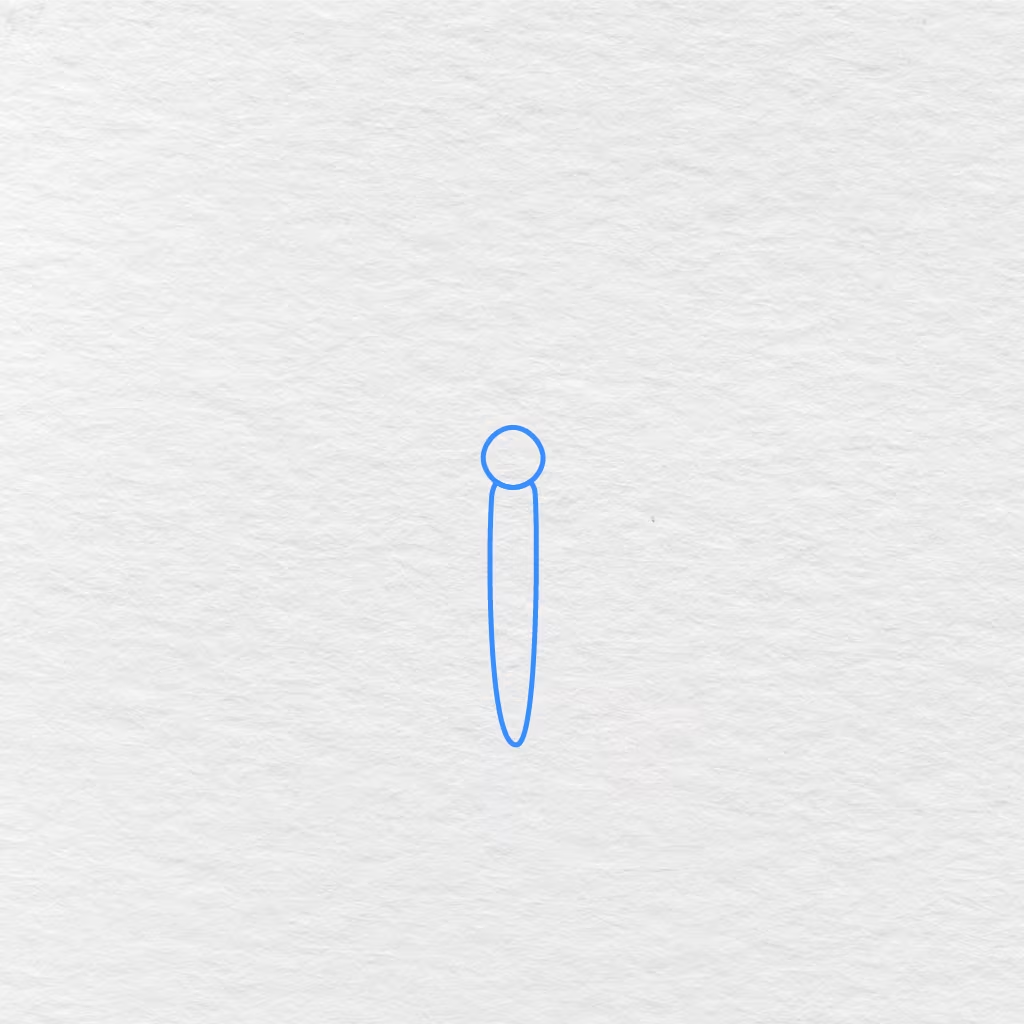
Draw a small circle to represent the butterfly’s head.
Connect a long, narrow shape to the bottom of the head. Make sure to curve the sides inwards and bring them together in a rounded point near the bottom.
Step 2: Draw the Right Wings
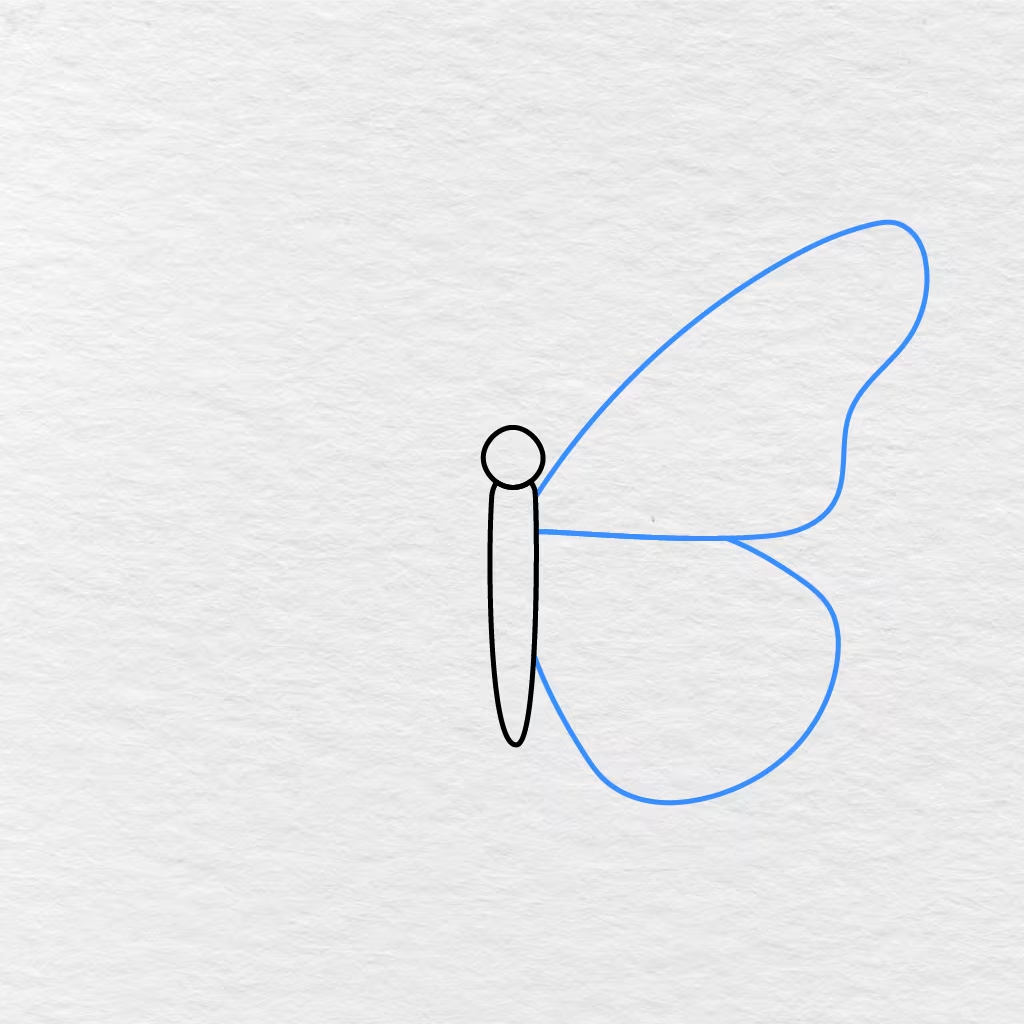
On the right side of the butterfly’s body, draw one large upper and one rounded lower wing.
Begin with the wing on the right side of the head and extend it outwards before connecting it to the middle of the body. Add the lower wing underneath it in the shape of a wide oval.
Step 3: Add the Left Wings
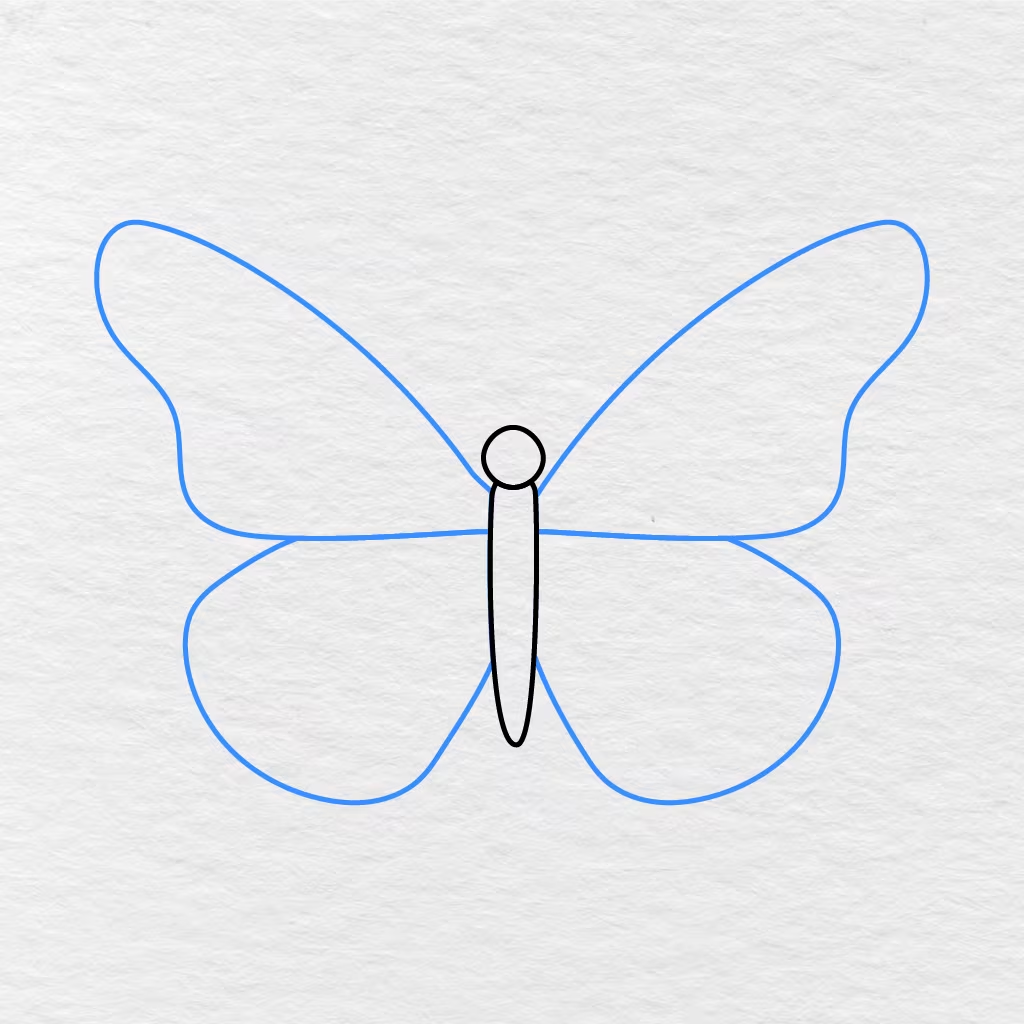
Add the other two wings on the left side of the butterfly’s body.
Try to make the left side approximately the same as the right. Once again, ensure the upper is long and wide while the lower has a gentler curve.
Step 4: Add the First Upper Wing Patterns
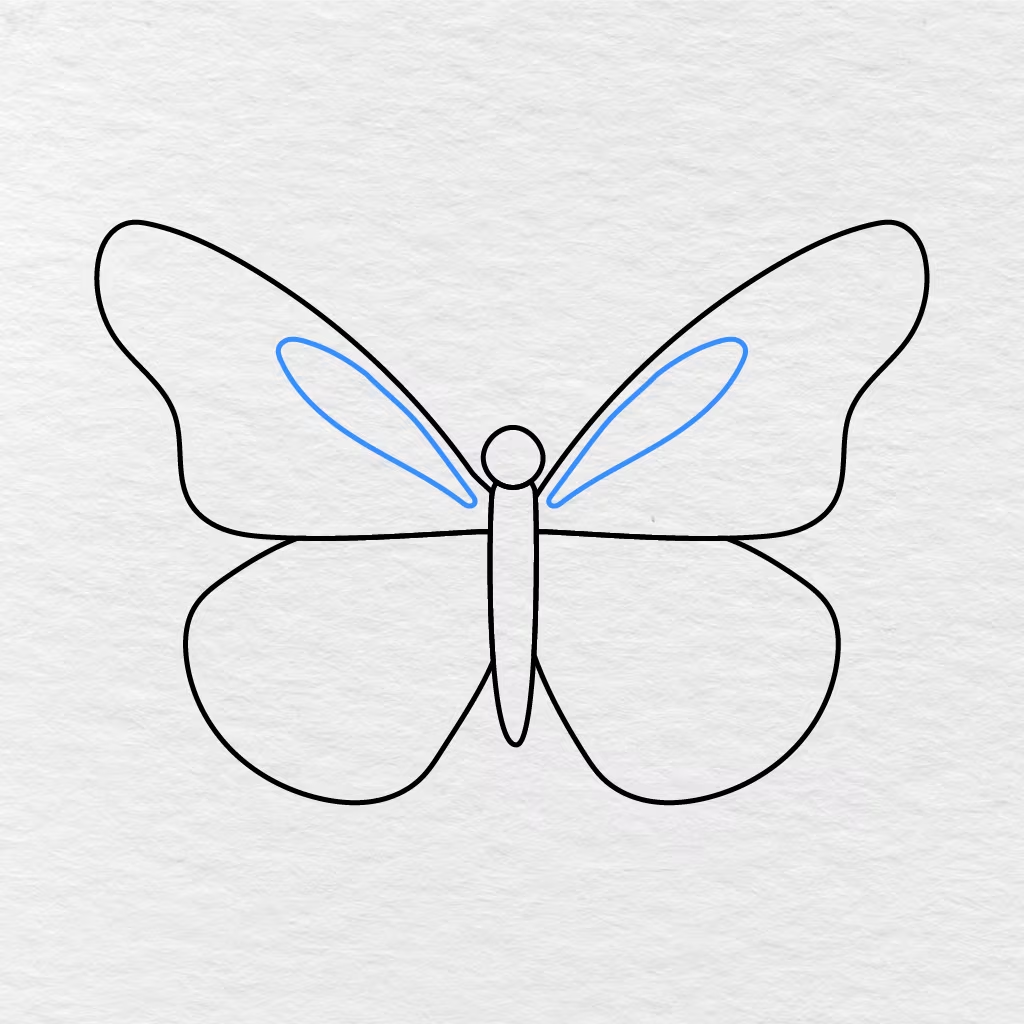
Within each of the upper wings, add one long, narrow pattern.
Begin each pattern near the head and extend it upwards towards the top part of the upper wing. Ensure both end in a rounded point and do not extend beyond the edges.
Step 5: Add More Upper Wing Patterns
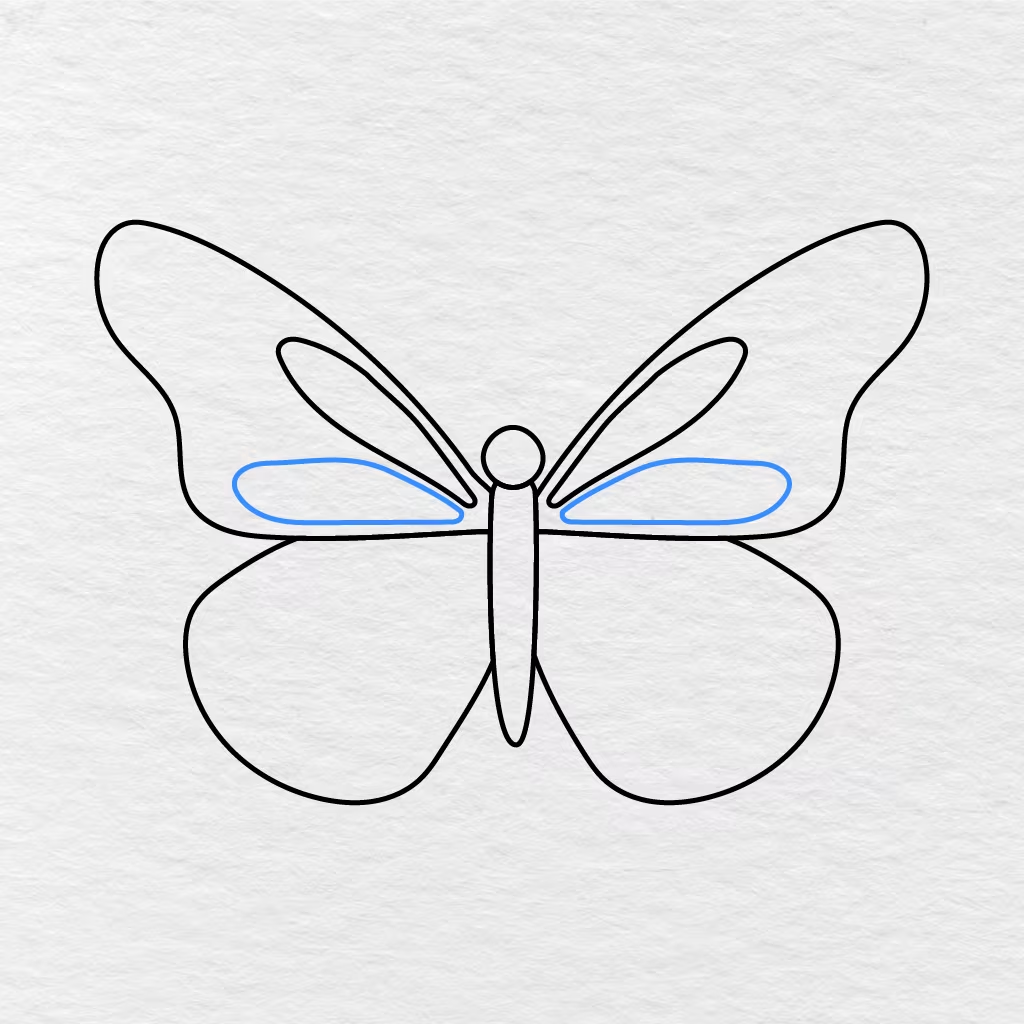
Within each of the upper wings, add another long pattern underneath the ones added in the previous step.
Make sure to leave at least some space between the new patterns and the lower border of the upper wings. Once again, try to keep them at roughly the same height.
Step 6: Draw the Top Wing Patterns
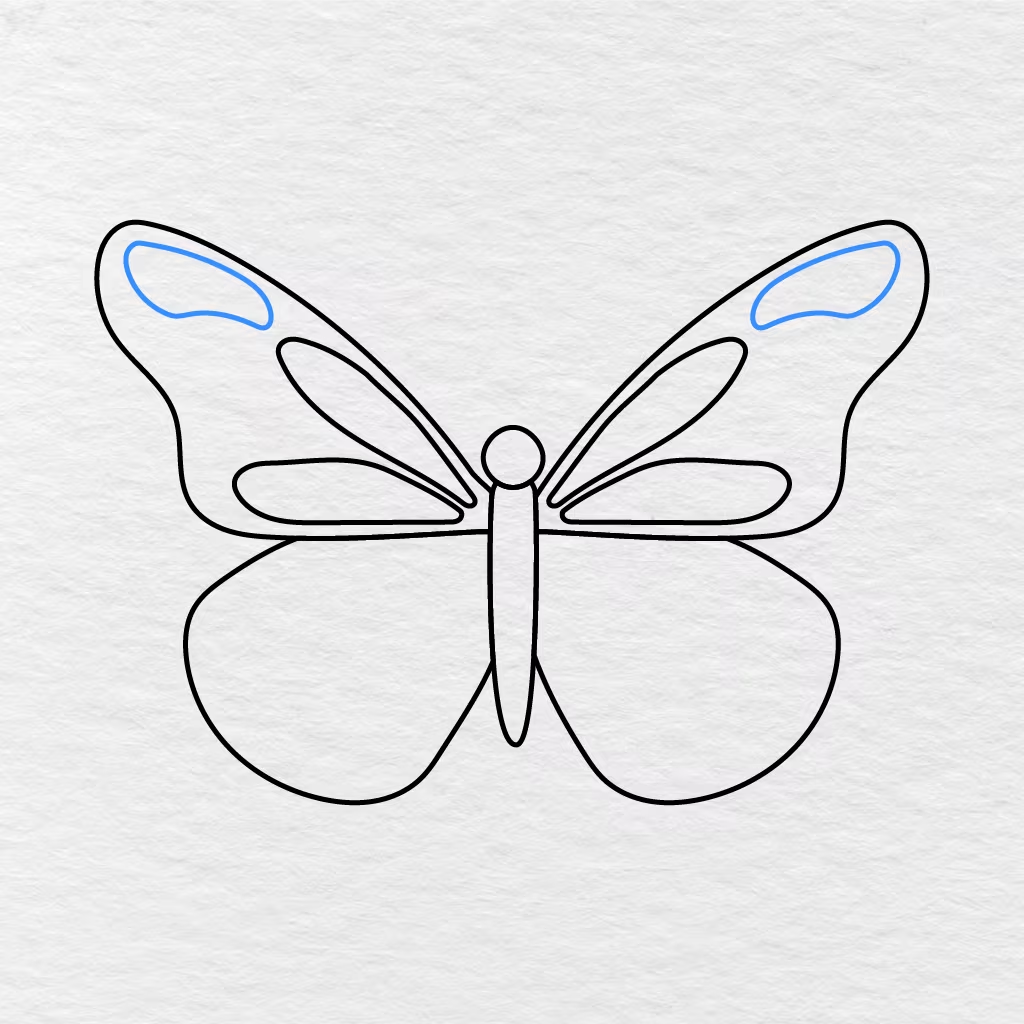
Along the outer edges of each upper wing, add one rounded pattern.
Follow the curve of the upper wings but leave some space between the new patterns and the wing borders.
Step 7: Add the Small Upper Wing Patterns
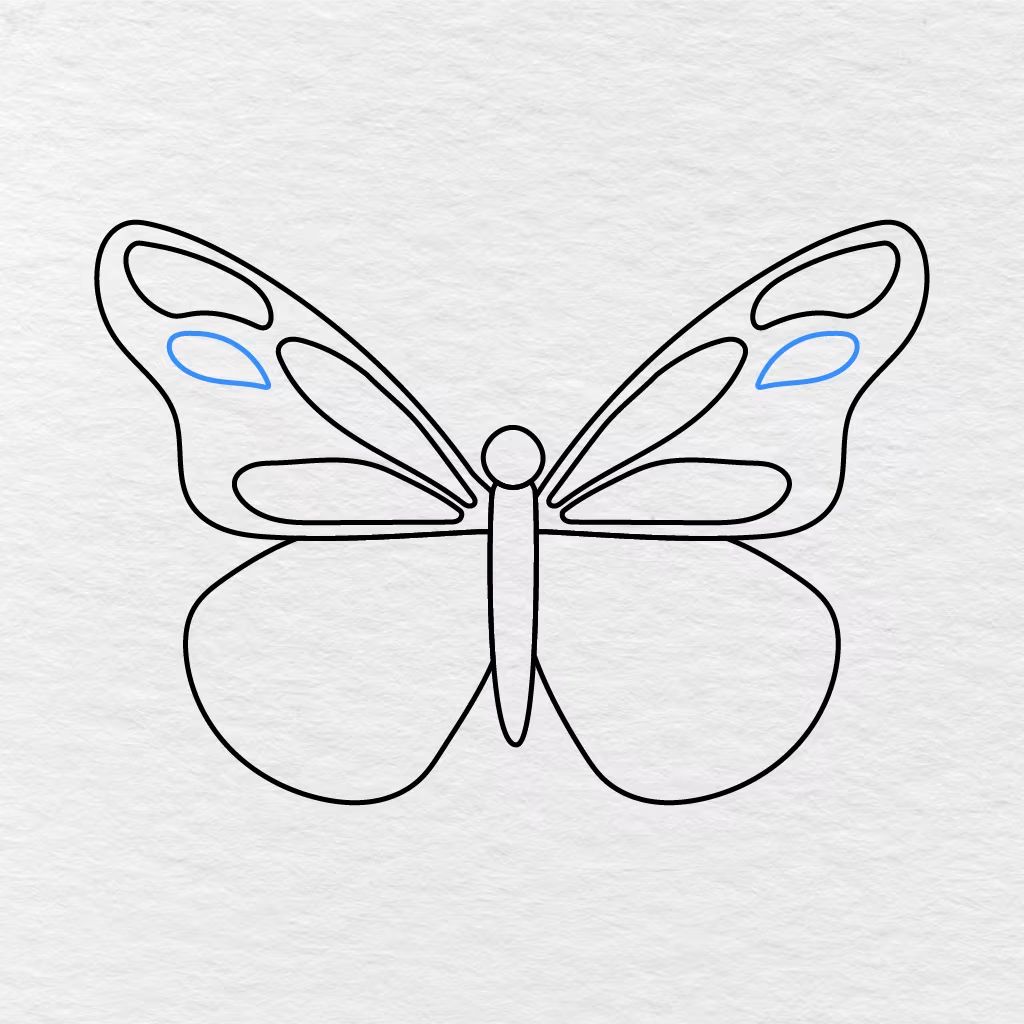
Below the patterns added in Step 6, add one smaller pattern within each upper wing.
Make sure to angle the two new patterns inwards towards the butterfly’s body.
Step 8: Complete the Upper Wing Patterns
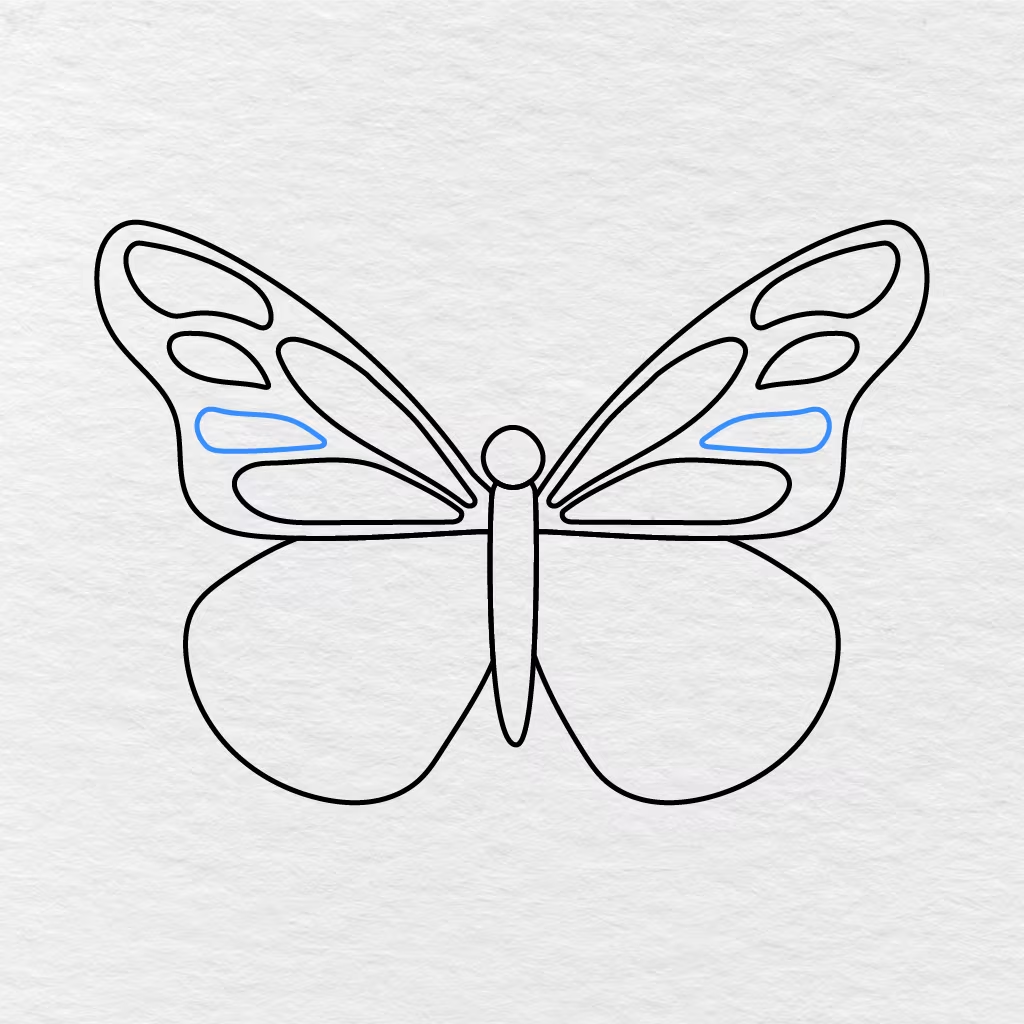
Within each of the upper wings, add another pattern in the center.
These should be short and narrow and placed between the smaller patterns and the long ones at the bottom.
Step 9: Add the First Lower Wing Patterns
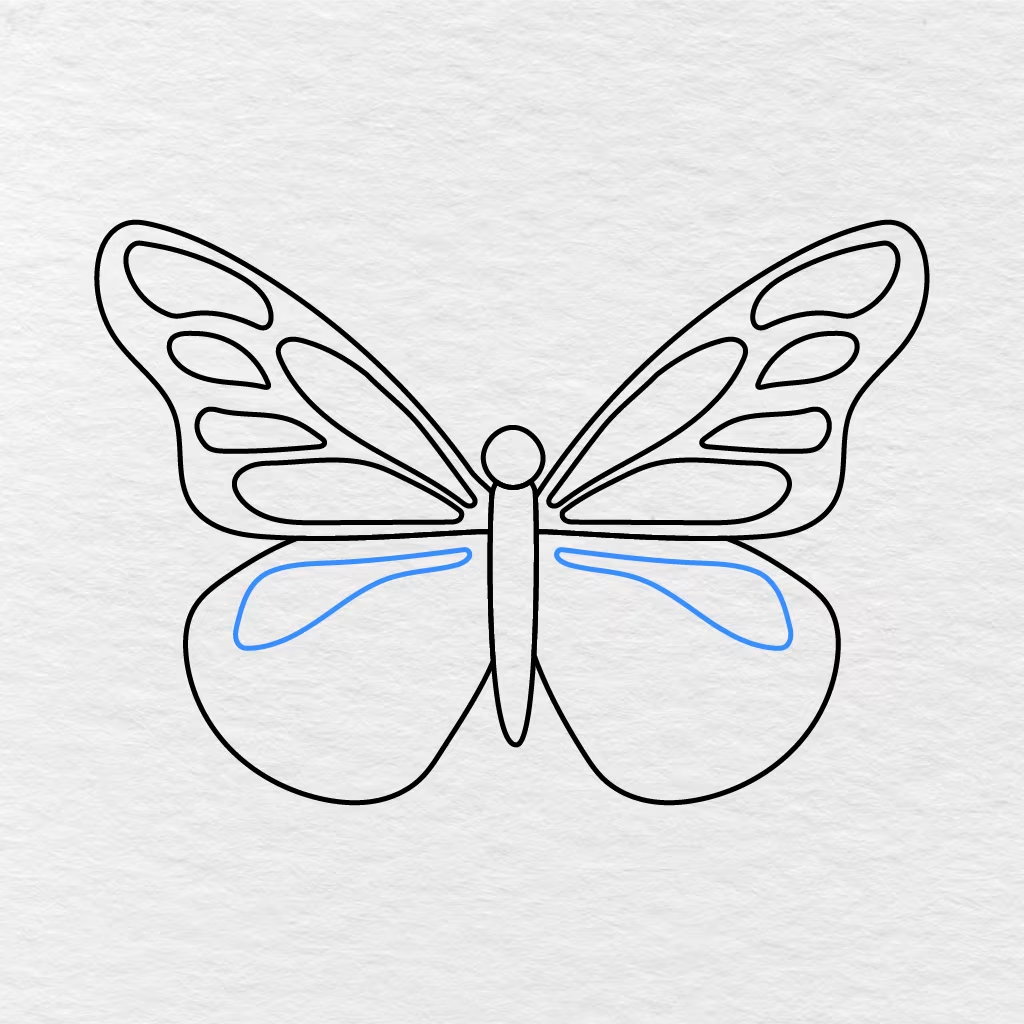
Within each of the lower wings, add one long pattern near the top.
Begin with the ones closest to the butterfly’s body and follow the curve of the lower wings.
Step 10: Add More Lower Wing Patterns
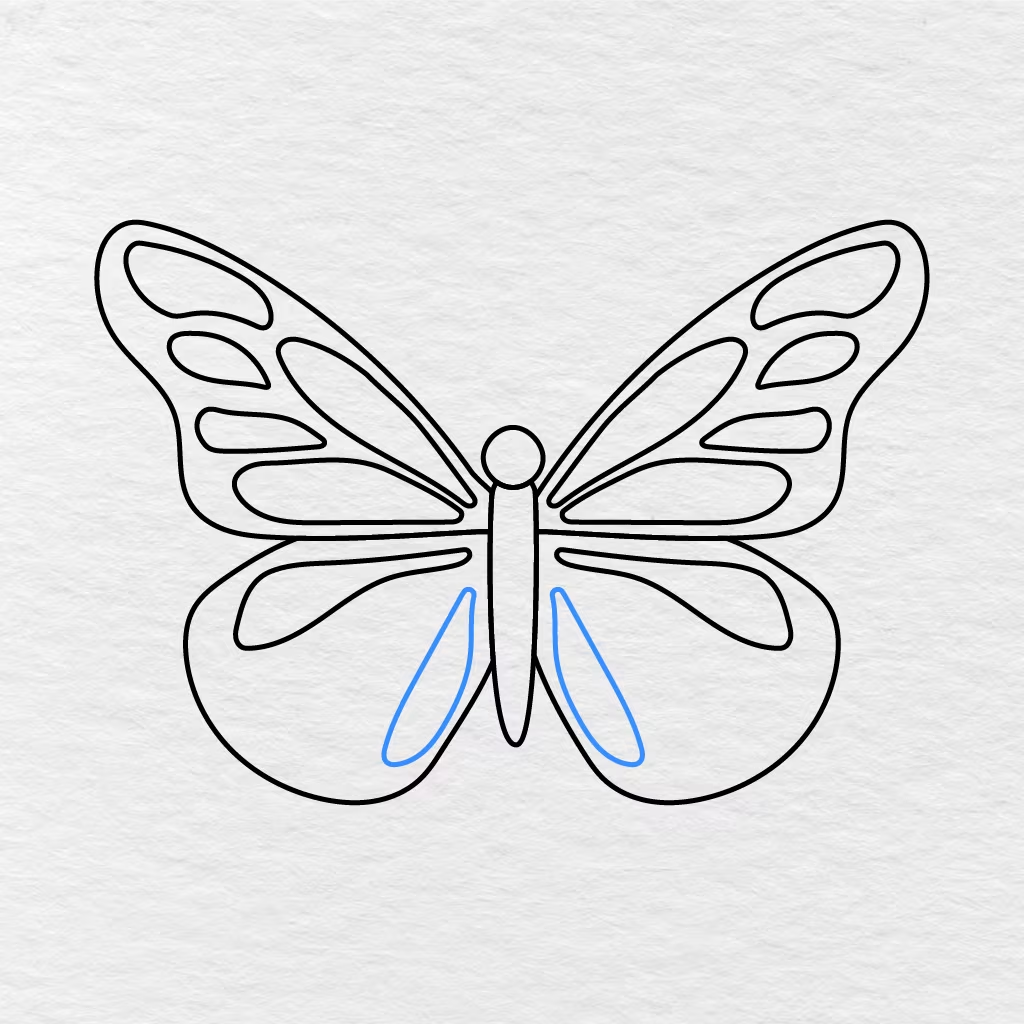
Within each of the lower wings, add another long and narrow pattern beside the butterfly’s body.
Curve each pattern downwards and close it near the bottom.
Step 11: Complete the Lower Wing Patterns
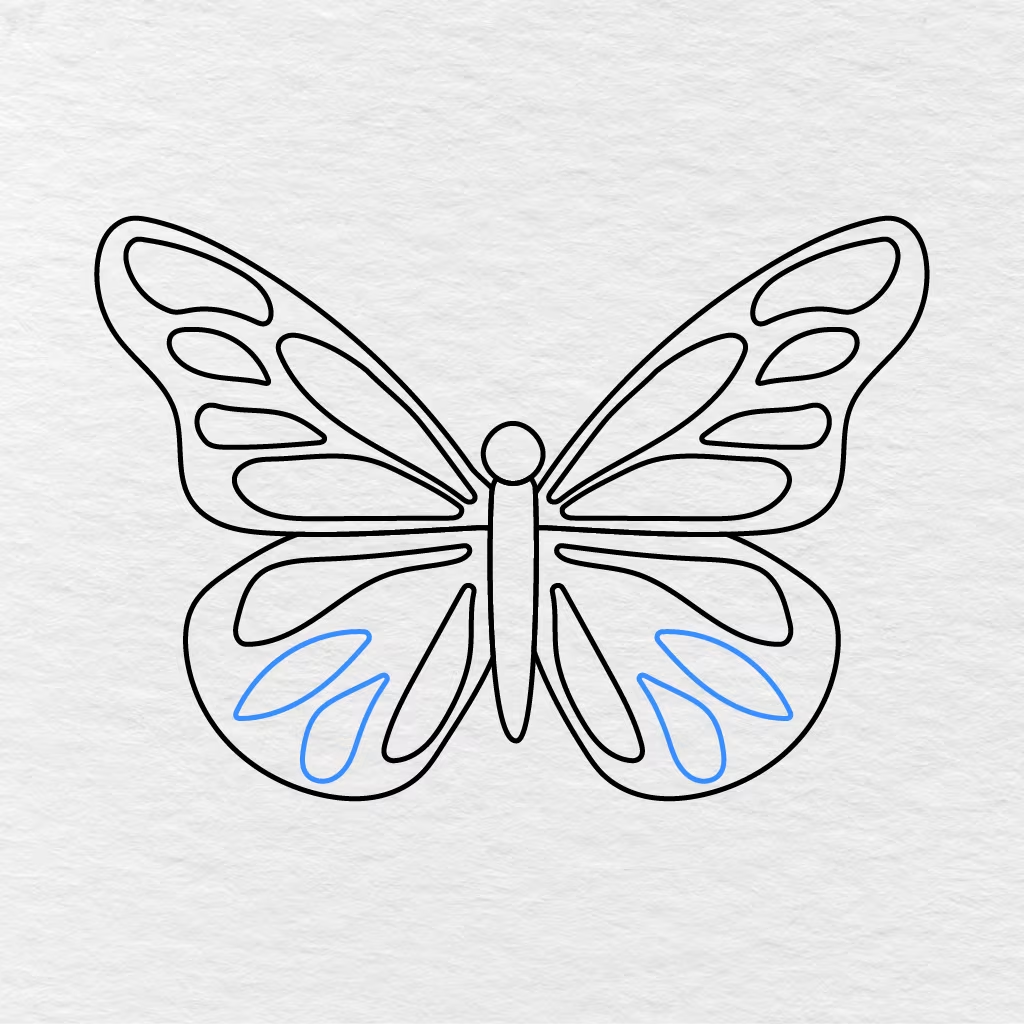
Within each lower wing, add two more patterns along the outside border.
Begin with a longer one on the side and add a shorter one underneath it. Allow them to follow the curve of the lower wings.
Step 12: Draw the Antennae
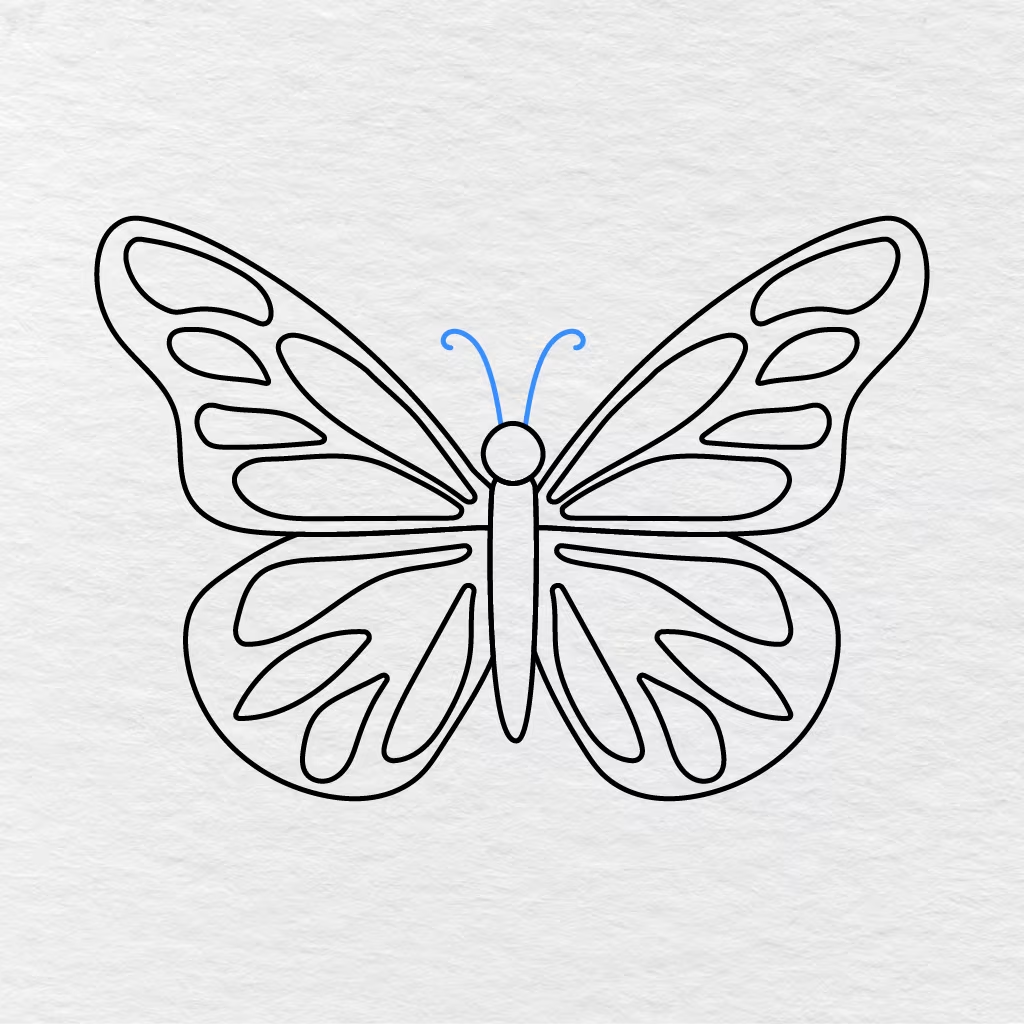
From the top of the butterfly’s head, add two long, curved antennae.
Make sure to allow the lines to spread outwards and curl the ends slightly.
Step 13: Color the Butterfly
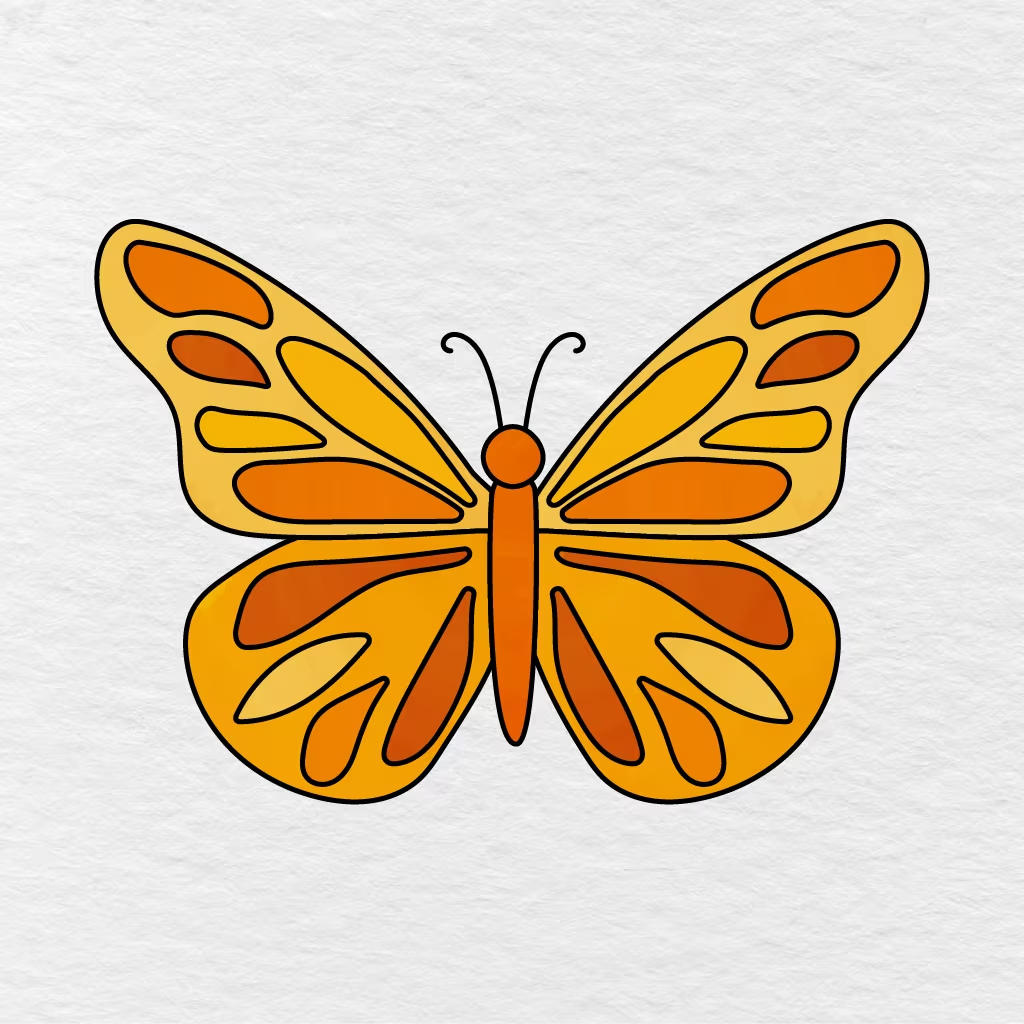
It is now time to color the butterfly. We have colored ours in golden yellow for the wings, orange for the head and body and used various shades of orange, yellow and light gold for the patterns. The outlines and antennae have been made black.
You may, of course, choose to use different colors such as blue, pink, purple, green, red or any other shade you wish.
Your simple butterfly drawing is now complete!
Printable Butterfly Drawing PDF
Below you will find a printable butterfly drawing PDF which you can download and print right now or save for later use. The completed drawing has a round head, slim body, four large wings, curled antennae and repeating patterns on each of the wings.
For another fun and educational activity with these delightful creatures, be sure to check out our Butterfly Coloring Pages.
What colors did you choose for your butterfly? Make sure to share your creation with us in the comments below and remember to share this tutorial with another parent, teacher or friend.