How to Draw a Lion
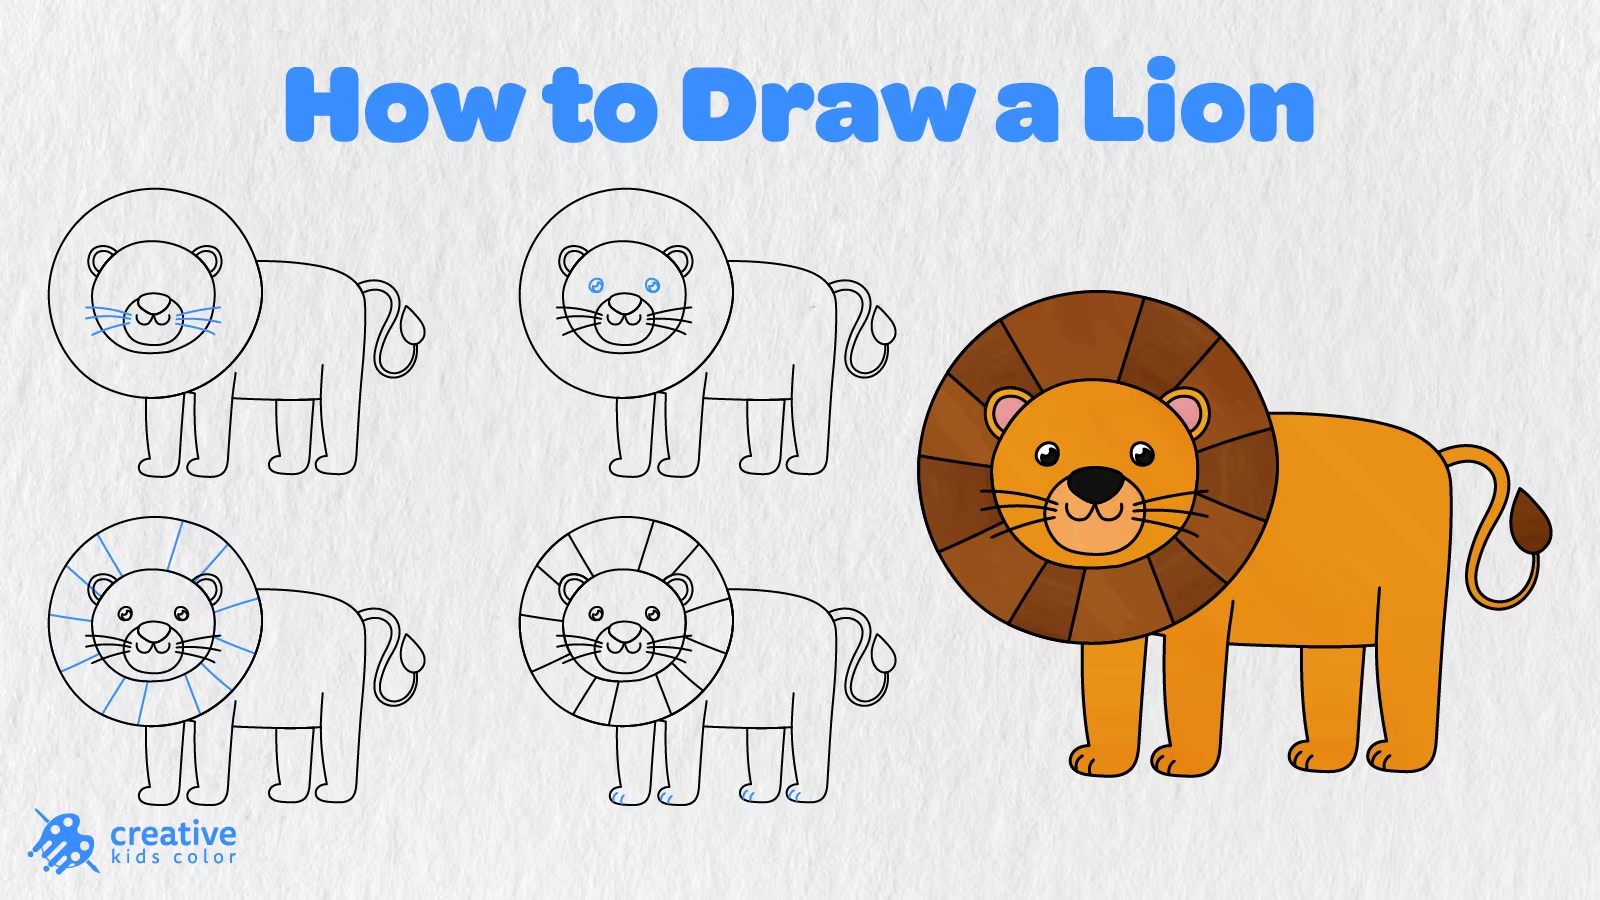
Lions are majestic beasts and their fluffy manes are among the most recognizable animal characteristics. Kids encounter lions in wildlife magazines, at the zoo, and in storybooks. Let’s learn how to draw a lion together! Children will be able to recreate this cute animal from the wild using simple lines and shapes. This tutorial will show you how to draw a lion step by step and create a friendly image of the big cat.
All the instructions below will help kids and beginners draw a lion. We have grouped all of them together in this lion drawing tutorial, which consists of 14 easy steps. We are starting our lion drawing lesson with two simple circles. We will add the big cat’s body, legs, tail, ears, muzzle, nose, mouth, and whiskers. Then, we will add the eyes, the mane, and all the details on the paws. Finally, we will add colors to our lion.
The blue lines on the images below will indicate the new lines or changes we are going to make in every step. Follow the blue lines and watch the simple shapes turn into a fun lion picture!
Easy Lion Drawing Step by Step
To begin our lion drawing tutorial, get a pencil, paper, eraser, and coloring tools. Start by making a few marks on the left side of the page as we create the basic shape of the lion’s head and leave enough space on the right to accommodate the big cat’s body and tail.
Step 1: Draw the Lion Head and Mane Outlines

Let’s make two circles for the lion’s big fluffy mane and head.
First, make one big circle as the outline of the lion’s mane. Then, make another, smaller circle inside the first one for the lion’s head.
Step 2: Draw the Lion Body
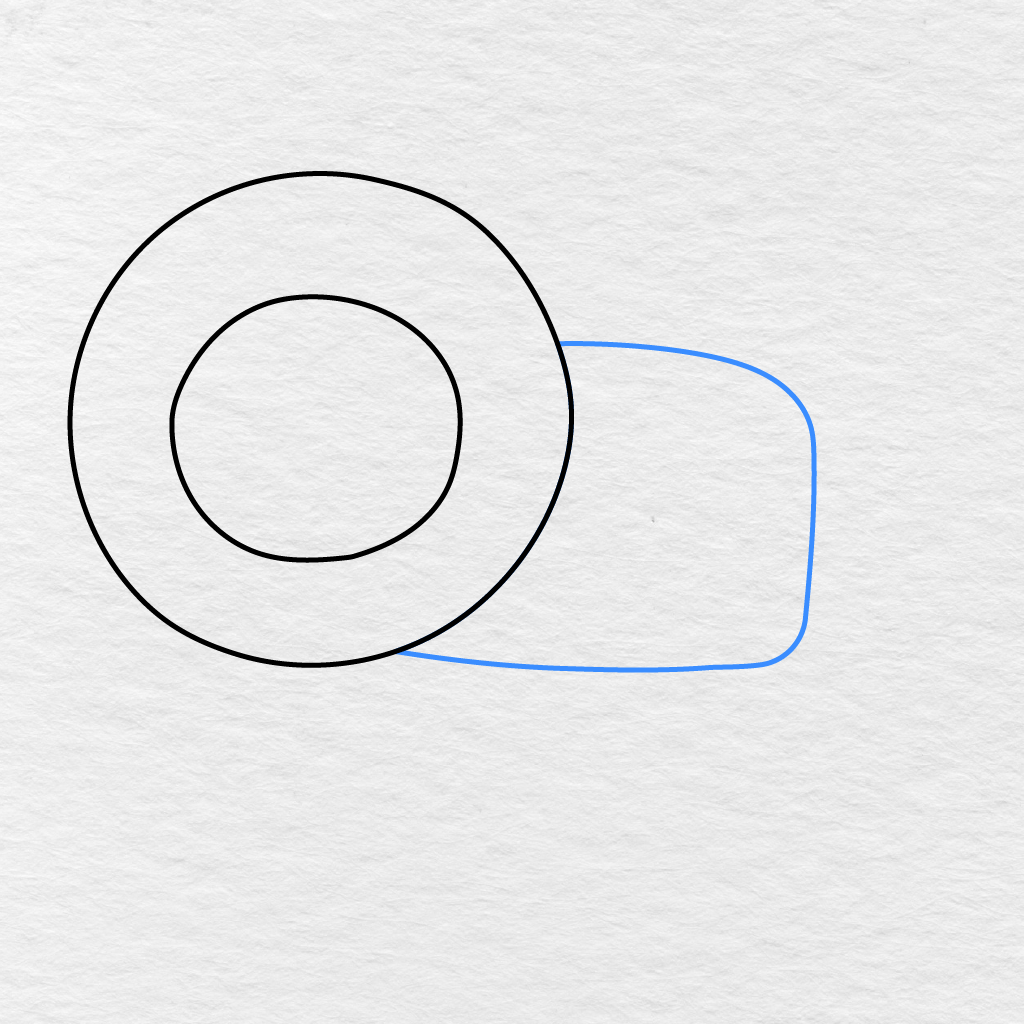
Add the big cat’s body behind the mane.
Make one long shape and attach it to the back of the lion’s mane. The front part of the big cat’s body should remain hidden by the lion’s fluffy mane.
Step 3: Draw the First Front and Back Legs
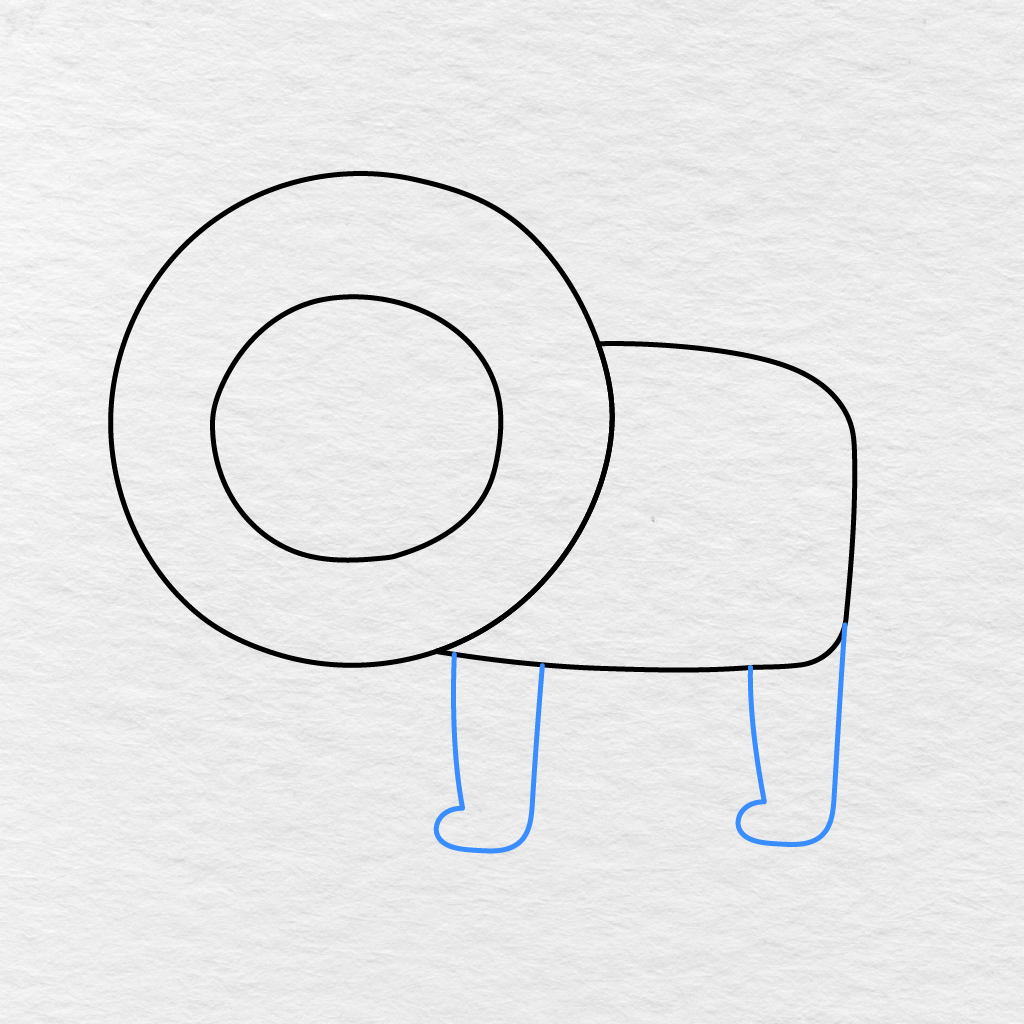
Next, add the first two legs to the lion drawing.
Add one front leg on the left side under the lion’s mane and one back leg at the far right. Give each of the lion’s legs oval shaped paws at the bottom.
Step 4: Add the Inner Leg Lines
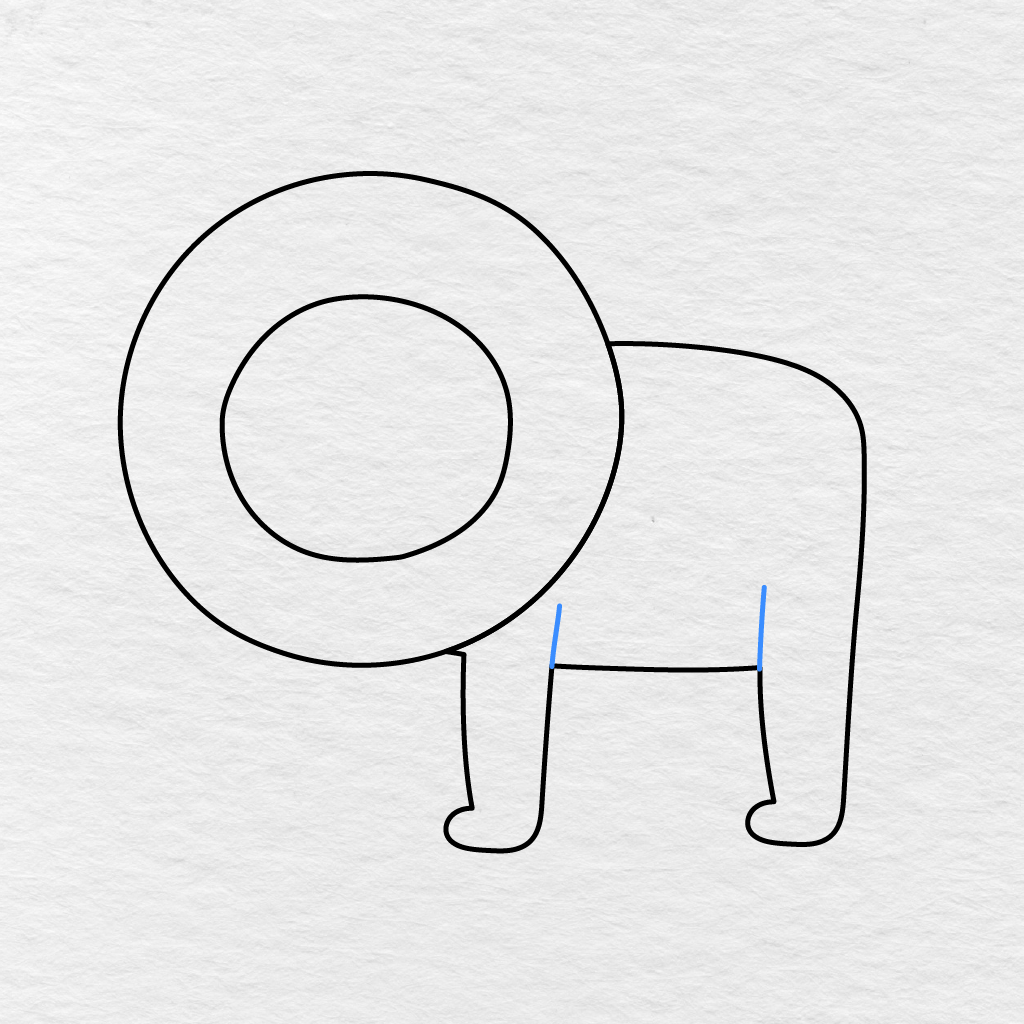
Add one short curvy line at the left and right sides of the lion’s front and back legs. Keep them vertical, or almost vertical. These lines will separate the big cat’s legs from its body and will also leave room for the other two legs.
Step 5: Draw the Remaining Legs
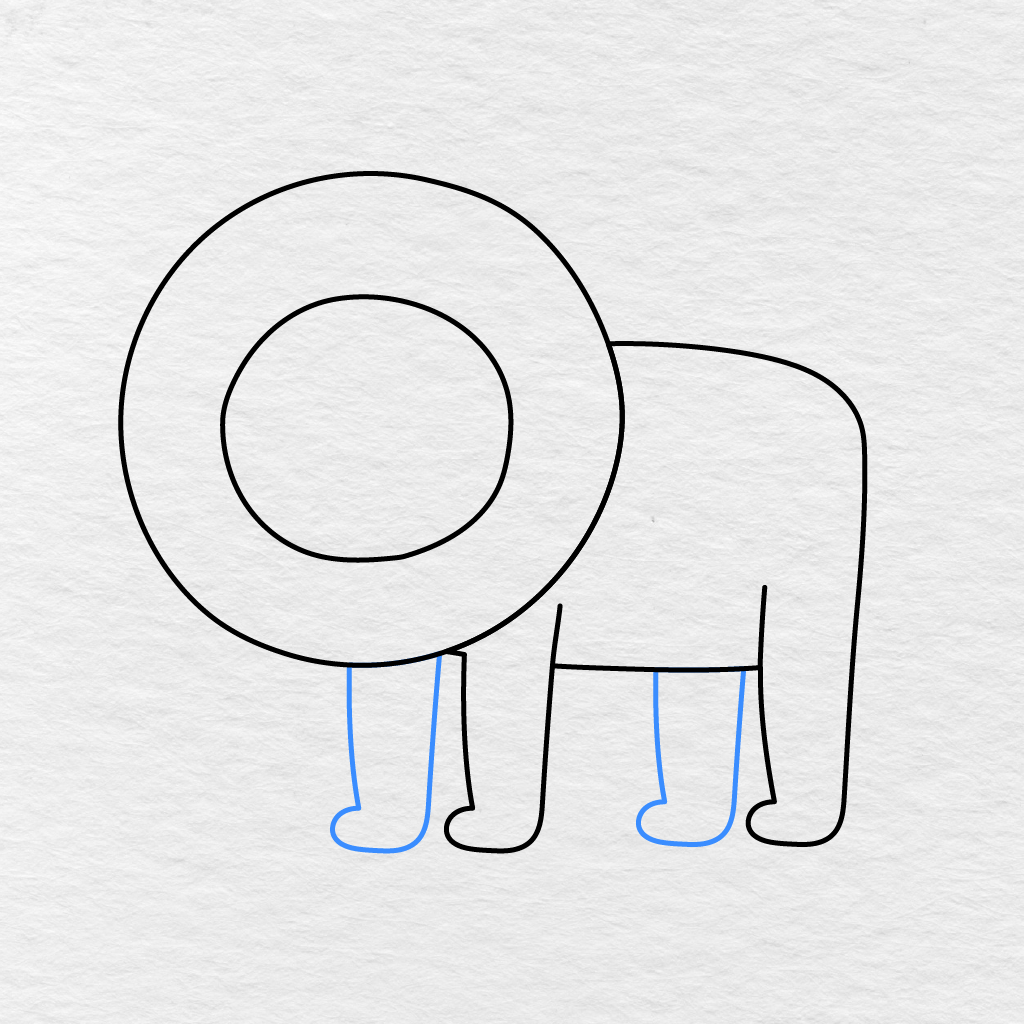
Add the remaining front and back legs.
Make one more front leg behind the first front leg and one more hind leg at the back of the big cat’s body.
Step 6: Draw the Lion Tail
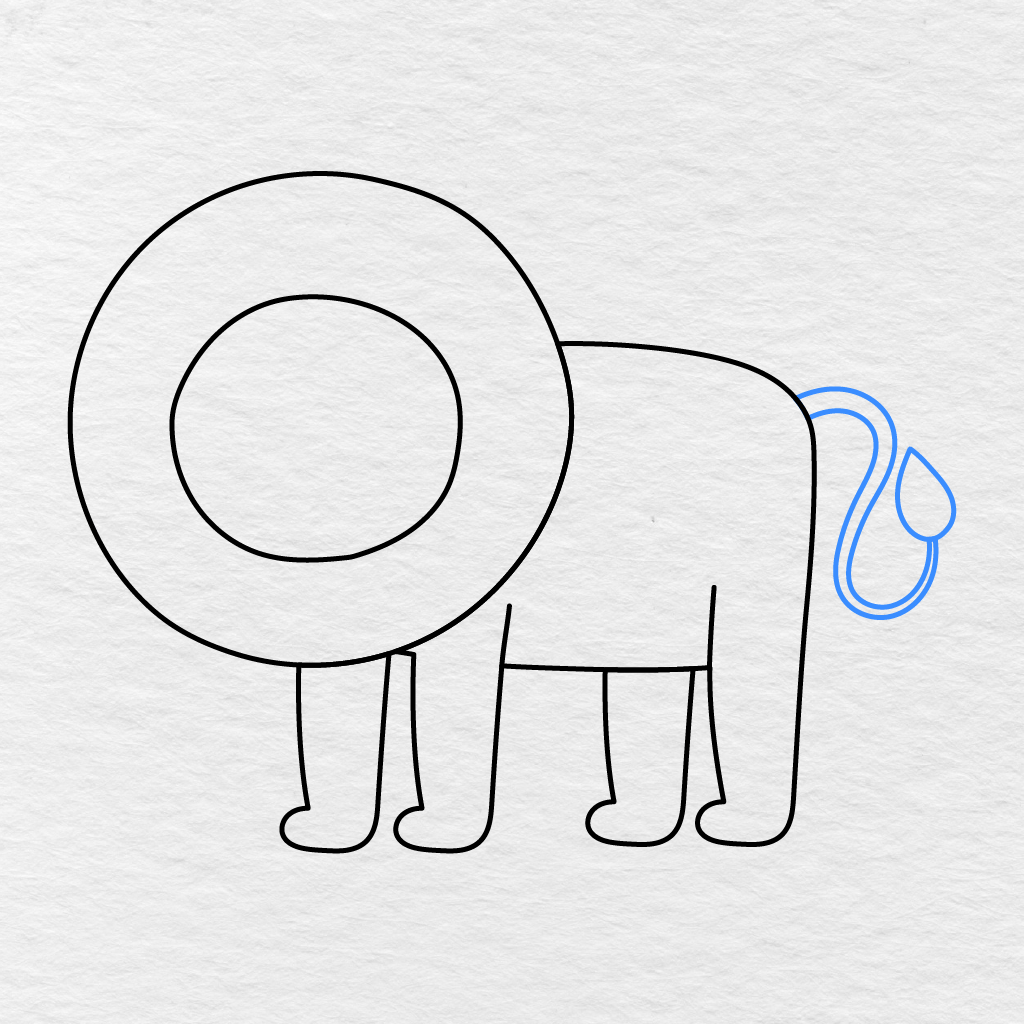
At the back of the big cat’s body, make one long curvy line which goes down and then up again.
Add one teardrop shaped mark at the end of the tail. This will form the fluffy tip of the lion’s tail.
Step 7: Add the Lion Ears
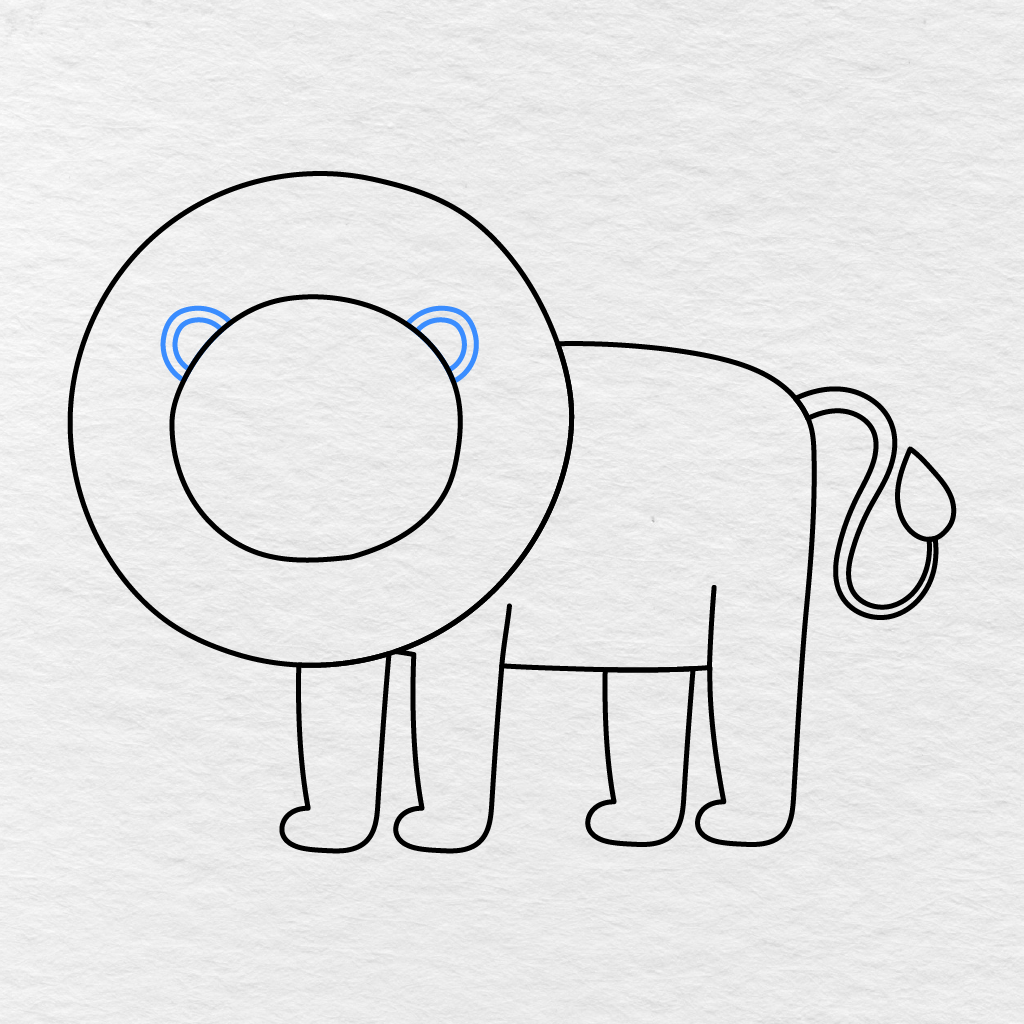
On the left and right sides of the lion’s head, make two small rounded marks for the lion’s ears.
Add one small curved line at the center of each ear.
Step 8: Draw the Lion Muzzle
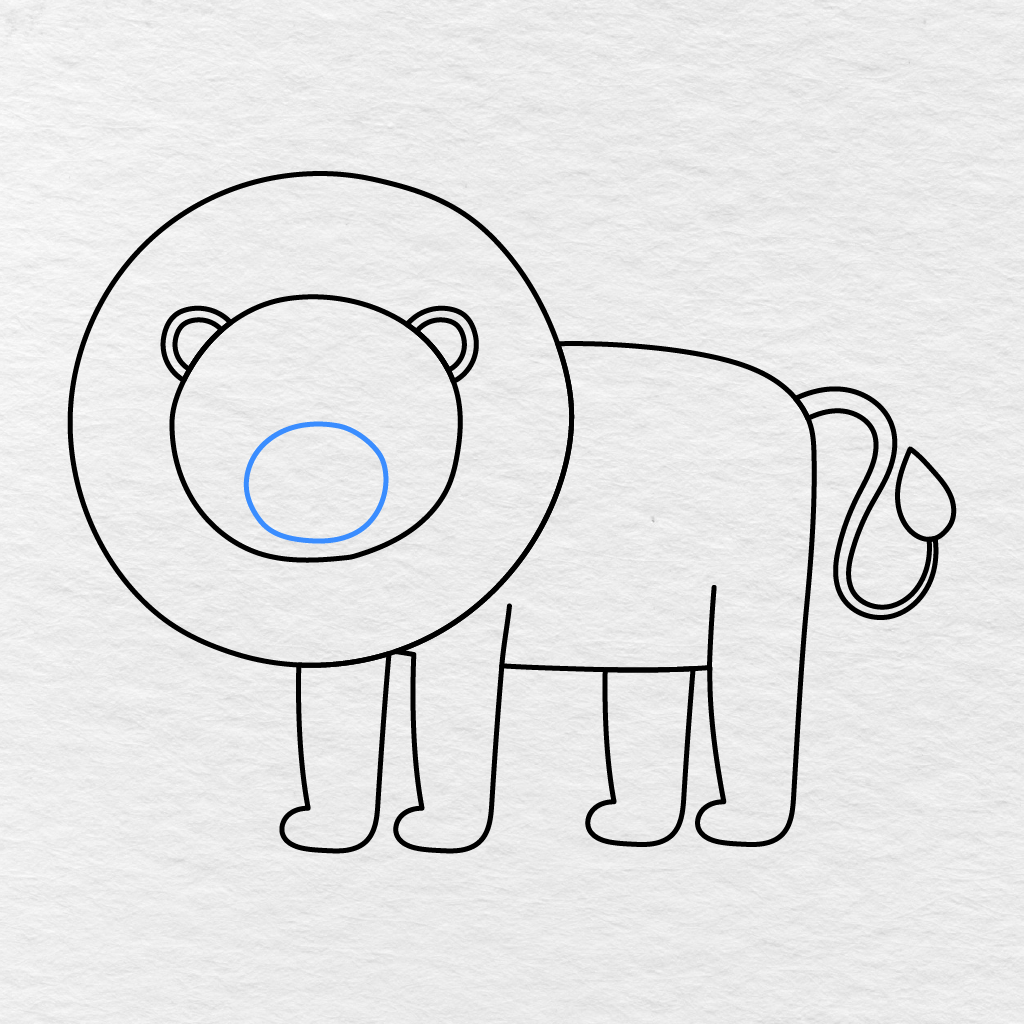
At the lower middle part of the lion’s head, make one oval shaped mark for the big cat’s muzzle.
Keep the lion’s muzzle within the smaller head circle, leaving enough room above it for the lion’s nose.
Step 9: Add the Nose and Mouth
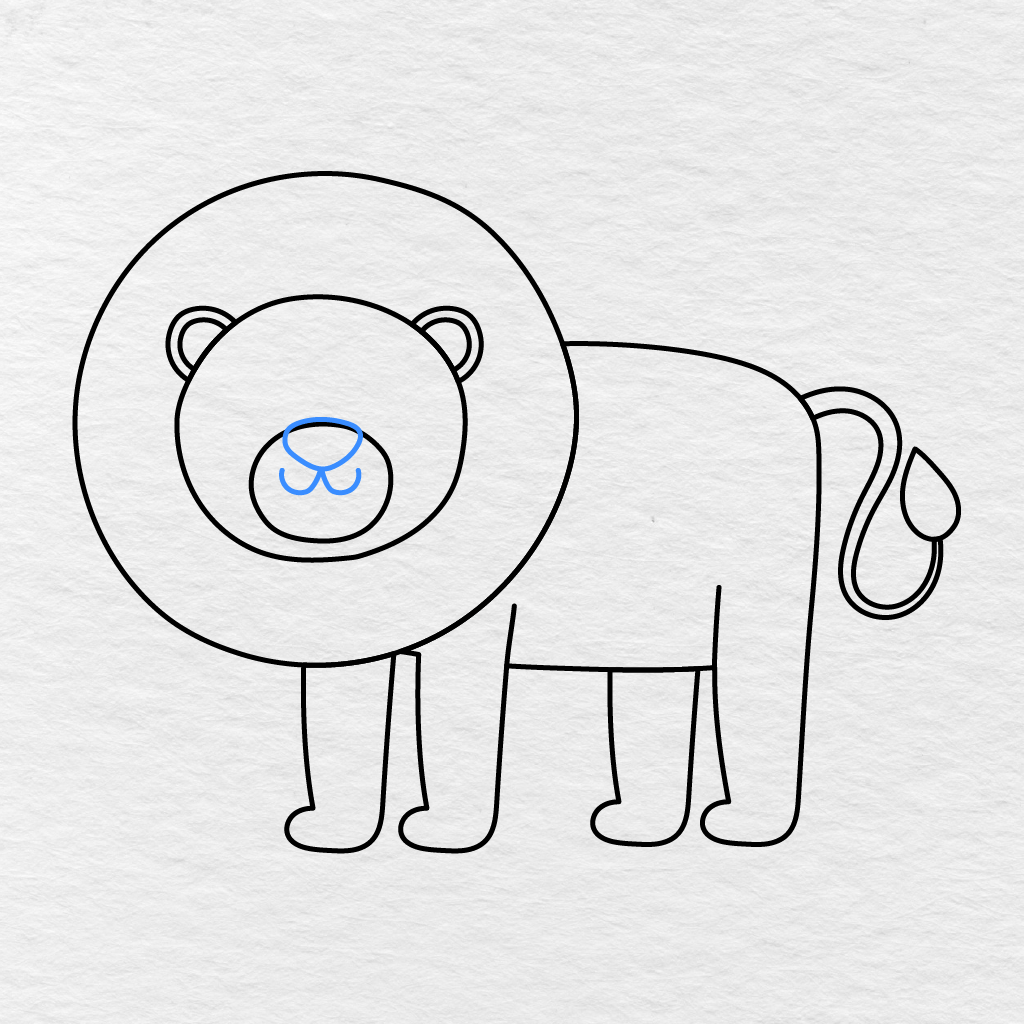
At the top part of the lion’s muzzle, make a wide oval shaped mark for the lion’s nose.
Right below the lion’s nose, make two small curved lines which meet at the center to form the lion’s mouth.
Step 10: Draw the Lion Whiskers
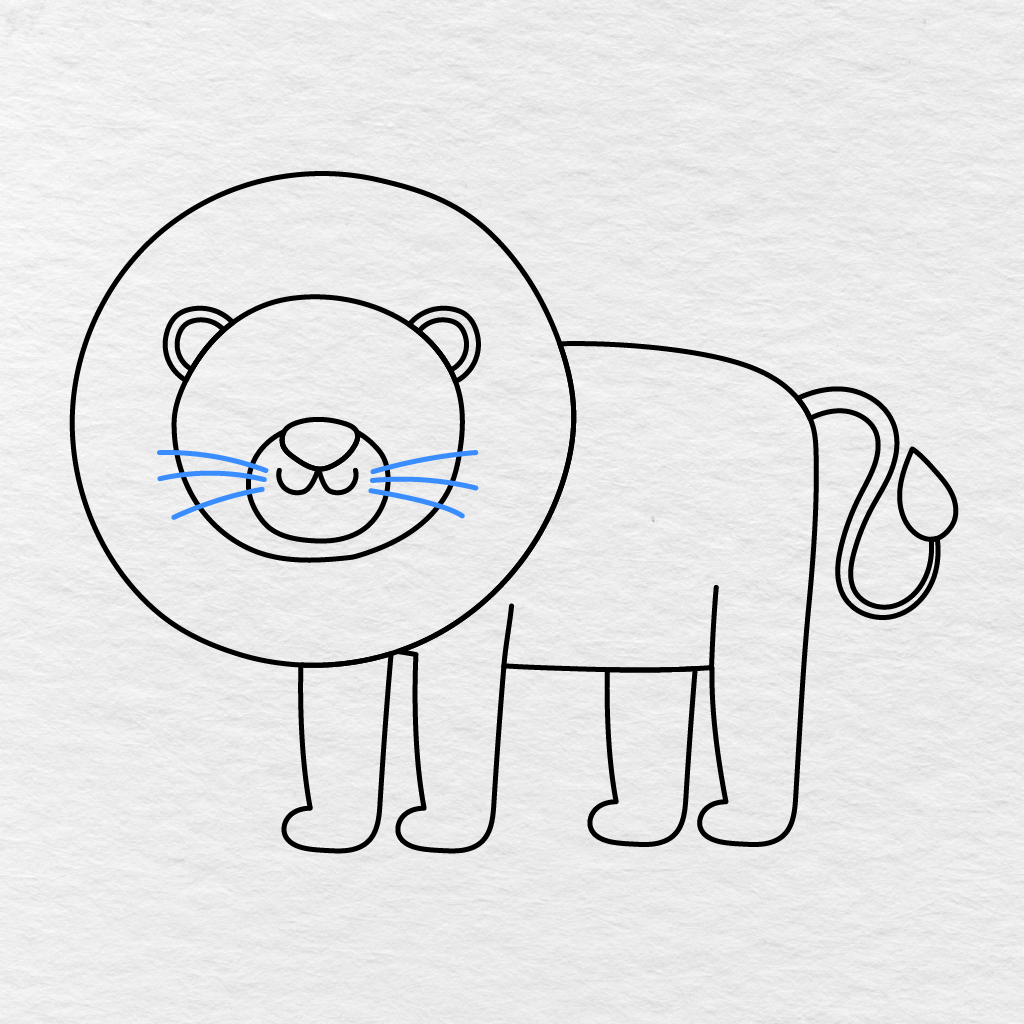
Let’s add a few lines for the big cat’s whiskers.
Make three long lines on each side of the lion’s muzzle. Angle them slightly apart from each other so that they frame the lion’s face.
Step 11: Add the Lion Eyes
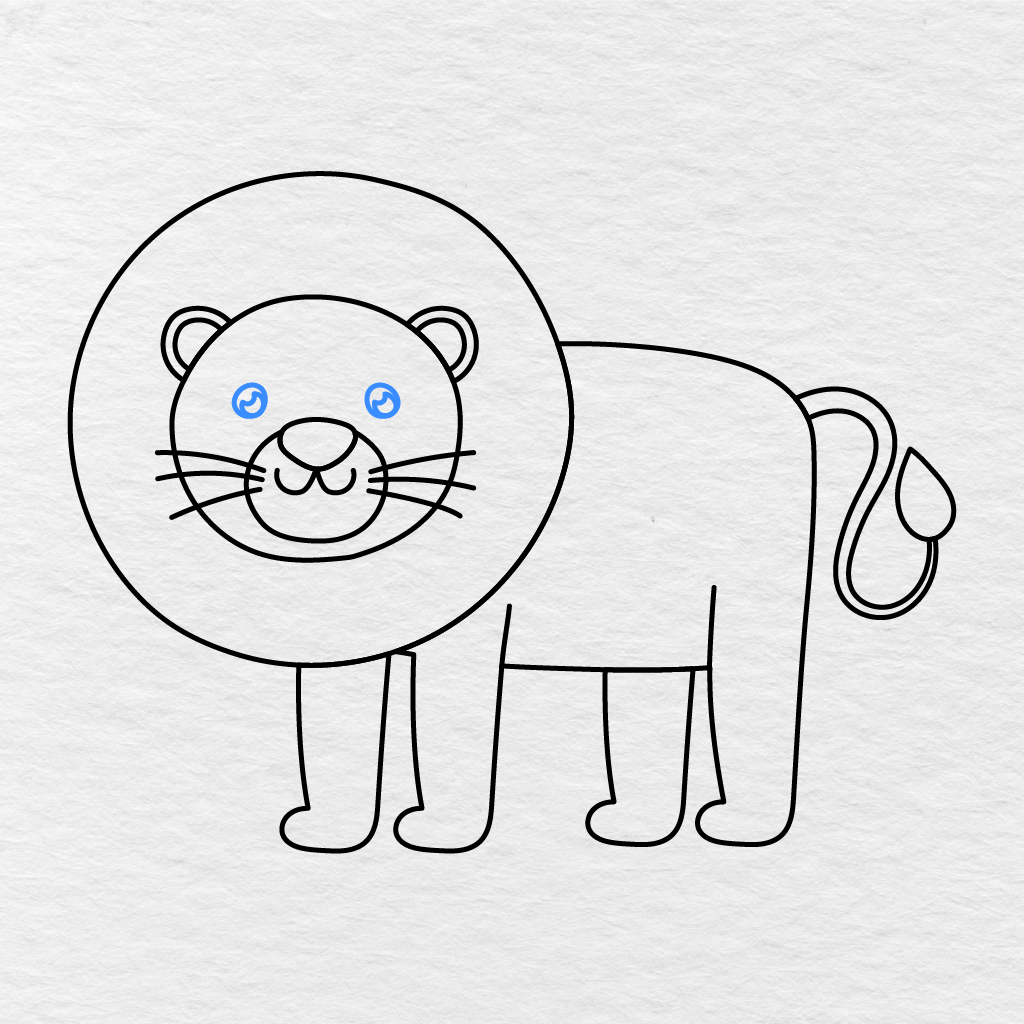
Above the lion’s muzzle, make two small oval shaped marks for the lion’s eyes.
Add small highlight marks inside the lion’s eyes.
Step 12: Draw the Mane Details
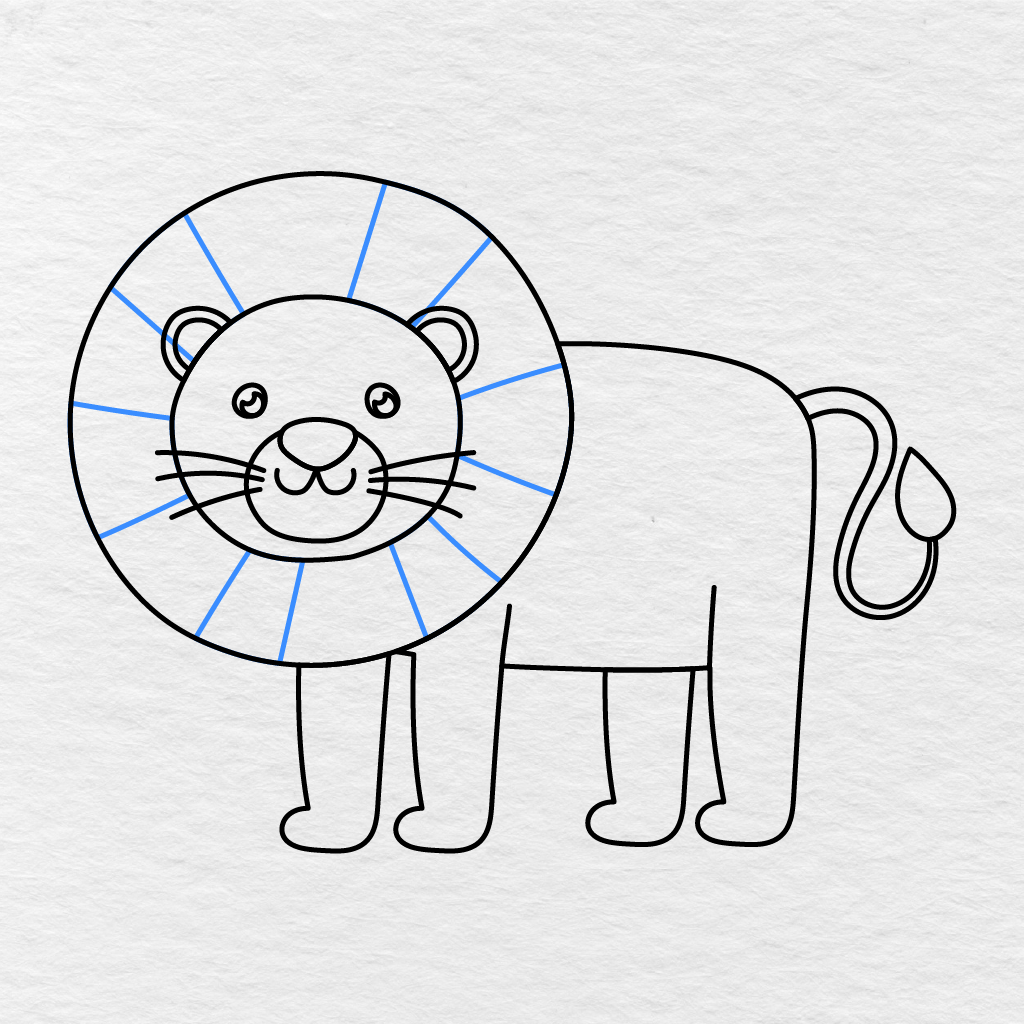
Now, add a few more lines to the lion’s mane.
Make a few lines which extend from the lion’s head to the edge of the big mane circle to separate it into several sections. Continue adding similar lines all around the lion’s head.
Step 13: Add the Toes
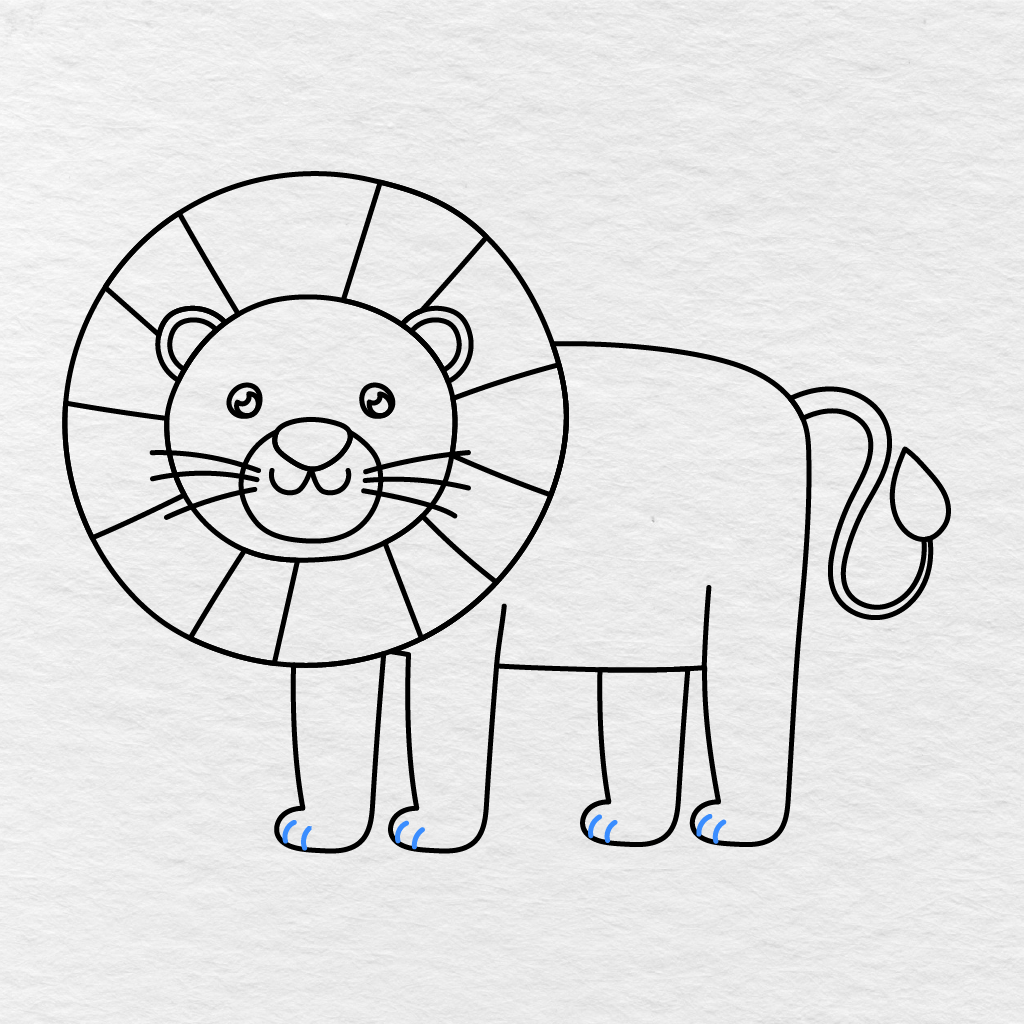
At the front of the paws, make two small curved lines for the lion’s toes. Keep them short so that they do not overlap with each other. These two lines will show the toes on the big cat’s paws.
Step 14: Color the Lion
Now, it is time to color our lion drawing!
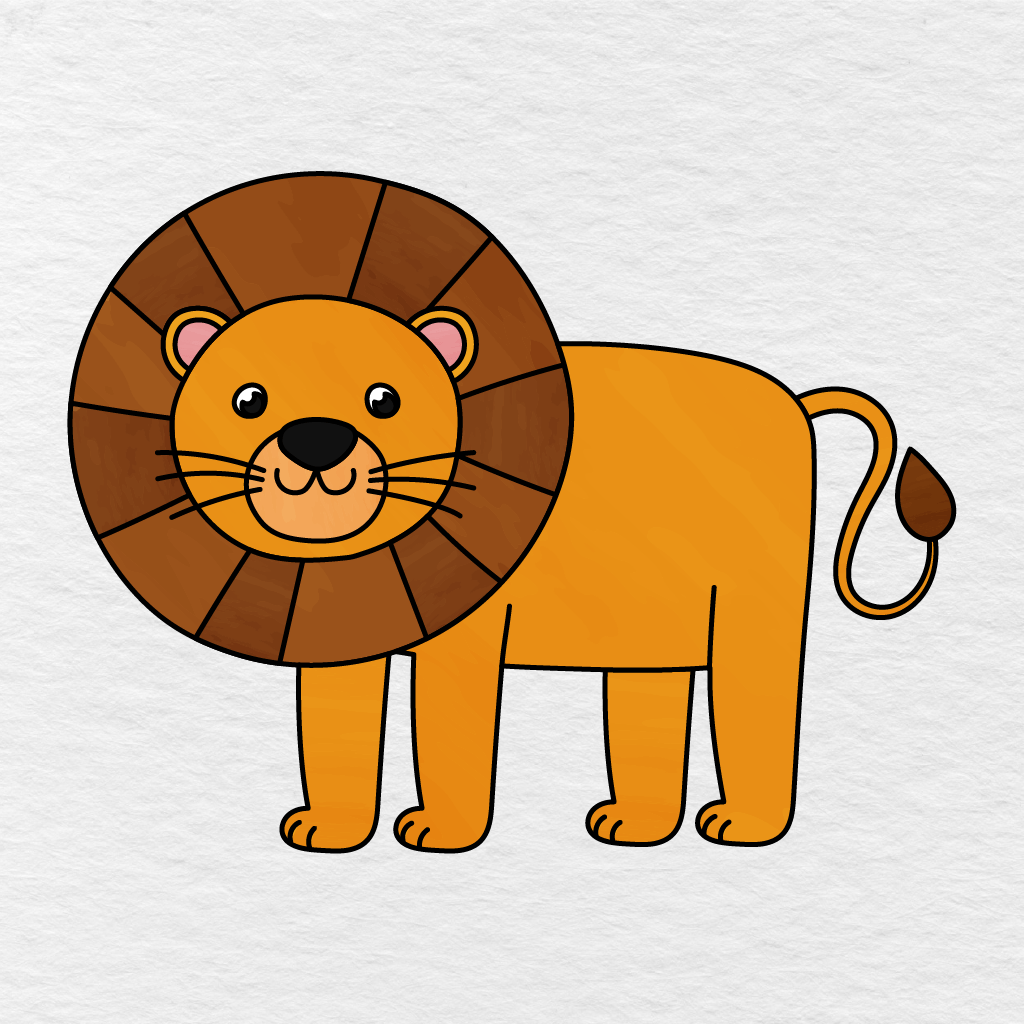
We colored the lion’s head, body, legs, and tail in golden orange. The lion’s big fluffy mane is filled with various shades of brown, with the tip of the tail being dark brown. The lion’s muzzle is light peach, with the inside of the lion’s ears being pink. The lion’s nose is black, while its eyes are also black with white highlights.
You can color this cute lion picture using the colors we used or choose other colors, such as yellow, tan, light brown, dark brown, and so on.
Now, your lion drawing is complete!
Printable Lion Drawing PDF
Below, you can find a printable lion drawing PDF that you can download now or share with your child later.
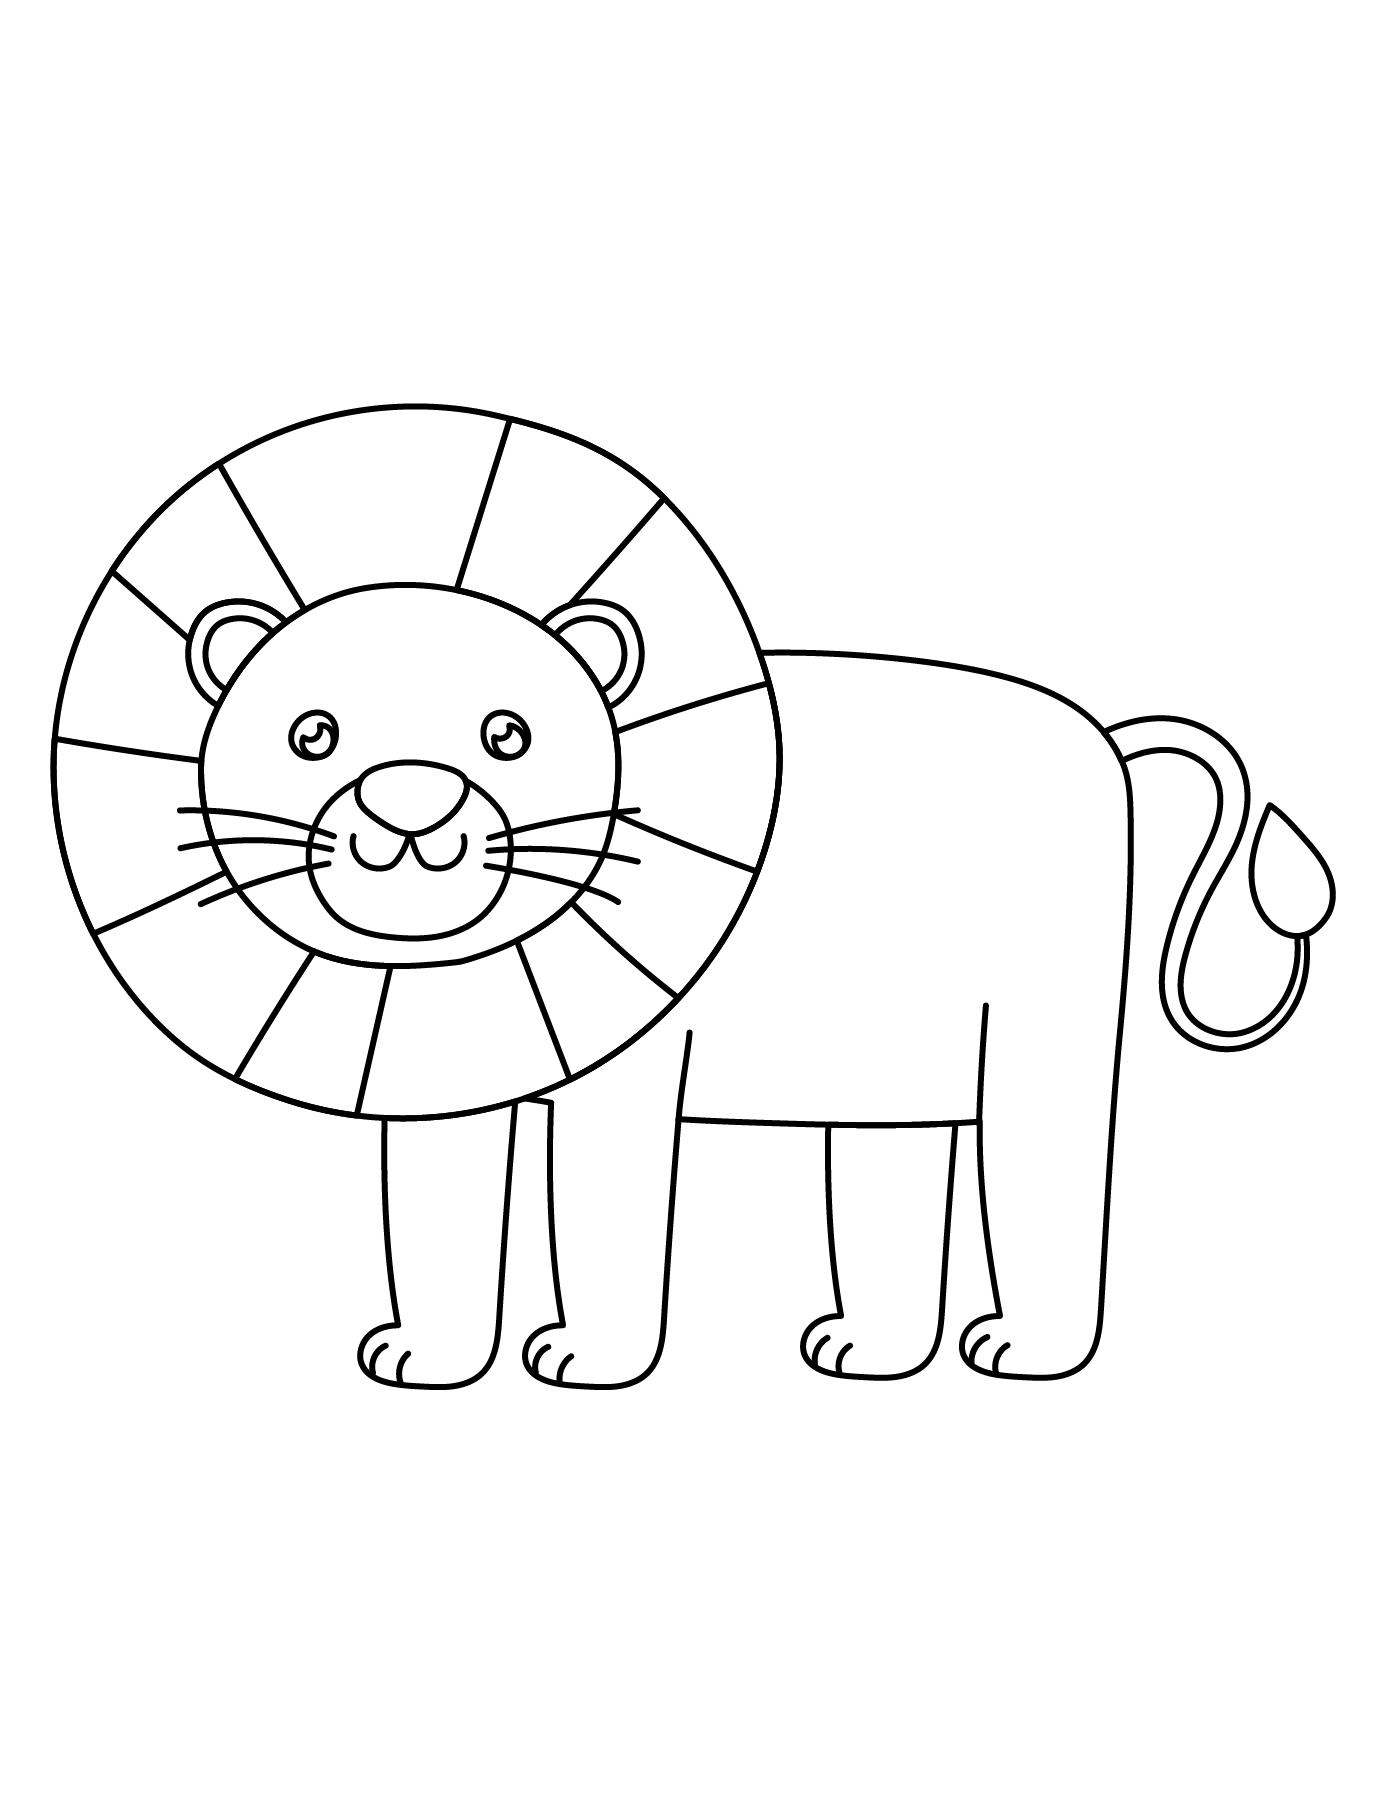
If you like this activity, make sure to check out our Lion Coloring Pages.
What colors did you choose for your lion? Tell us in the comments below and share this lion drawing tutorial with another parent, teacher, or friend!