How to Draw an Eagle
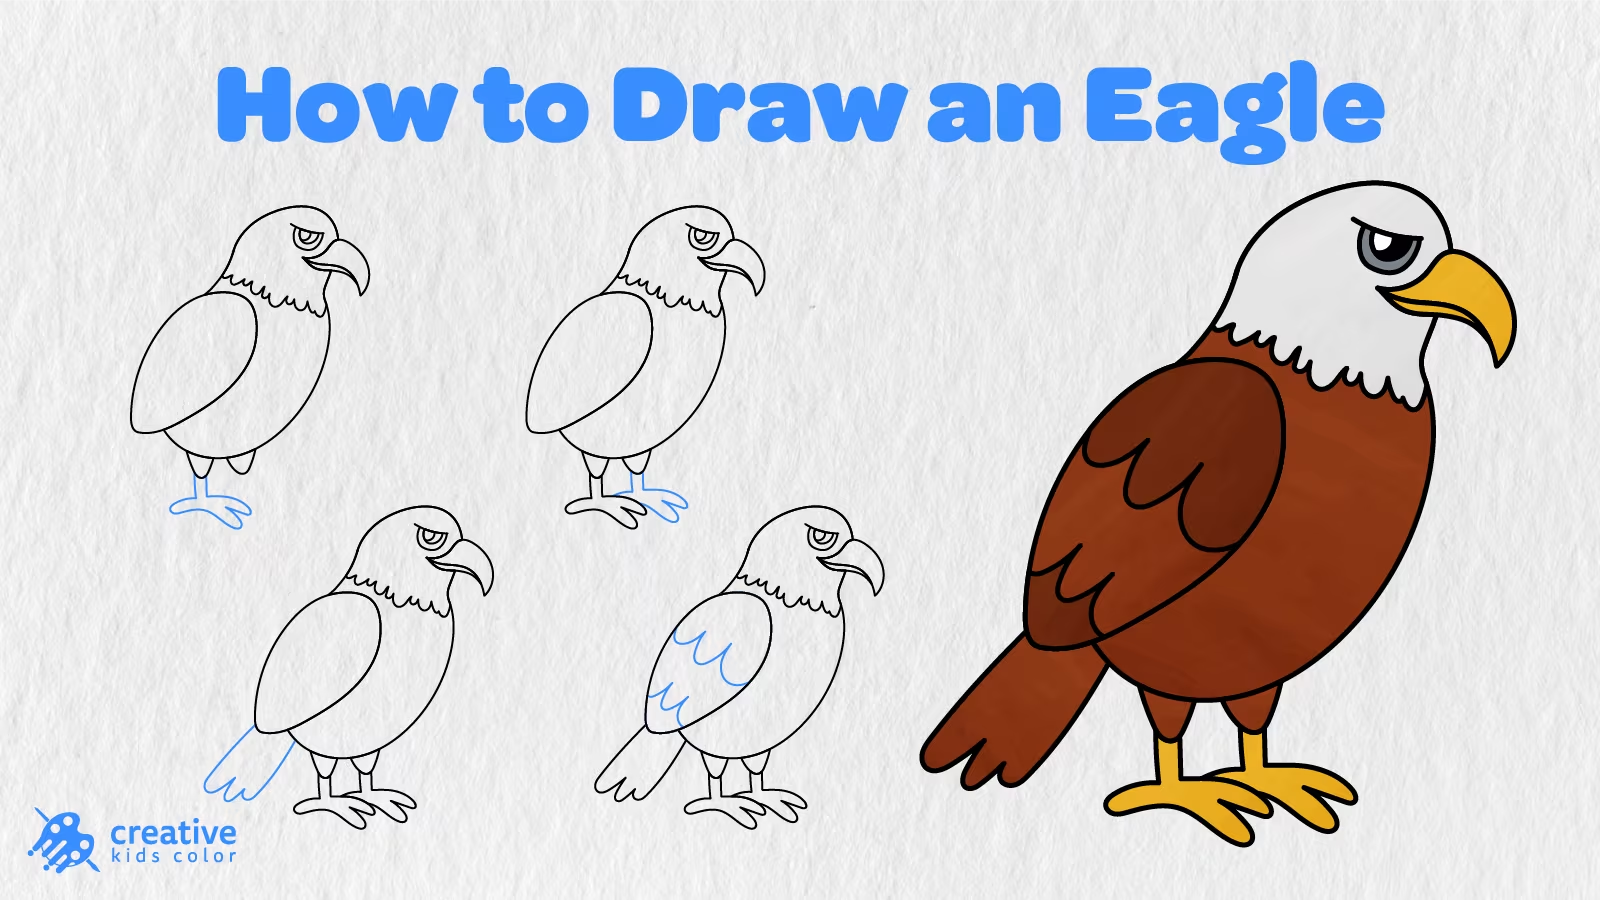
Eagles have a fearsome look to them, with their alert eyes, curved beaks, large wings, and proud bodies. They might be a bit intimidating compared to some other cute creatures we know and love, but this makes them interesting to draw! In this easy step by step tutorial, we’re going to learn how to draw an eagle in 12 easy steps.
This tutorial is perfect for kids and beginners who are just starting out on their drawing journey. We’ll begin the drawing process by creating simple shapes for the head and body, and go on to add details like the wing, neck lines, eye, beak, feathers, legs, feet, tail, and more!
While an eagle might seem like a detailed bird to draw, this simple style keeps things cute but still a little bold with the addition of the white head, brown body, yellow beak, and little feet. Now your eagle is really ready to perch on the page, very proudly indeed!
Easy Eagle Drawing Step by Step
Before beginning any drawing, gather your drawing supplies. A pencil, paper, eraser, and coloring tools are all you’ll need to get started.
The blue lines in the pictures below show the additions we’ll be making.
Step 1: Draw the Basic Shapes

Begin by adding the two basic shapes of the eagle drawing. An oval shape is needed for the body and another smaller one on top for the head.
From the two simple shapes, you can see how our little eagle is taking form. We’ll be building off of these shapes by adding the large wing, eye, and beak in the upcoming steps.
Step 2: Add the Wing Shape
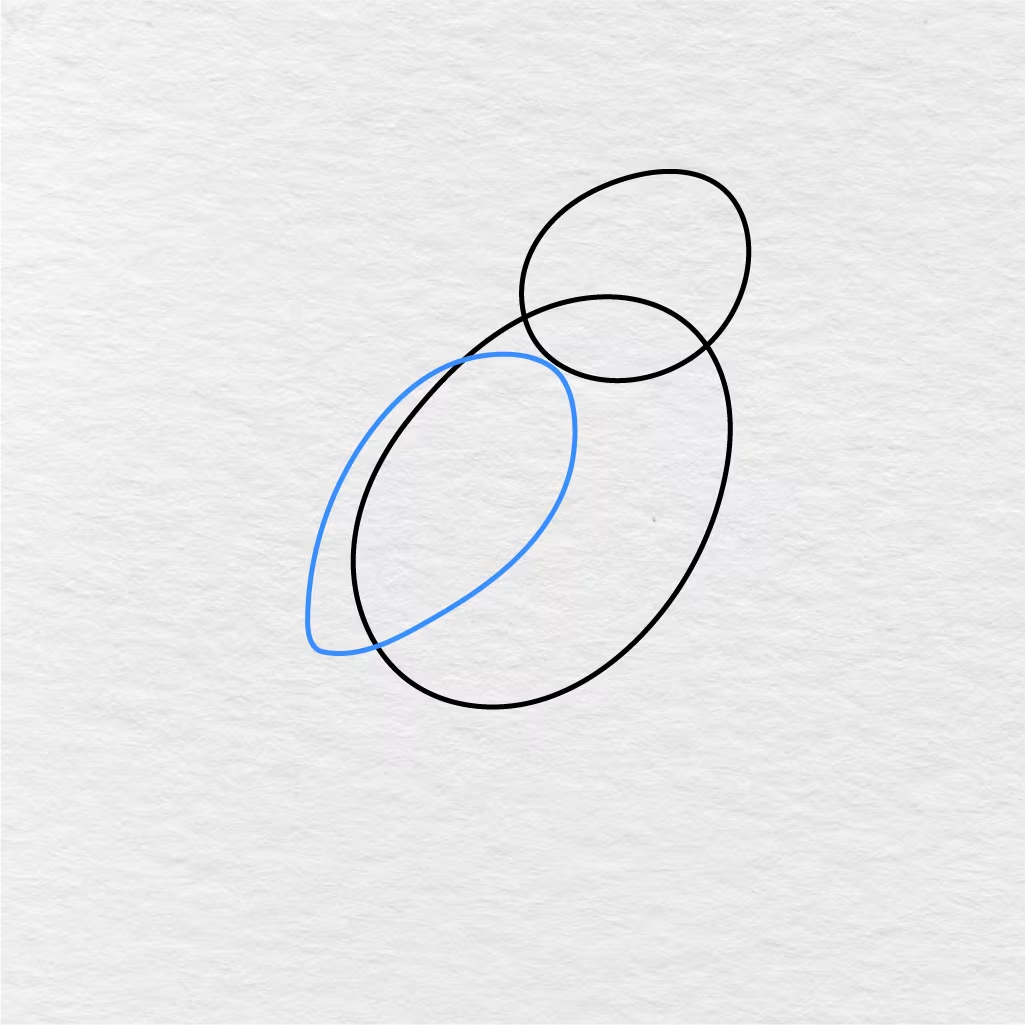
Add the large wing to the side of the body. The shape should be long, and a bit pointed at the bottom.
This will create the side of the eagle and give it depth.
Step 3: Draw the Neck Lines
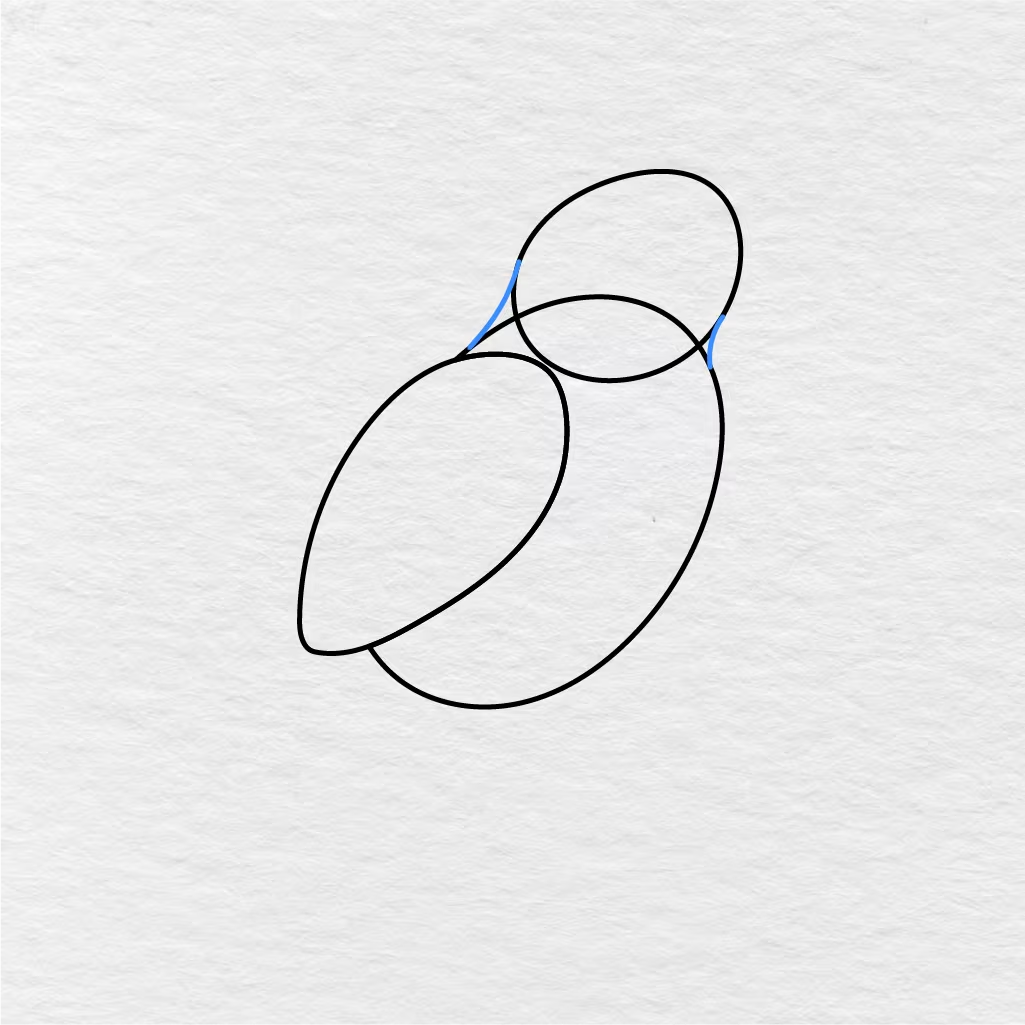
Add the little neck lines connecting the head to the body. You’ll notice we’ve added short lines, helping to create the shape of the upper body, and the beginning of a chest.
Our eagle is really coming along!
Step 4: Add the Eye and Beak
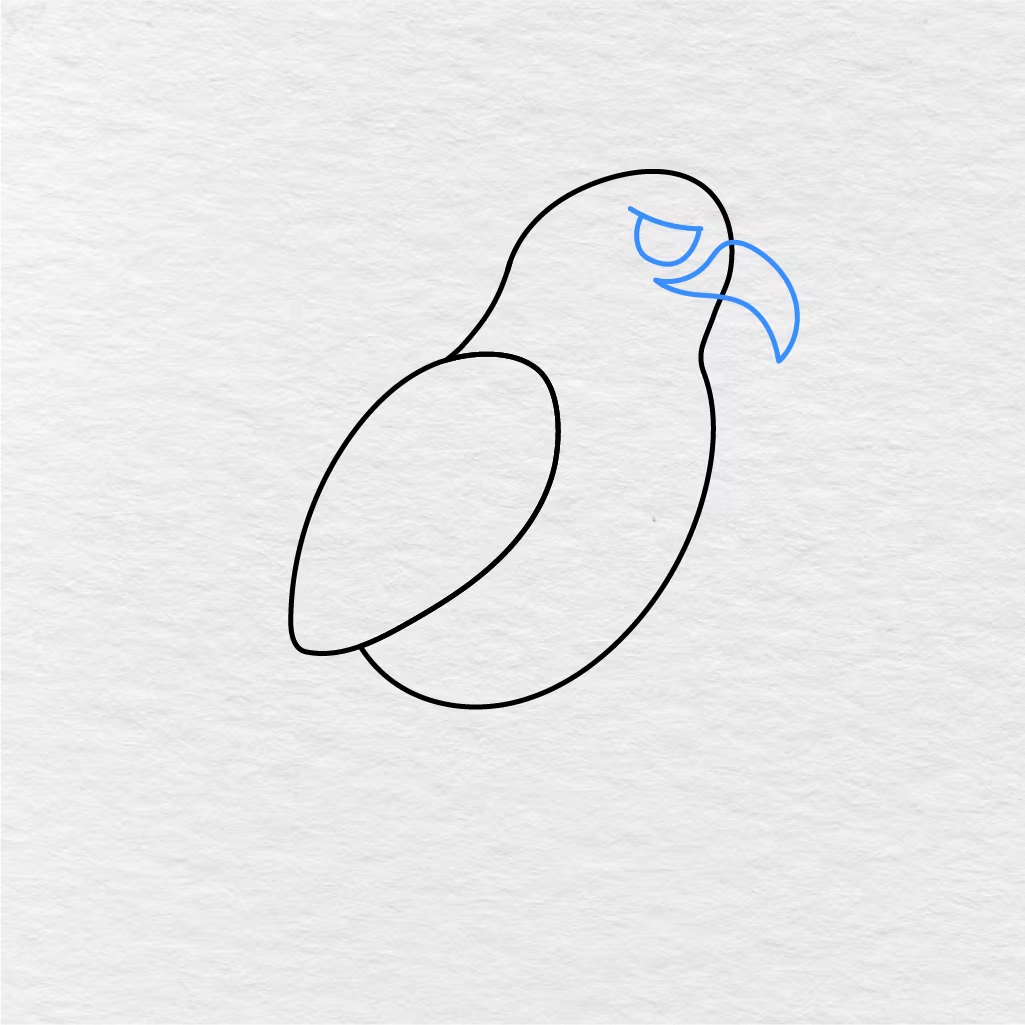
With the head, body, wing, and neck lines added, we can now make the eye and the large beak of the eagle. The eye should be placed towards the front of the head and the beak towards the front side of the face.
We’ll add a simple curve to the beak, with the end pointing down slightly because it’s one of the most recognizable features of an eagle.
Step 5: Add the Beak Detail
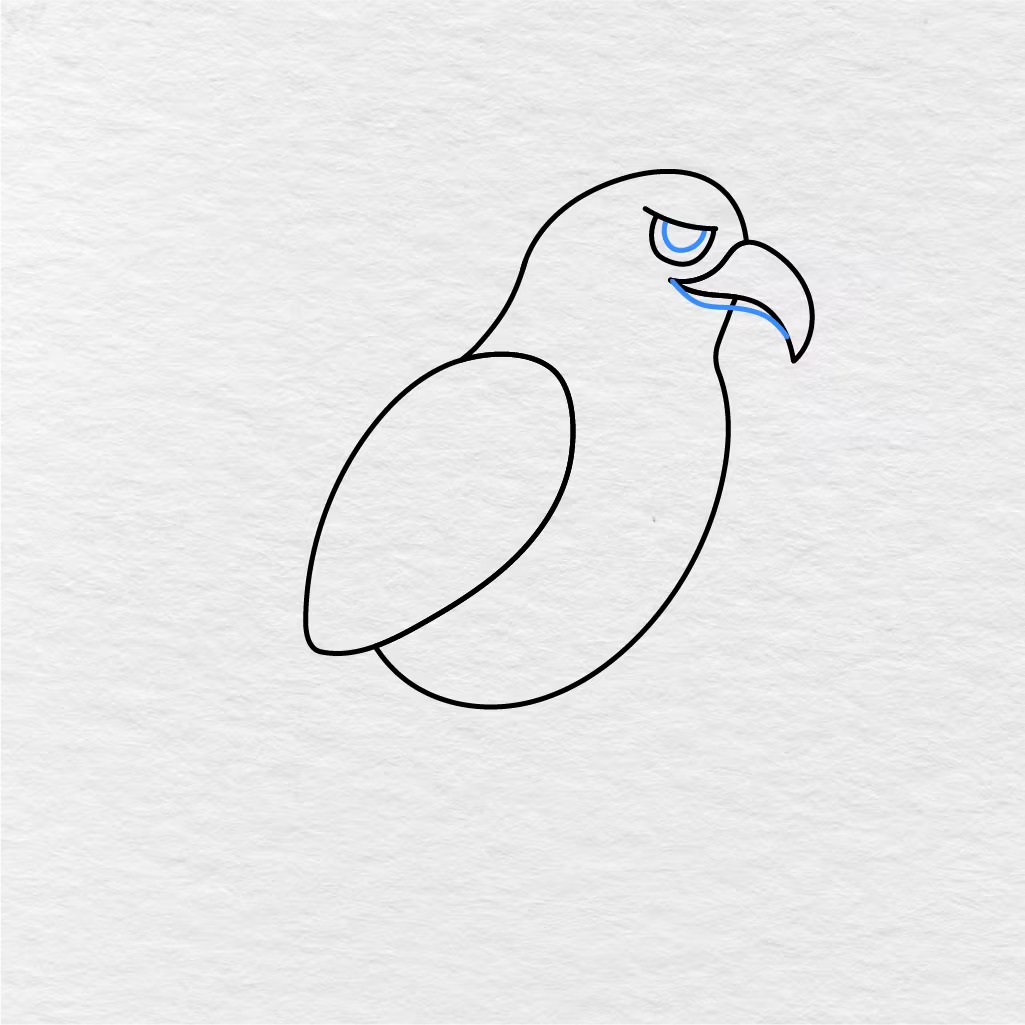
Add the smaller line inside the beak to show the bottom half, and the little detail line inside the eye as seen in the picture below.
Step 6: Draw the Neck Feathers
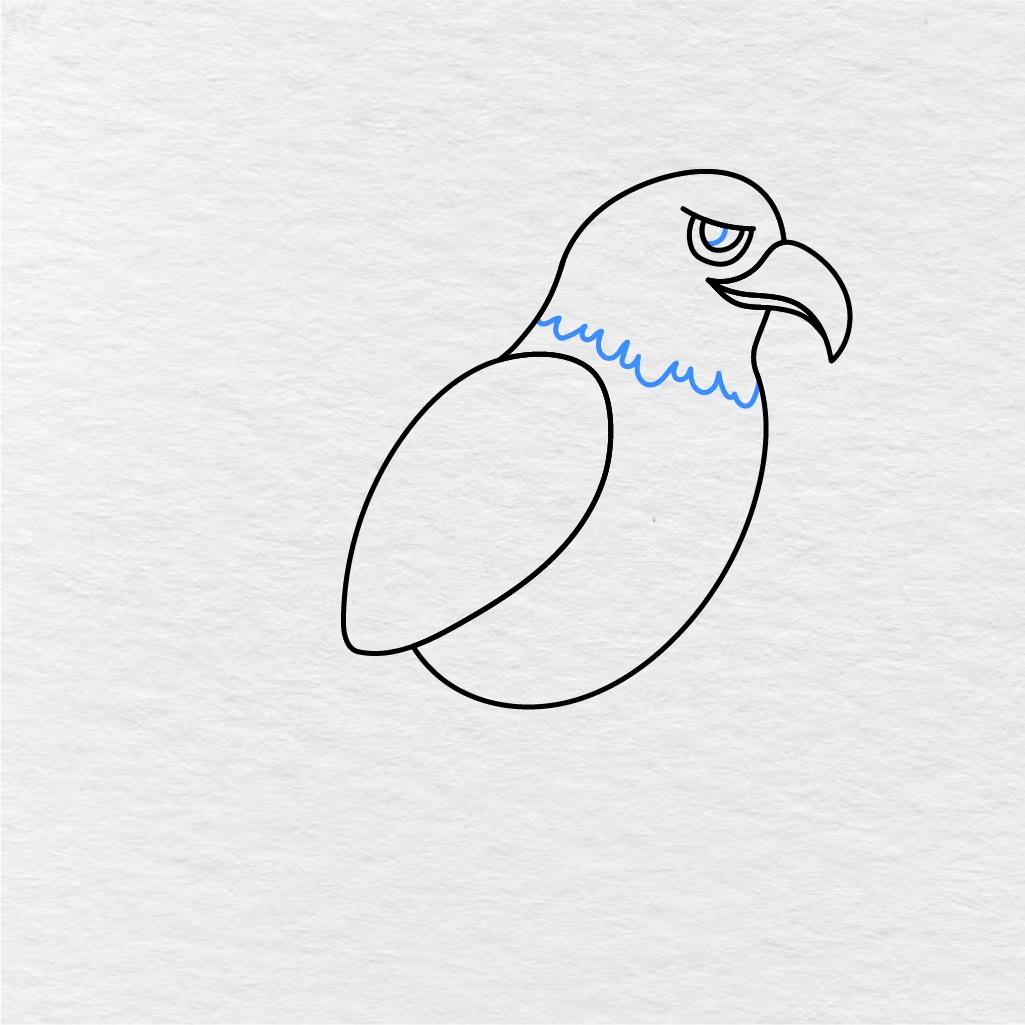
We need to add the neck feathers now. The line should be curved under the head with small curved lines, creating the feather edges.
This is also a helpful addition to create a distinction between the white head and the body.
Step 7: Draw the Legs
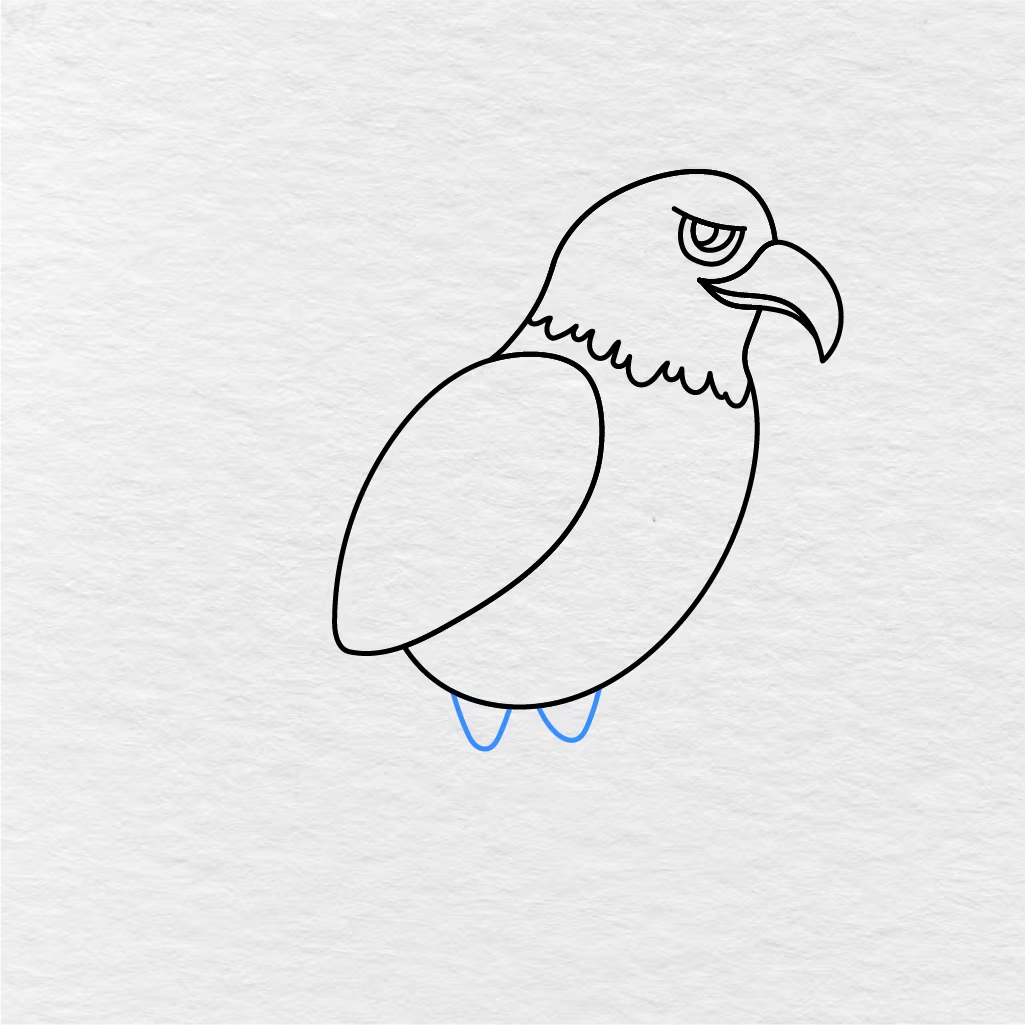
Next, the legs! Small leg shapes will be added towards the bottom of the body and close to one another.
While the legs are simple additions, they will help hold up the feet when we add them in the next steps.
Step 8: Add the First Foot
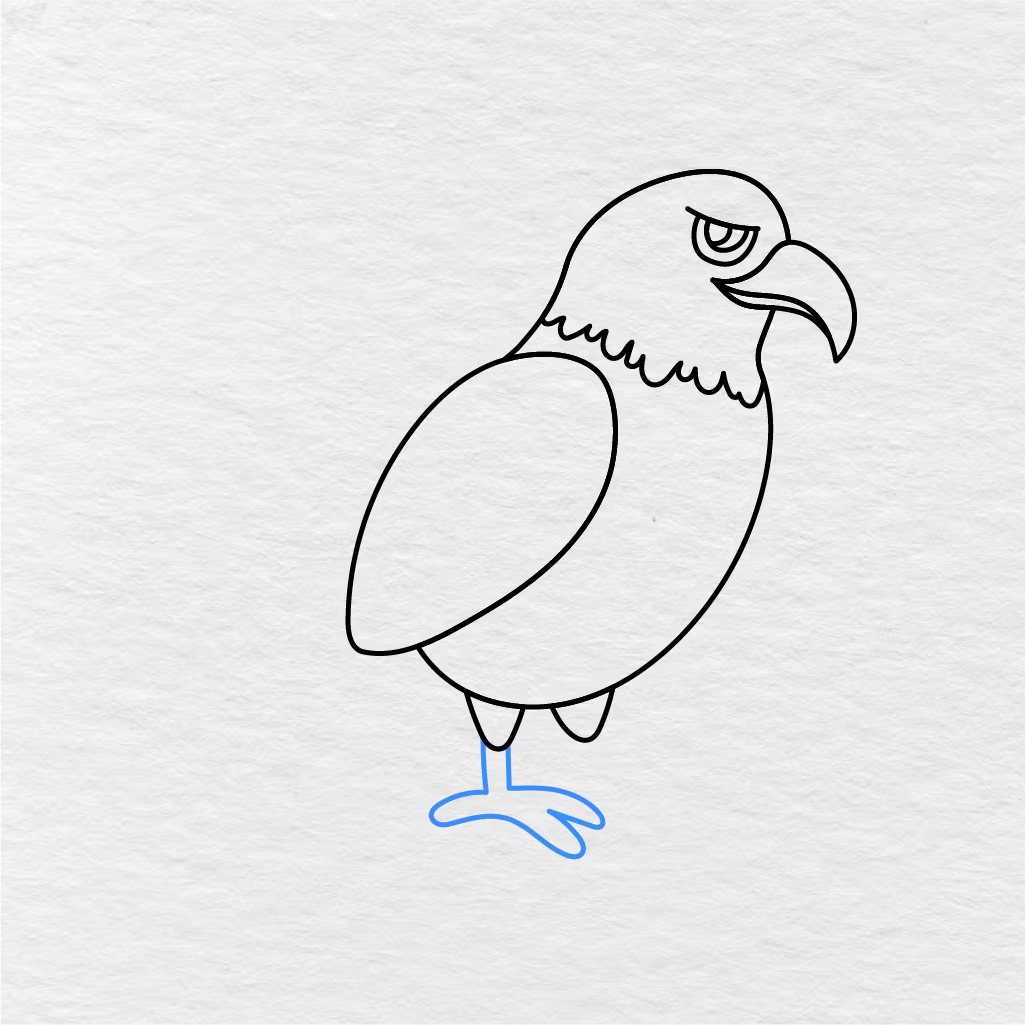
With the little shapes of legs, we can now make the first foot. The foot should be curved with the toes pointing outwards just like in the picture below.
This foot should also be a bit spread out so it looks like the eagle is standing on its feet.
Step 9: Add the Second Foot
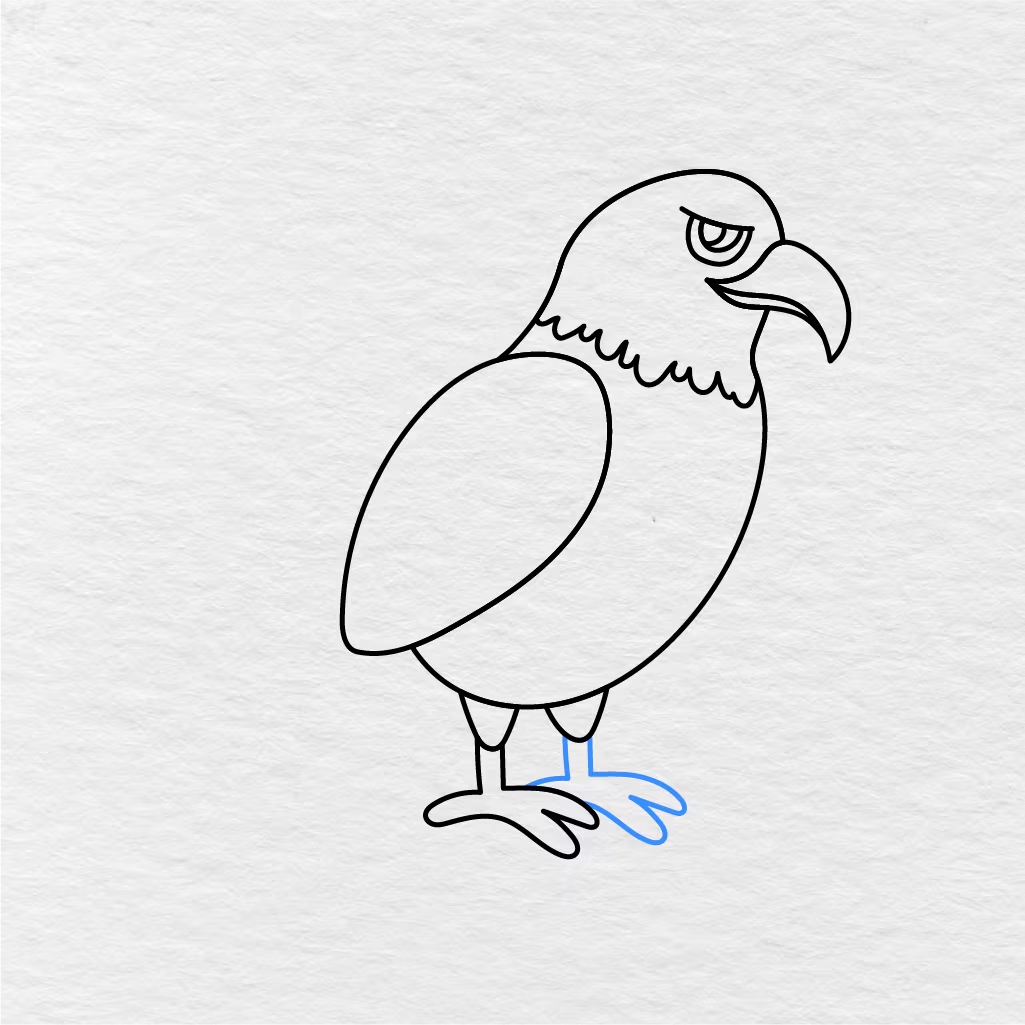
Now for the second foot of the eagle, we’ll repeat the process like we did for the first, but it should be slightly different from the first one to give our eagle a balanced look.
Your eagle should begin to look like it’s standing on two feet now.
Step 10: Draw the Tail Feathers
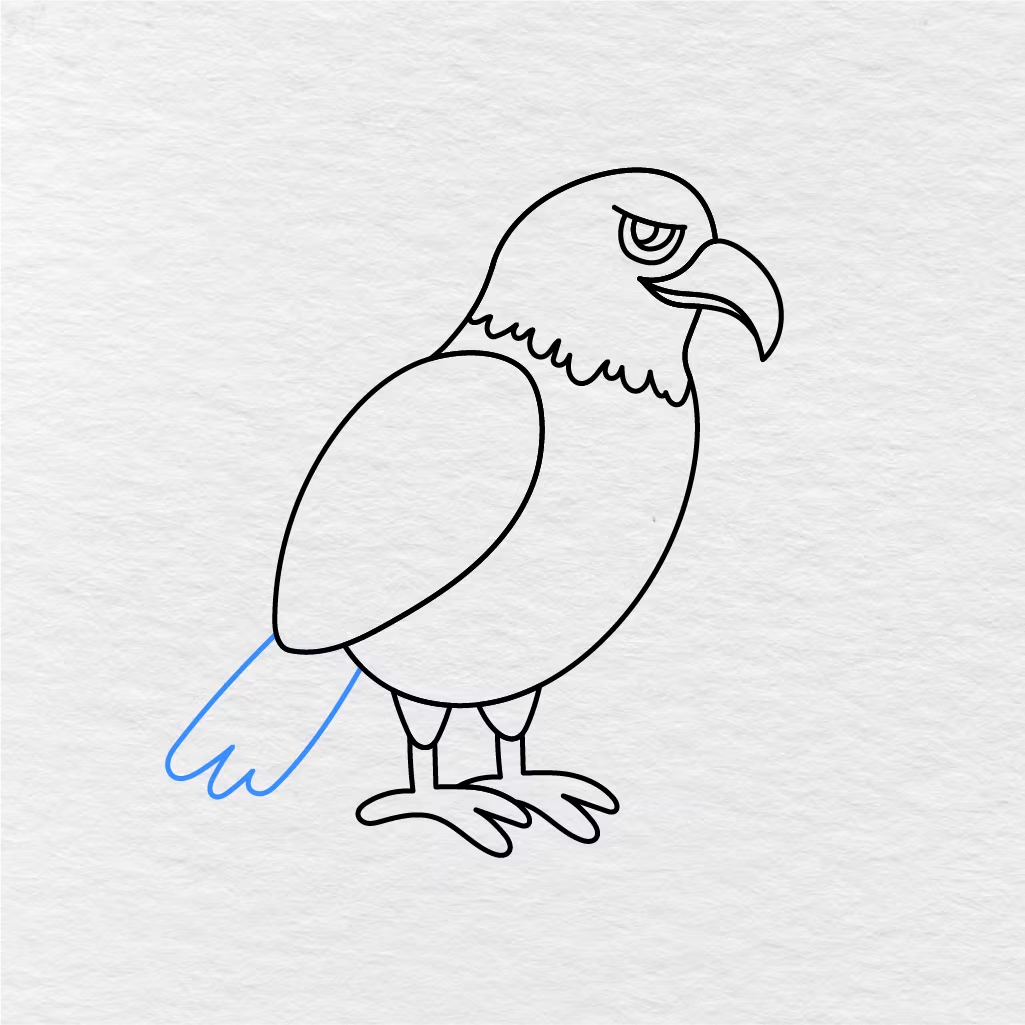
Moving on to the next step, the tail feathers will help us create the end of the body and give it depth. We’ll begin with the long feather shape at the back end of the body and add the small pointed feathers at the end.
Step 11: Add the Wing Details
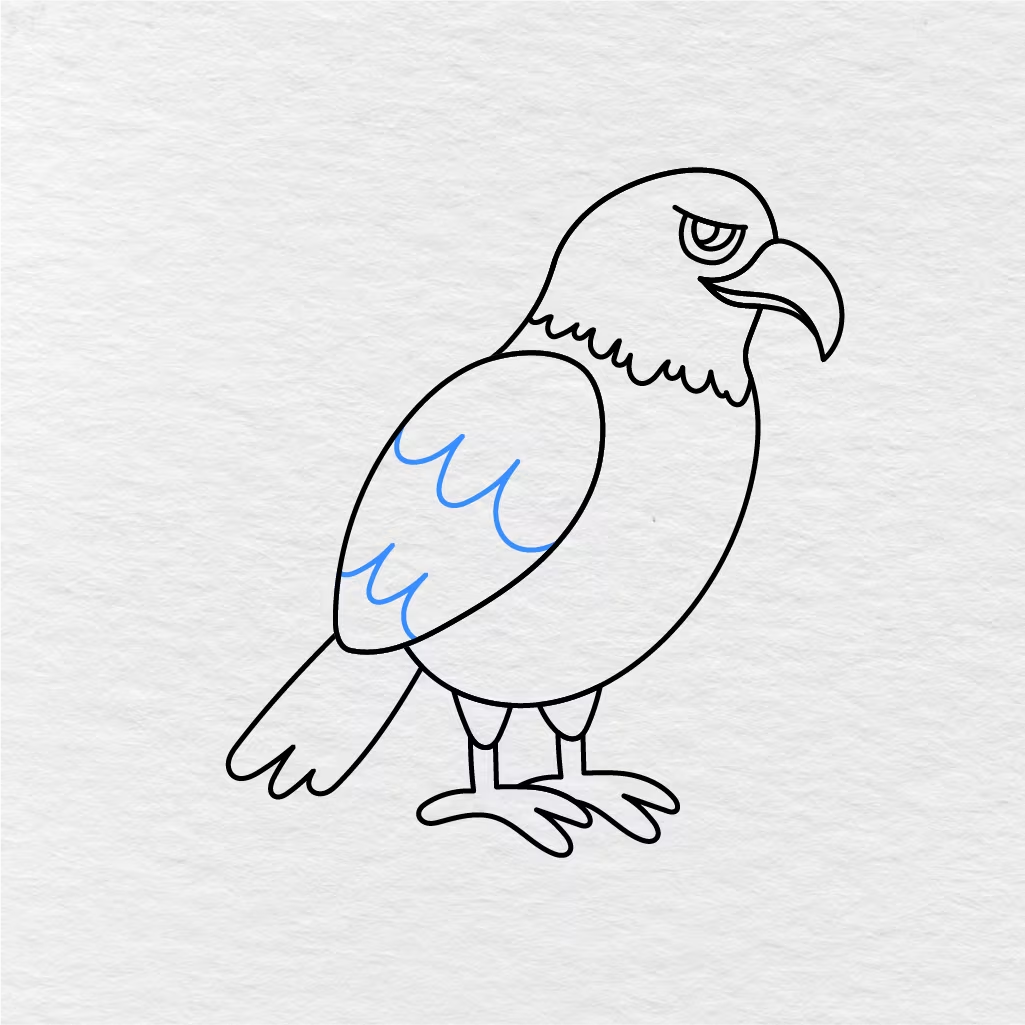
Lastly, we’ll be adding the curved feather details inside the wing. The addition of the feathers will allow our eagle drawing to take on a more completed look while still being simple and easy.
Step 12: Color the Eagle
Now that we have the whole eagle drawing, we can move on to coloring. Using the example below, we’ll color in the head of our eagle white, the eye with black, and the body and wing brown. The beak and feet will be colored yellow.
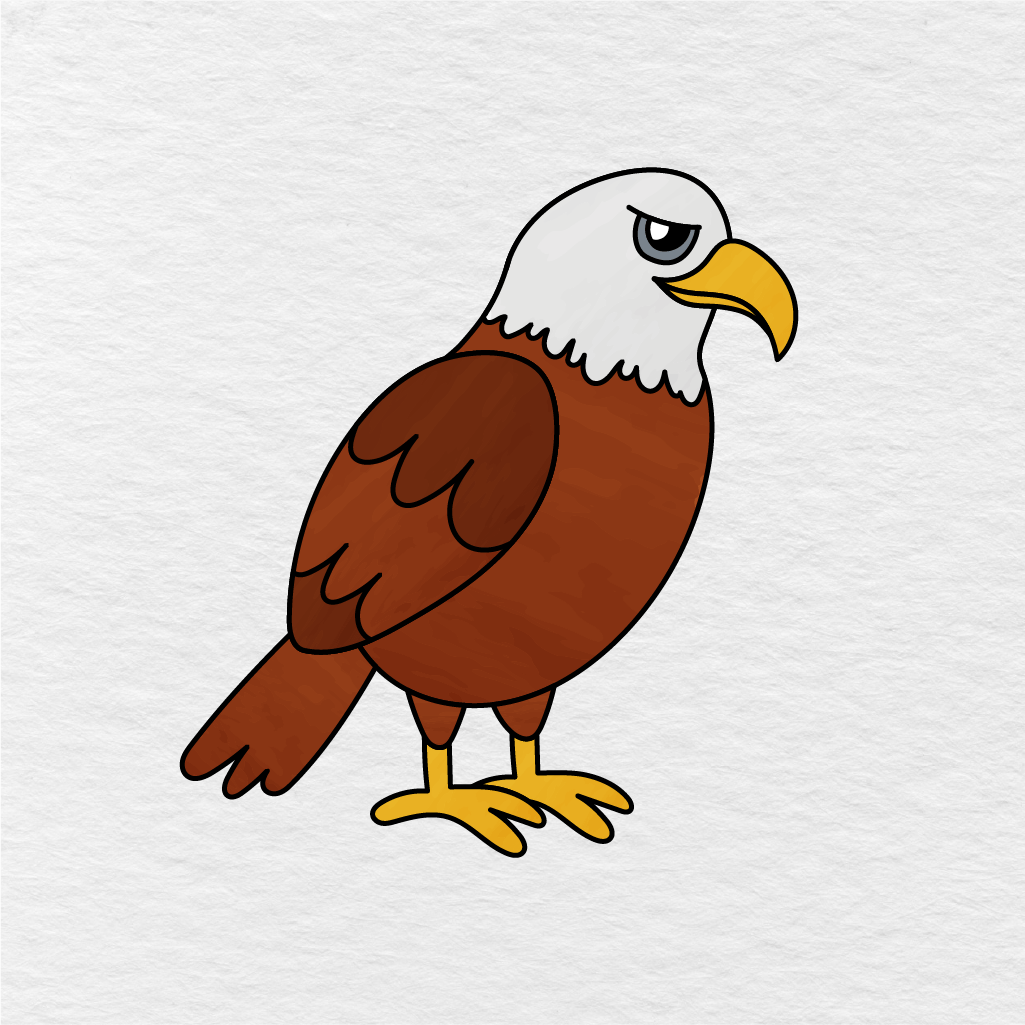
You’re welcome to use the colors we’ve used or pick and choose your own! Once you’ve finished coloring in your eagle drawing, the cool and cute eagle drawing is now complete!
Printable Eagle Drawing PDF
If you’d like to print out this drawing as a PDF and color it in, you can do so! Using the picture below you can print the eagle drawing to complete it with color. This is a kid friendly activity, and kids will be able to print this out, color it in, and use it as a reference when they want to try drawing an eagle again in the future.
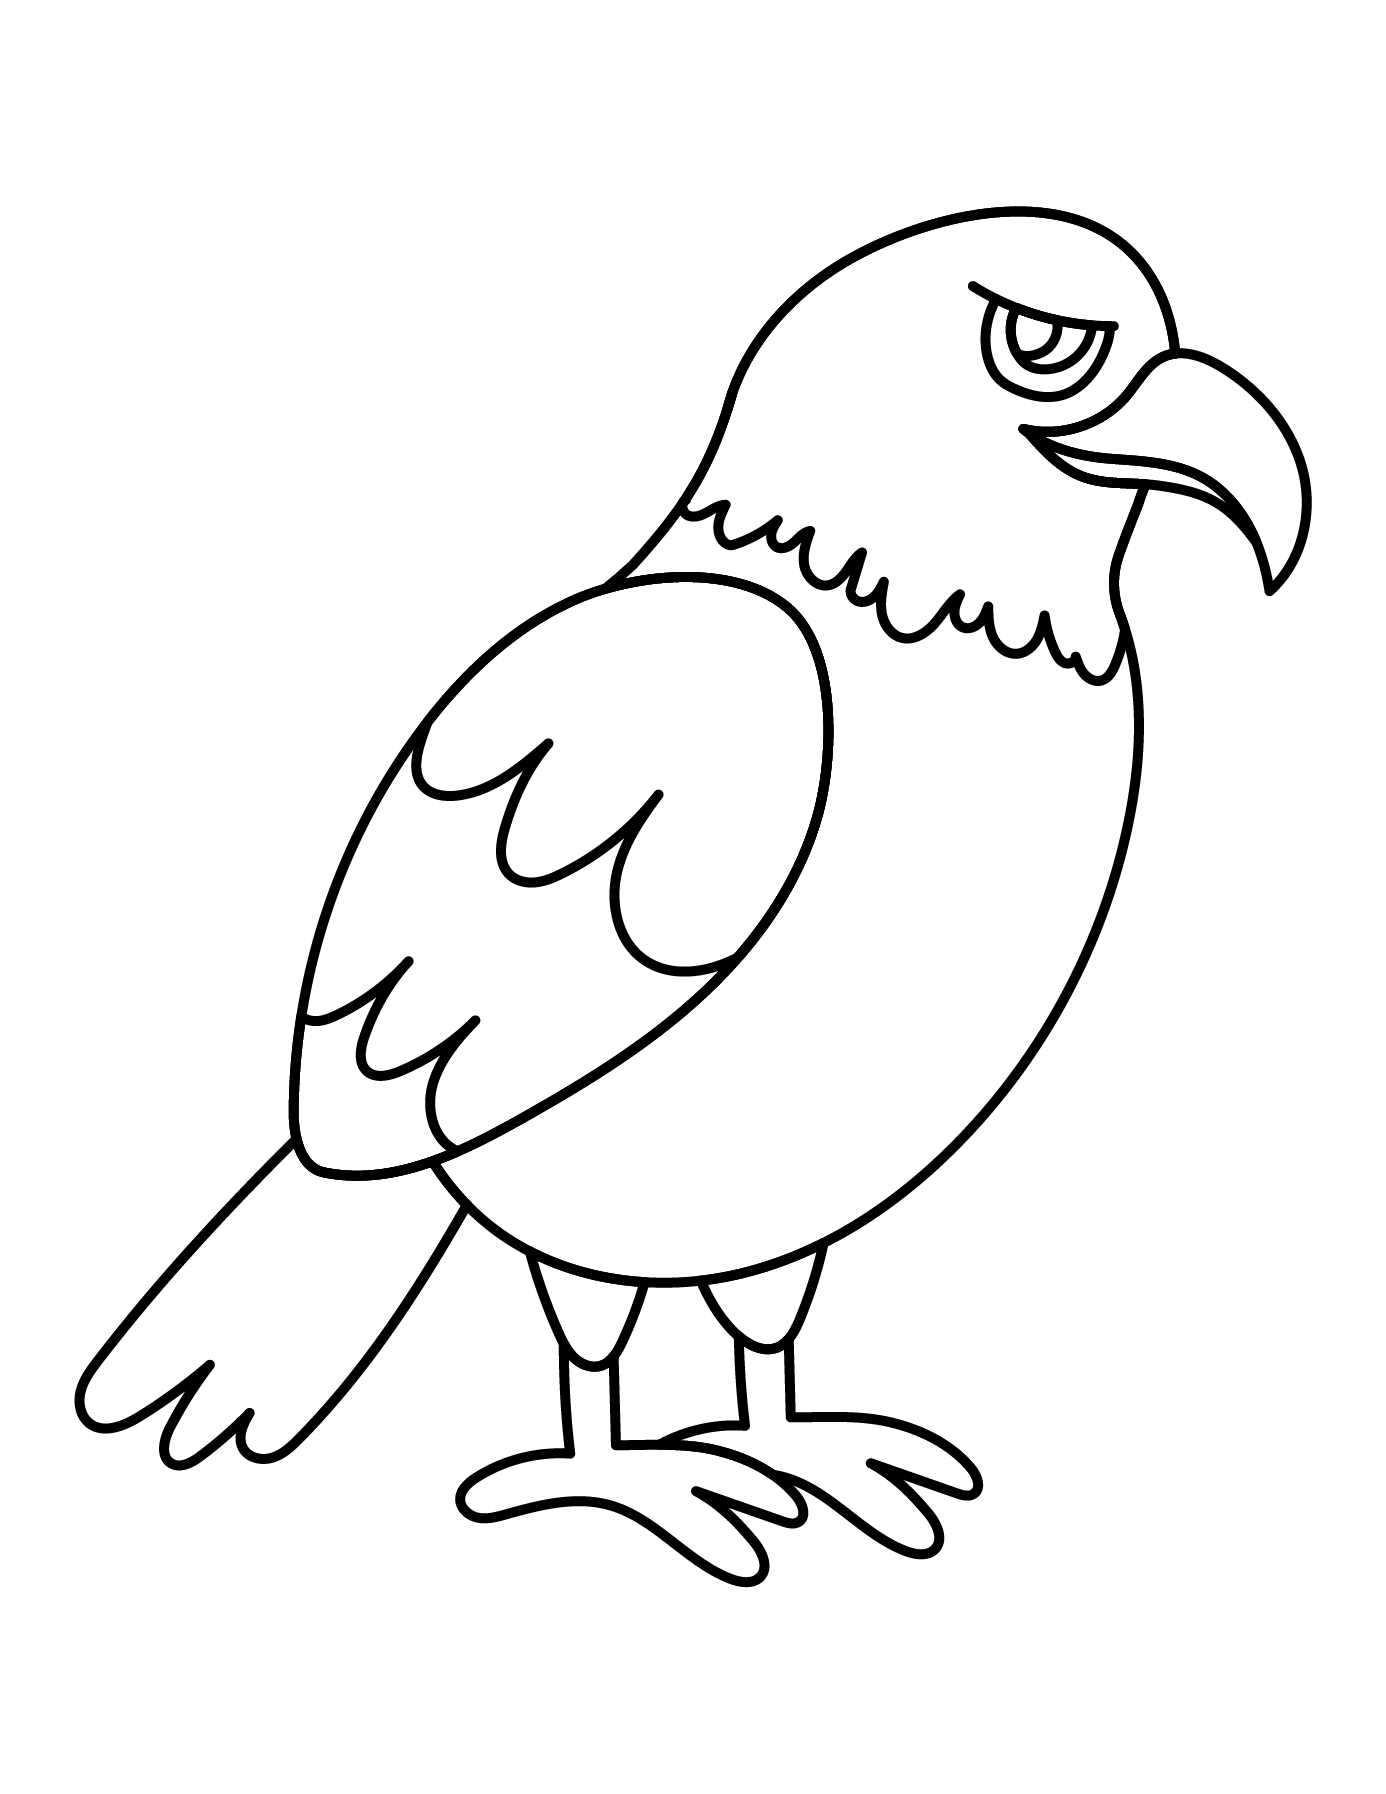
If you enjoyed this easy eagle drawing activity, make sure to let us know in the comments below. You can also share this with another parent, teacher, or friend, especially if your eagle is still watching the pencil very seriously!