How to Draw a Cow
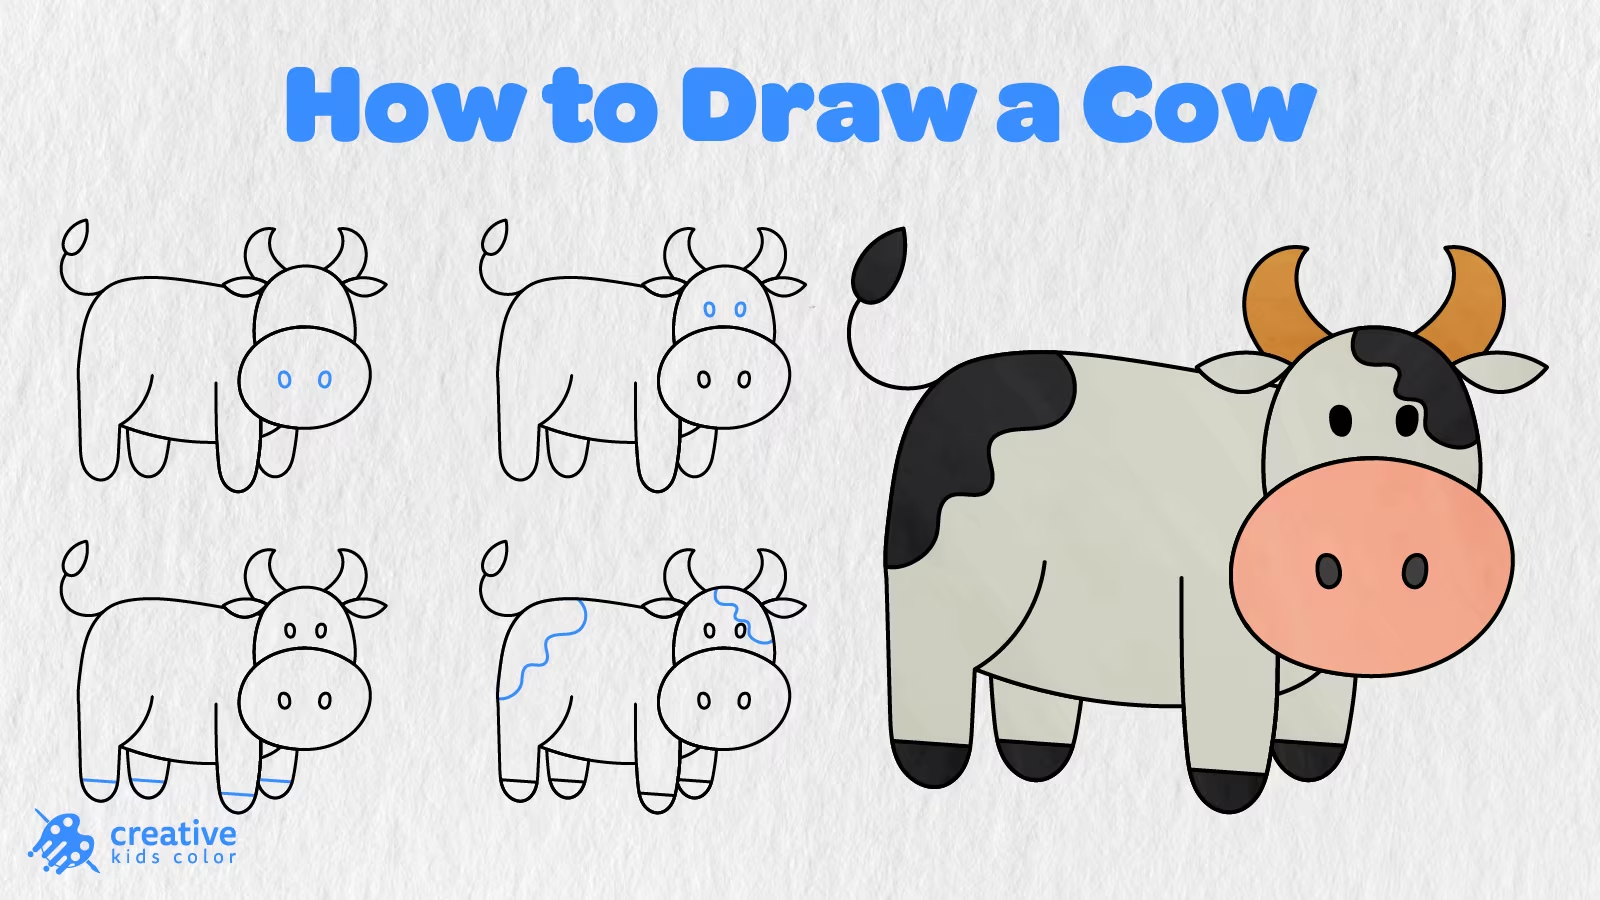
Cows are an essential part of farms and our everyday lives. Their milk is used in a lot of dairy products we know and love, such as yogurt, cheese, and butter. Many children are introduced to cows as one of their first animals on a farm. In this tutorial, you’ll learn how to draw a cow in 13 easy steps.
This easy cow drawing is perfect for children and beginners. We’ll start with two simple overlapping ovals and add a body, legs, tail, horns, ears, face, hooves, spots, and color.
For each step, we’ve indicated the part of the drawing that you should focus on with blue lines. Just follow along and have fun turning a few simple shapes into a cute little farm cow.
Easy Cow Drawing Step by Step
Grab your pencil, paper, eraser, and coloring tools. You can always sketch lightly until you get to your final lines.
Step 1: Draw the Head and Muzzle
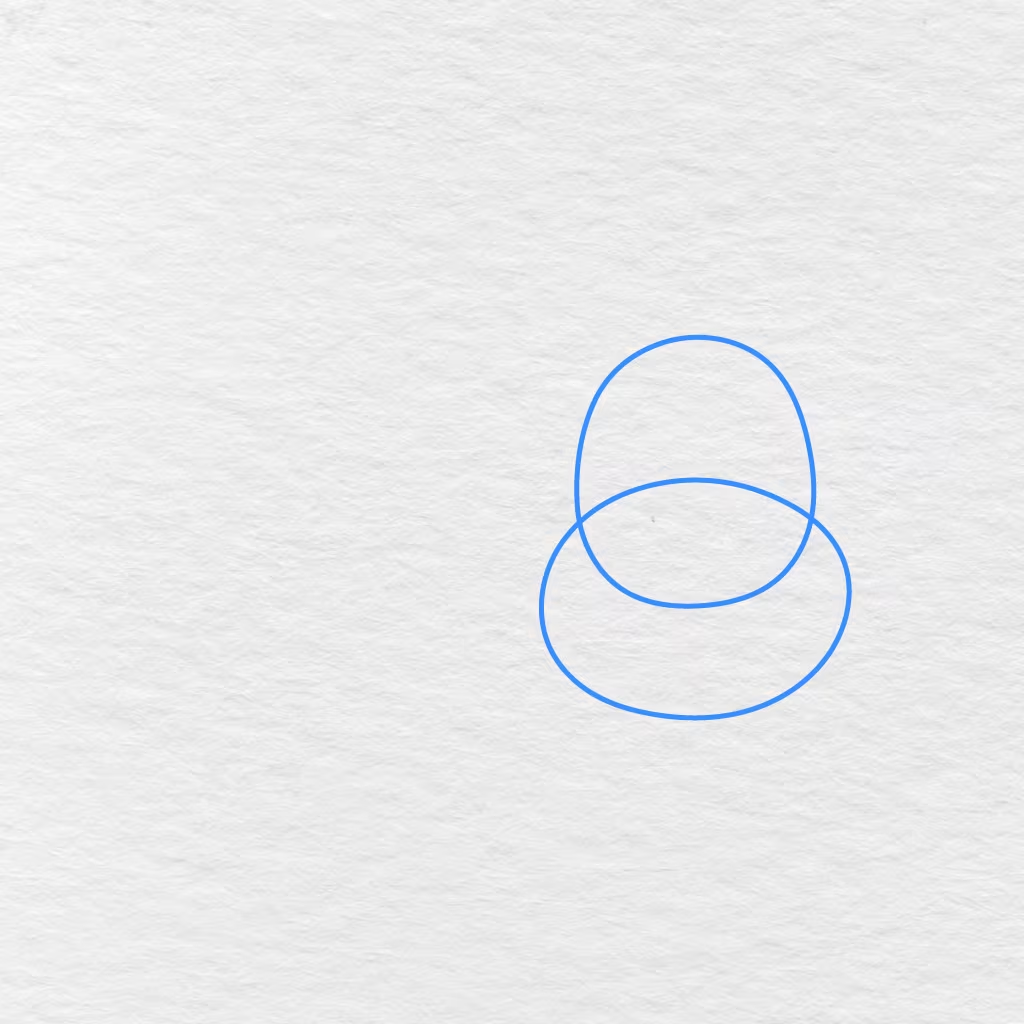
Start by drawing a tall oval for the head. Make sure to begin near the right edge of the page so that there is enough room to draw the body.
Add a wide oval across the bottom part of the head as the muzzle.
Step 2: Add the Body
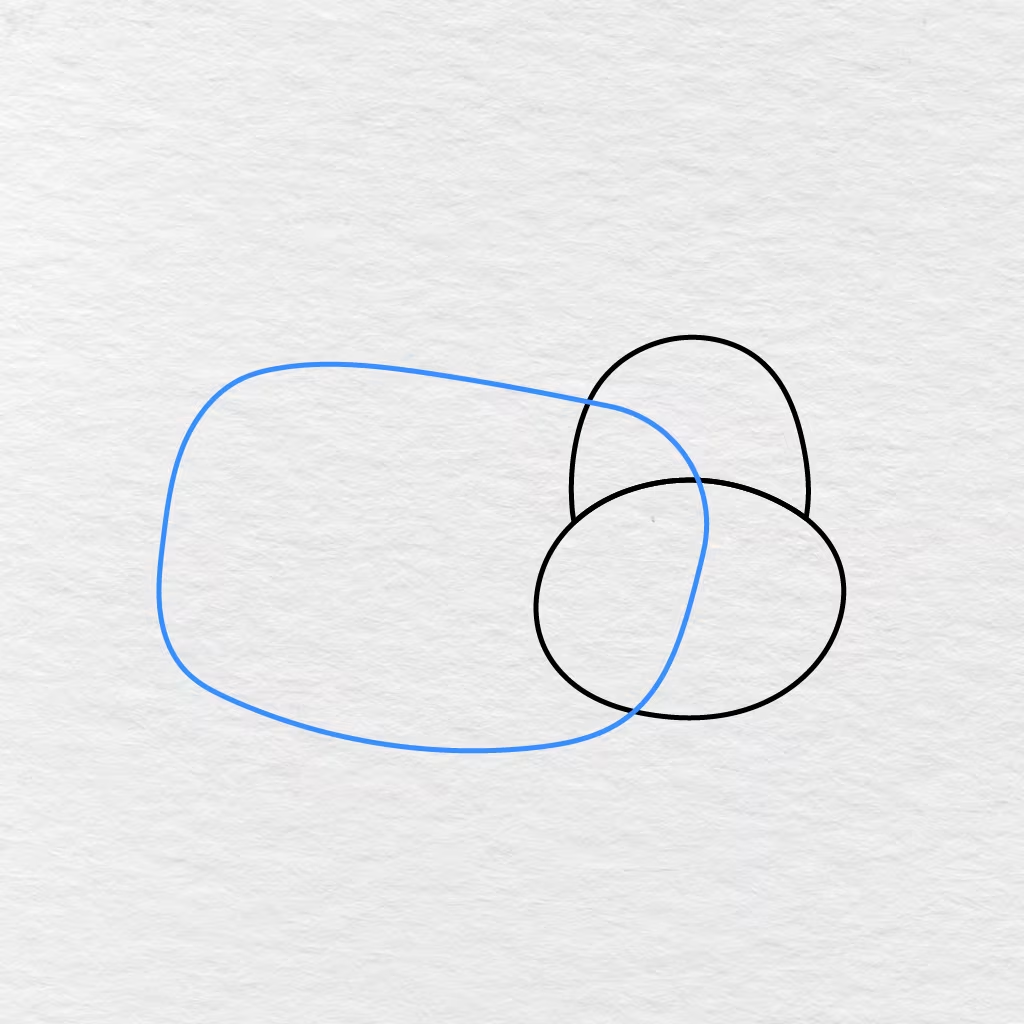
Draw a big rounded shape that extends to the left behind the head.
Make sure to leave room for the four legs and keep the top of the body gently curved.
Step 3: Draw the Front and Back Legs
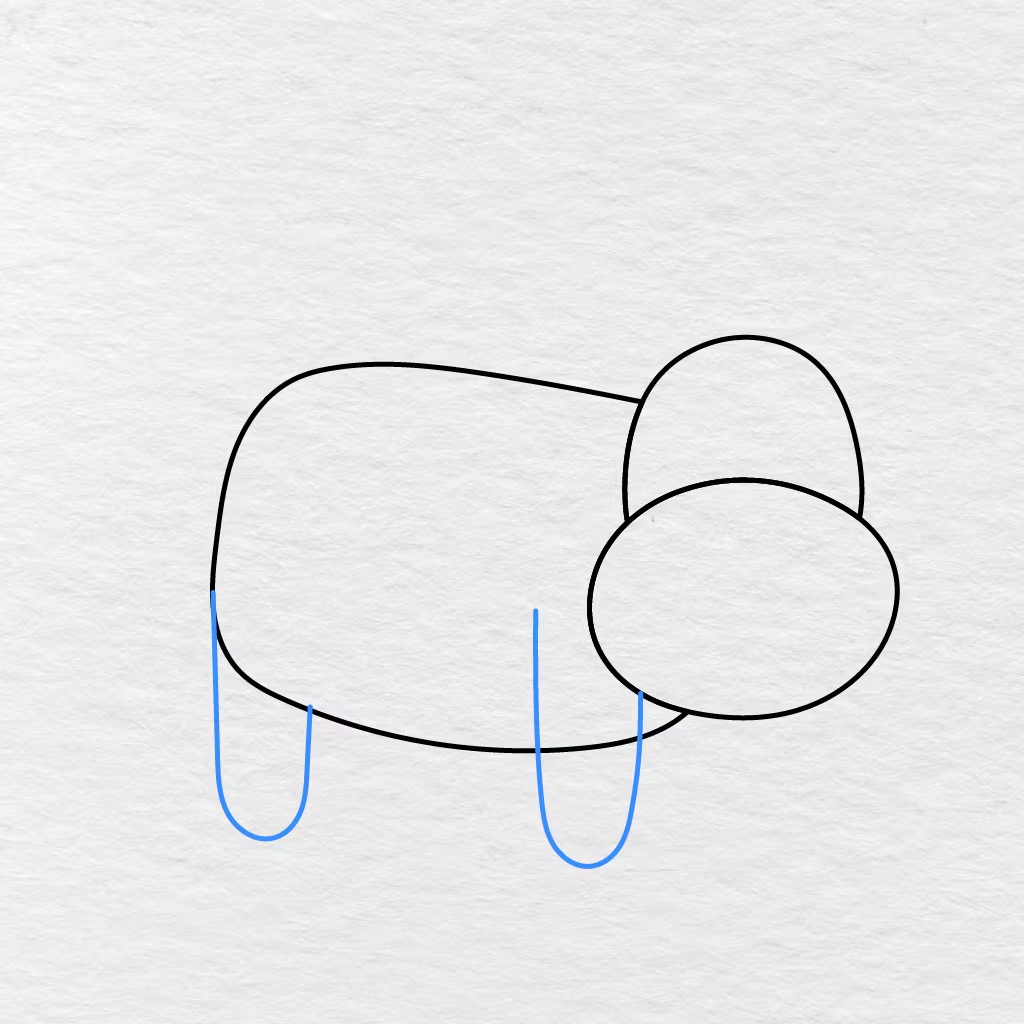
Draw a long leg from the back part of the body and another leg from the front part of the body.
Extend both of them going downward and give each a gently curved bottom.
Step 4: Add the Remaining Legs
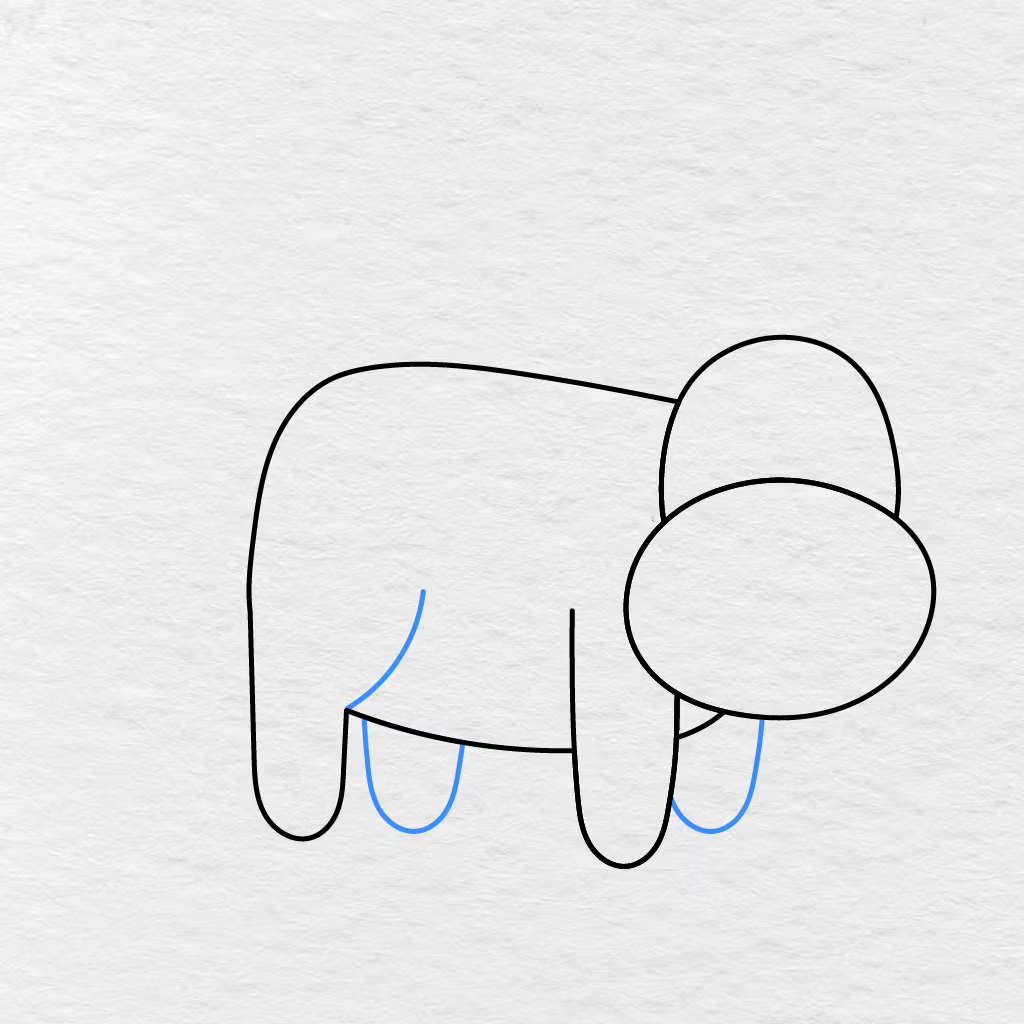
Add two more legs in between the previous two legs.
Since these two legs are placed further back, only their lower parts should be visible. Add the curved line near the back leg to indicate the belly and rear part of the cow.
Step 5: Draw the Tail
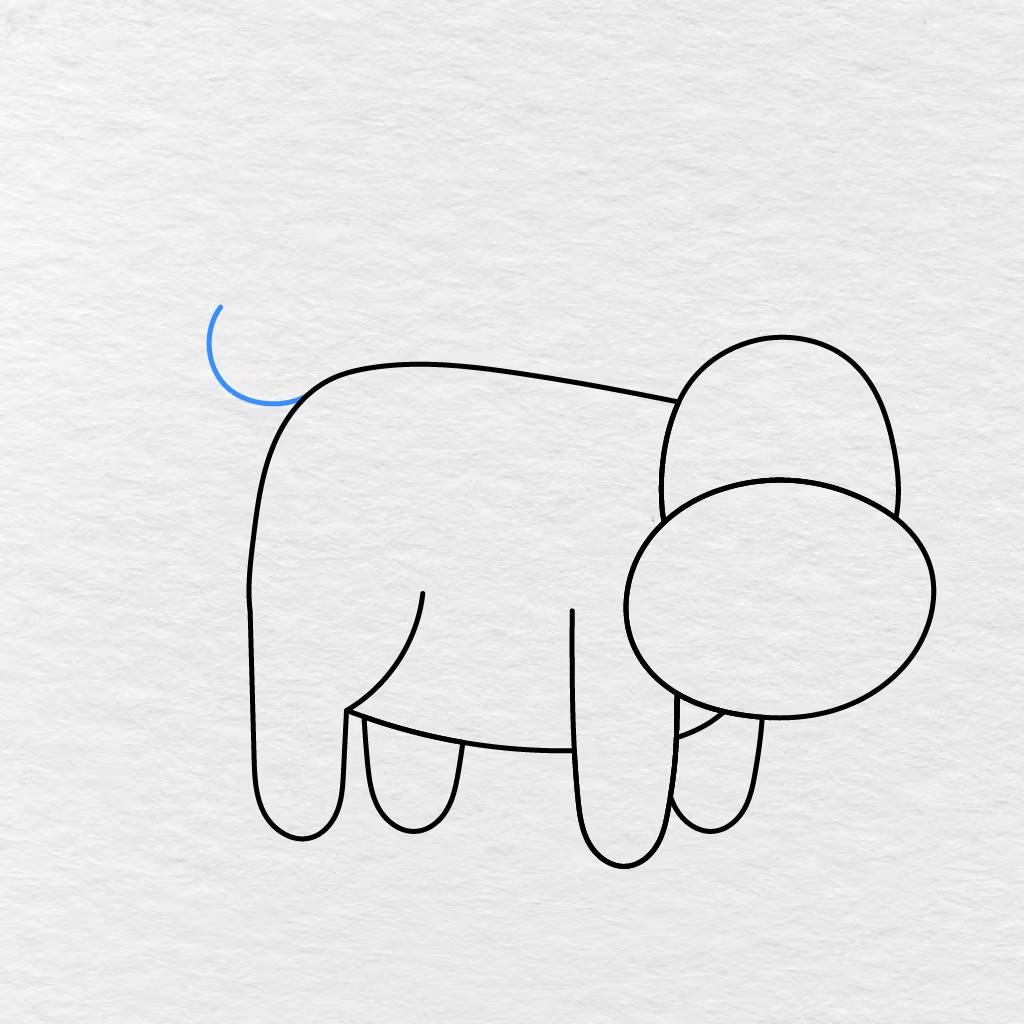
From the back end of the cow, draw a long thin curve that goes up.
Make sure to leave an opening at the end for the tuft of the tail.
Step 6: Add the Tail Tuft
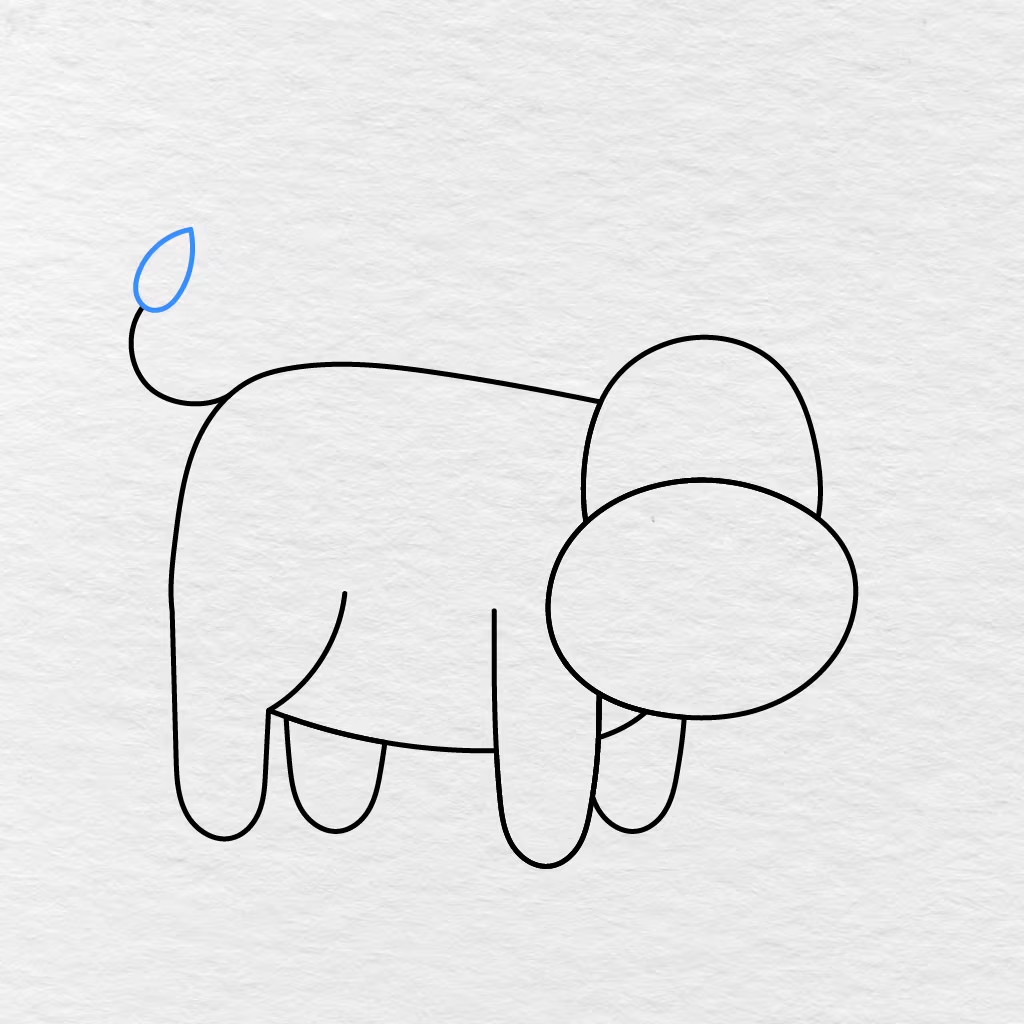
Add a pointed leaf shaped mark at the end of the tail.
Attach it to both sides of the tail curve.
Step 7: Draw the Horns
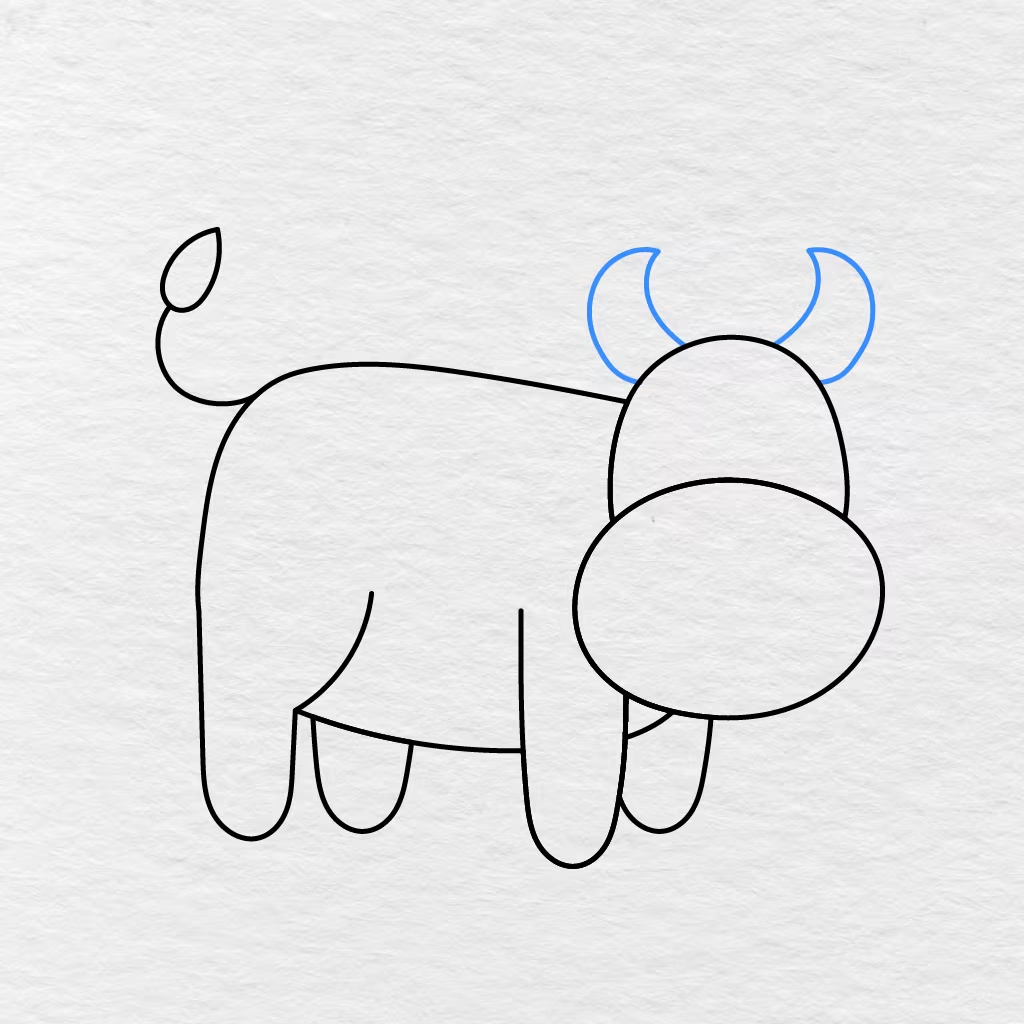
Add two horns on the top of the head.
Start them close to the head and curve them outwards toward the pointed tips.
Step 8: Add the Ears
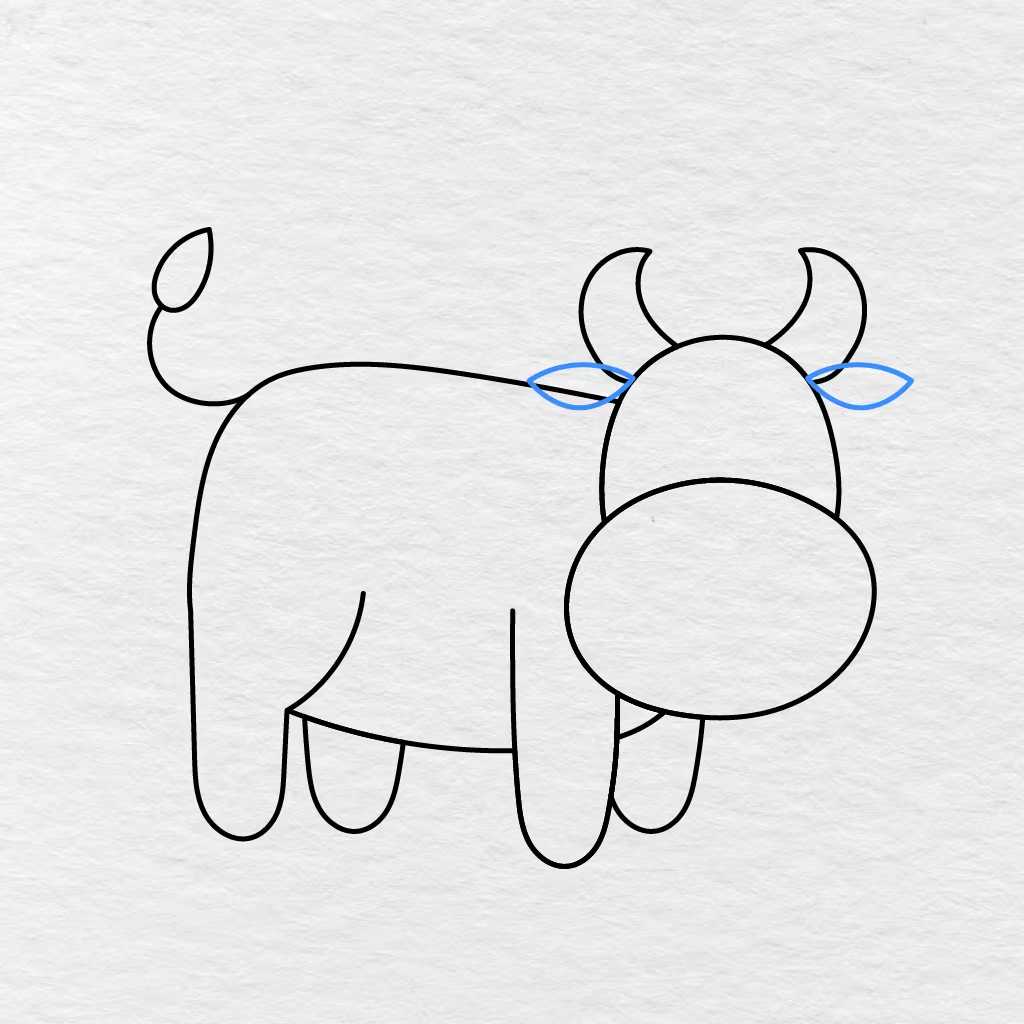
Add one ear on each side of the head below the horns.
Make them leaf shaped and slightly angled outwards.
Step 9: Draw the Nostrils
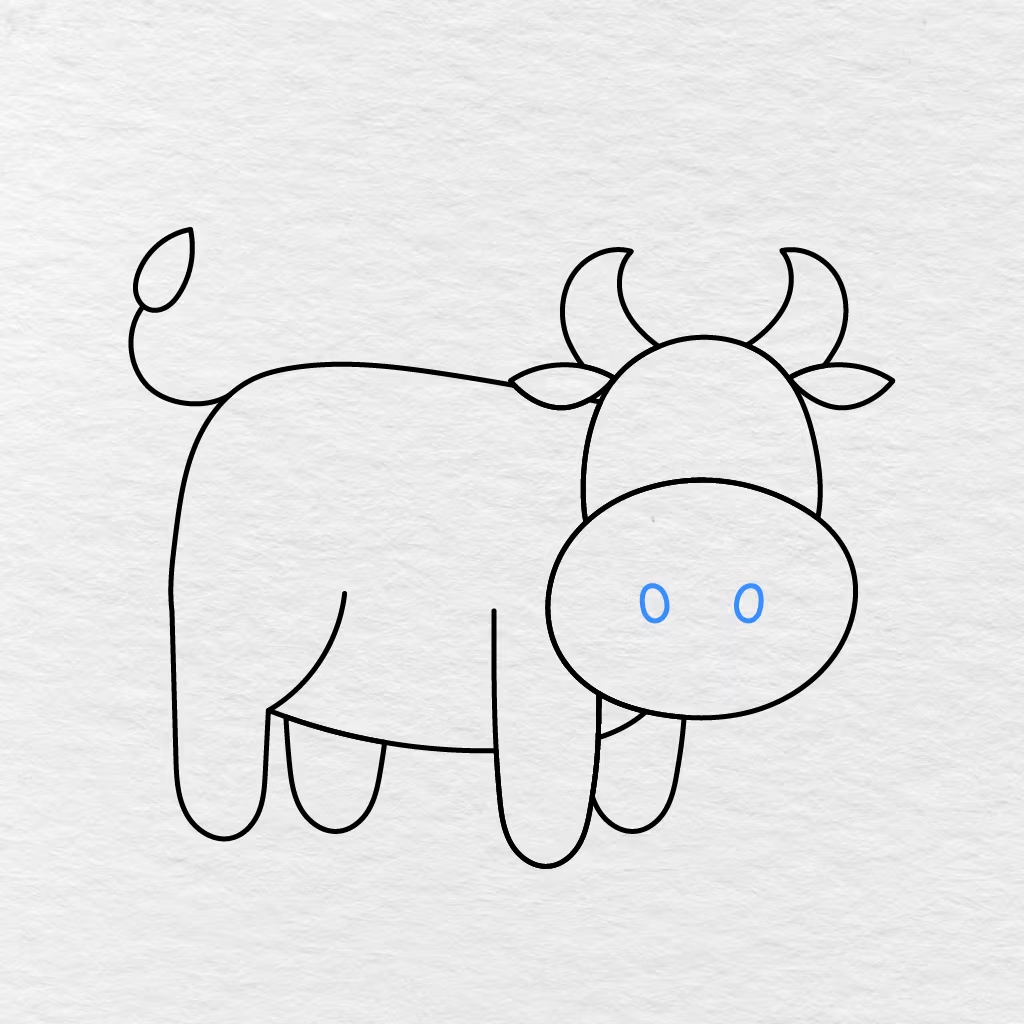
Draw two small vertical ovals inside the muzzle.
Make sure to leave some space between them.
Step 10: Add the Eyes
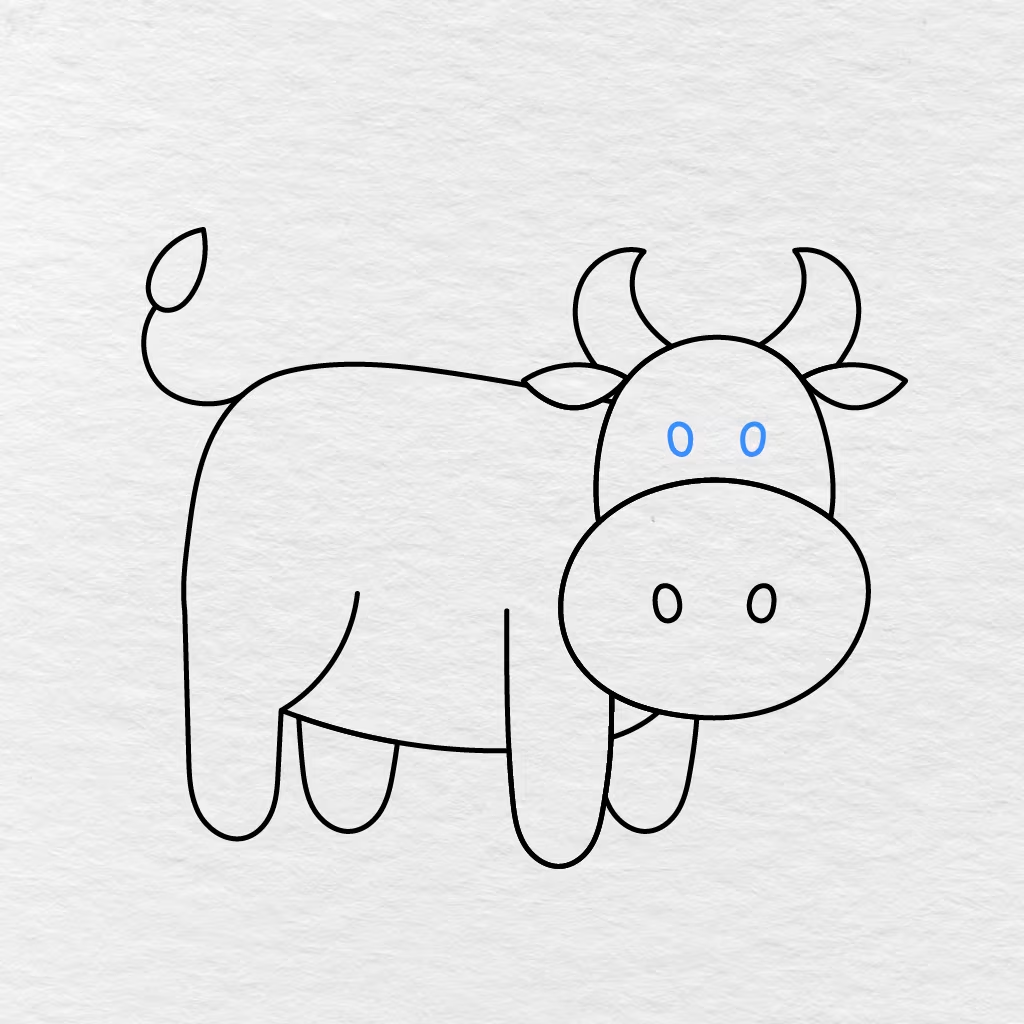
Draw two small oval eyes on the upper part of the head.
Make sure to keep them a bit closer to each other than the nostrils.
Step 11: Draw the Hooves
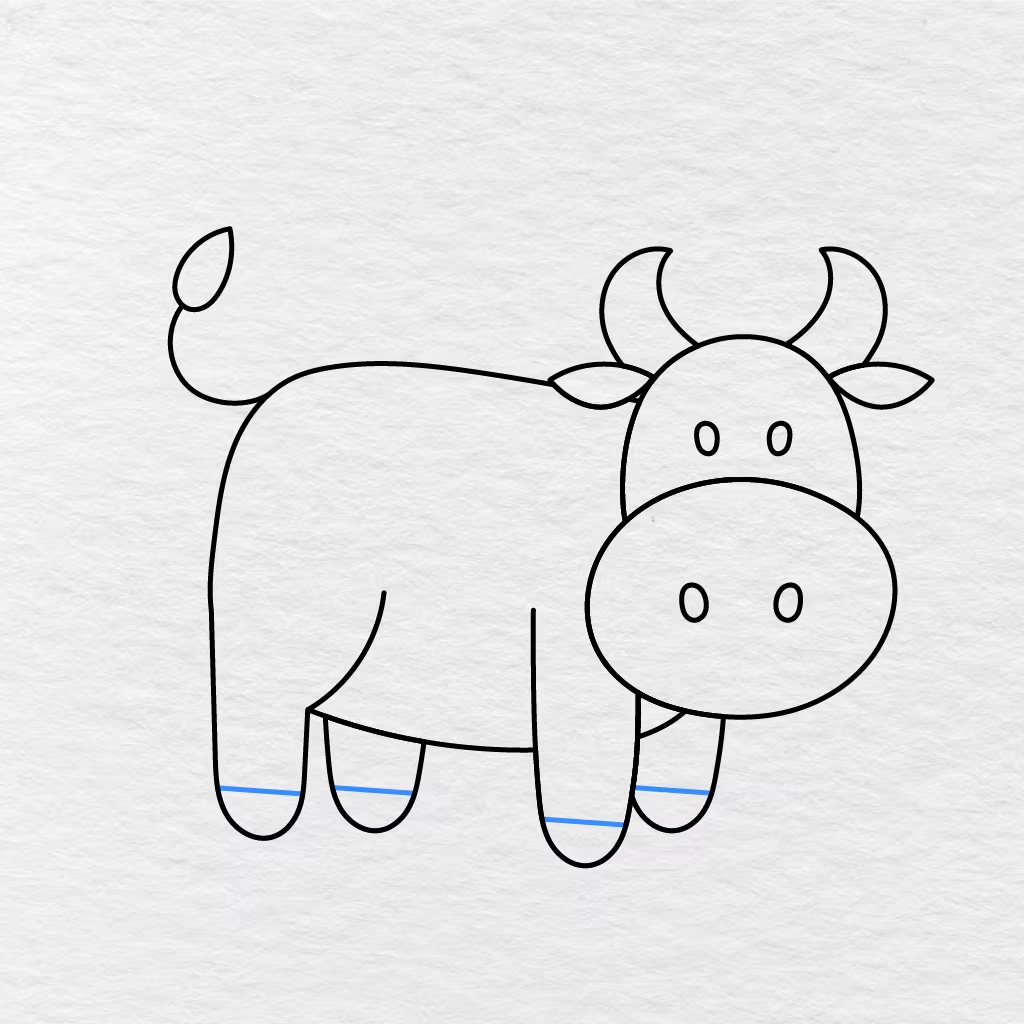
Add a short horizontal line near the bottom part of each leg.
The four lines will separate the hooves from the lower parts of the cow’s legs.
Step 12: Add the Cow Spots
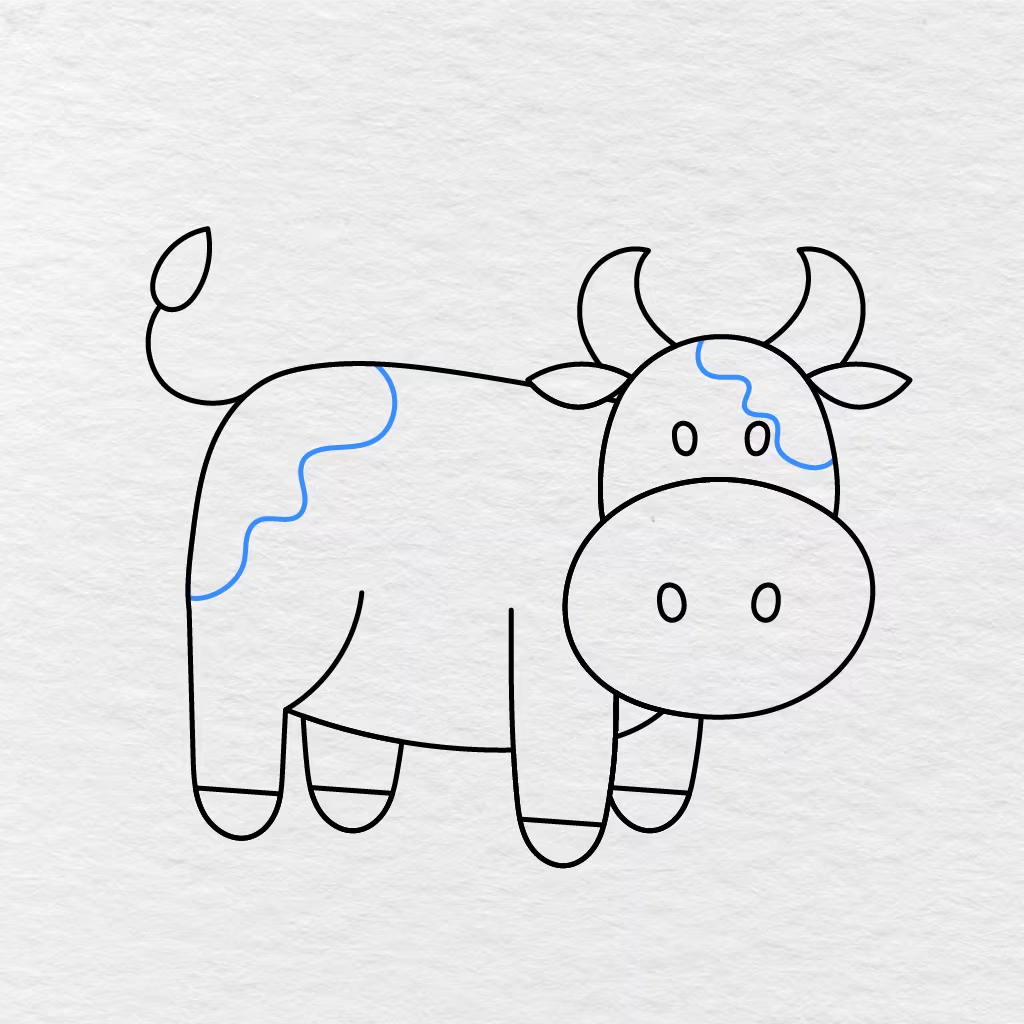
Add a few spots to the head and body of the cow.
The spots can be different sizes and shapes as long as they look natural. Some of the spots can continue beyond the body lines to make the pattern look more natural.
Step 13: Color the Cow
Now it’s time to color the cow. We’ve colored ours in light cream, black, pink, and orange.
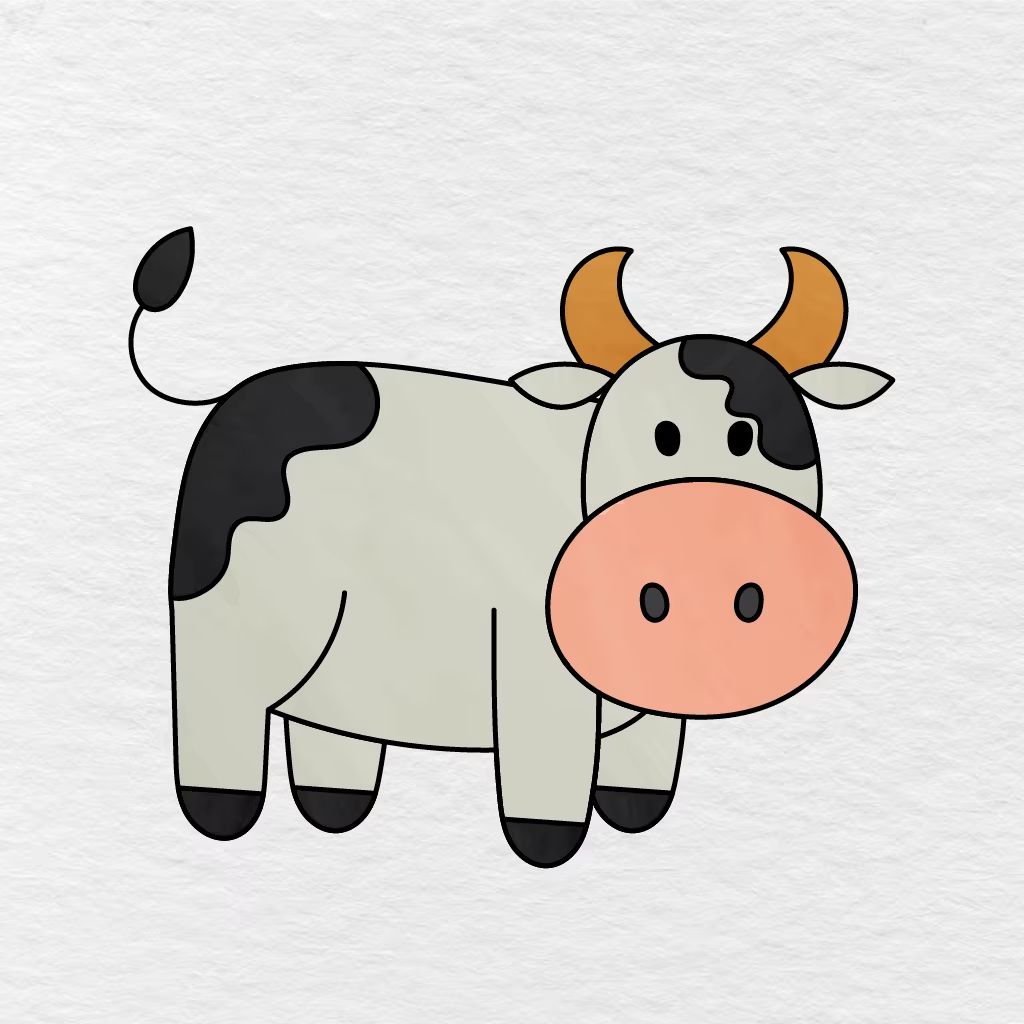
We’ve used black for the spots, eyes, tail tuft, and the hooves. The muzzle is pink, the horns are orange, and the body is a light cream. You can use similar colors or go with your own unique cow design.
Your cute little cow is all set to go to the farm!
Printable Cow Drawing PDF
We’ve put together a printable cow drawing PDF below that you can color or use as a reference when you want to draw another cow. Simply follow the lines and add all the details mentioned in this tutorial. This cow drawing includes the spots, ears, horns, hooves, and the rest of the cow’s body details.
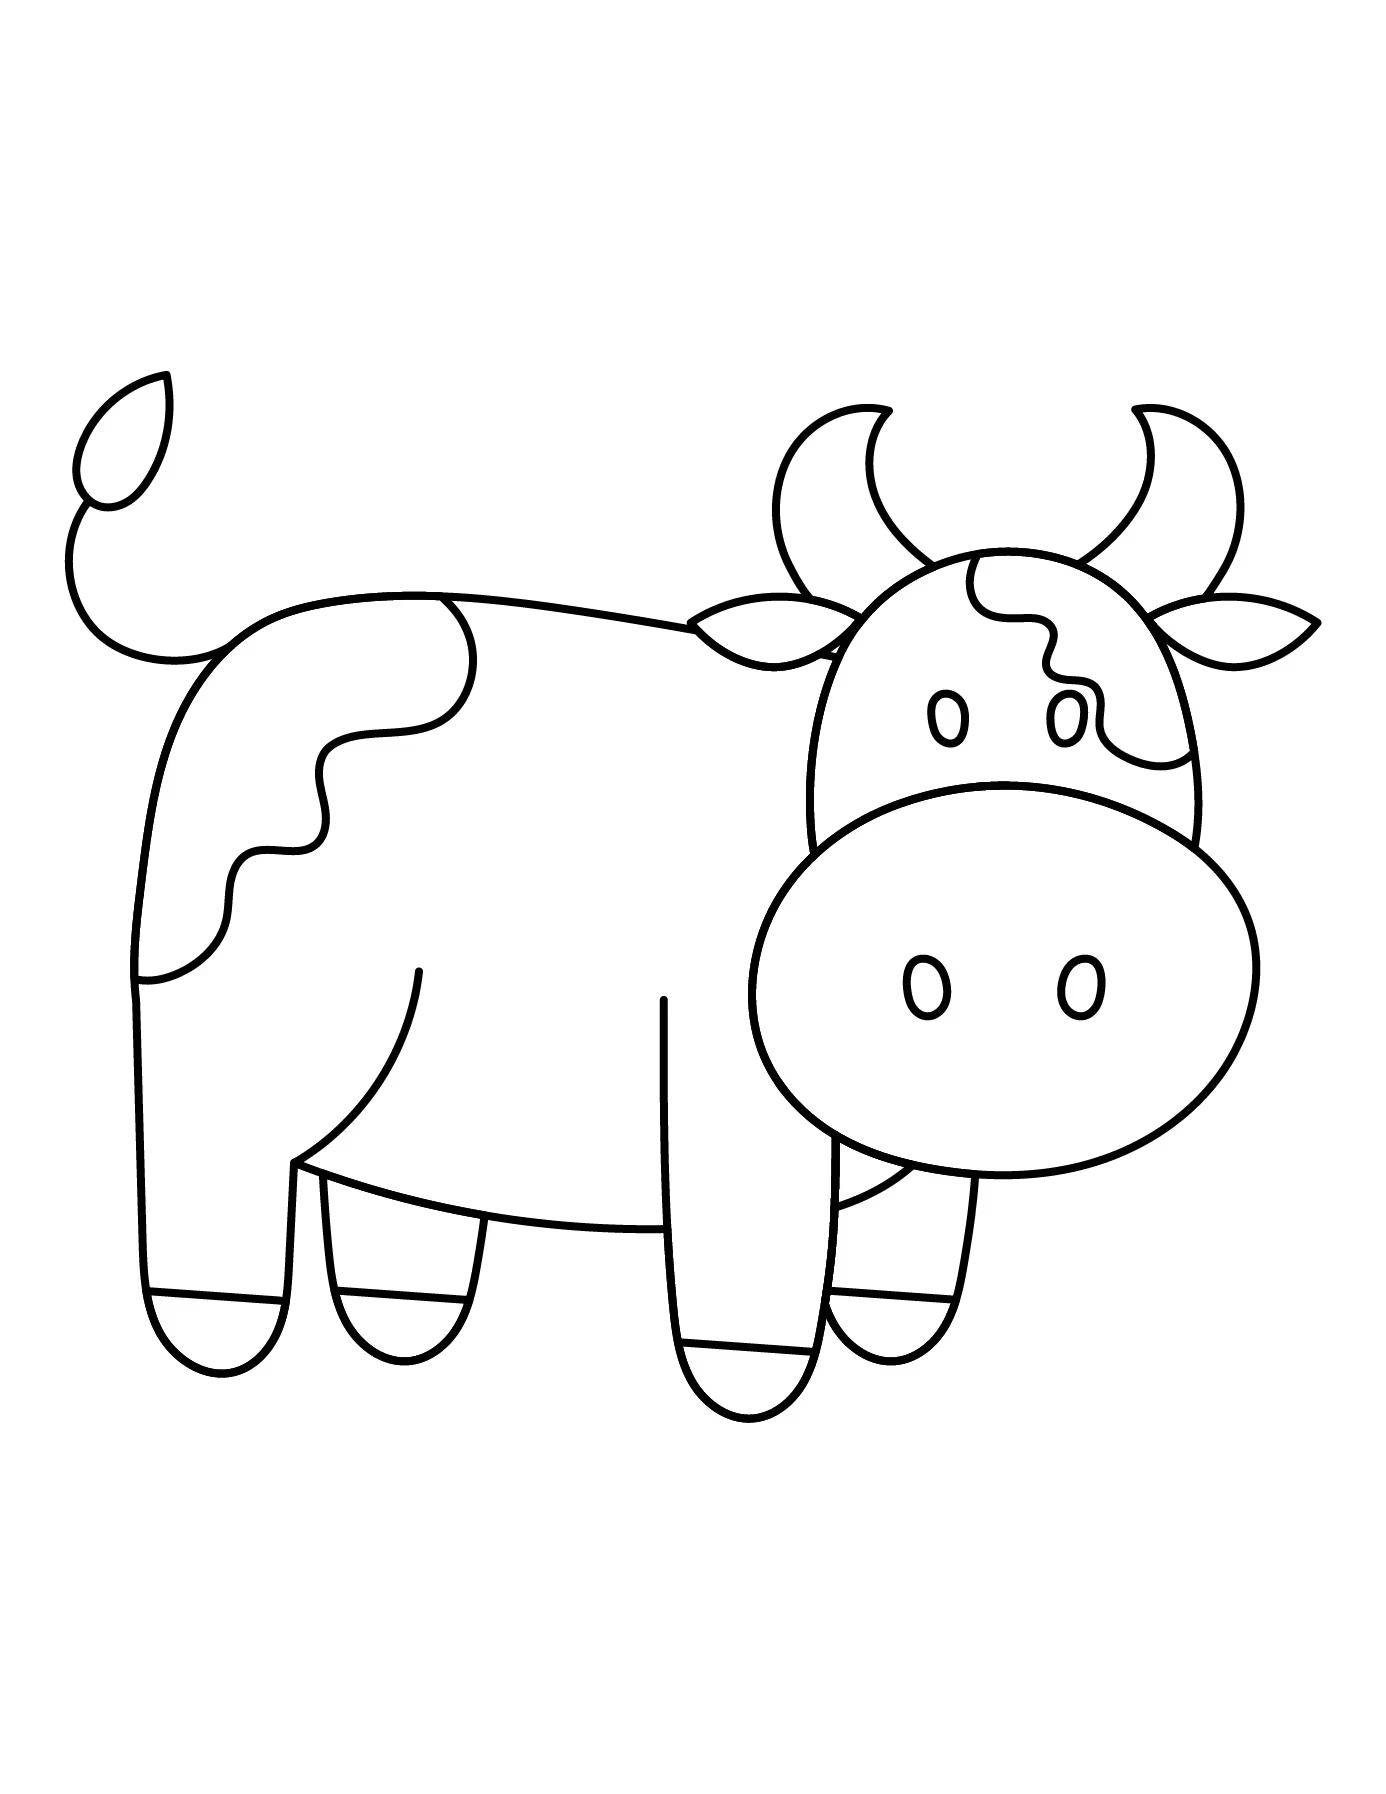
If you’d like to color more animals, make sure to check out our Animal Coloring Pages collection.
Did you add traditional black spots or did you come up with a unique design? Make sure to let us know in the comments below and share this cow drawing tutorial with another parent, teacher, or friend.