How to Draw a Brain
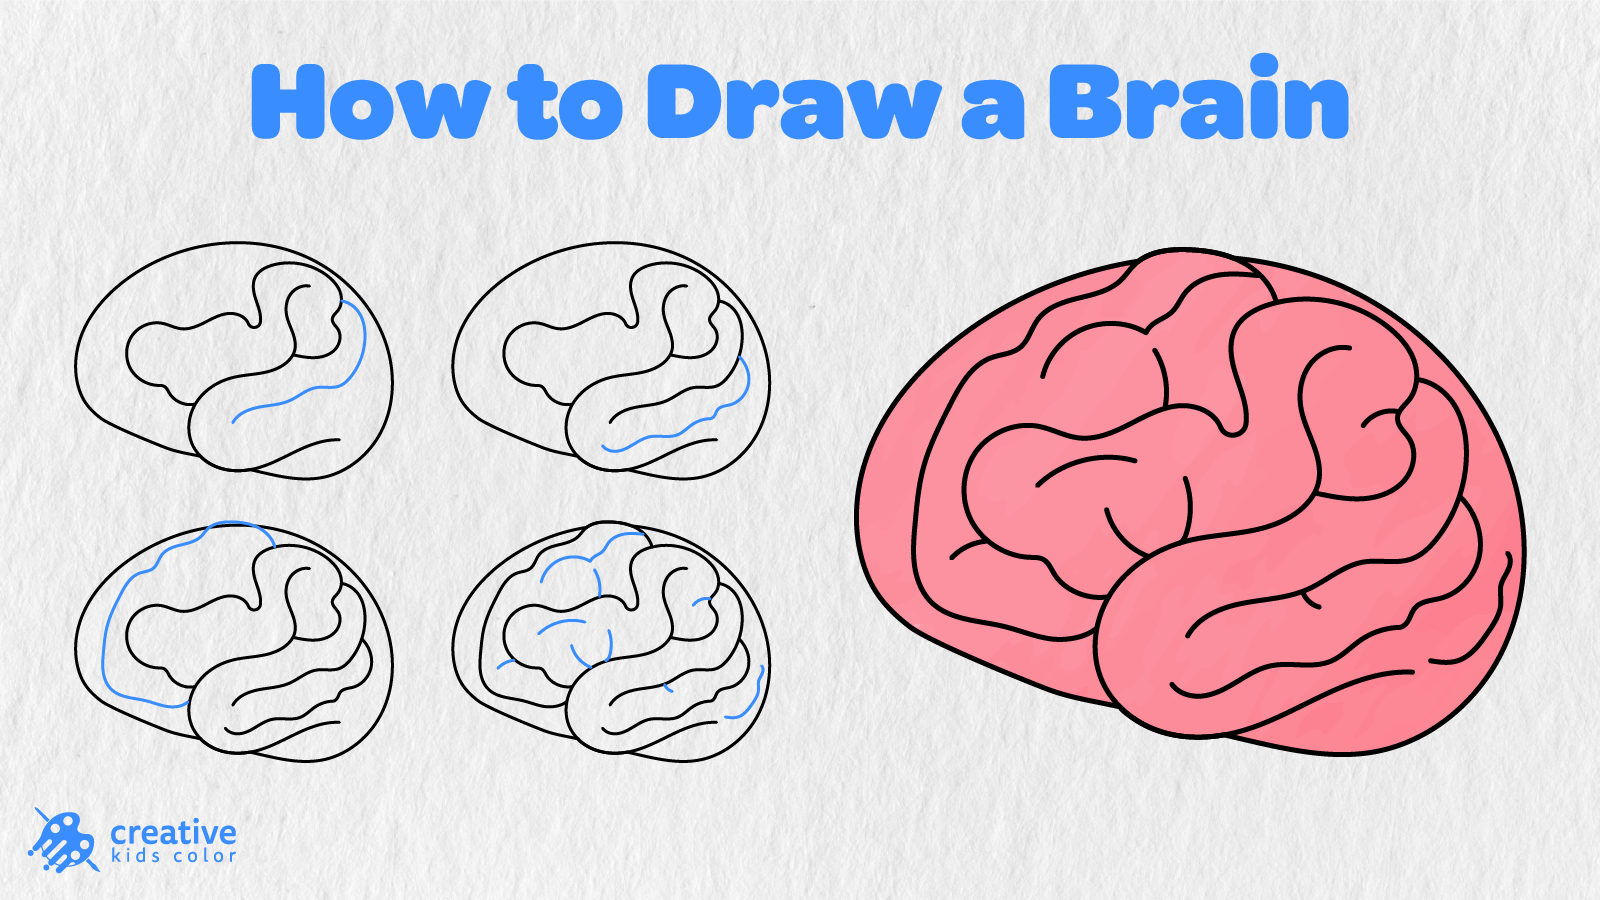
The brain is the control center for nearly every action we perform every day. It allows us to think, learn, remember, move, sense, perceive, and respond to the world around us. Even being able to think of and remember this catchy phrase depends on the amazing power of our very own brain! In this tutorial, we will be learning how to draw a brain in 8 easy steps.
This easy brain drawing guide is a perfect art activity for kids and beginning artists. We use one large oval shaped outline and add curved and wavy lines that form the folds of the brain.
While this project may seem a bit confusing at first, most of it uses long sweeping lines plus a few shorter lines to add the fun details. Just follow along the blue lines and you too can have a finished brain drawing!
Easy Brain Drawing Step by Step
All you need to complete this brain drawing is a pencil, paper, an eraser, and some coloring tools. You may want to use light pressure when adding the longer lines and folds to this brain drawing.
Step 1: Draw the Brain Outline
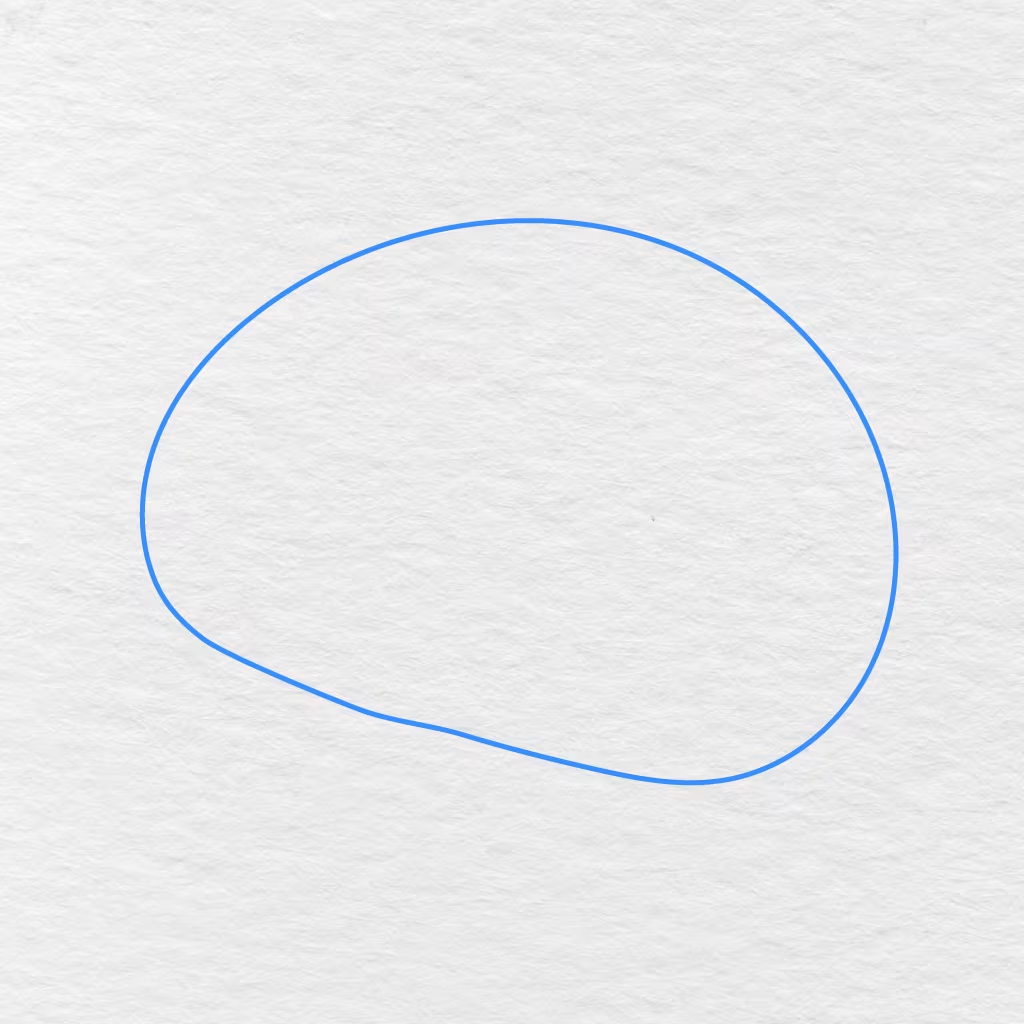
We will start by drawing one large round shape.
Make sure to have the top wide and rounded while the sides curve inward to meet at a slightly flatter bottom. Your outline does not need to be completely symmetrical.
Step 2: Add the Main Inner Line
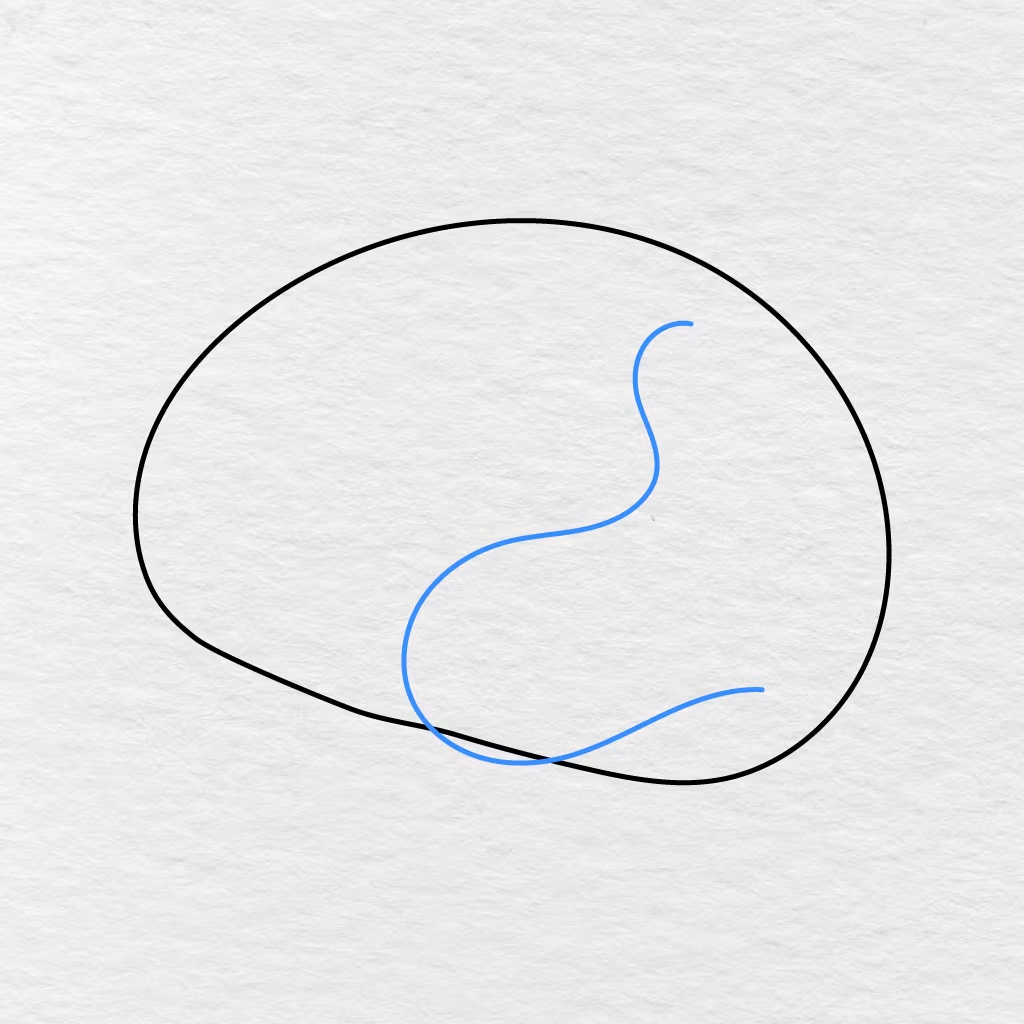
From the upper right portion of your brain, draw a long curving line downward.
Allow the line to curve toward the left before rounding the lower middle and back toward the lower right. Part of the curve may cross over the bottom edge because the next fold will cover it.
Step 3: Draw the Center Fold
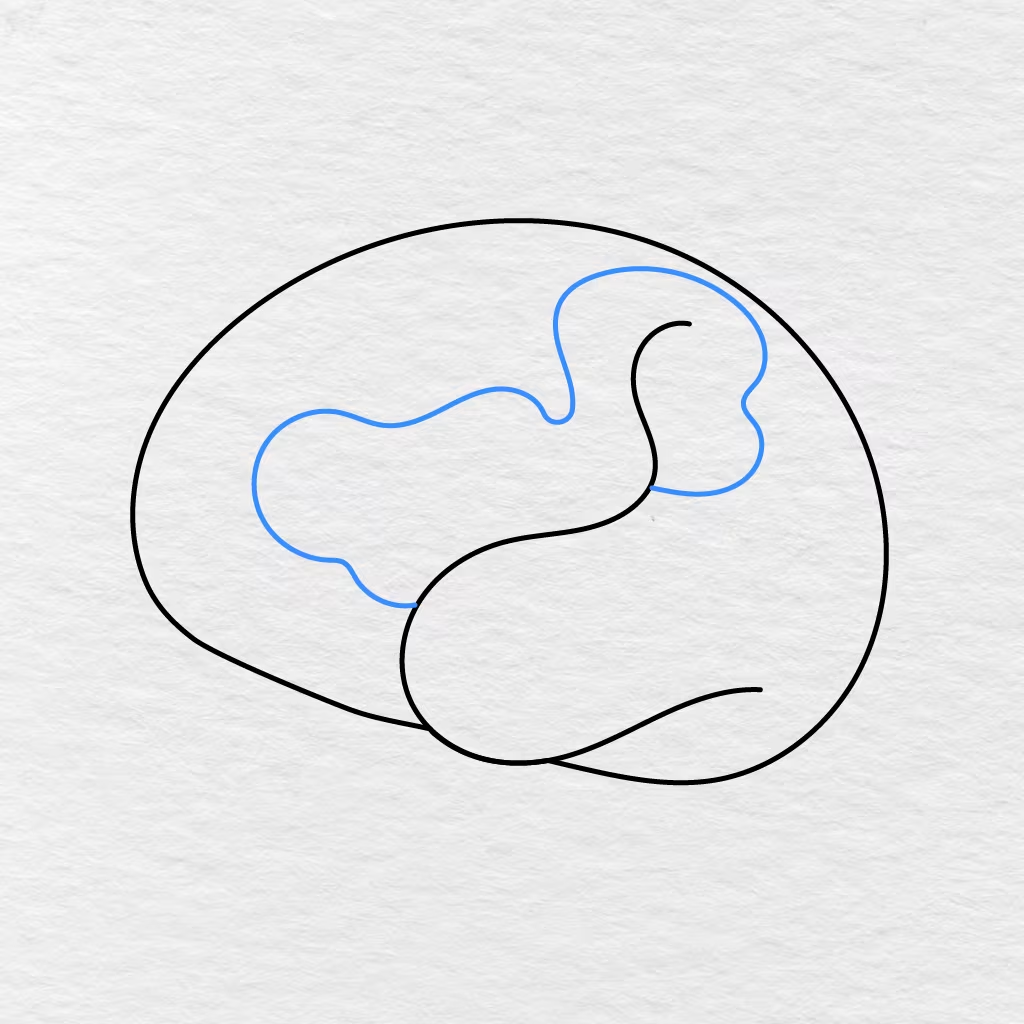
Using the lower intersection as a guide, trace a large wavy line from left to right across the center of the brain.
Make sure to curve the line toward the left side while also including a few rounded peaks before rising up into a tall fold on the right side. Connect this end to the main inner line.
Step 4: Add the Right Side Fold
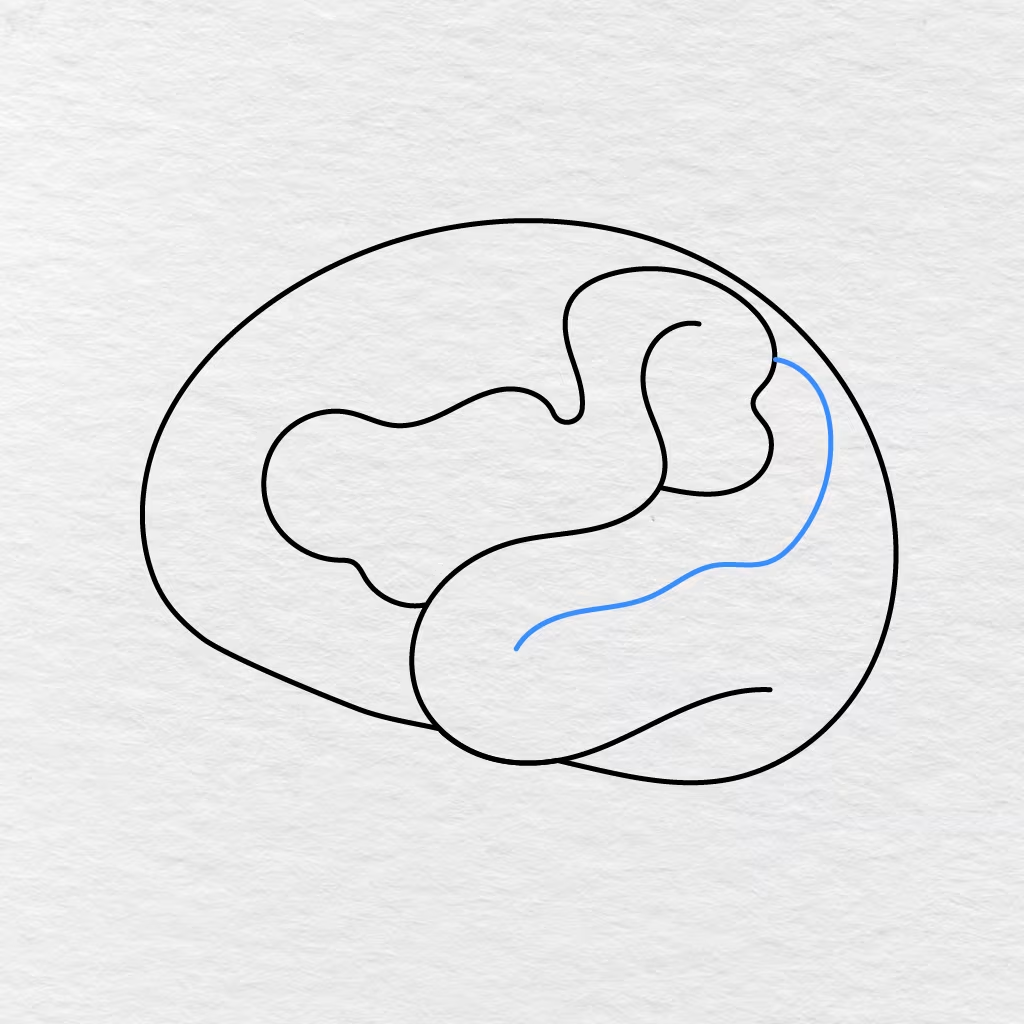
Draw another long sweeping line that runs along the right side of the tall center fold.
Work downward along the right side before curving the line across the middle portion of your brain drawing.
Step 5: Draw the Lower Fold
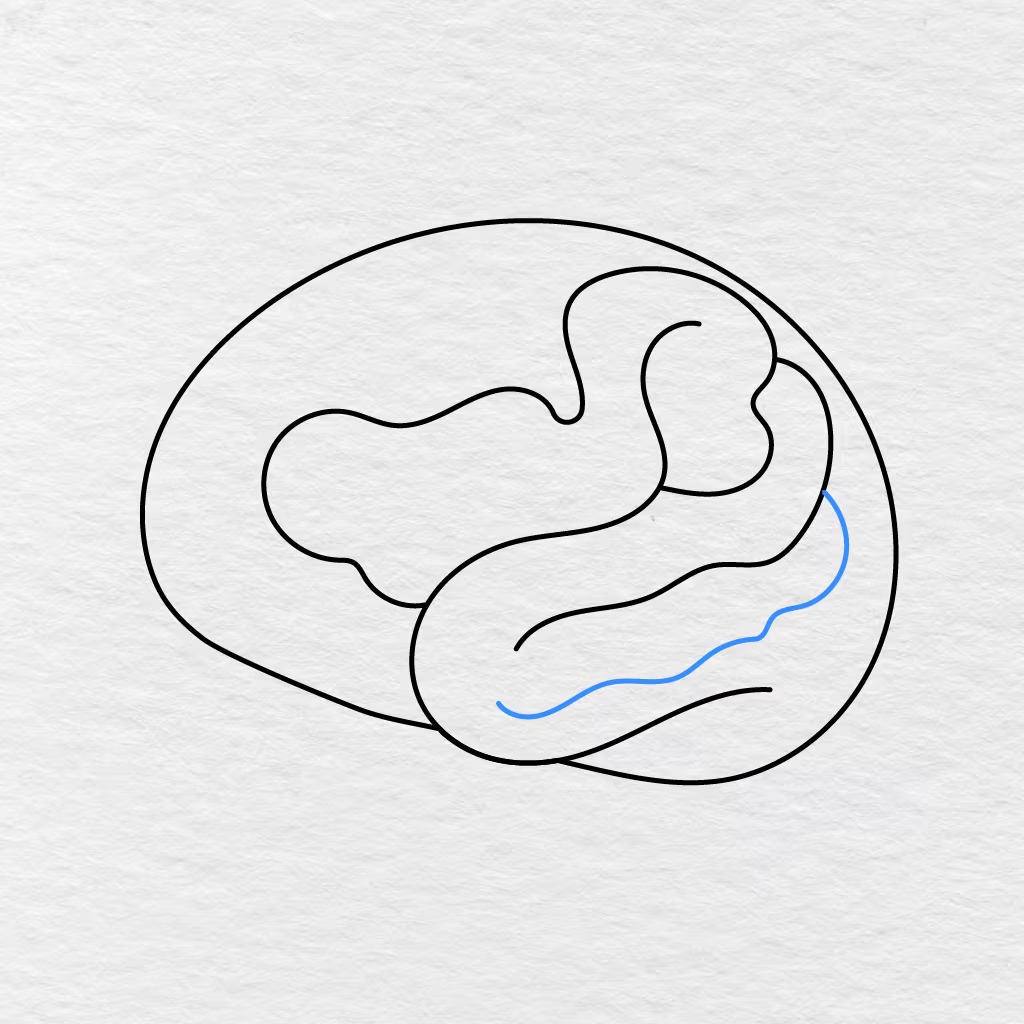
We will be adding another wavy line just below the fold from the previous step.
Begin near the lower left corner and allow the line to sweep up and down as it moves toward the right side.
Step 6: Draw the Left Side Fold
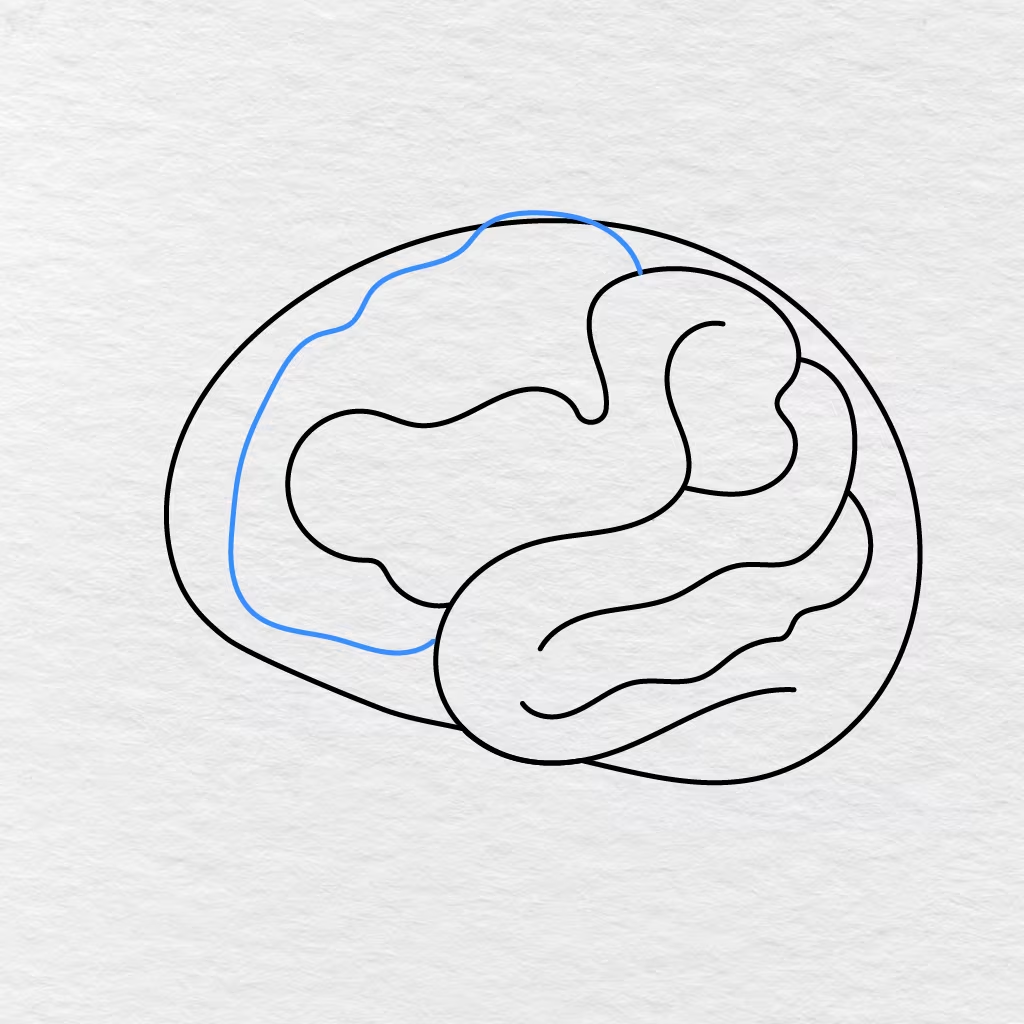
Add a large sweeping line that goes around the left side of the center fold.
Start at the upper left corner and loosely follow the outline down to the lower center portion of the brain.
Step 7: Draw the Smaller Brain Folds
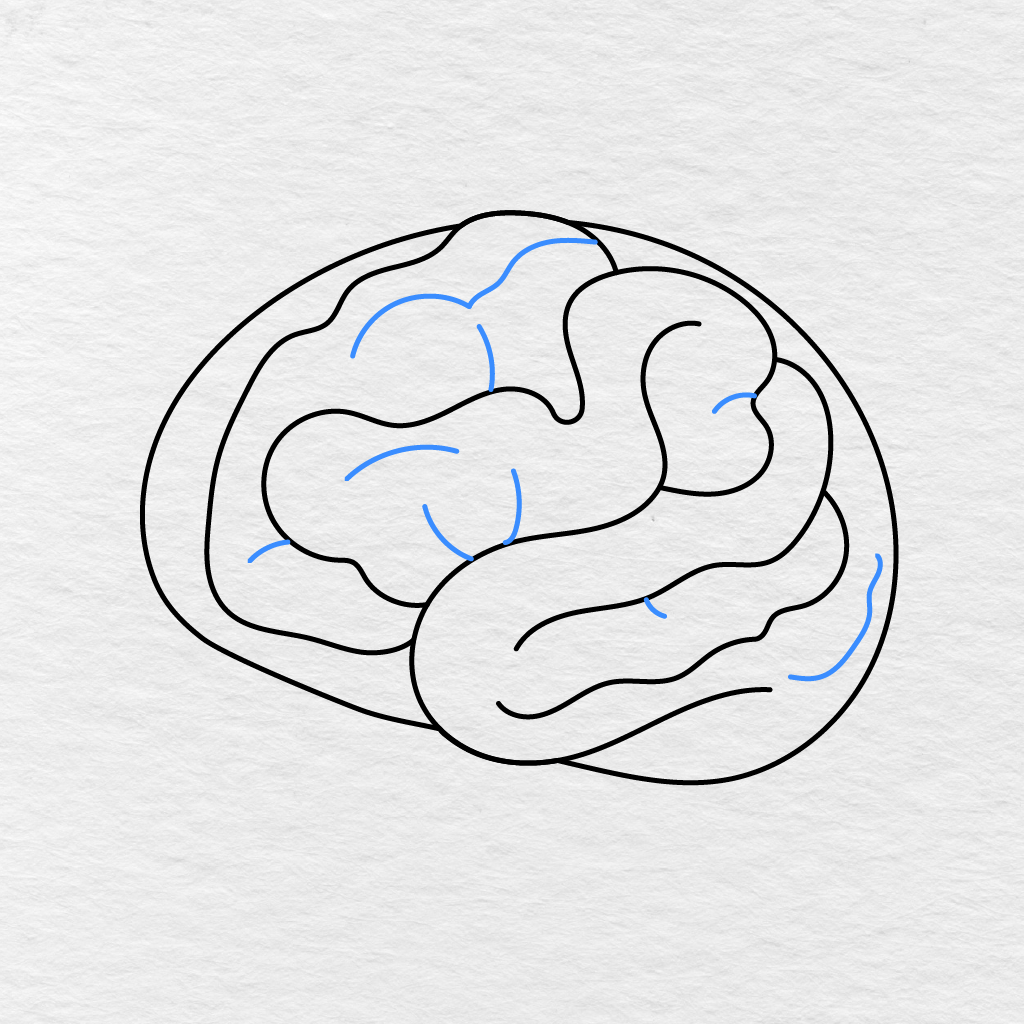
We will be using several short curved lines to add to our brain drawing.
Add these lines within the larger folds in a variety of directions to create the look of smaller brain ridges. You may want to make these folds a bit wobbly so they do not match exactly. Simply follow the directions listed above to add folds to the center, top, right, and lower portion.
Step 8: Color the Brain
Finally, it’s time to color our brain!
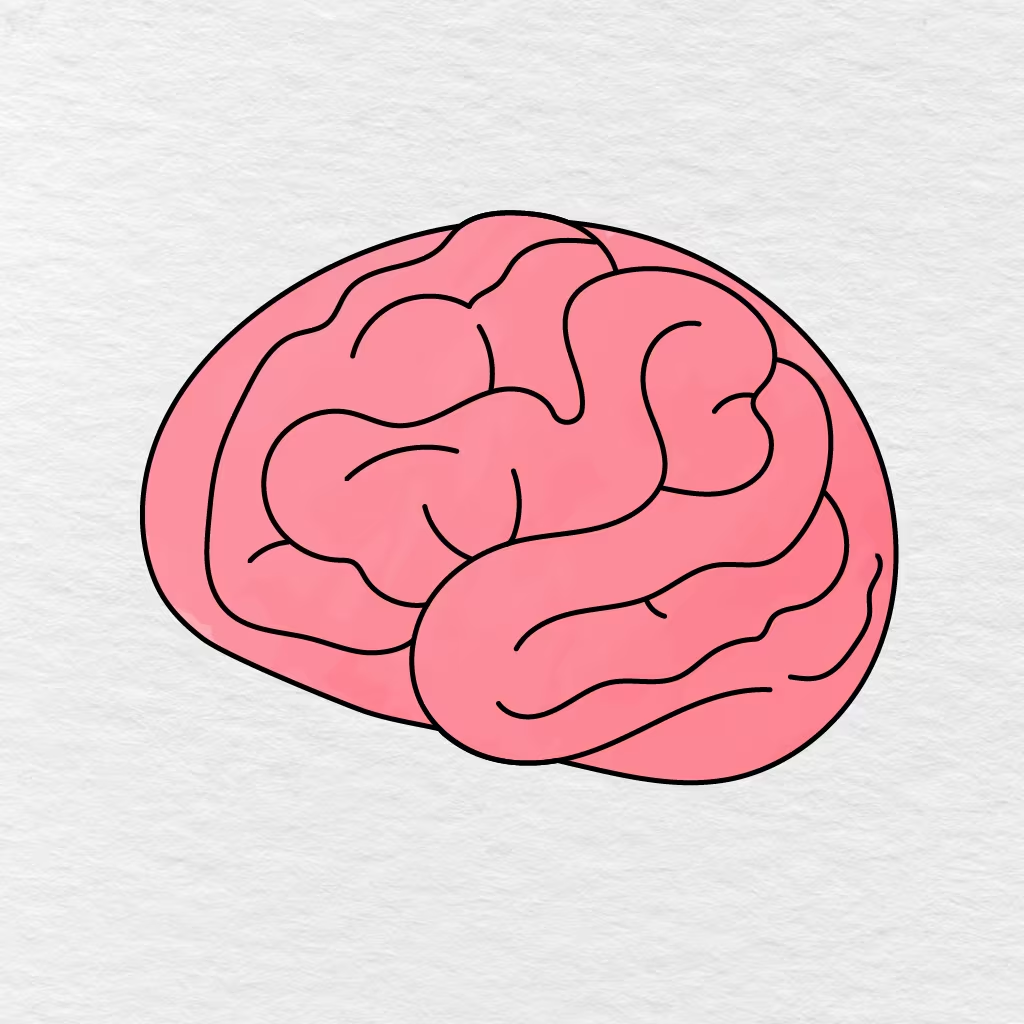
We added a variety of pink colored tones to our brain drawing. You may want to do the same or pick one solid color. You could even use different colors for each fold.
Your easy brain drawing is now complete!
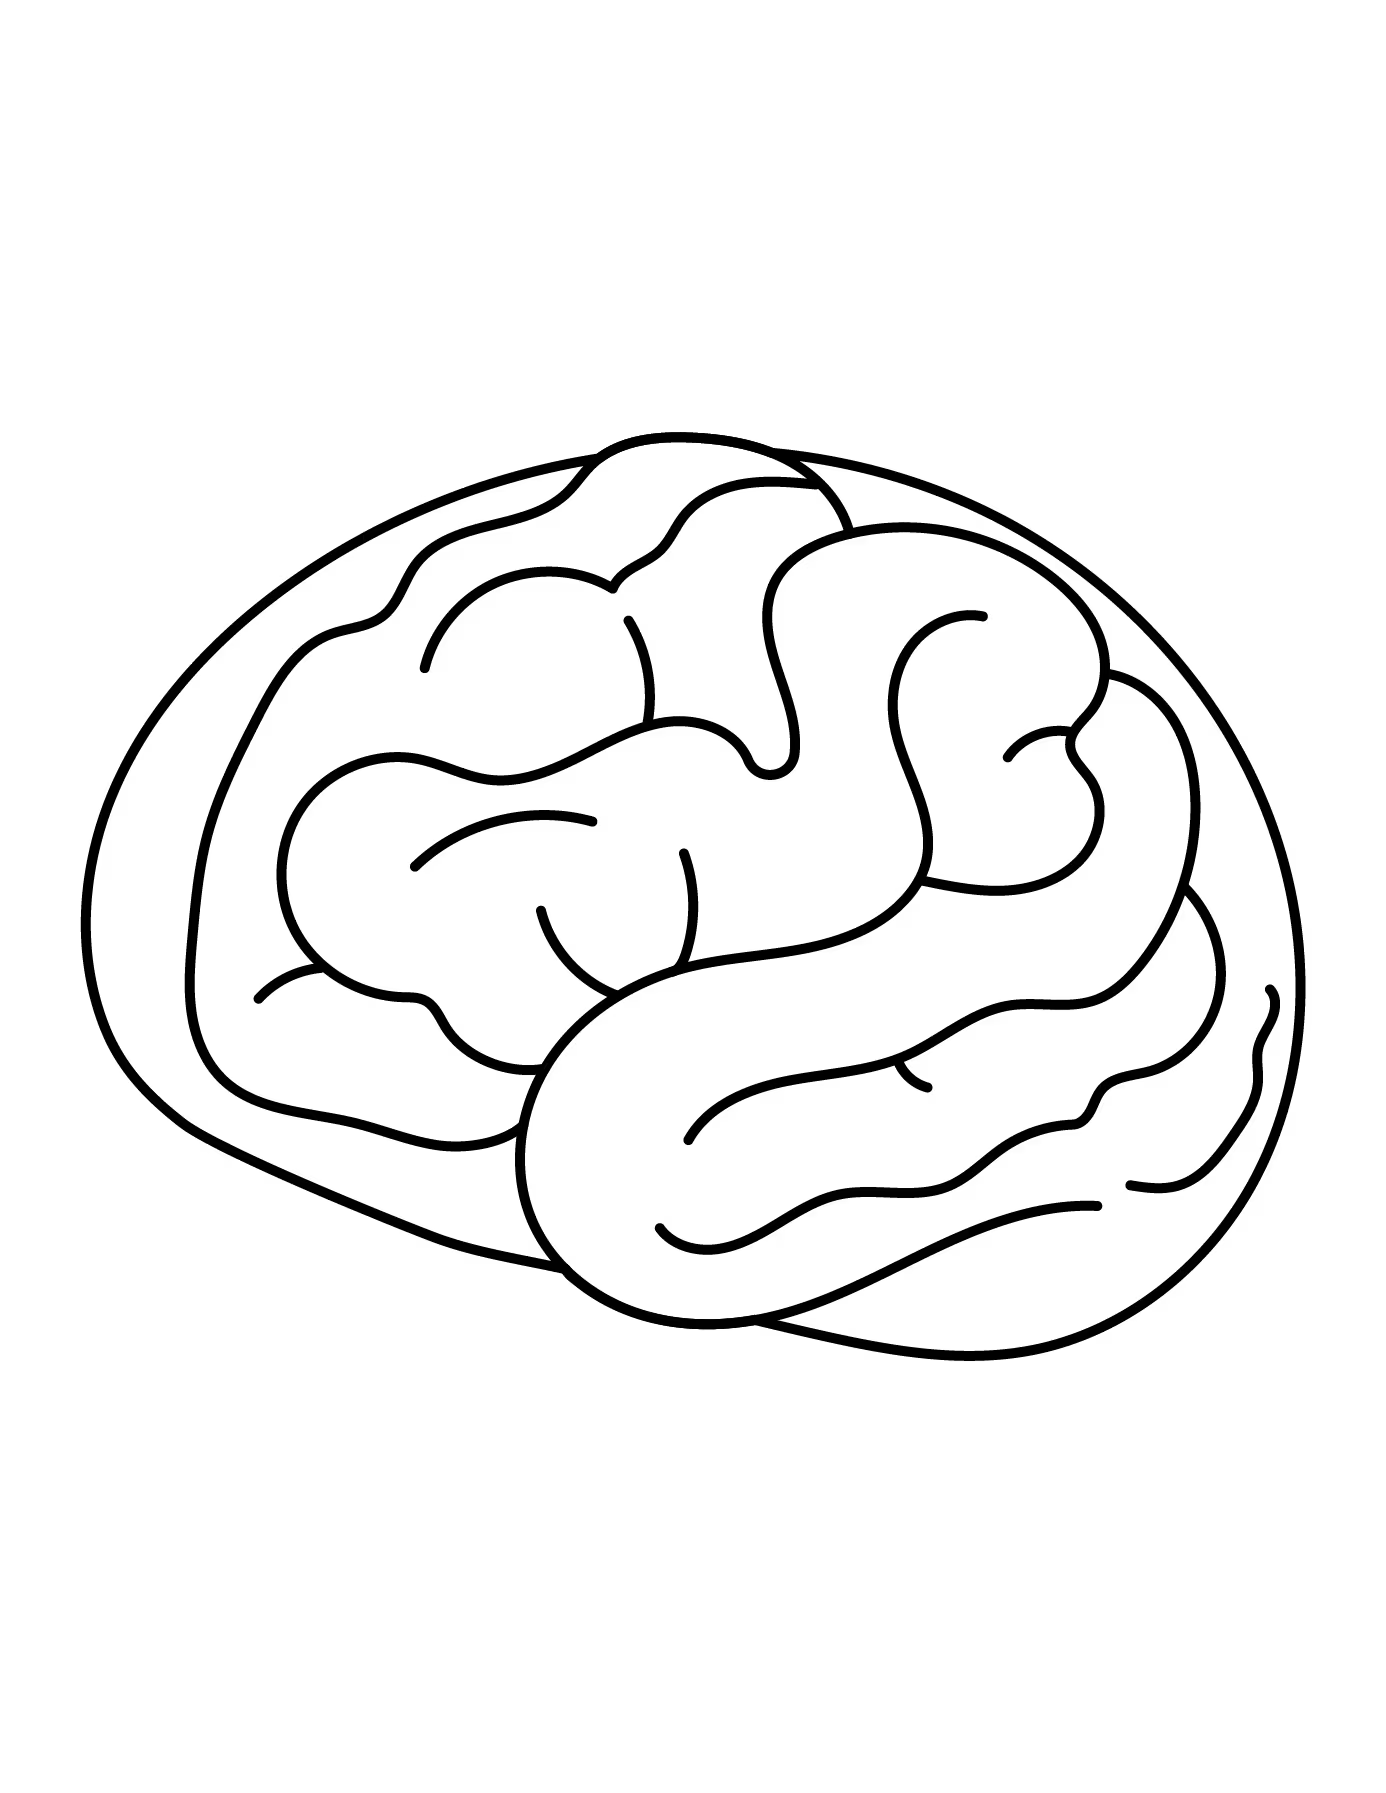
Printable Brain Drawing PDF
You can find a printable brain drawing PDF below that you can color or use for reference the next time you want to try this fun brain activity. The completed outline includes all of the large folds and smaller curving details shown in our tutorial.
If you are looking for a different science related activity, be sure to check out our sun drawing tutorial.
Did you color your brain drawing pink or a different color? Make sure to share your brain activity with us in the comments below and share this guide with another parent, teacher, or friend.