How to Draw a Car
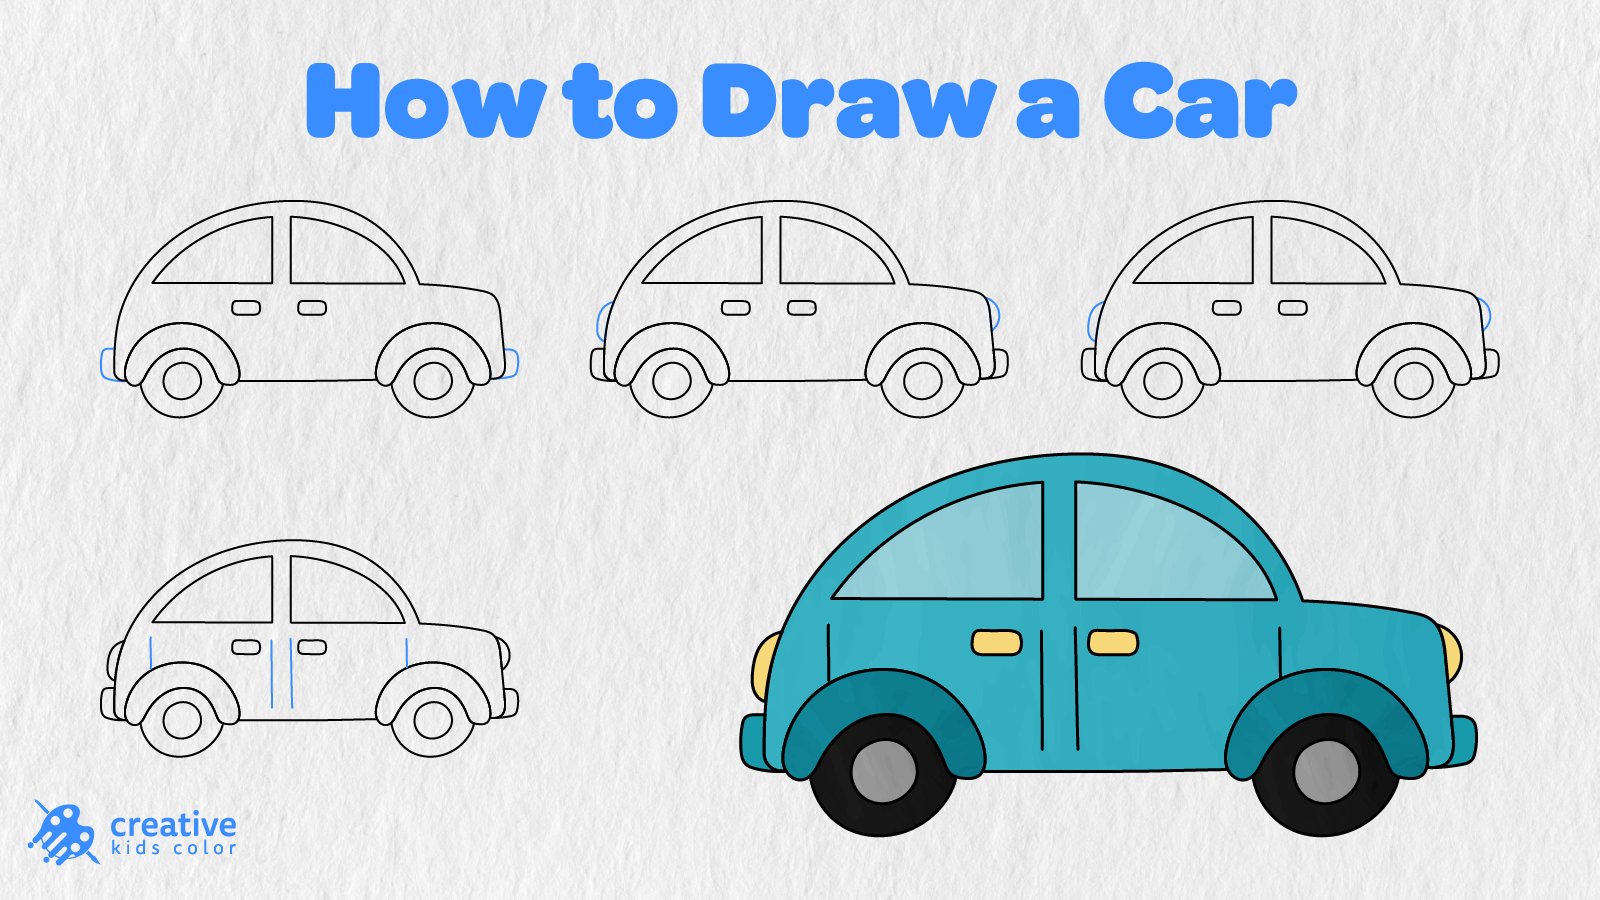
A car ride can become part of many everyday adventures, from going to school and visiting family to taking a road trip this weekend. Cars also come in various shapes and sizes, but for this printable tutorial, we have created a rounded side view car with a curved roof, two windows, big wheels, small lights, and some simple door details.
Kids and beginners can learn how to draw a car in 11 easy steps. We will start by sketching the body and roof and adding windows, wheel arches, wheels, handles, bumpers, and lights. We will finish by outlining the last details on the car’s side.
Follow the blue lines on each image and add the new elements one after another. In the end, you will see that your car drawing looks like a real car ready to be colored.
Easy Car Drawing Step by Step
To draw this simple car, you will need a pencil, paper, eraser, and coloring supplies. You should start in the middle of the paper, leaving some space on either side to make the car body long enough.
Step 1: Draw the Body Outline

Draw a long shape that will represent the car’s body.
Make sure that the bottom line is almost straight, and the top line has a gentle curve. Round the shape’s ends to make the car’s front and rear.
Step 2: Add the Car Roof
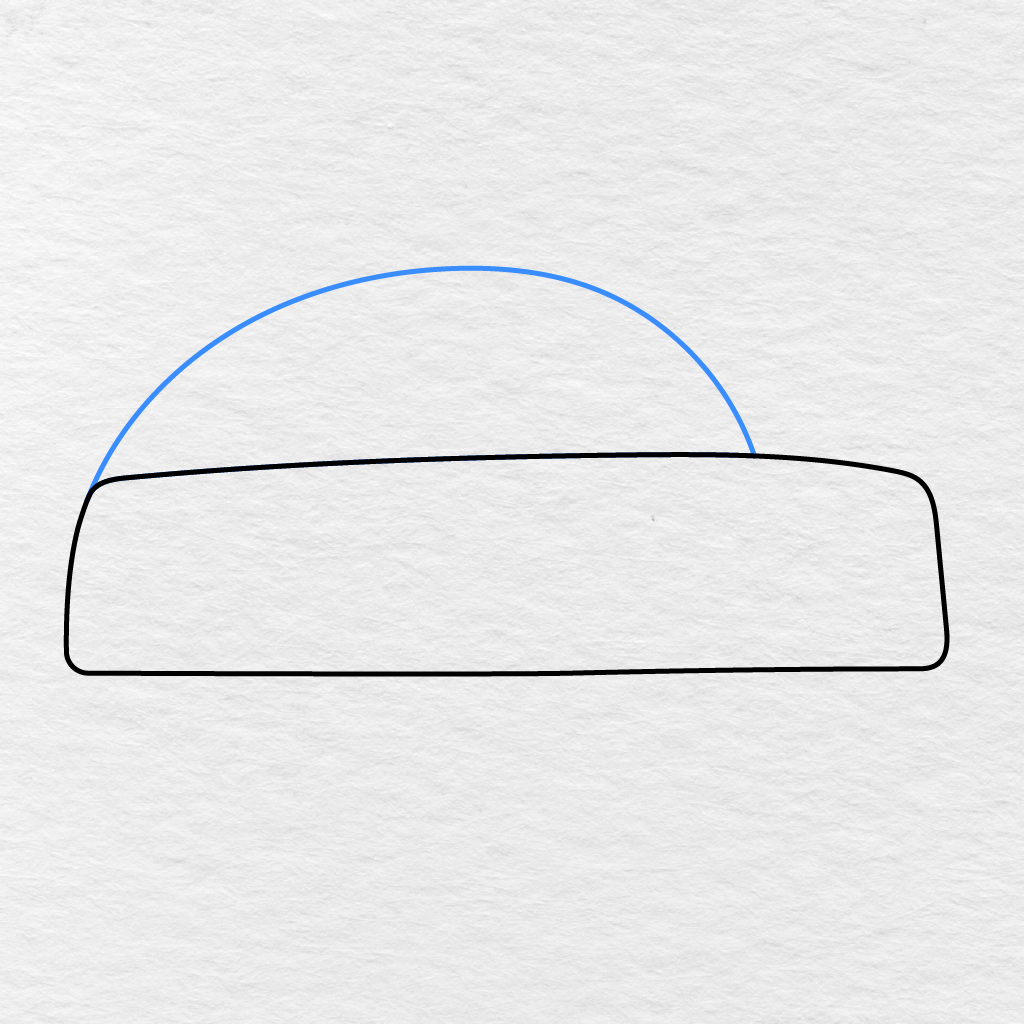
Using a large curved line, add the roof to the car.
The line should start at the back of the car body, curve upwards, and come down near the front. Make sure to connect the ends of the roof to the upper edges of the car’s body.
Step 3: Draw the Windows
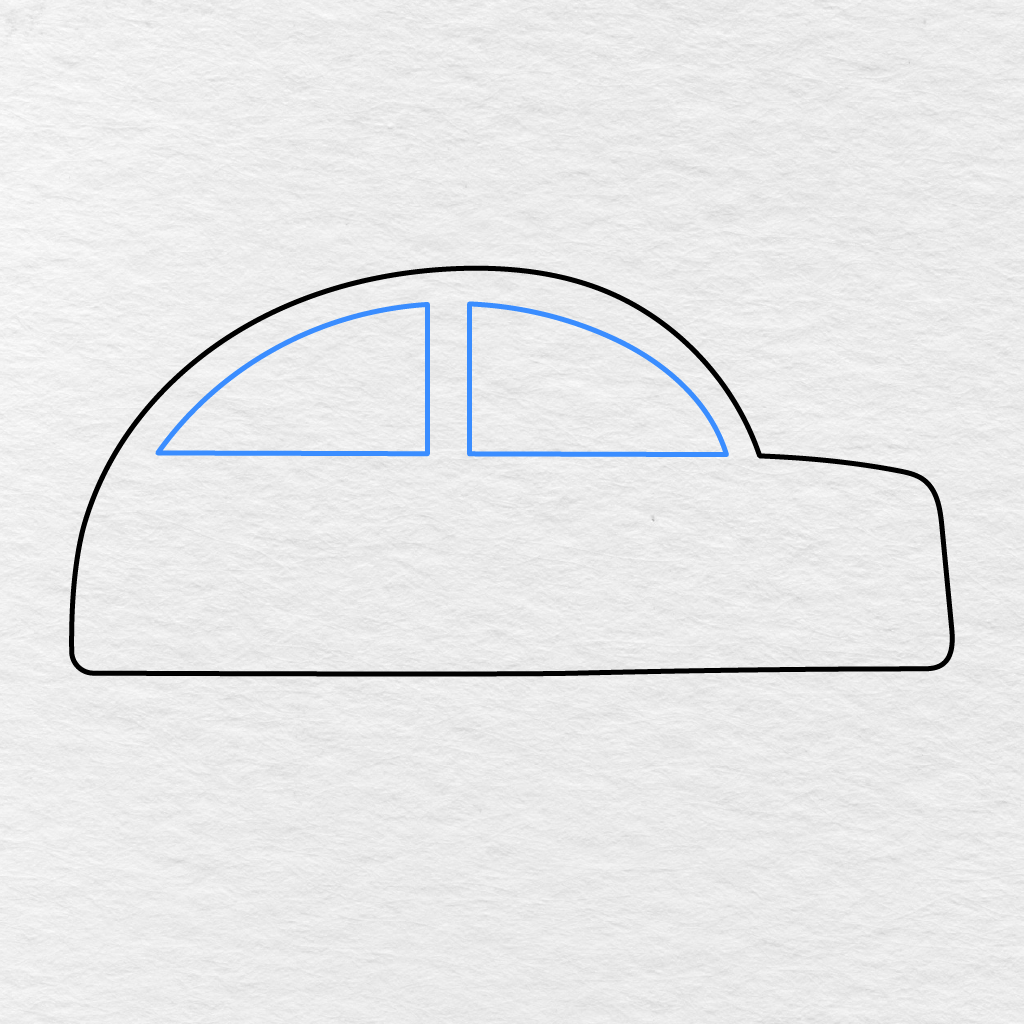
Use two large curved lines to add the windows to the car.
Make sure to leave a small space between the two windows and keep their bottom edges straight as well. The windows’ top edges should follow the roof’s curvature.
Step 4: Add the Wheel Arches
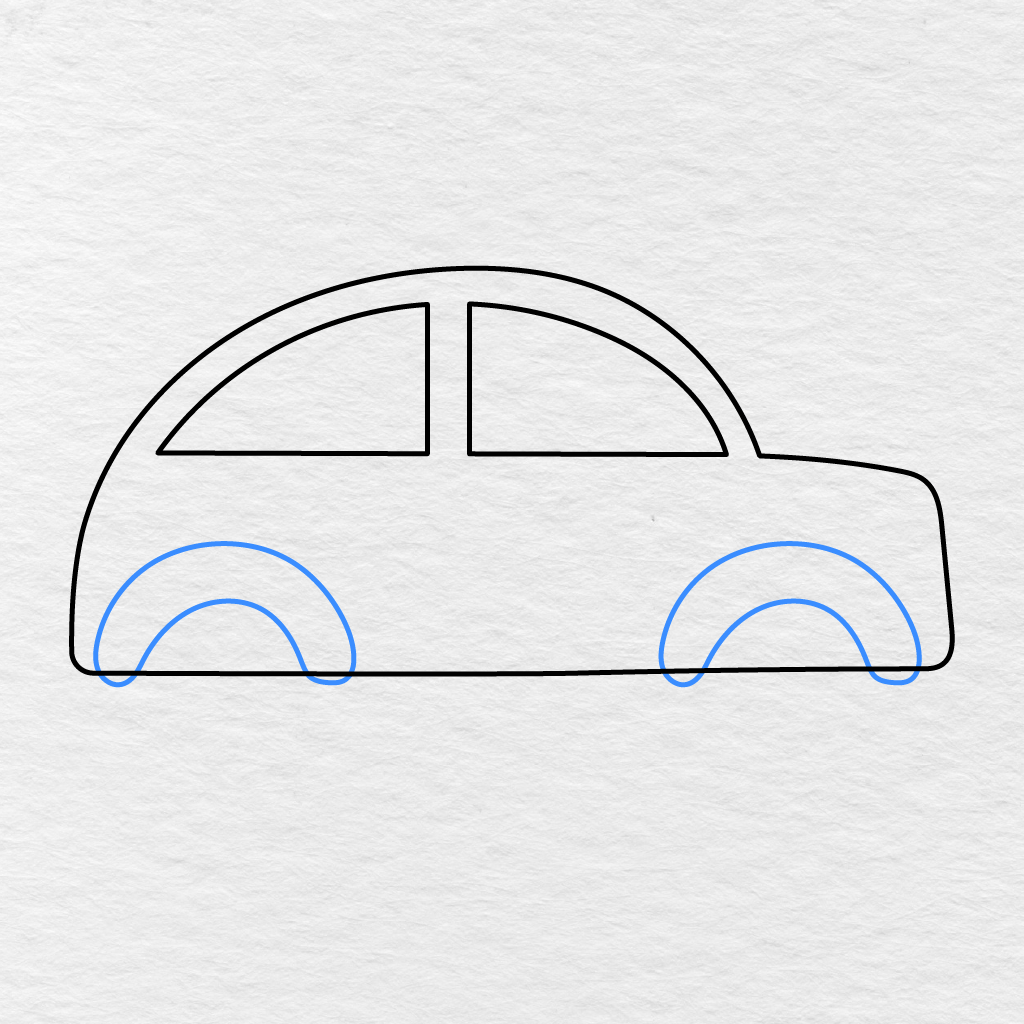
On the lower part of the car body, add one big curved line near the front and one near the back of the car.
Make sure to add a smaller curved line inside each wheel arch. Doing this will create the thick outlines of the wheel arches.
Step 5: Draw the Wheels
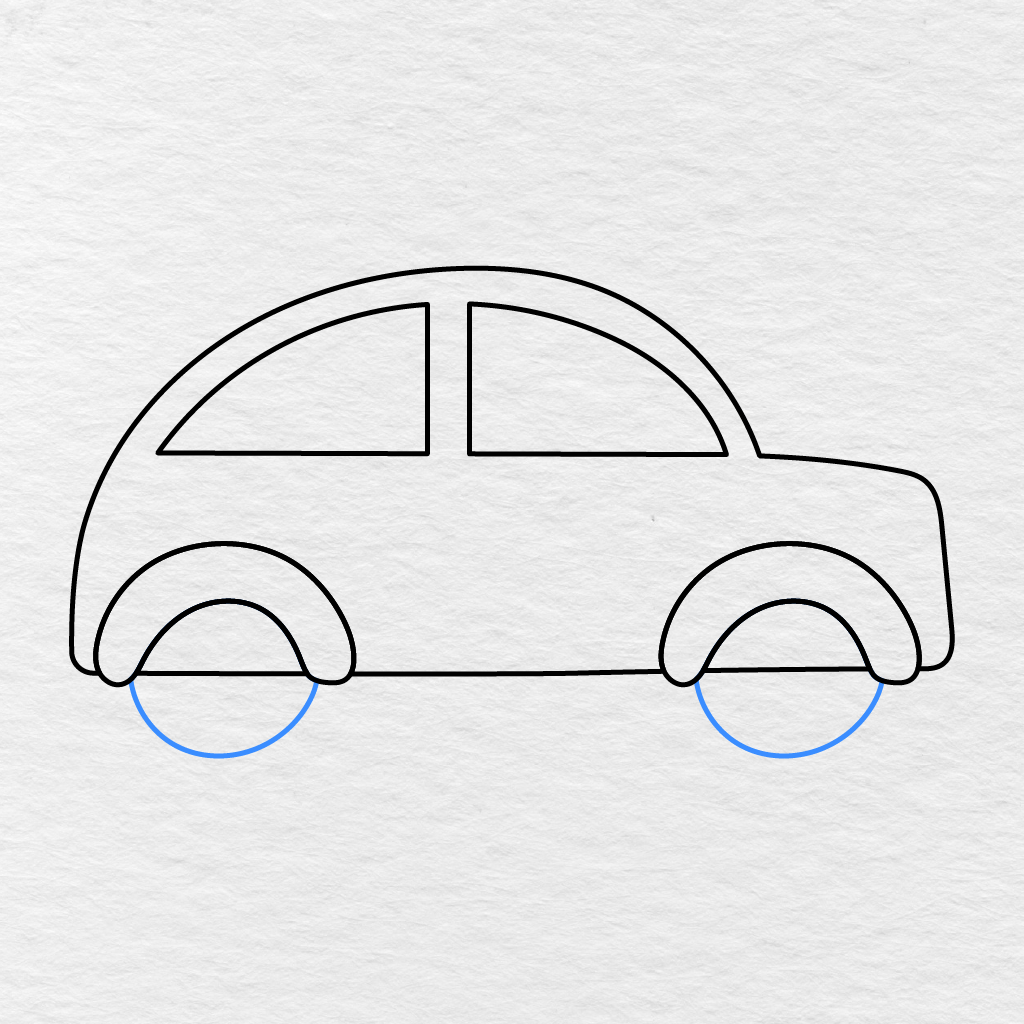
Under each of the wheel arches, draw a large circle to represent the car’s wheels.
Make sure that the wheels are in the middle of the wheel arches and almost the same size.
Step 6: Add the Wheel Centers
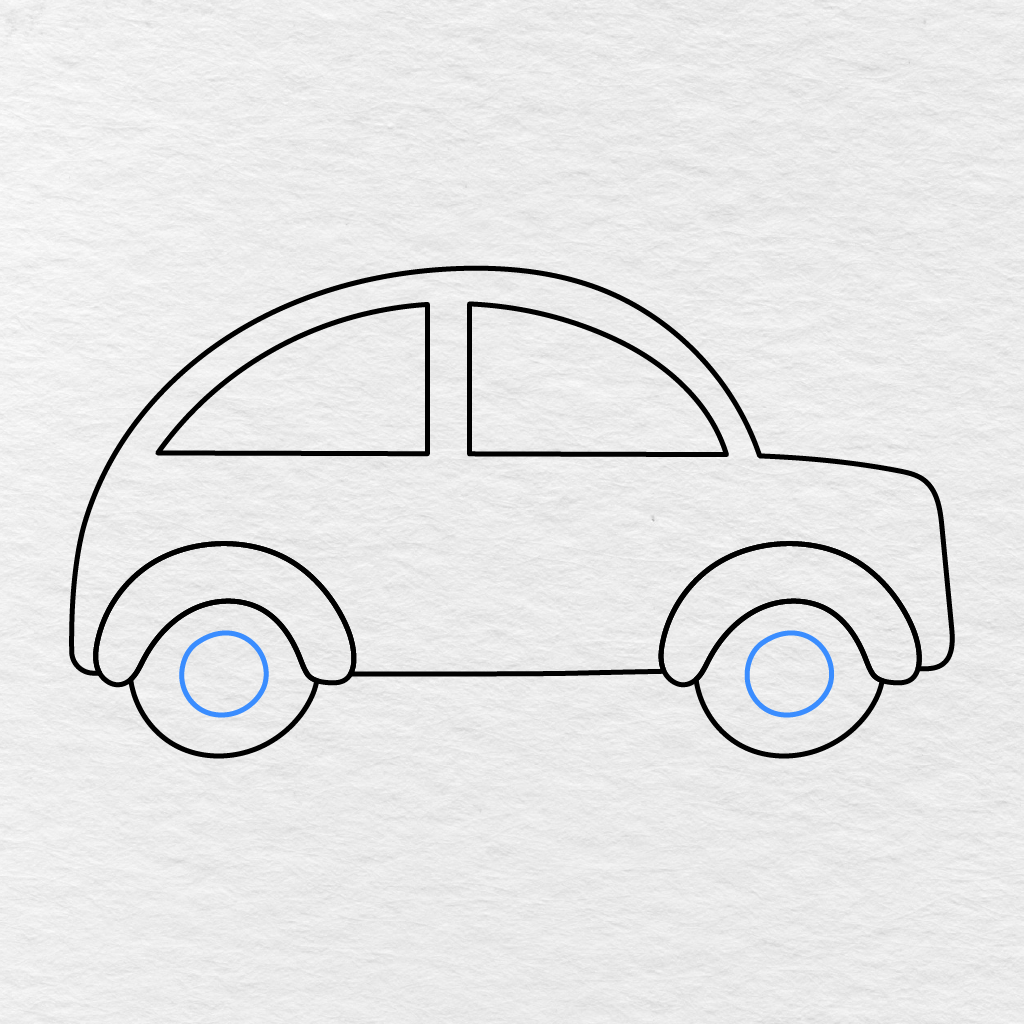
Make small circles in the middle of each wheel.
Make sure that the circles are approximately the same size and are placed in the same spot.
Step 7: Draw the Door Handles
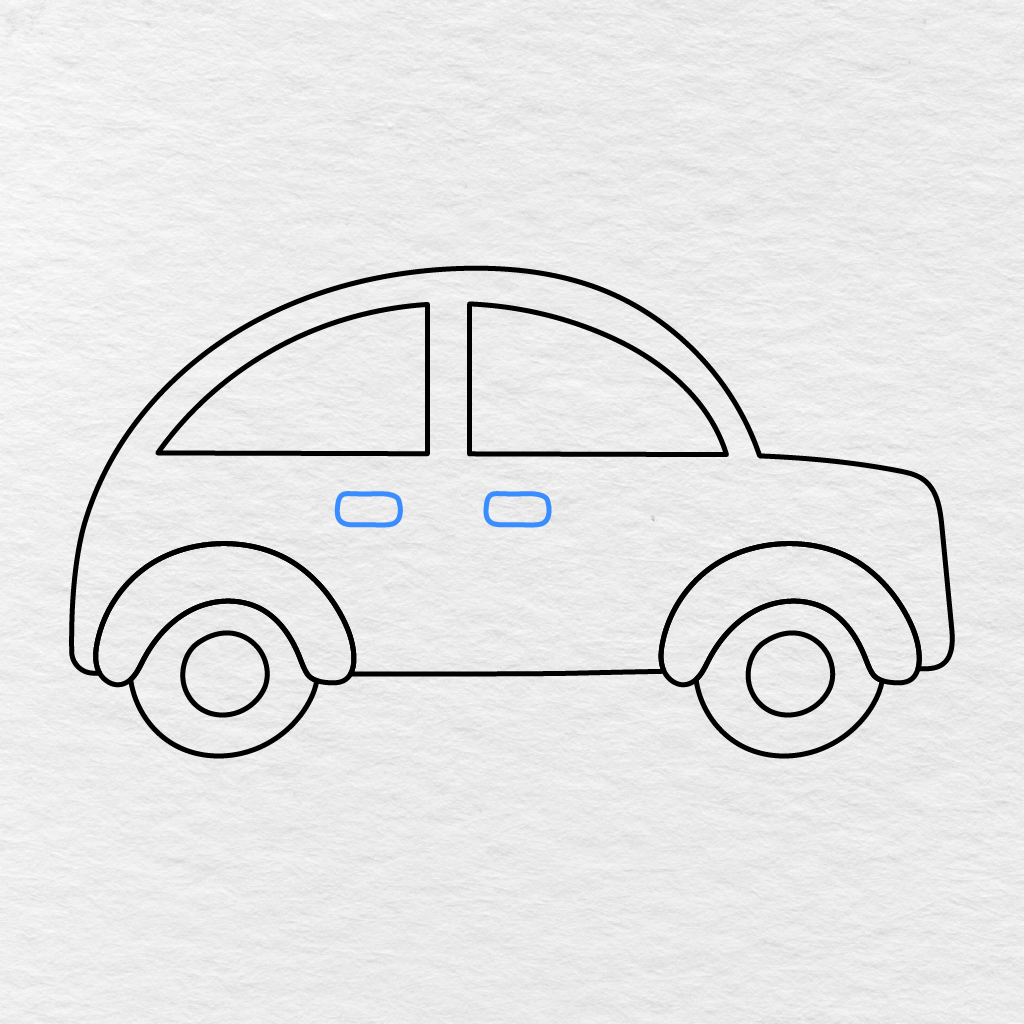
Under the car windows, draw two tiny rounded rectangles to represent the door handles.
Make sure to add the car door handles under the windows at roughly the same height.
Step 8: Add the Bumpers
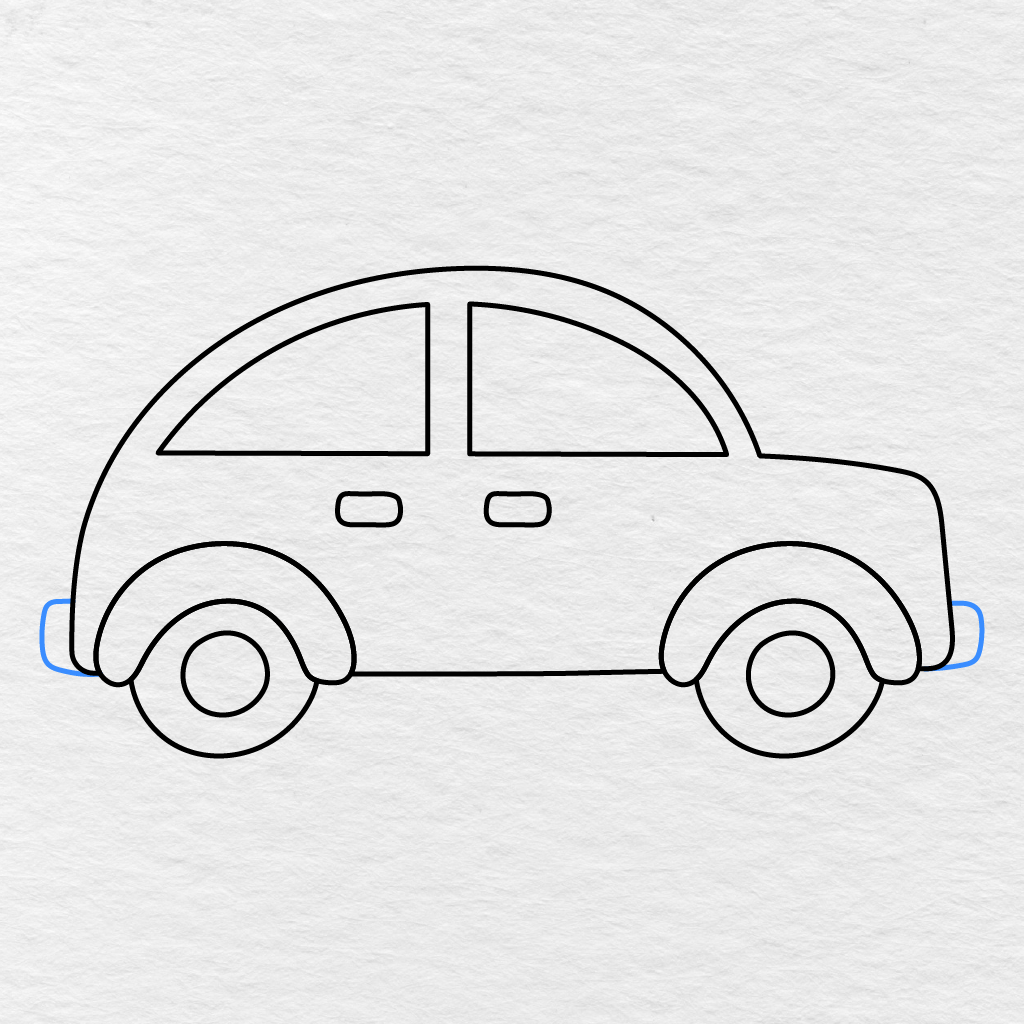
On the front and rear of the car, add two small rounded shapes to make the bumpers.
Make sure to add one small bump extension on the front and one on the rear of the car.
Step 9: Draw the Front and Rear Lights
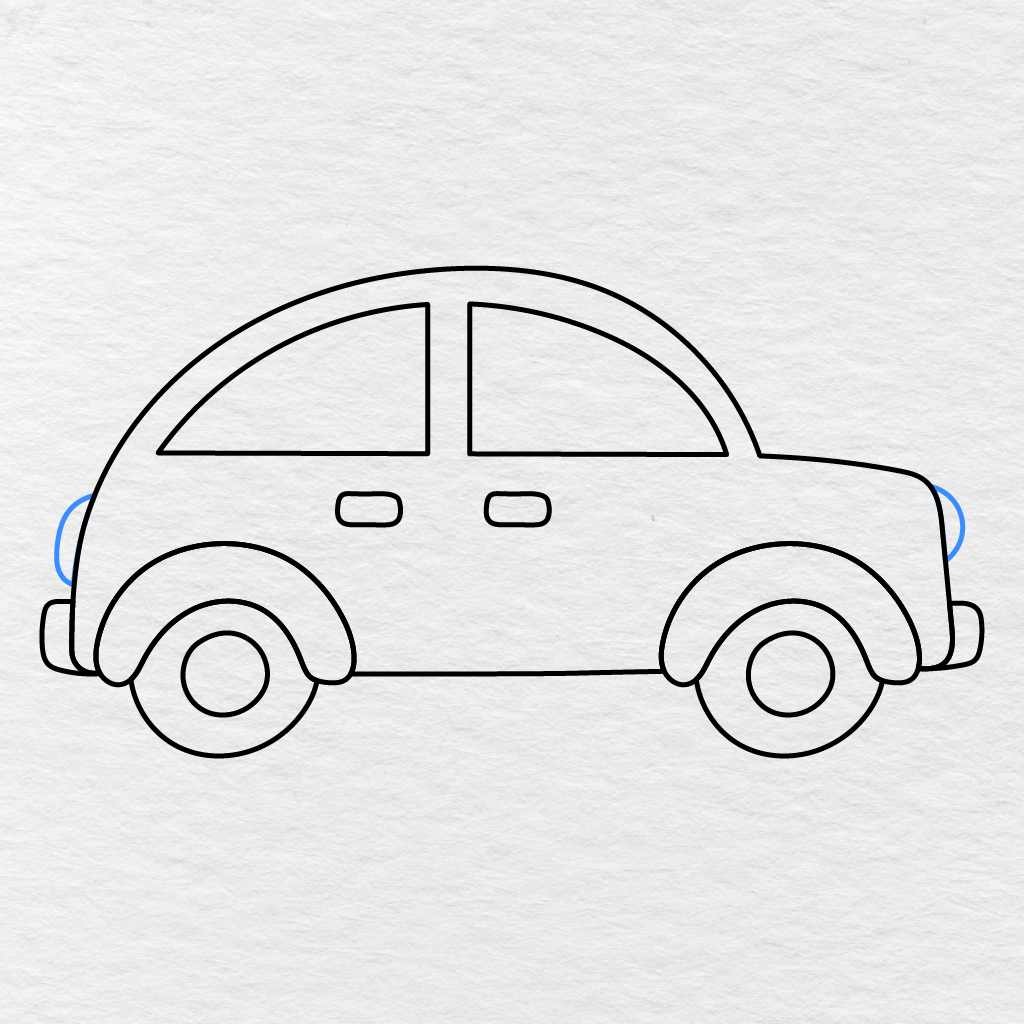
Add one rounded shape near the front and one near the rear of the car.
Make sure to put the car lights above the bumpers, but let the ends of the shapes extend slightly beyond the car’s body.
Step 10: Add the Door and Body Details
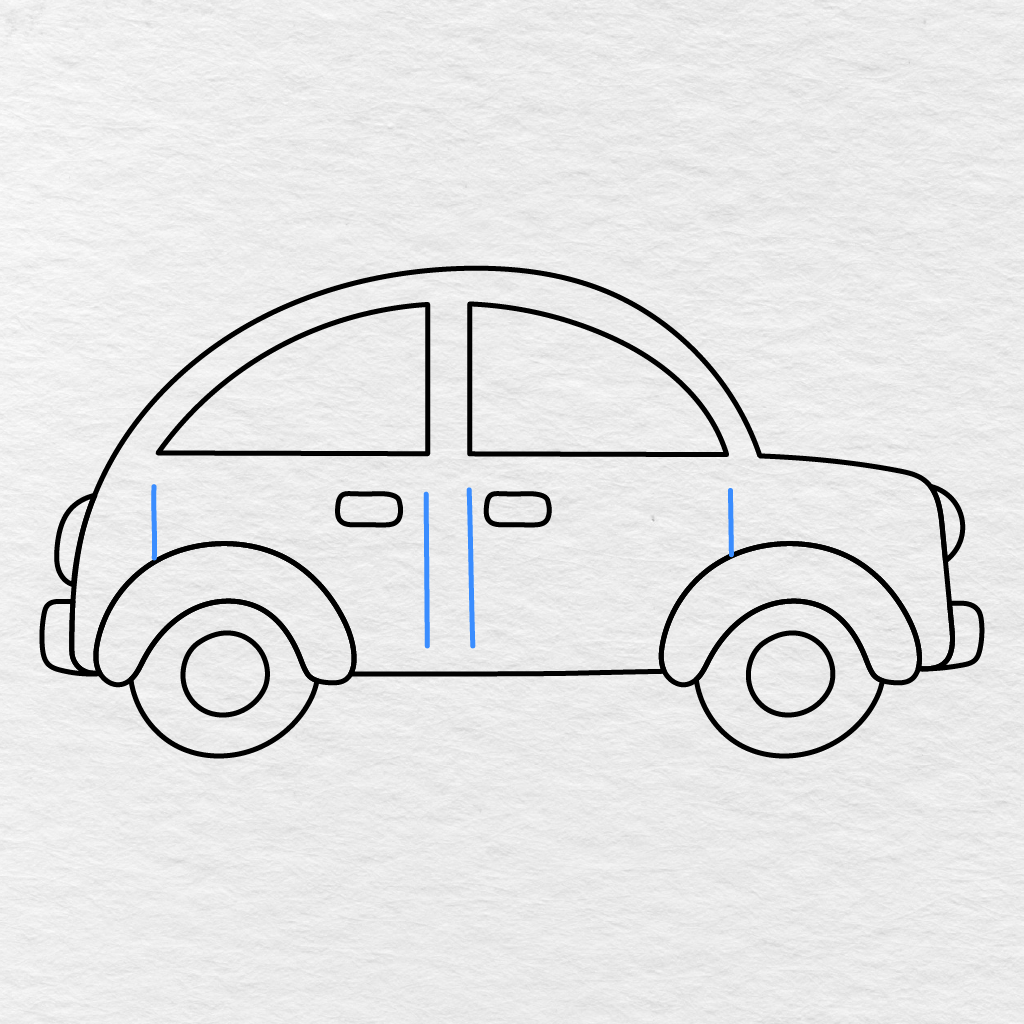
Draw two vertical lines that will divide the car doors. Add the lines between the handles to complete the car’s door shapes.
Next, add two more short vertical lines above the wheel arches. This will create all the car body side details.
Step 11: Color the Car
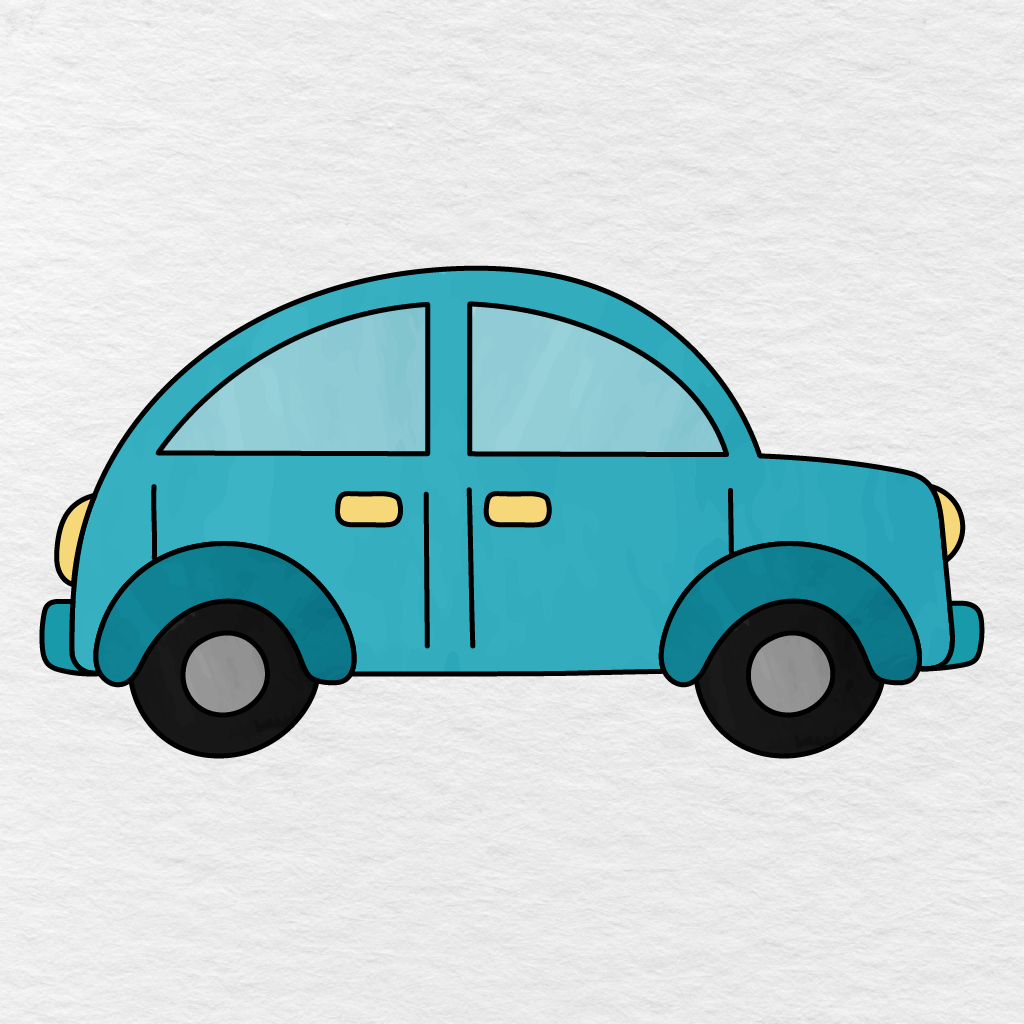
It is time to color the car drawing. We added turquoise blue to the car body and darker blue to the wheel arches. The windows are light blue, and the car’s handles and lights are yellow. The tires are black, and the circles in the middle of the wheels are gray.
You can color your car drawing following our example or using another color combination. You can use red, green, purple, orange, or any other colors you like.
Your easy car drawing is complete!
Printable Car Drawing PDF
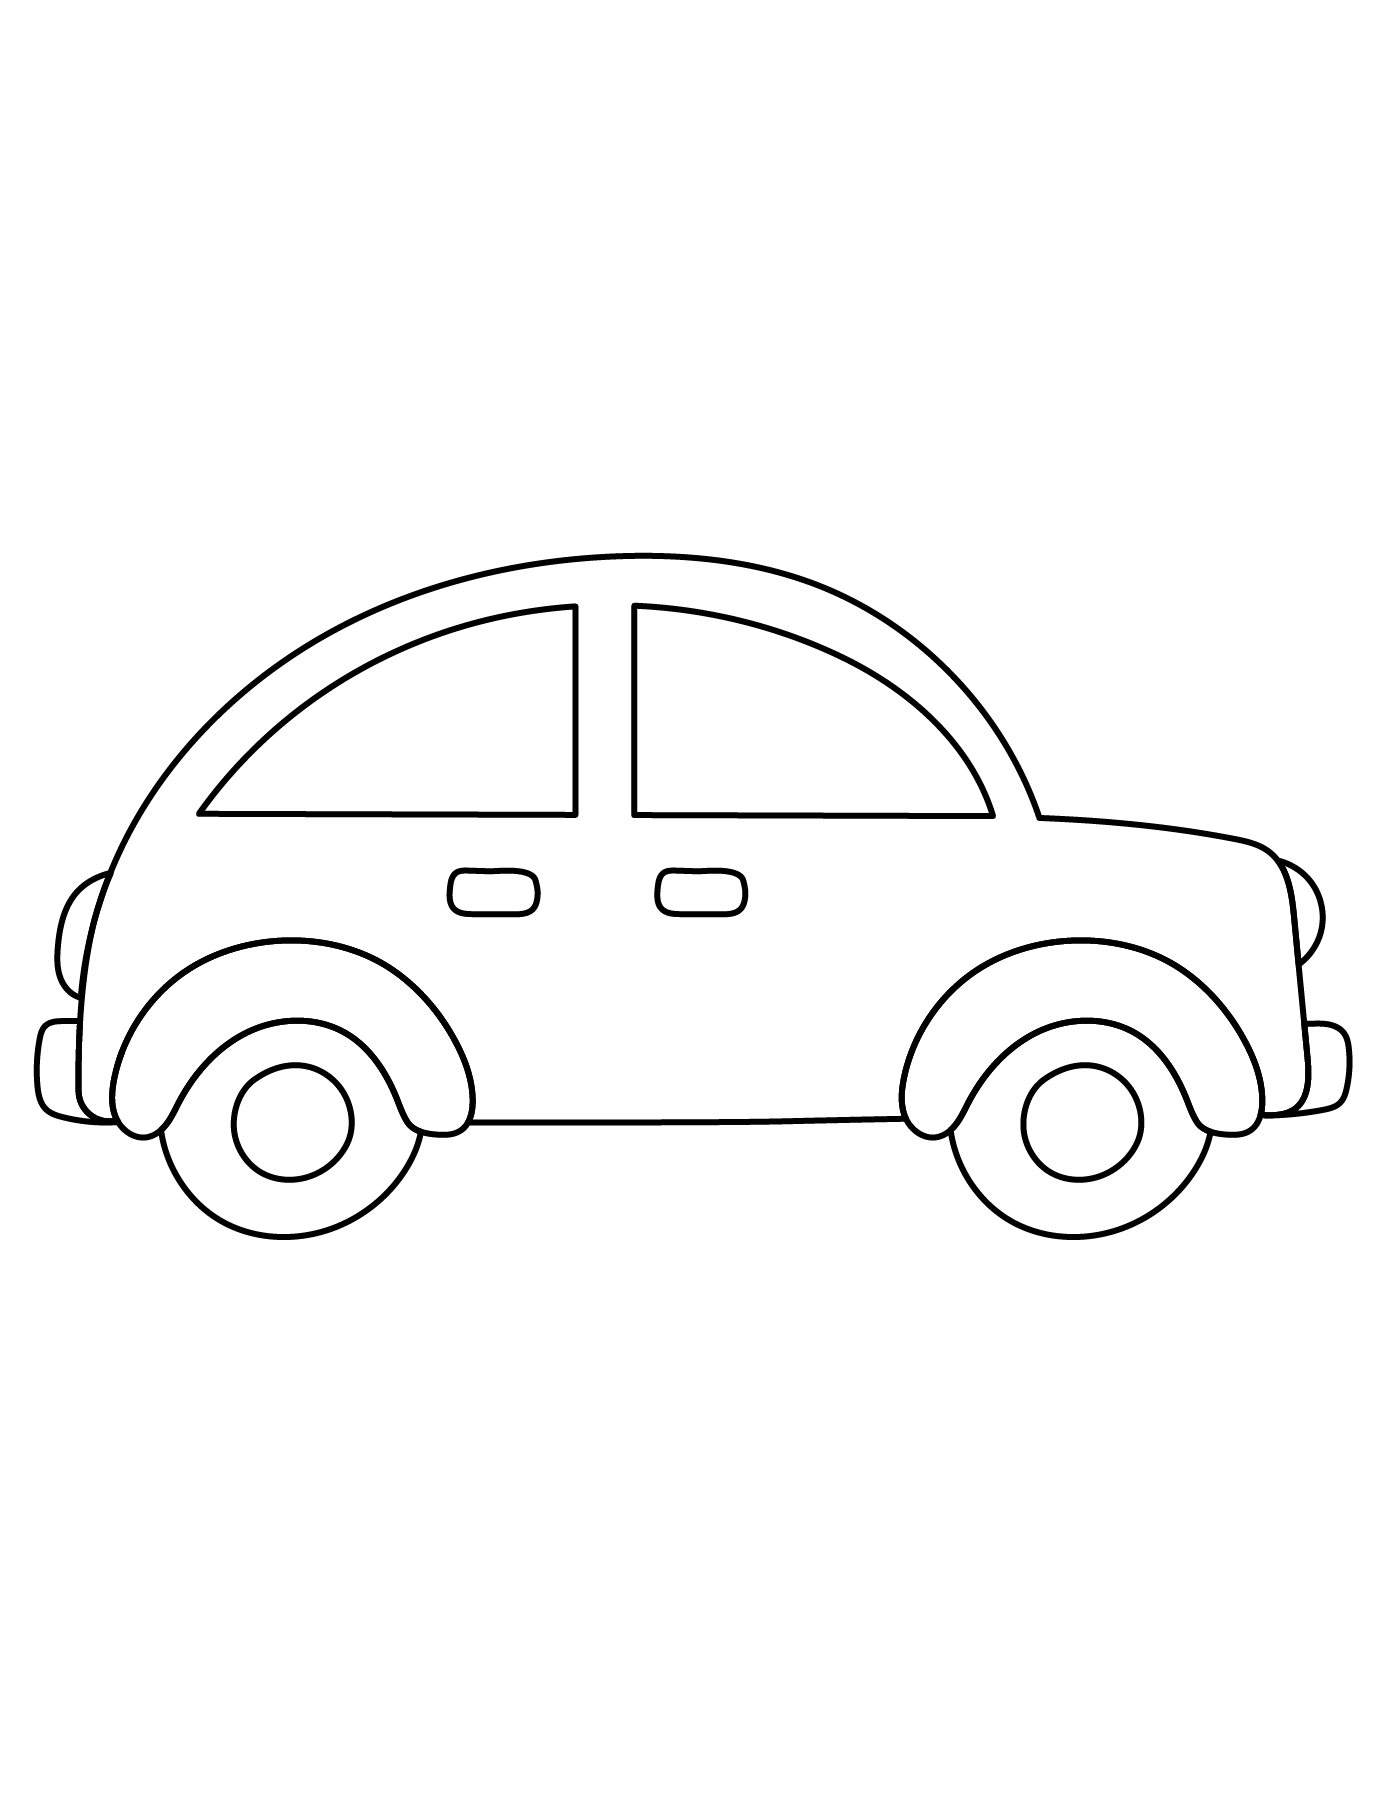
Below you can find a printable car drawing PDF that you can use now or save for later. We have prepared a simple outline of this car; it has a rounded body, a curved roof, two windows, two wheels, wheel arches, and some small details like door handles, bumpers, and lights.
For another fun activity about drawing different vehicles, we recommend checking out our Car Coloring Pages.
What color did you choose for your car? Make sure to share your drawing in the comments below and remember to share this article with another parent, teacher, or friend!