How to Draw a Dinosaur
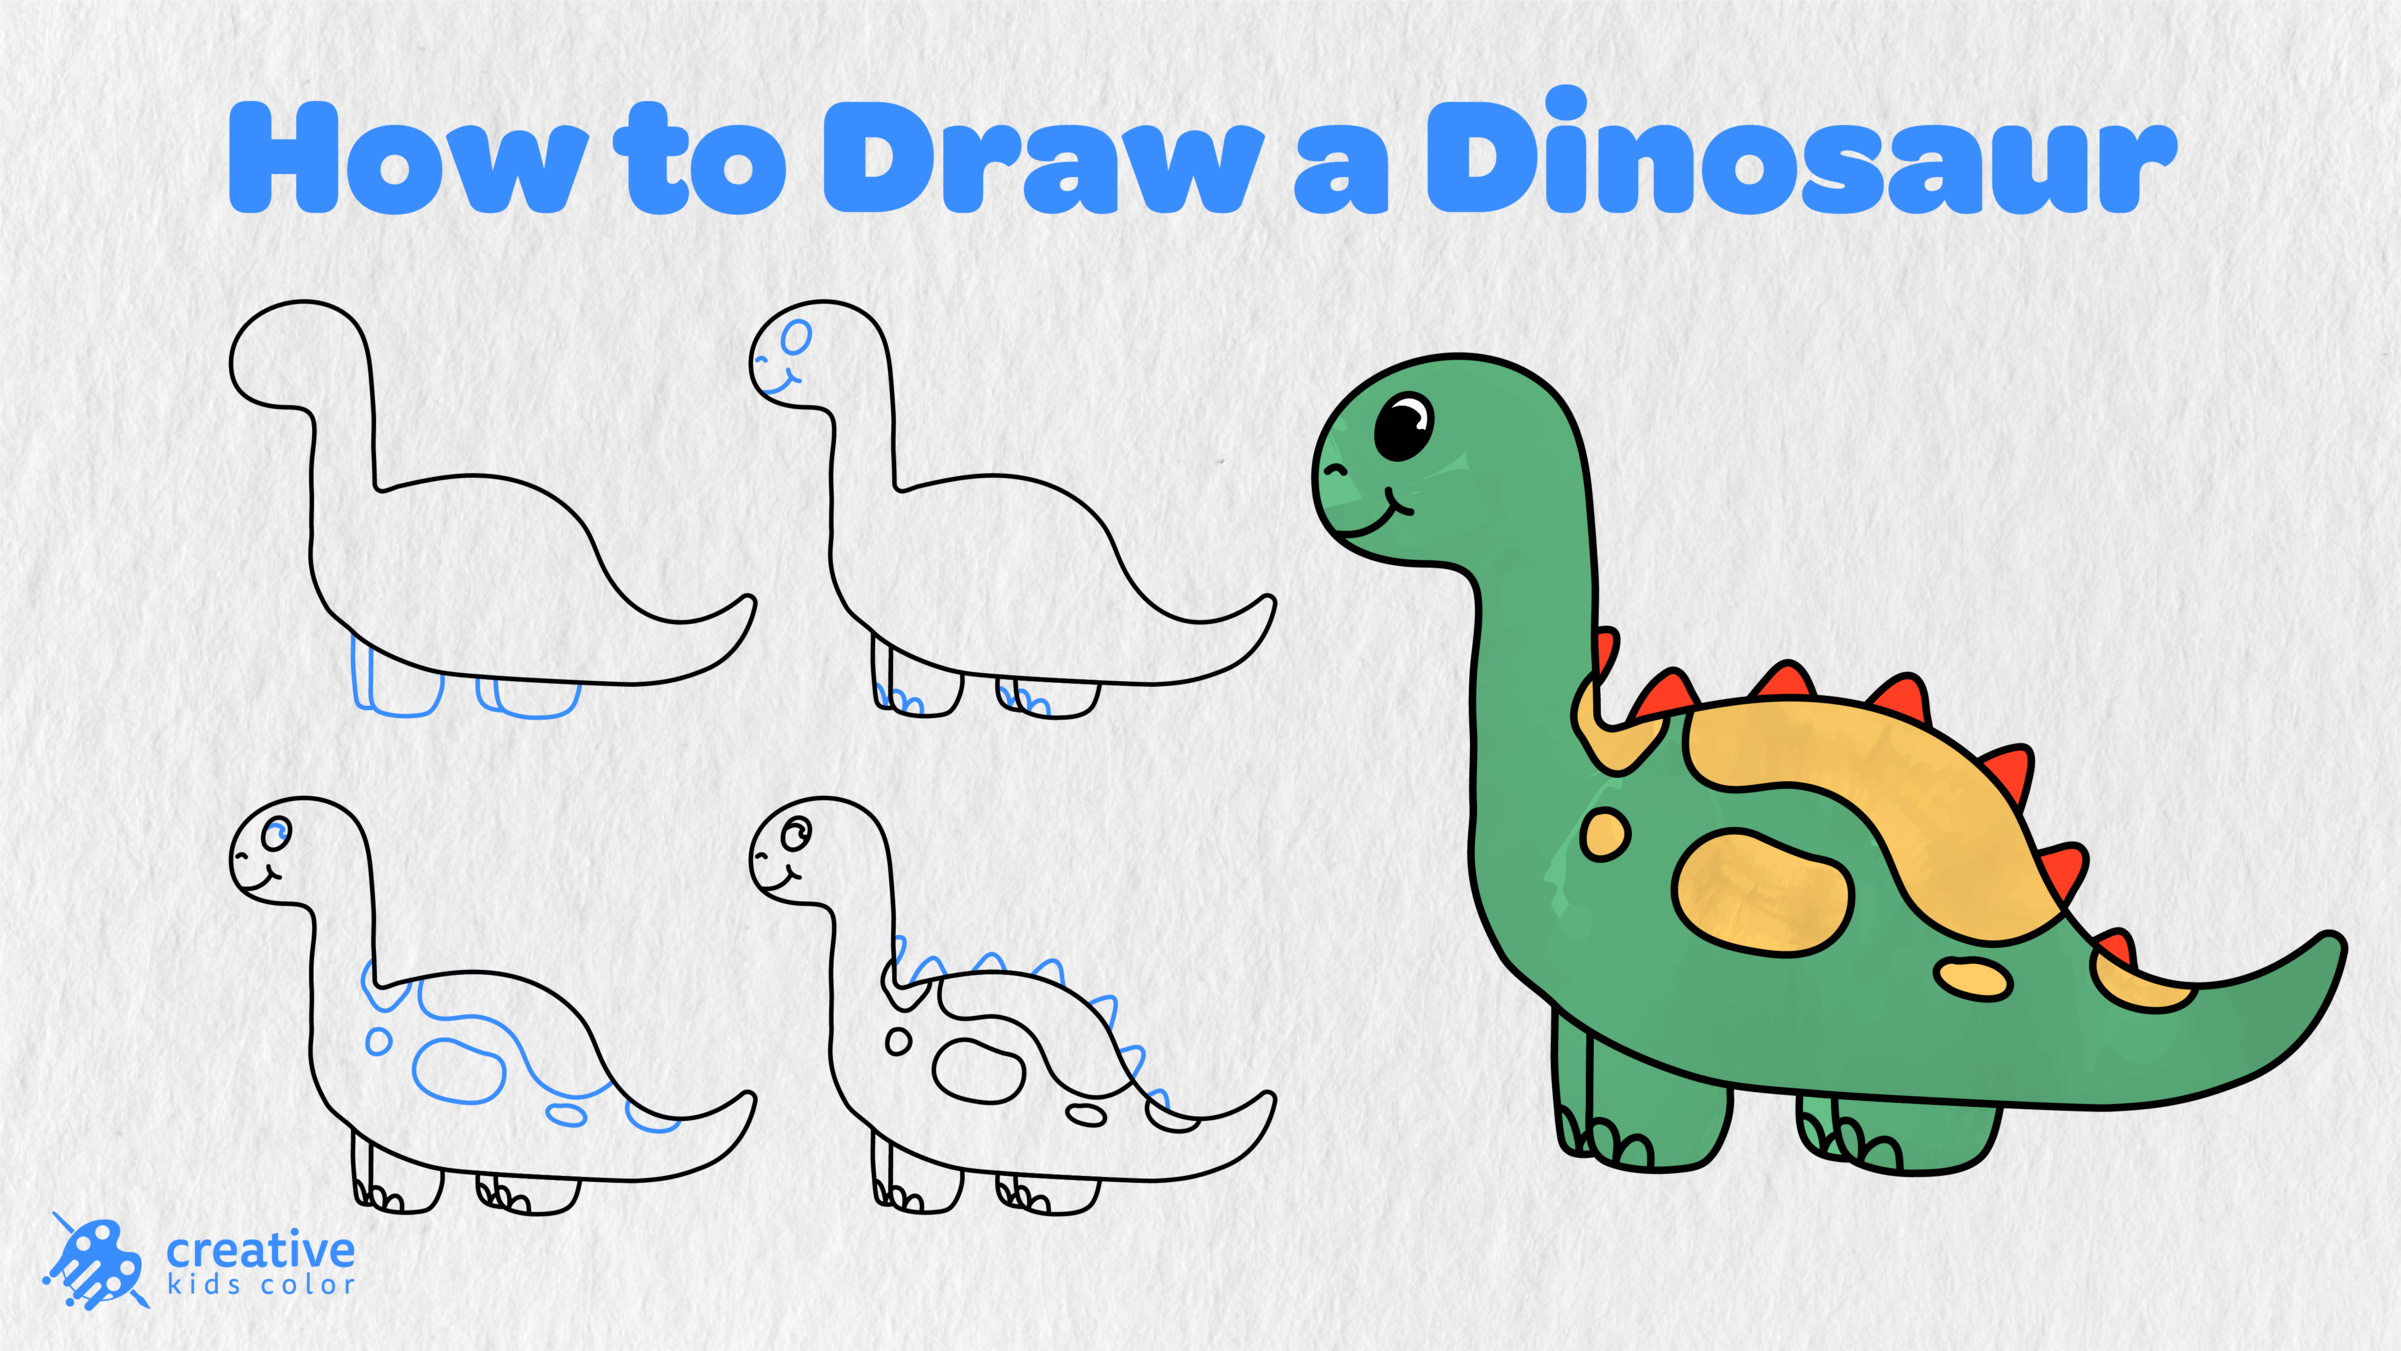
This friendly little dinosaur has a long neck, rounded body, short legs, a long tail, and small spikes along its back. In this step by step guide, you will learn how to draw a dinosaur using easy strokes and rounded shapes before adding the smaller details and color.
This step by step guide is geared towards absolute beginners or those wanting to draw a fun and simple cartoon dinosaur instead of a realistic one. All you need to do is follow along with the tutorial one step at a time, taking your time to really make each step turn out the way you want and using the example picture as your guide when you go to add color later.
The little dinosaur drawing you can make here is pretty simple. It has some of the features of a long neck dinosaur, but is much cuter and simpler. It has a big body, short legs, a long tail, and little spikes on its back. This fun and simple art project will allow you to make a nice drawing of a prehistoric friend quickly, and finish it off with a nice color.
Easy Dinosaur Drawing Step by Step
Before you begin, just gather up a pencil, paper, and some coloring tools. If you’re doing this by hand, you may want to start with light pencil marks so you can erase and adjust anything as needed before darkening the lines to make your final drawing.
Step 1: Draw the Body and Tail
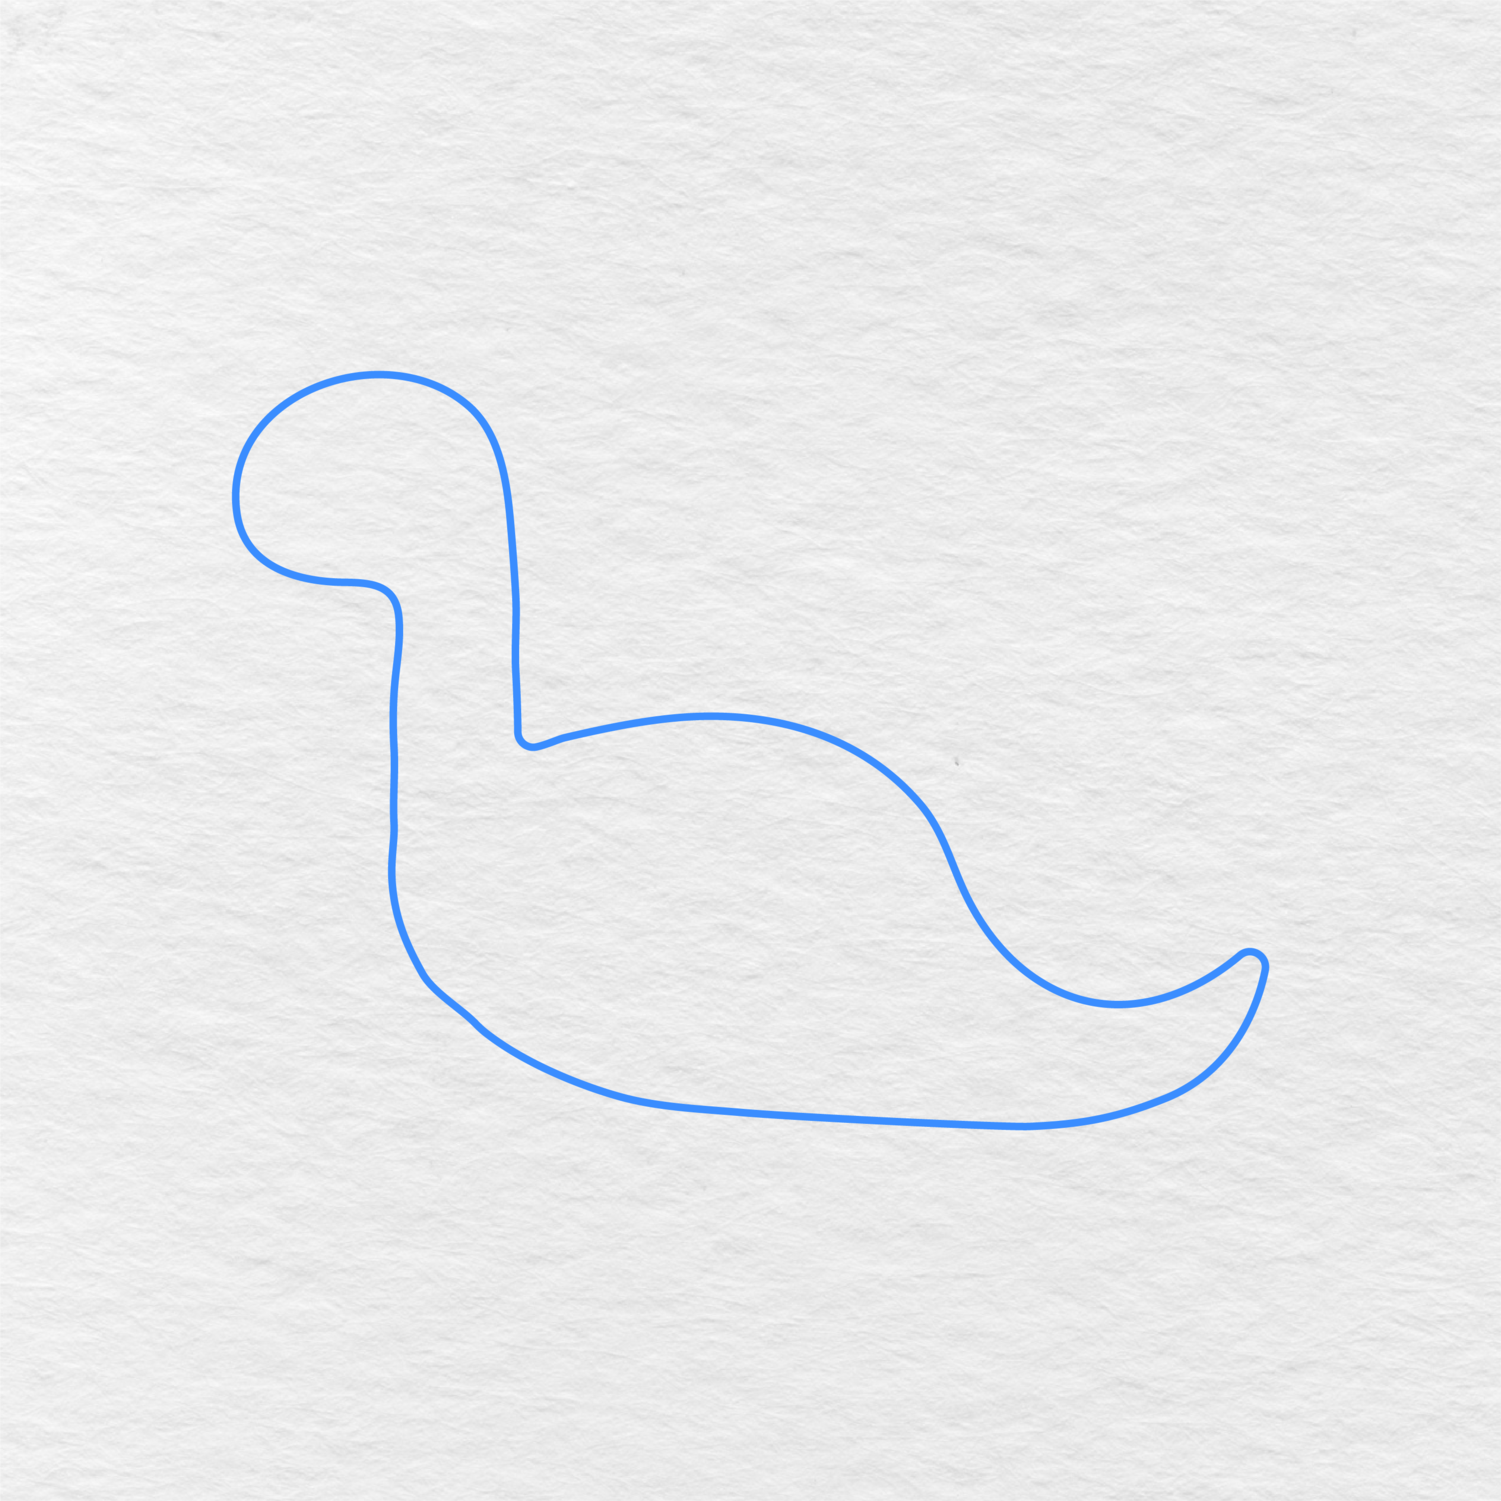
As a starting point, lightly draw the general shape of your dinosaur with long, curved strokes. The shape should curve from the head to form the neck and round, full body, coming to a point at the tail.
Don’t worry about getting this exactly right. Just focus on flowing, rounded lines to keep the dinosaur simple and friendly in appearance.
Step 2: Add the Legs
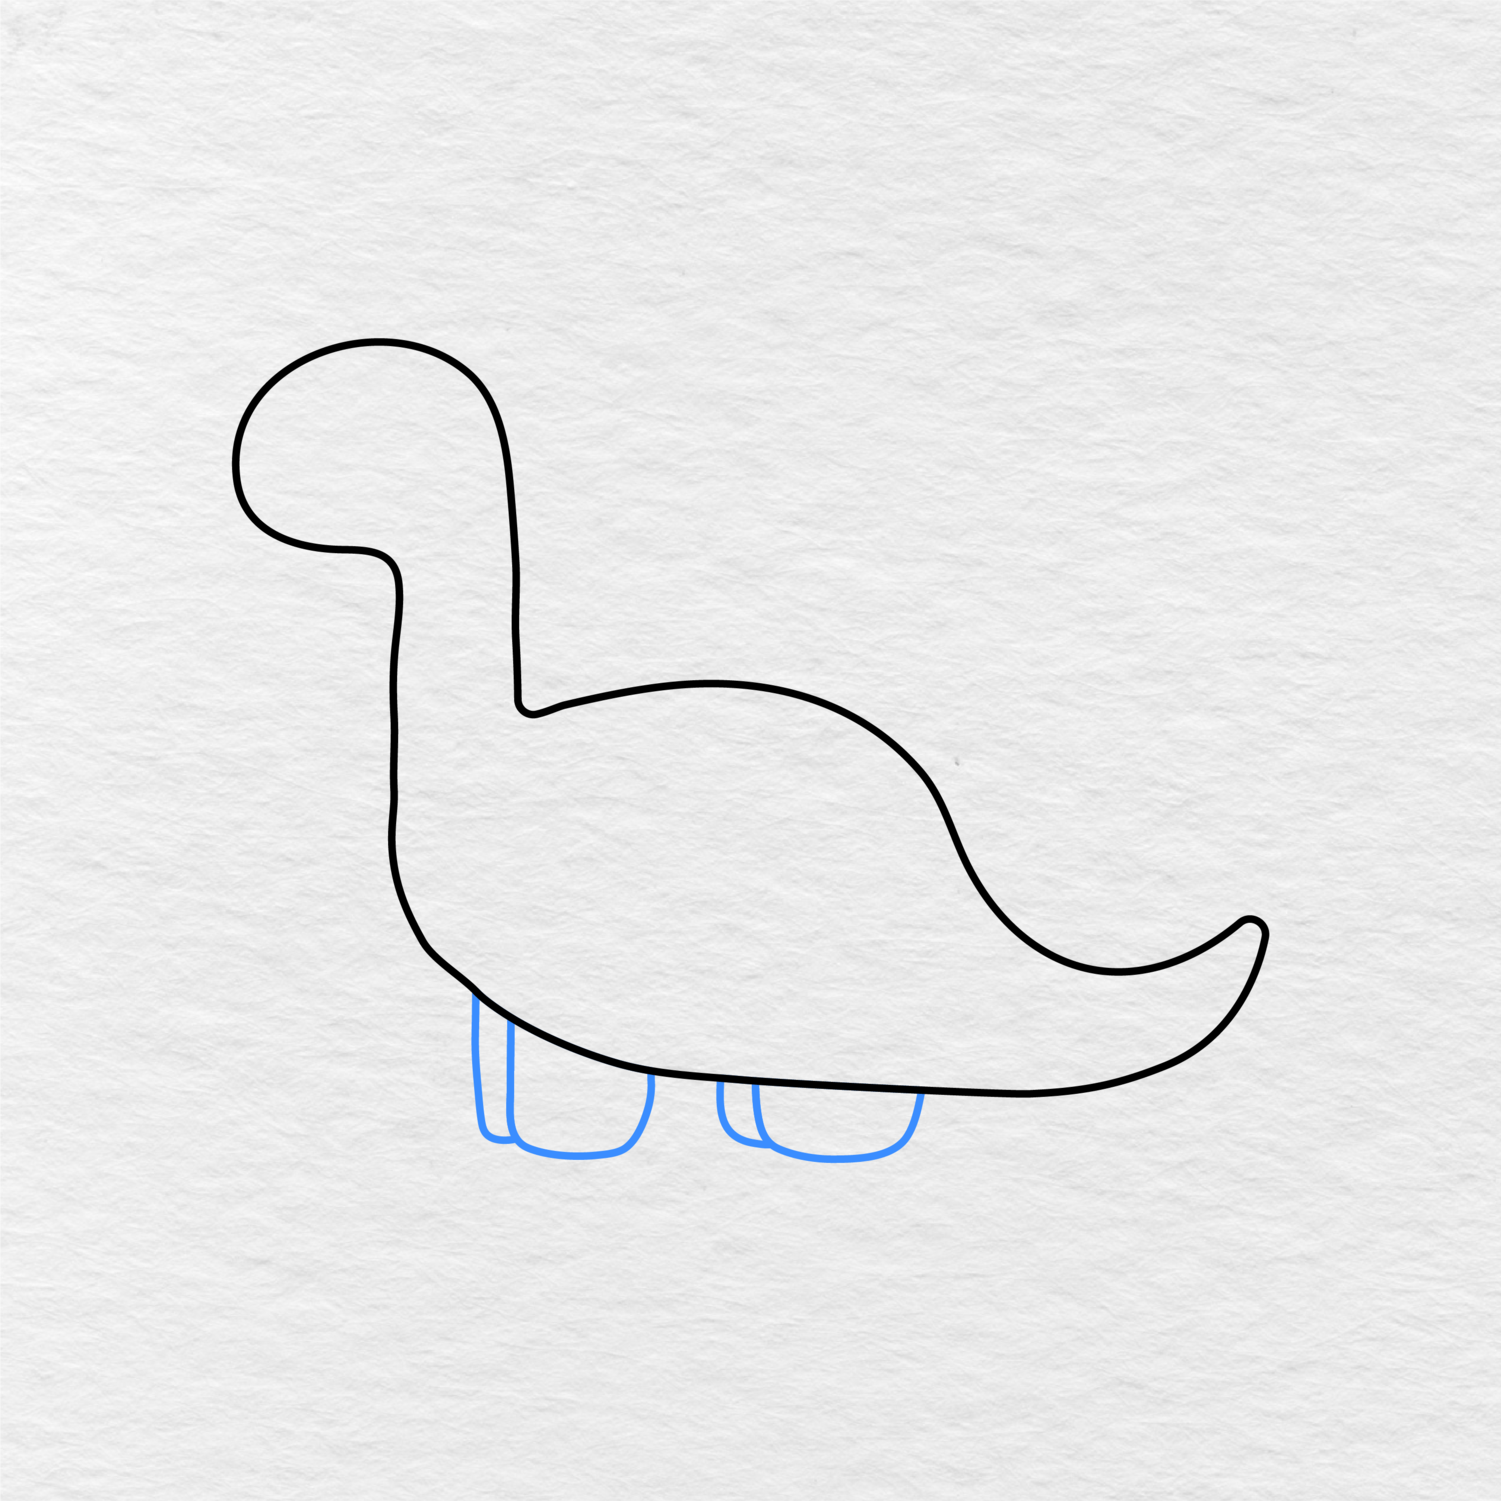
From the main body, add two short legs at the front and back of the body respectively.
Again, keep things rounded and simple. These basic legs are the perfect addition to give your dinosaur a grounded appearance while also showing off its rounded, simple body.
Step 3: Draw the Face and Toes
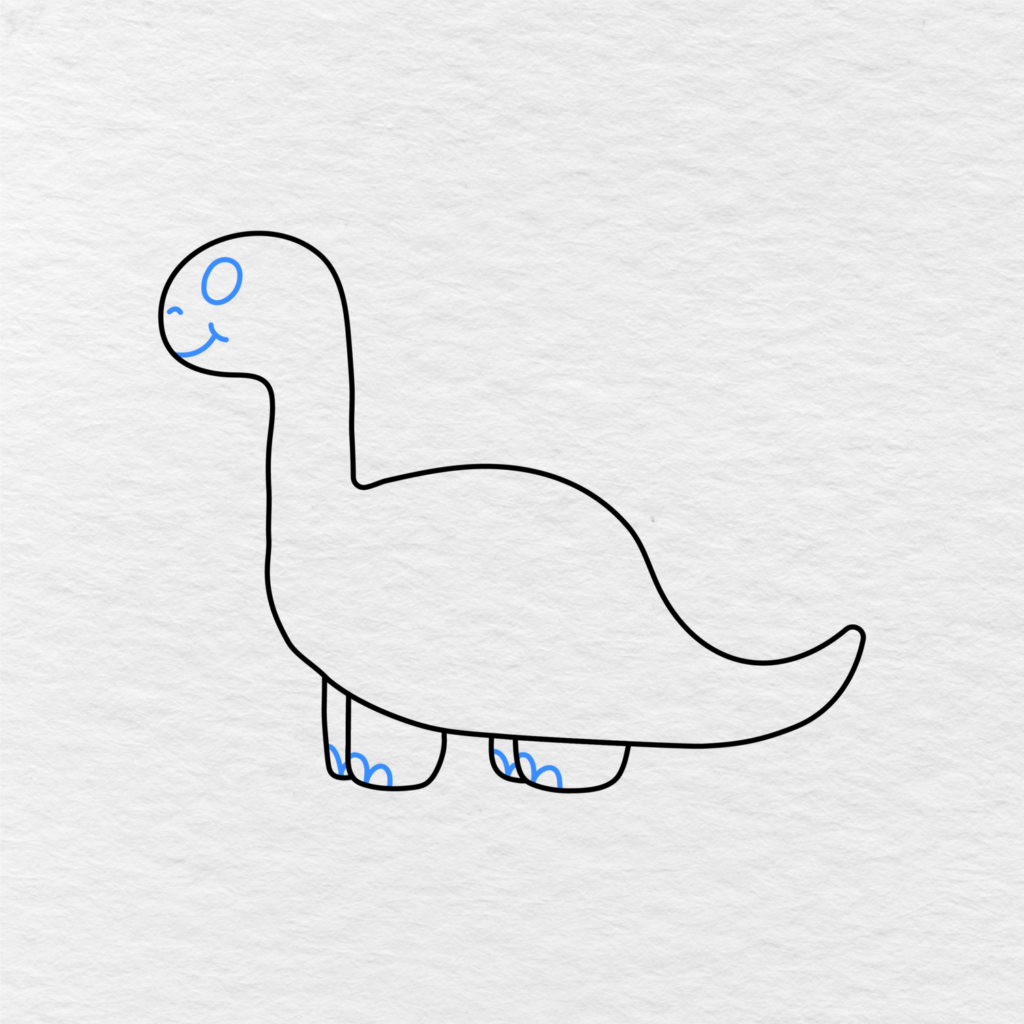
Add an eye and a smile to the face of your dinosaur, and small toes to the end of each leg.
These little details are what truly bring your easy dinosaur drawing together, and you can keep everything simple and friendly in appearance if this is a children’s activity.
Step 4: Add the Belly Details
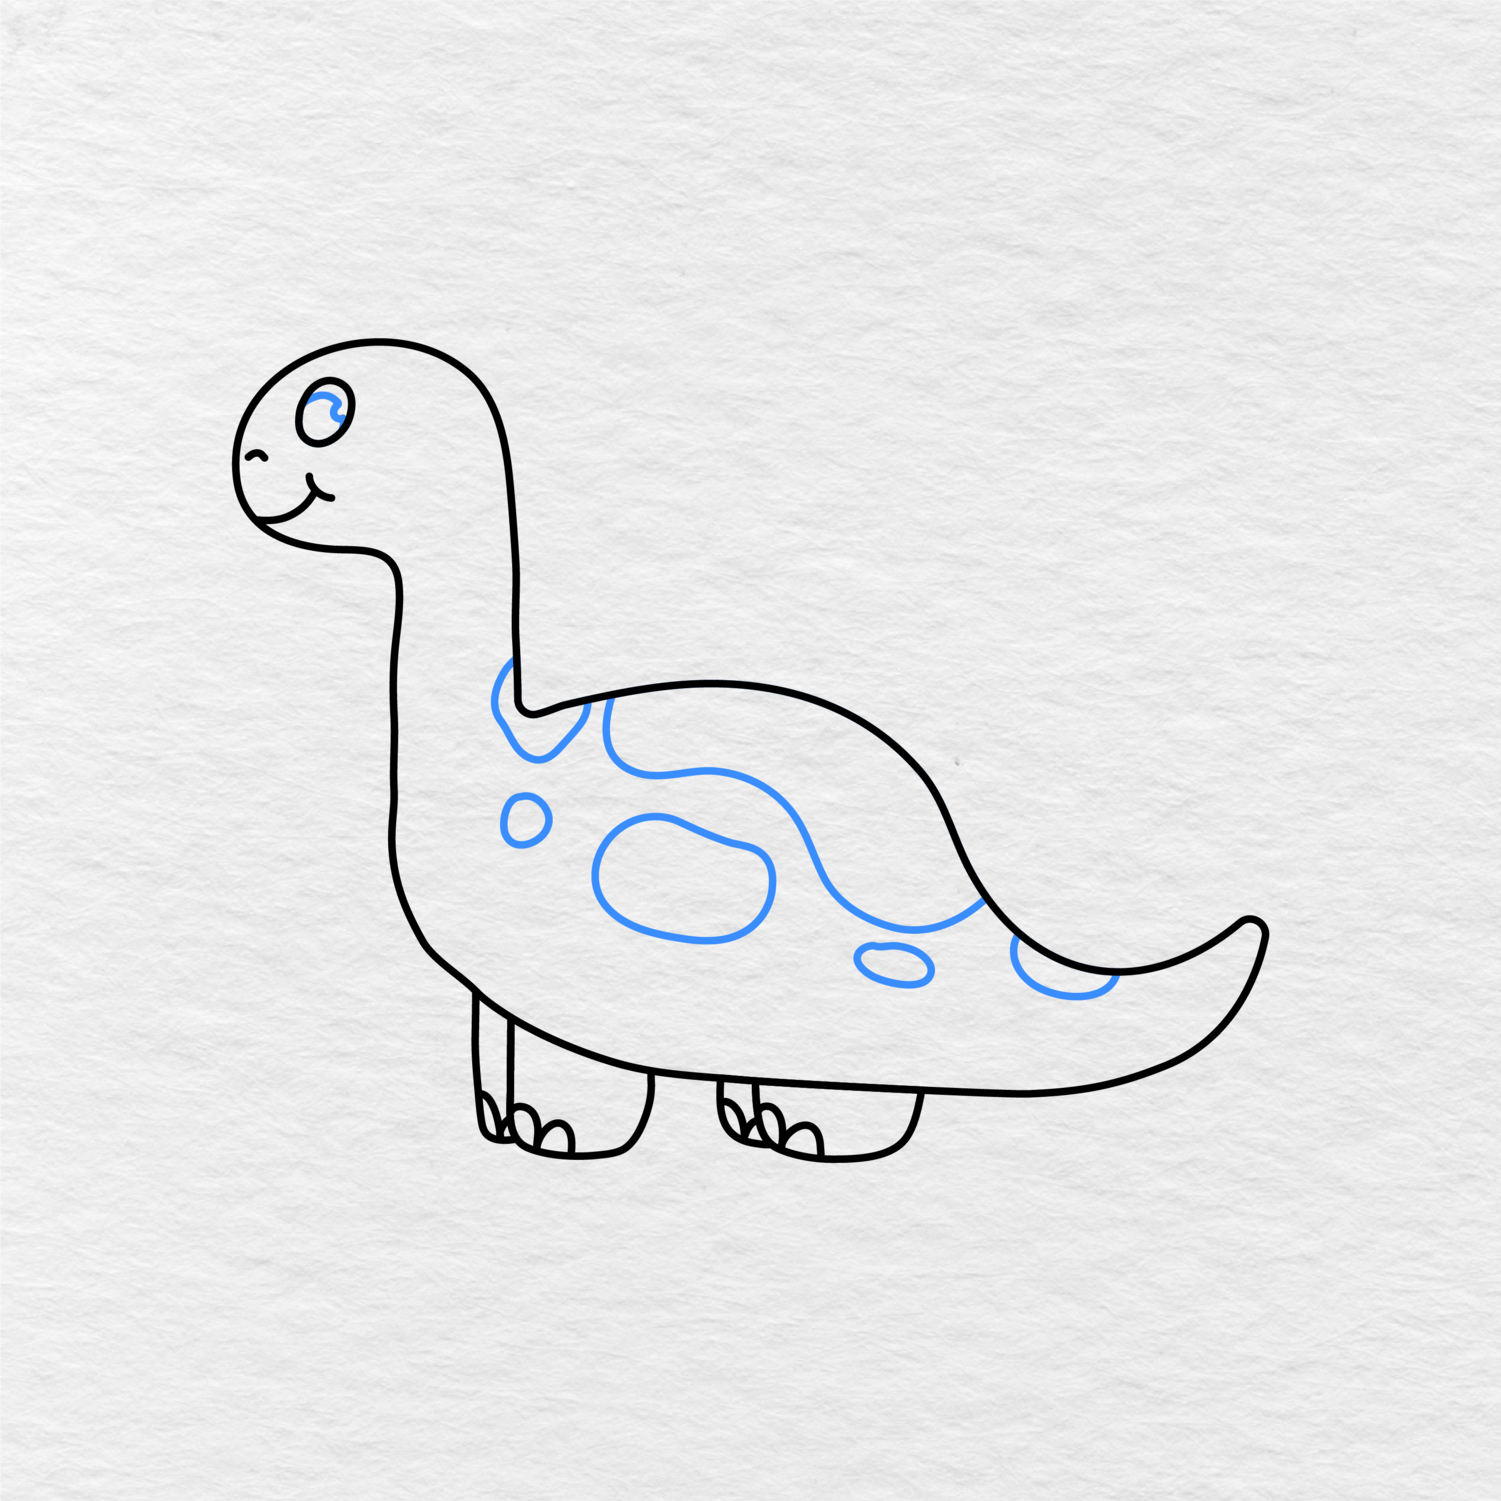
Use a curved line to add a little detail to the belly of your dinosaur, and then add a few small spots near it on either side of the body.
This helps to break up the empty space in your dinosaur drawing while also keeping everything quite simple.
No more than a few spots are needed for this step. After all, we want this to stay a simple drawing!
Step 5: Add the Back Spikes
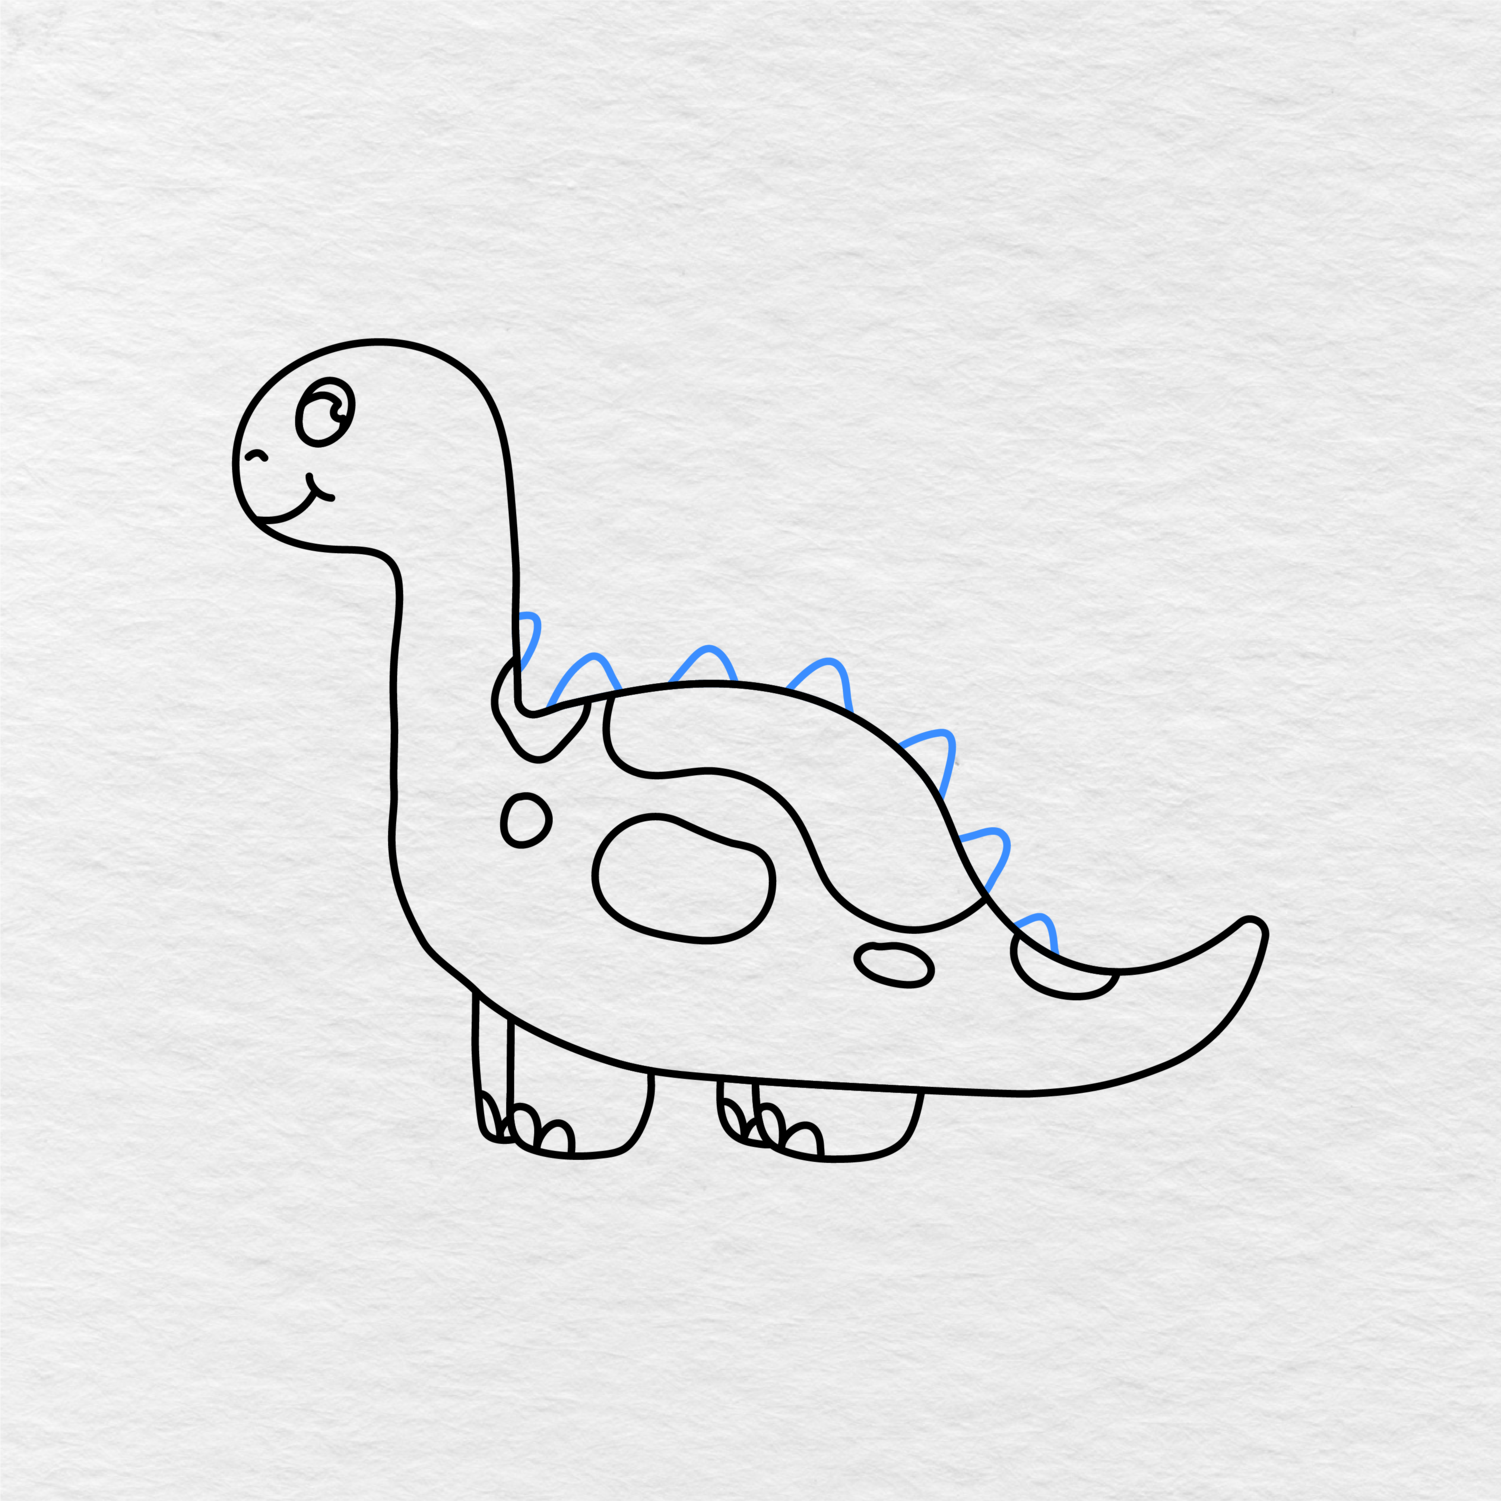
Add small triangle shapes to the back of the dinosaur and tail, starting near the head and working your way to the end of the tail.
These little spikes are another fun addition to break up the appearance of the dinosaur drawing without making it look too busy, and you can vary their size a little for this step if you’d like.
Keeping them simple and small is the best option for this step, though.
Step 6: Color the Dinosaur
Finally, it’s time to color your dinosaur using the finished drawing below as your guide. You can stick to greens and yellows for the body and belly, with reds and oranges for the back spikes and any other details.
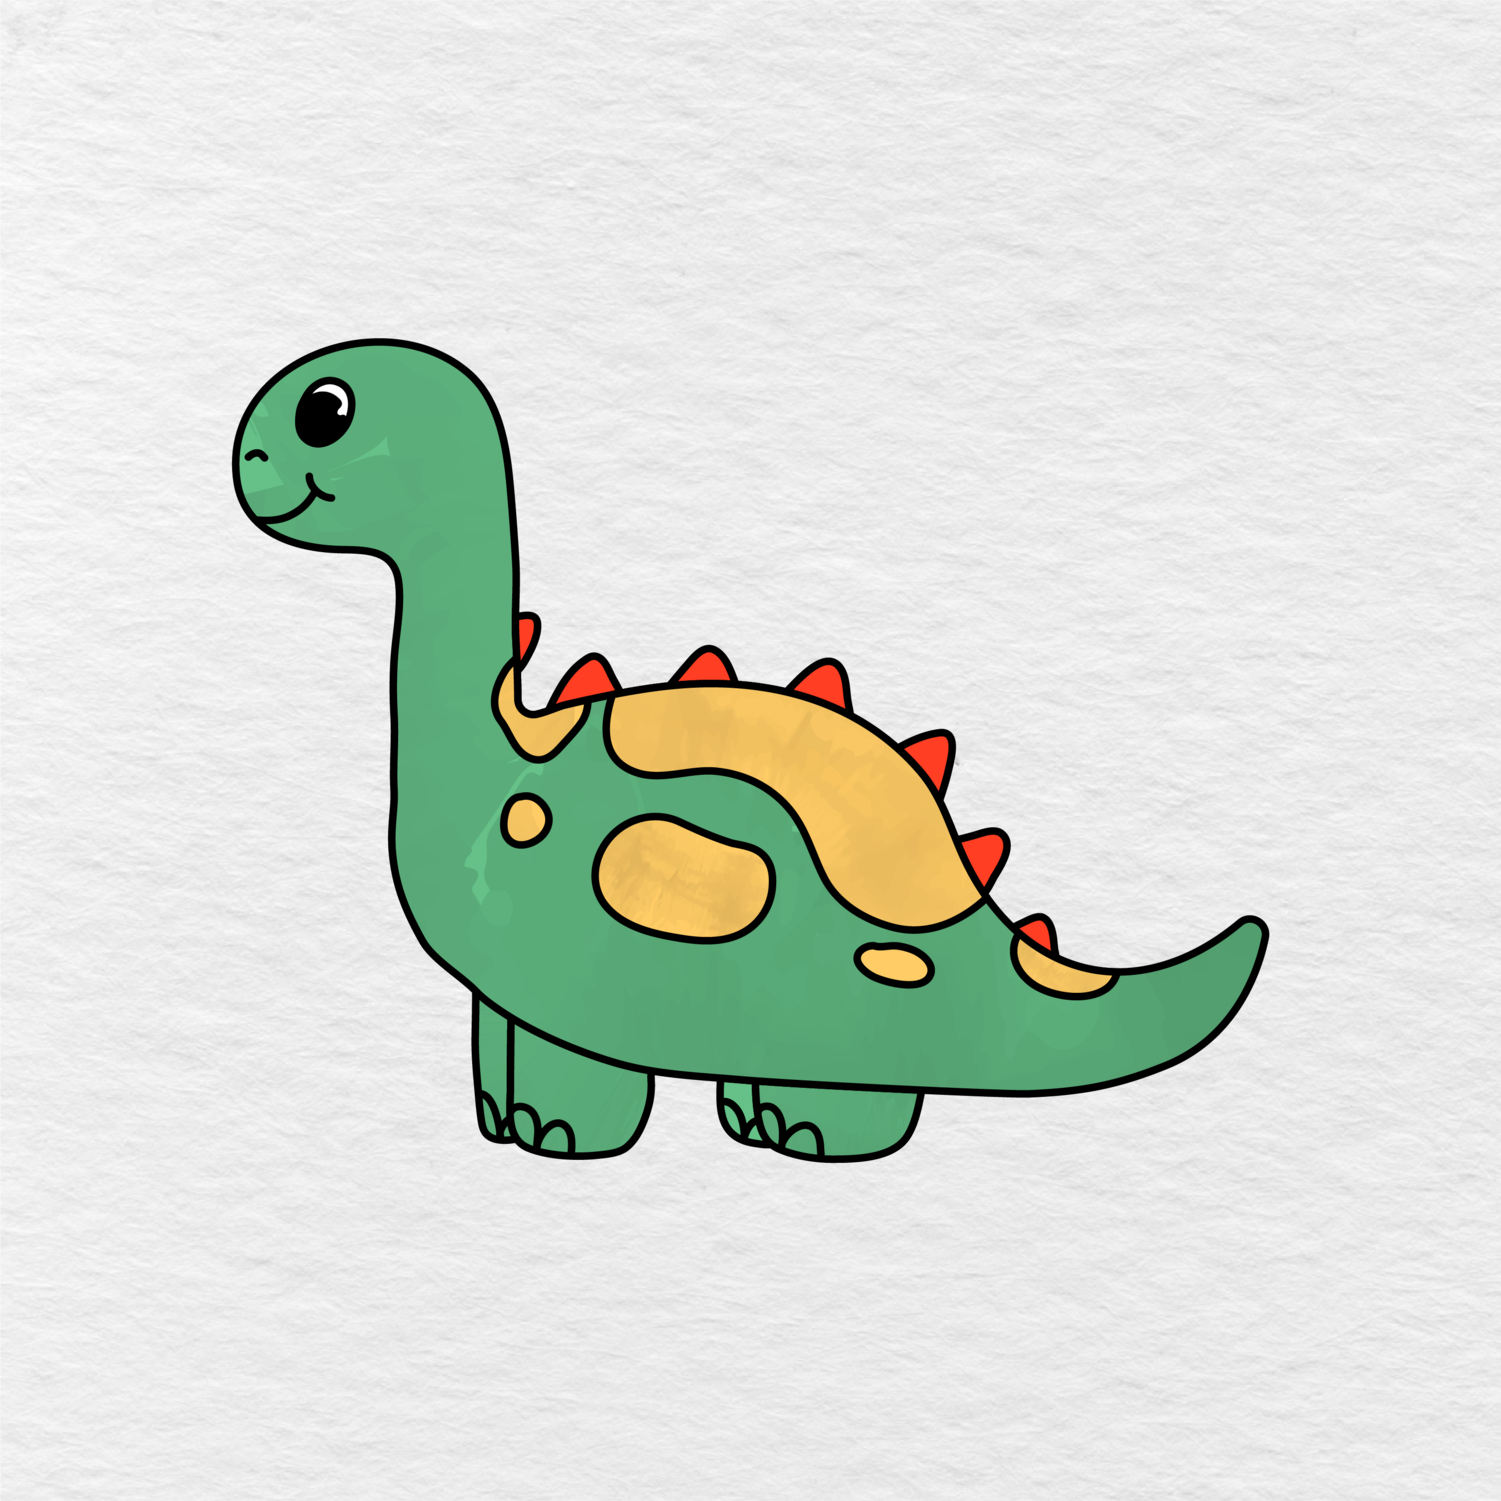
Of course, you can pick other colors if you’d rather have a more unique looking dinosaur. Either way, you now have a finished, simple dinosaur drawing!
Printable Dinosaur Drawing PDF
You can also print out the blank version of this simple dinosaur drawing so that kids can color it in and practice their drawing skills at the same time.
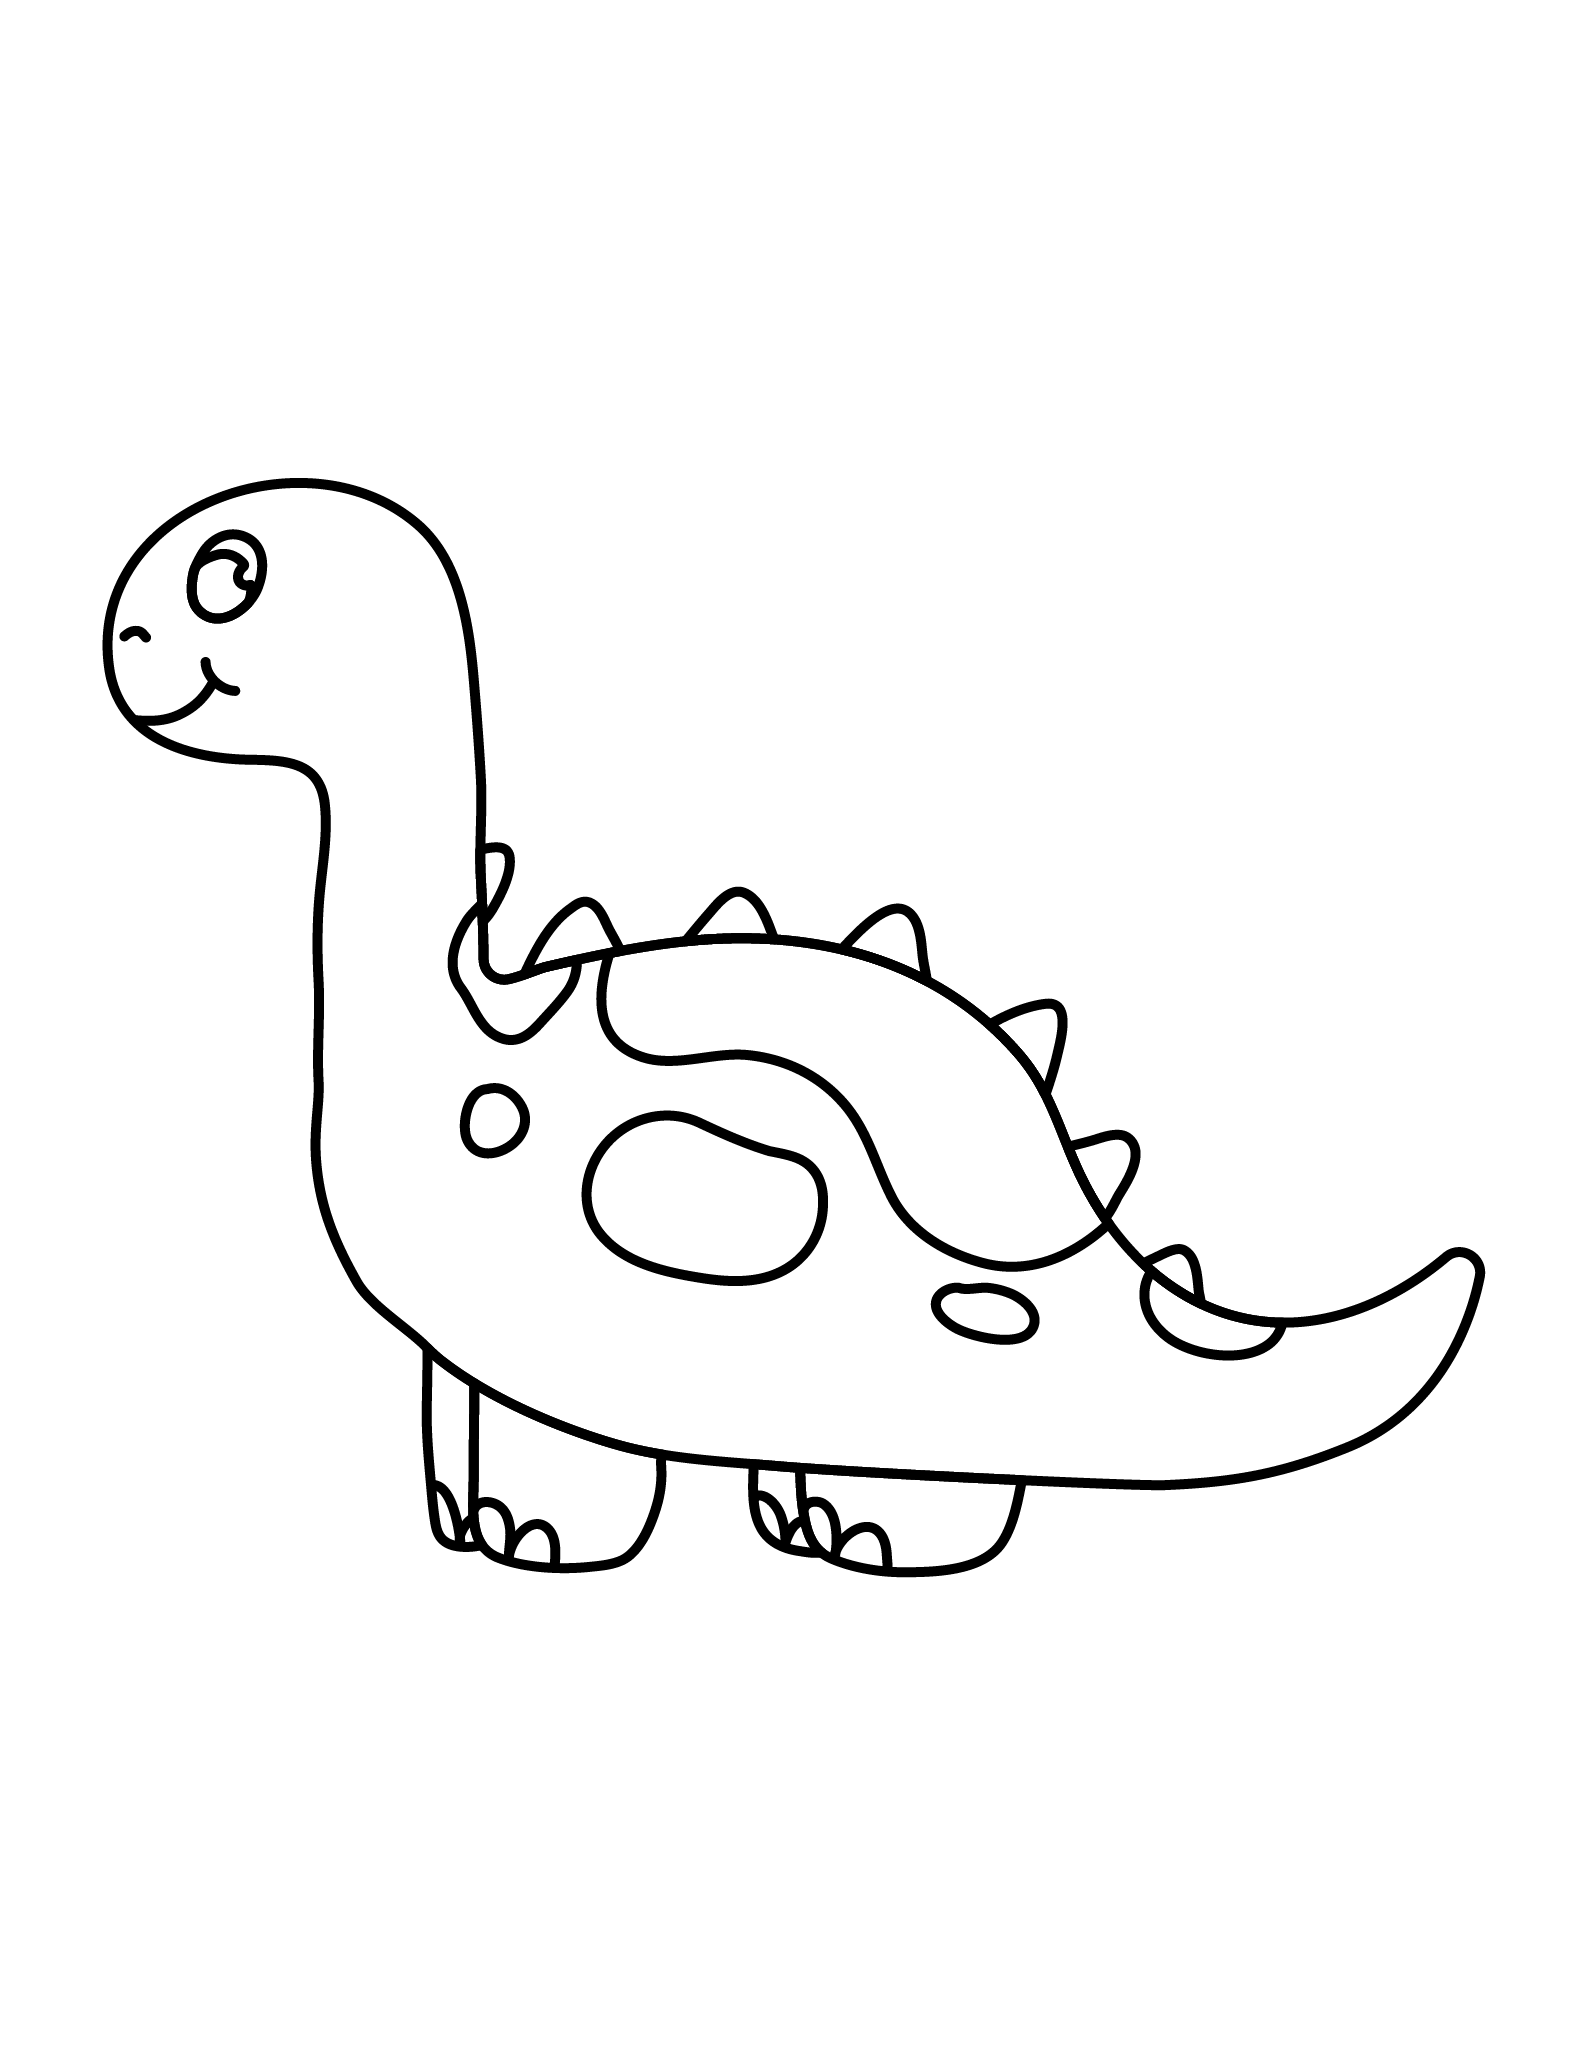
The tutorial above shows you how to draw this particular dinosaur, and you can see the final colored version of it in the example.
If you want even more prehistoric prints to color in, be sure to check out our full Dinosaur Coloring Pages collection.
If your kids, students, or class enjoyed this dinosaur drawing activity, let us know in the comments below. We would also appreciate it if you could share this page with another parent, teacher, or friend!